Task Types
Task types are vital for organizing and categorizing the actions required to complete each task within your workflow. These types provide a structured approach that promotes consistency, clarity, and ease of navigation within your task management process. By defining task types, you can streamline task organization across various software sections, such as assigning task types to specific stages in a pipeline. This structured categorization helps all team members understand and follow a standardized process, enhancing productivity and workflow efficiency.
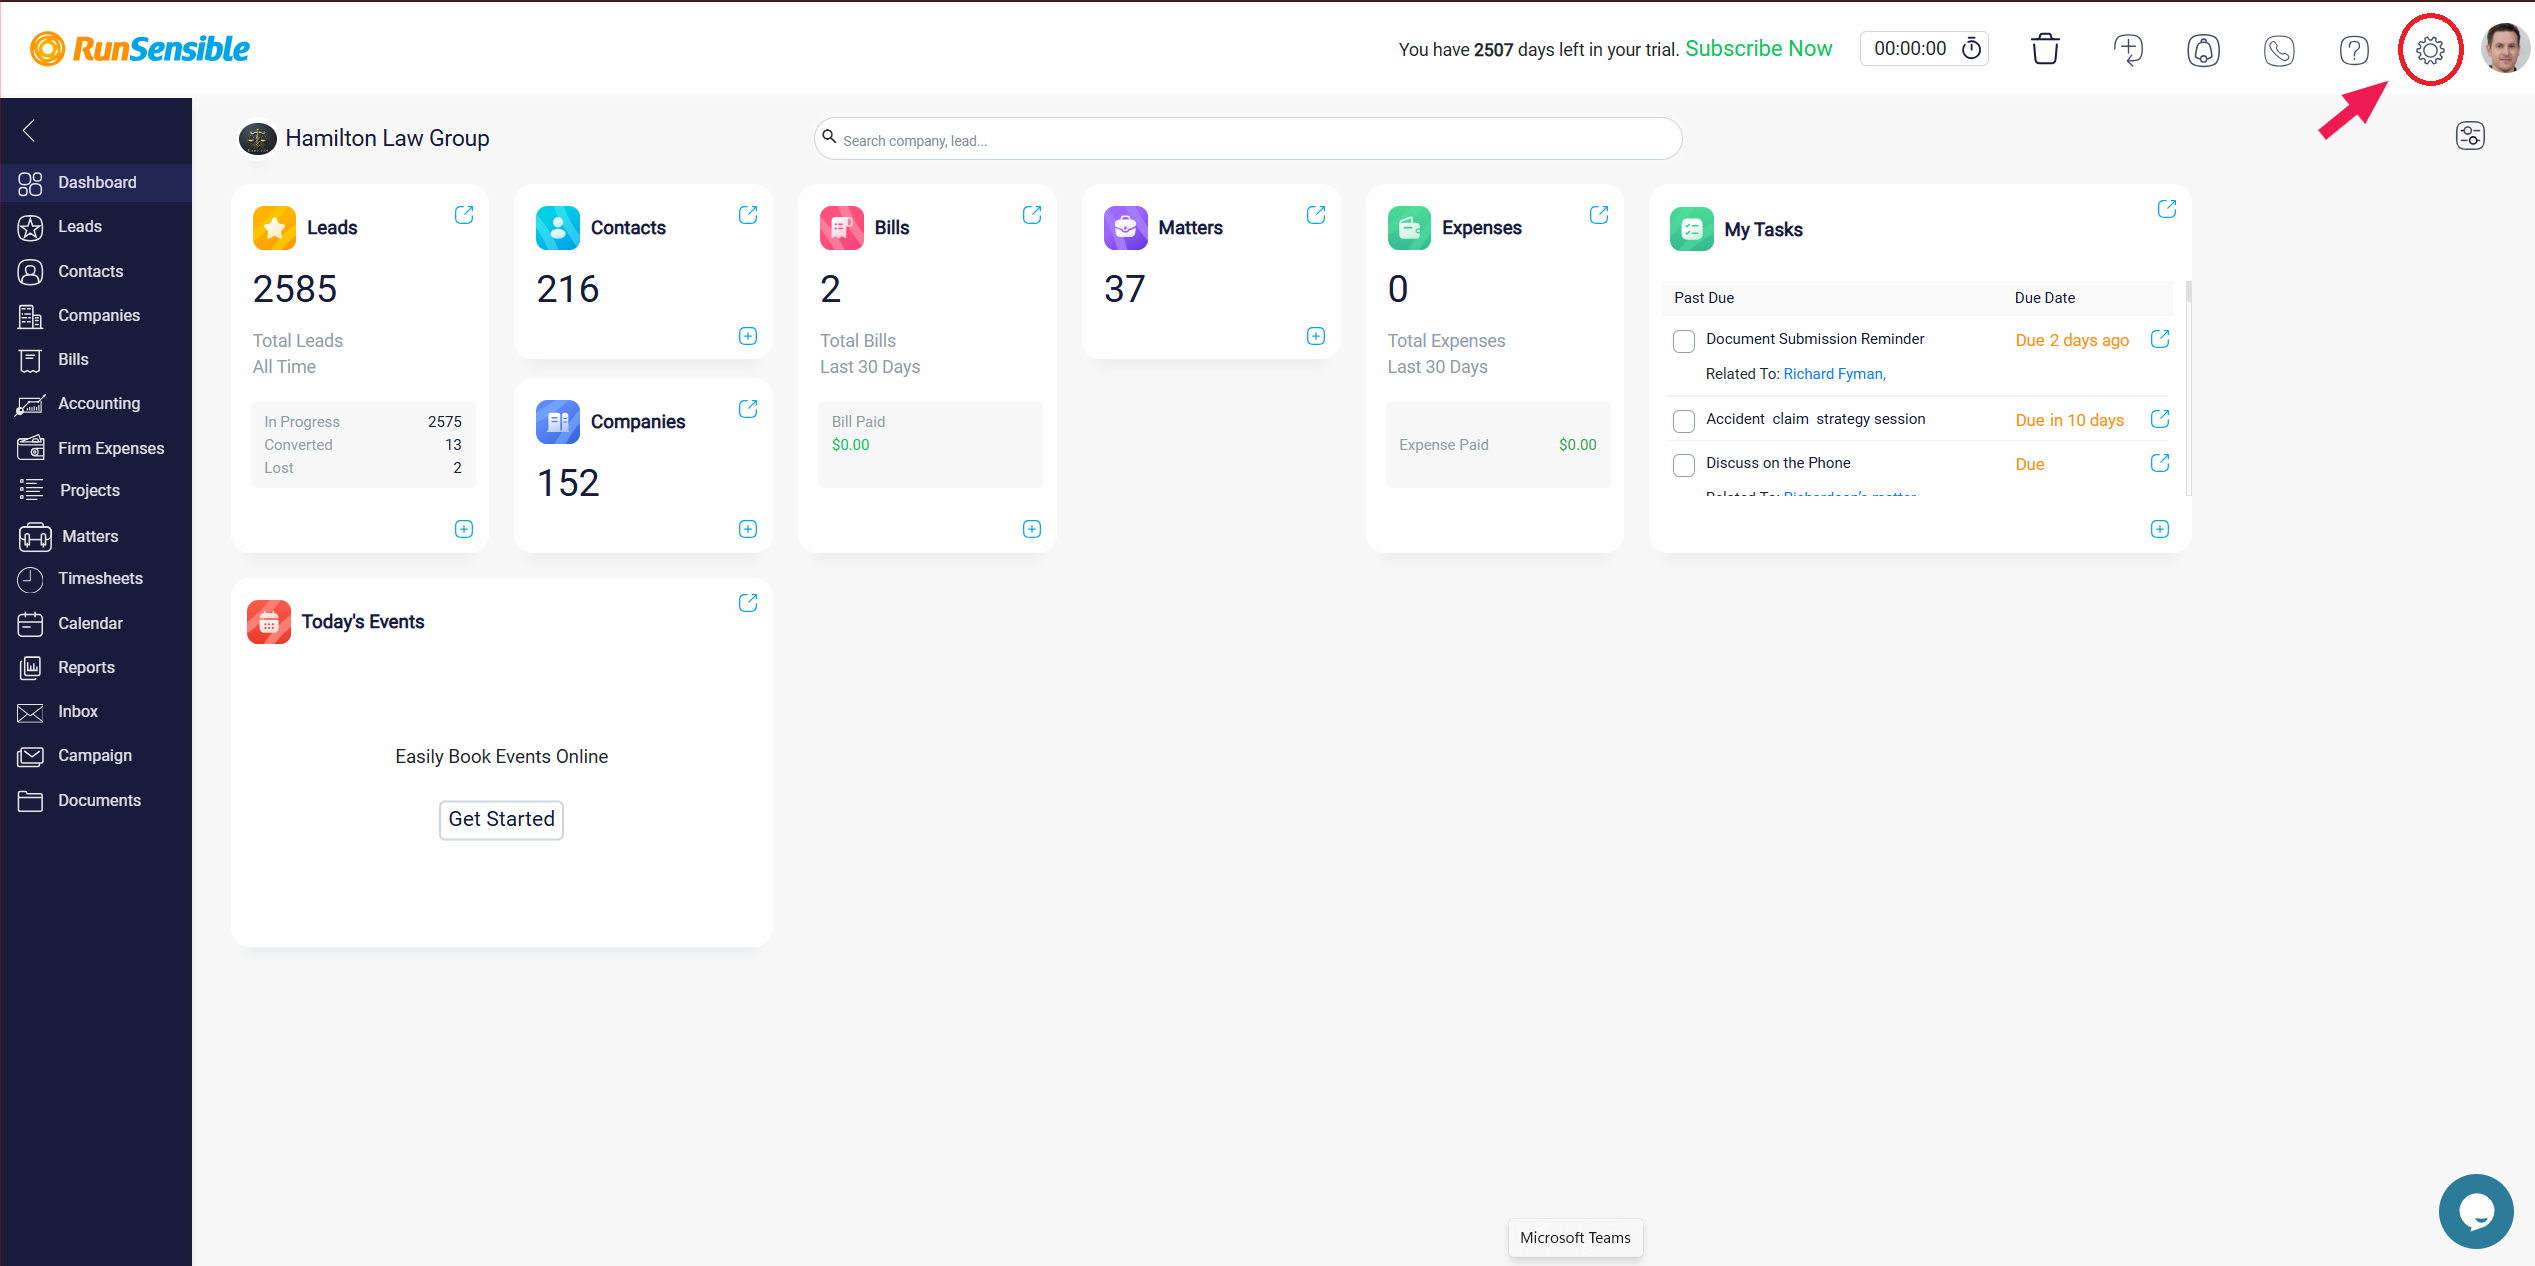
To create or manage task types, navigate to Settings in the top-right corner of your screen.
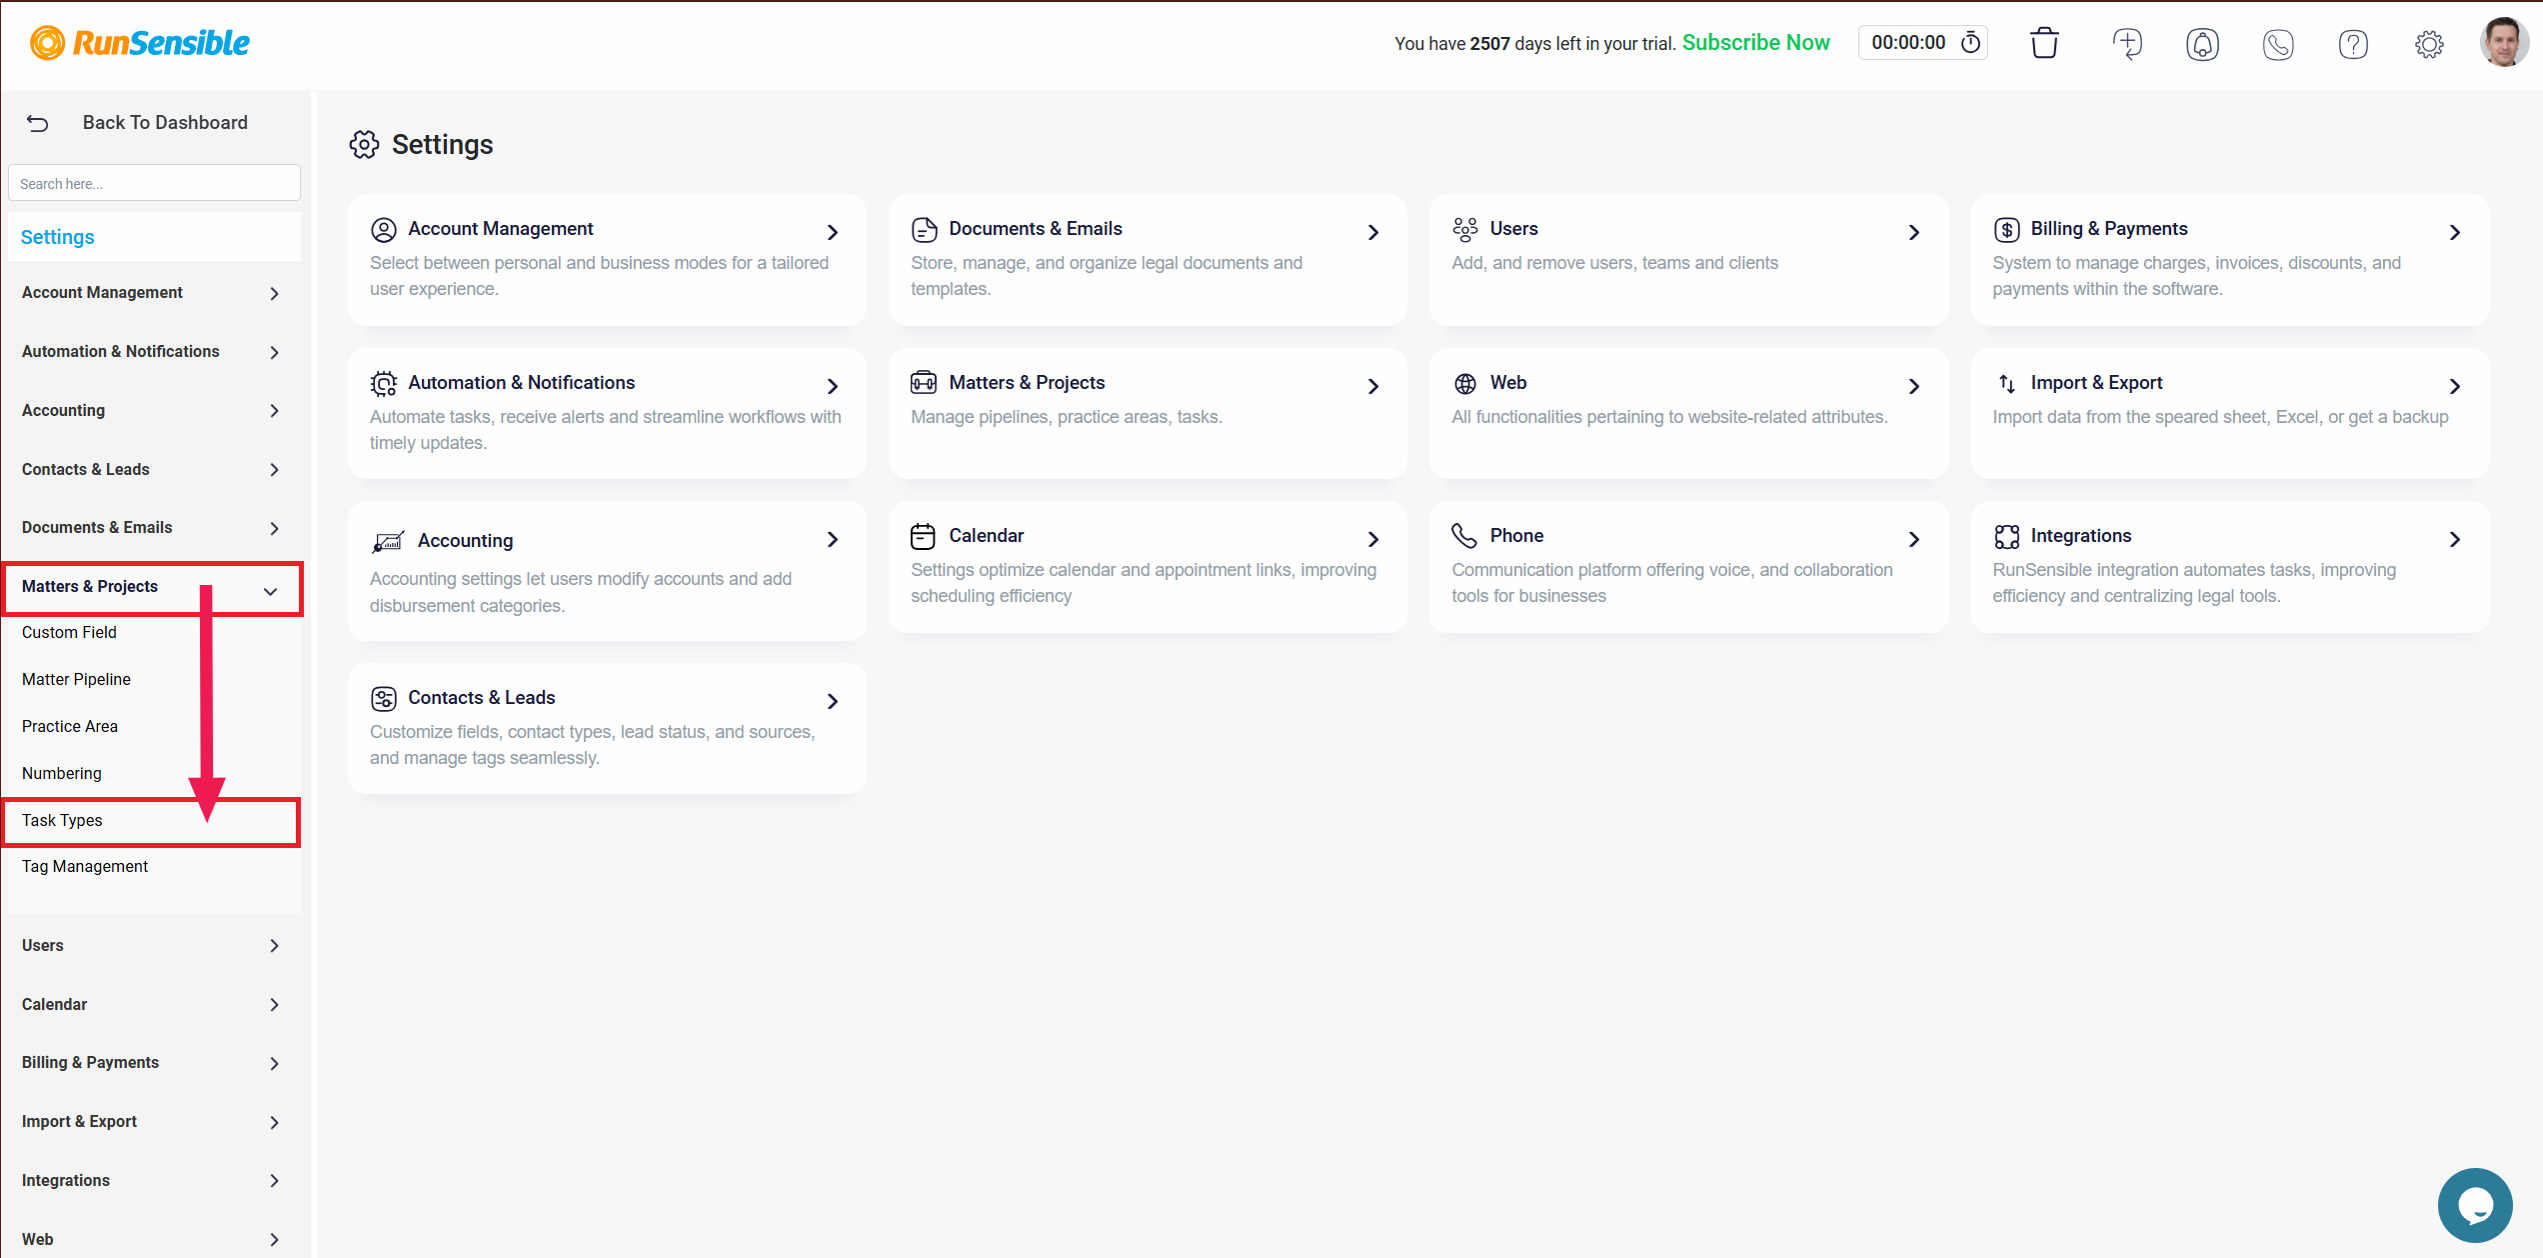
Once in the Settings menu, check the left-hand sidebar for the Matter & Projects section. Expand this dropdown menu and select Task Types.
This action opens a dedicated workspace to view all existing task types. In this workspace, you have complete control over adding new task types, modifying current ones, or deleting any task types that are not defaults. This flexibility allows you to personalize your task organization to fit your specific workflow needs, making it easy to categorize and track each task.
When you enter the Task Types section, you will see four default tasks: To-Do, Phone, Meeting, and Email.
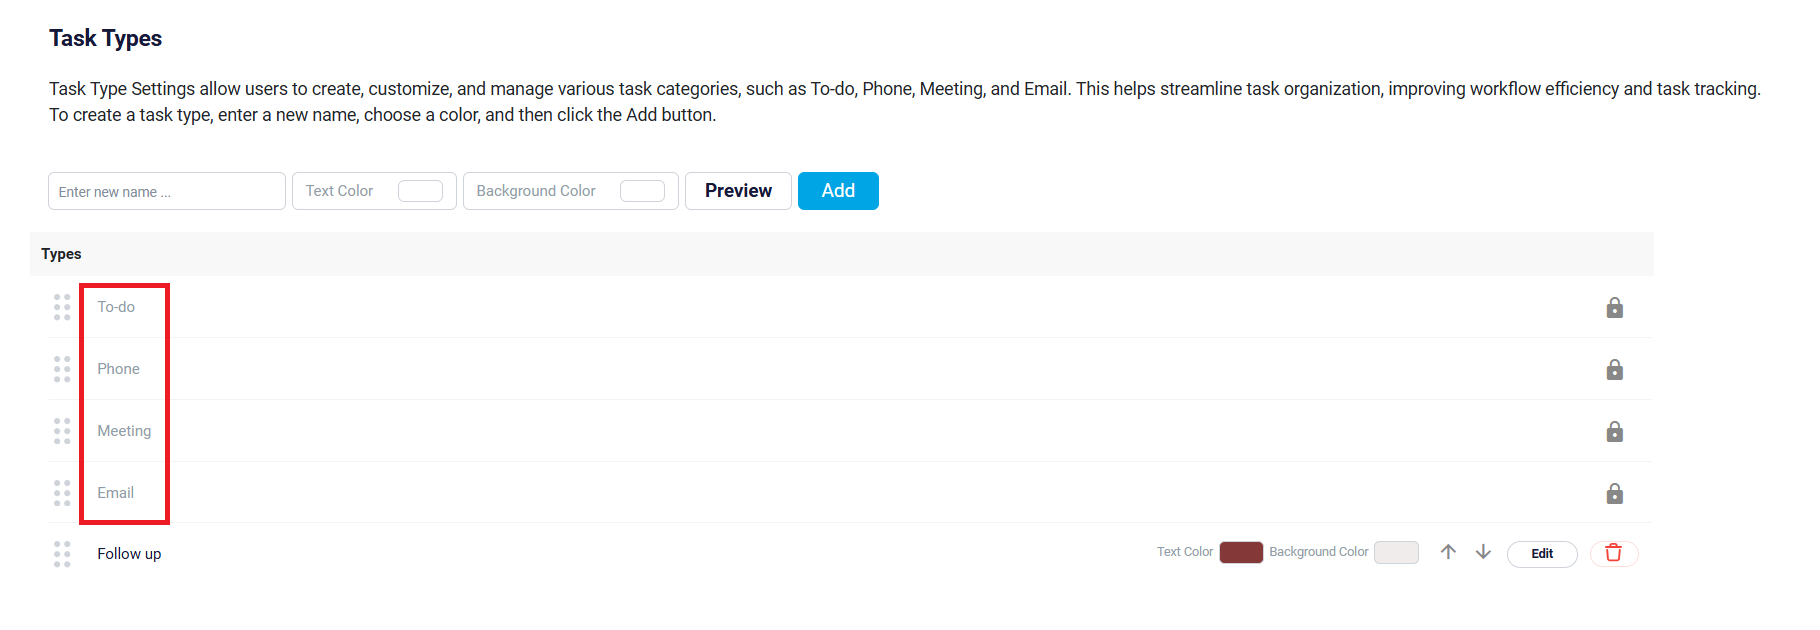
These types represent commonly used activities and provide a solid base for organizing routine tasks. However, it is essential to note that these default task types are fixed—meaning they cannot be deleted or altered. While these defaults are available for immediate use, the software allows you to create unlimited custom task types beyond these. This flexibility ensures you can categorize every activity relevant to your work, offering a tailored approach to suit the unique requirements of your workflow.
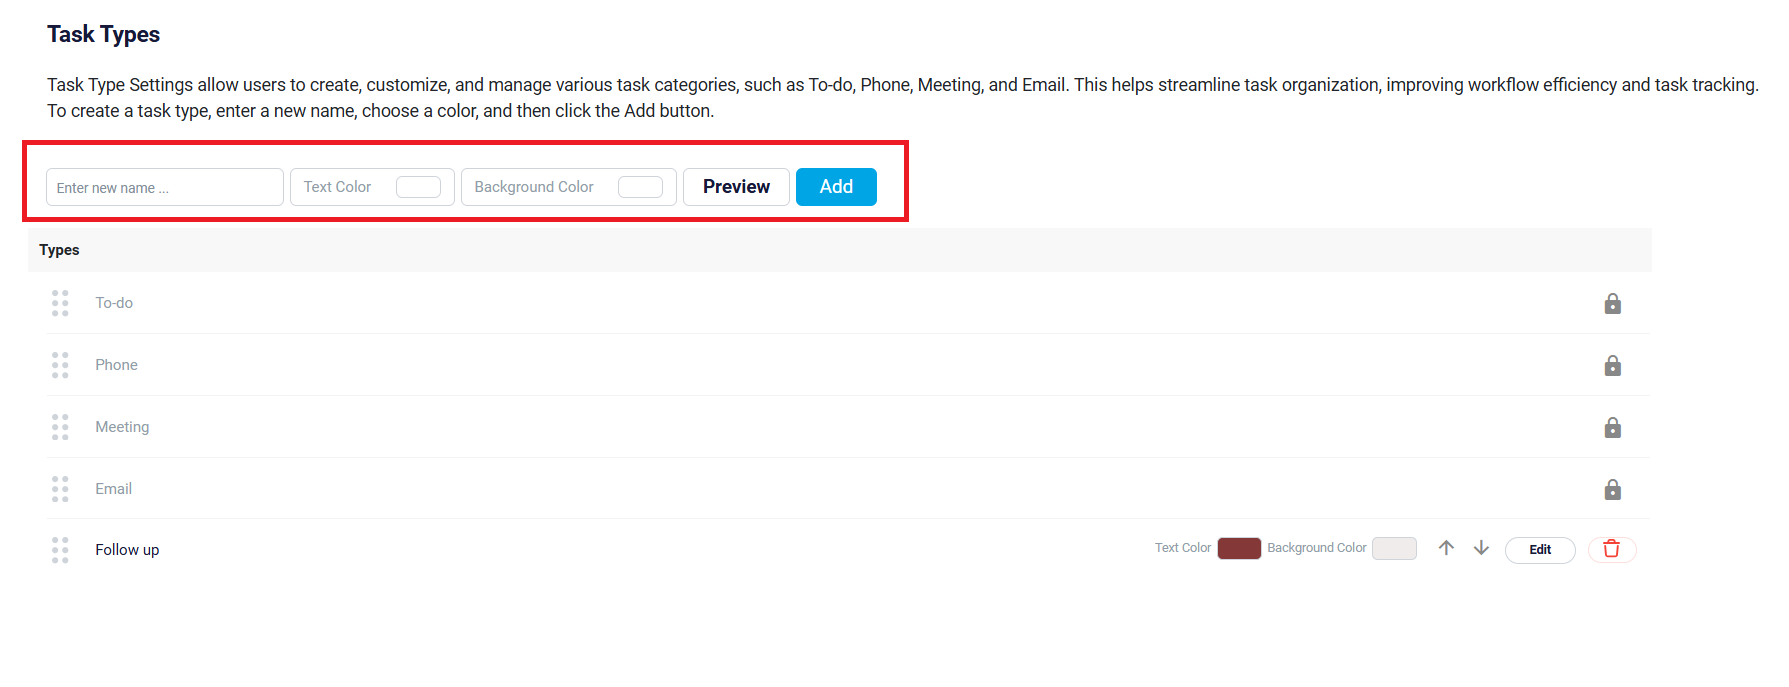
To add a new task type, navigate to the Enter New Name field at the top-left corner of the Task Types screen. Here, you can enter a custom name that accurately reflects the nature of the task type for easy identification.
After naming the task, you can enhance its visibility by selecting specific text and background colors using the color picker options provided. Once you have chosen the colors, you can see how the combination looks in the Preview box, which displays the text and background color together.
Color-coding task types are beneficial for quick recognition, as they visually distinguish each type and enhance clarity at a glance. Once you have completed naming and selecting the colors, click the Add button on the right to save the new task type. This newly created task type will appear at the bottom of the list, allowing you to arrange it later as needed.
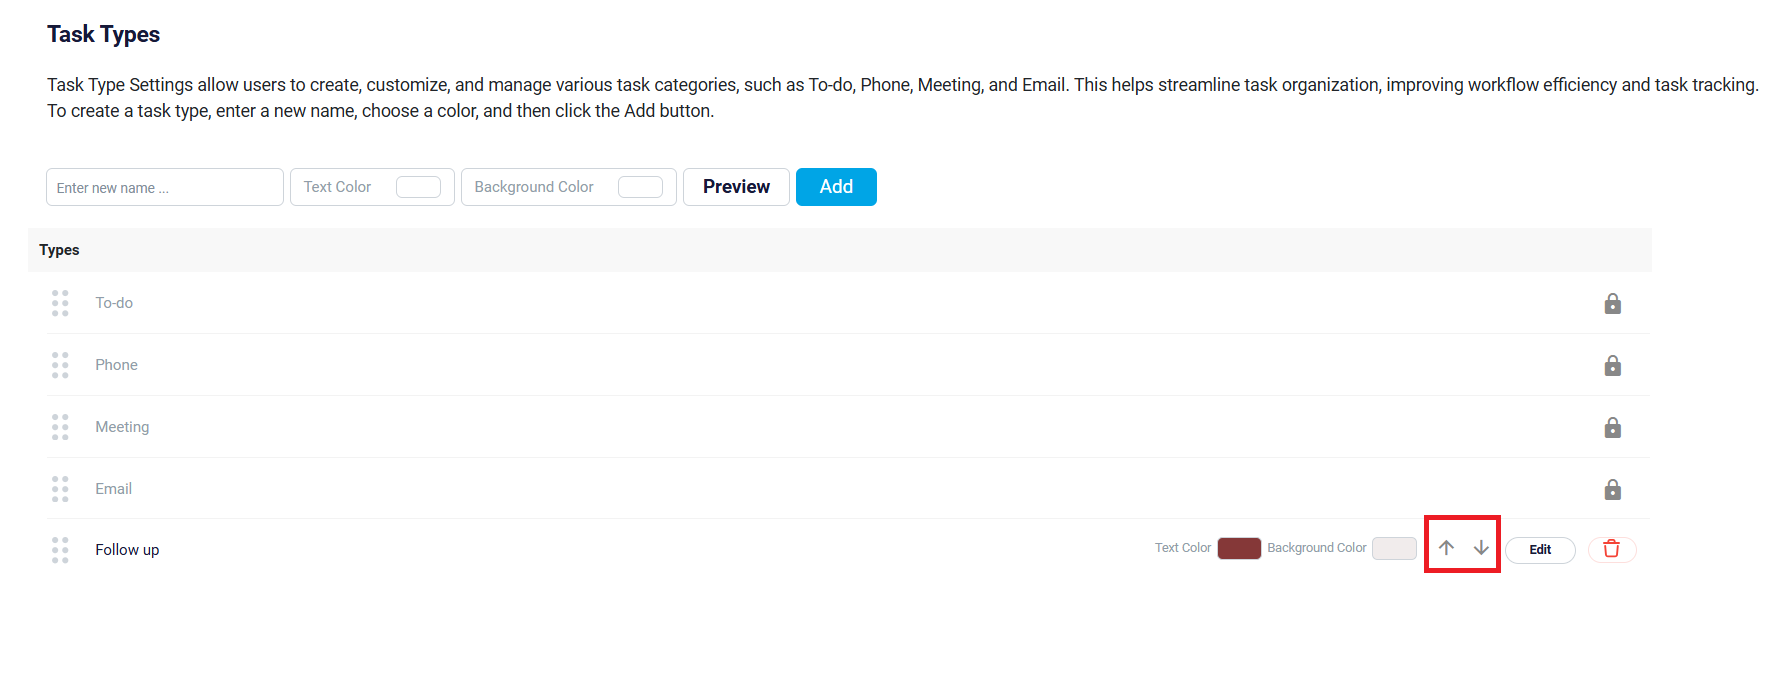
Once you have added task types, you can arrange them in an order that best aligns with your workflow priorities. To do this, use the up and down arrows on the right side of each task type. This allows you to move the most frequently used types to the top for easier access.
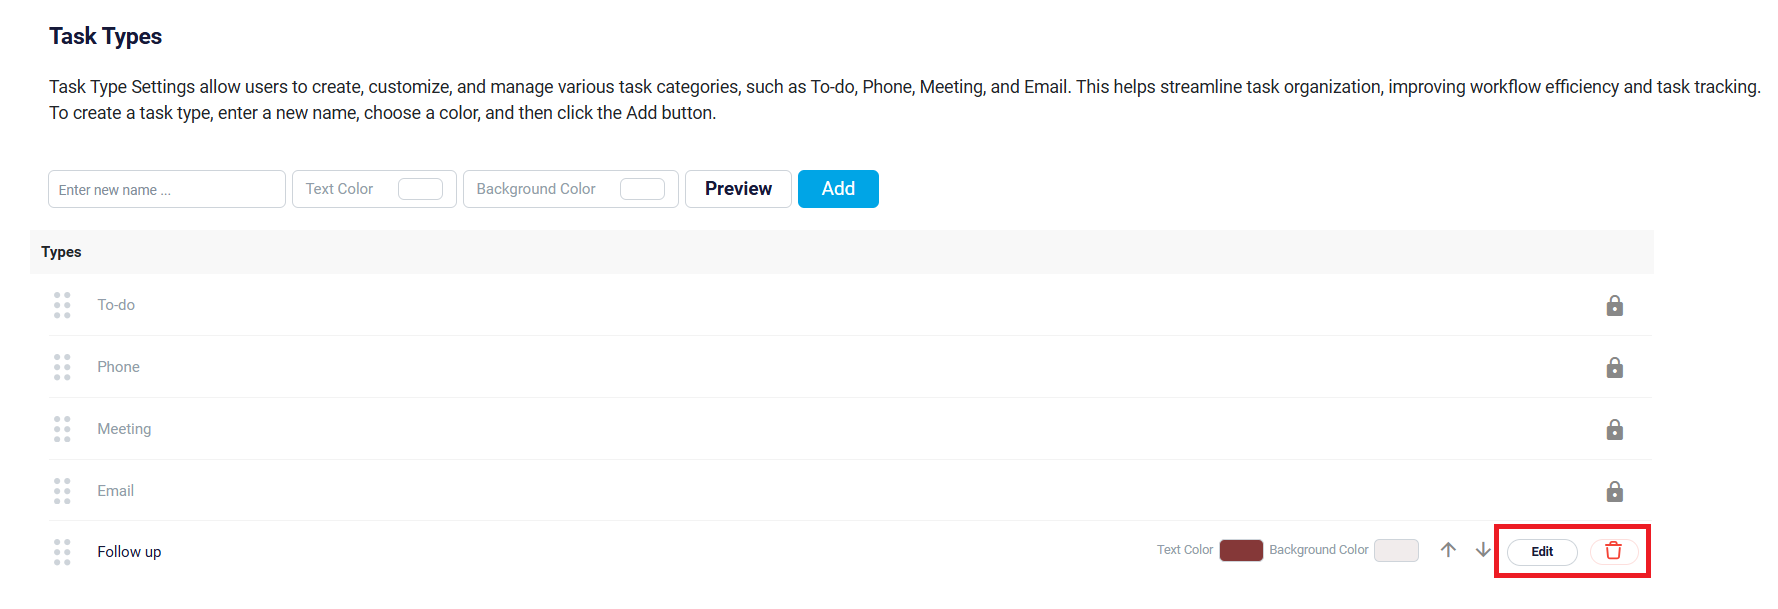
If you need to modify any non-default task type, click the Edit button next to the task type you wish to update. Here, you can change its name, text color, and background color, refining each task type to improve organization and visual coherence. Additionally, if you want to remove a non-default task type, use the Delete button to remove it from your list entirely.
