Creating a Bill
RunSensible’s billing system streamlines all your financial transactions, including the management of bills, trust accounts, and credit notes. It provides the tools you need to track bill payments, oversee trust funds, and accurately handle credit notes. You can easily monitor bills through five different status levels and request trust funds from clients when necessary. The system also allows you to maintain clear records of credit notes and send these financial documents in various formats to meet your clients’ needs.
Creating a New Bill
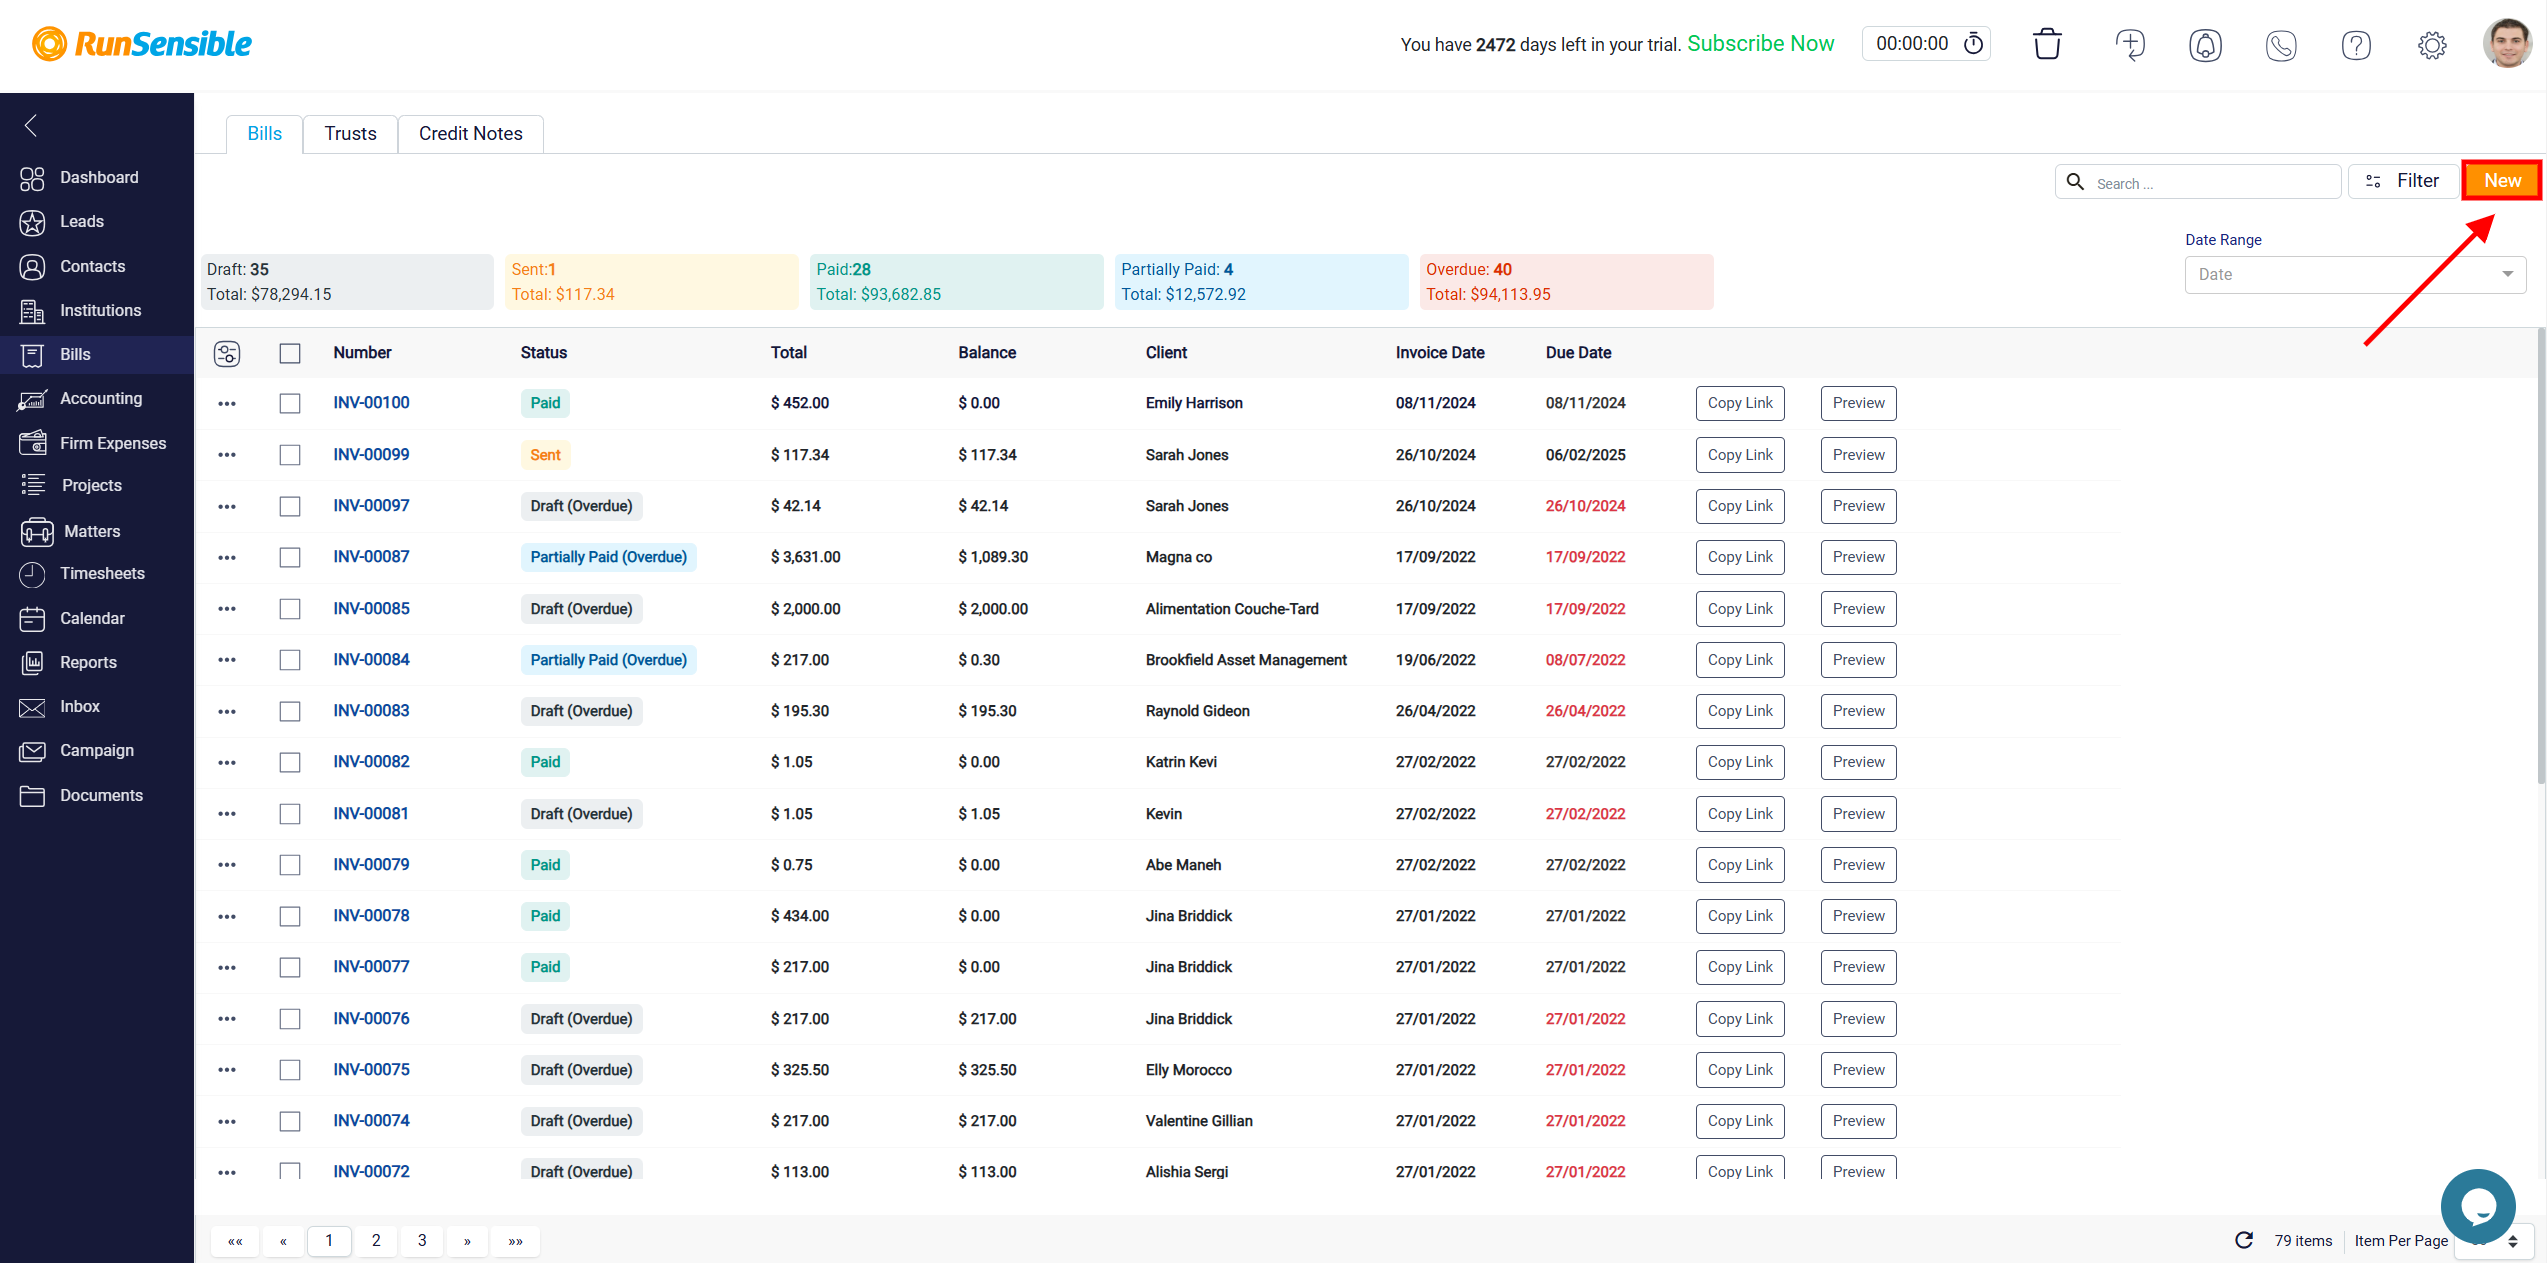
To create a new bill in RunSensible, begin by accessing the Bills in the right-hand menu. This section provides a detailed list of all previously created bills, allowing you to review, manage, and reference past transactions.
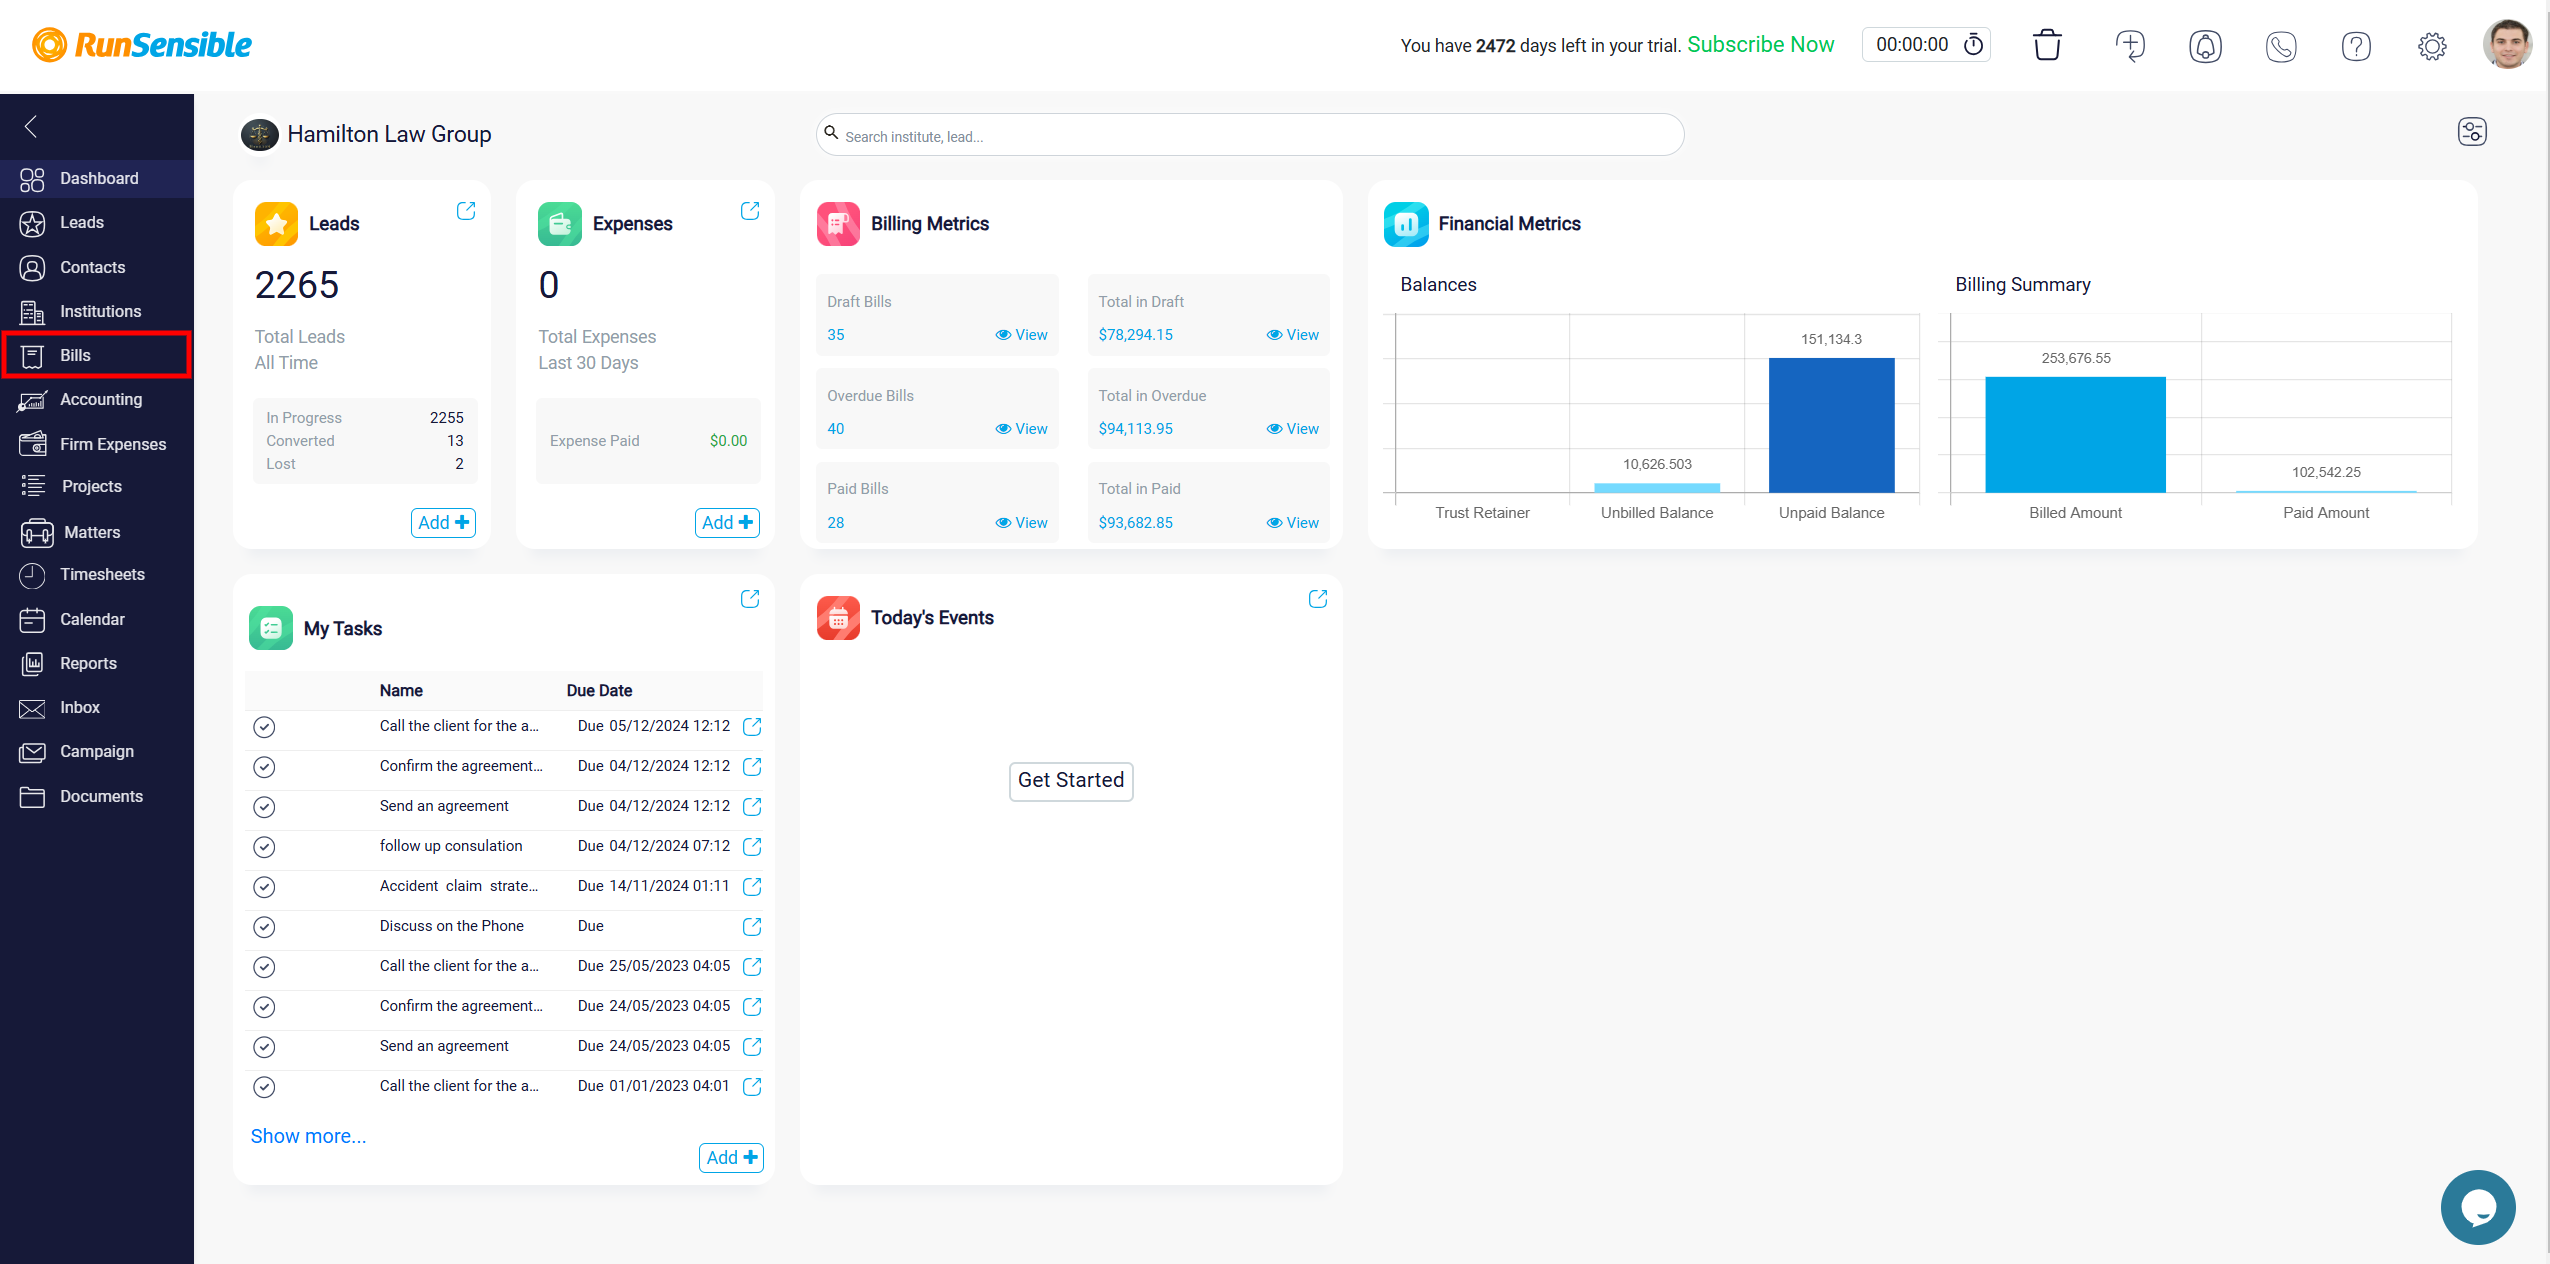
To create a new bill, begin by clicking on the New button located at the top-right corner of the screen.
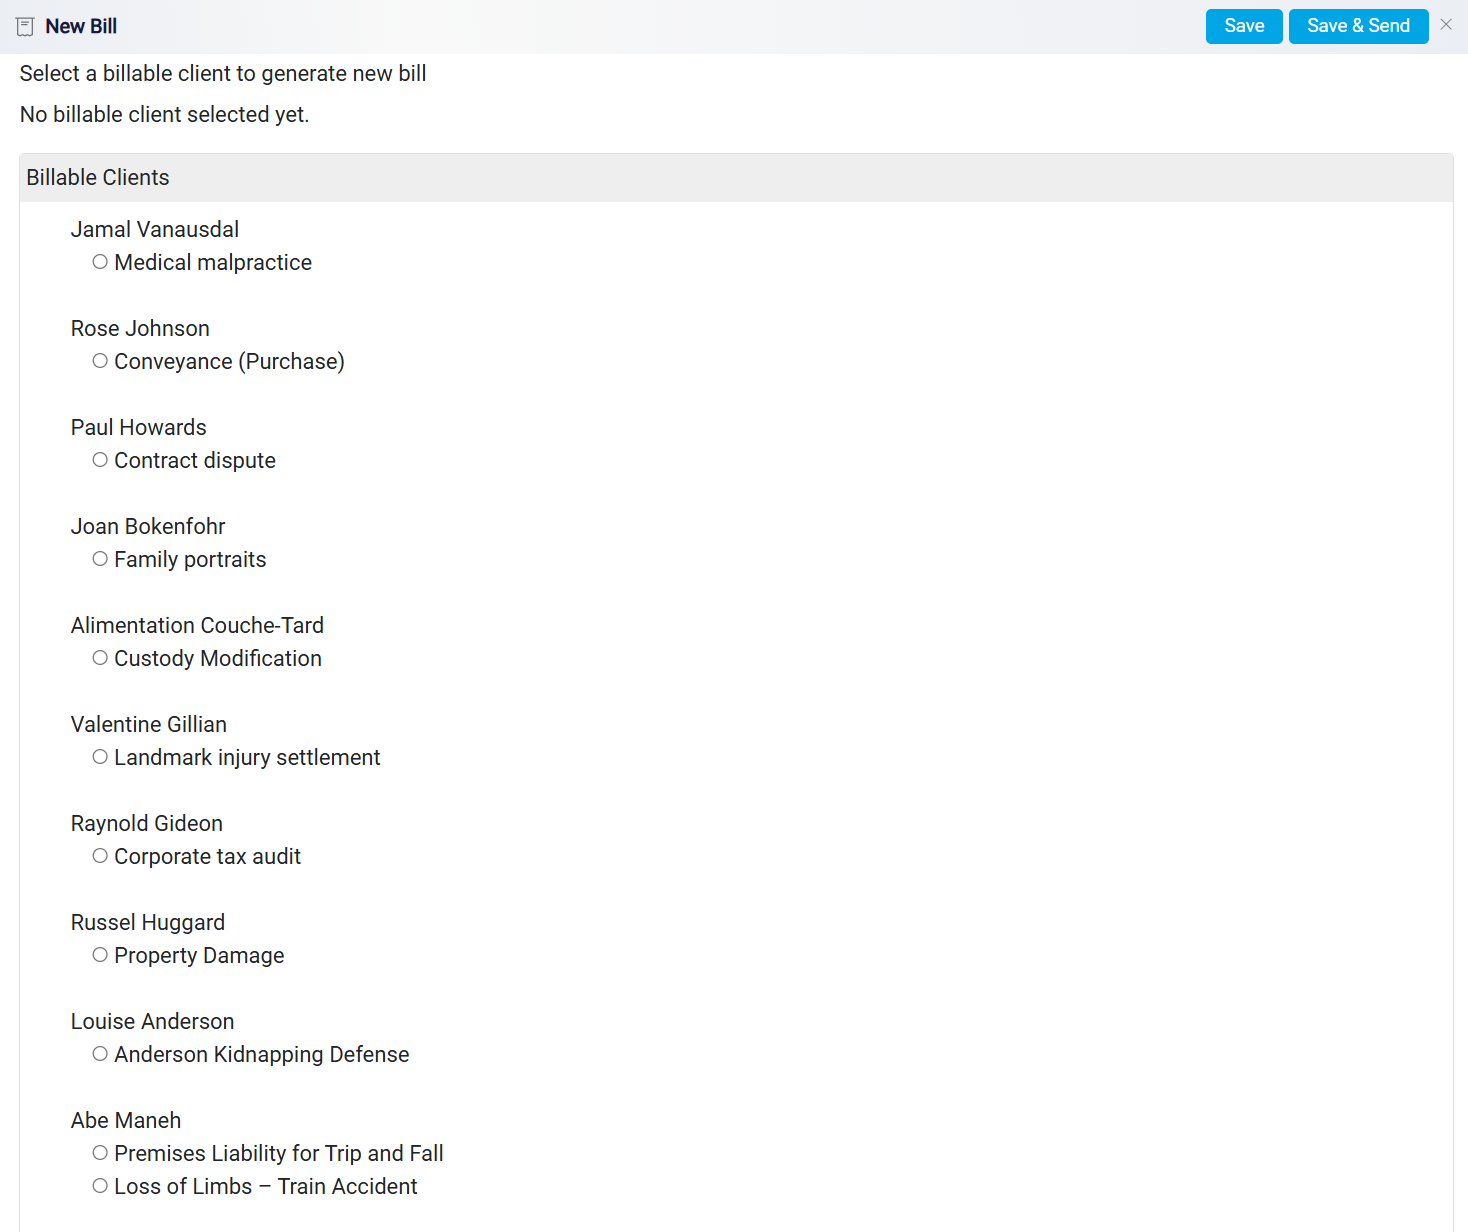
This action will open a panel displaying a list of all clients associated with billable timesheets or flat-rate charges related to specific matters. This list only includes clients for whom bills have not yet been created, ensuring that no duplicate bills are generated. The system automatically pulls this data from your recorded entries, such as billable timesheets or flat-rate fees assigned to specific matters.
Selecting Clients and Matters for Billing
In the client list, you will see both the names of your clients and the matters tied to them. Each matter is associated with either a timesheet or a flat-rate charge that is yet to be billed. To proceed, select the matter for which you want to create a bill by clicking the radio button to the left of the matter.
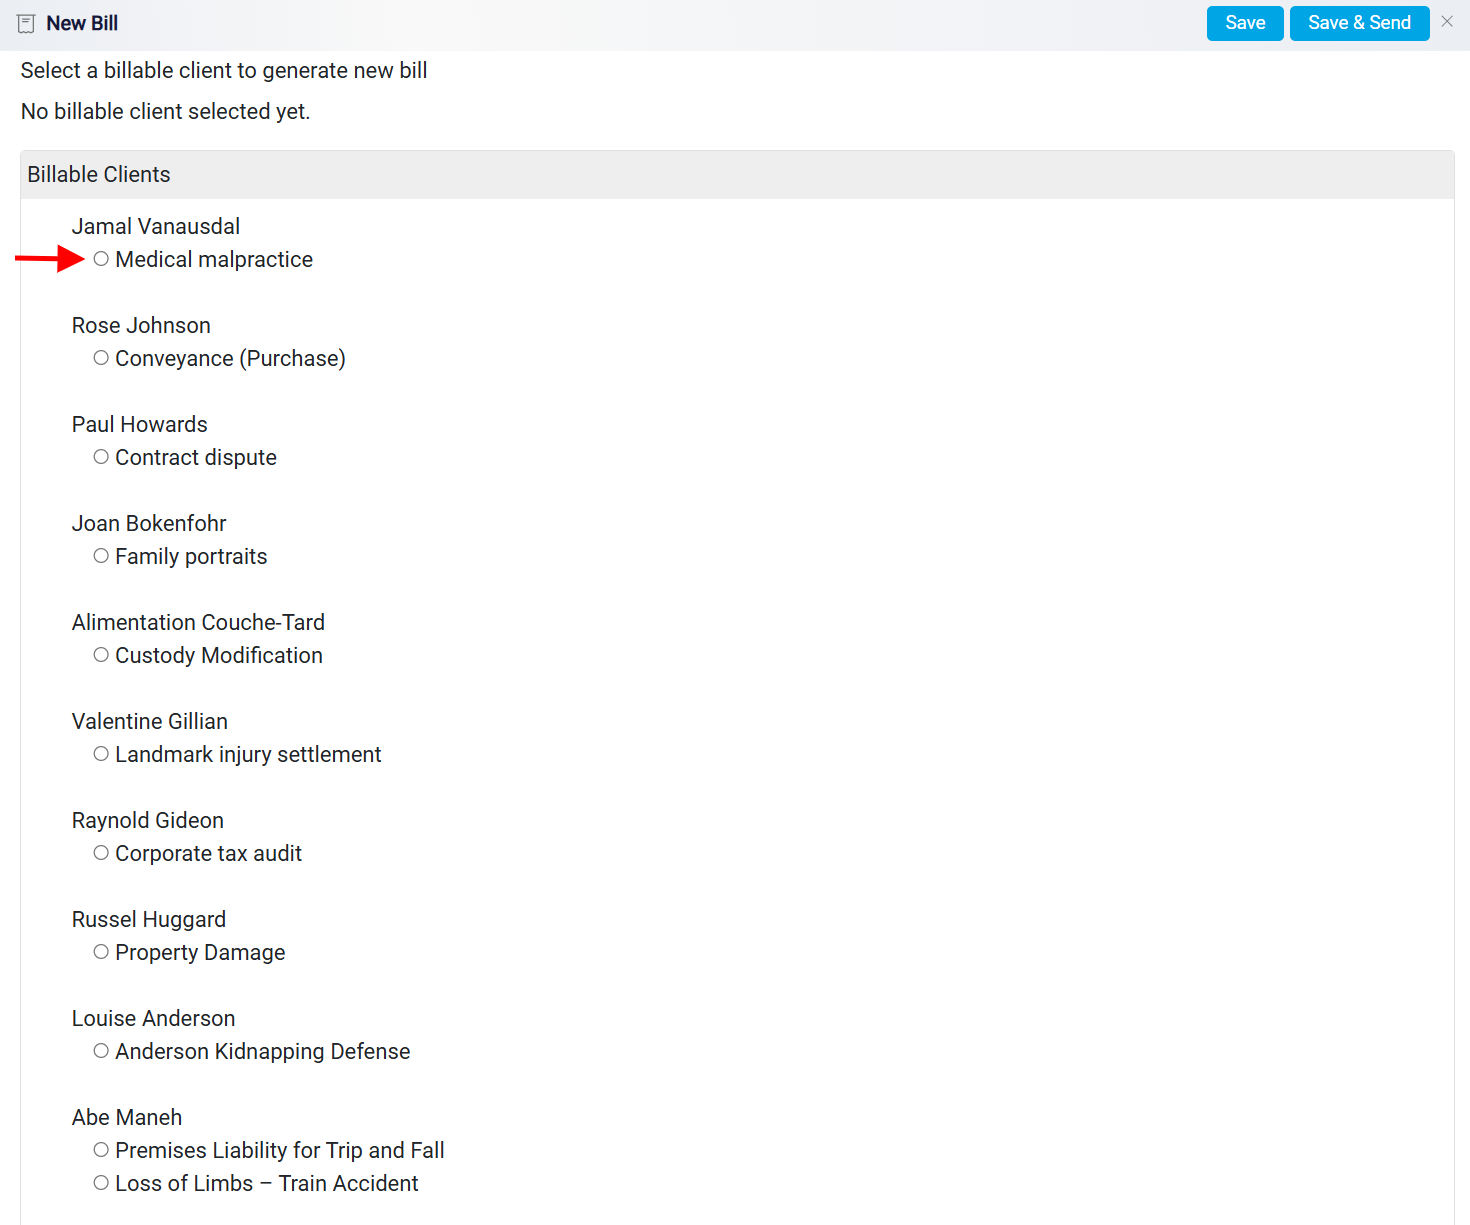
Once selected, a new panel titled New Bill will open, where you can proceed with the bill creation process.
Customizing Bill Numbers and Client Details
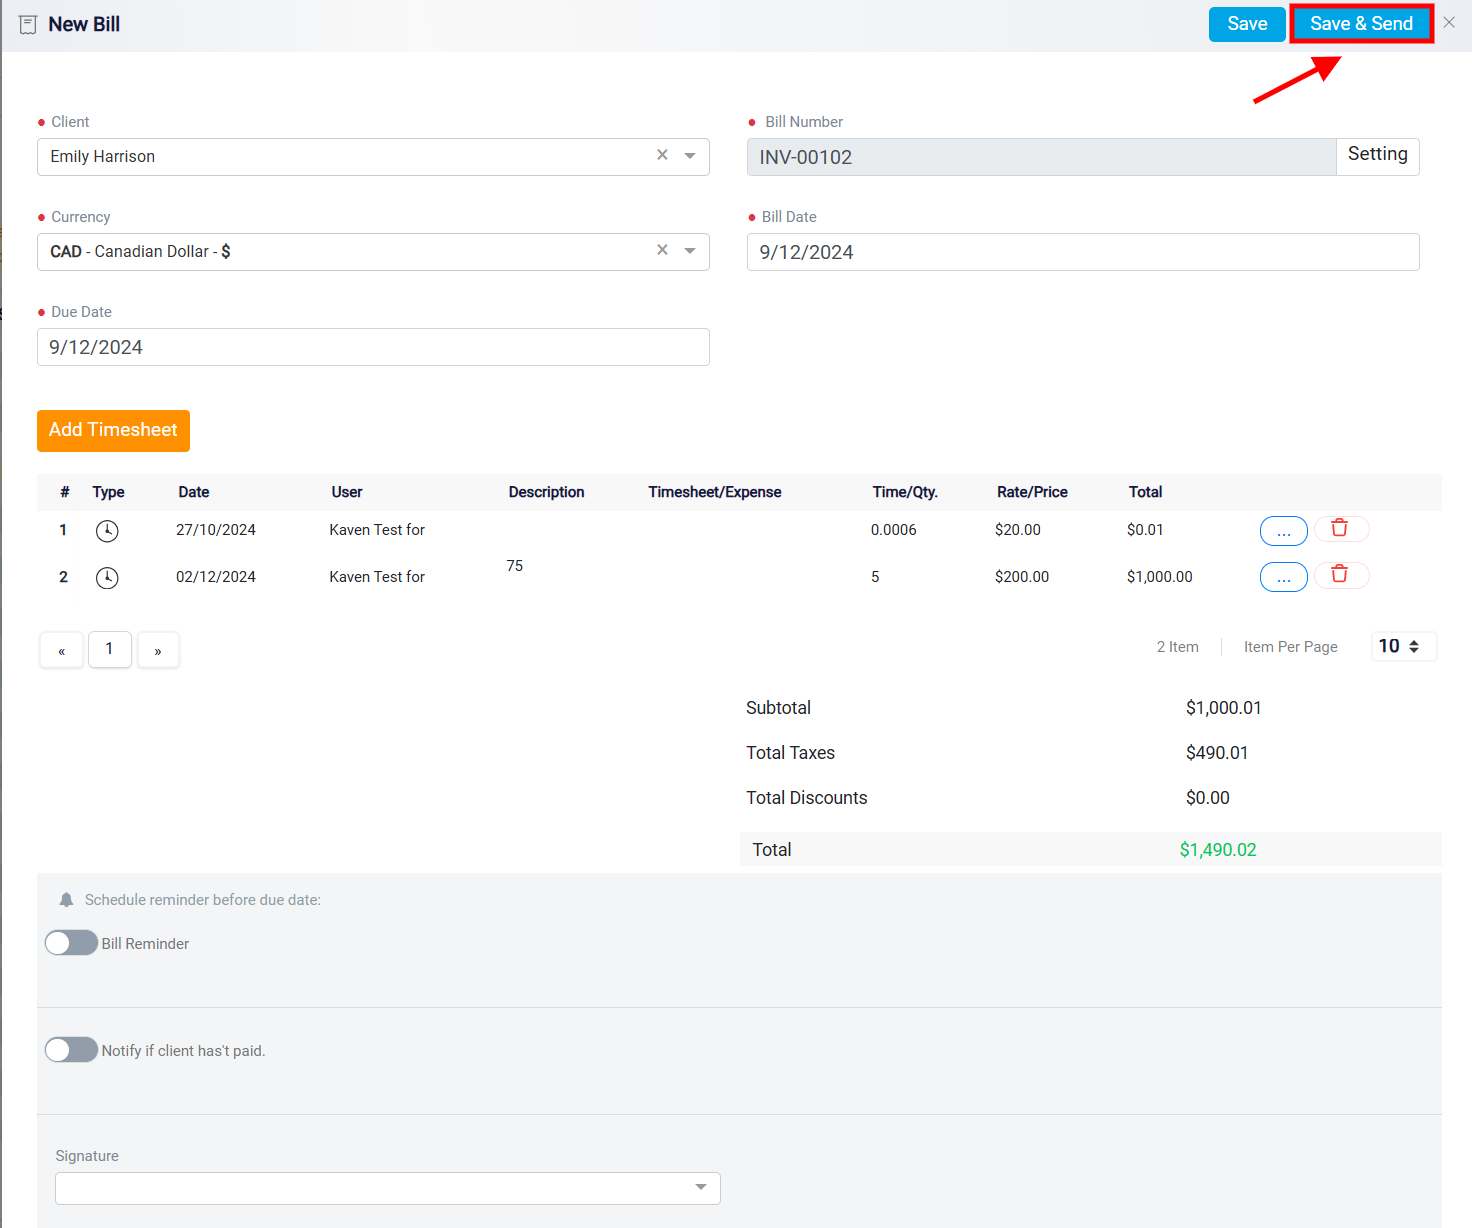
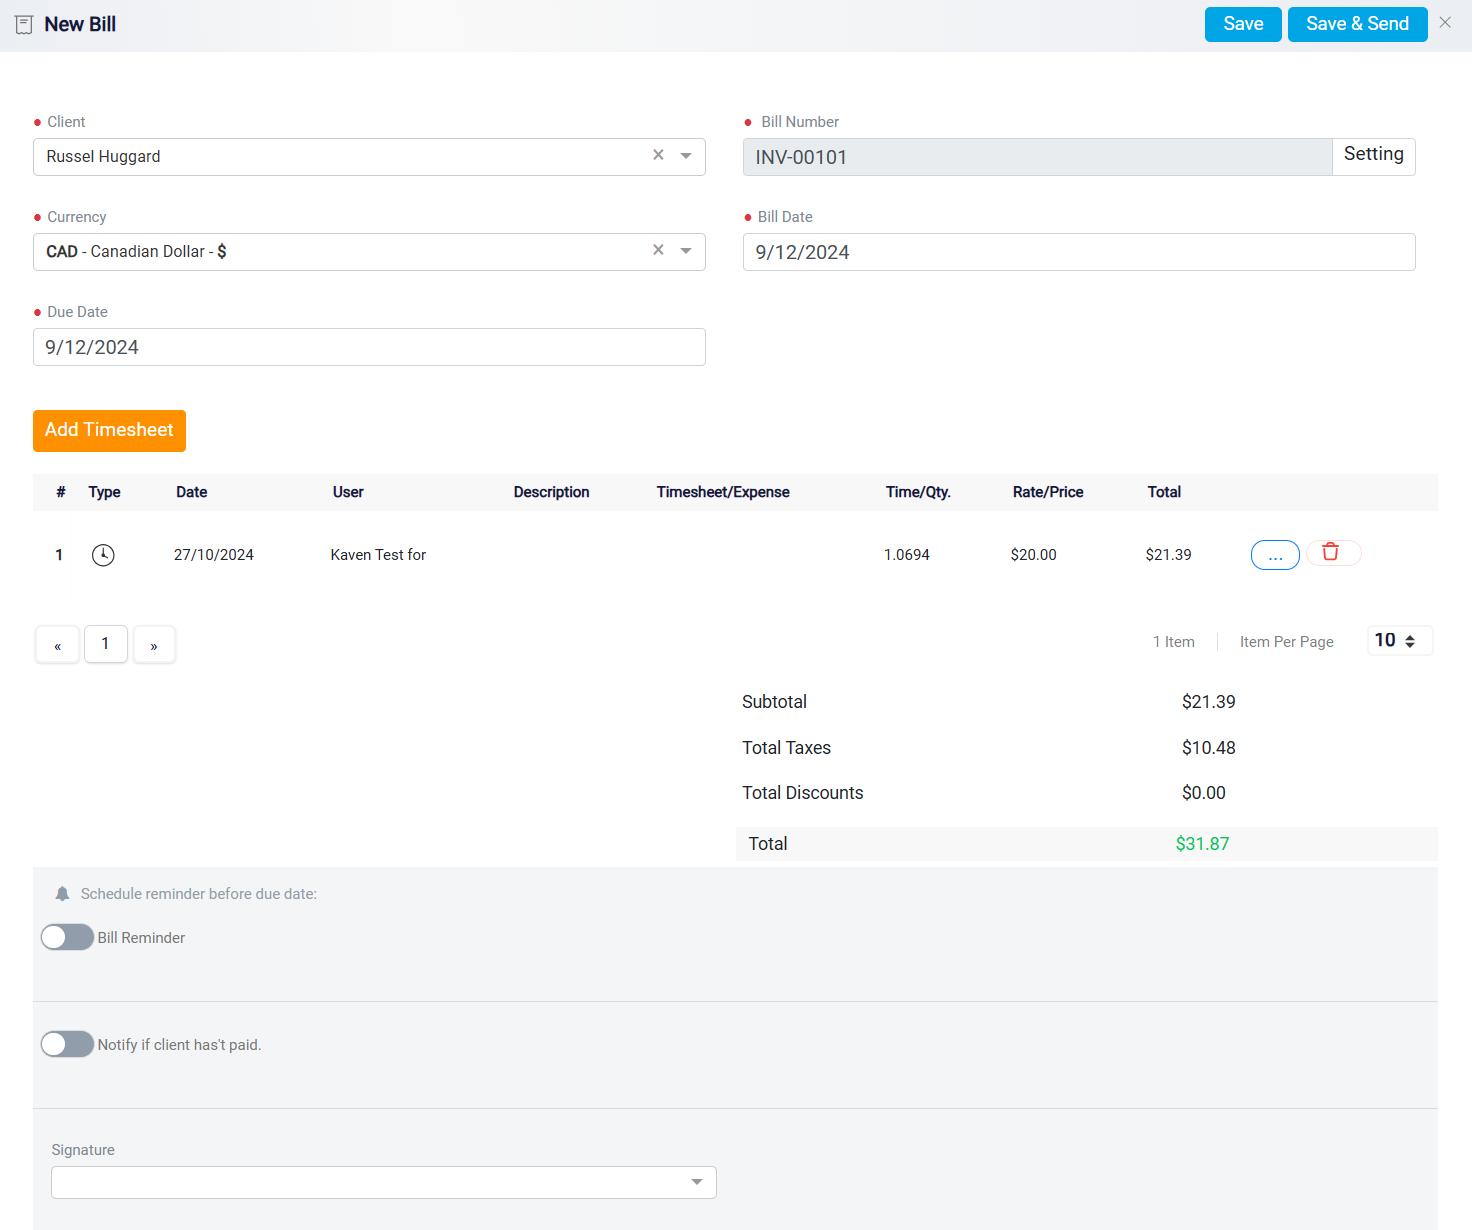
Within the New Bill panel, you will see the current client for the selected matter displayed in the Client drop-down menu. If you need to change the client for the matter, click on the drop-down and choose the correct client from the contact list.

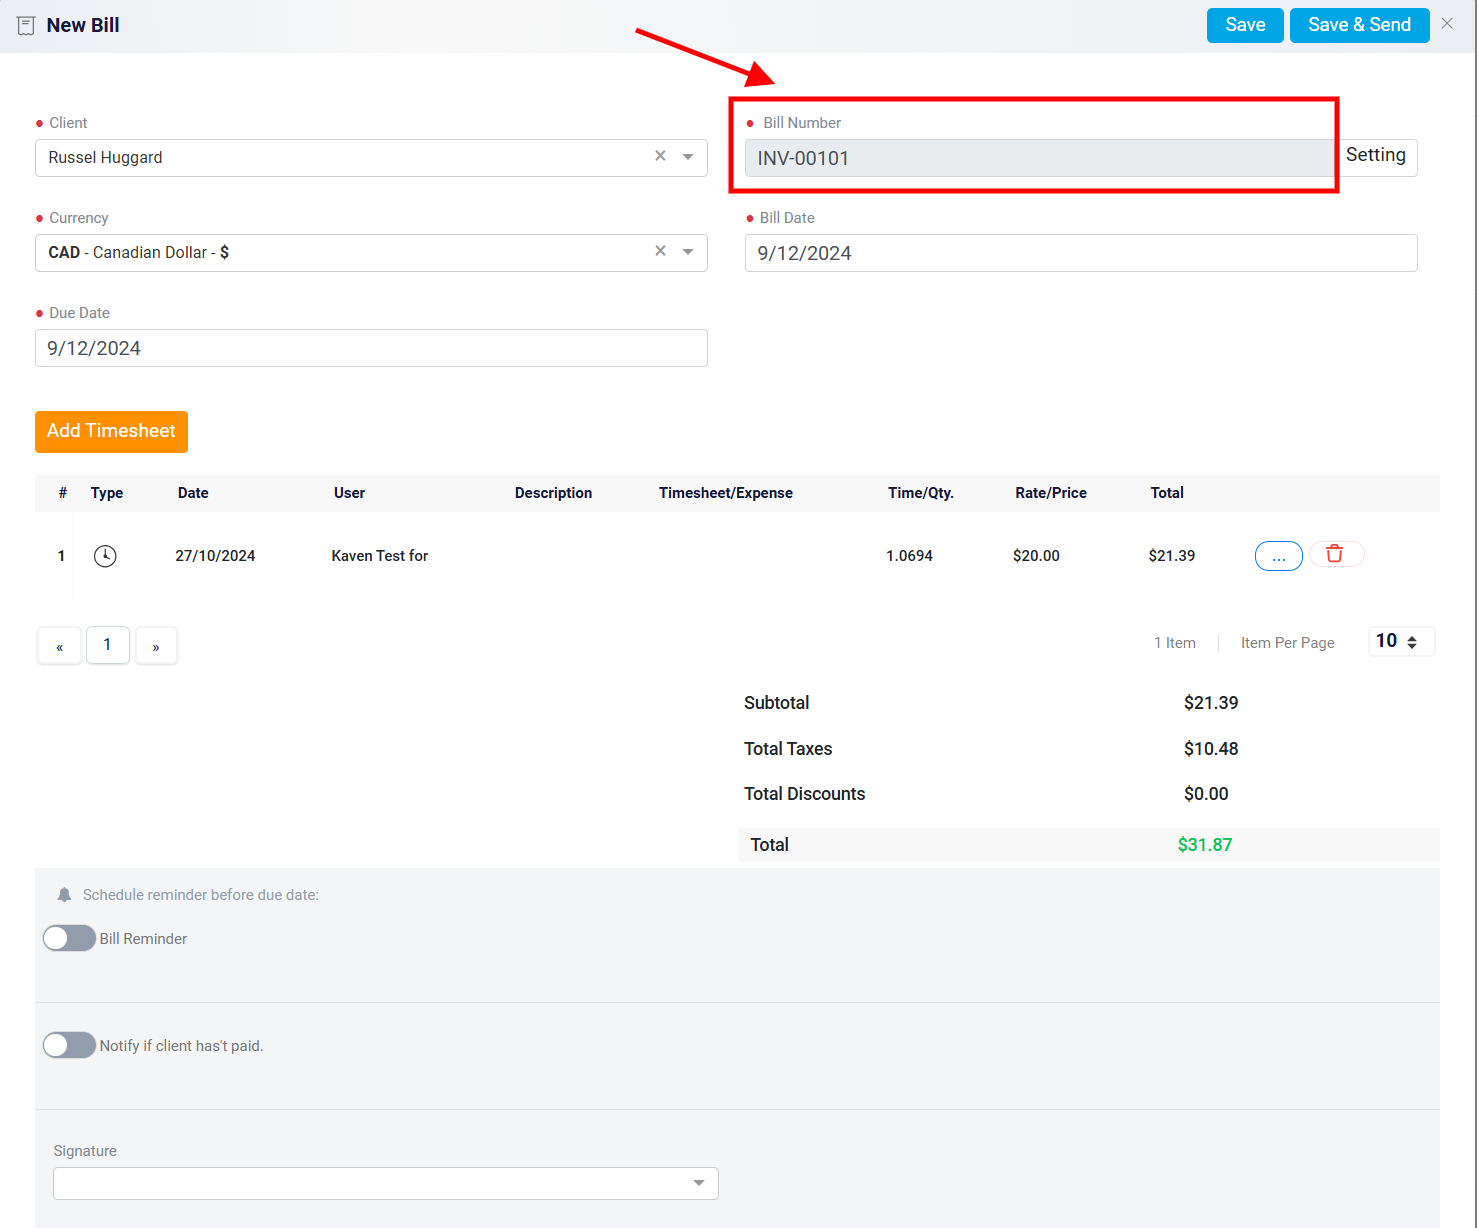
To the right of the Client box is the Bill Number box. By default, RunSensible generates a unique bill number for each new bill.
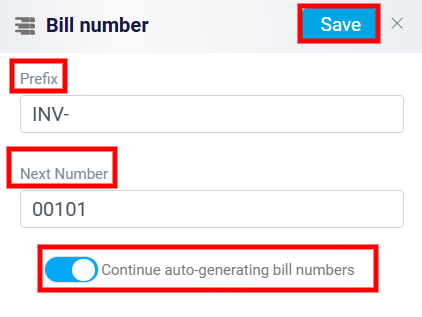
If you prefer to customize the bill number, click on the Settings button next to the Bill Number box.
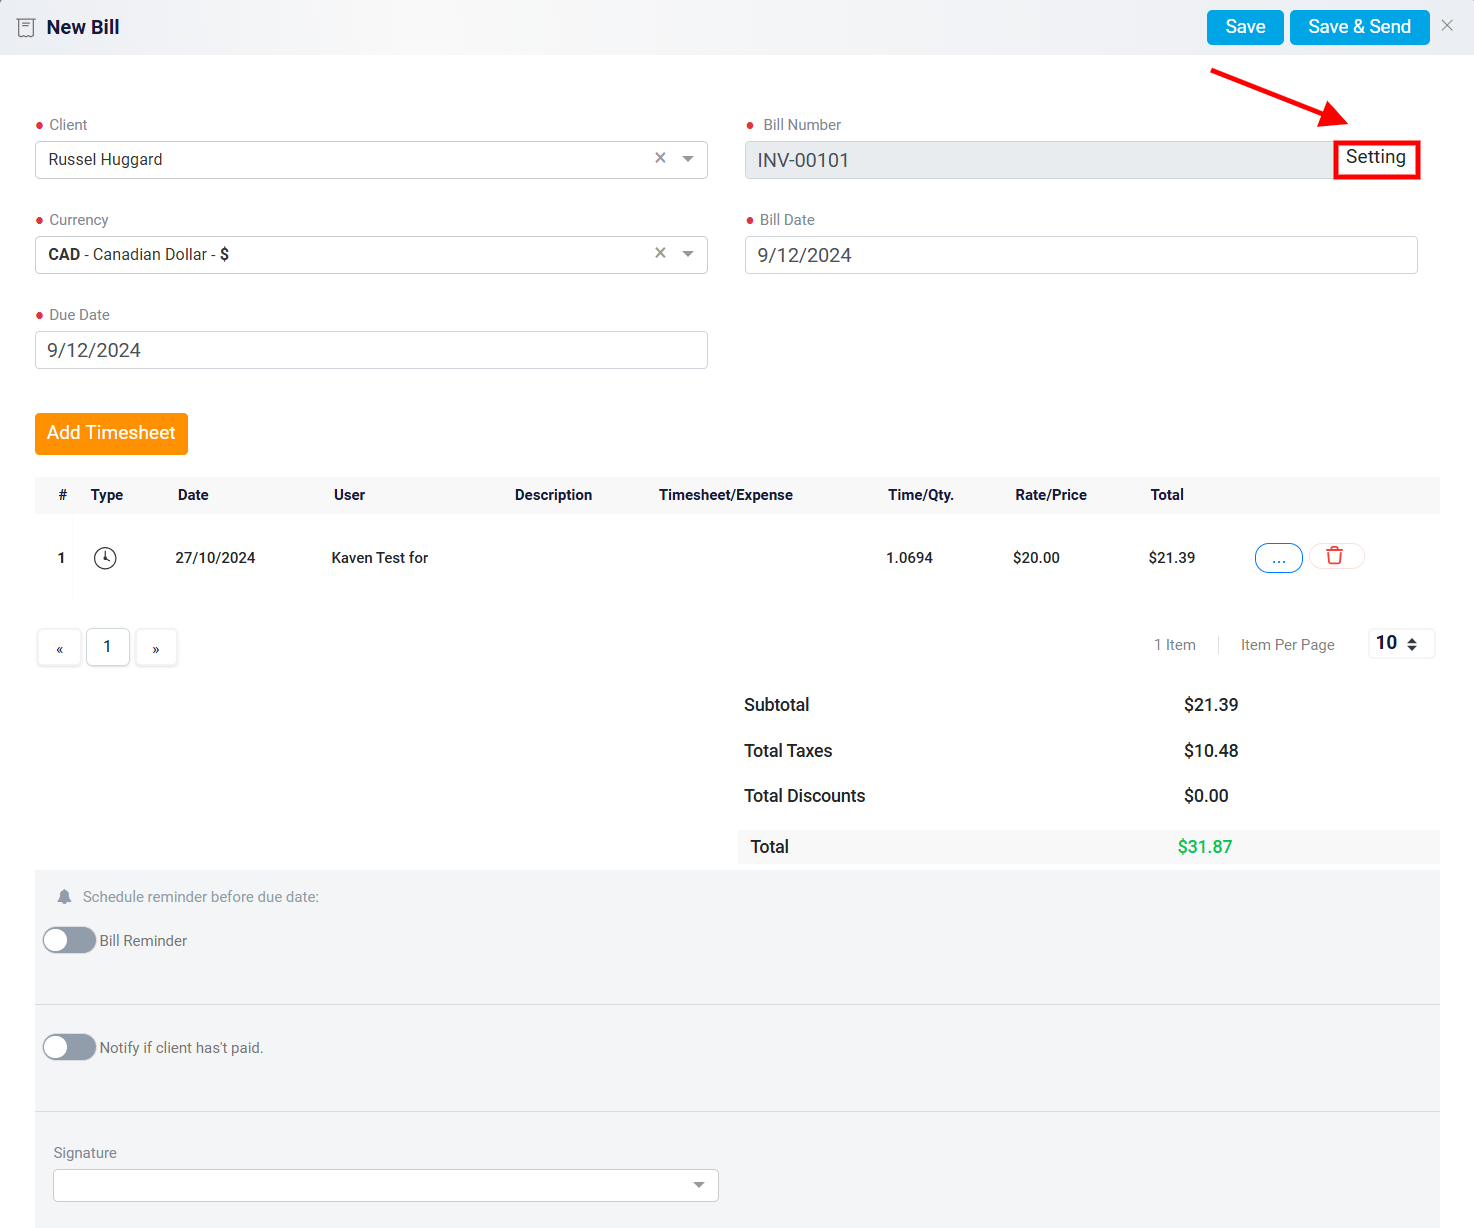
This will reveal two fields: Prefix and Next Number, where you can adjust both the bill number prefix and the next bill number according to your needs. If you wish to stop the system from automatically generating bill numbers and apply your own, deactivate the Continue auto-generating bill numbers toggle. From then on, you will need to manually enter a bill number for each new bill. After making your changes, click the Save button at the top right of the panel.
Setting Currency, Bill Date, and Due Date
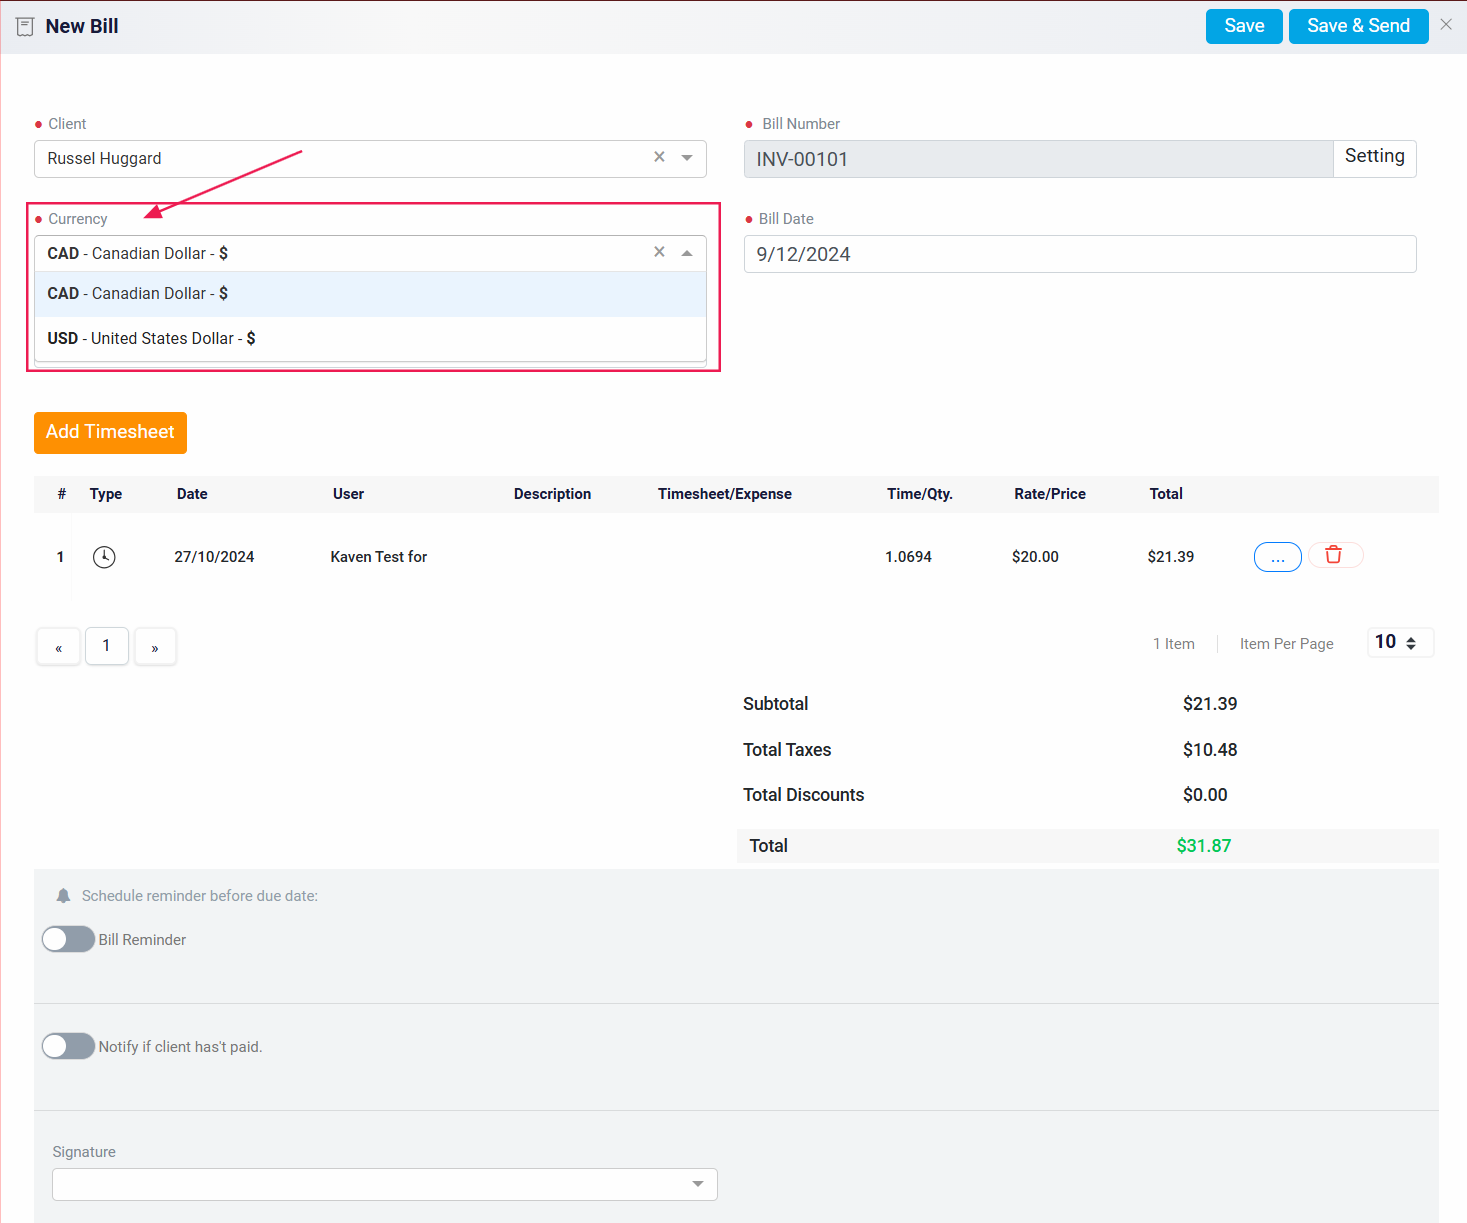
Next, you will select the currency for the bill using the Currency drop-down menu.
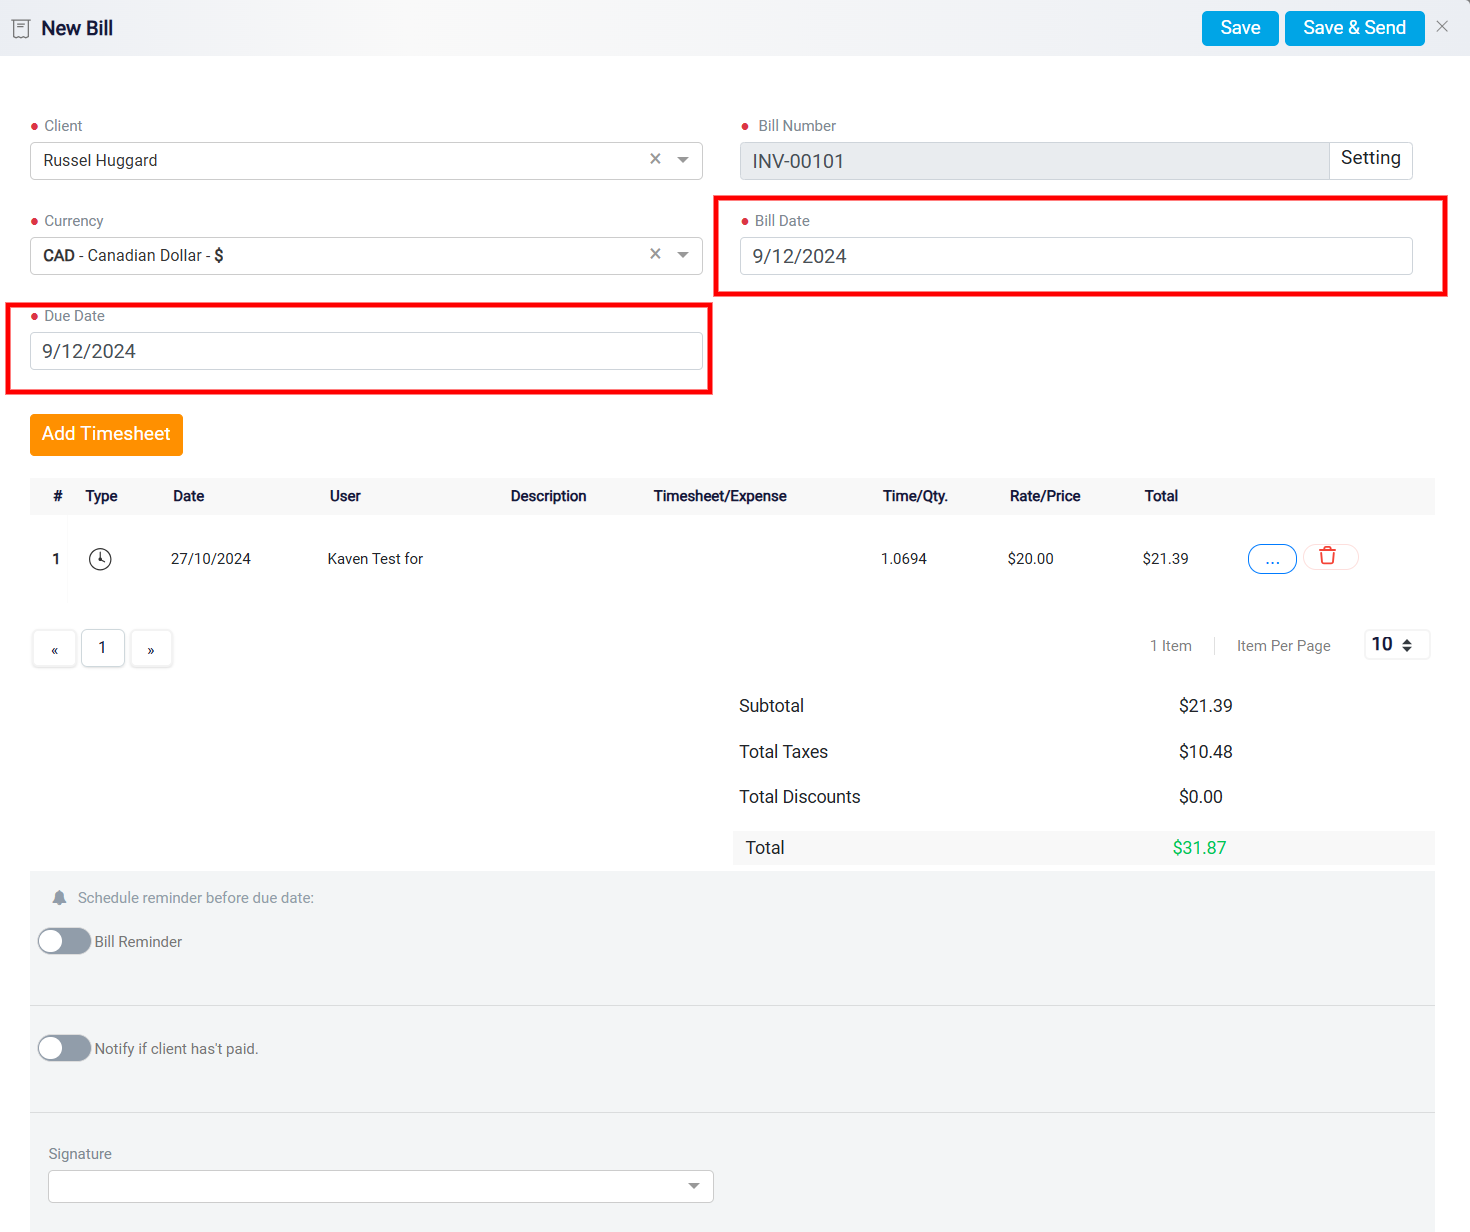
Afterward, set the Bill Date to reflect the creation date of the bill, and use the Due Date field to specify when the payment should be made.
Managing Timesheets
By default, all timesheets related to the selected matter will appear in the Timesheet section. These are timesheets where the matter was assigned during their creation. If you need to log additional tasks or billable actions that have not been recorded in a timesheet yet, click the Add Timesheet button.
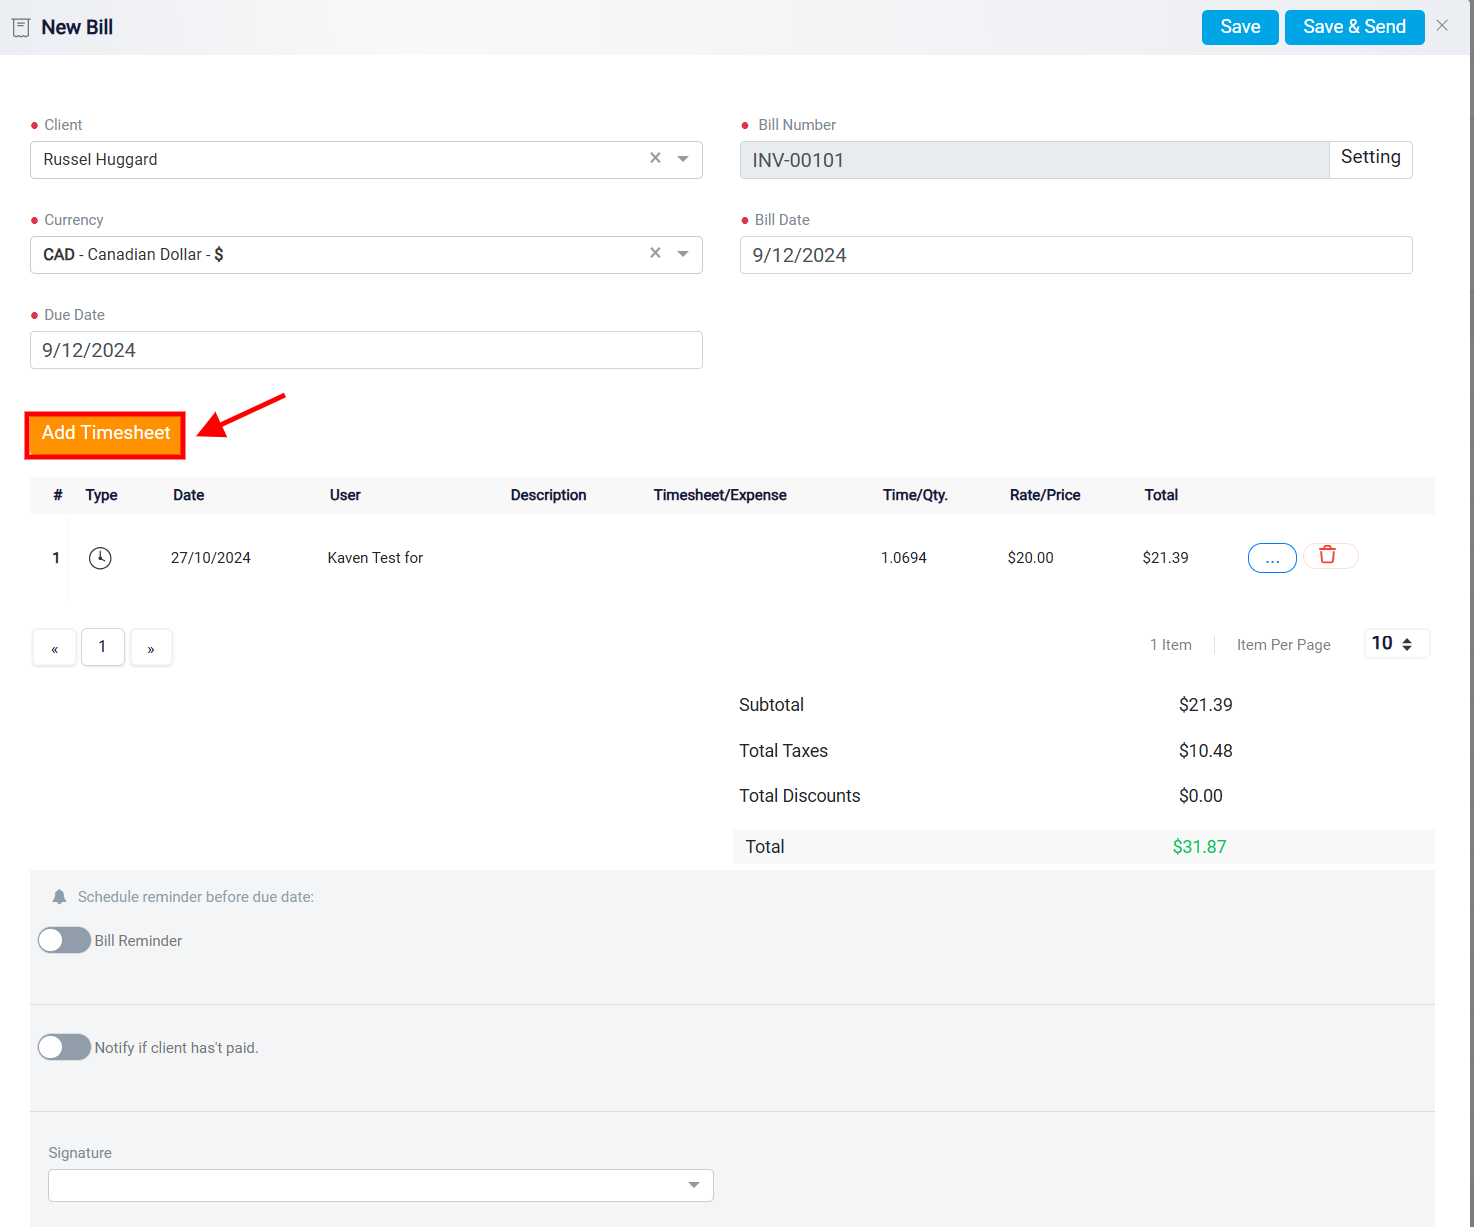
This allows you to create a new timesheet and simultaneously include it in the bill, ensuring all billable activities are captured.

Applying Discounts and Taxes to Timesheets
On the right side of each timesheet, there are two action buttons. The first button, located on the far right, is the Trash button, which allows you to delete the timesheet if necessary.
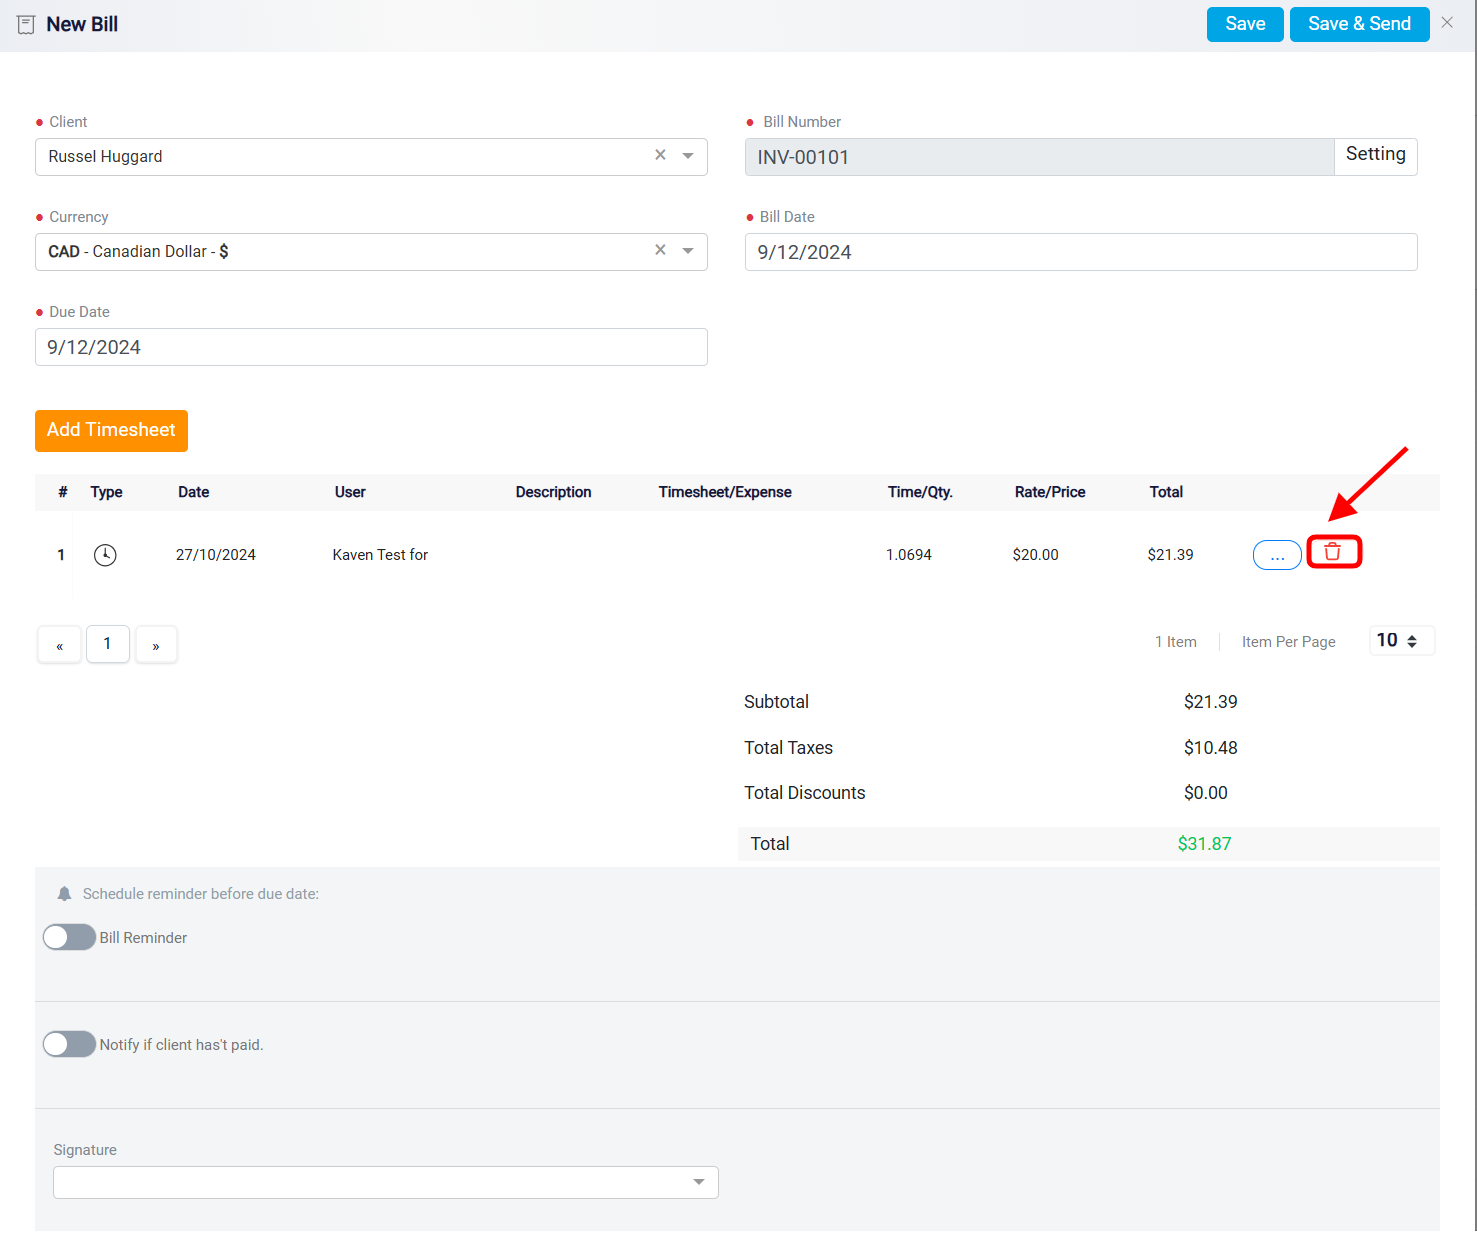
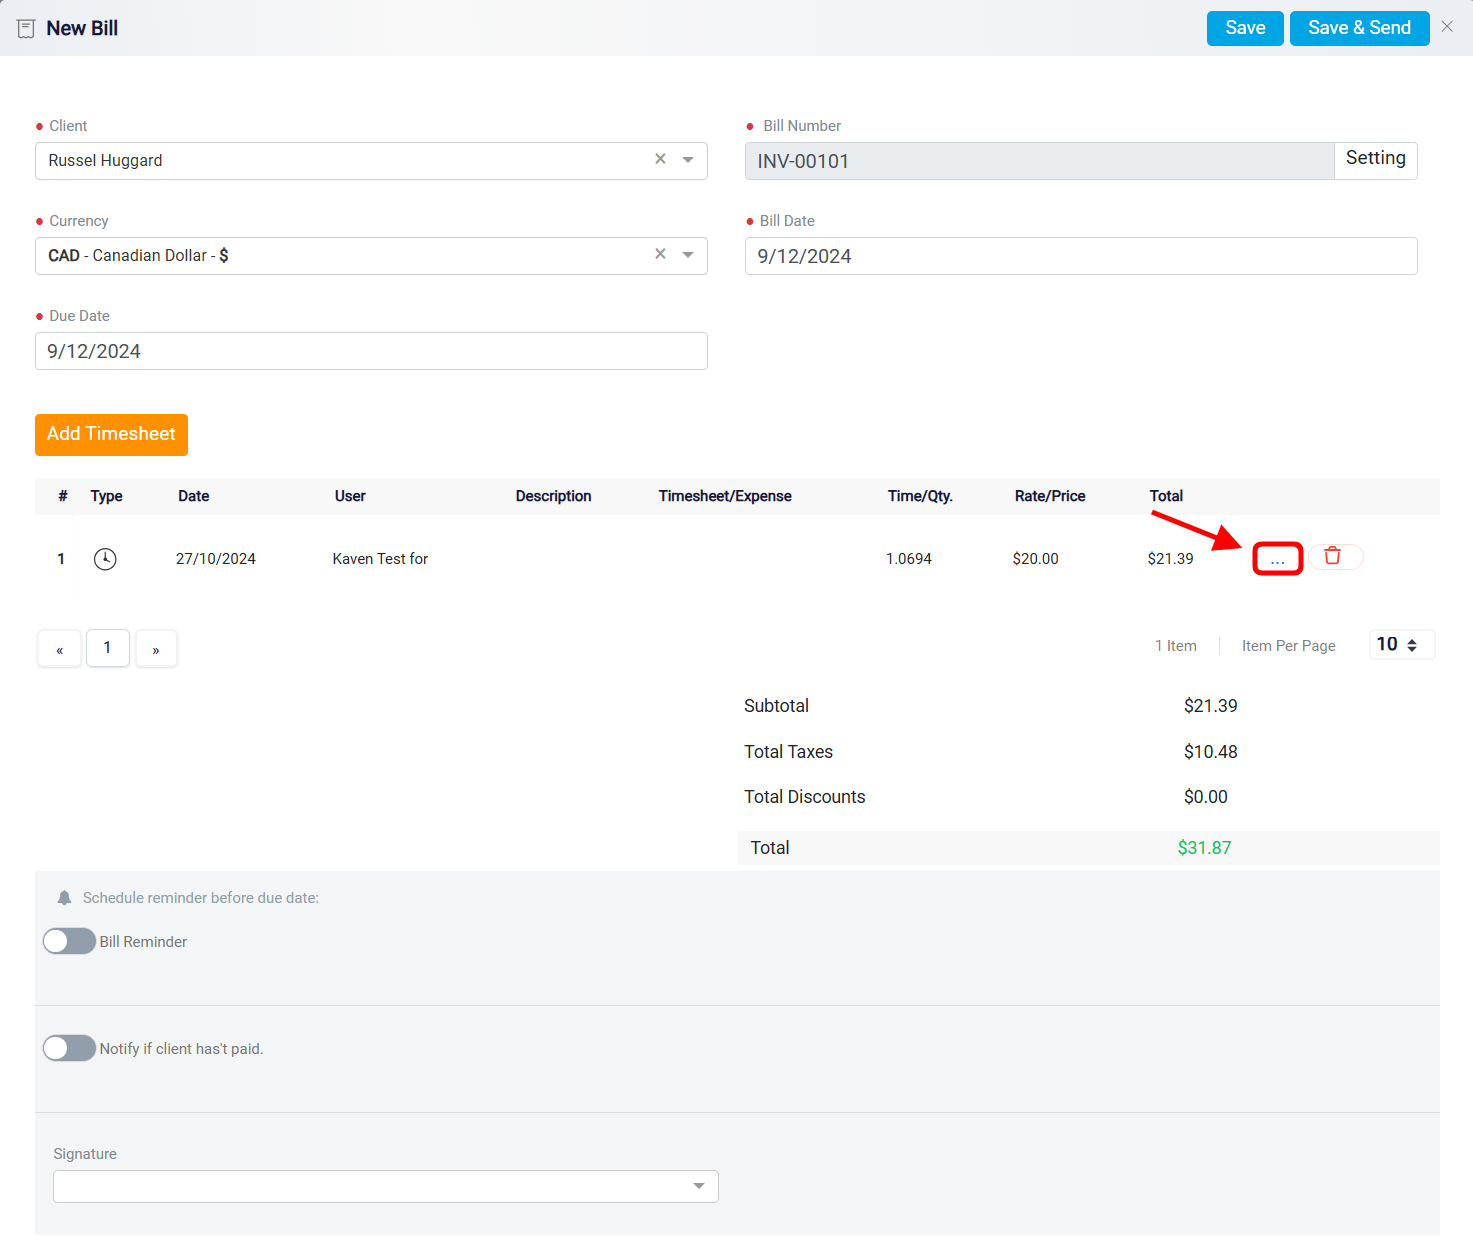
The second button is the Options button. Clicking this button opens a panel where you can apply taxes and discounts directly to the timesheet.
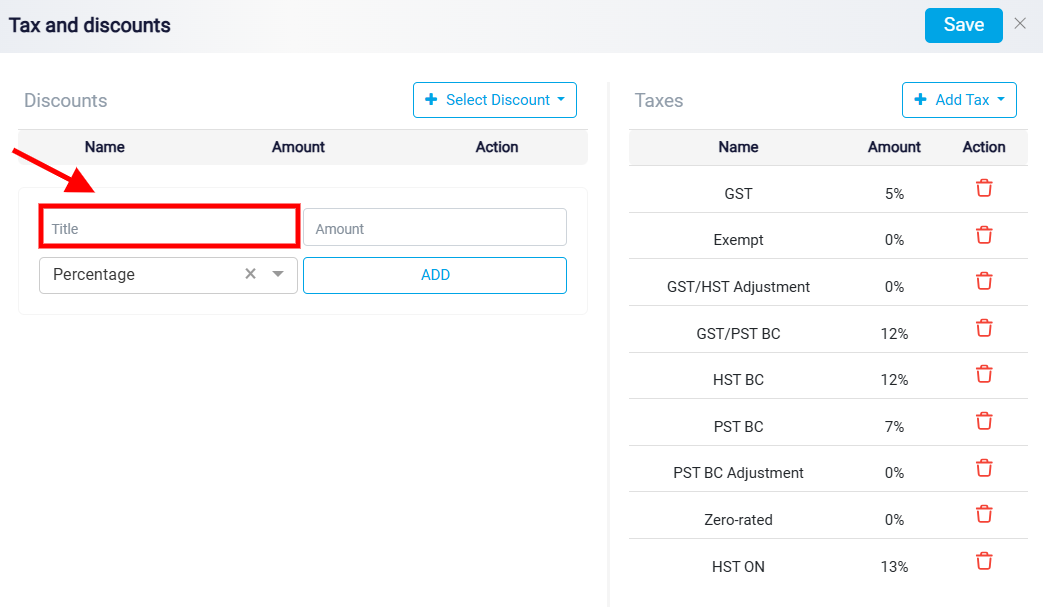
The left side of the options panel is dedicated to managing discounts. Here, you can either create a new discount or select one from a predefined list. To create a new discount, enter the name of the discount in the Title box.
Then, in the Amount box, specify whether the discount should be a fixed amount or a percentage.
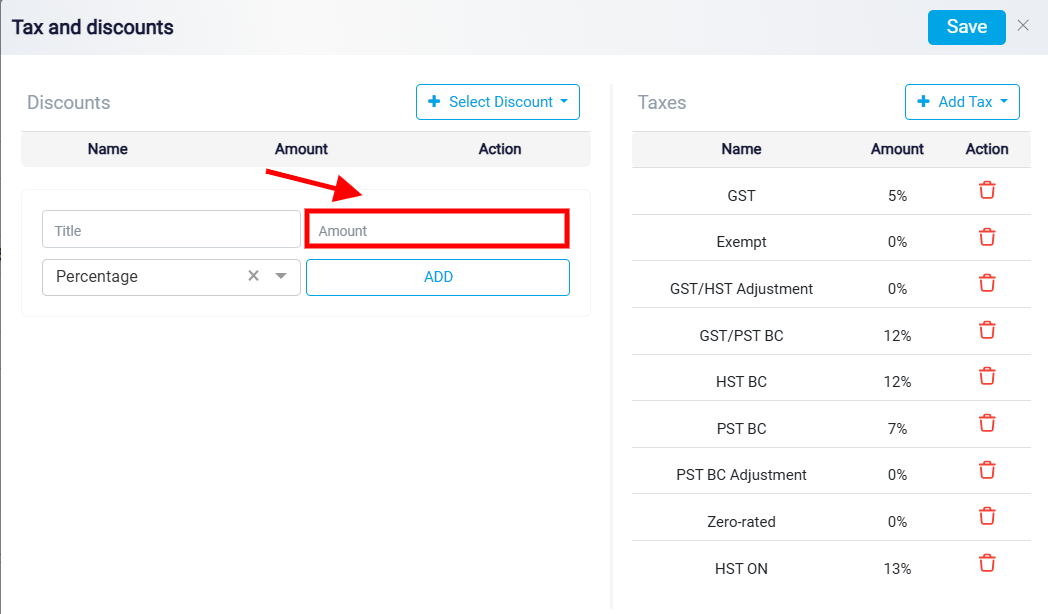
Use the drop-down menu to indicate whether the value applies as a specific amount or a percentage of the total.
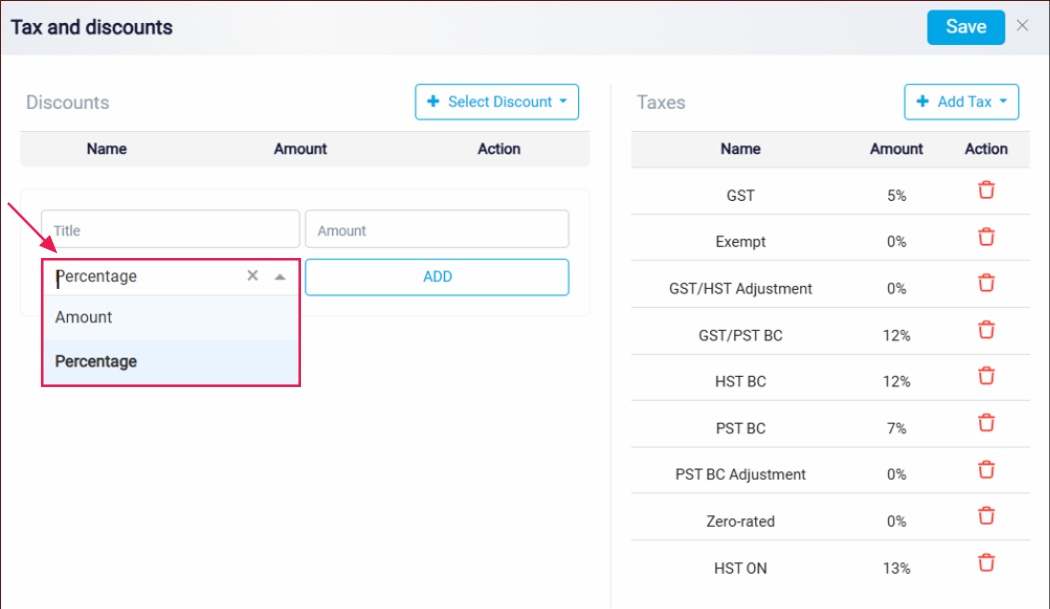
After filling out these details, click the Add button to apply the discount to the timesheet.
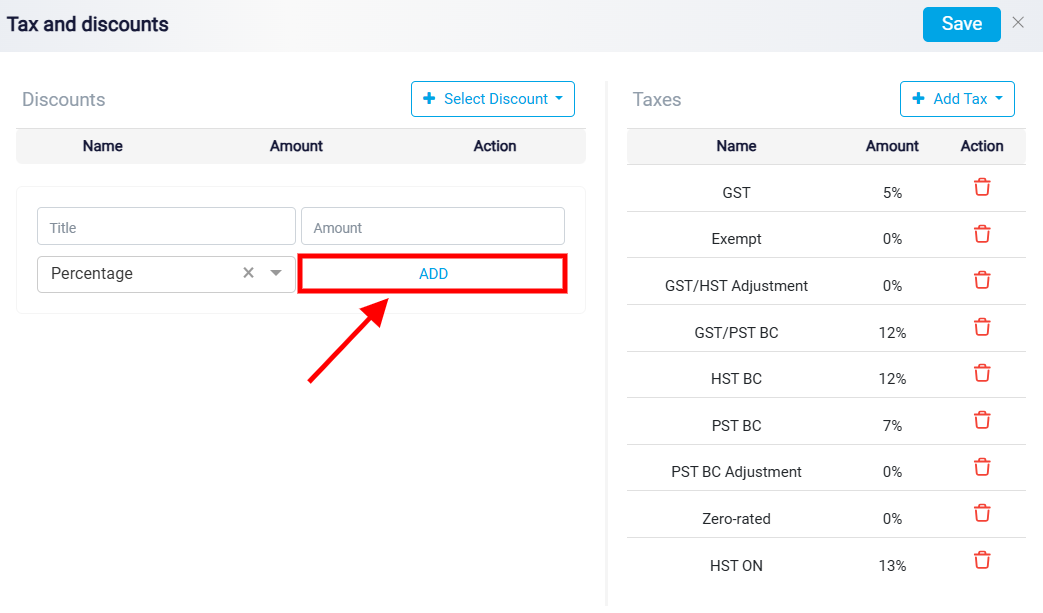
Note: Discounts created in this section will only apply to the current timesheet and will not be saved for future use in the main Discount List.
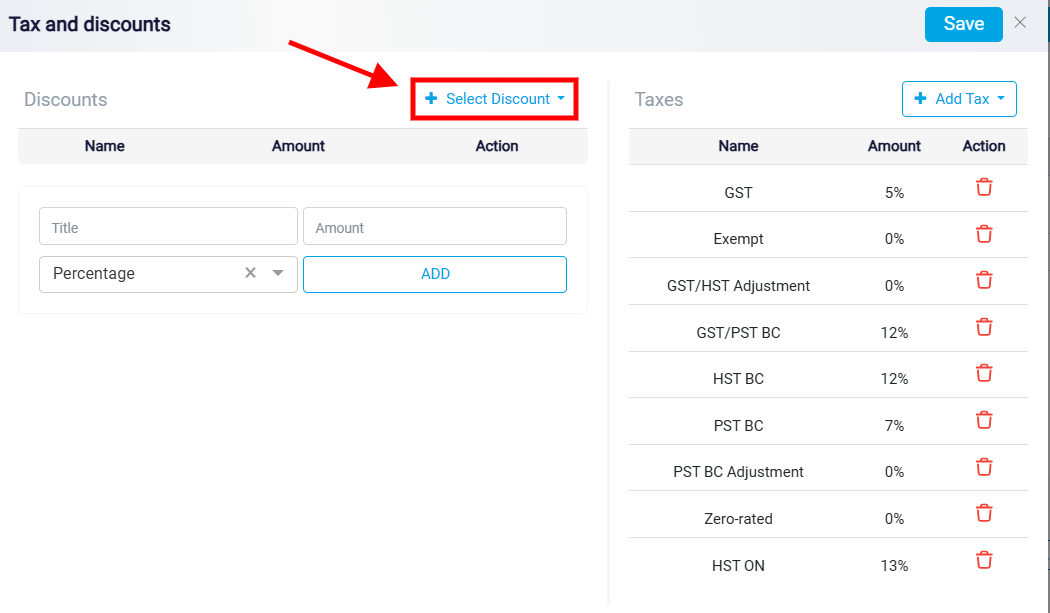
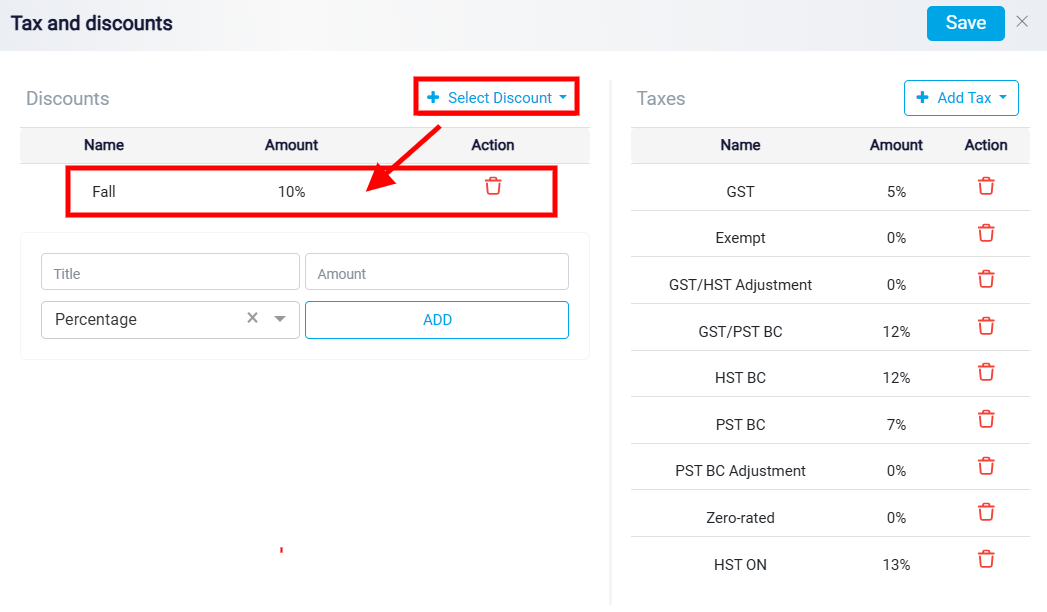
If you prefer to use an existing discount, click the Select Discount button at the top-right corner of the panel.
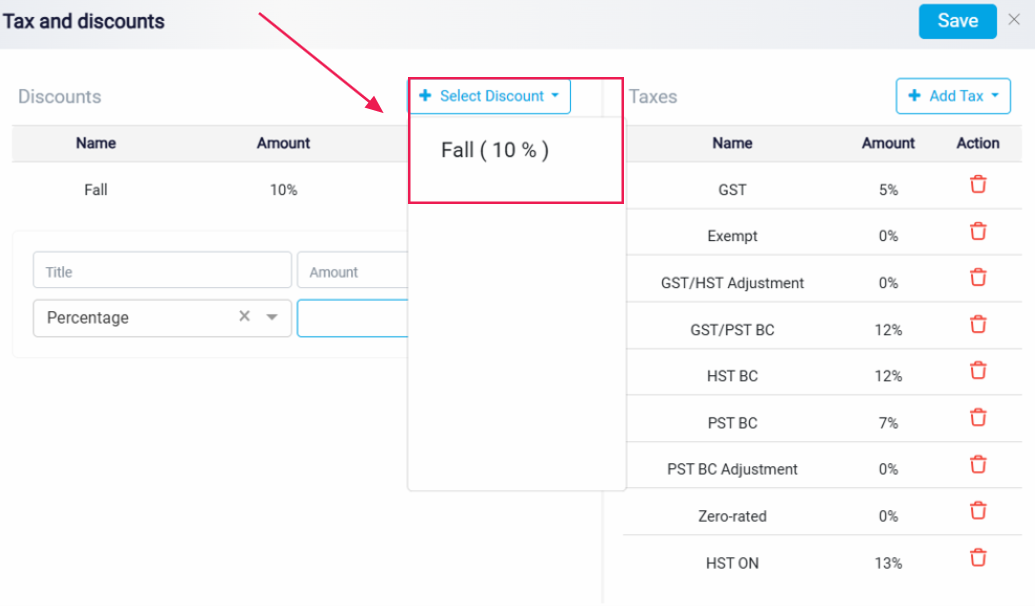
A list of all discounts you have previously created in the Discount Management tab. You can add as many discounts as needed by clicking on the discount(s) you wish to apply to the timesheet.
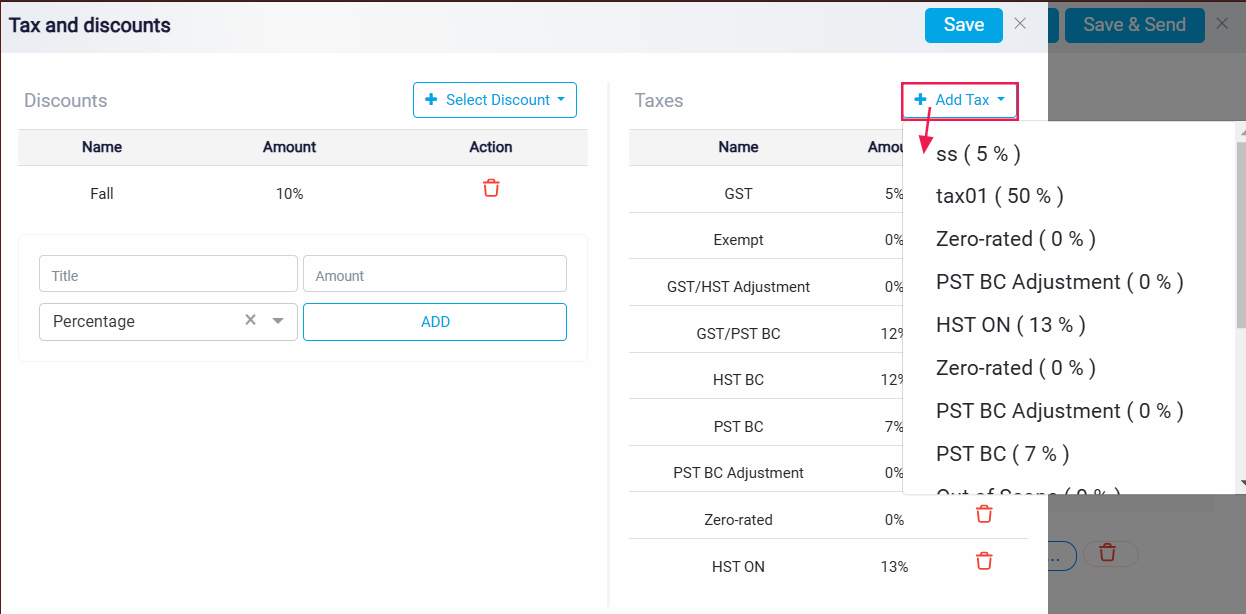
On the right side of the panel, you will find the section for managing taxes. The default tax rate, which you have previously set in the Tax Management tab, will automatically appear here. If you need to add a different tax or modify the existing tax rate, click the Add Tax button located at the top-right corner of the panel.

This will display a list of all taxes you have configured in the Tax Management tab. Select the desired tax by clicking on it, and it will be applied to the timesheet.
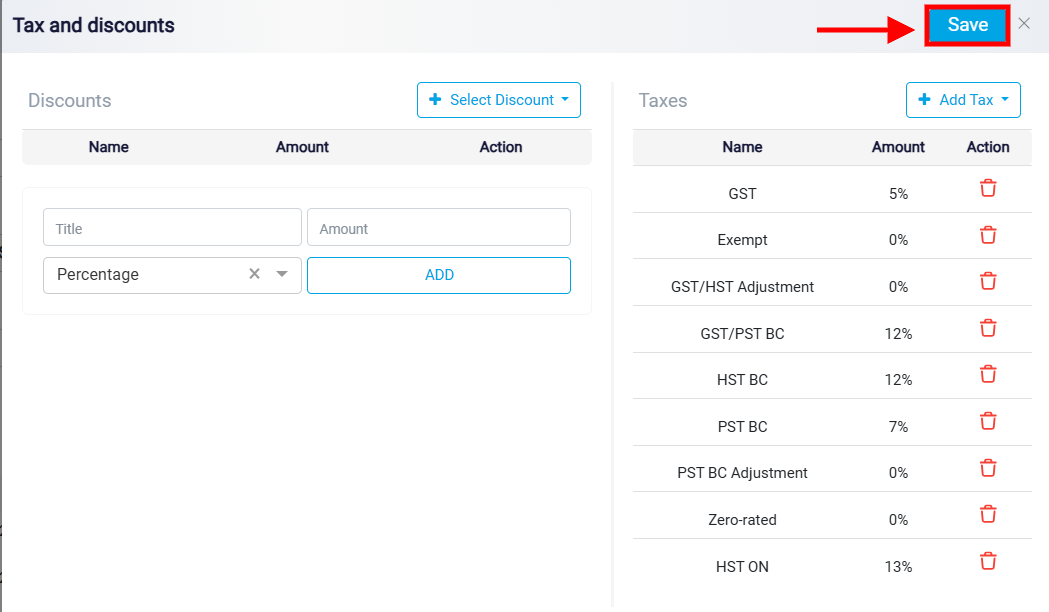
Once you have finished adding your discounts and taxes, click the Save button at the top-right corner to apply the changes to the bill.
Configuring Bill Reminders and Notifications
By default, RunSensible is set to send a reminder to the client one week before the bill’s due date. If you want to customize this reminder, click on the Edit button next to the Bill Reminder toggle under the timesheet section.
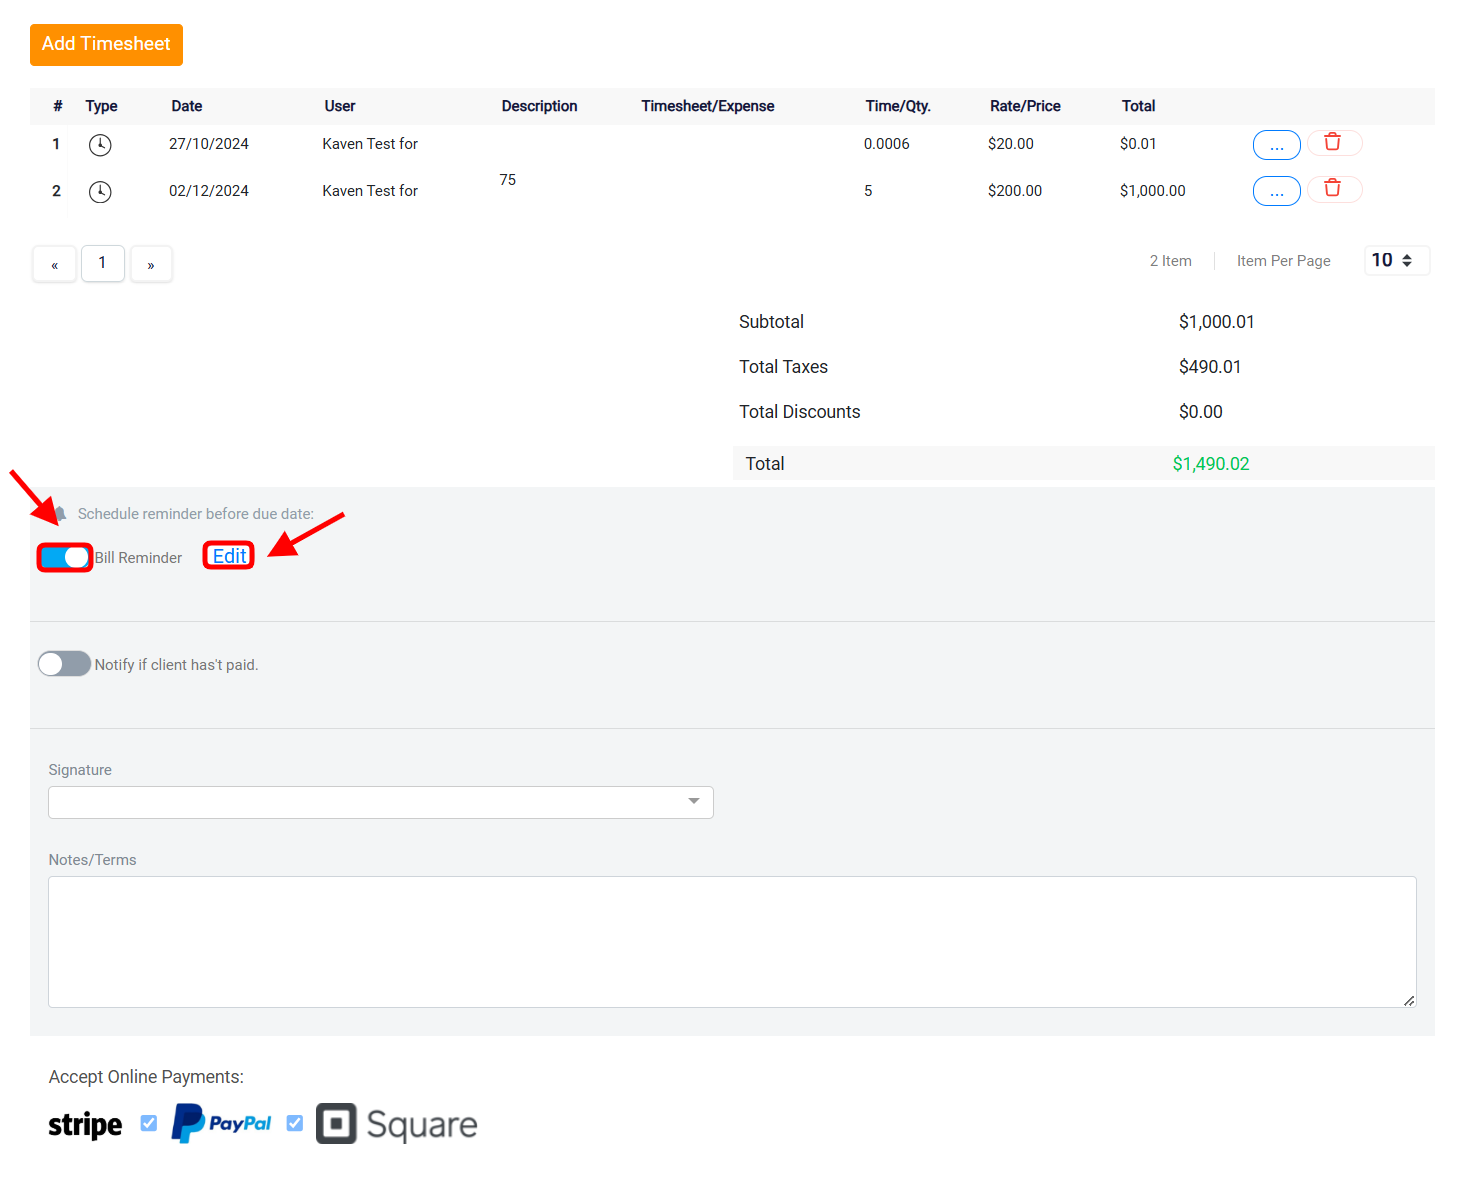
Three preset reminder options will appear, which can be activated individually or together: reminders can be sent one week before, three days before, or one day before the due date. You can toggle on any combination of these options according to your preference.
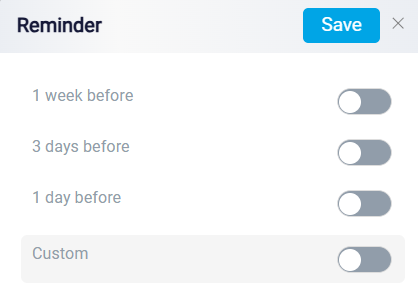
If these preset options do not meet your needs, you can activate the Custom toggle button at the bottom of the reminder settings. A panel will appear where you can specify the exact number of days before the due date that the client should receive a reminder.
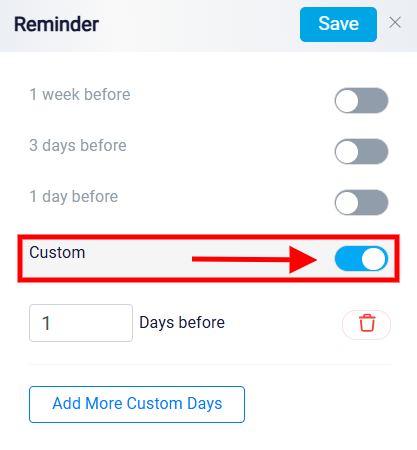
You can add multiple custom reminders by clicking the Add More Custom Days button.

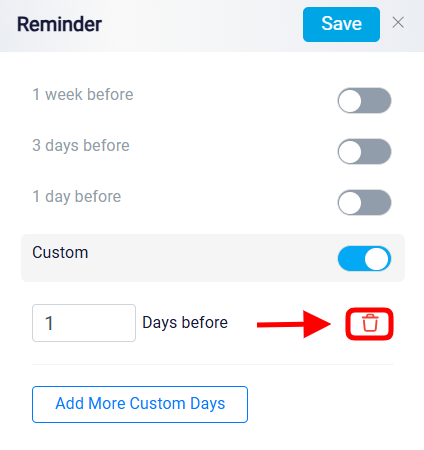
The trash icon located beside the Days before input box serves as a delete button. Clicking this icon will remove the specific custom reminder that has been added. This allows users to clean up or adjust their reminder settings as needed.
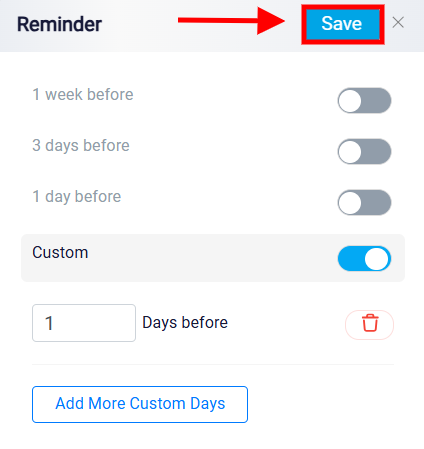
After configuring your reminder settings, click Save to apply your changes.
If you prefer not to receive reminders, toggle off the Bill Reminder button, which will disable all notifications for that bill.

If you want to be notified if a client fails to pay the bill by the due date, toggle on the Notify if the client has not paid button.
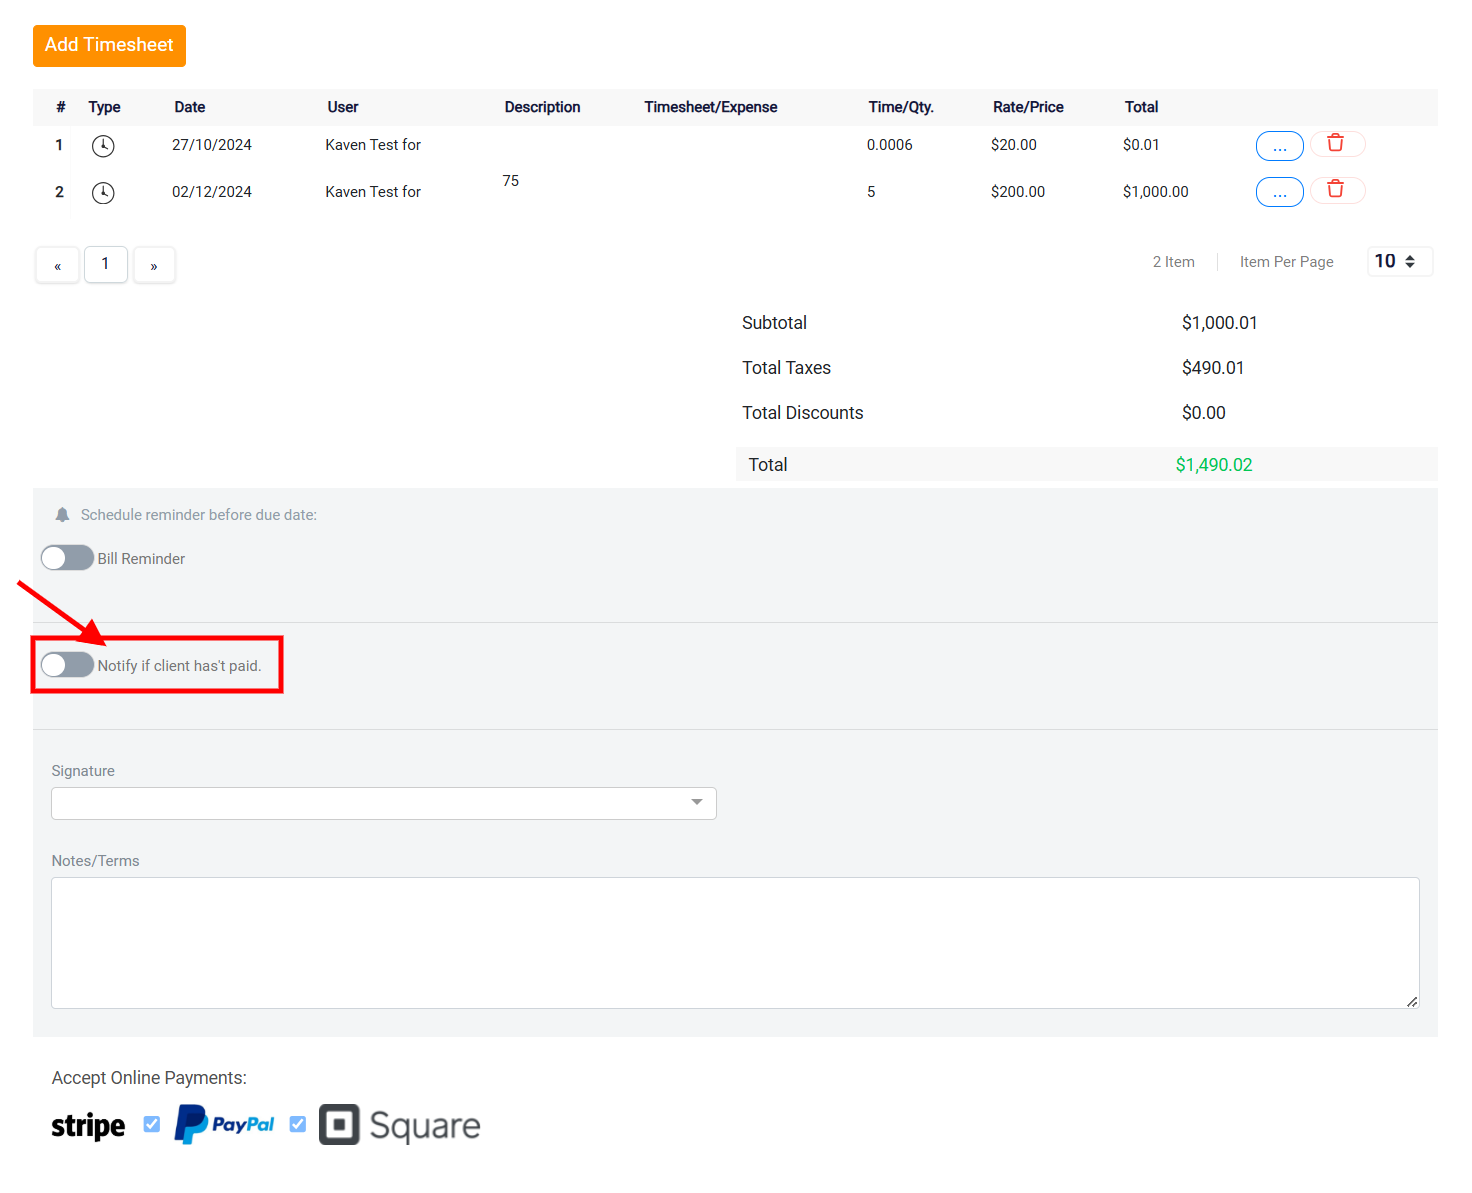
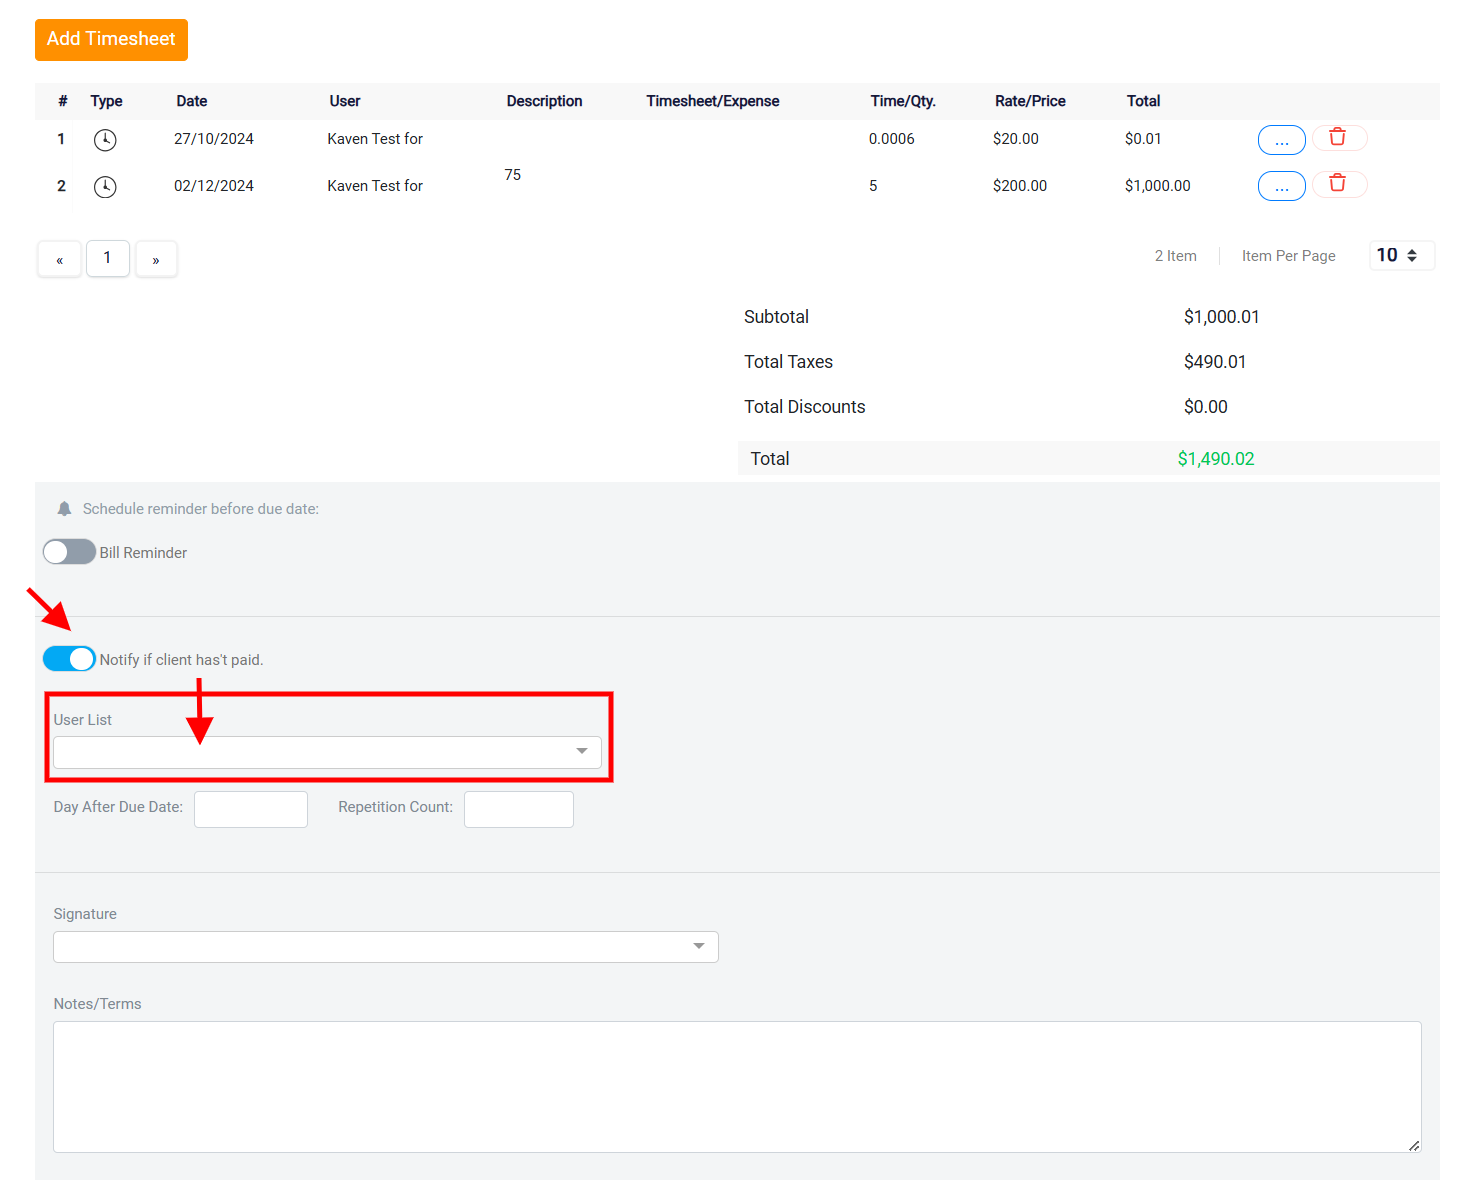
Once activated, a panel will appear where you can configure this notification. First, select the user who should receive the notification from the User List drop-down menu.
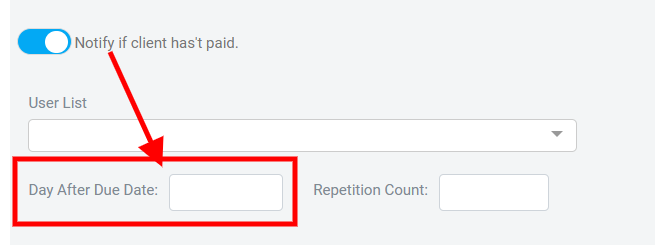
Then, enter the number of days after the due date that the notification should be sent in the Days After Due Date box.
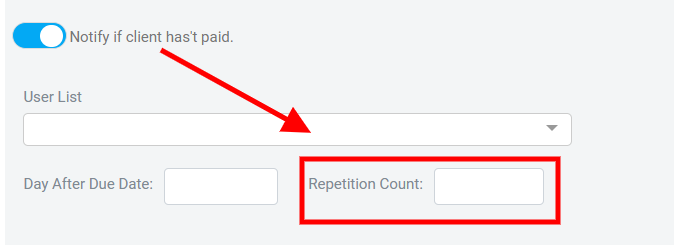
You can also use the Repetition Count box to specify how many times the client must miss the payment deadline before a notification is sent. For example, rather than notifying the user after the first missed payment, you can set the system to notify them only after multiple missed deadlines.
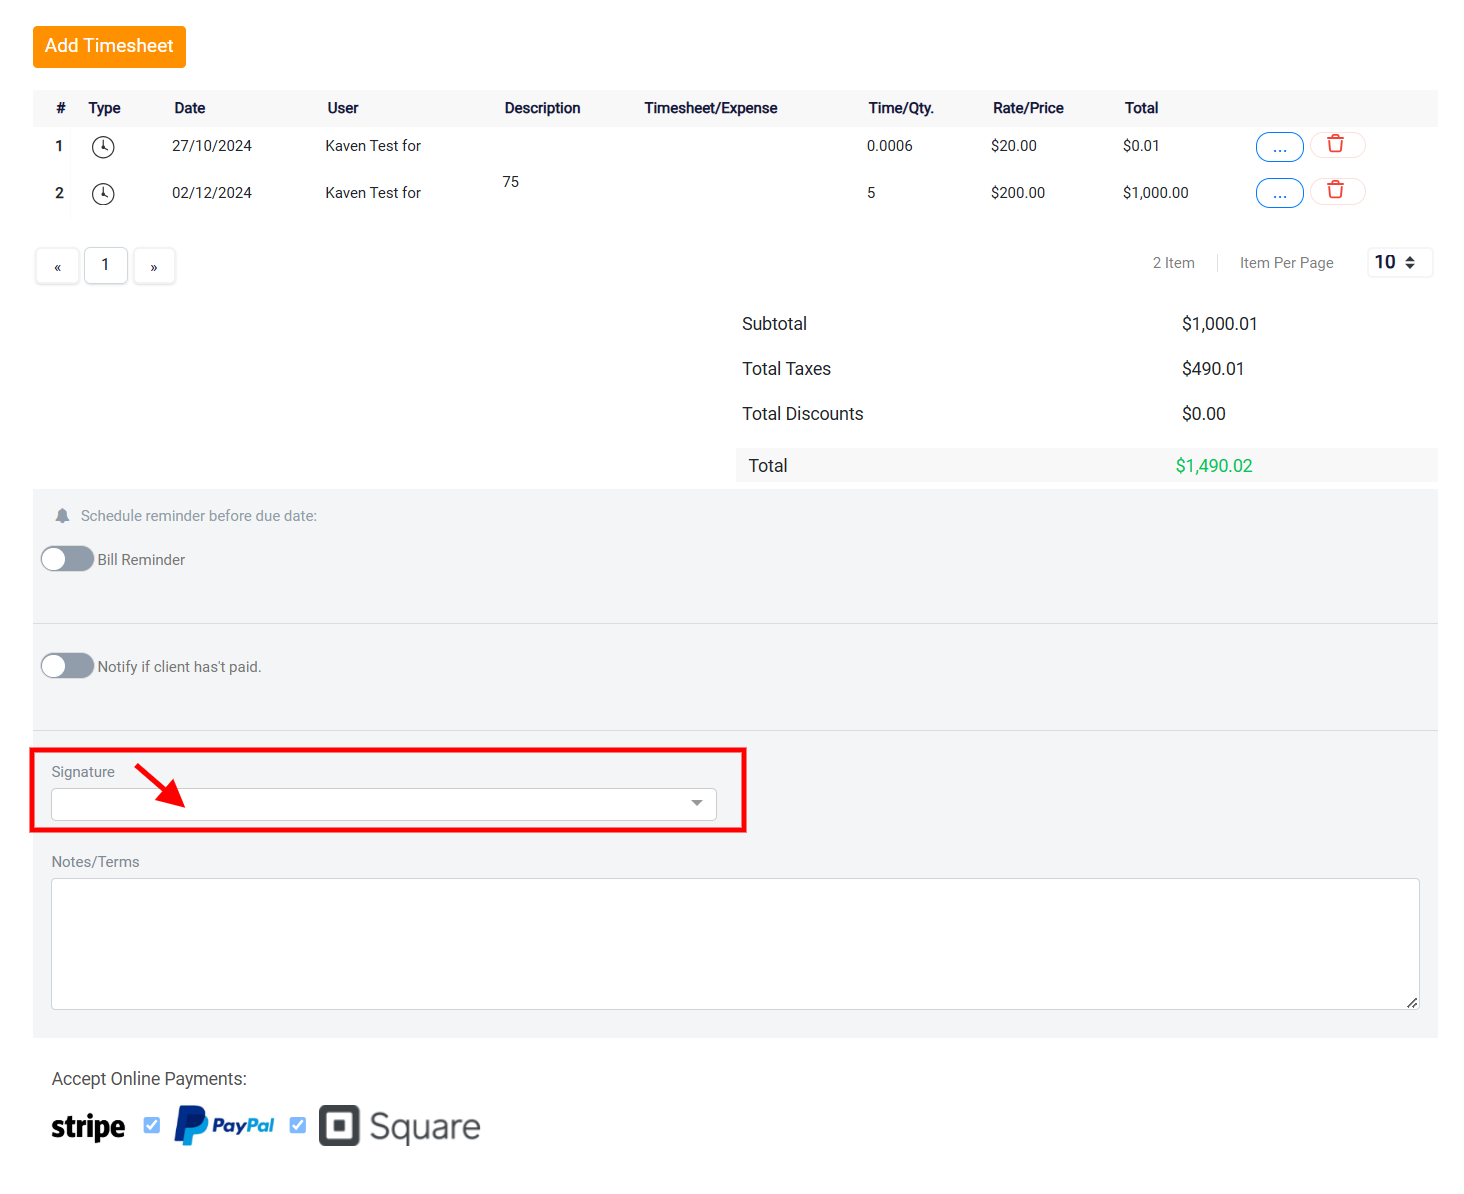
In the Signature drop-down menu, you will find a list of all the signatures you have previously set up within the software. From this list, choose the signature that is most relevant and appropriate for the current bill. Selecting the correct signature ensures that the bill is properly authorized and personalized according to your organization’s standard practices.
Selecting Payment Gateways and Adding Notes
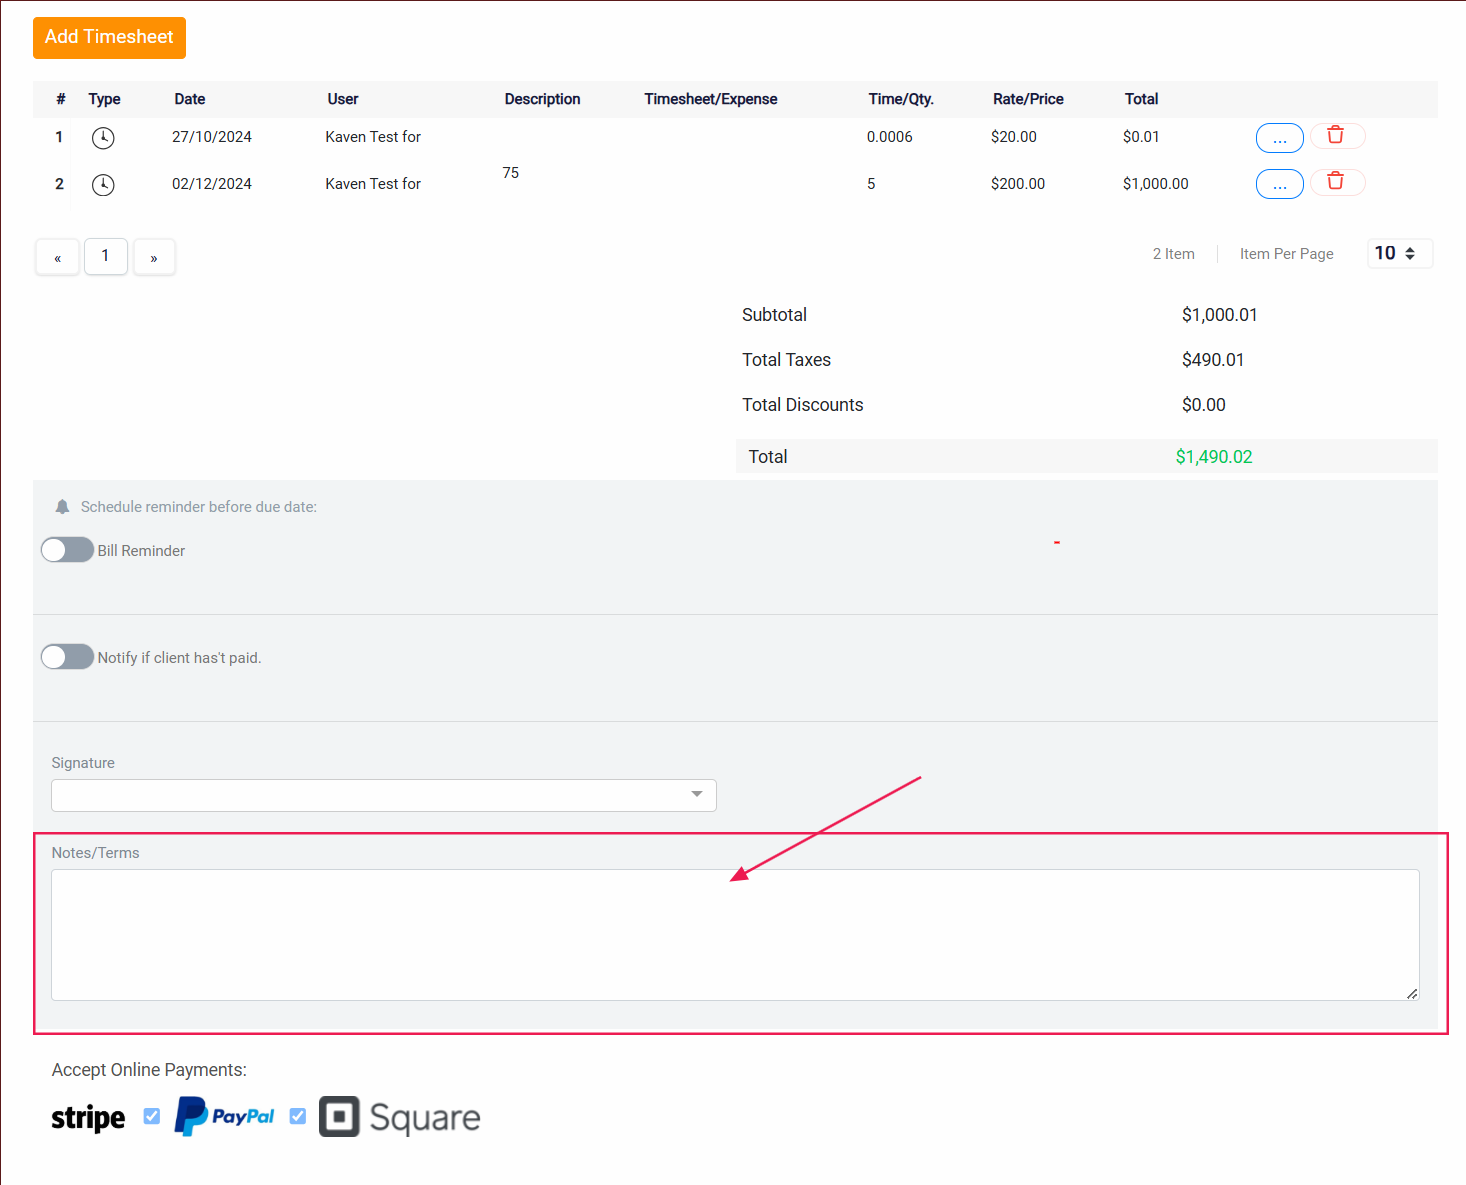
If there is any additional information you want to include on the bill, you can enter it in the Note/Terms box. This section is ideal for adding specific terms of payment, conditions, or any important notes relevant to this particular transaction. Be sure that the information added here is clear and concise, as it will be included on the final bill sent to the client.
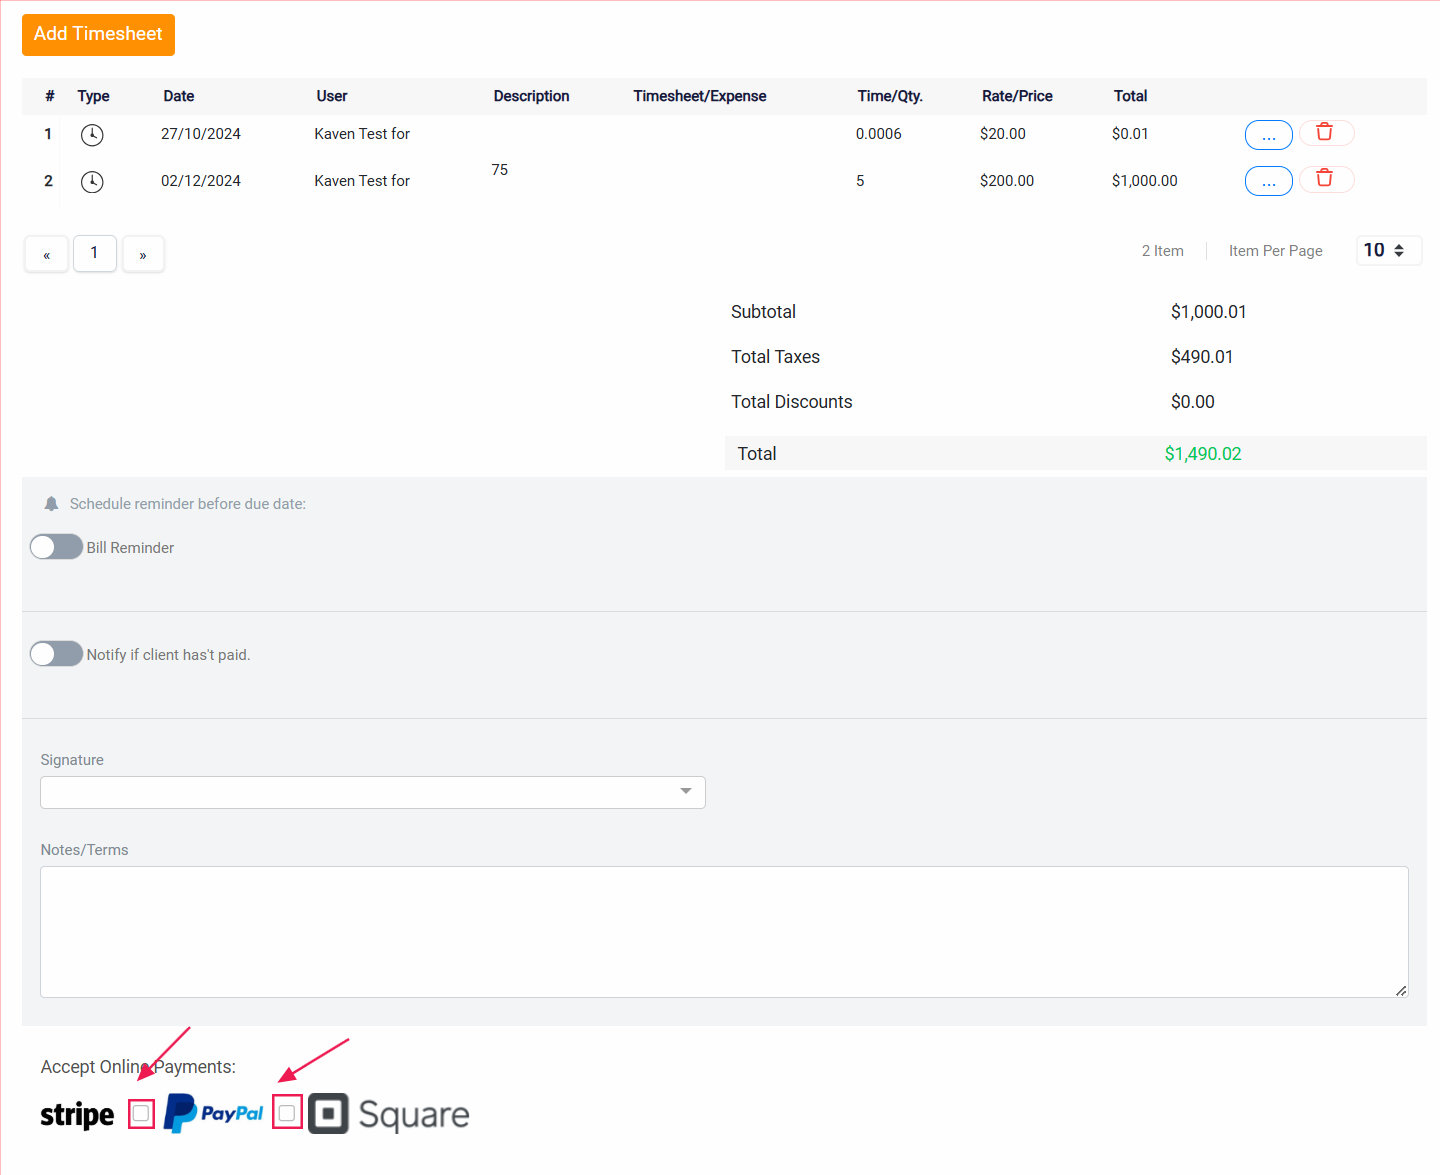
If your software is configured with multiple payment gateways, you can select the appropriate one for this bill. To do so, click on the Payment Gateway button and choose the preferred gateway from the list. This ensures that the client will be able to process the payment through the correct channel.
Once you have reviewed all the details, added any necessary information, and selected the correct signature and payment gateway, click the Save button located at the top-right corner of the screen.
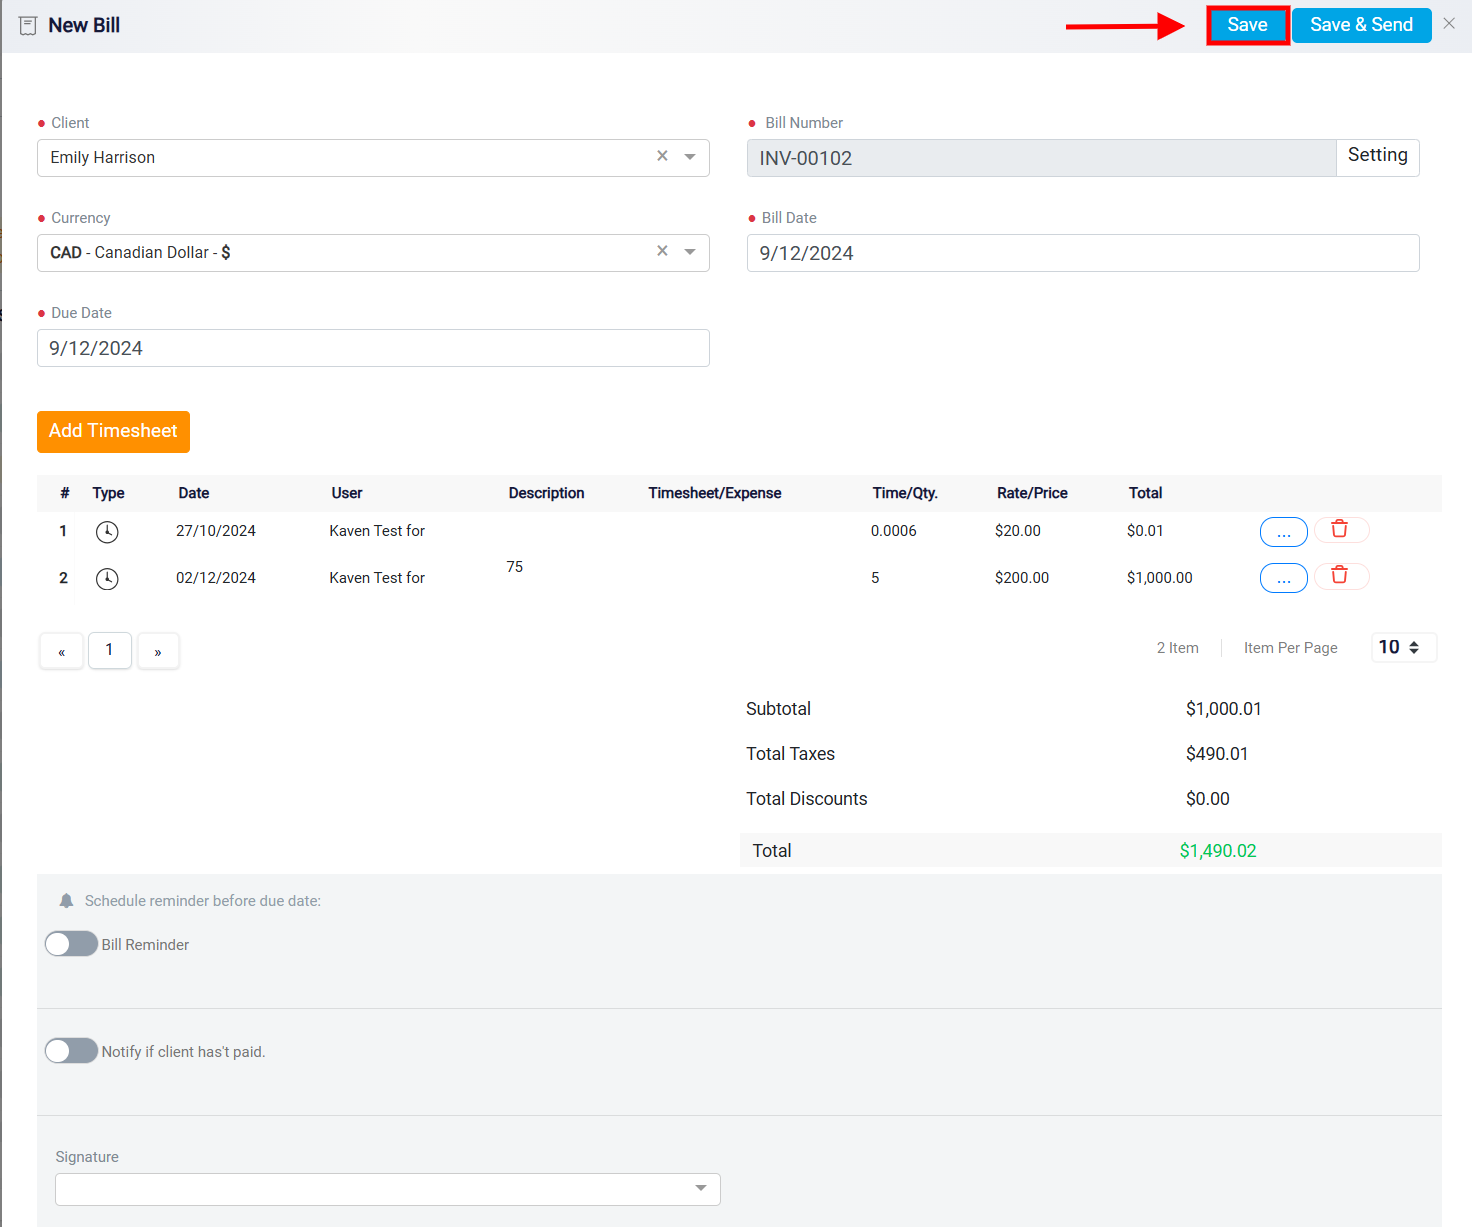
The Save and Send button is designed to save the current bill and simultaneously send it to the client via email or other configured communication methods. This button is a quick way to finalize the bill and ensure the client receives it without having to save and send it separately.
