Creating Email Campaign and a Newsletter
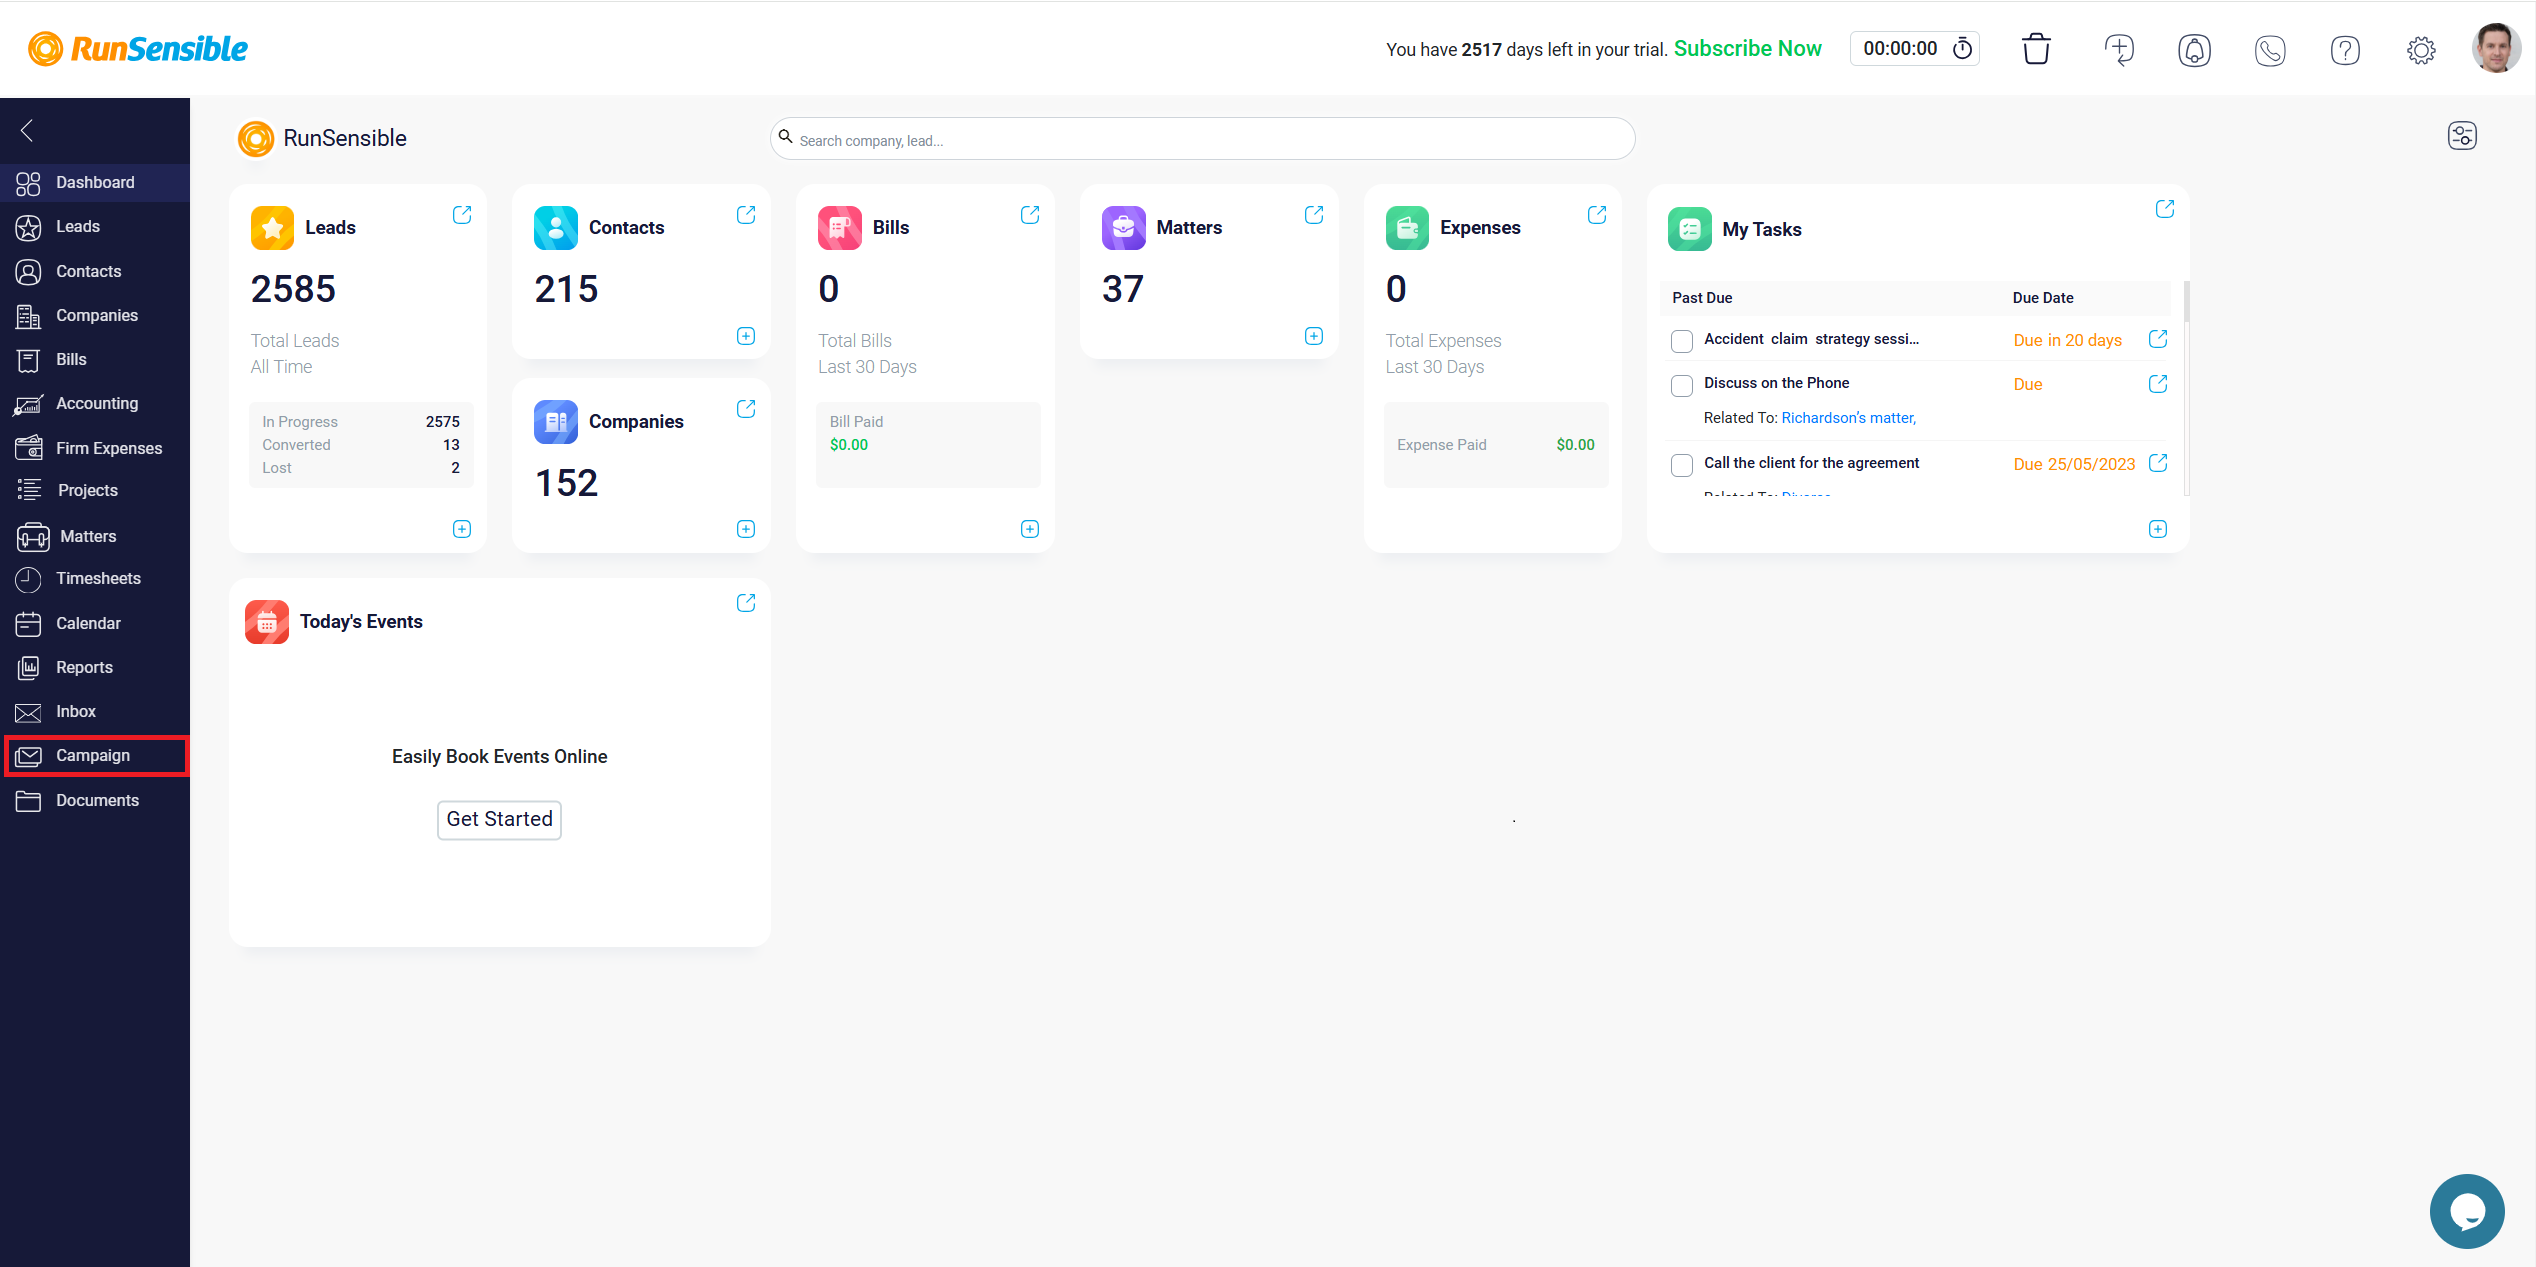
To access Email Campaign and Newsletter, navigate to the left sidebar menu, click on Campaign, then select Email Campaign and Newsletter.
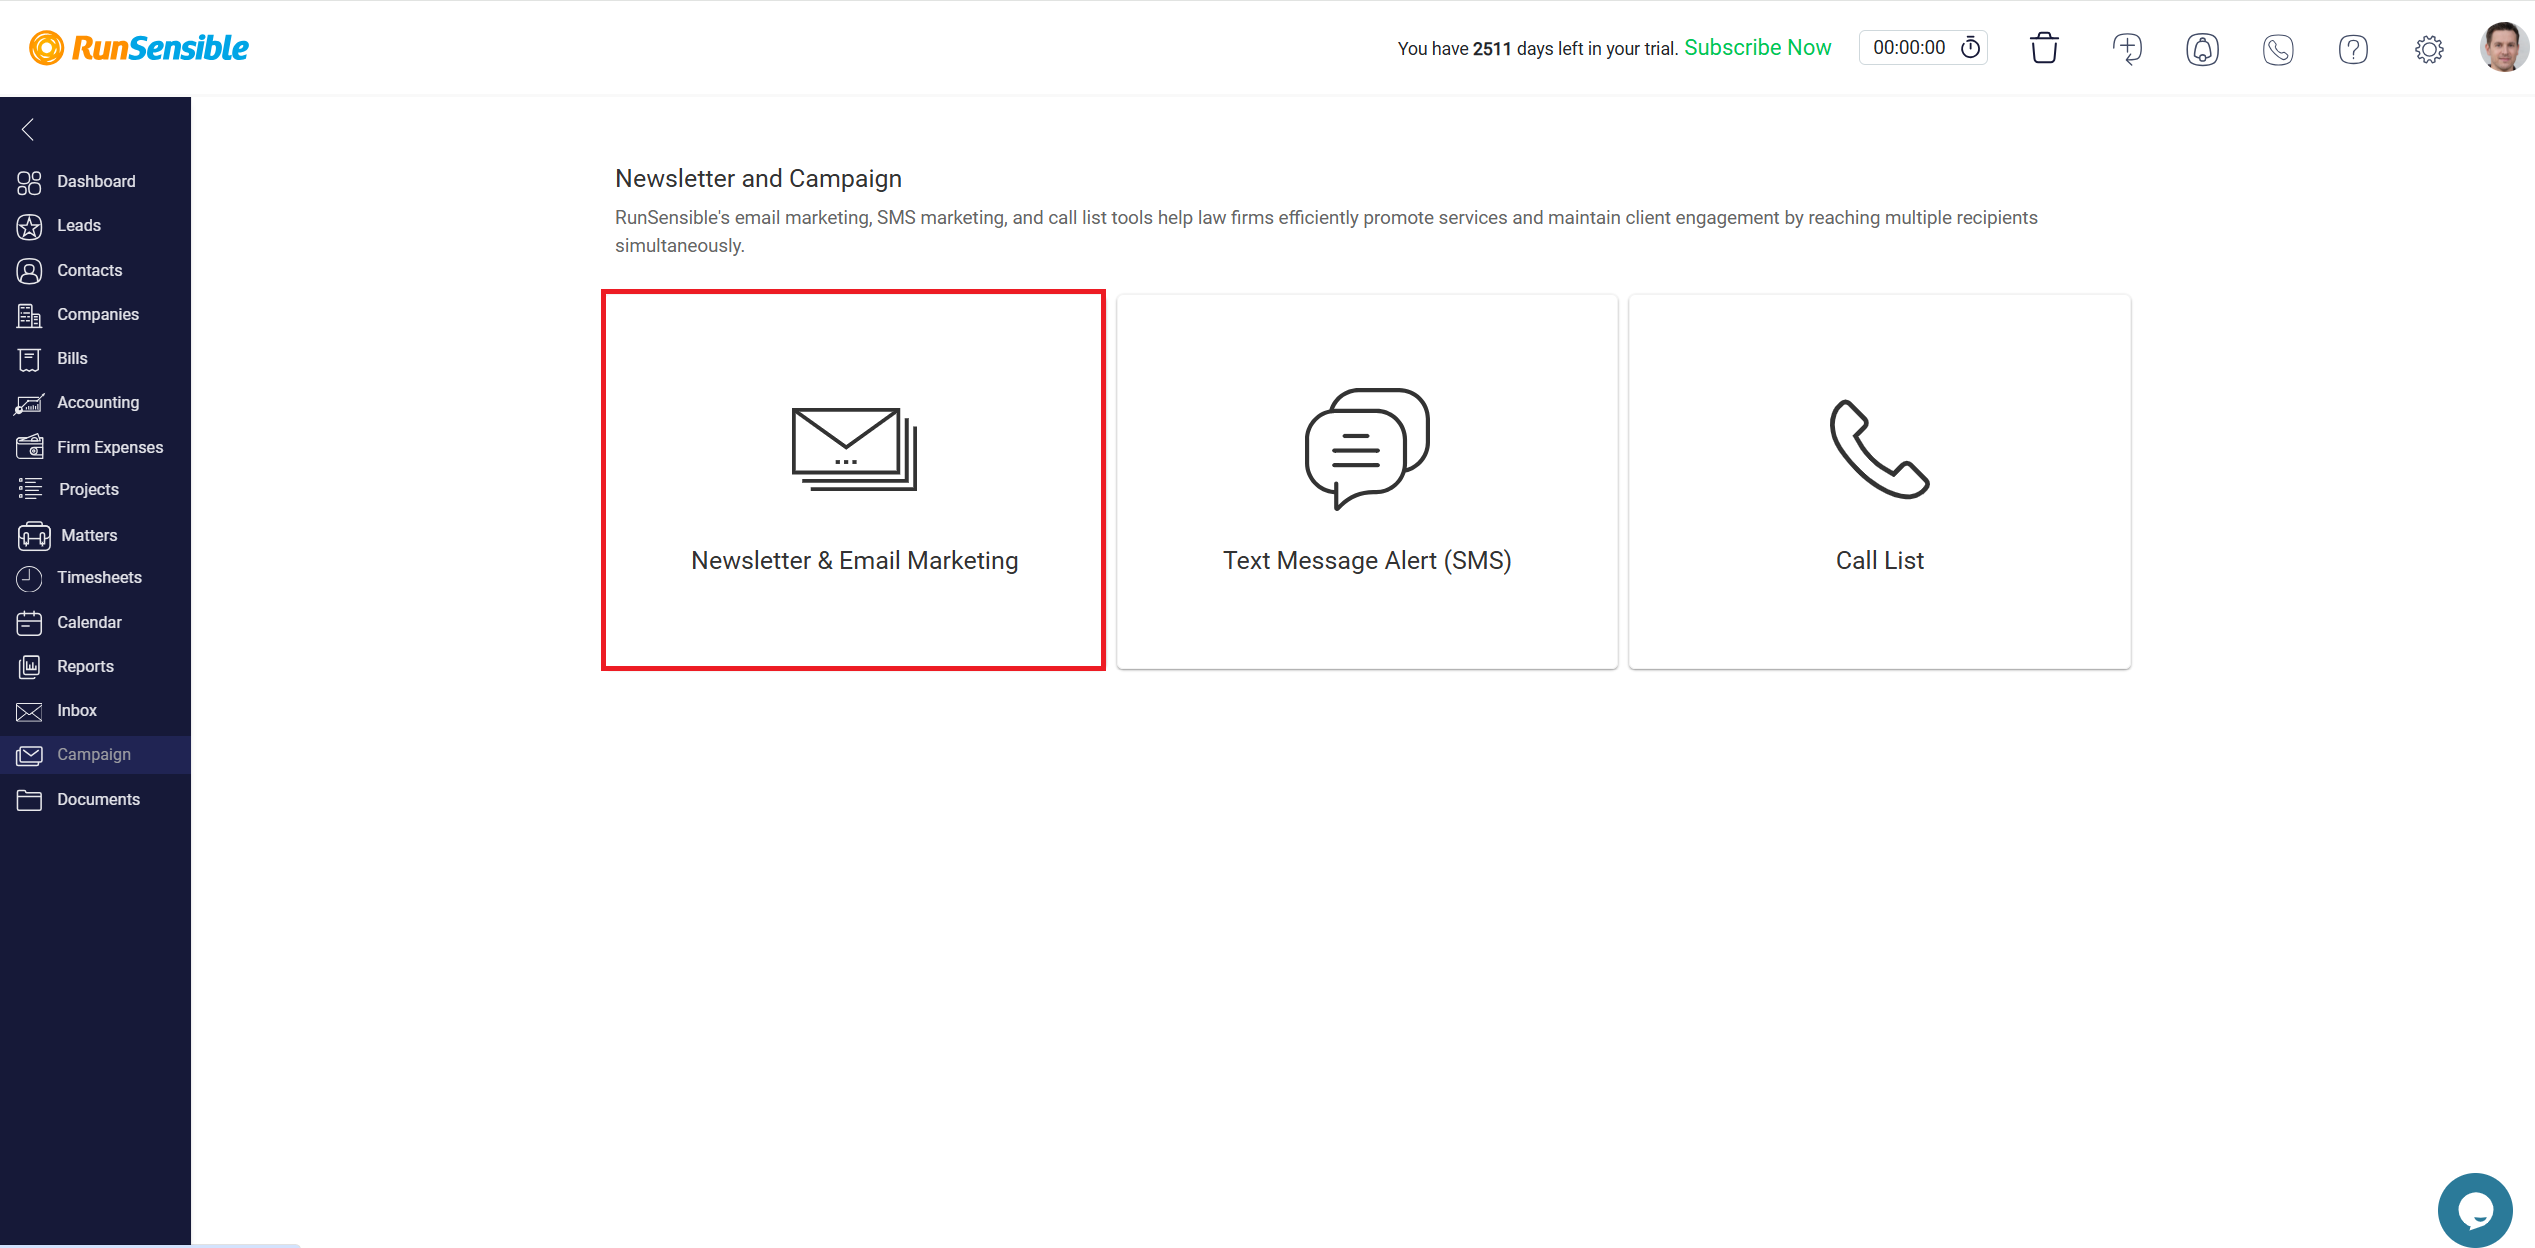
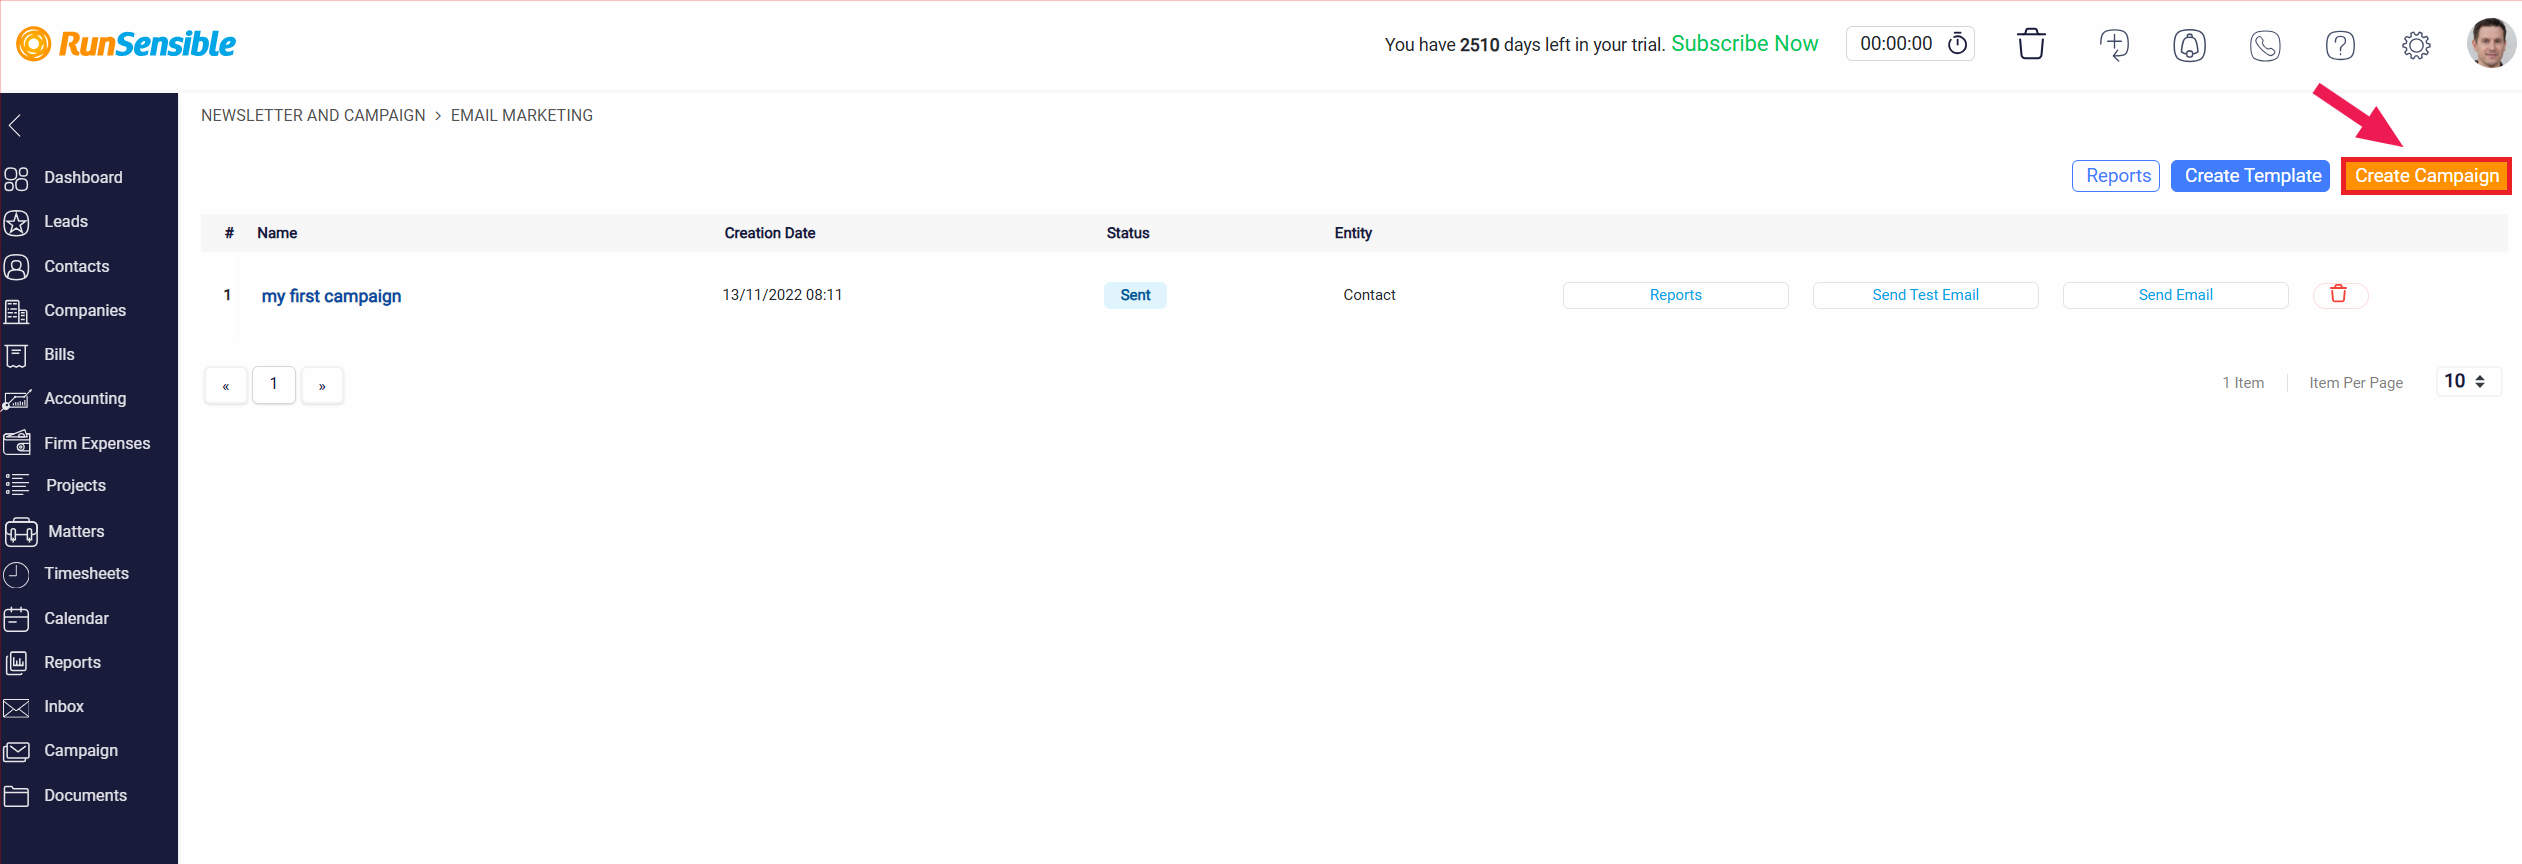
To create an email campaign and newsletter, click the Create Campaign button located at the top right. This will take you to the email creation section where you can compose, schedule, and send your email.
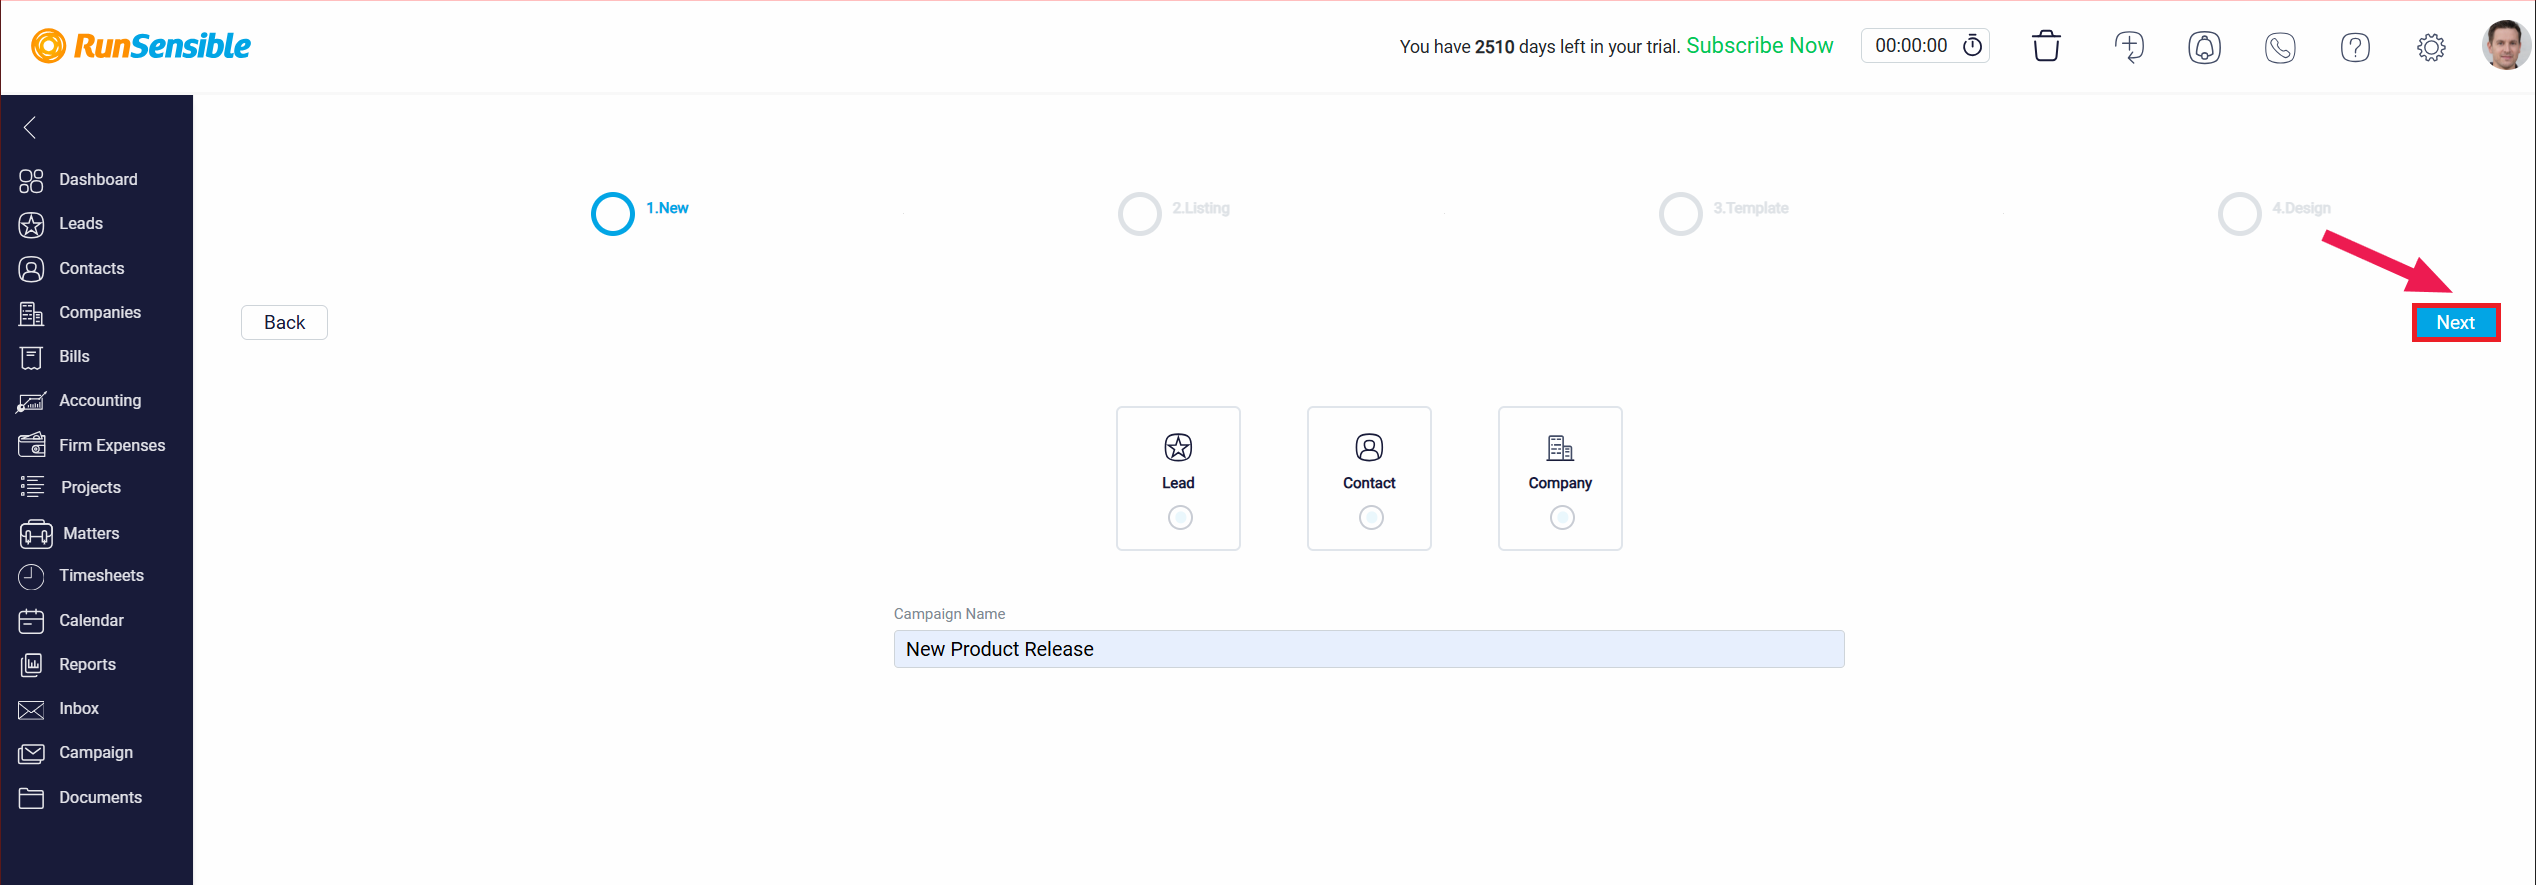
On this page, you first need to select the type of audience for the campaign. There are three options available: Lead, Contact, and Institute.
After selecting your audience type, you can proceed by naming your campaign in the Campaign Name field. This name is for internal use and will help you identify and manage this specific campaign later.
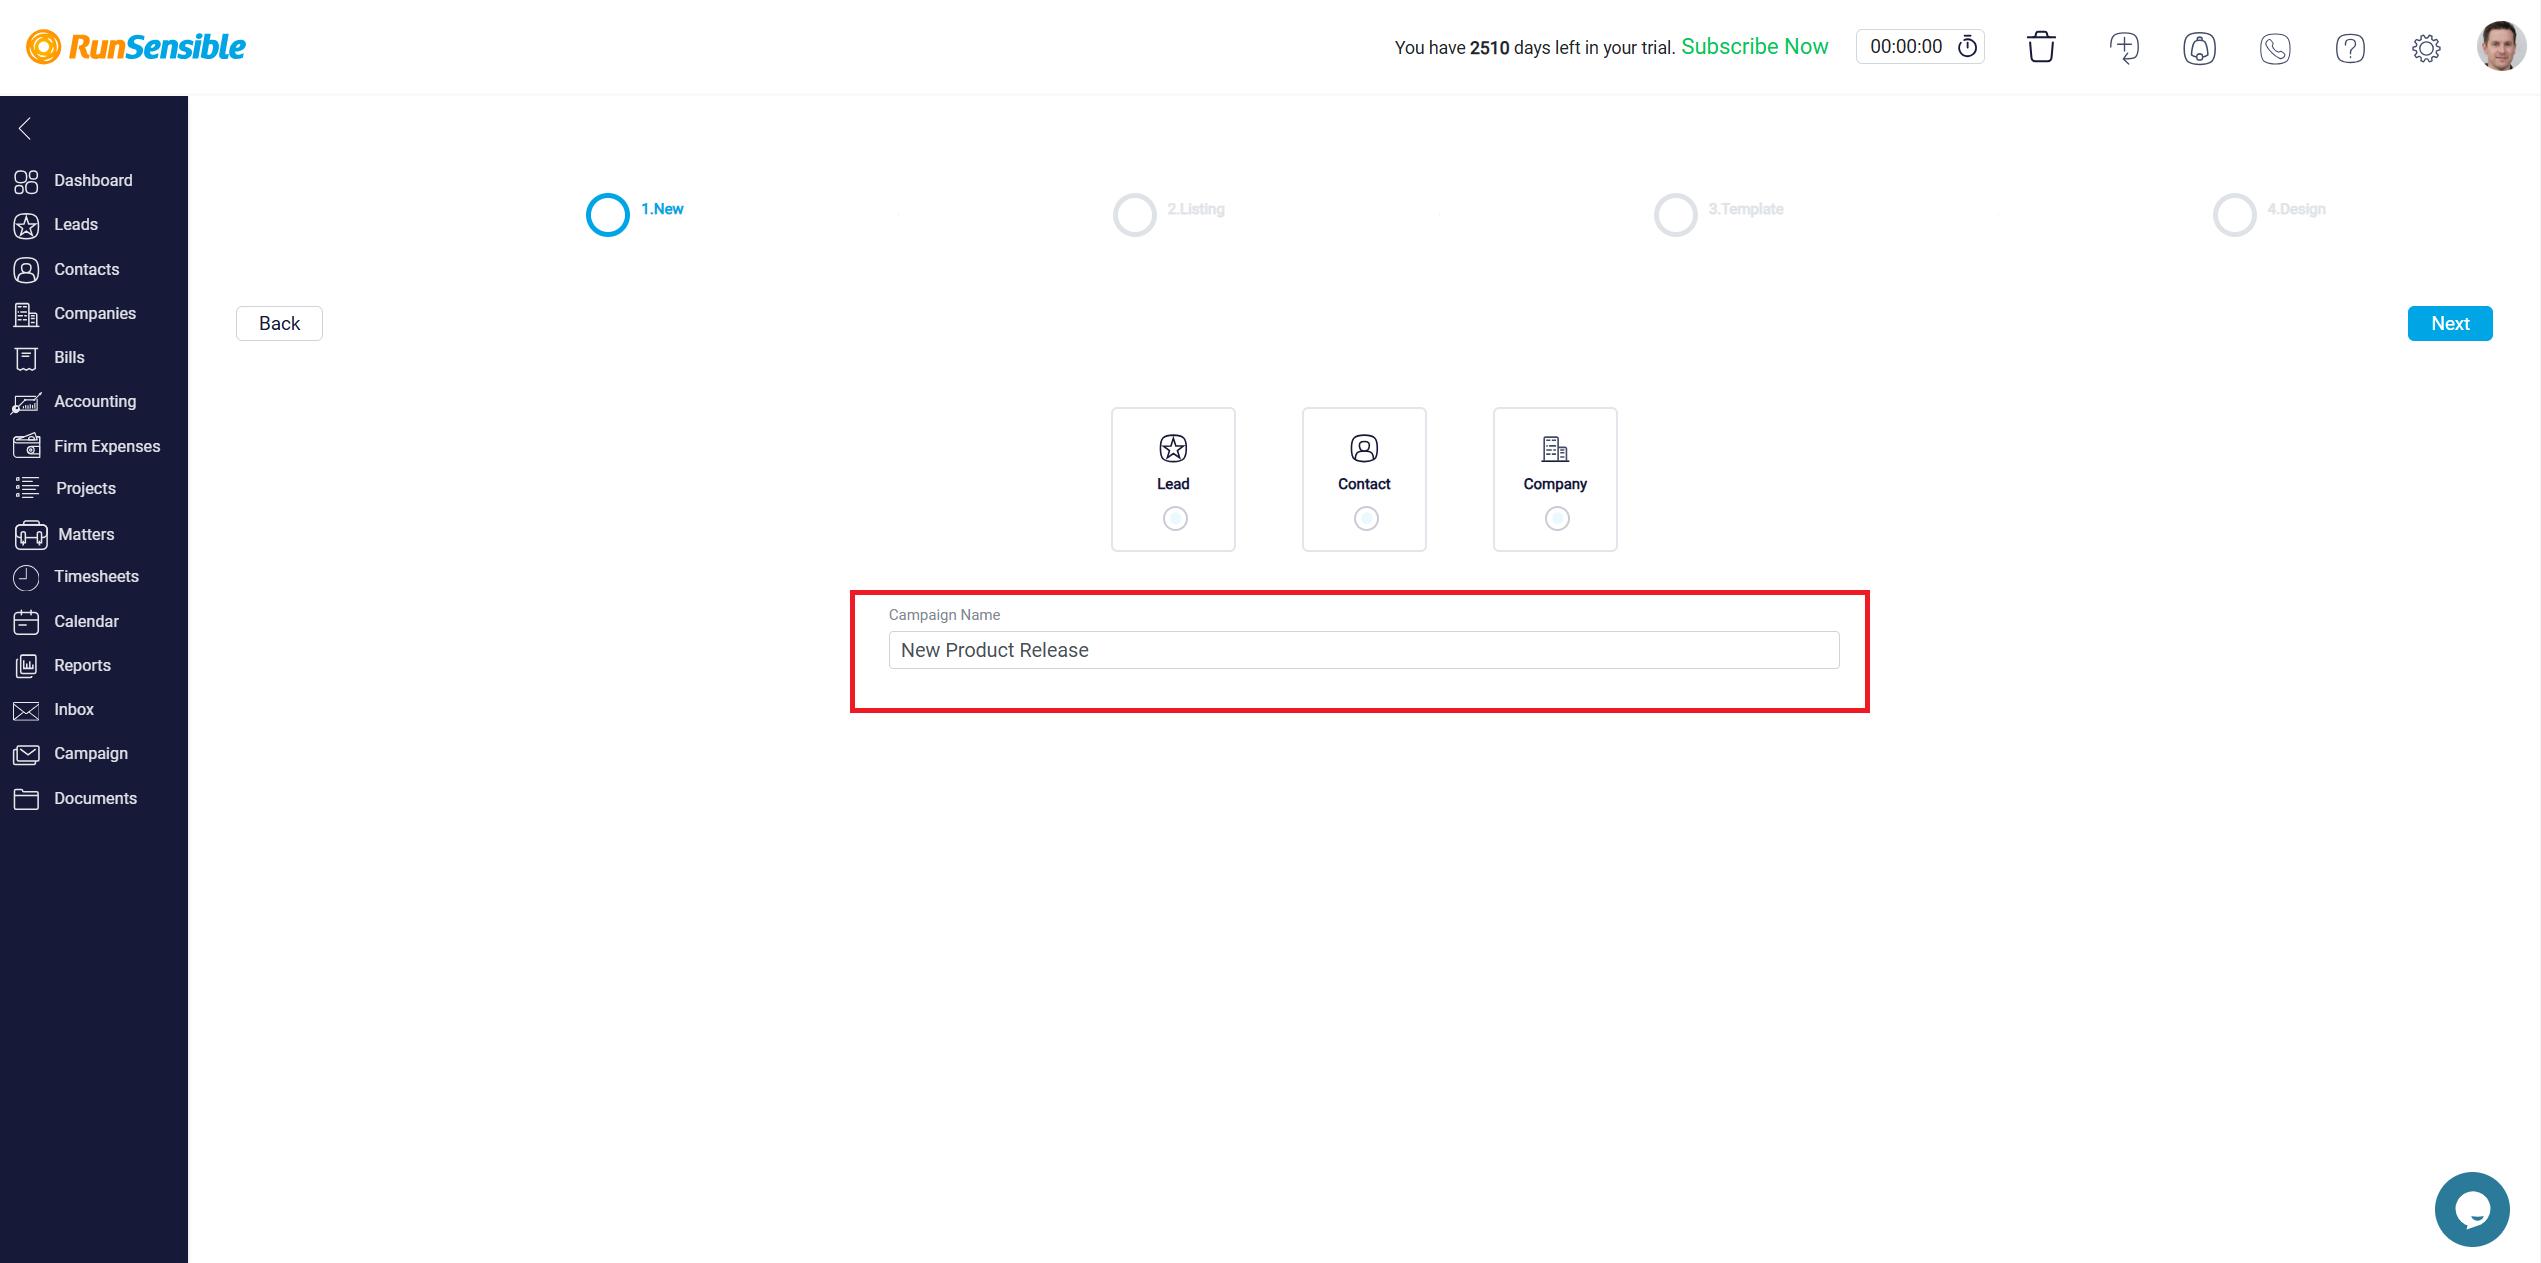
Enter a descriptive name for your campaign in the text box below the audience selection. This name is visible only to you and your team, so make sure it’s something easily recognizable, especially when handling multiple campaigns.
Once you’ve selected your target audience and entered a campaign name, click the Next button to continue to the next step in the campaign creation process.
The Listing page is the second step in setting up an email campaign and newsletter in RunSensible. On this page, you manage your recipient lists, either by selecting existing contacts, loading saved lists, or creating new contact lists for your email campaign and newsletter. This ensures that your email reaches the intended audience, whether they are leads, contacts, or institutes.

You have multiple options for managing your contact lists on this page:
Filter: You can filter the contacts based on specific criteria to narrow down your recipients. This helps target the audience more effectively.
Load List: If you have previously saved a contact list, you can load it here. This saves time when using recurring lists of recipients.
Create List: Use this option to create a brand-new contact list for the campaign. This allows you to manually select or import new contacts to be included in the campaign.

Once you have finalized your contact list, click the Next button in the top right corner to proceed to the Template section. This will guide you to the next step of choosing or designing the email template for your campaign.
Here, you can choose a pre-designed template for your email campaign and newsletter or opt to start with a blank template for full customization. This step ensures your emails are visually appealing and aligned with your campaign’s purpose.
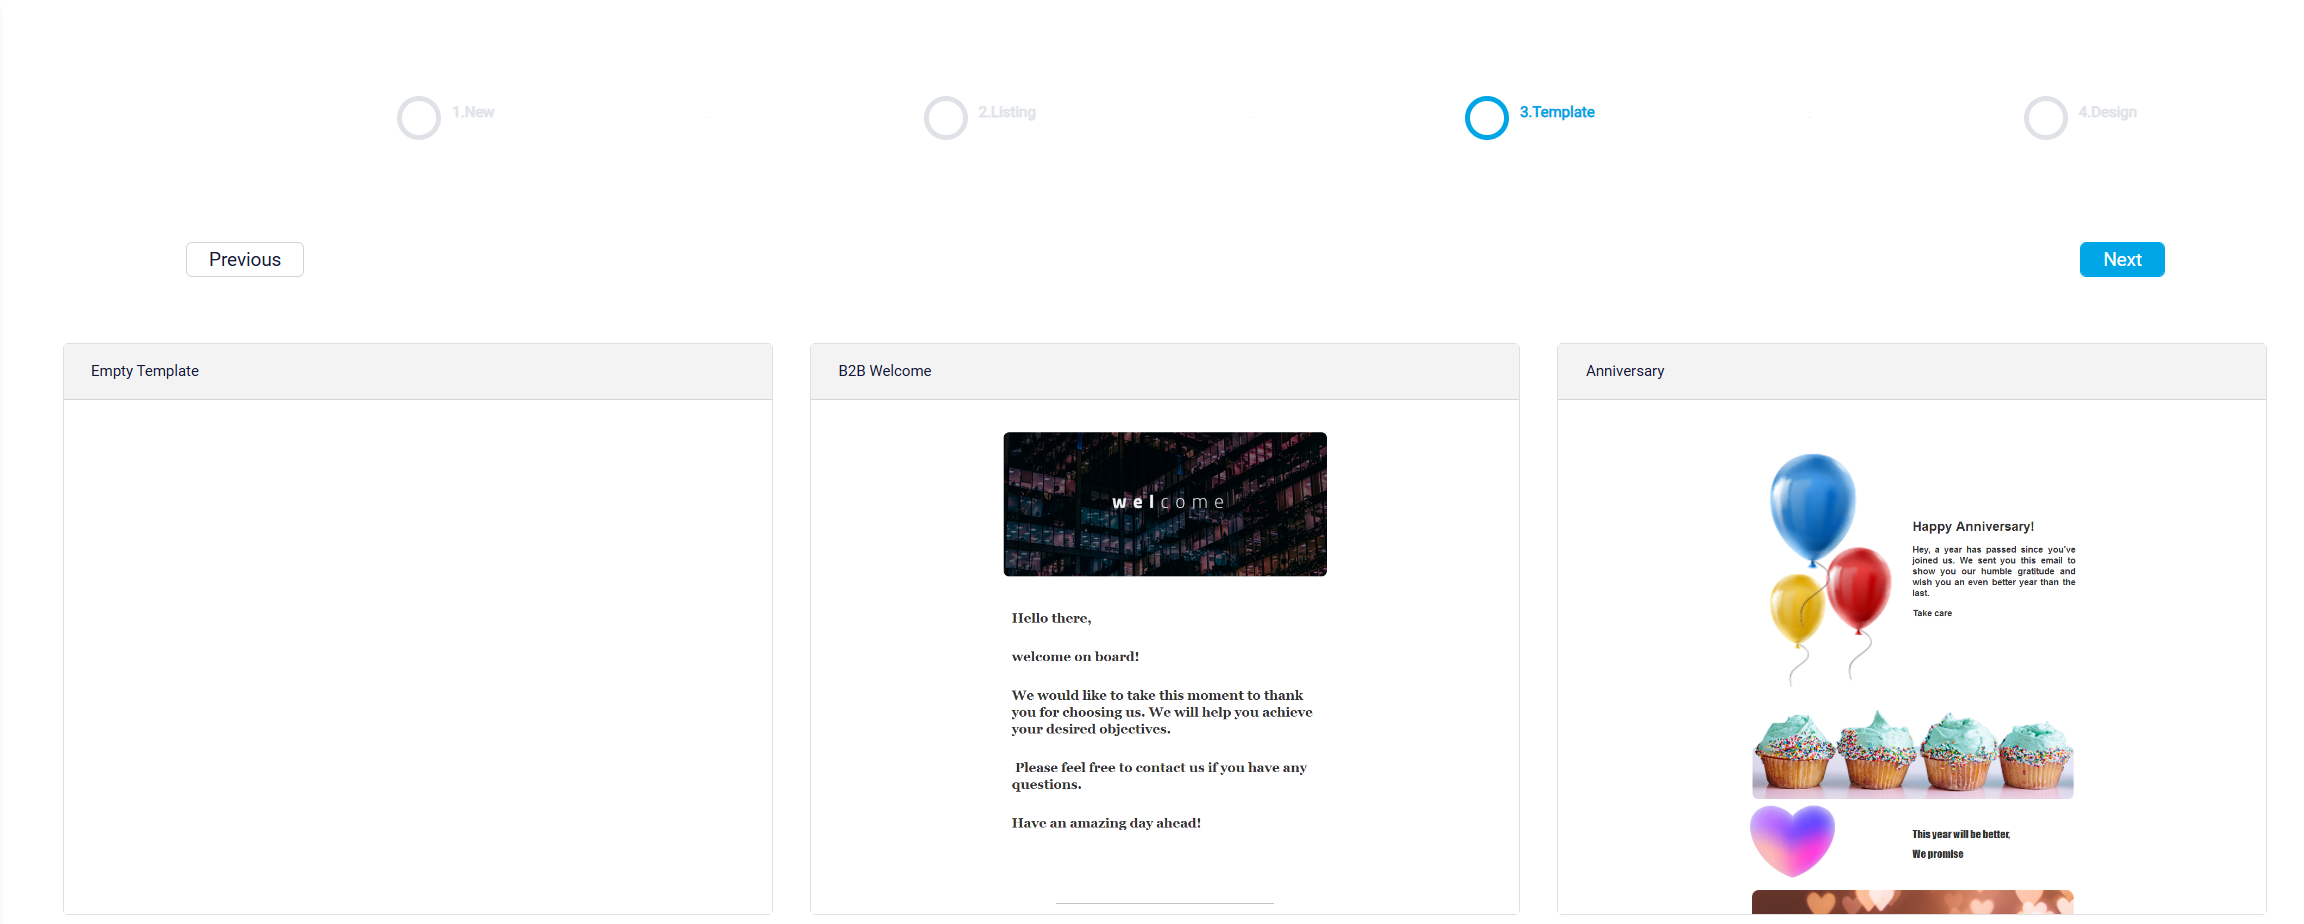
On the Template page, you’ll see a variety of options, including:
Empty Template: Select this option if you prefer to build your email from scratch. This gives you full control over the design and content of your email.
Pre-designed Templates: Choose from several pre-made templates that suit different types of campaigns. These templates come with preset layouts and placeholder content that you can customize to fit your needs.
To select a template, simply click the Select Template button on the design you prefer. Once selected, the template will load in the next step, where you can further modify the content and layout.
The design page is the final step in creating an email campaign and newsletter in RunSensible. This page allows you to fully customize the template you selected by adding and arranging content blocks, adjusting styles, and previewing the final design. To use any of these blocks, drag the desired element from the Blocks section and drop it into the email preview on the left. Each block can be edited, resized, or removed after it’s added.
In the Styles section, you can adjust the overall look of your email by modifying fonts, colors, and spacing. This allows you to match the email design to your brand’s visual identity.
Before sending the email, use the Preview button at the top right of the page to view the email as it will appear to recipients. You can also send a Test Email to yourself or colleagues to ensure everything is formatted correctly and functioning as expected.
To save your progress or finalize the email, use the Save button located at the top right of the page.
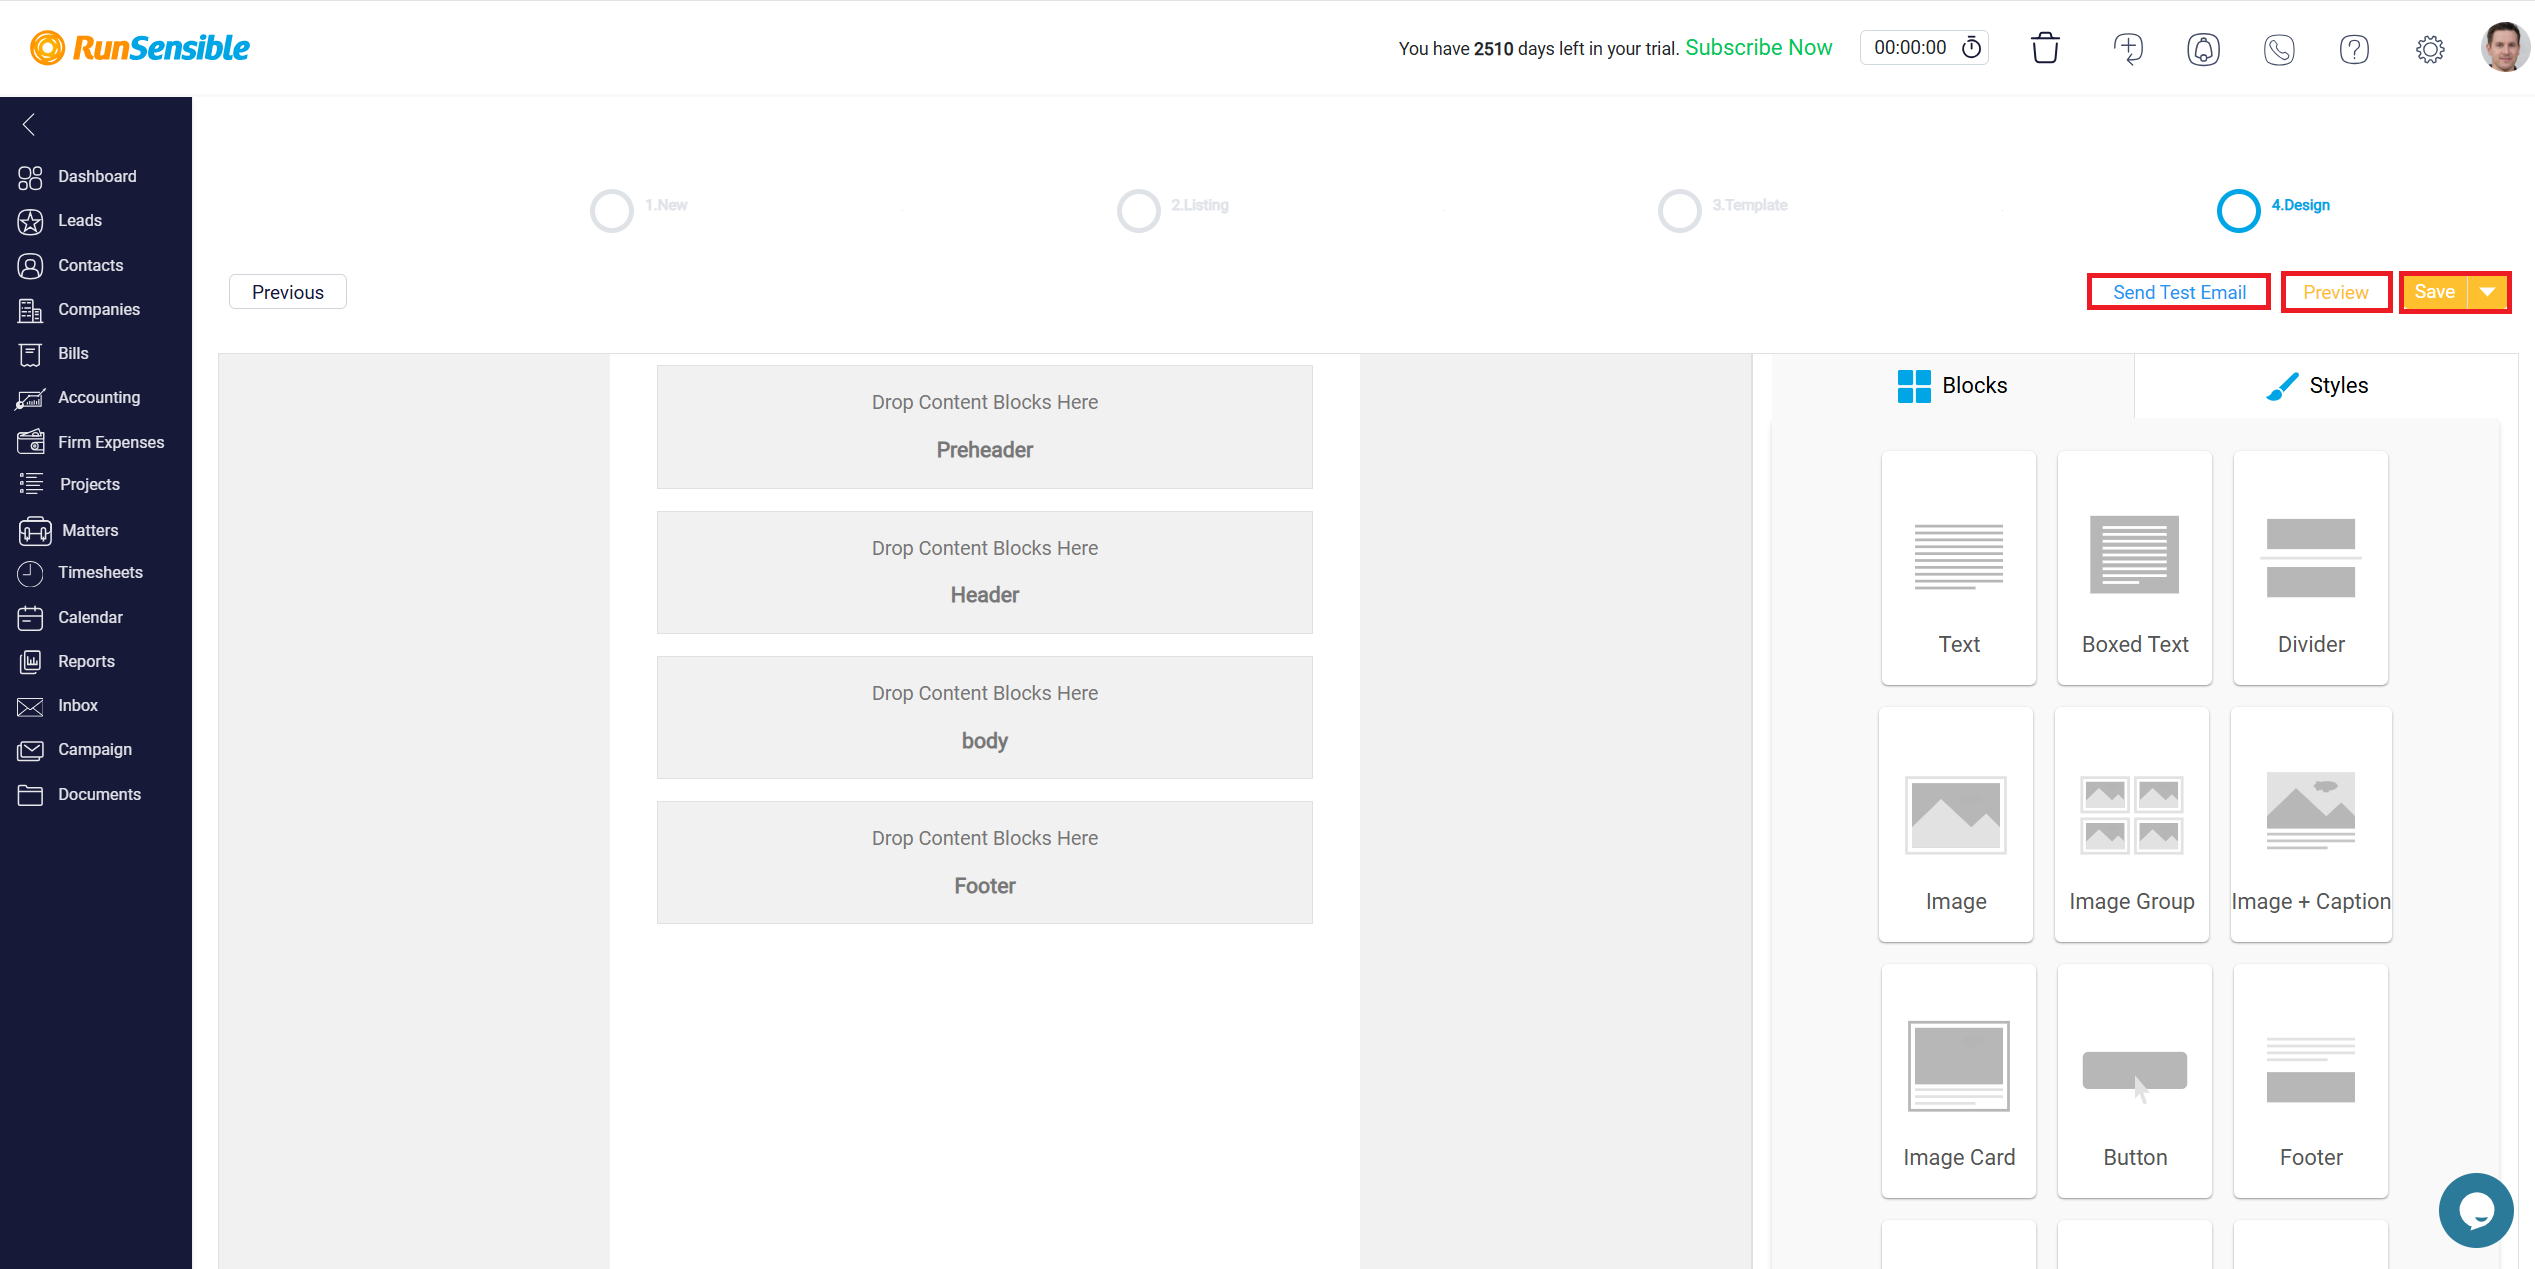
There are several save options:
Save & Close: Saves your design progress and closes the editor, allowing you to return to the campaign dashboard.
Save & Send: Saves the campaign and directly initiates the sending process.
Save as Template: If this design will be reused for future campaigns, this option allows you to save it as a template for easy access later.