Applying Filters to Fields
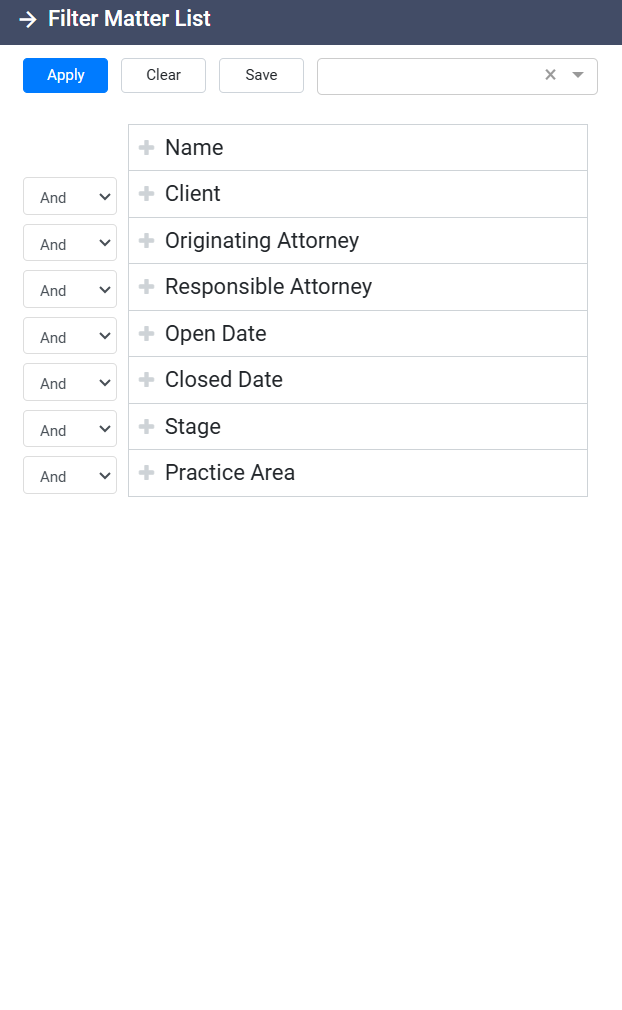
To begin filtering, click on the Filter button, which will open a panel on the right side of the screen. This panel contains a comprehensive list of all available information fields related to the section you’re viewing. Each field can be used to apply filters, tailoring the results to meet your specific needs. For instance, if you’re working within a list of prospects, the available fields might include name, status, or contact details, while in a project management section, you may have options like project status, due date, or assigned team members.
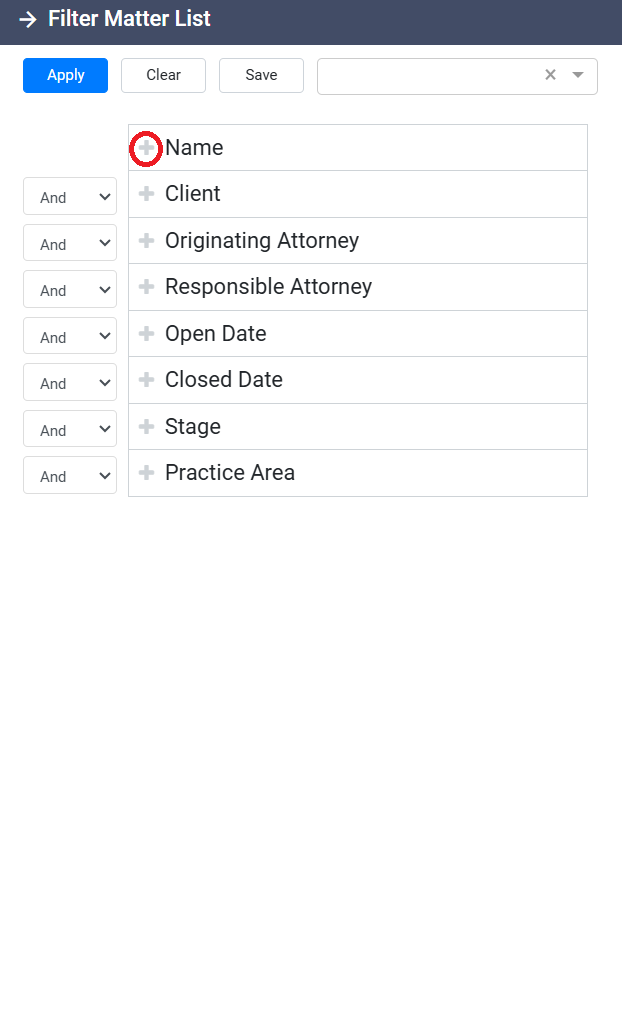
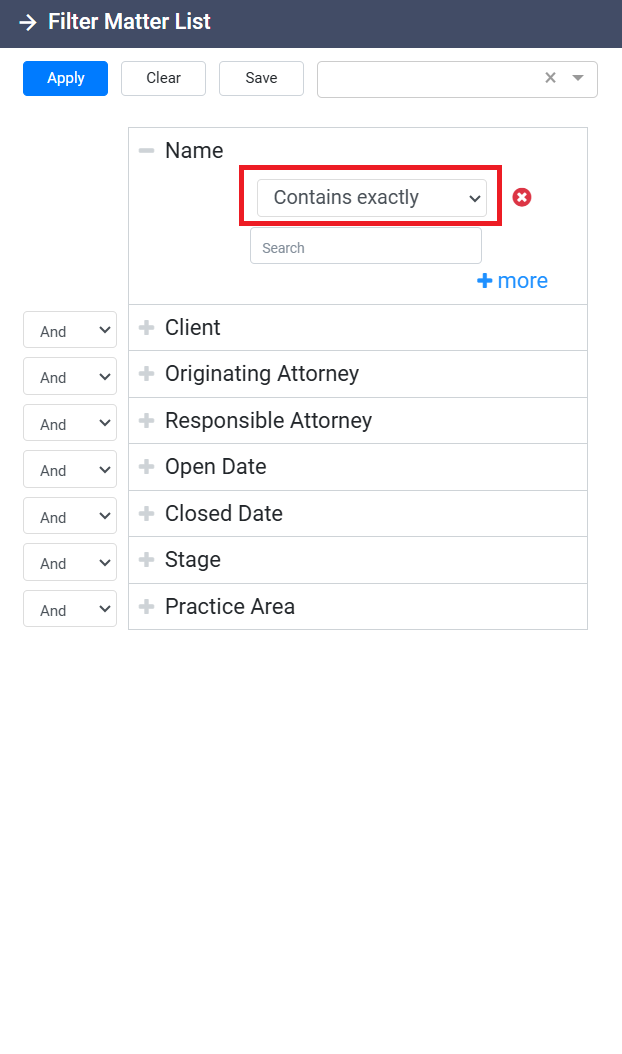
To filter your results by a particular field, click the Plus button next to the desired field. Doing so opens a filtering panel with two main components: a dropdown menu and a search box. The dropdown menu provides several filtering options that determine how closely your search results will match the entered term. You can select options such as Contains exactly or Doesn’t contain exactly depending on how precise you want the filter to be. Additionally, options like Is empty or Is not empty allow you to filter based on whether a field contains any data. When using these options, the search box will disappear, as no search term is needed.


If your filter requires a specific value, after selecting the appropriate matching level from the dropdown menu, enter the value into the Search box.
