Tasks Overview
Effective task management is key to the success of any law firm, improving productivity, profitability, and client satisfaction. Let’s head over to an overview on RunSensible’s task management system.
Access your RunSensible dashboard and navigate the sidebar menu.
Select Projects from the menu.
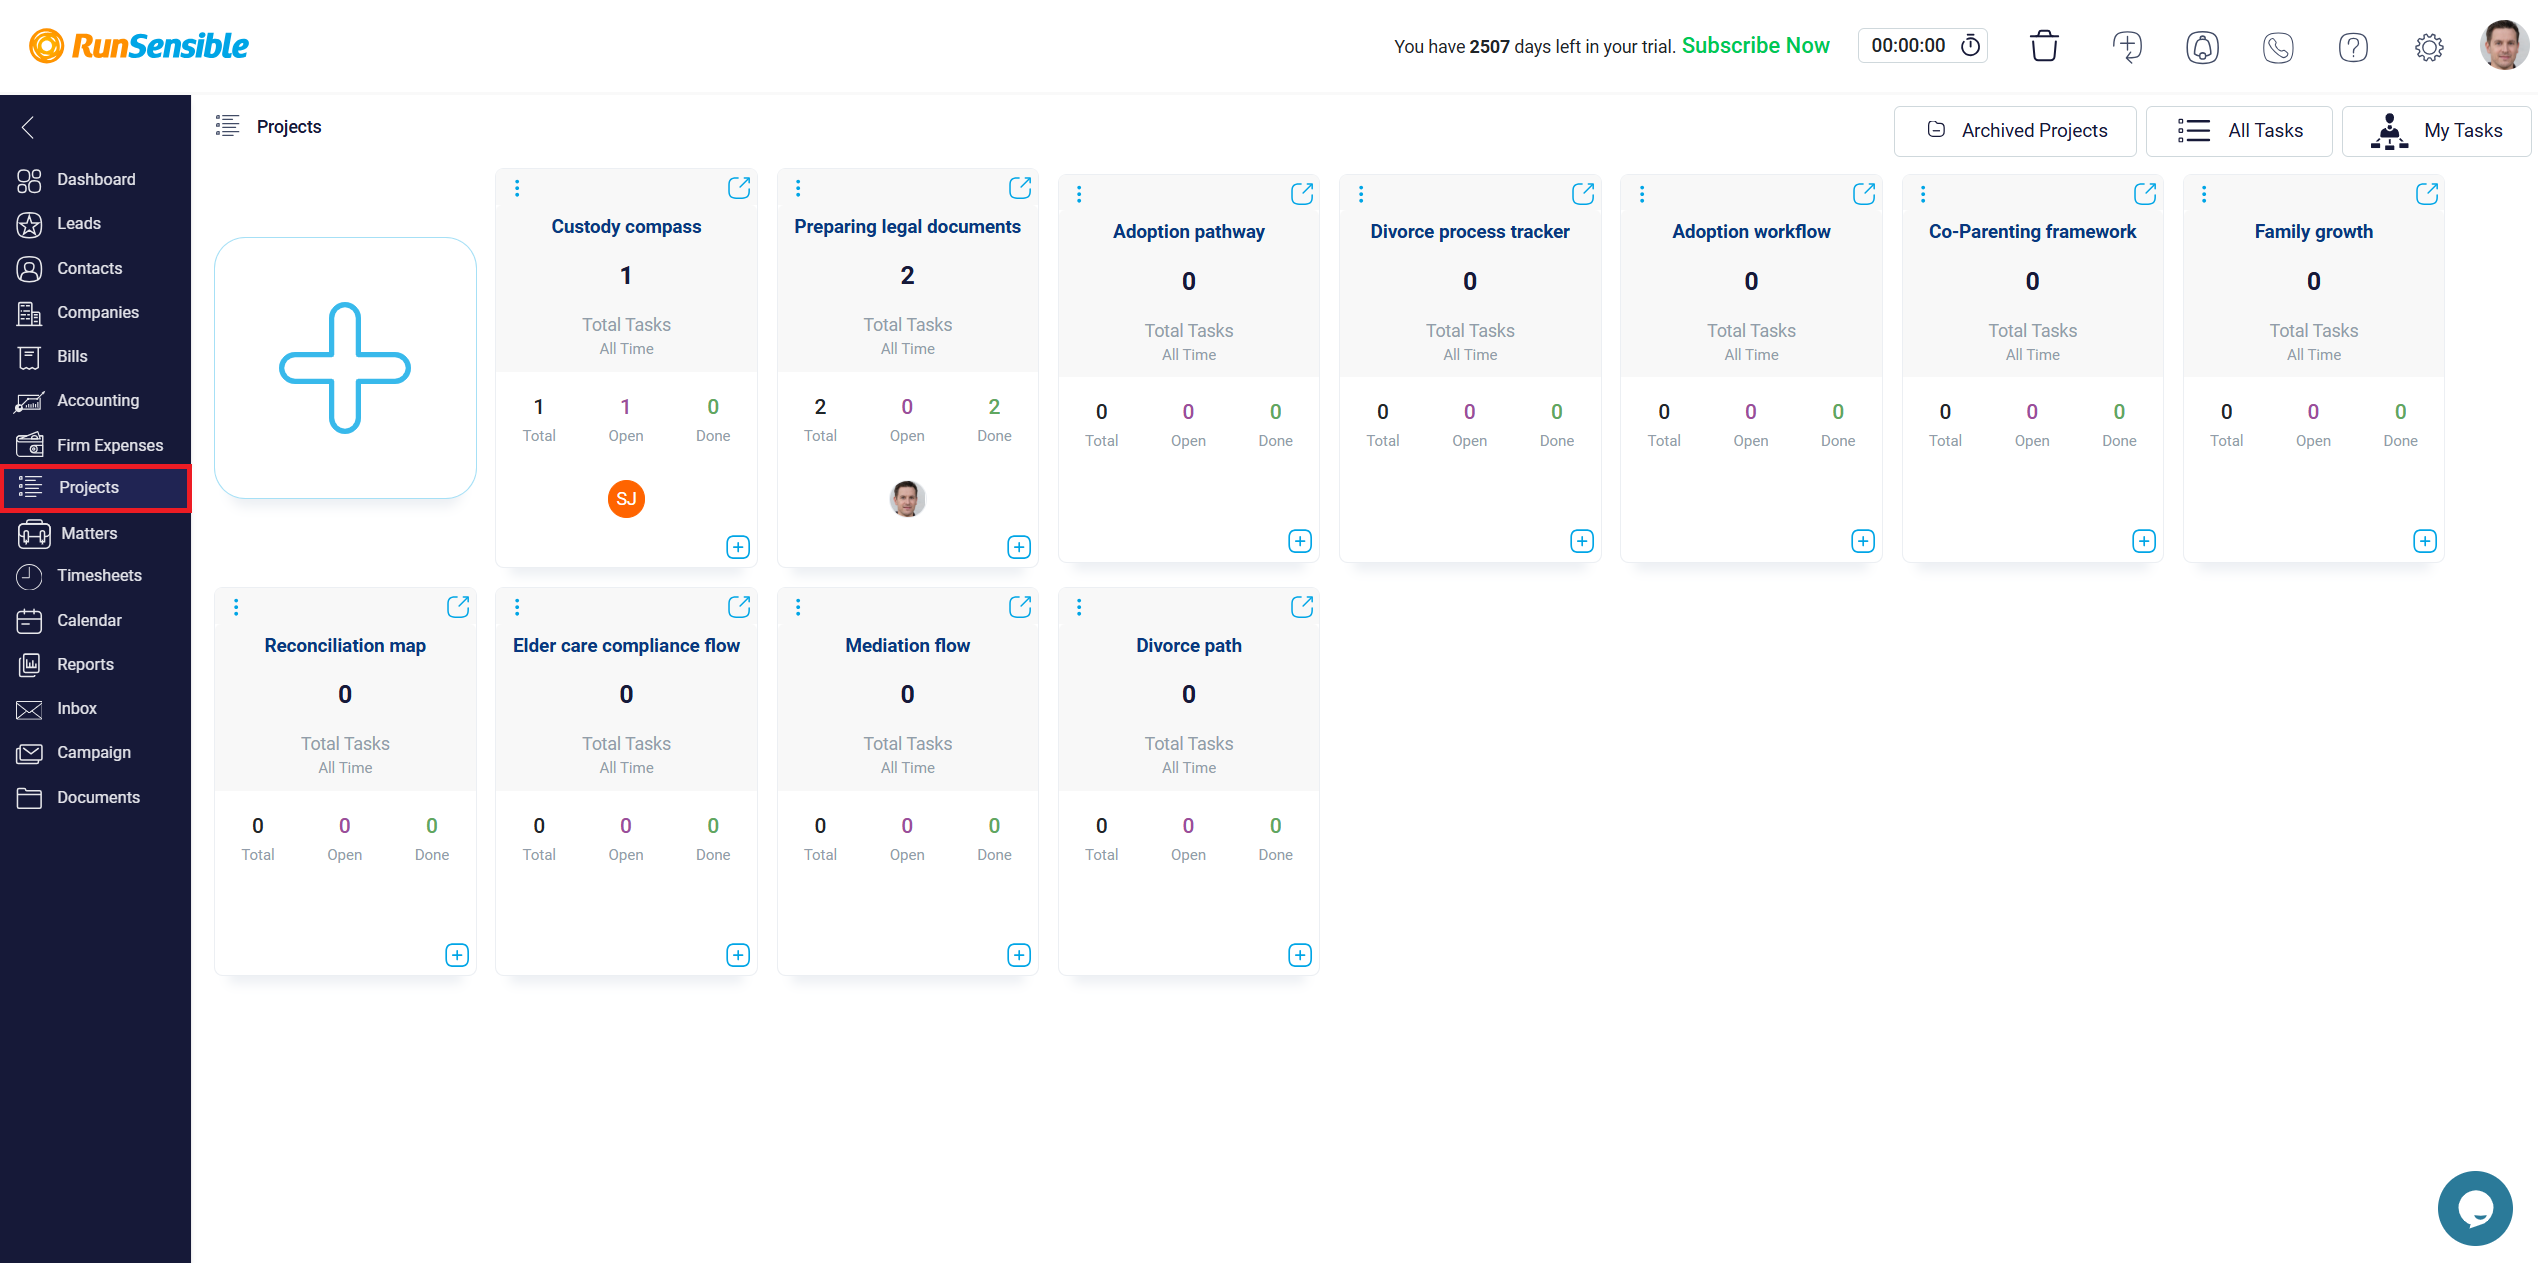
Click on the button located at the top right of the project you wish to manage tasks for.
Viewing Tasks
Choose between viewing tasks in Board or Table style by toggling the options.
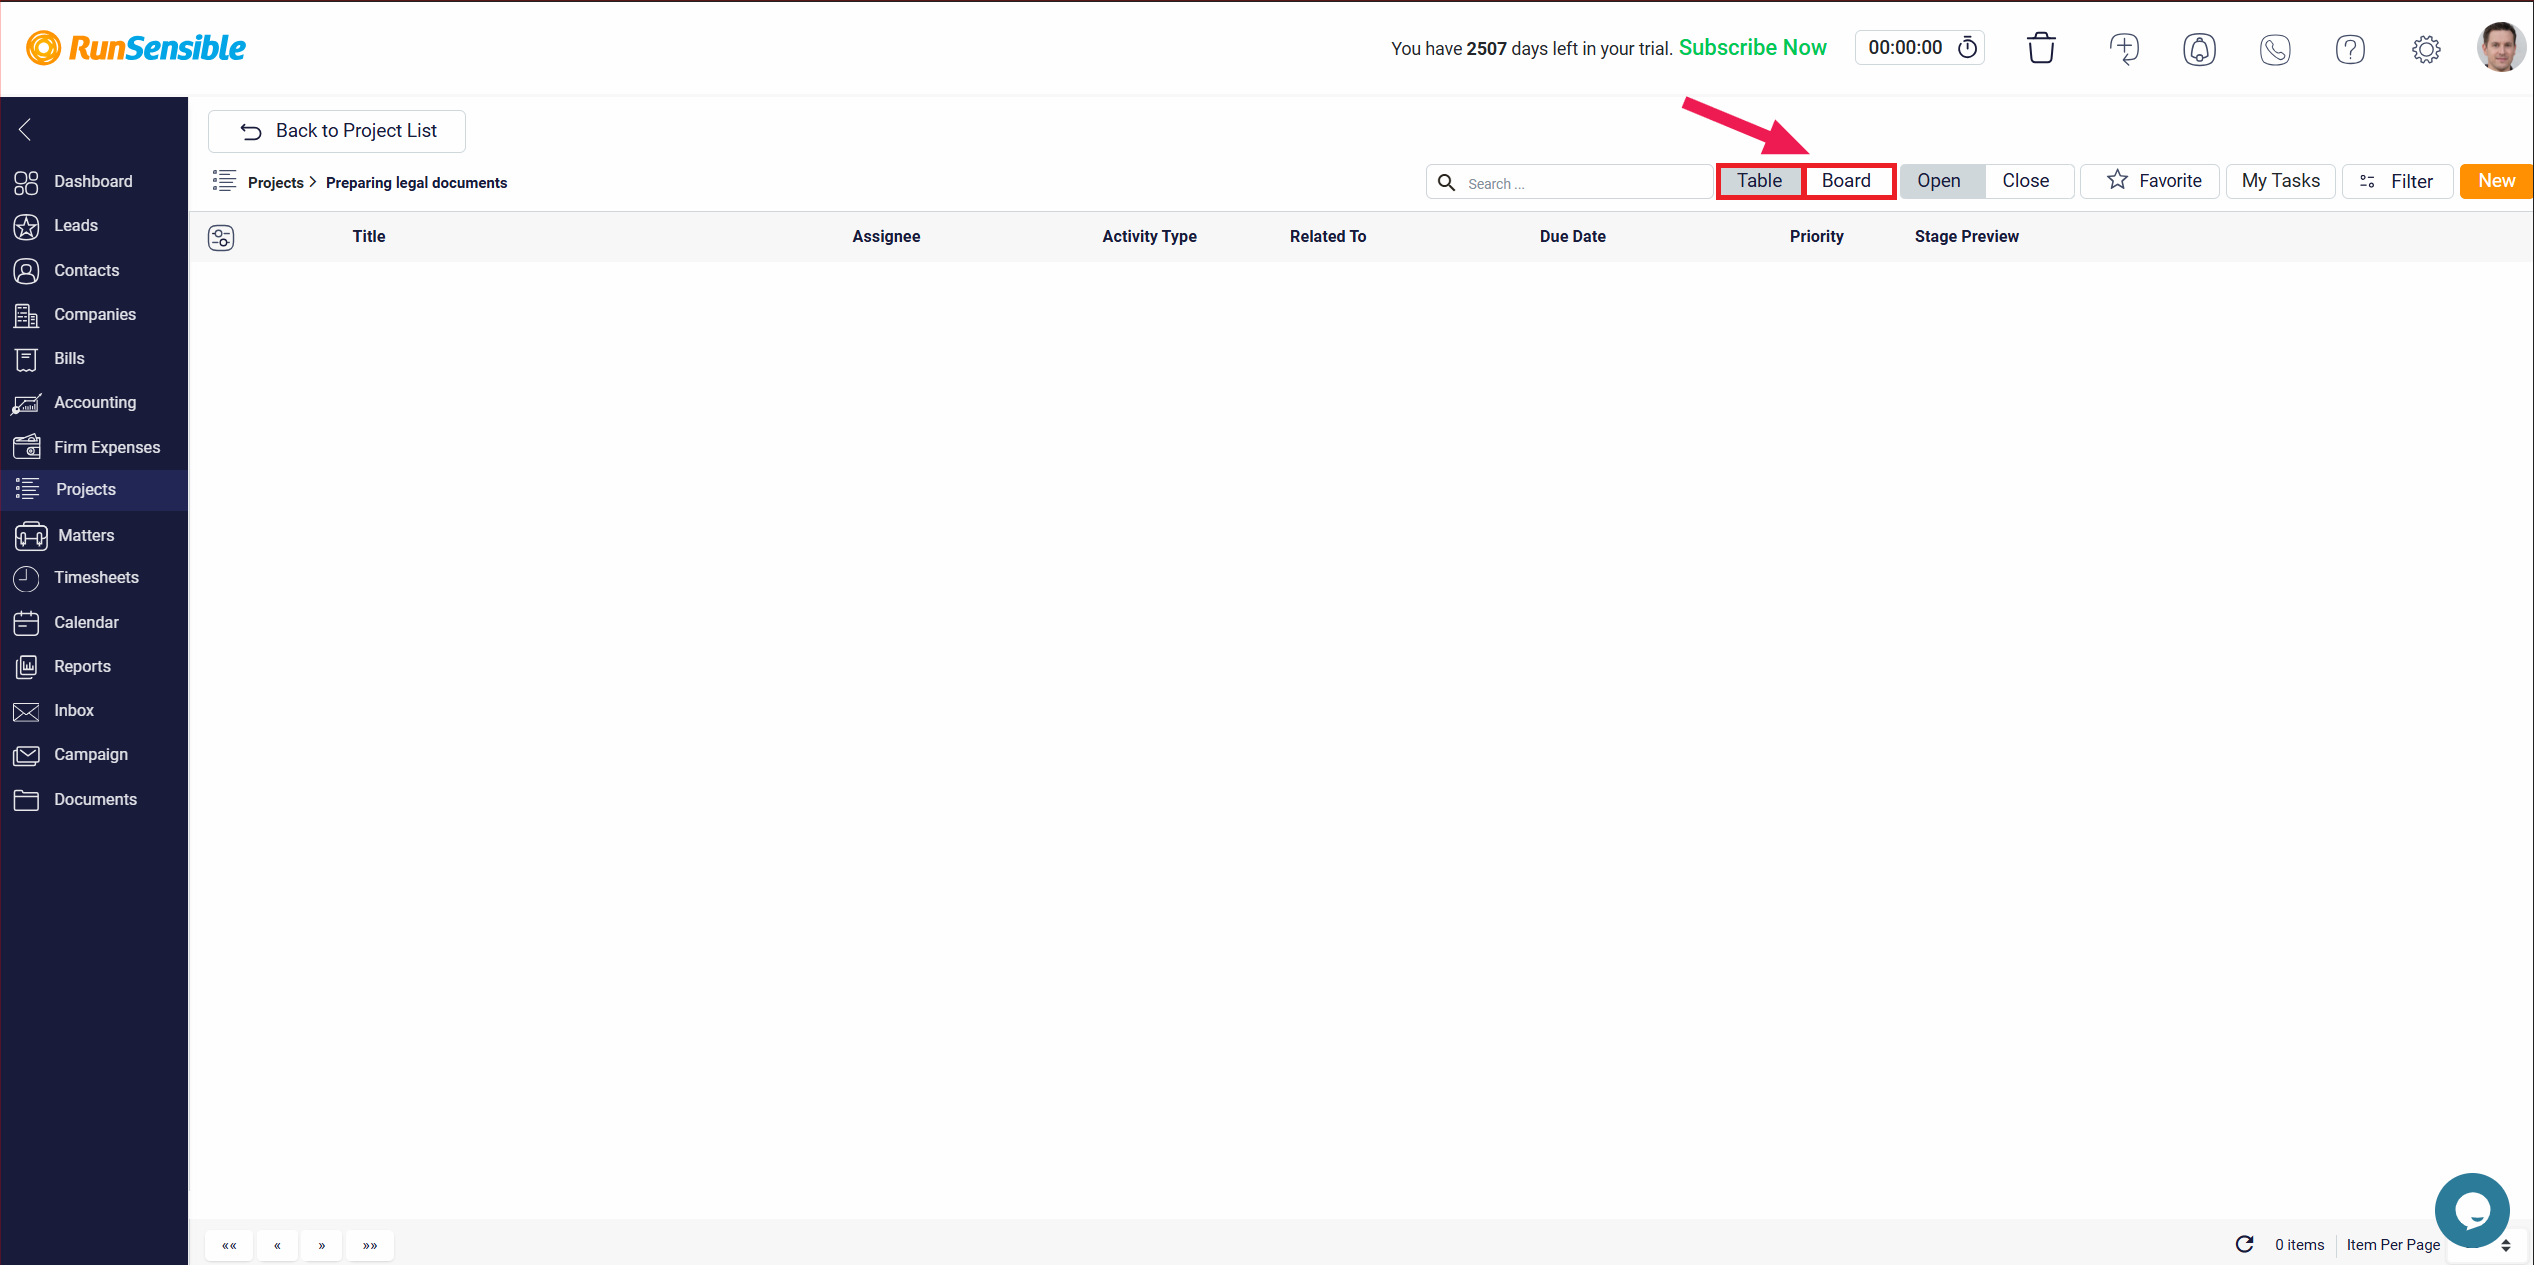
Search for tasks globally using the search bar at the top, or locally within each stage using the stage-specific search bar.
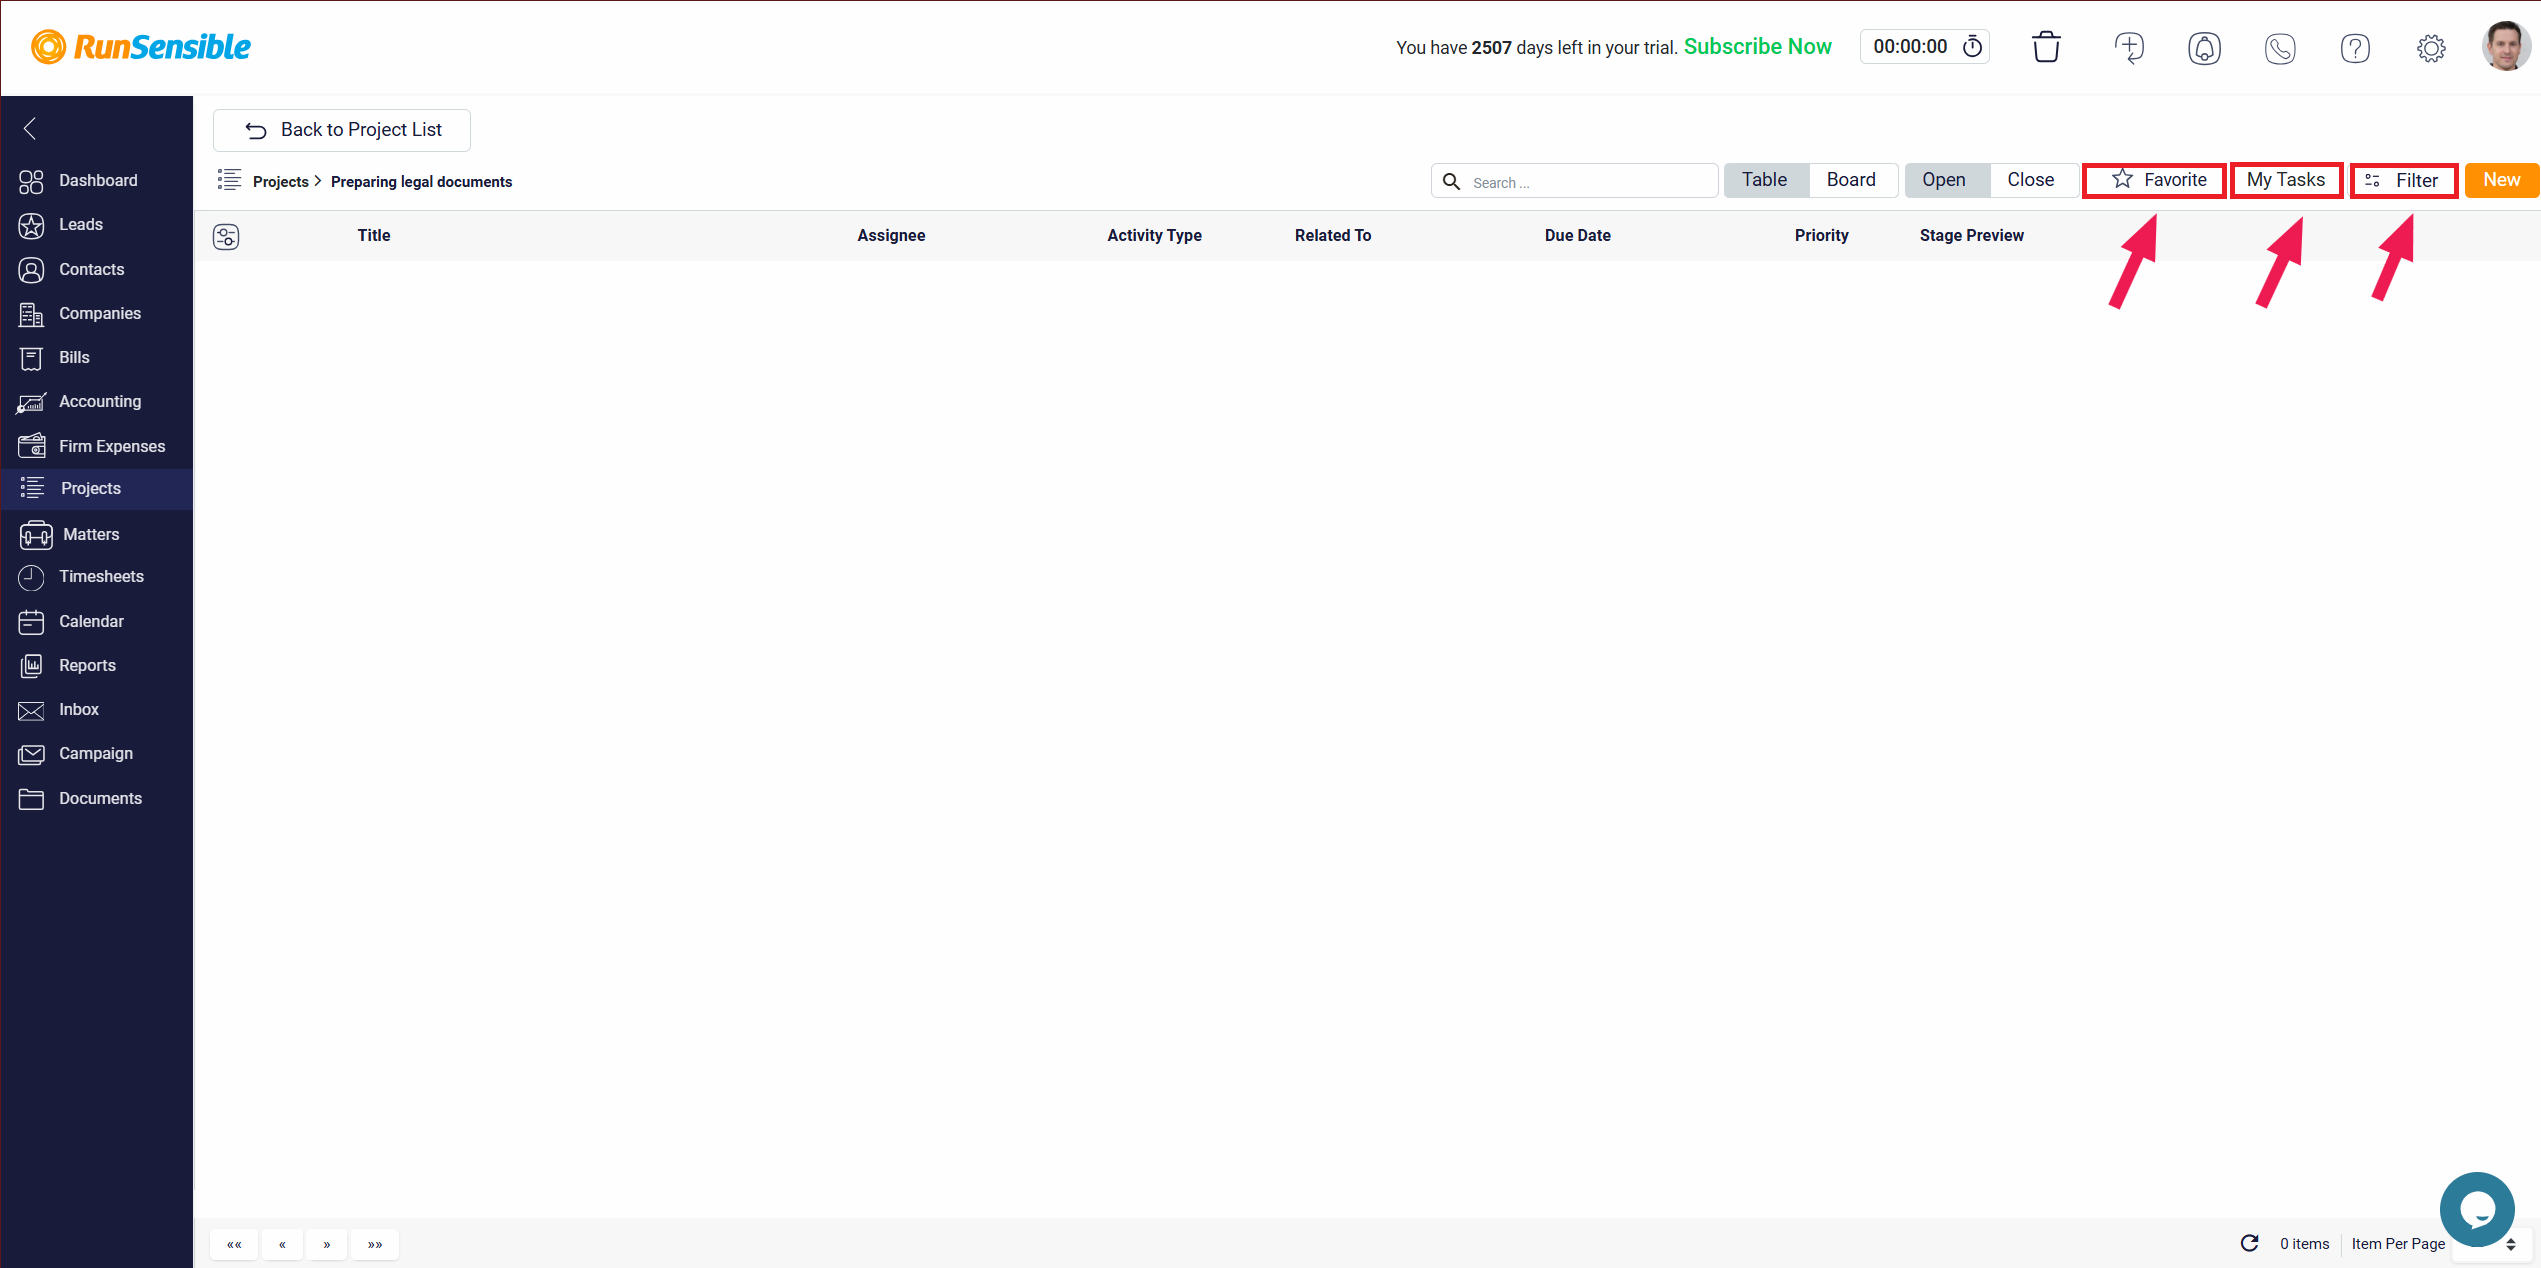
Utilize the Favorite button to view tasks tagged as favorites, or My Tasks button to see tasks assigned to you exclusively. Filtering the shown tasks is possible through Filter button.
Managing Tasks
Add a new task by clicking on the New button.
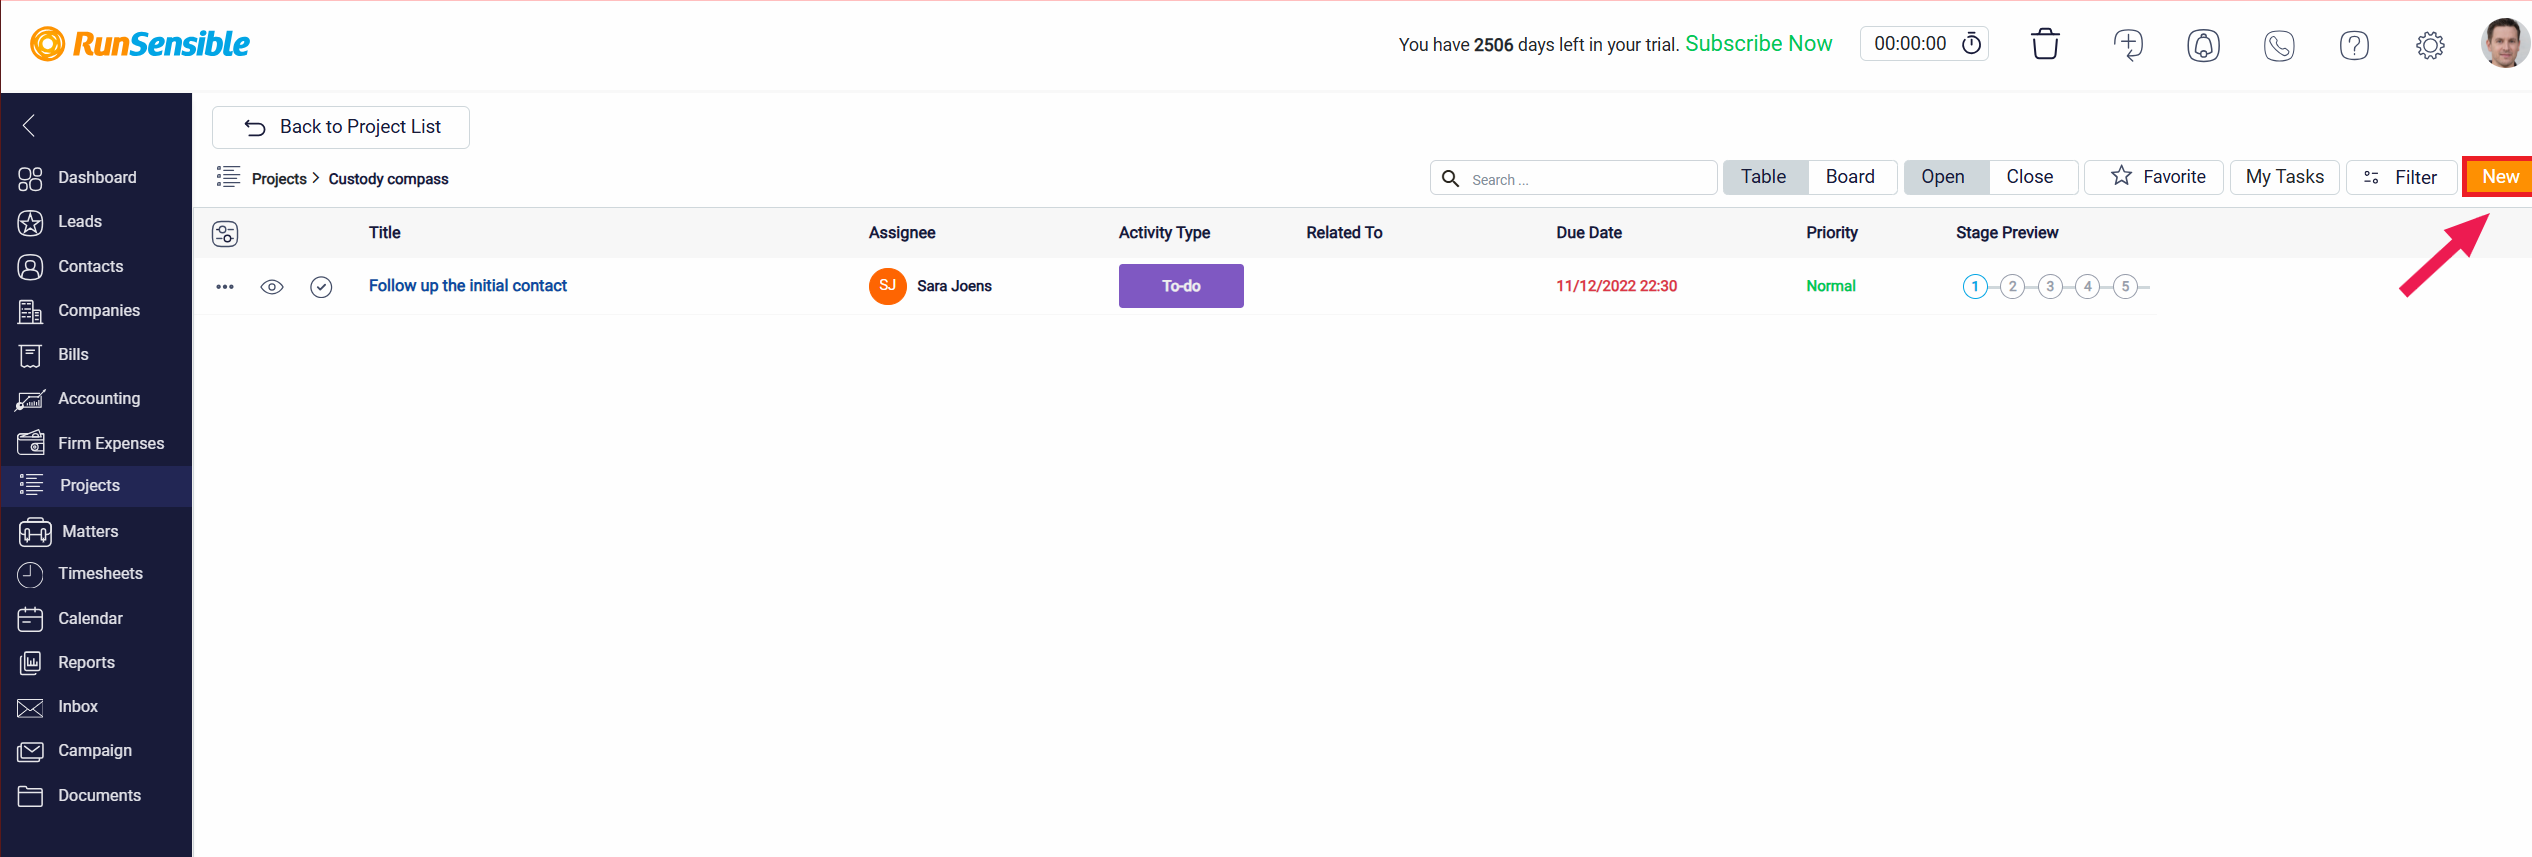
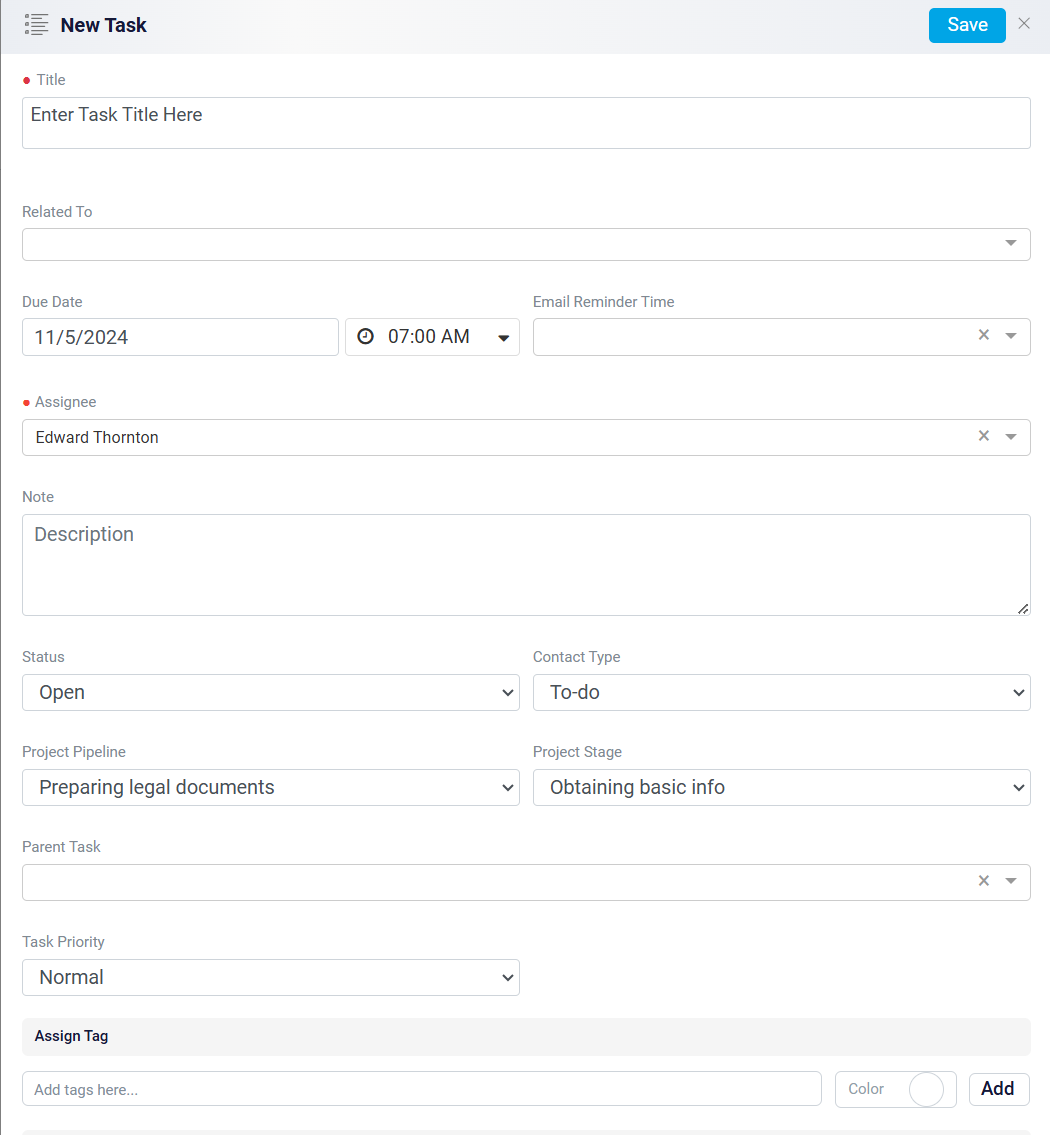
To check on a specific task, click on its name. Here you can also see on which stage it currently is, and by clicking on each stage the task updates to that stage.
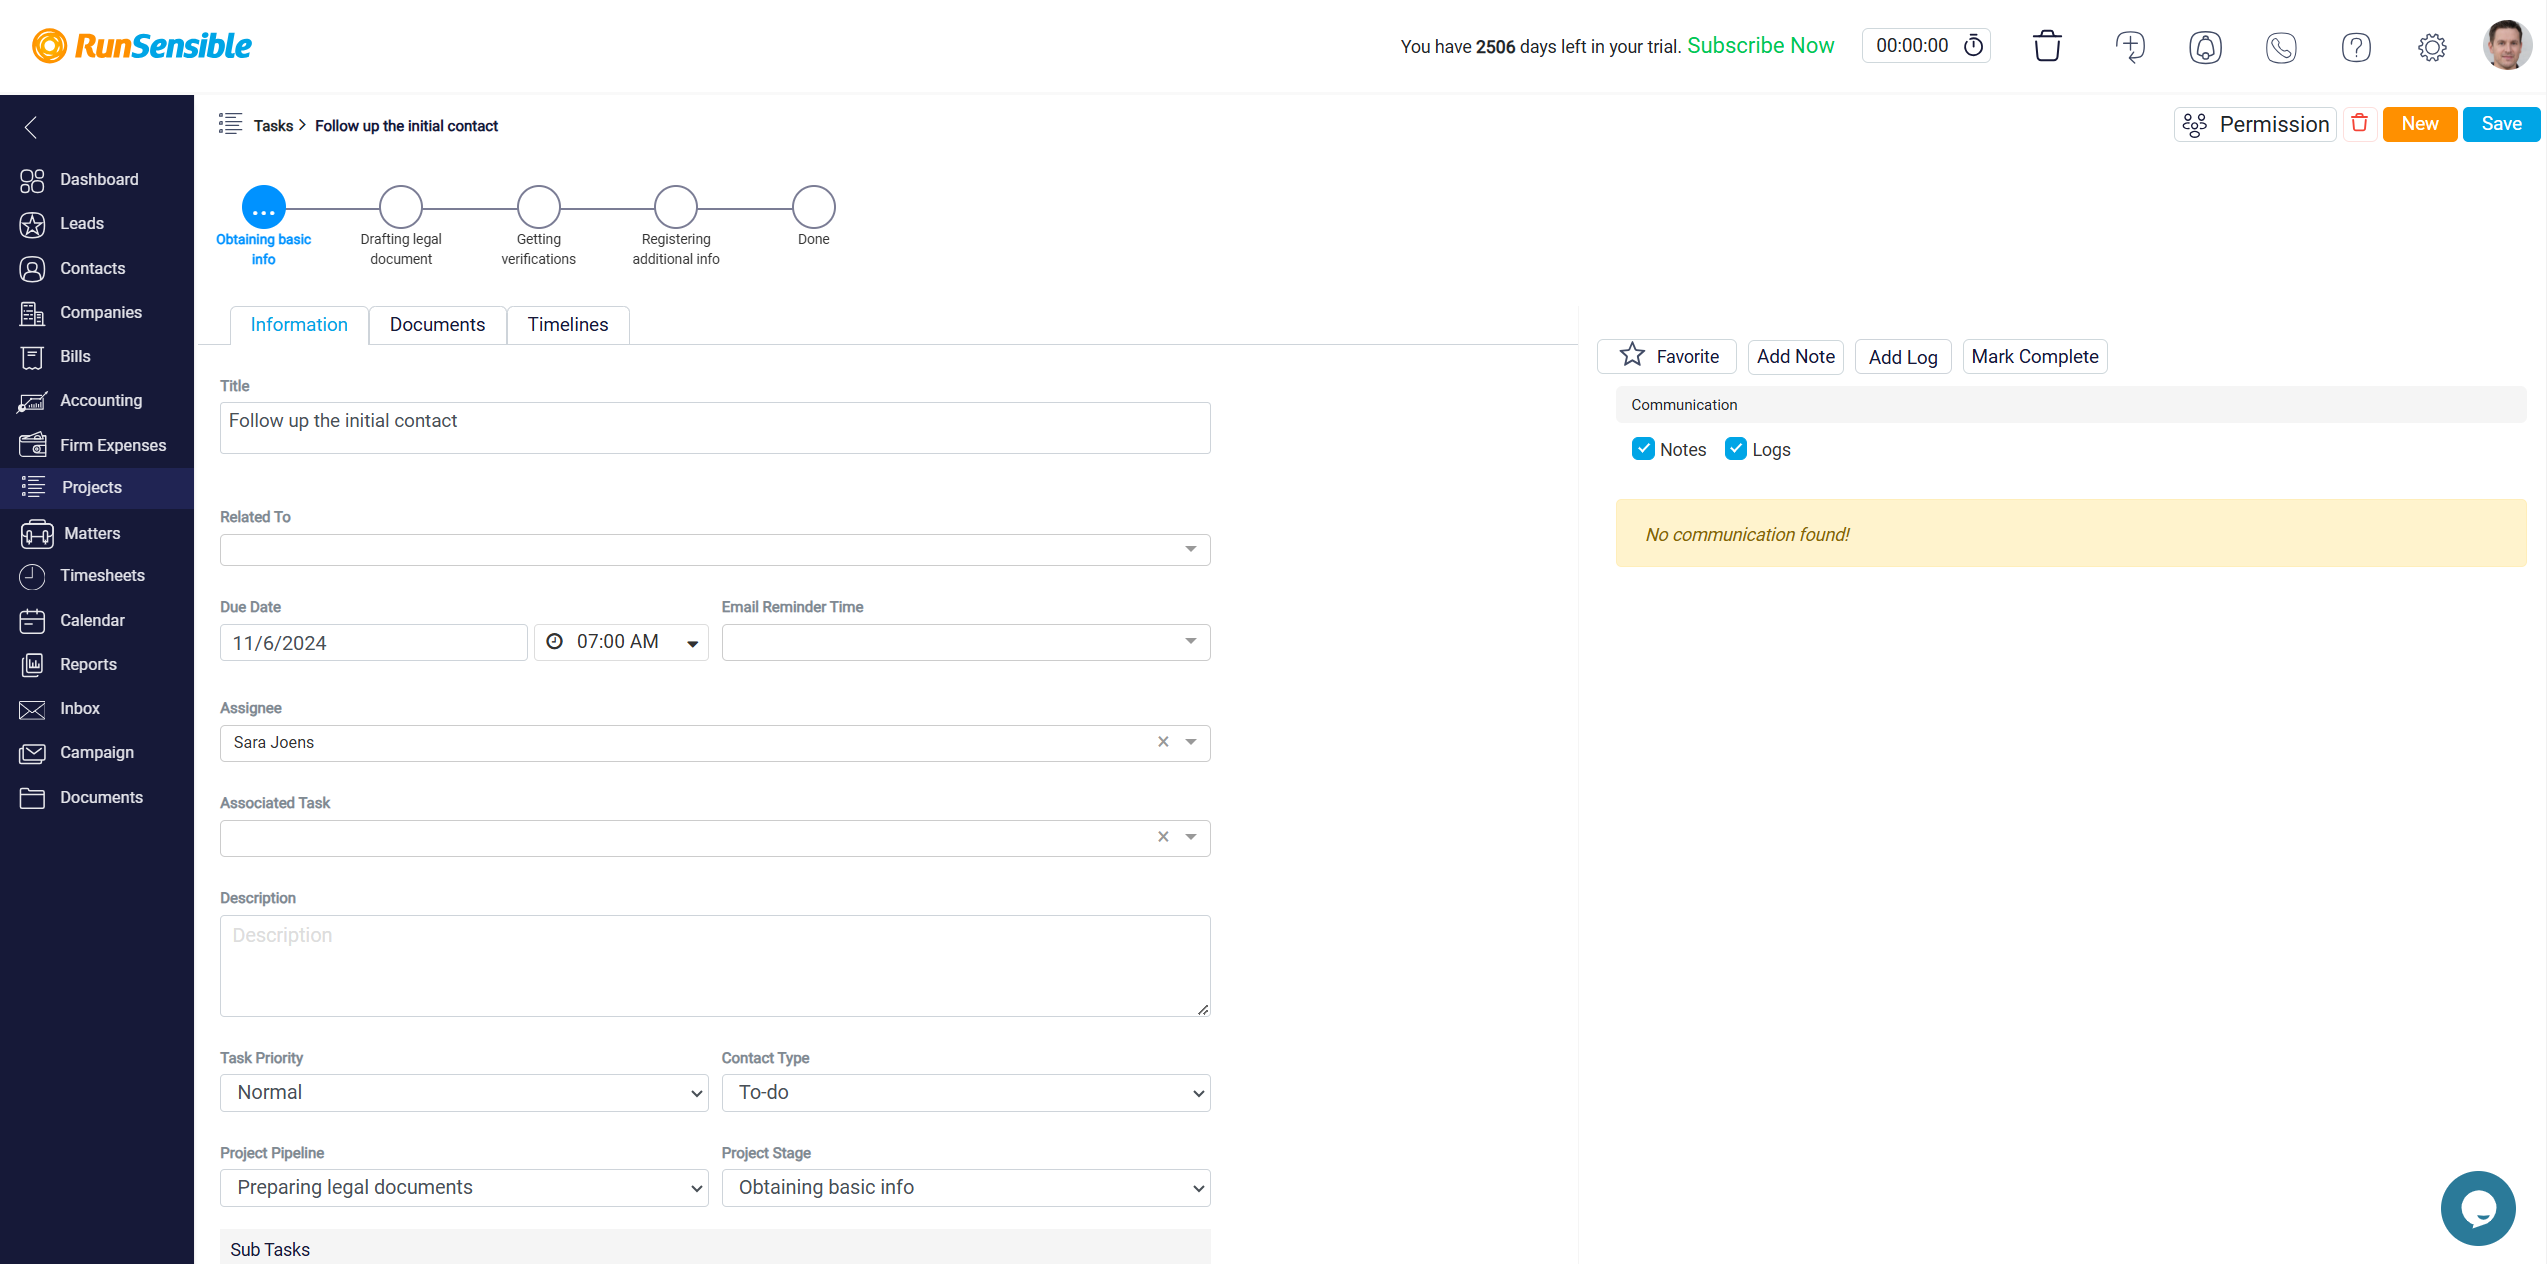
You can set the task as favorite by the Favorite button.
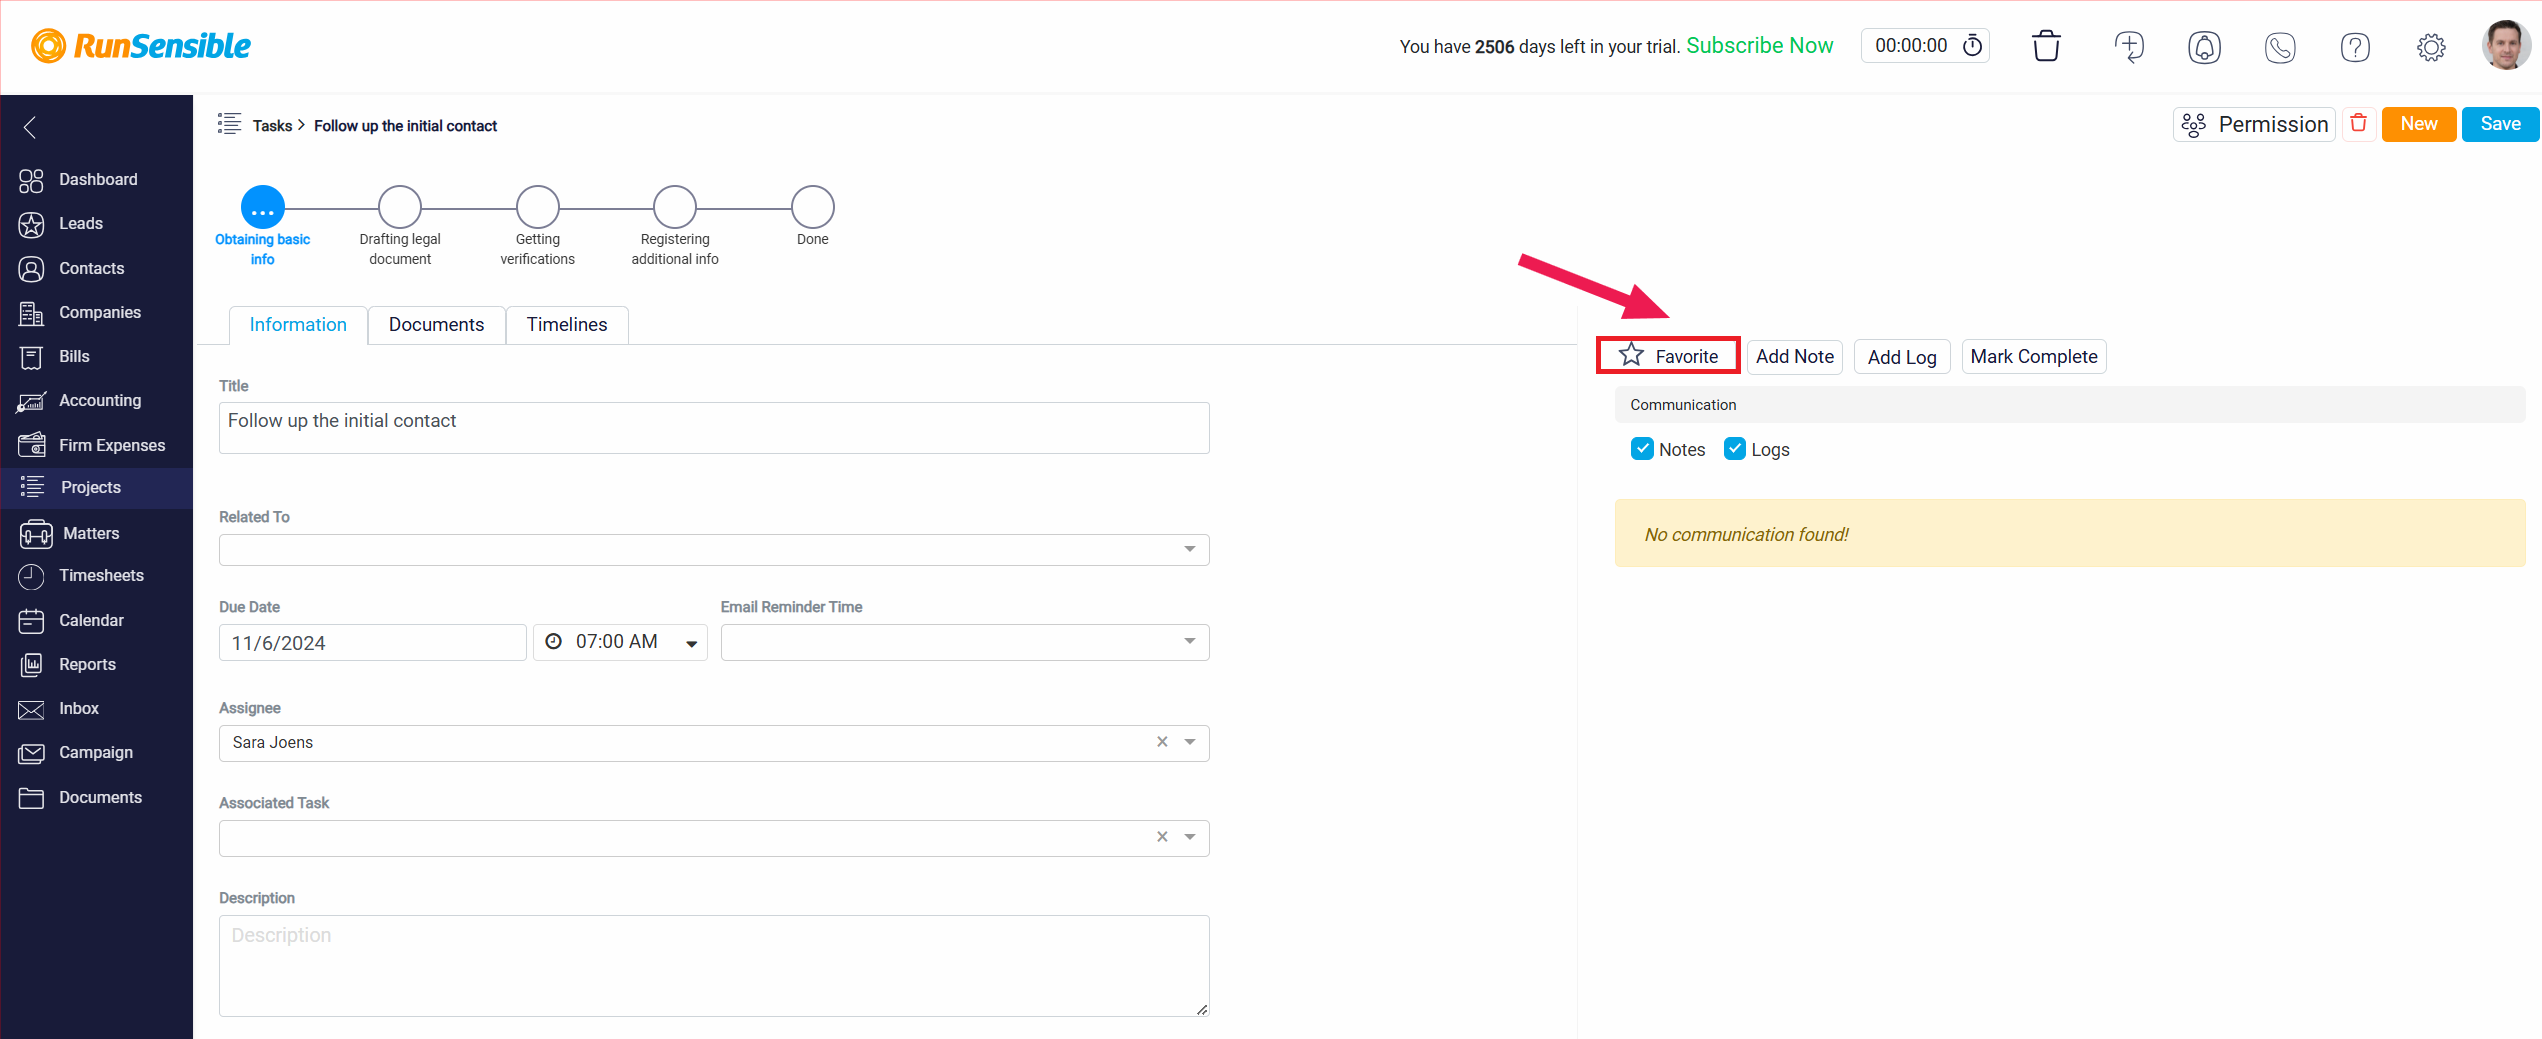
Adding Notes to the Tasks
Adding notes to the task is possible through Add Note button.
The Add Log button allows users to record and document important information related to a specific task. This could include details such as the date, time, and nature of any actions taken, as well as any relevant notes or observations, this ensures a comprehensive record of task-related activities, facilitating better organization, continuity, and collaboration among team members.
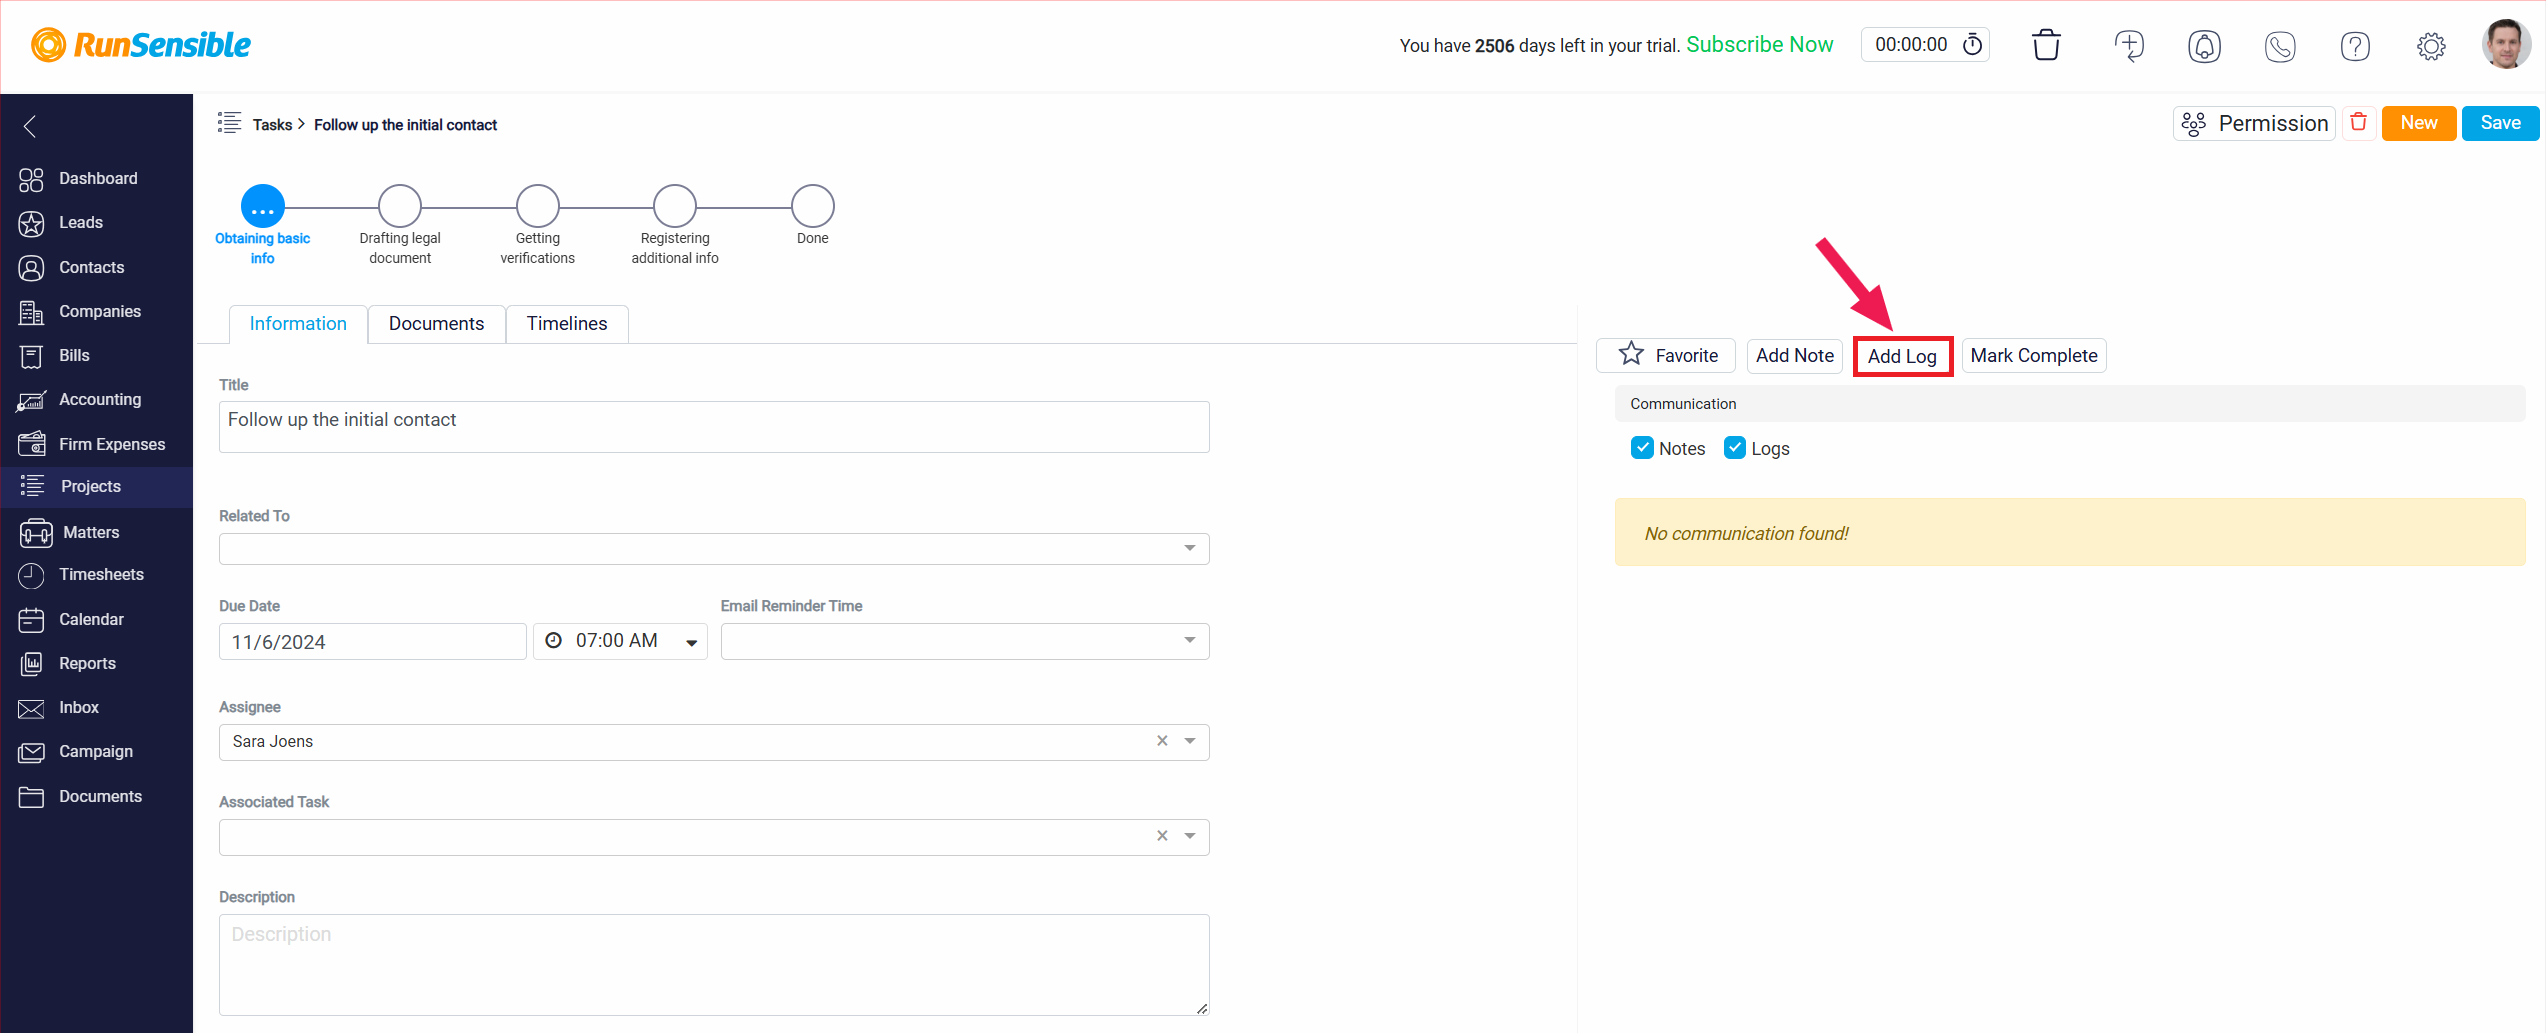
When finished with a task the Mark Complete button.
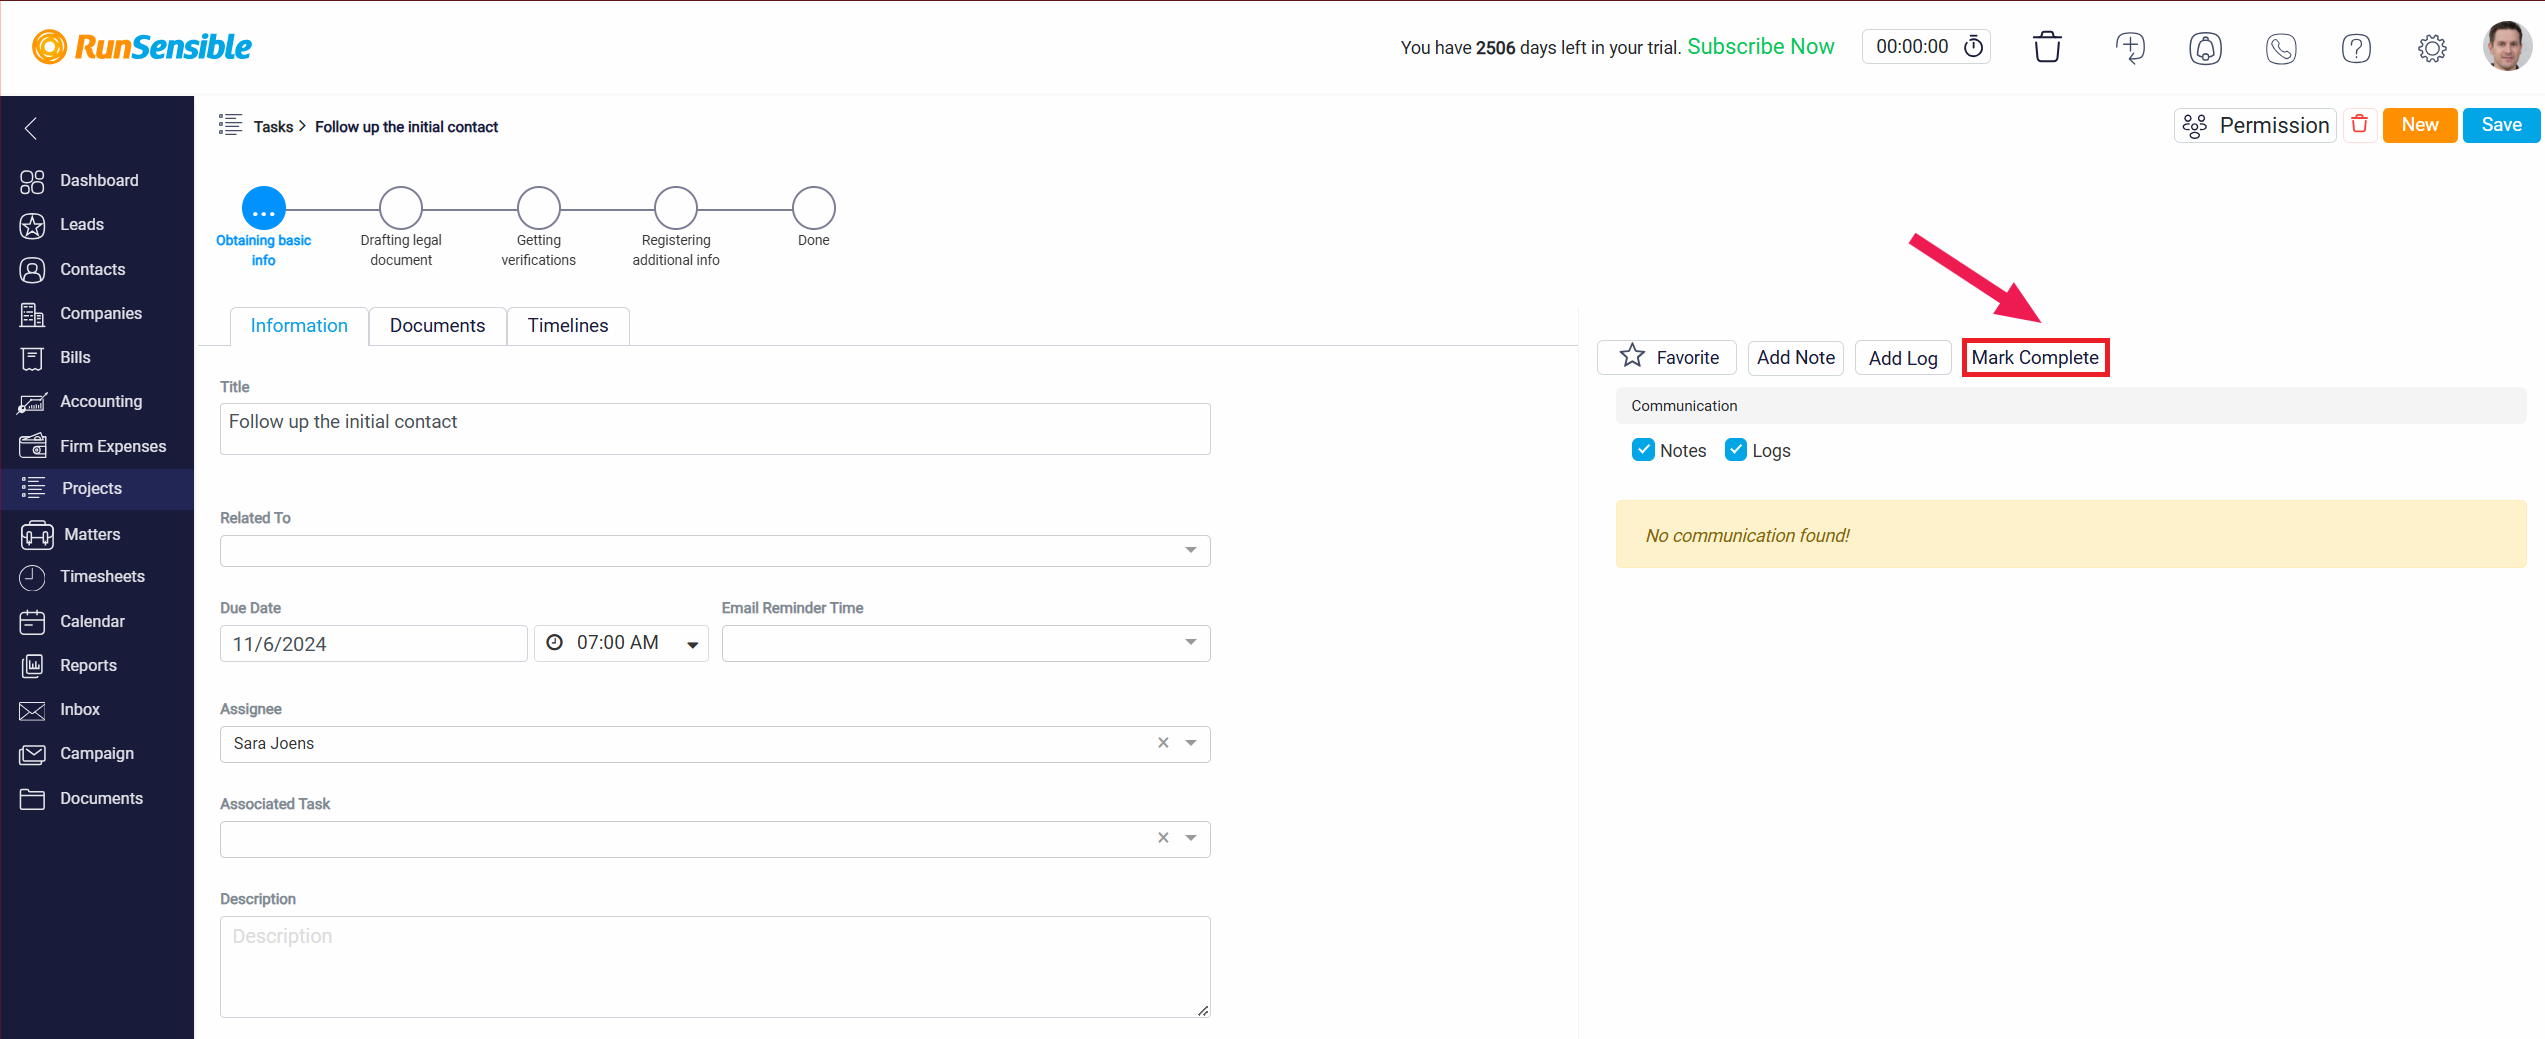
Adjust permissions using the Permission button.
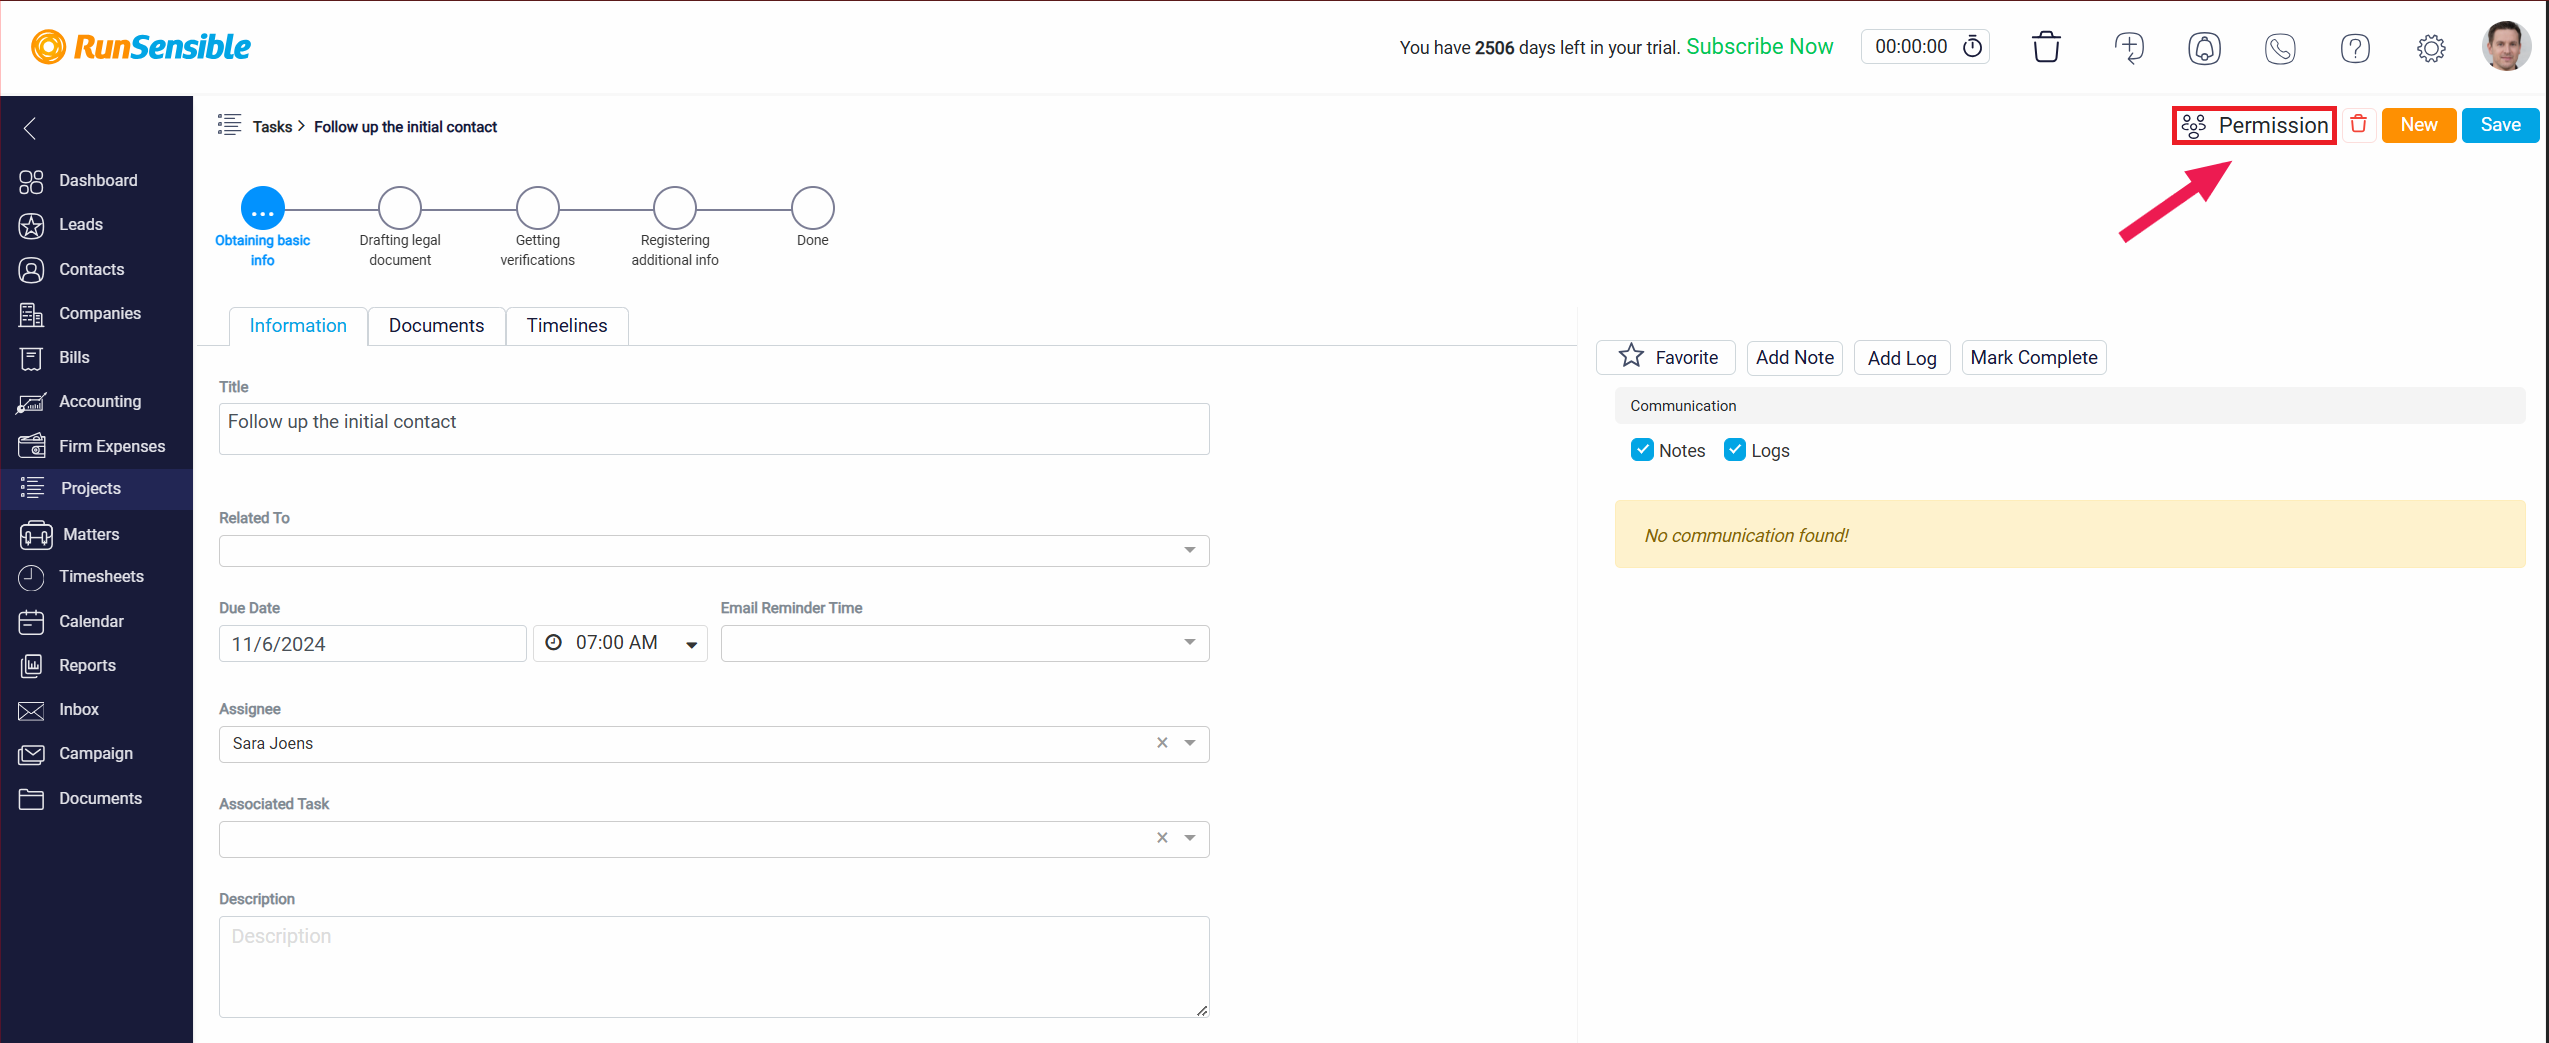
Utilize the garbage can icon to delete tasks when needed.
Creating New Tasks
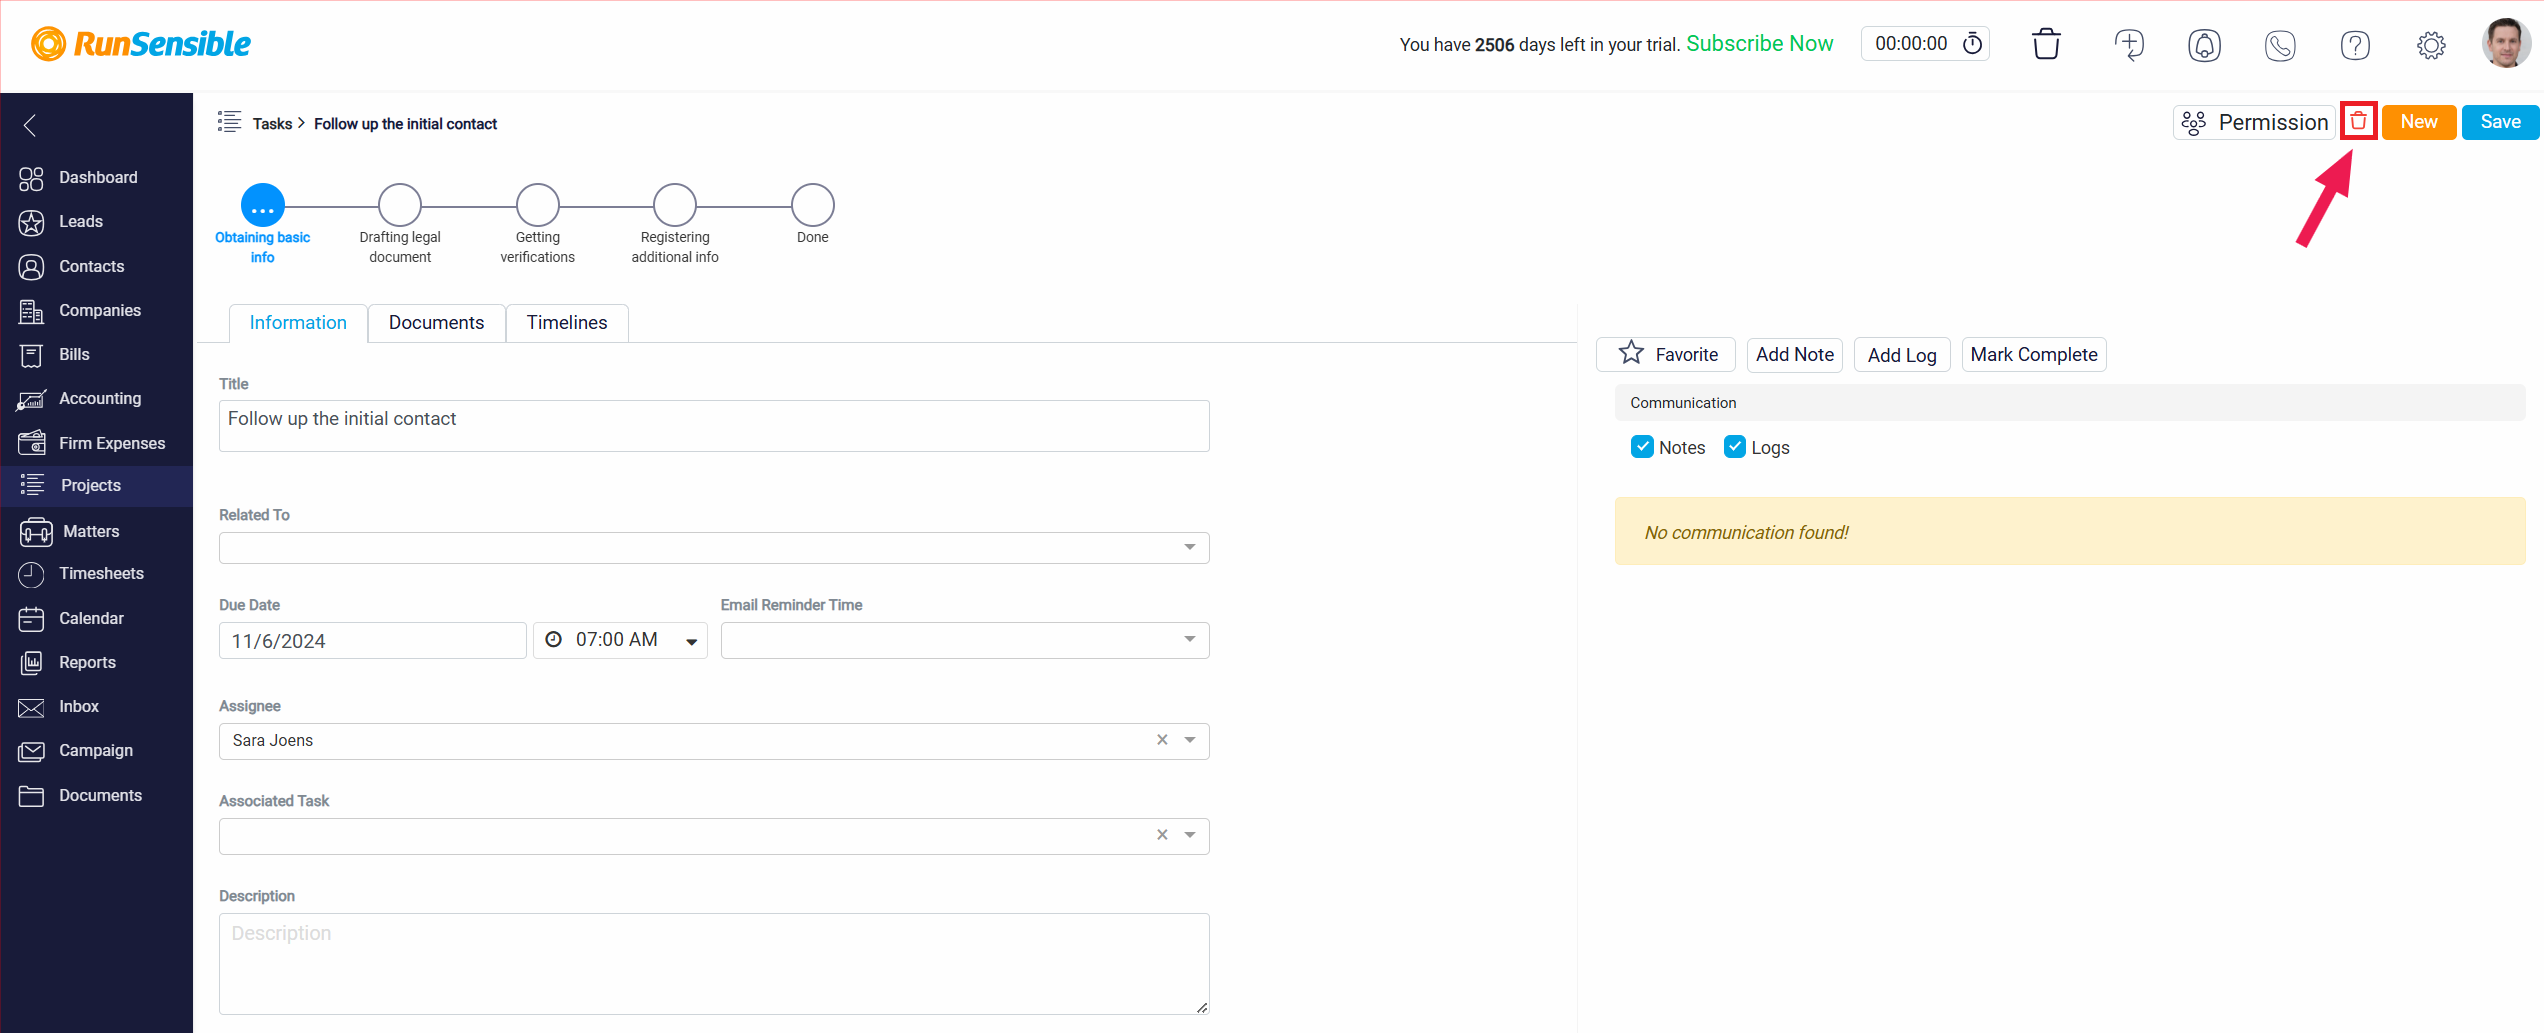
With the New button, you can quickly create a new task if any new idea comes up.
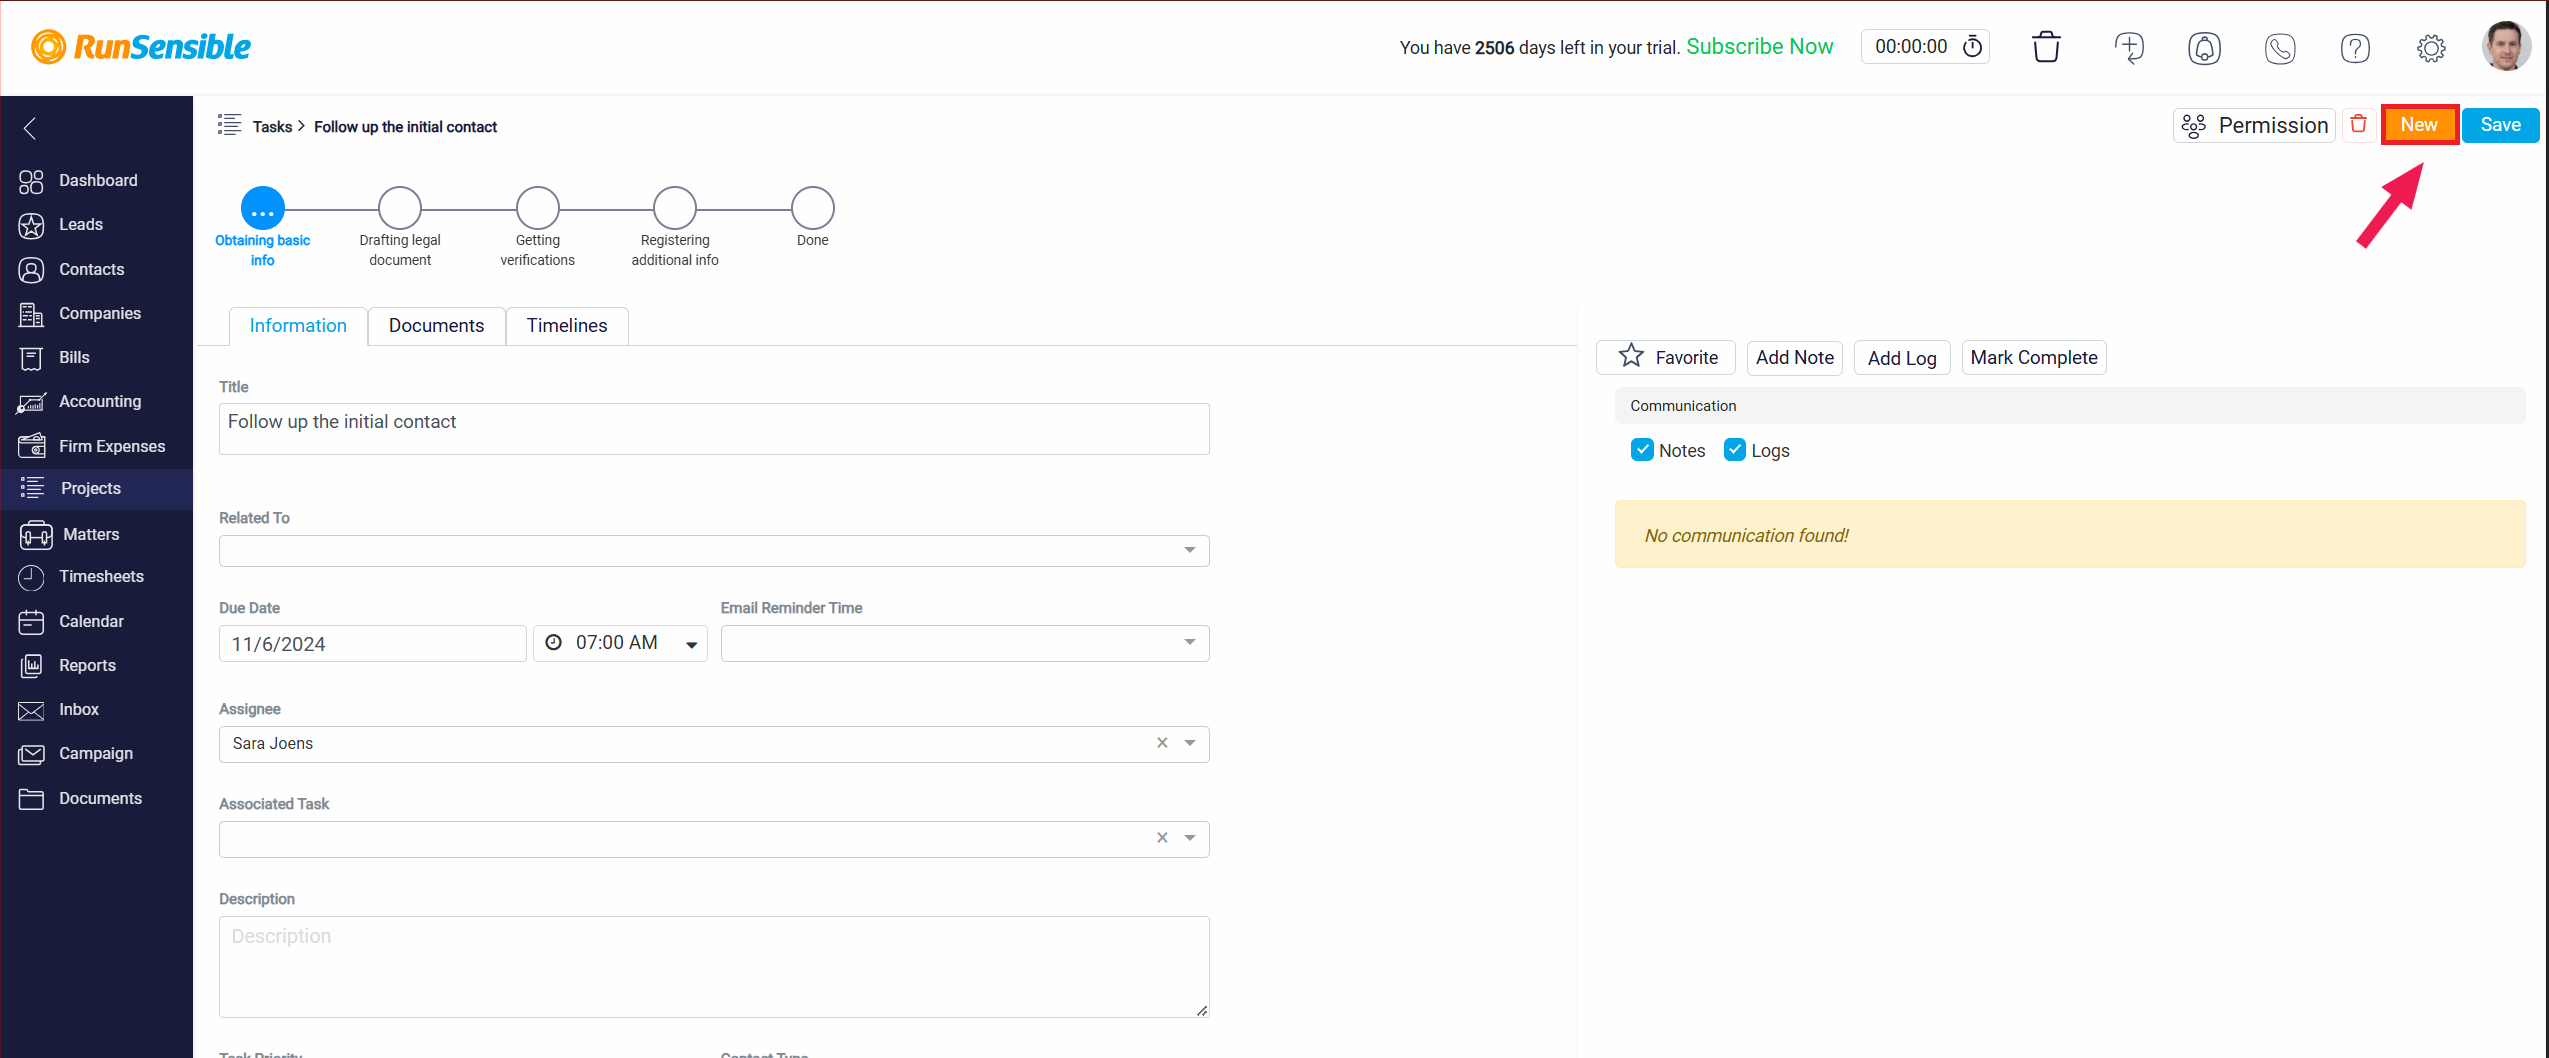
And the Save button is for saving the changes you make.
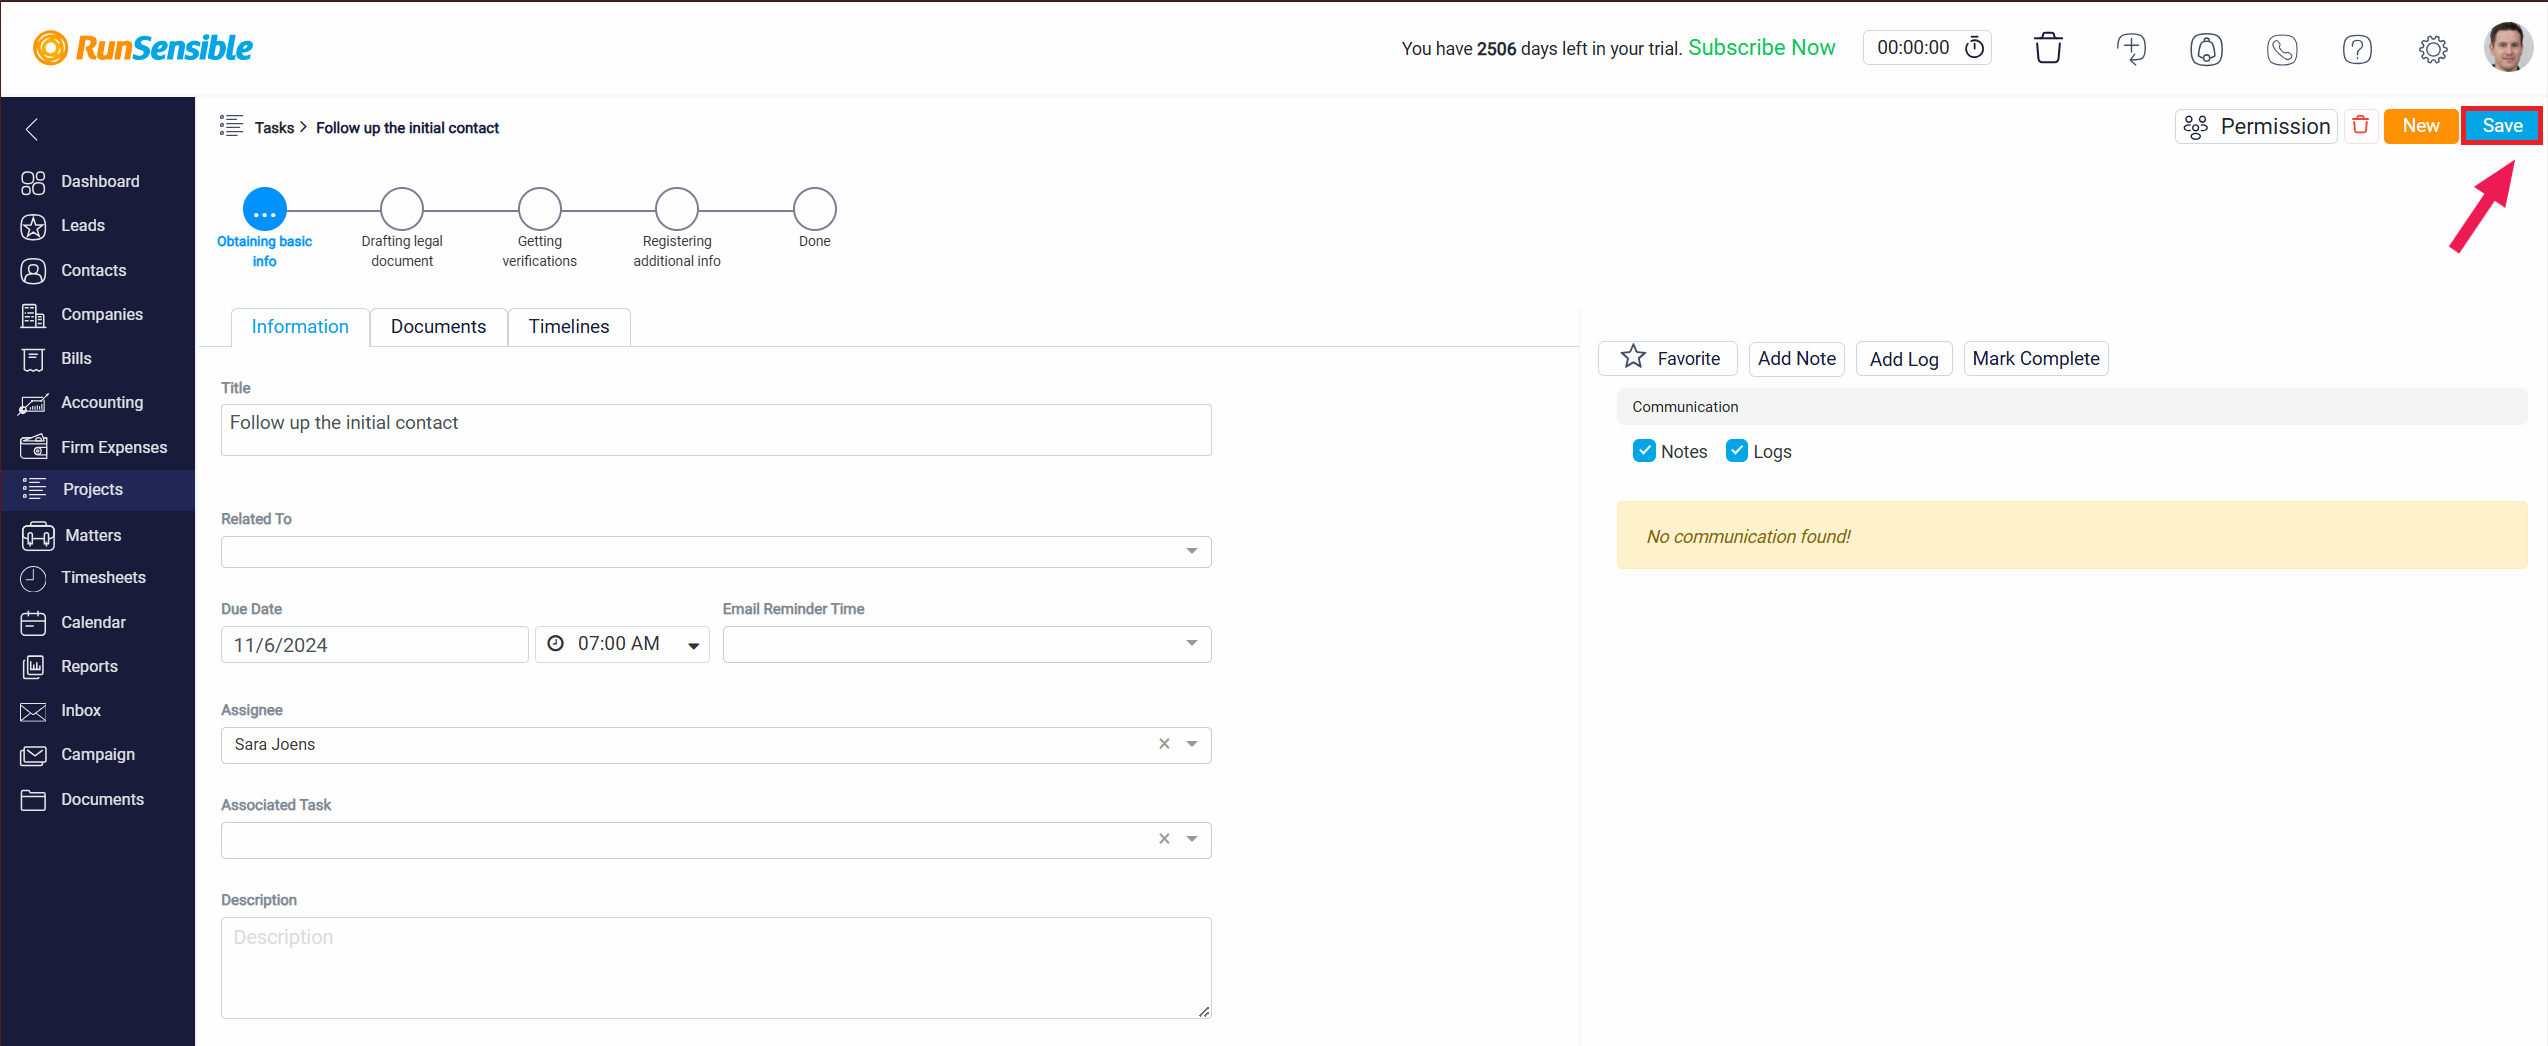
There are three tabs in each task: Information, Documents, and Timeline.
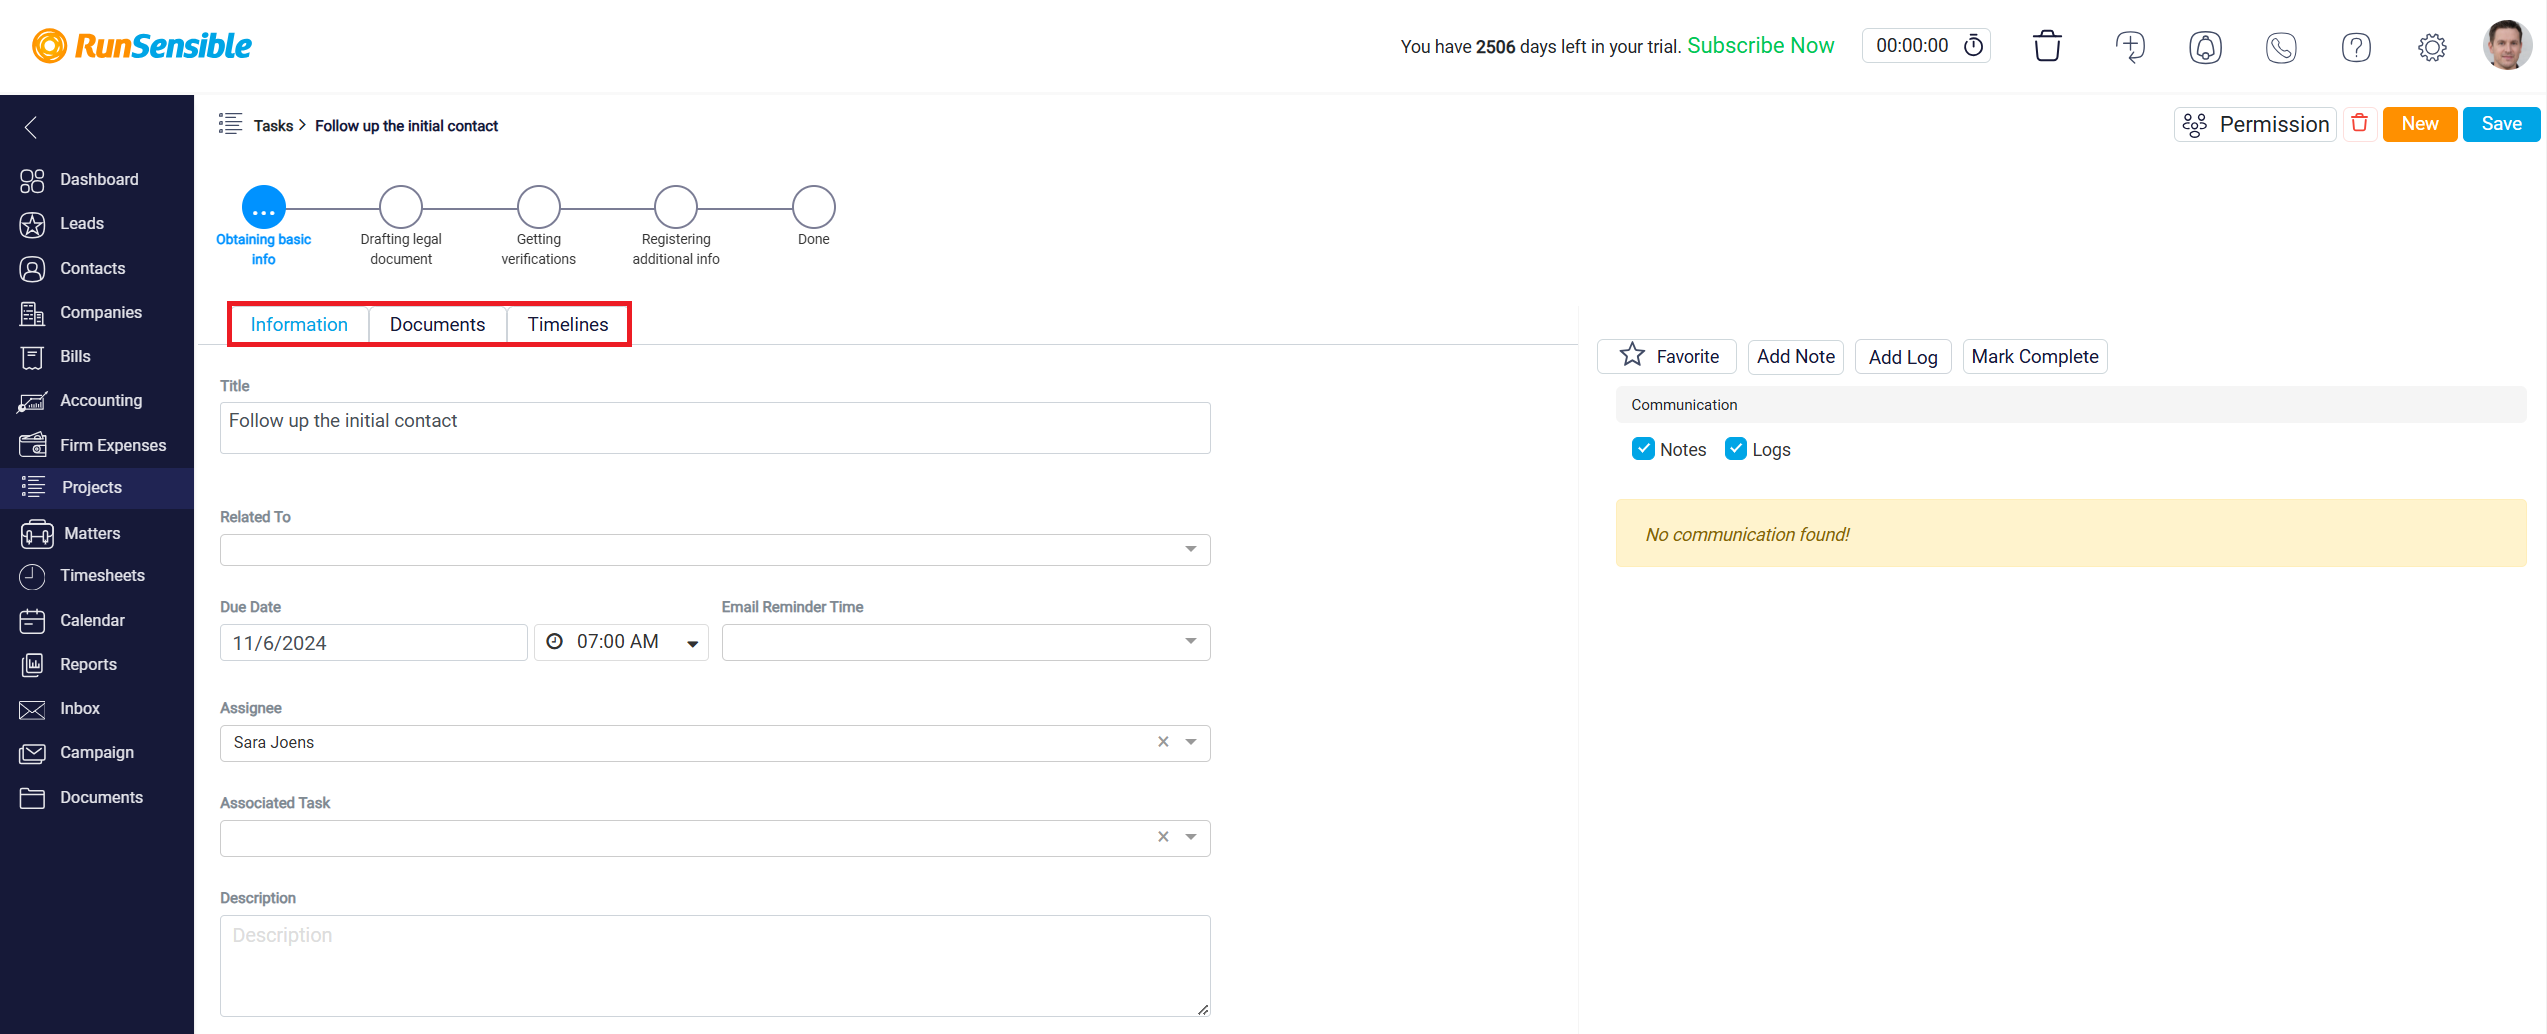
The Information tab displays details such as the task’s title, related items, due date, assignee, associated tasks, priority, communication type, project pipeline title, and project state.
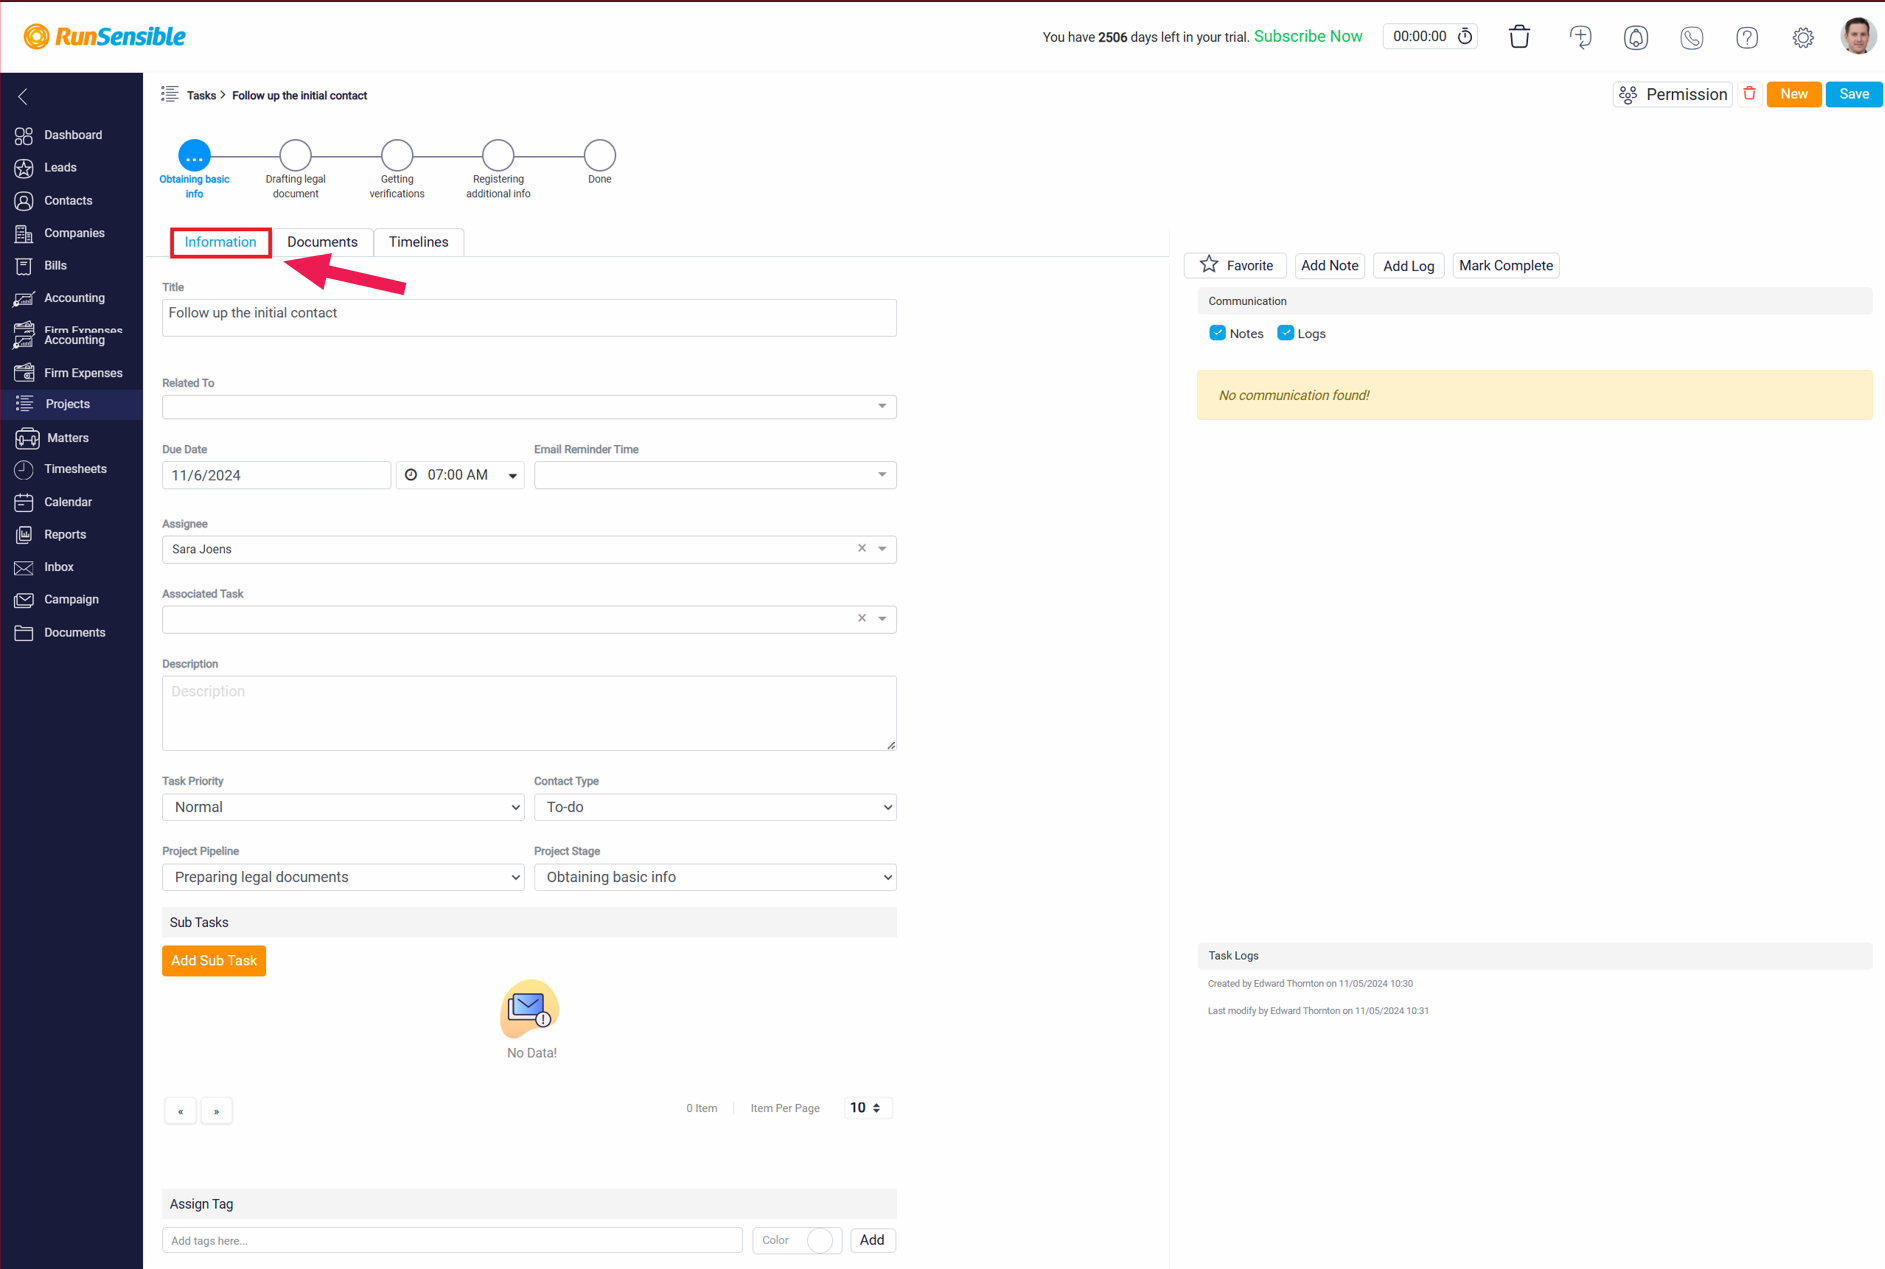
The Add Sub Task button, in the Information tab, allows users to create additional, smaller tasks that are related to a larger, primary task. These sub-tasks could be used to break down complex tasks into more manageable parts, ensuring that no detail is overlooked.
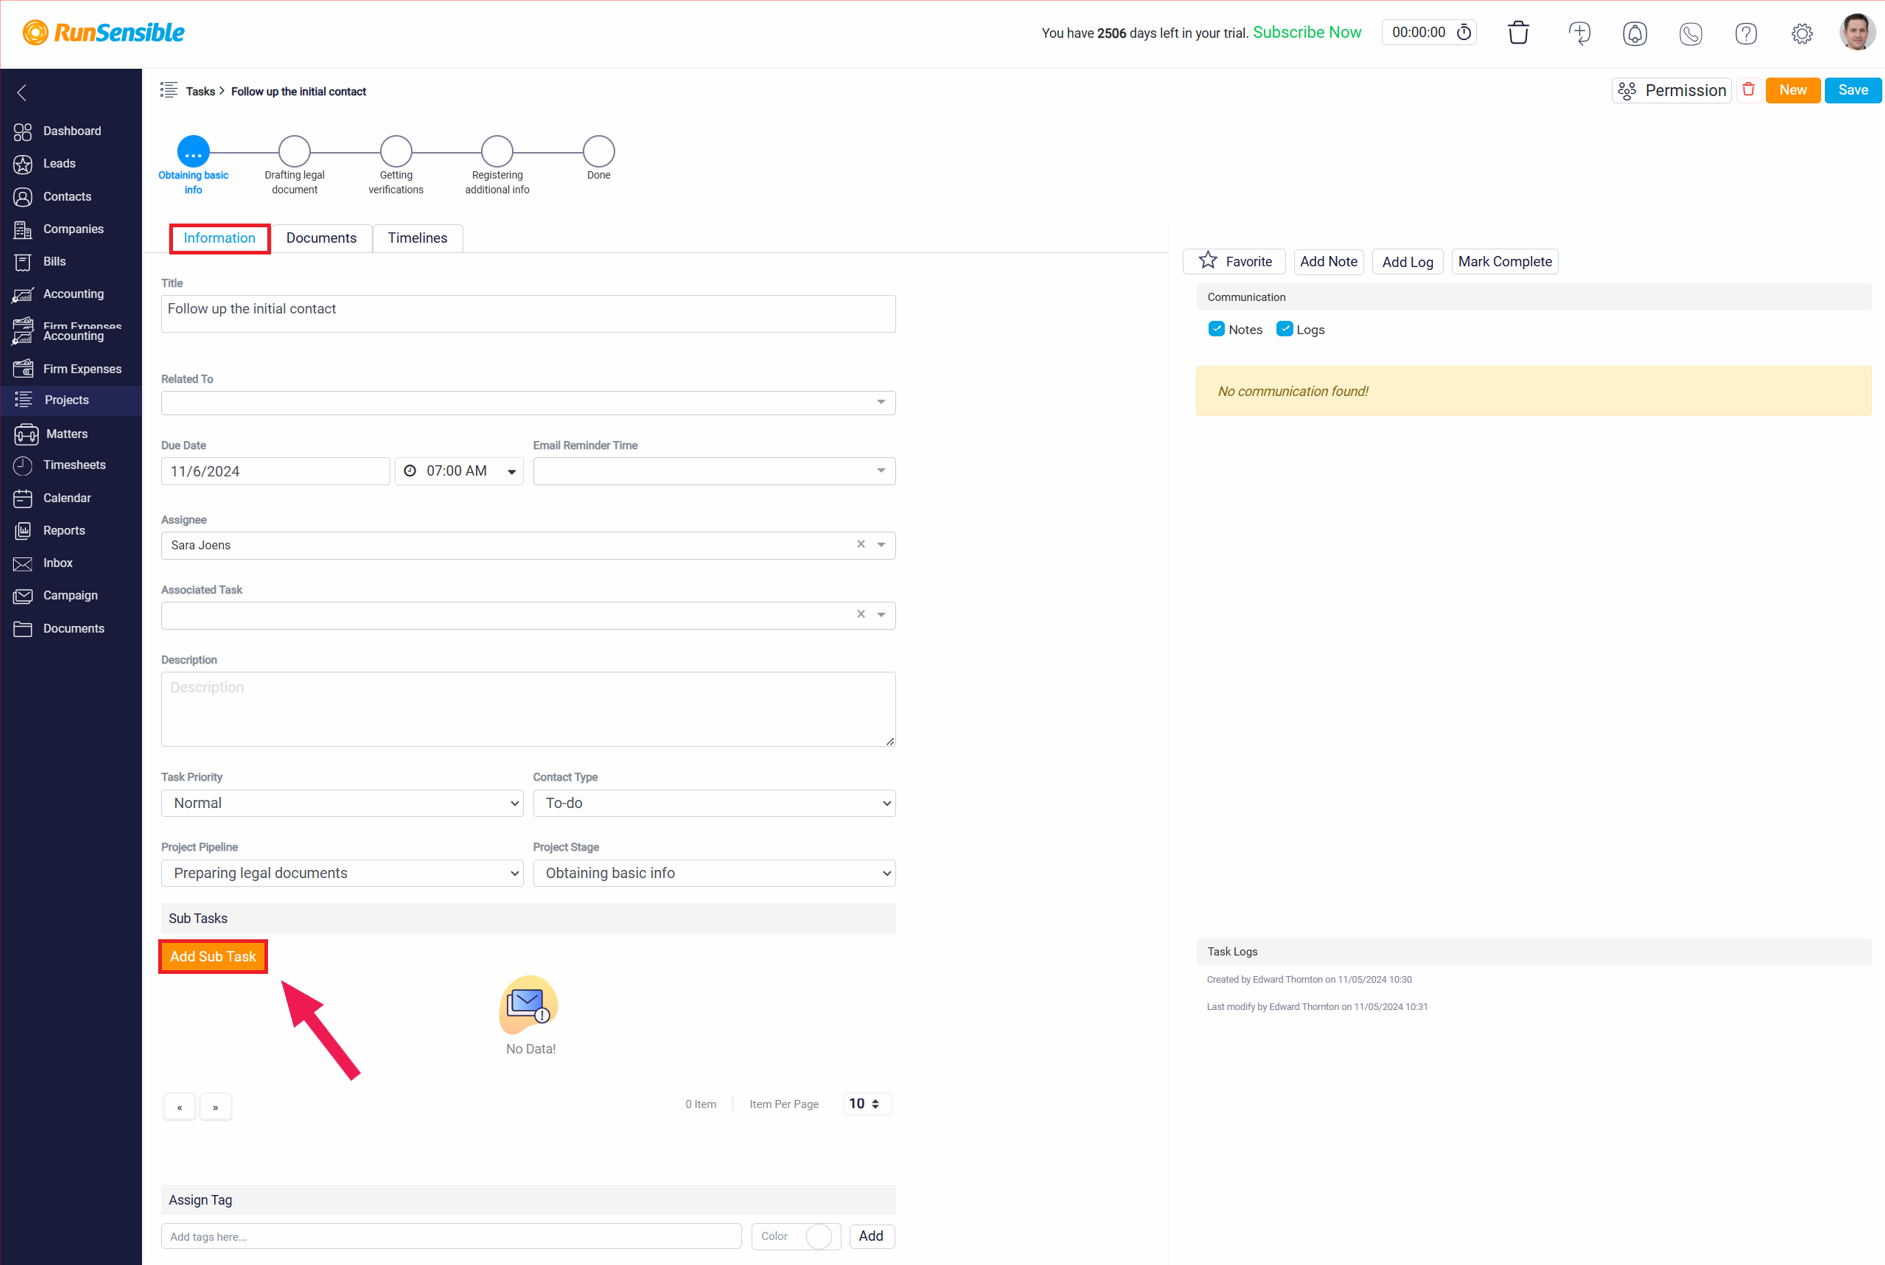
Lastly, assign tags to tasks for better organization.
Access the Documents tab by clicking on its button.
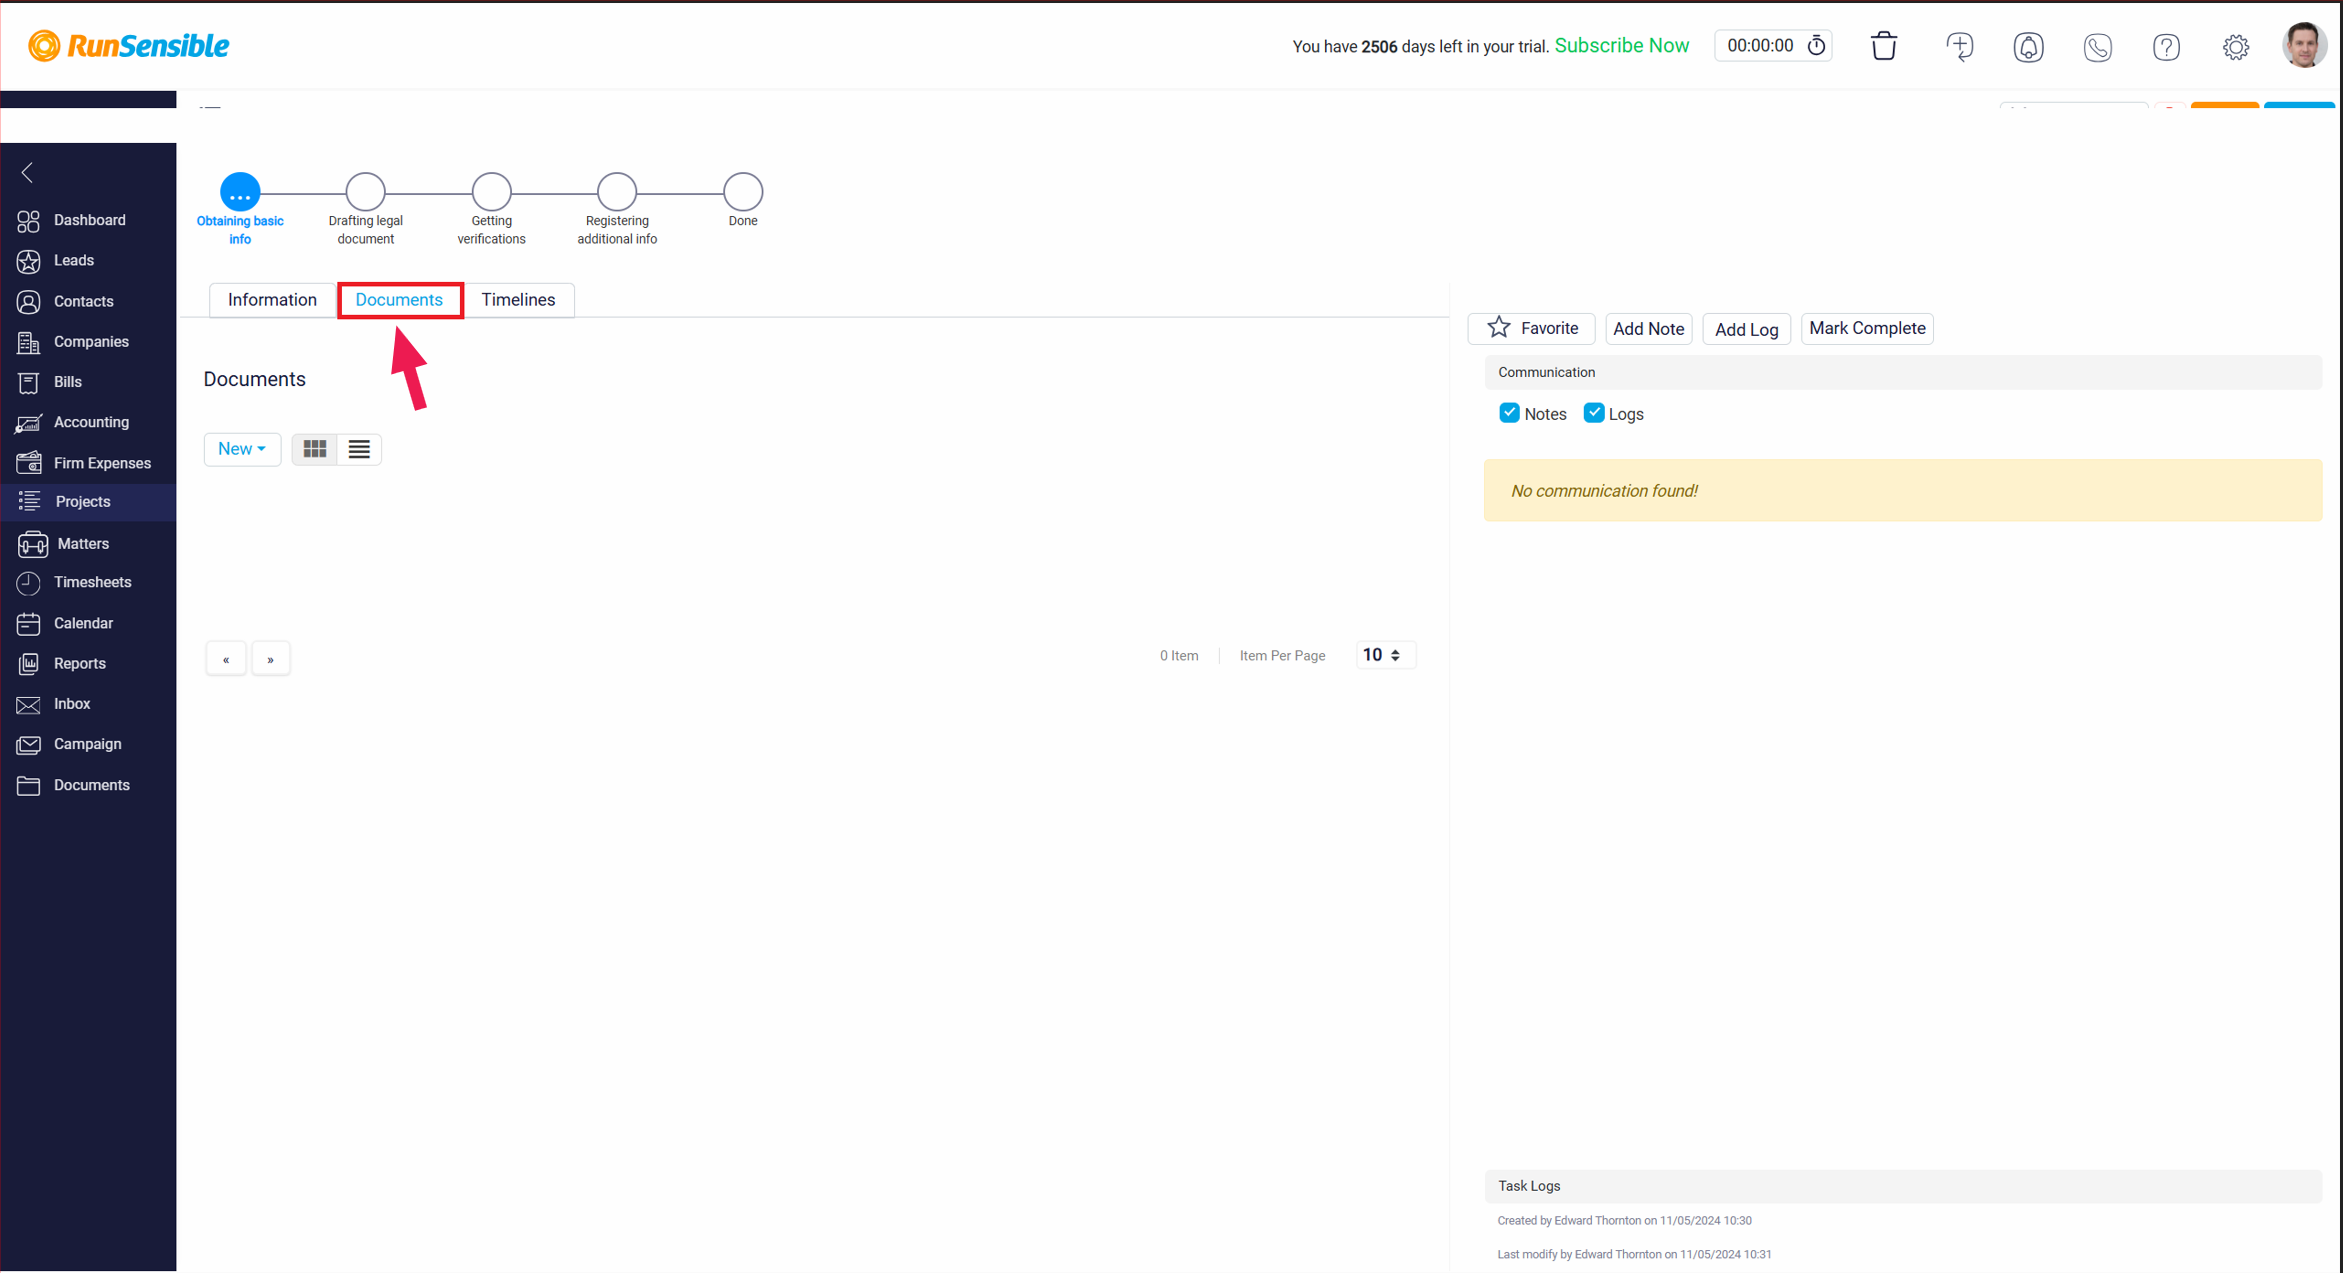
By clicking on the New drop down button you can:
- Create folders in there for handling your files in a better and more organized way.
- Upload files/folders from your local computer.
- Upload from your RunSensible Drive.
- Upload from Drop Box.
- Upload from Google Drive.

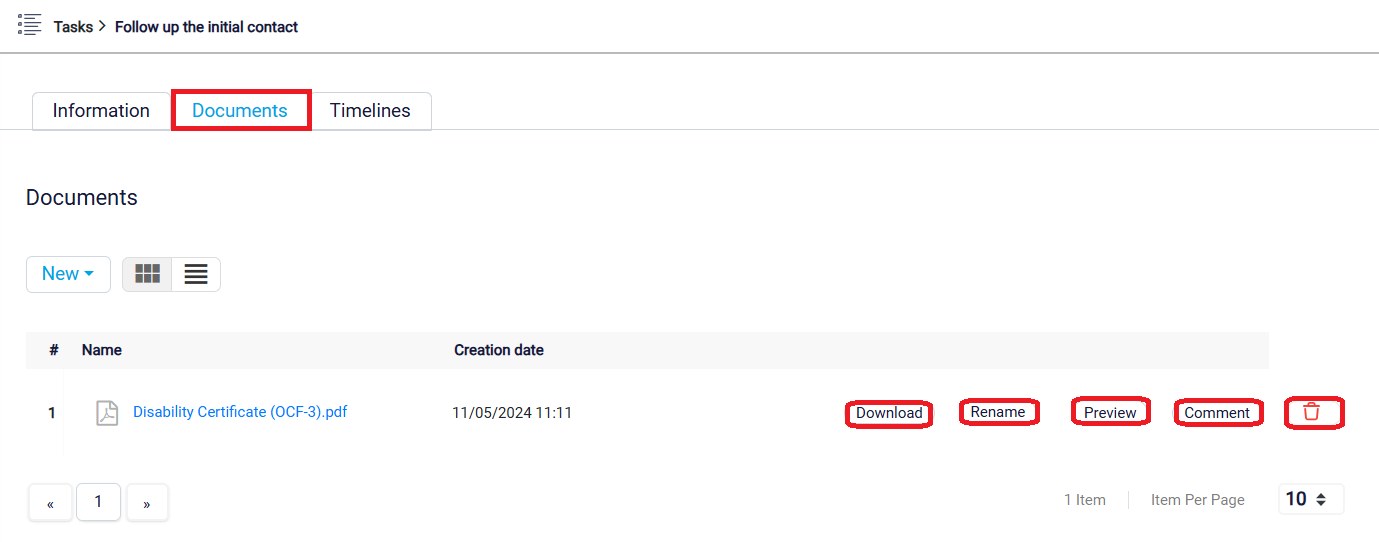
If a file has been uploaded you can download it clicking on the Download button, or rename it through the Rename button, preview the file by Preview button, write comments on it through Comment button, and delete it by the garbage can button.
To get to the Timeline tab click on its option.
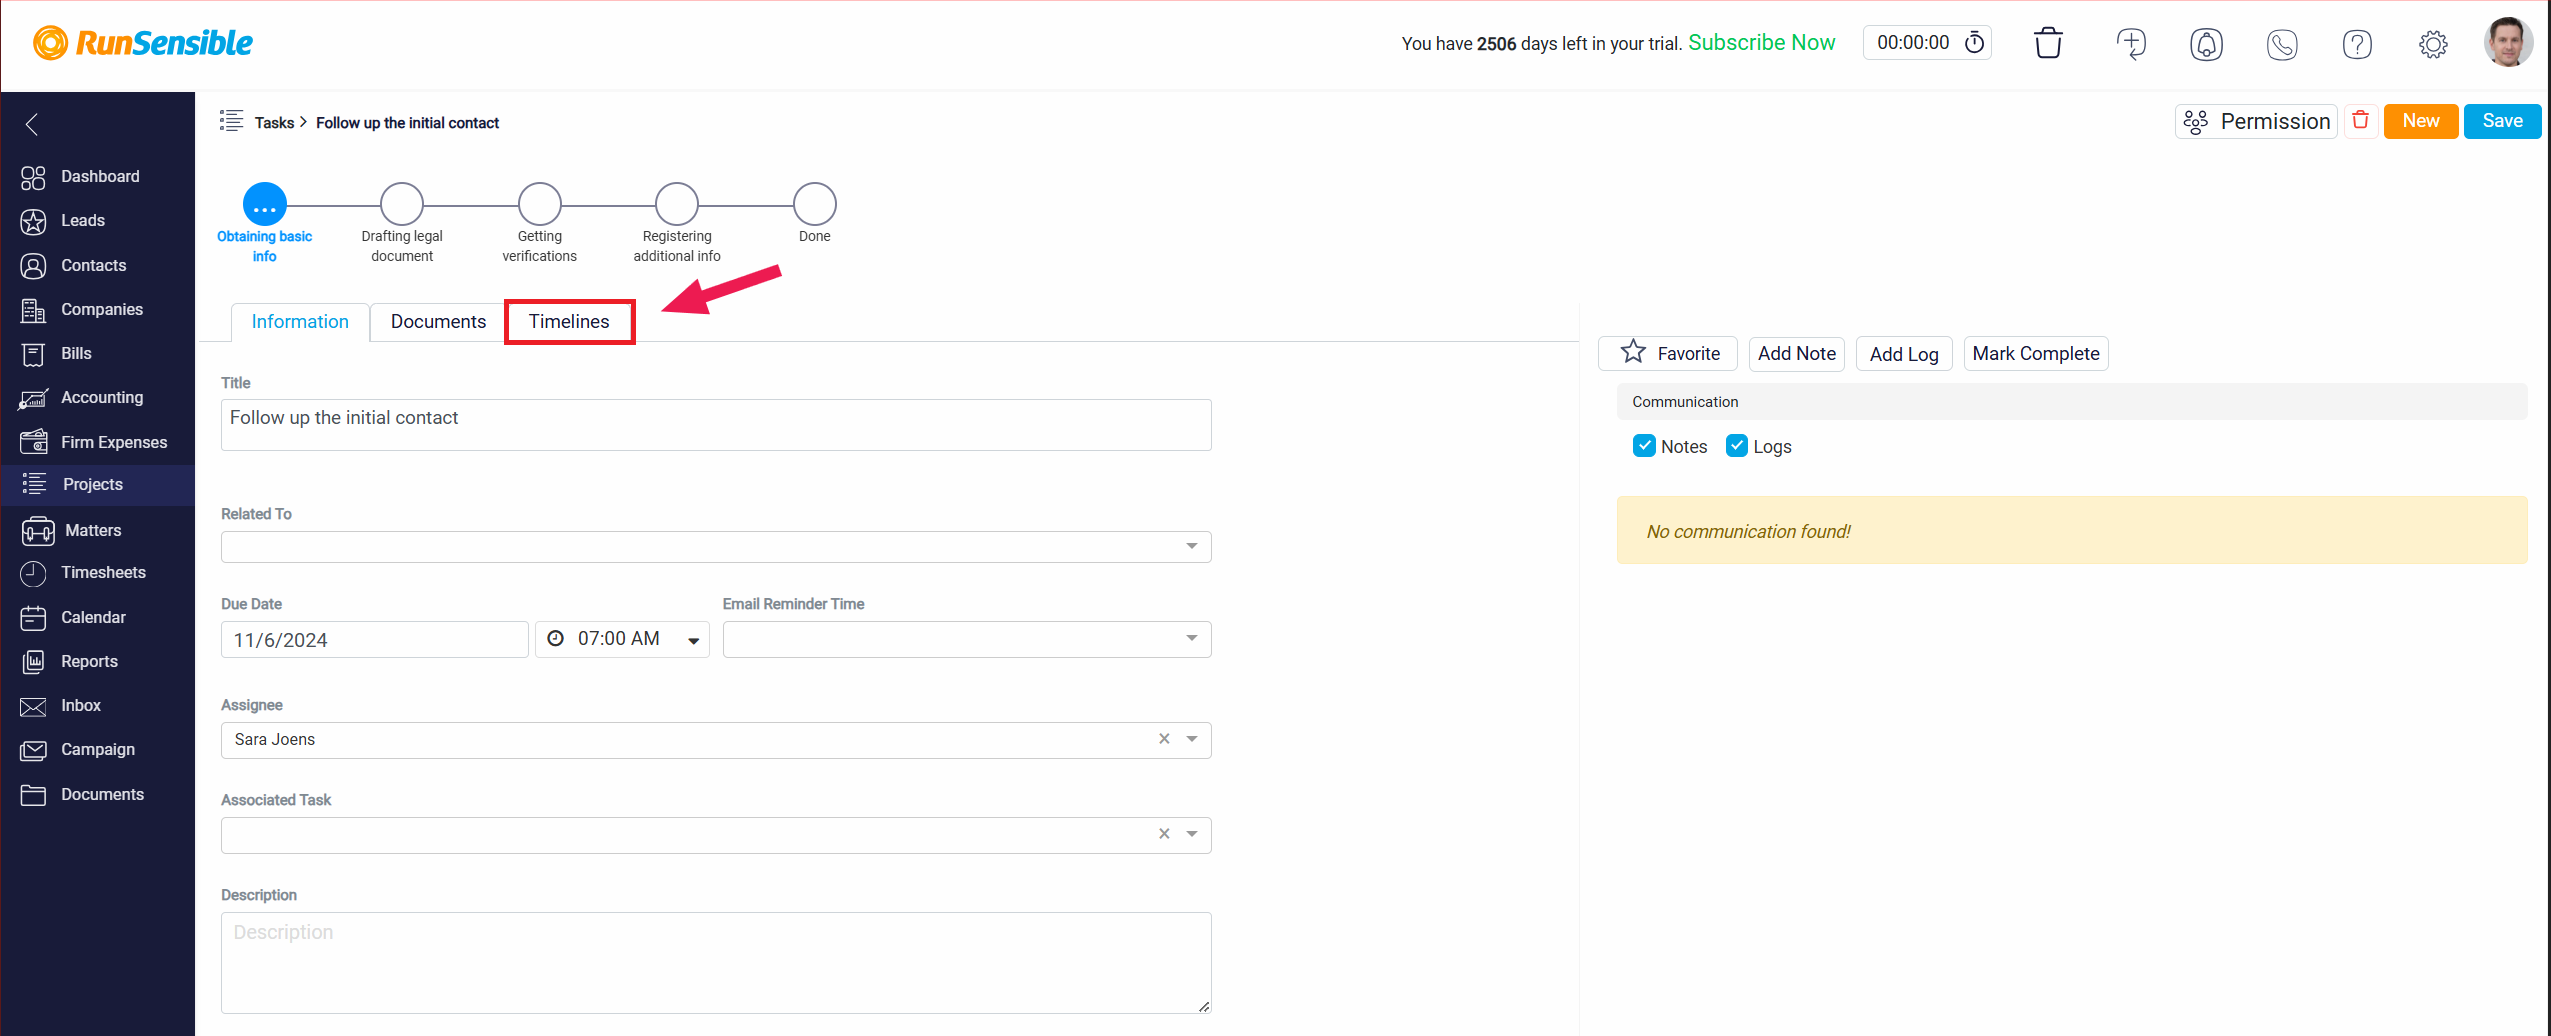
Timeline provides a comprehensive overview of the task’s progression over time. It typically displays a chronological record of all the important events, actions, and milestones associated with that specific task, on which you can set filters by clicking on the ‘Filter’ drop down button.