Creating Email Account
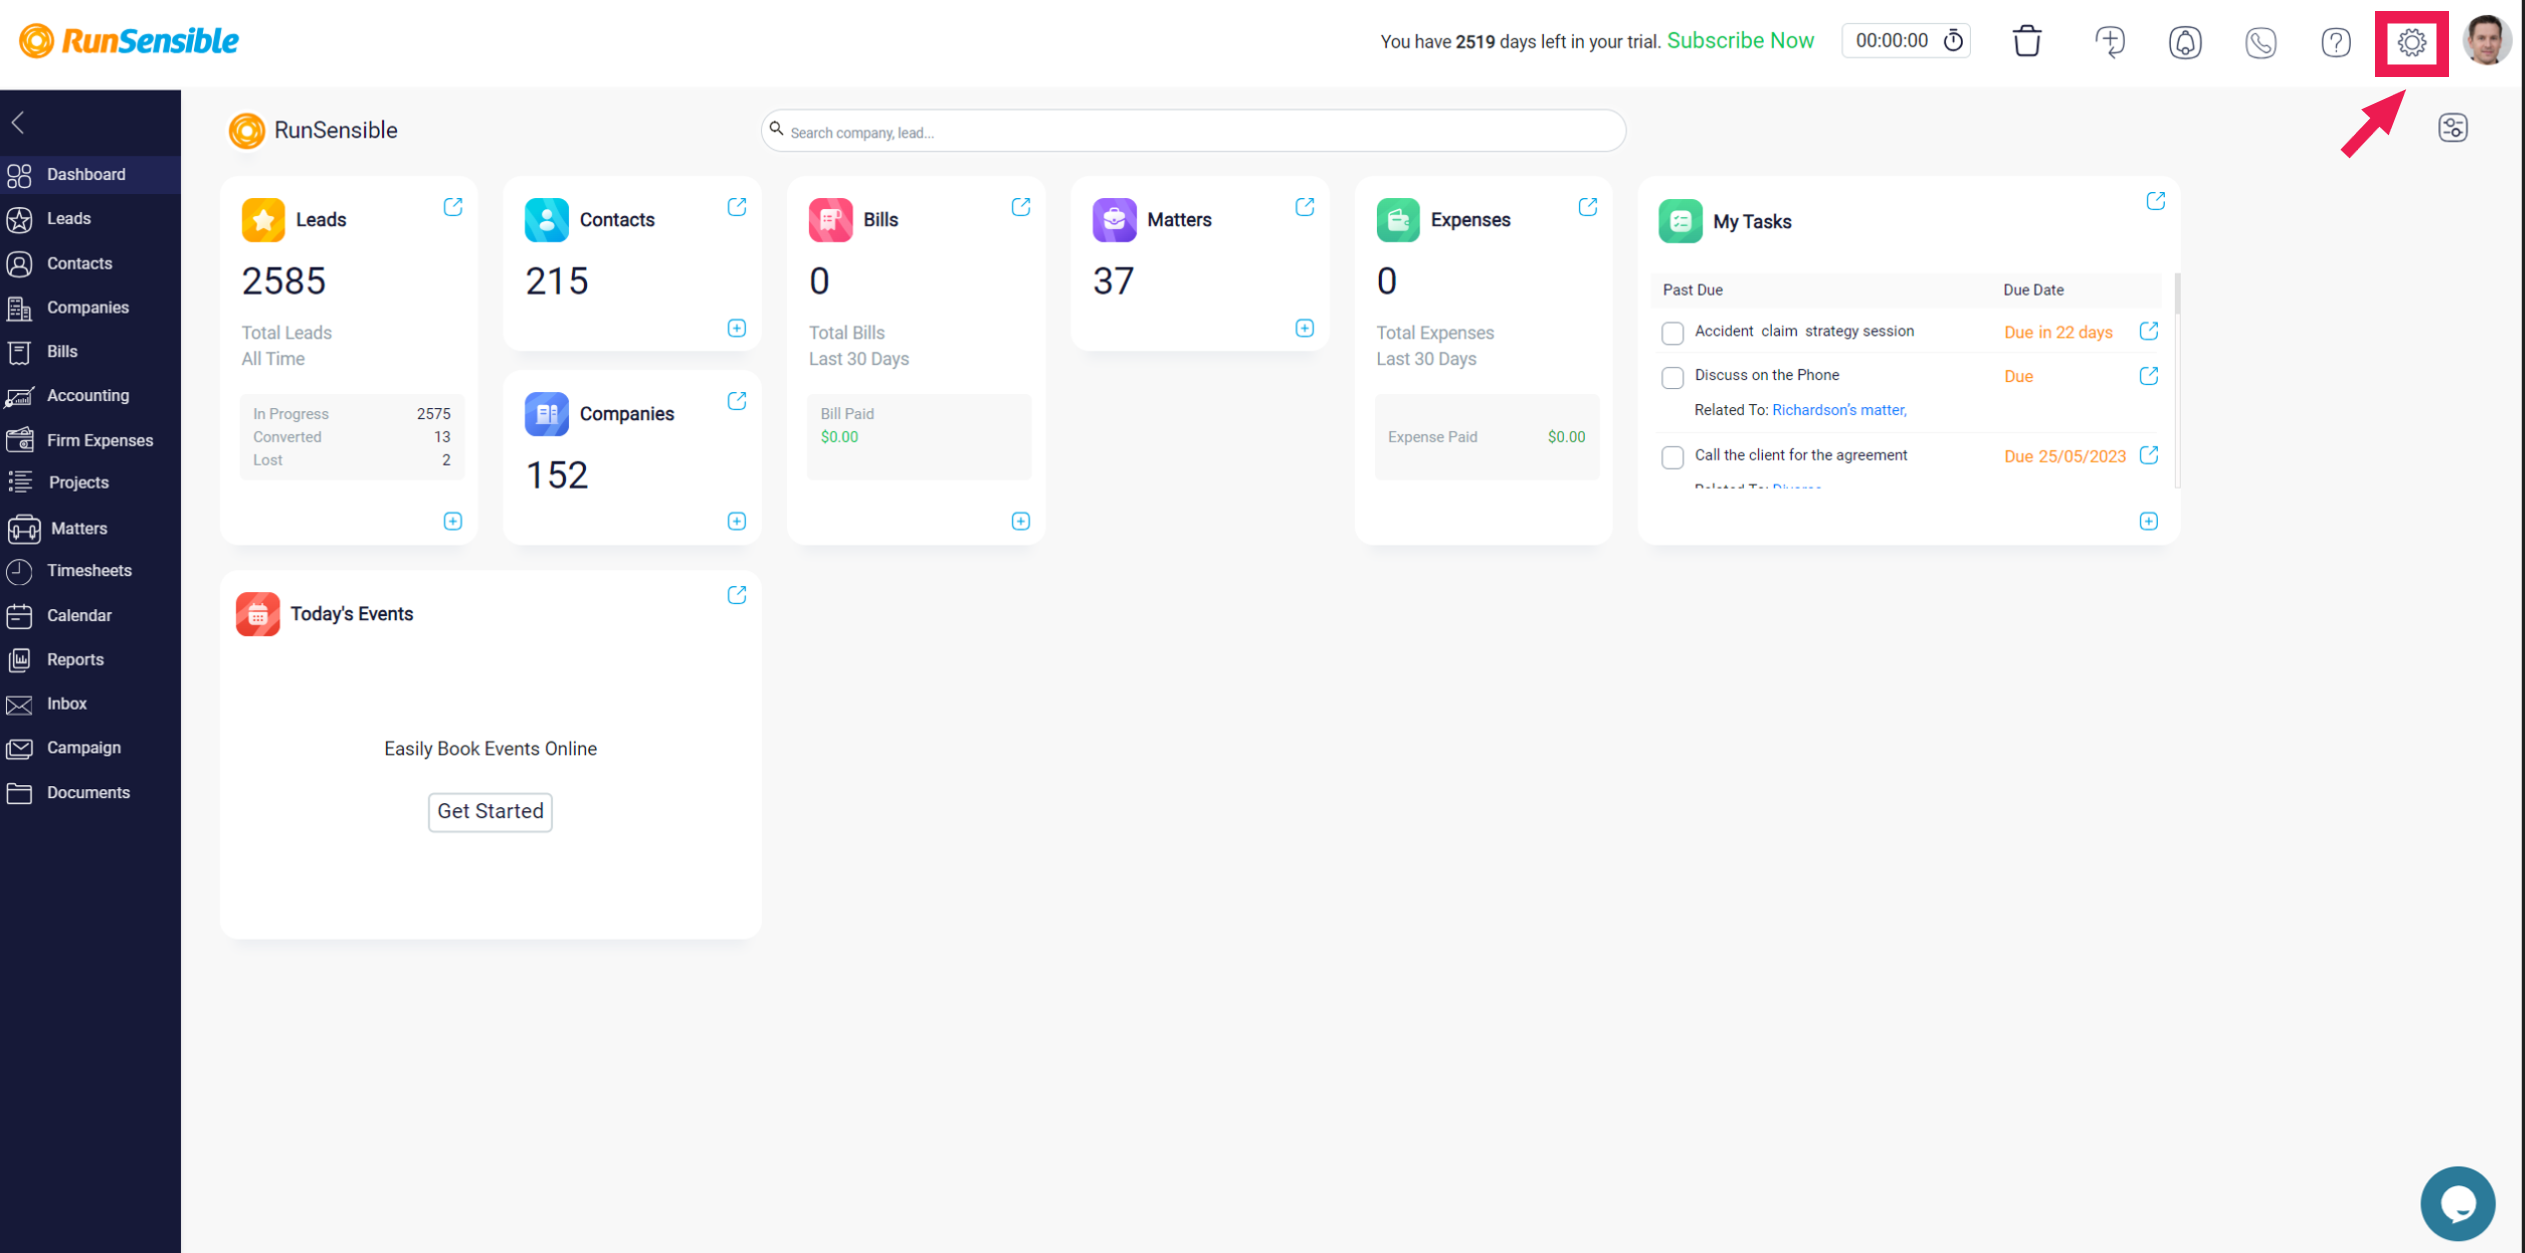
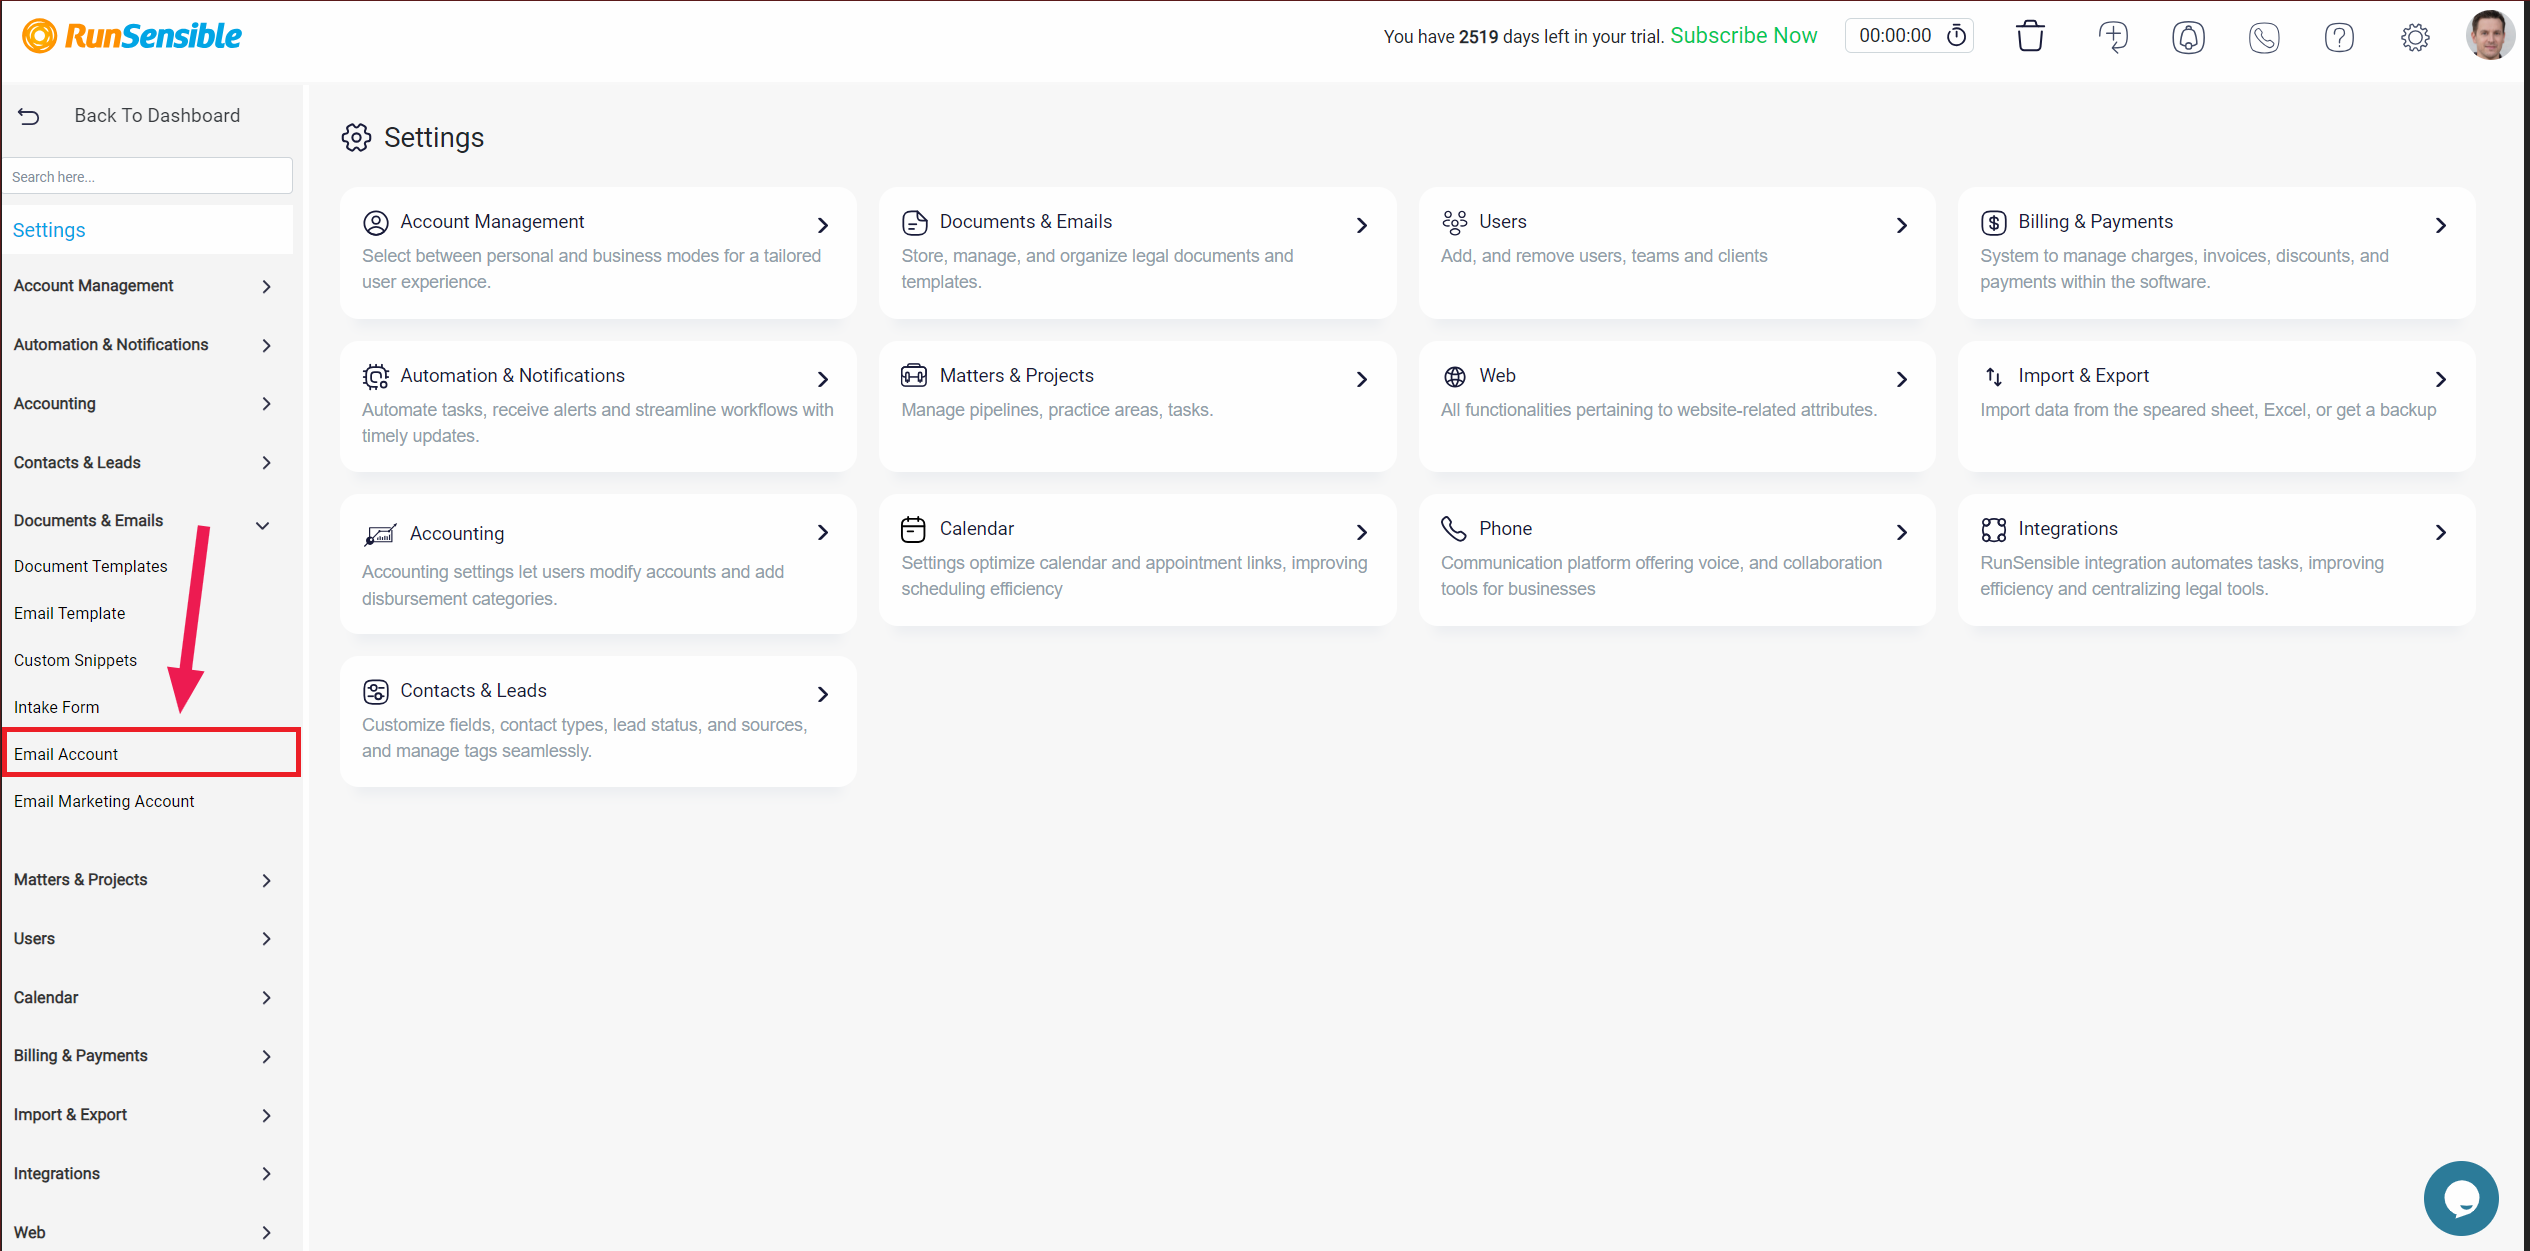
Navigate to Settings, select Documents & Emails from the left menu, and then choose Email Account.
Adding a New Email Account
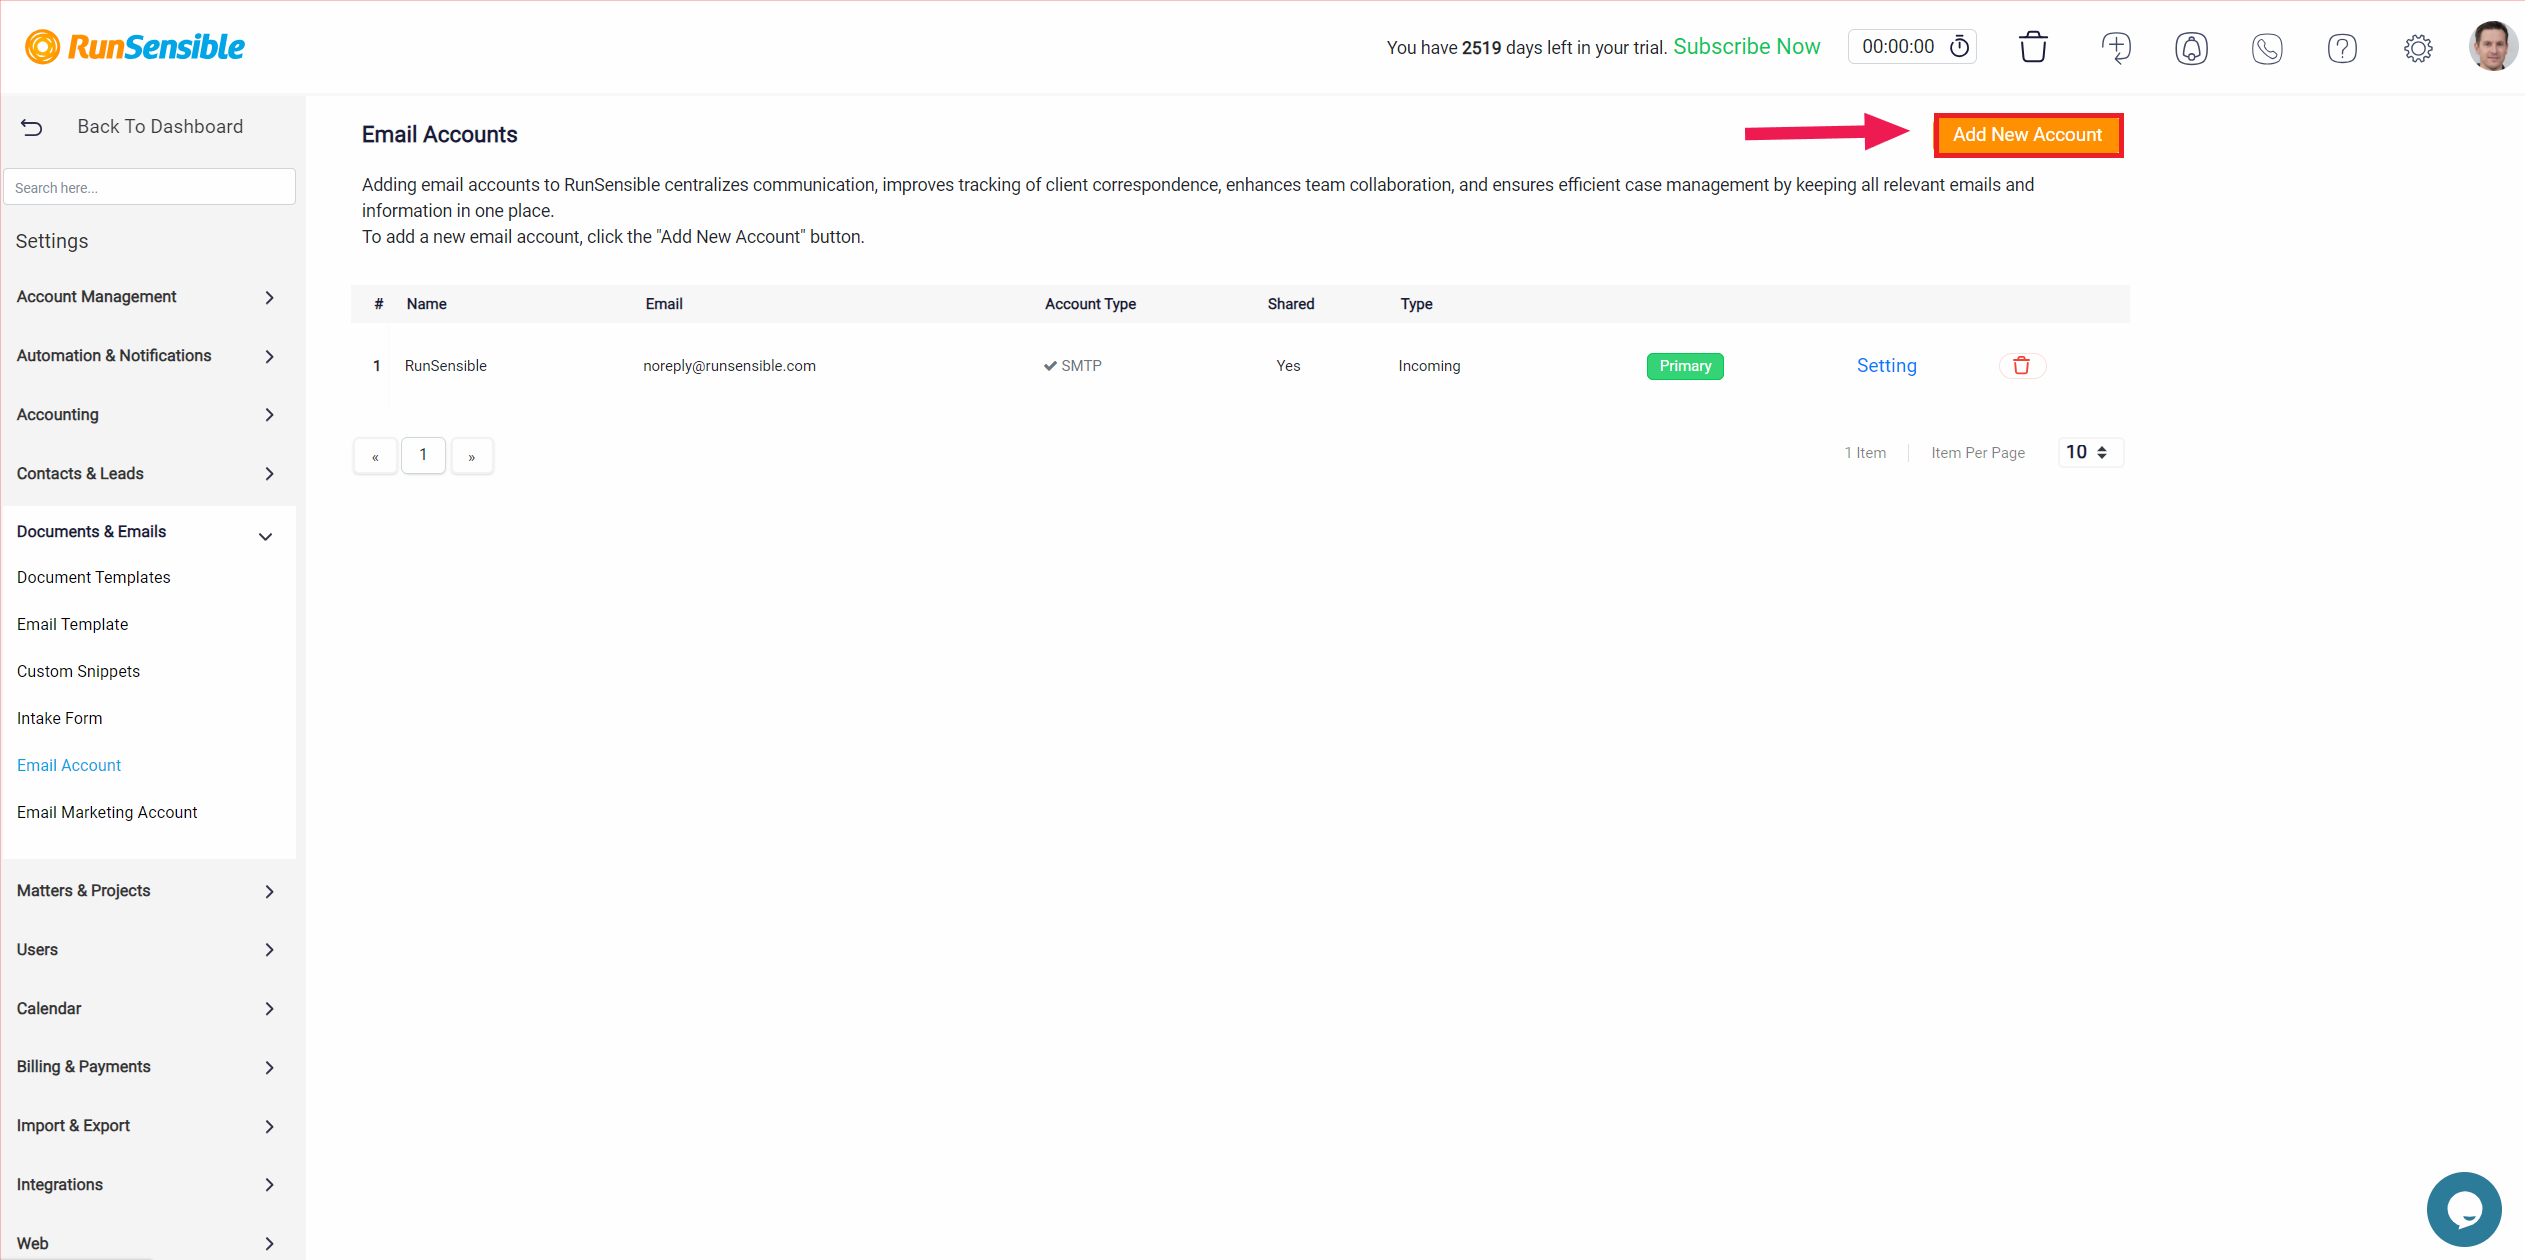
To add a new email account, click the Add New Account button located at the top of the page. Here, you’ll be prompted to select the type of account you’re adding.
There are two options:
1) Shared Account: Selecting this option makes the account accessible to all team members who have permission to view shared emails. This is ideal for team collaboration and shared inboxes where multiple users may need access.
2) Personal Account: Choose this option if the email account is for individual use and should not be accessible by other team members.
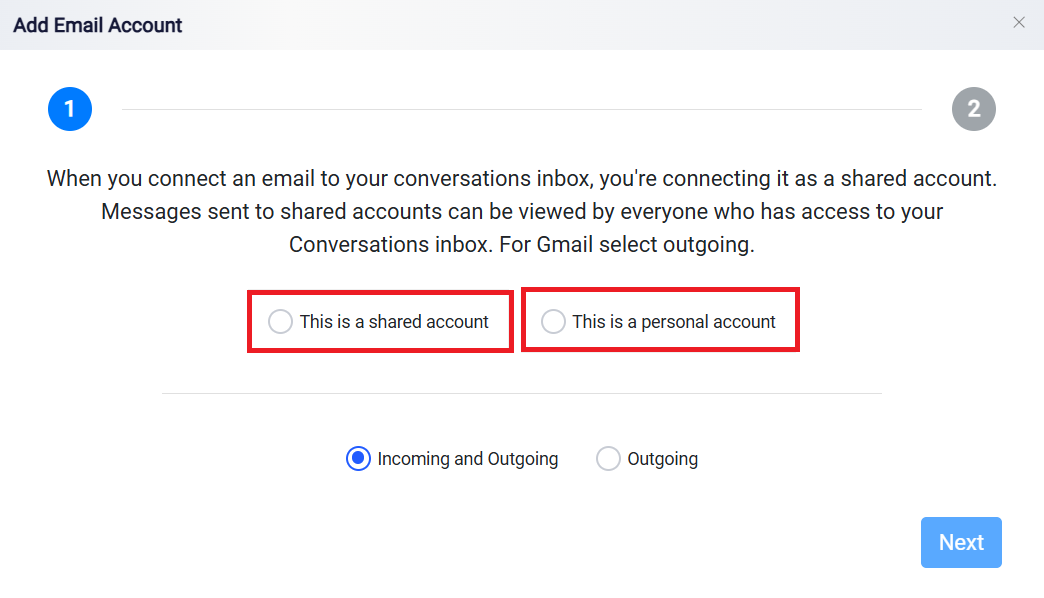
You’ll also need to specify the direction of emails for this account:
1) Incoming and Outgoing: This option enables both sending and receiving emails through this account within RunSensible.
2) Outgoing: Select this if the account will only be used for sending emails. Note: For Gmail accounts, you’ll need to select Outgoing.
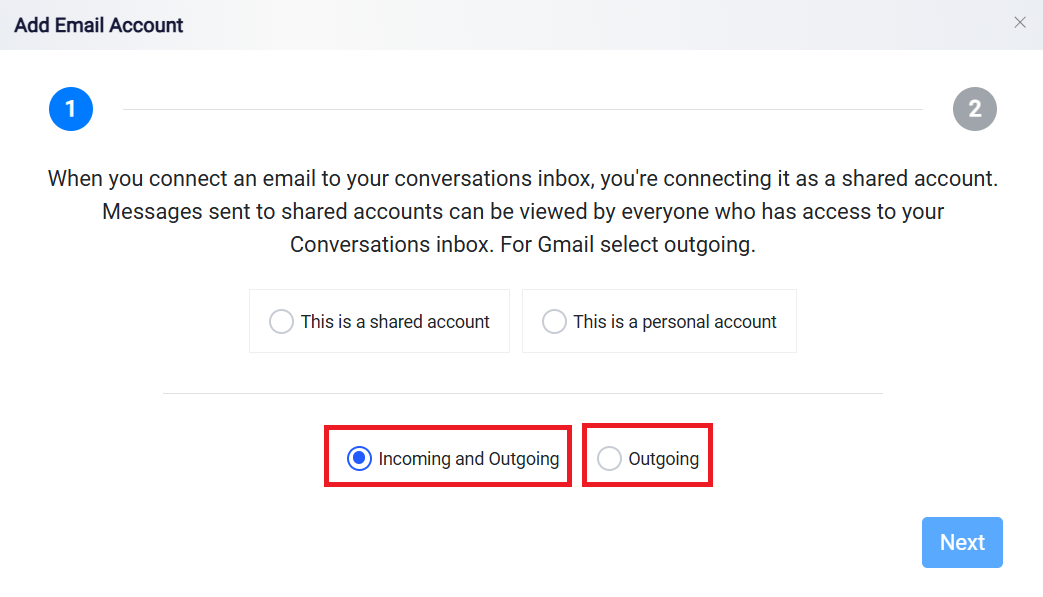
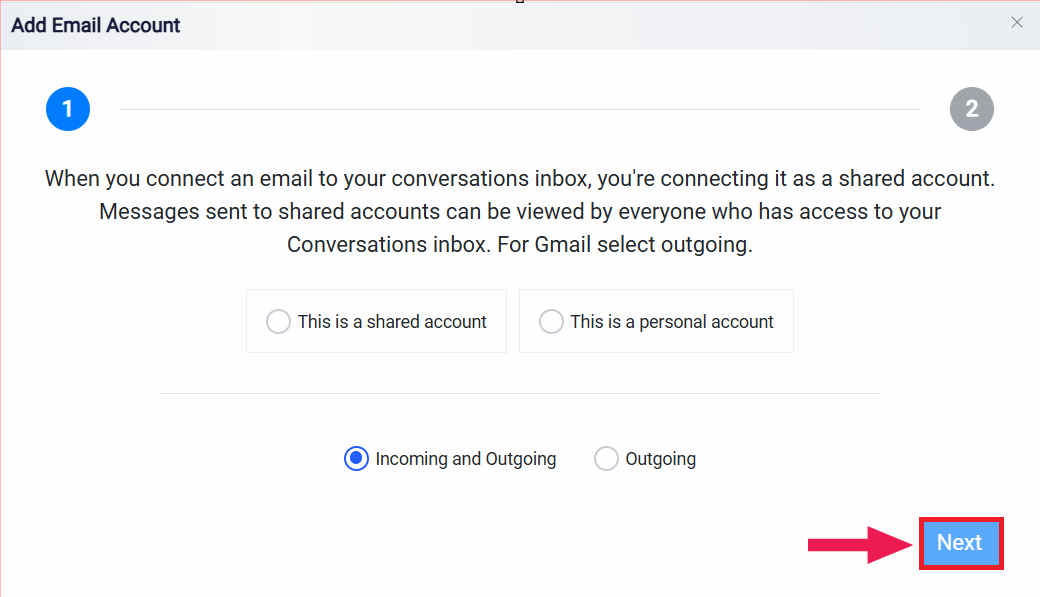
After making your selections for account type and email direction, click the Next button to continue the setup process
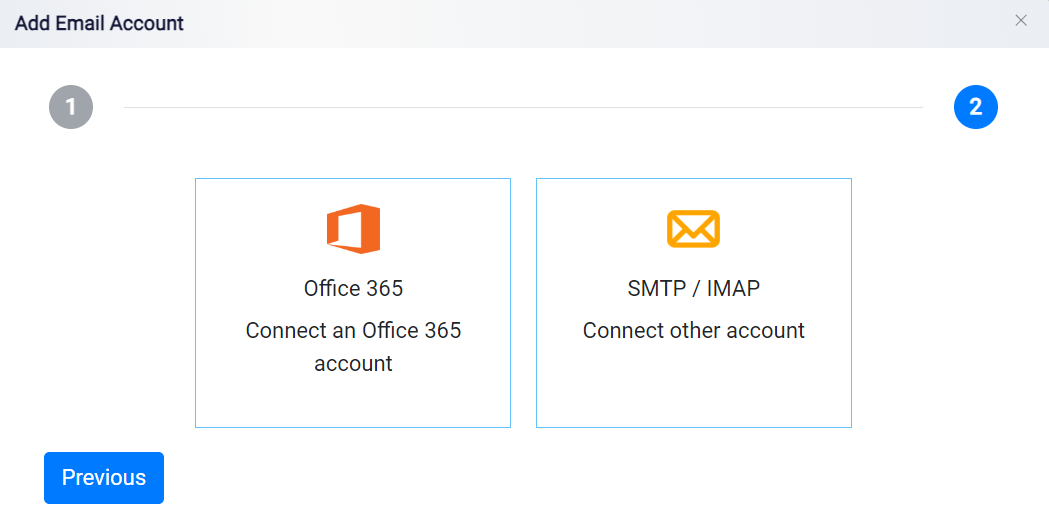
Selecting Email Account Type
After configuring the initial settings for your new email account, the next step is to select the type of email account you want to connect. RunSensible provides options to connect either an Office 365 account or other email accounts using SMTP/IMAP.
