Connecting an SMTP/IMAP Email Account to RunSensible
Once you’ve added a new email account, you’ll have two options: Shared Account or Personal Account. Choose the one that best matches your requirements, and set the email flow for this account—either both incoming and outgoing, or outgoing only.
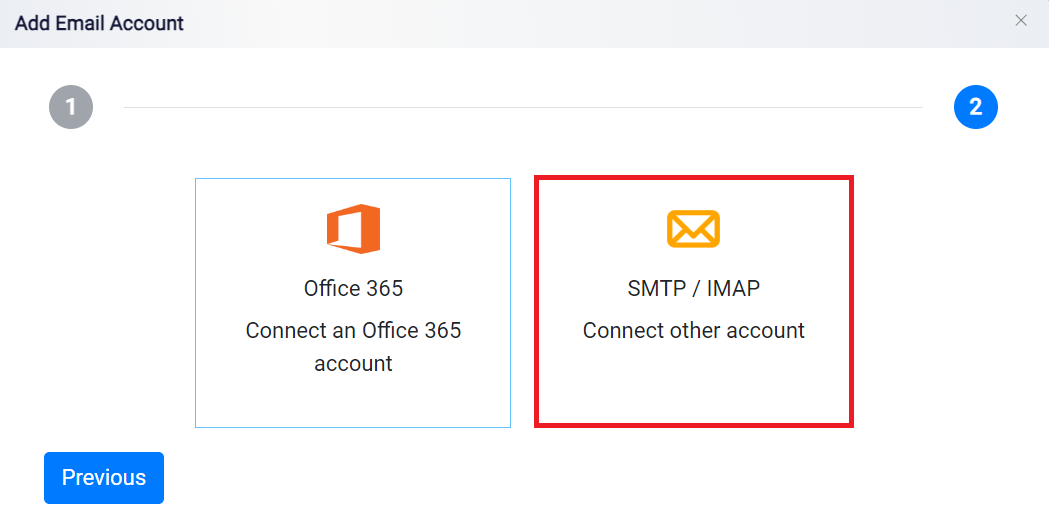
Next, select the type of email account you want to connect. RunSensible provides two connection options: Office 365 or other email accounts through SMTP/IMAP. Choose the SMTP/IMAP option if your email provider uses SMTP (Simple Mail Transfer Protocol) or IMAP (Internet Message Access Protocol) for access. This option is ideal for connecting accounts from providers like Gmail, Yahoo, or custom domains that support SMTP/IMAP.

After selecting the SMTP/IMAP option for adding an email account, you will be directed to the configuration screen. Here, you can input the details required to connect your email account using SMTP or IMAP protocols.
Start by entering a display name for this email account. The display name will appear as the sender’s name when sending emails from RunSensible. Next, input the email address for the account you are connecting. Ensure that the address is entered correctly, as it will be used for all email communication.
In the username field, enter the username associated with the email account. For many email providers, the username is the same as the email address, but some providers may use a unique identifier. Then, input the password for the email account. This is necessary to authenticate the connection between the platform and your email provider, so make sure the password is accurate to avoid connection issues.

Once all the required fields are filled, click the Test Connection button to verify that the settings are correct. RunSensible will attempt to connect to the email account using the information provided. If any errors occur, double-check that the username, password, and email address are correct.

After a successful test connection, click the Save button at the top of the screen to save your email account configuration. This will finalize the setup, and the email account will now be available for use.
