Email Marketing Account
The email marketing accounts page allows you to manage and configure email accounts used for sending marketing emails and newsletters through RunSensible.
Adding a New Email Marketing Account
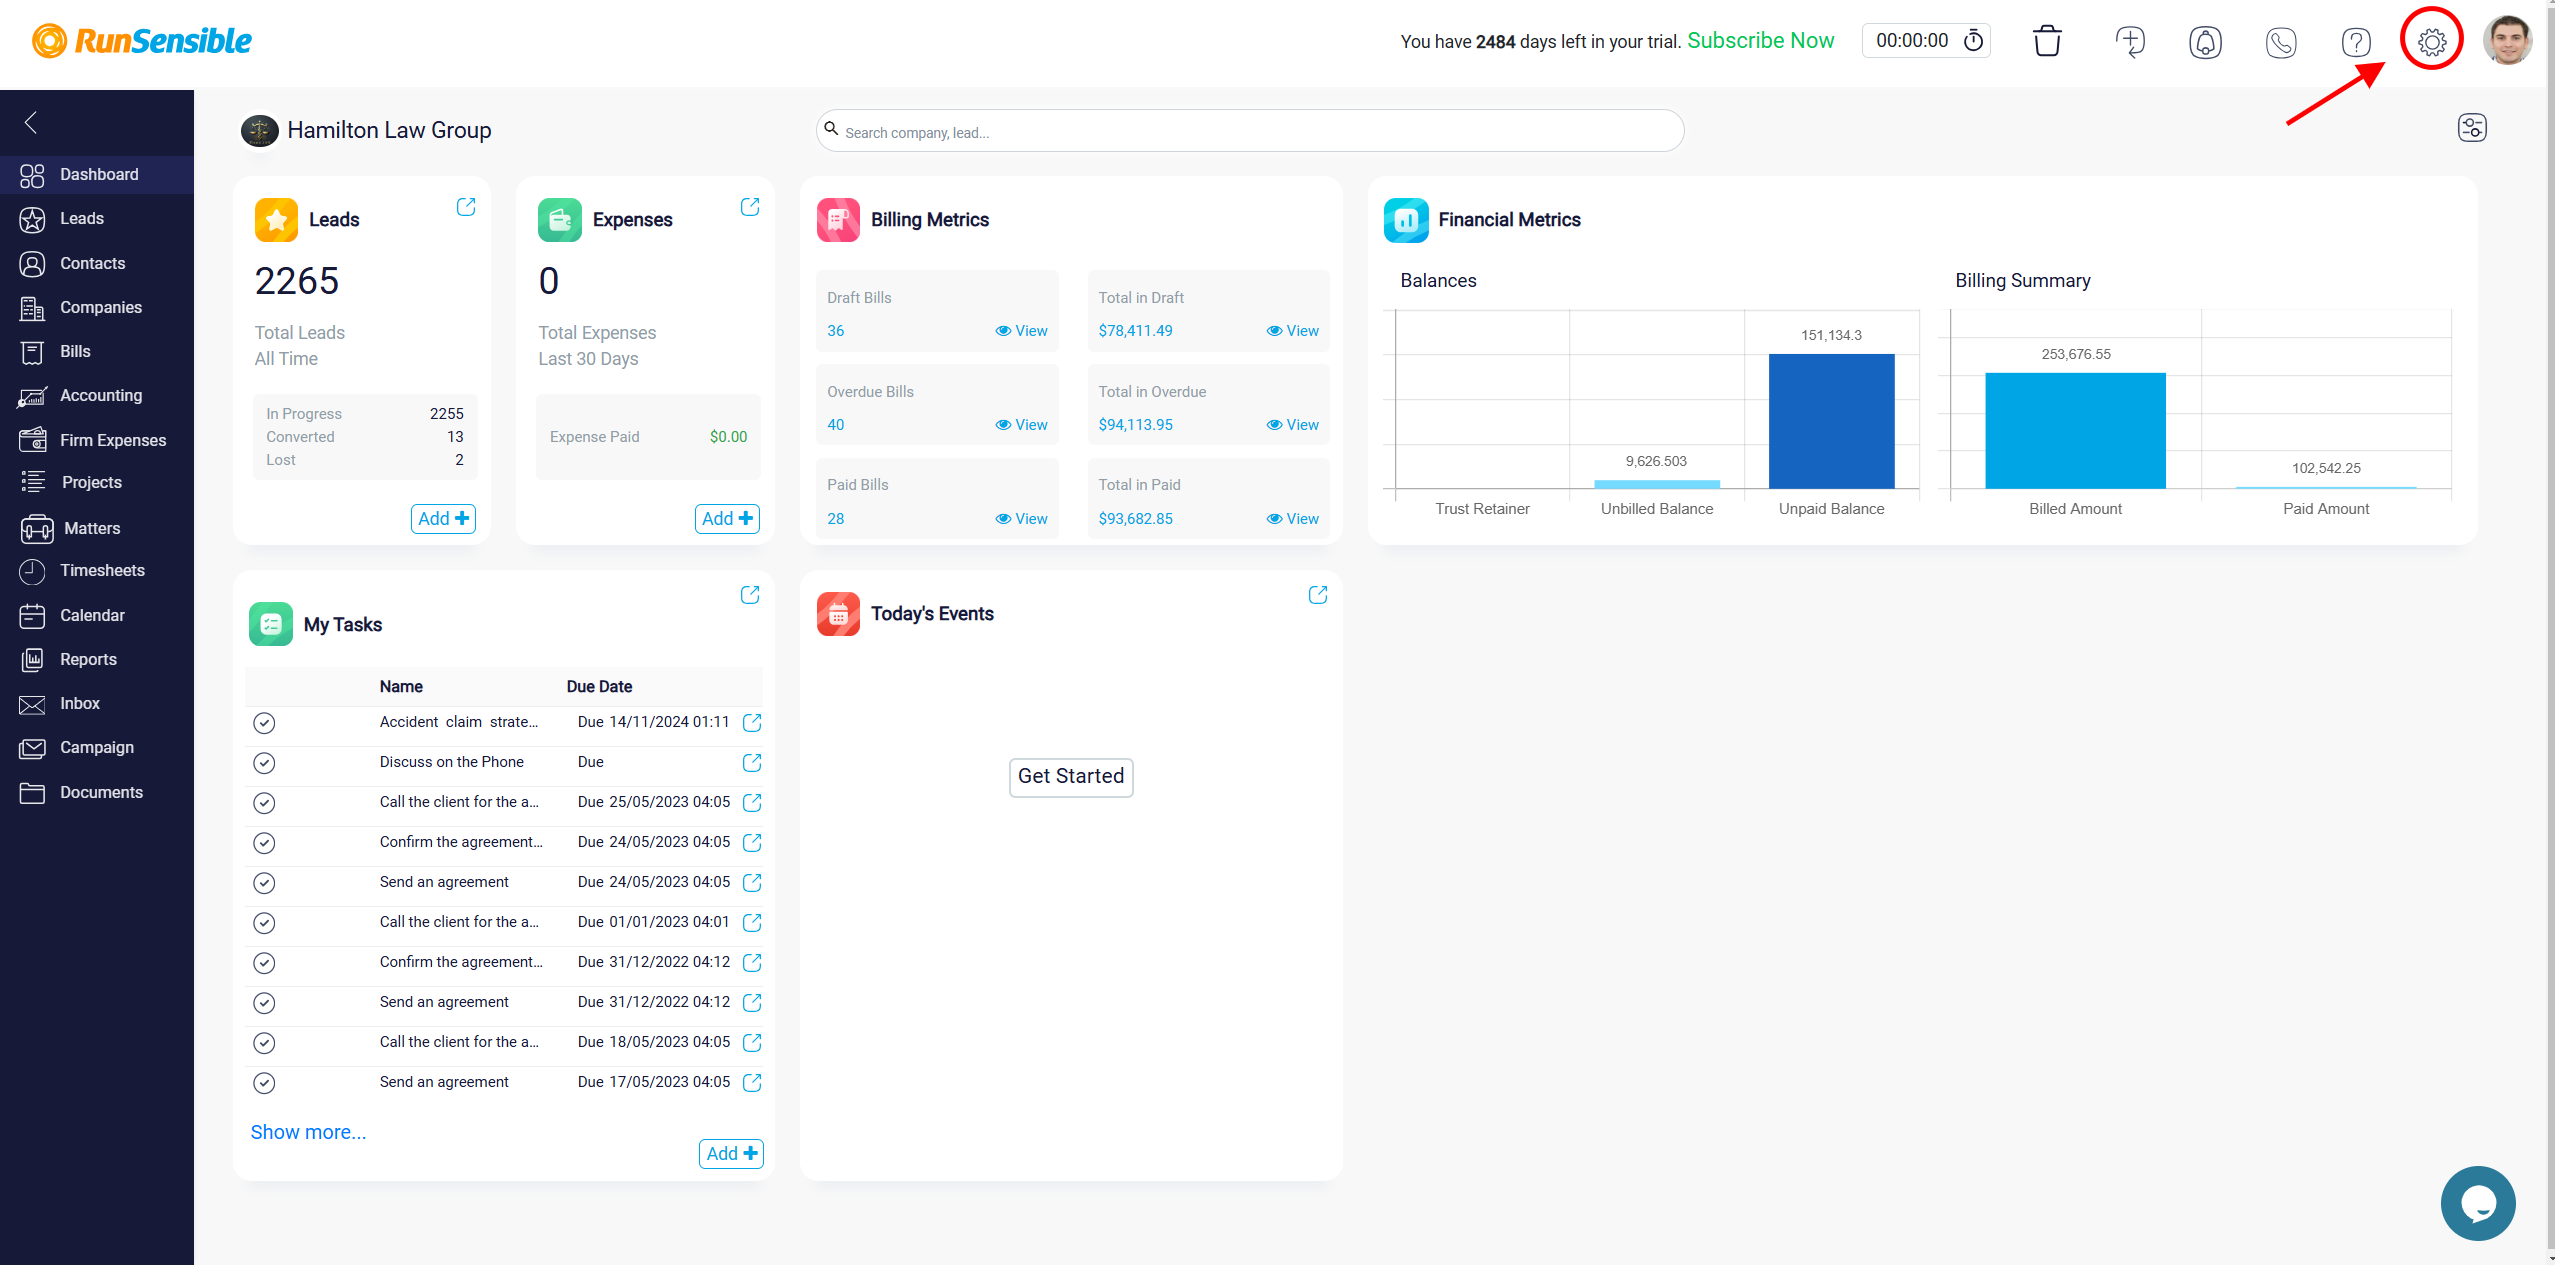
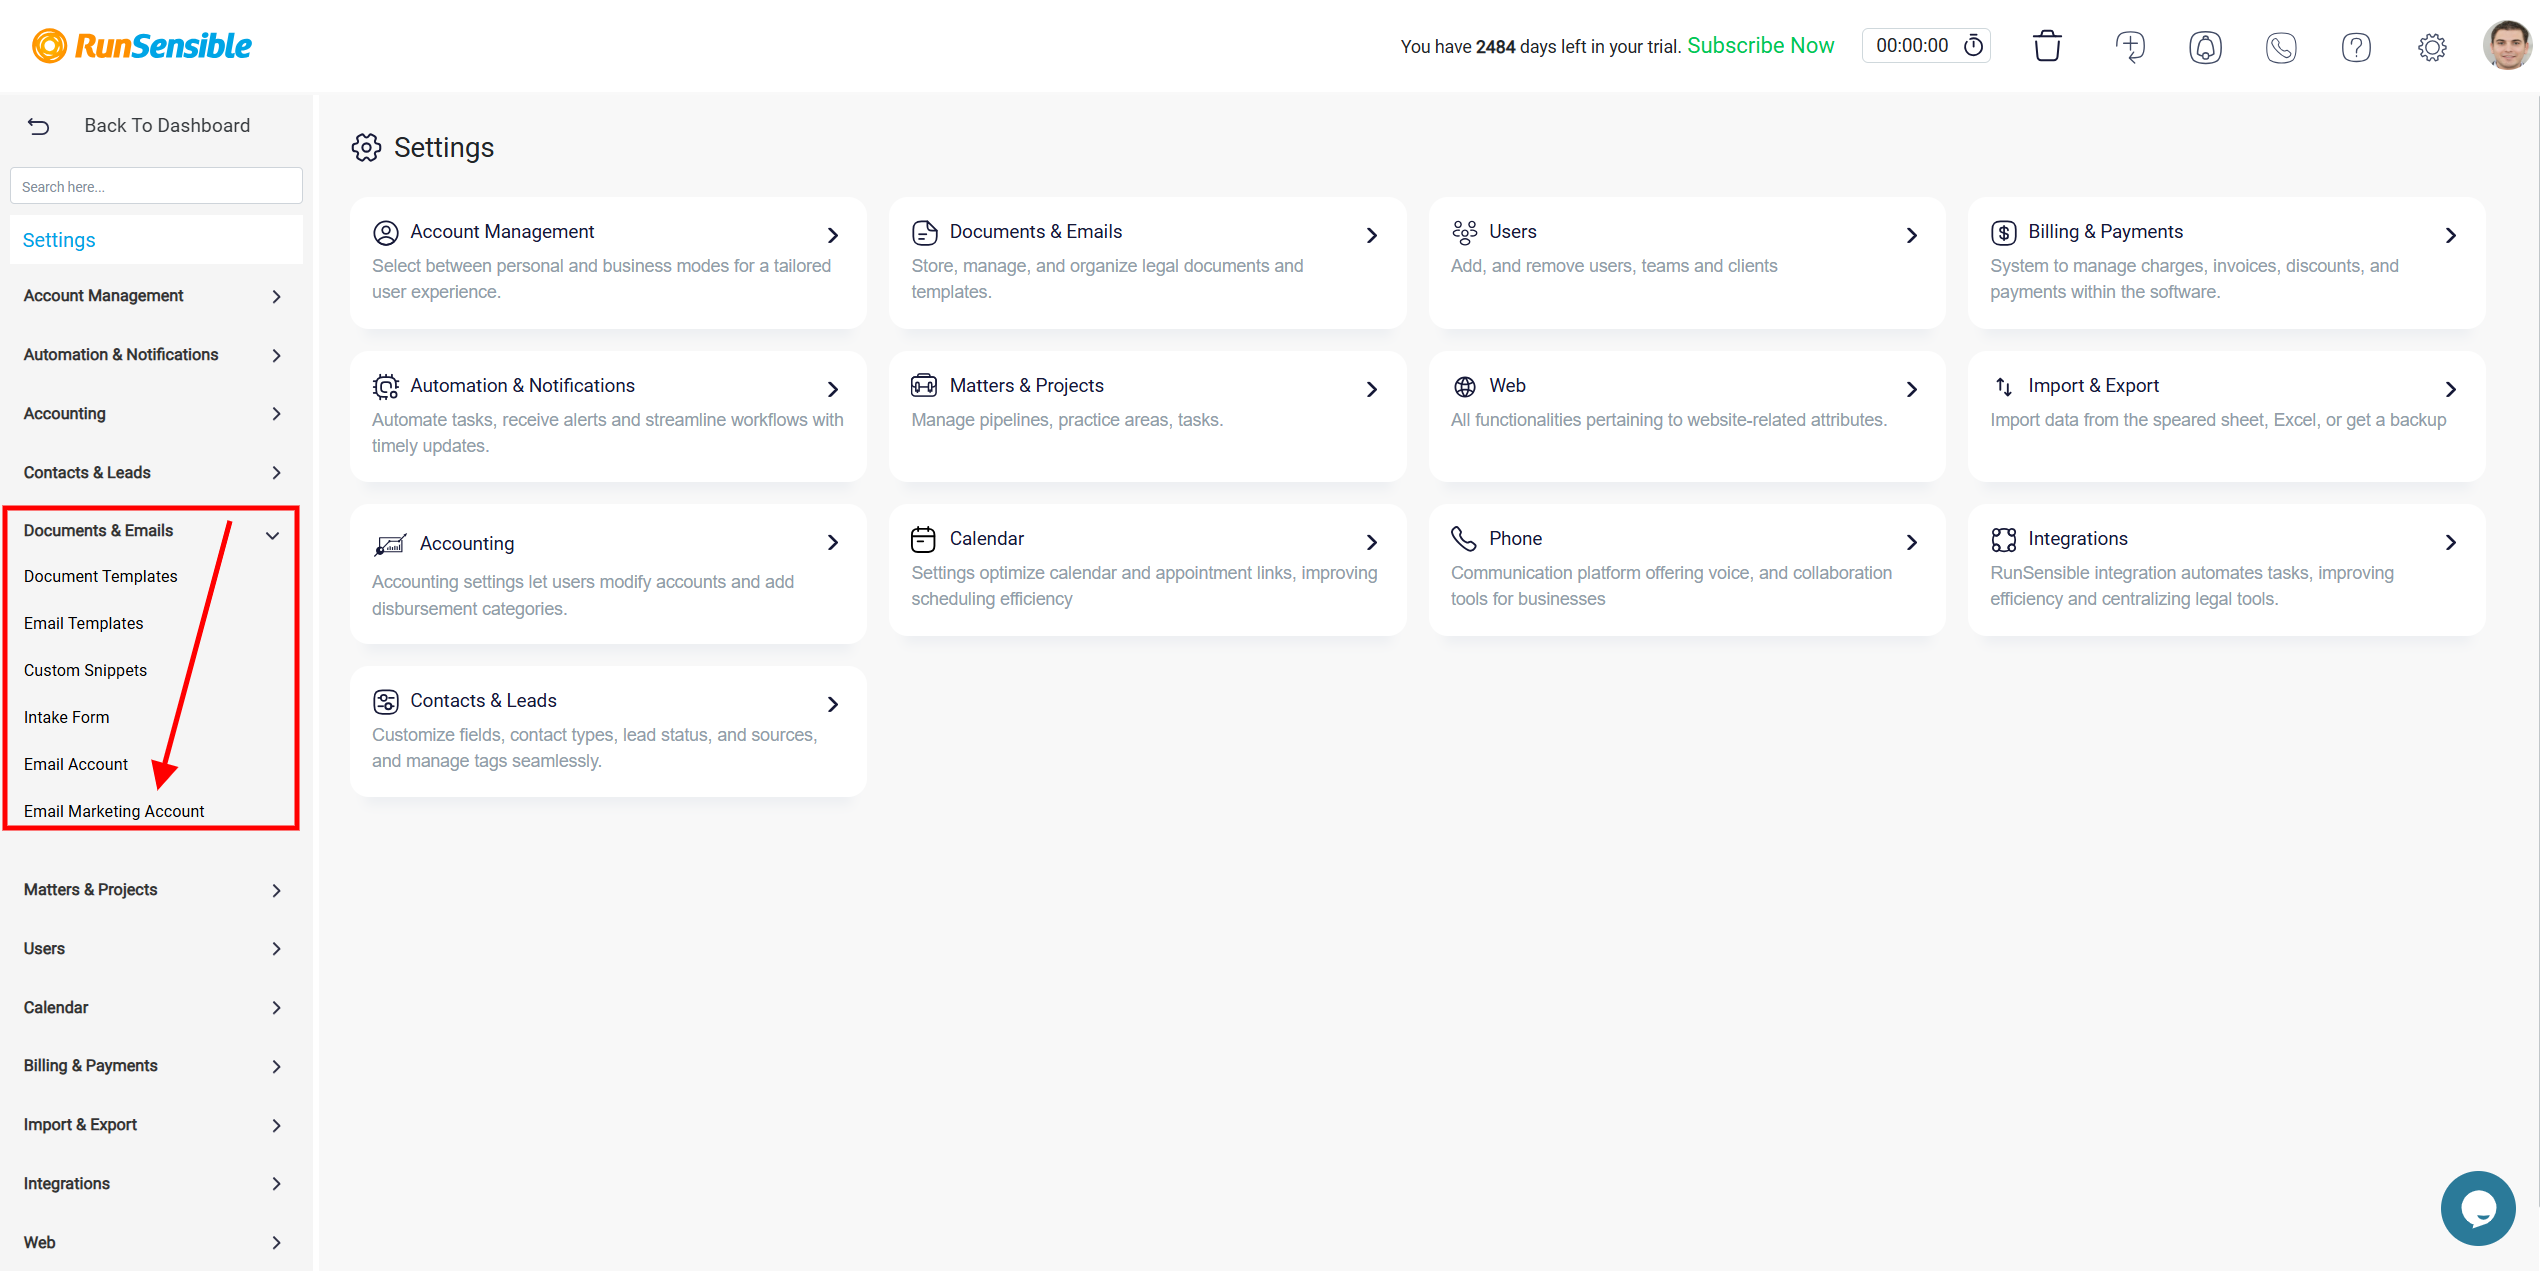
Let’s add a new email account. To do so, navigate to Settings and click Documents and Emails, then select Email Marketing Account.
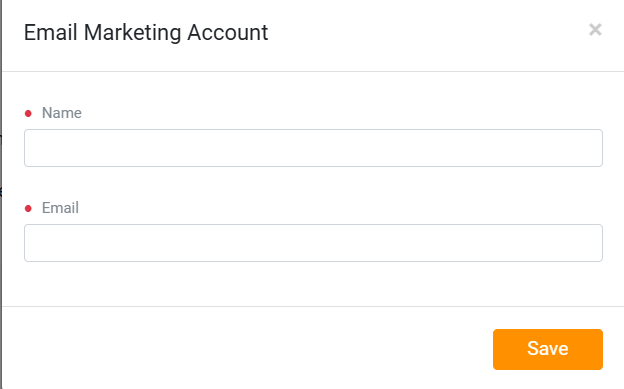
At the top of the page, you can add a new email account by clicking the Add New Account button.
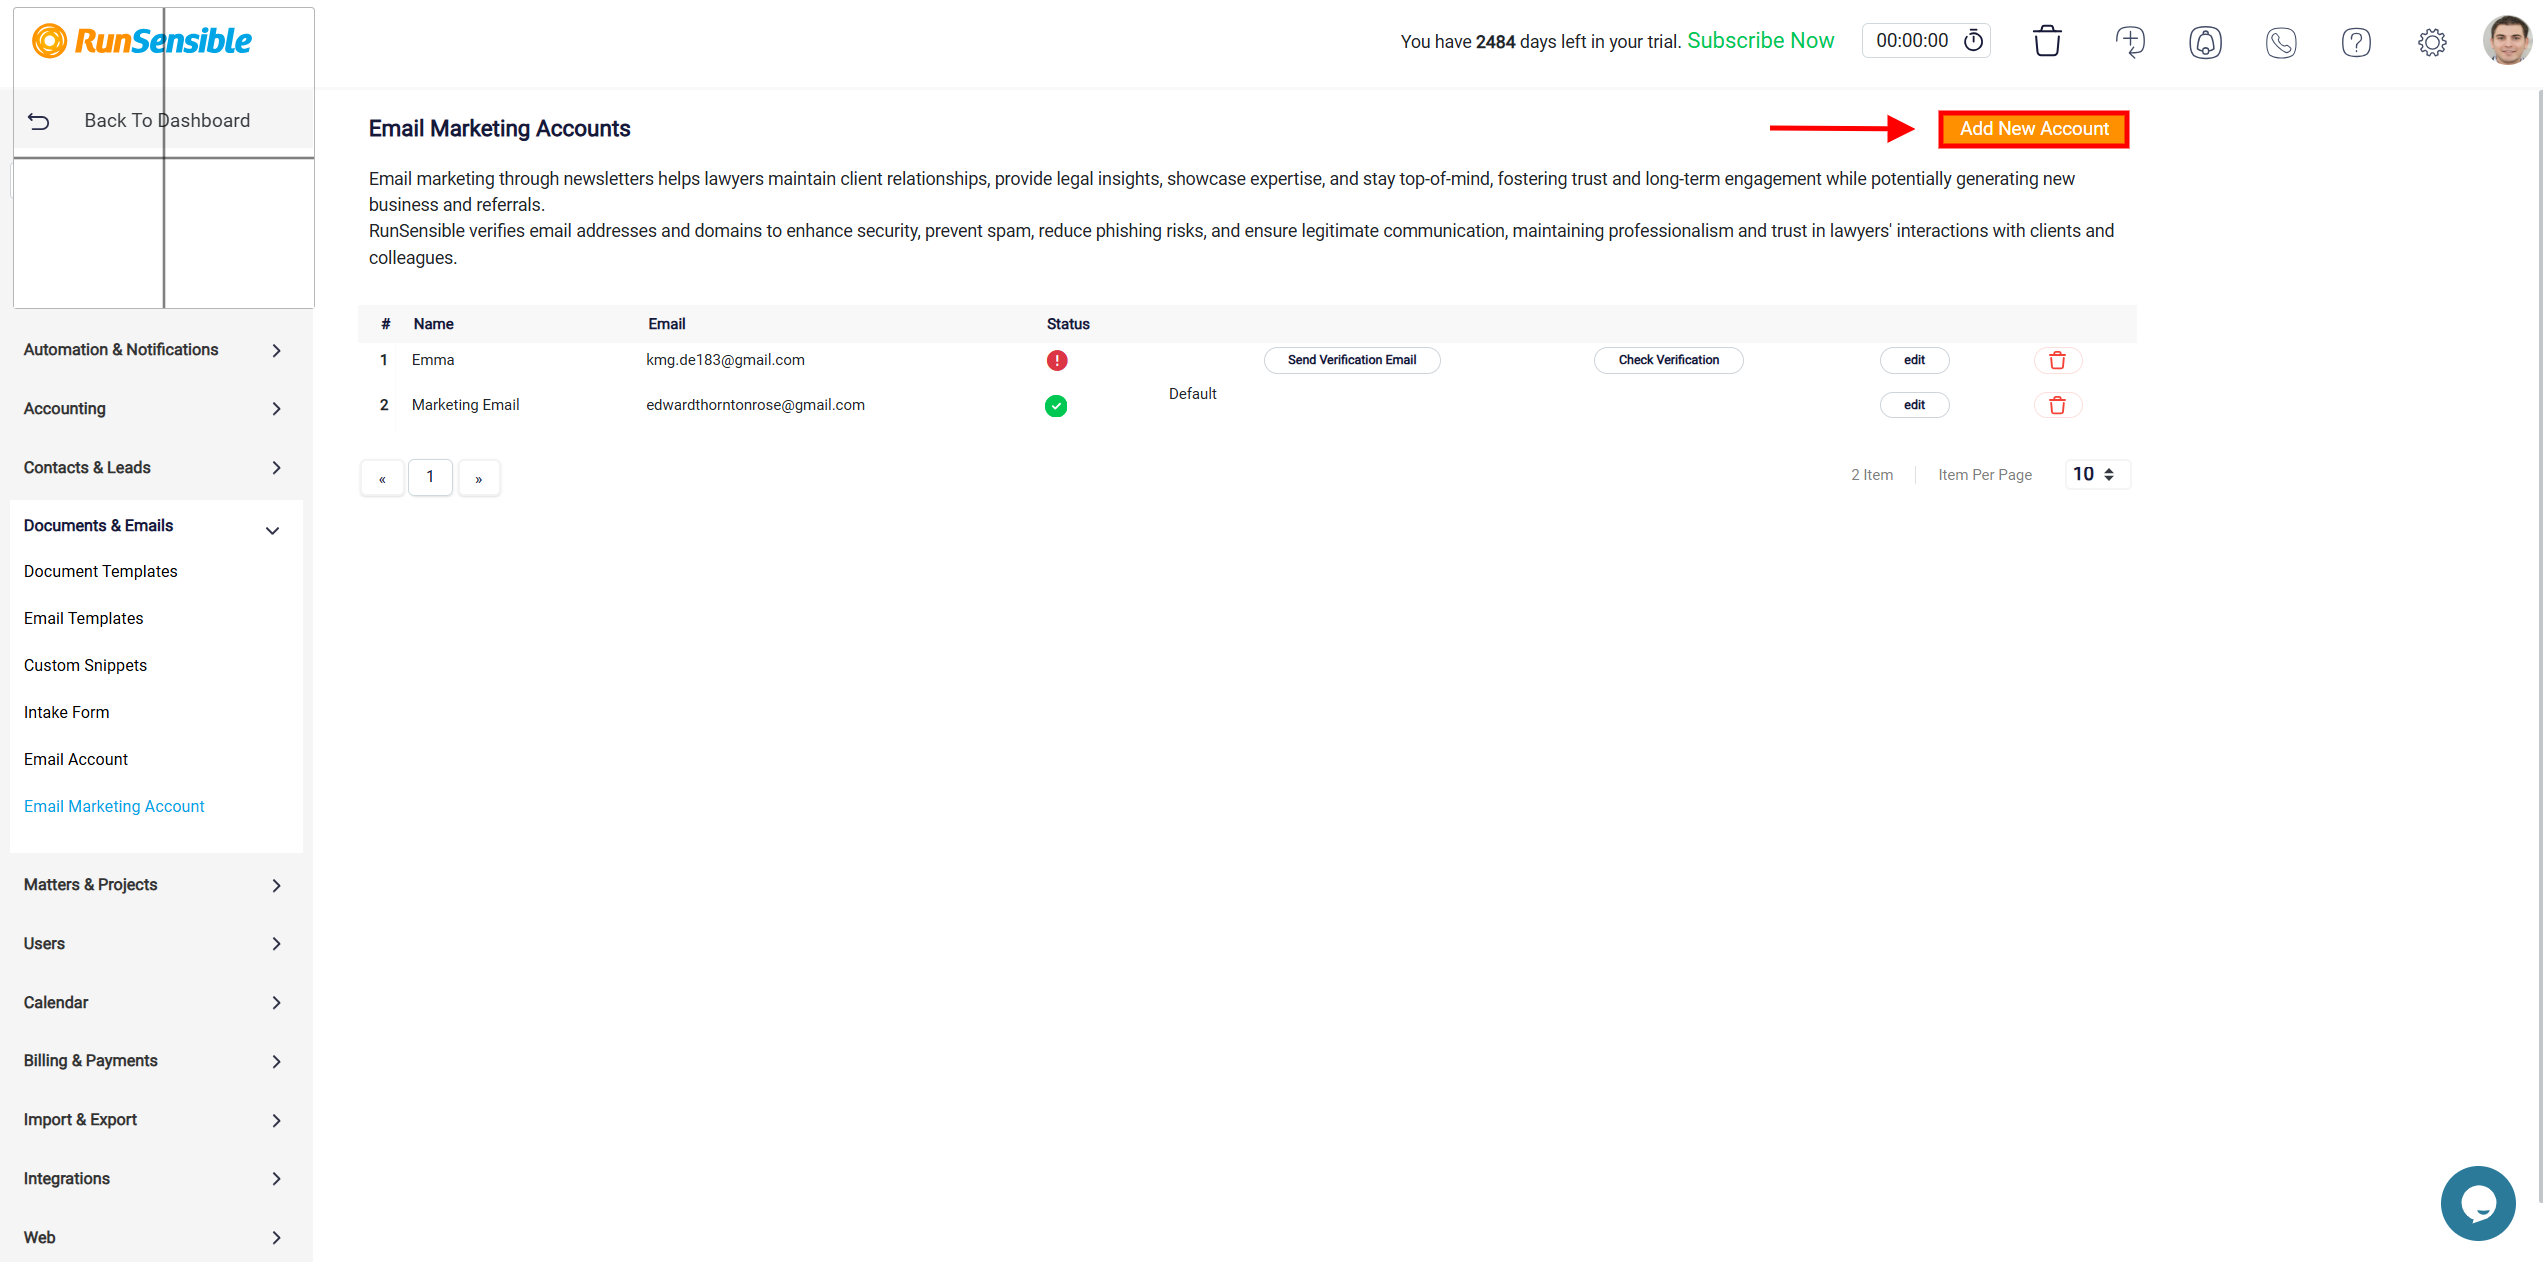
Once an account is added, you can set it as the default sender, send a verification email, check the verification status, edit account details, or delete the account if it is no longer needed.
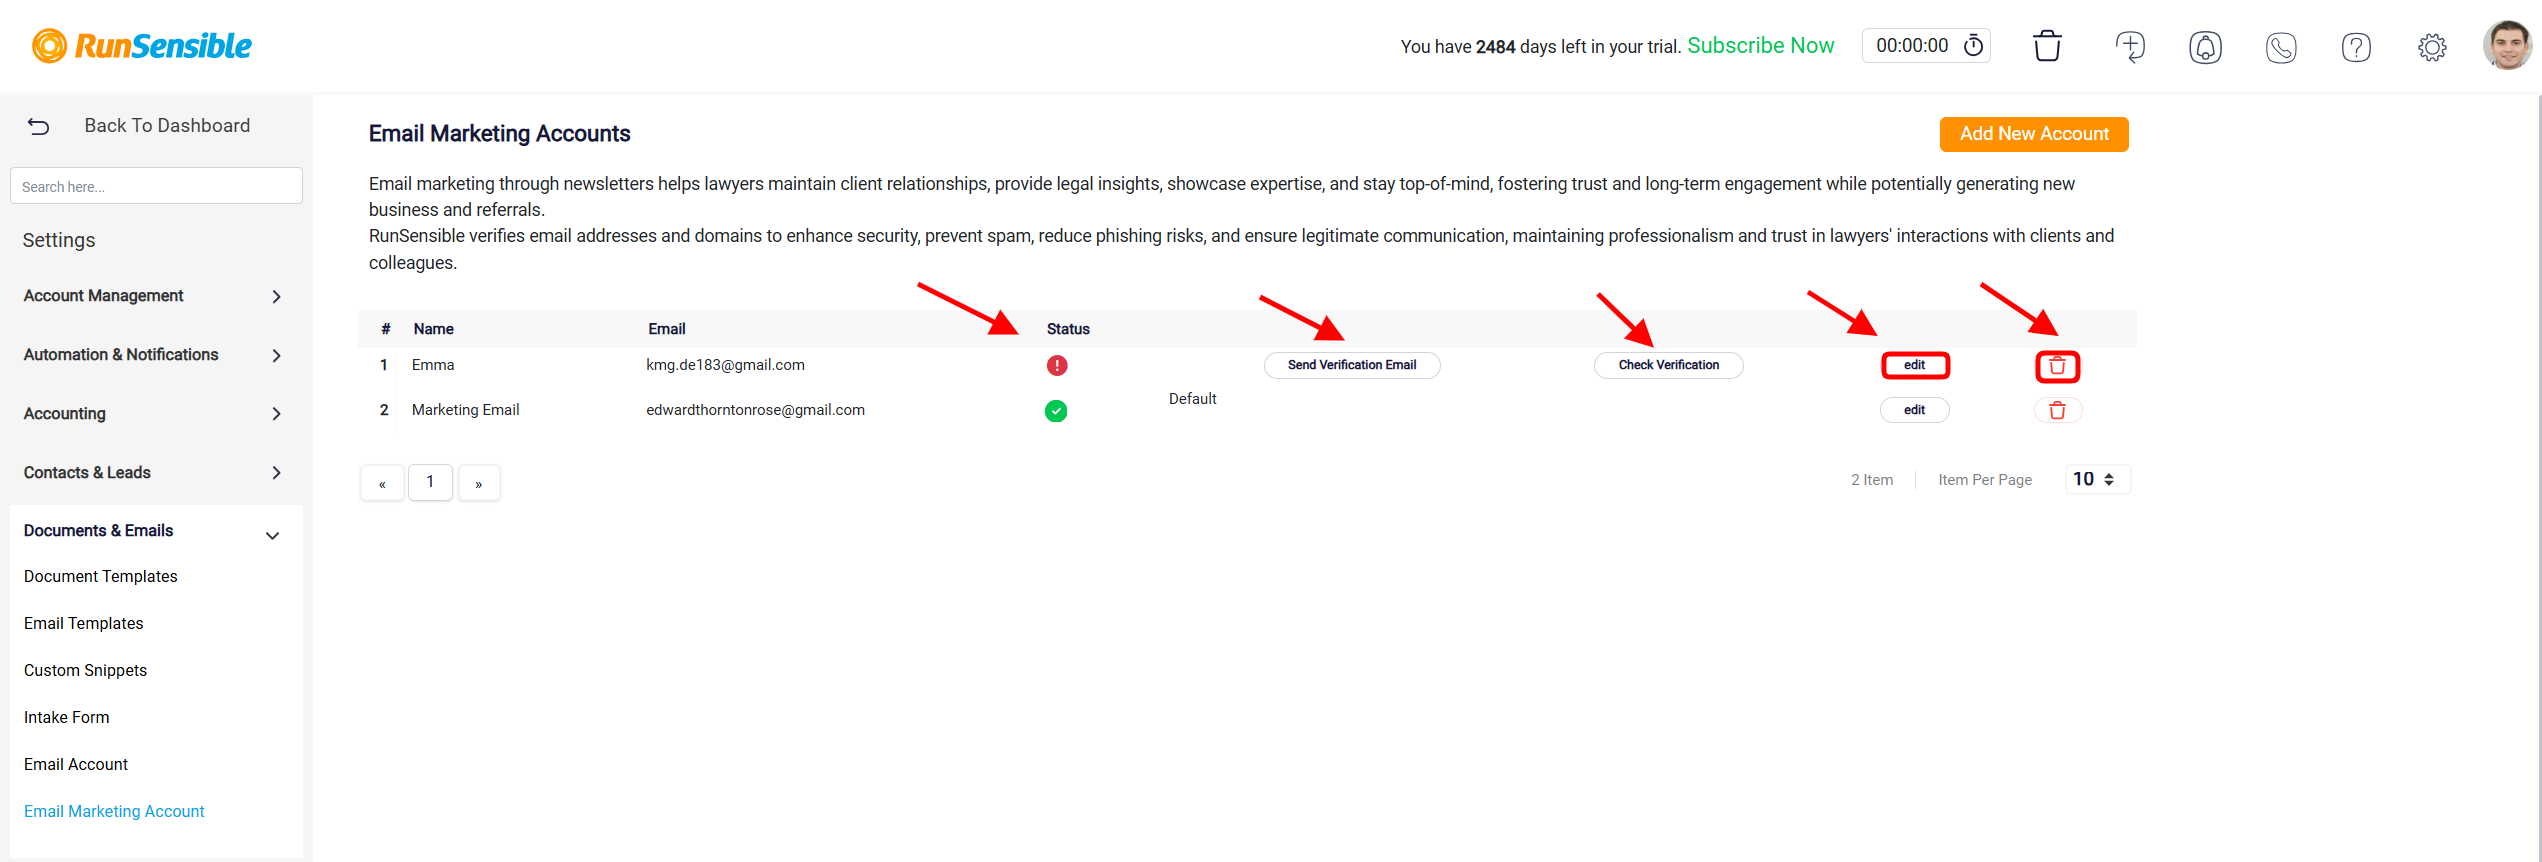
On this page, you can view a list of all email accounts added for marketing purposes. For each account, you will see details such as the display name, email address, verification status, and whether it is set as the default sender for email campaigns.
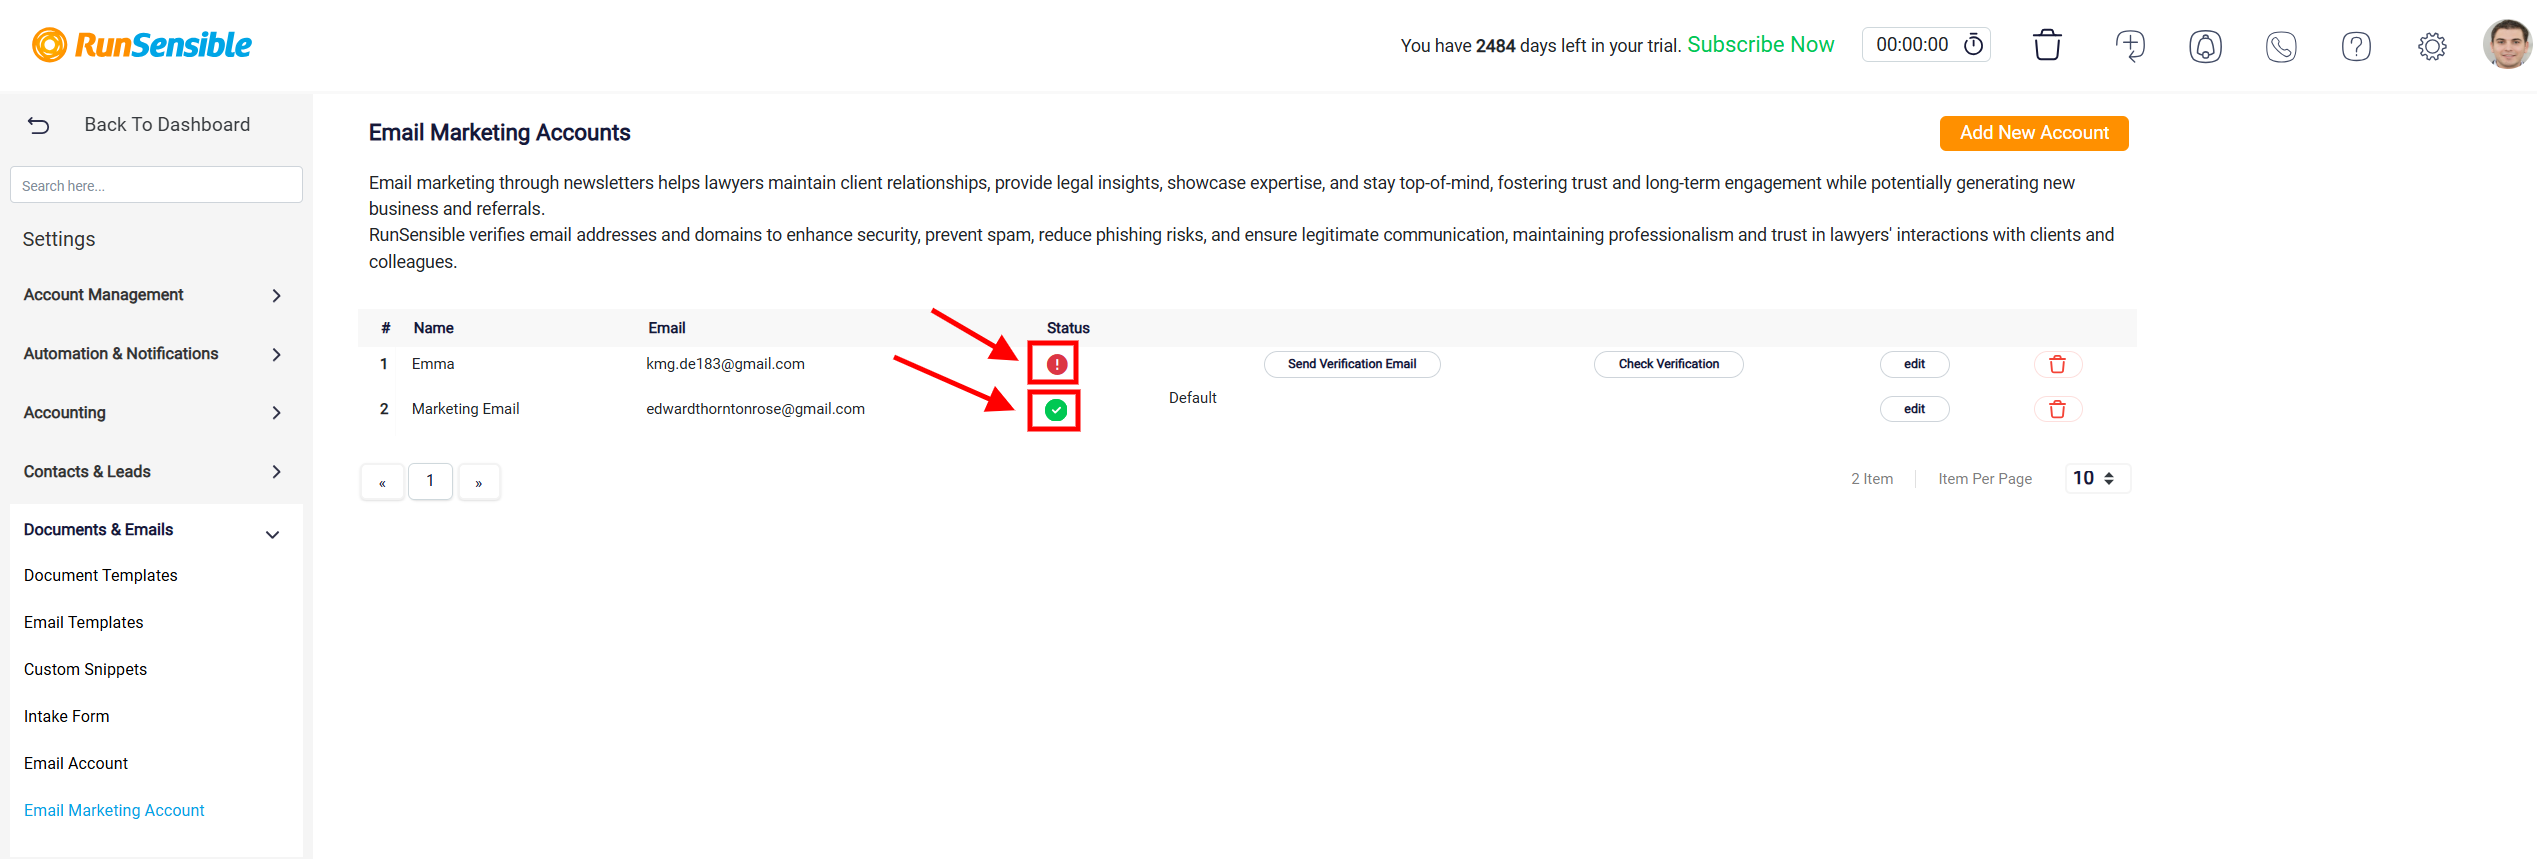
The status of each email account is displayed using icons. A green checkmark indicates that the email is verified and ready for use, while a red warning icon signals that the email needs verification before it can be used.
Verifying an Email Marketing Account
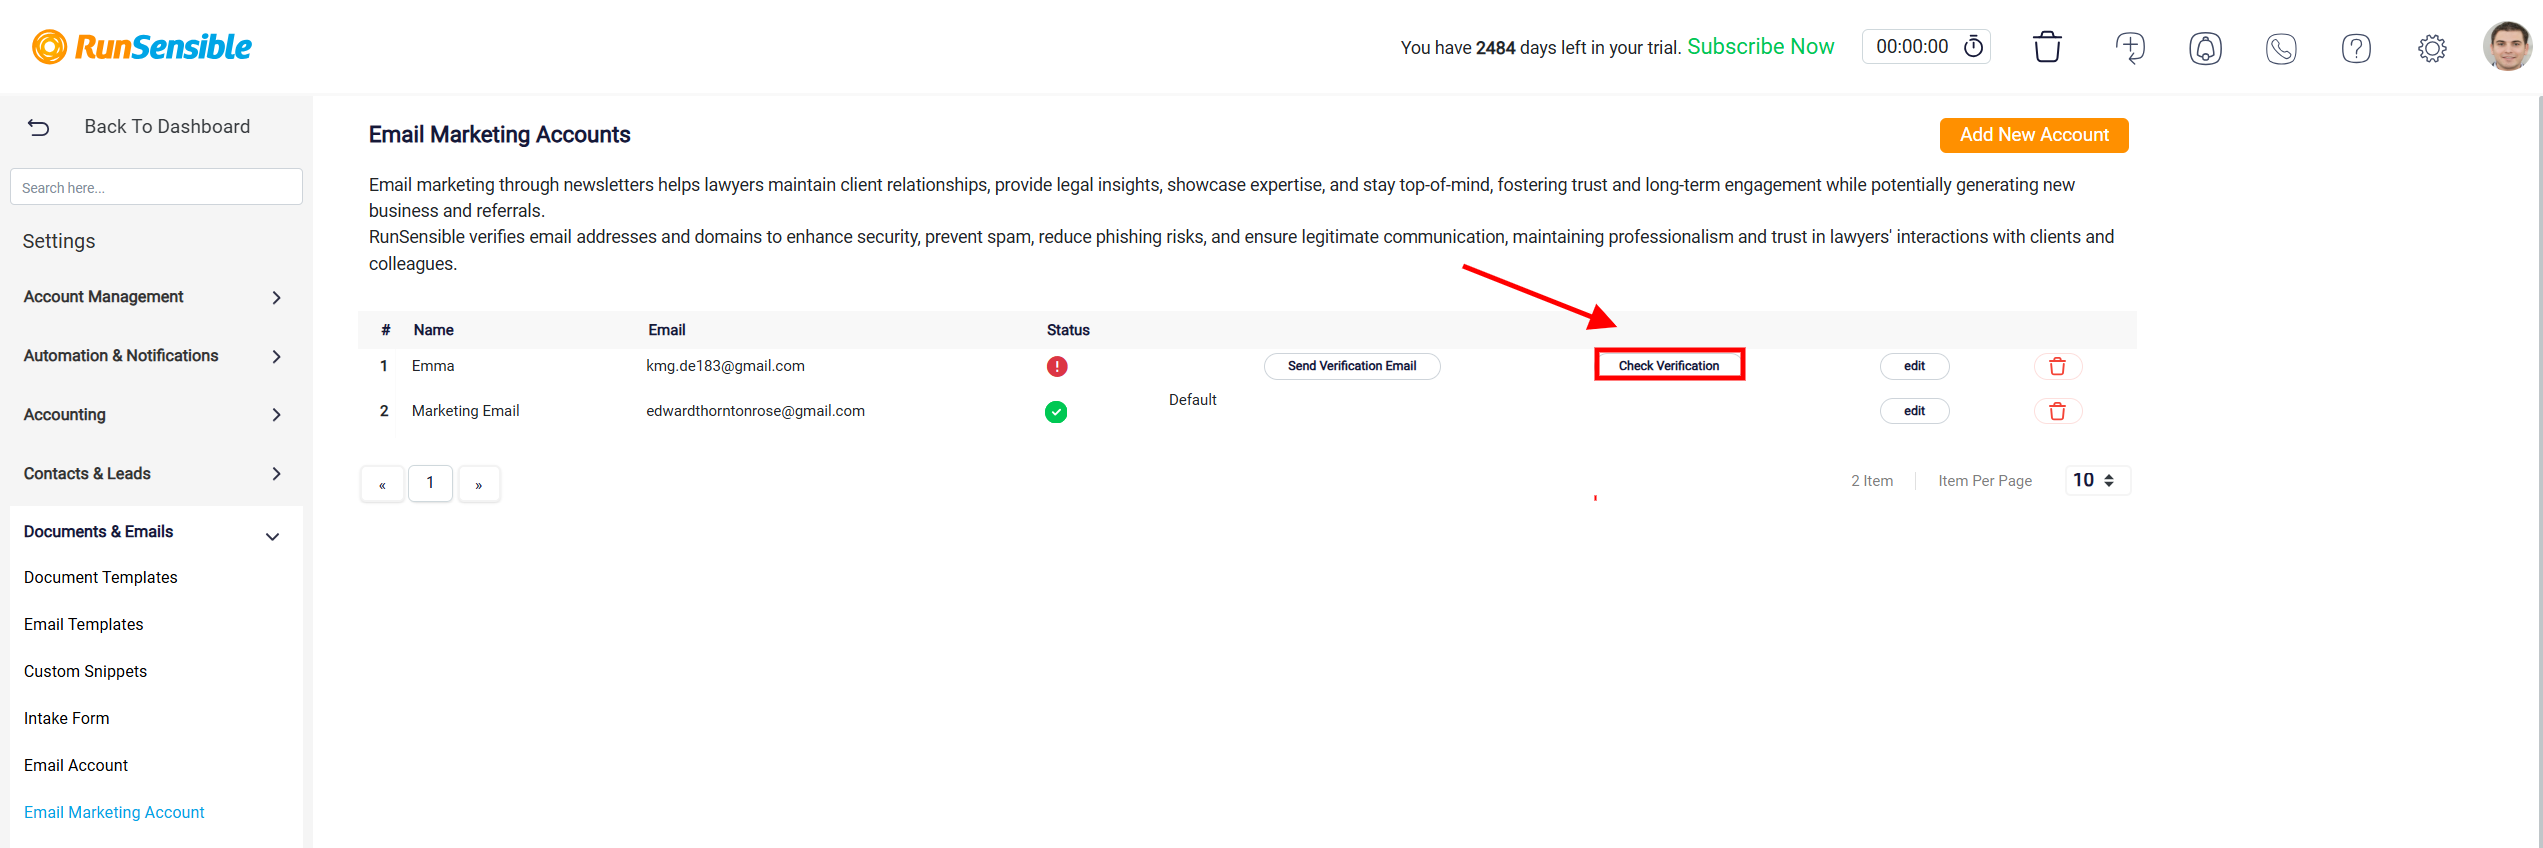
To verify an email account, click the Send Verification Email button next to the desired address. Check the inbox of the specified email for a verification message, and click the link provided in the email to complete the process.

After verifying, return to this page and click Check Verification to update the status. If you encounter any issues, such as not receiving the verification email, make sure the email address is correct and check the spam or junk folder. You can resend the verification email if necessary.
Setting an Email Marketing Account as Default
To designate an email account as the default sender for your marketing emails, click the Set Default button next to the desired email address. This action makes the selected email account the primary sender for all newsletters and marketing communications within RunSensible.
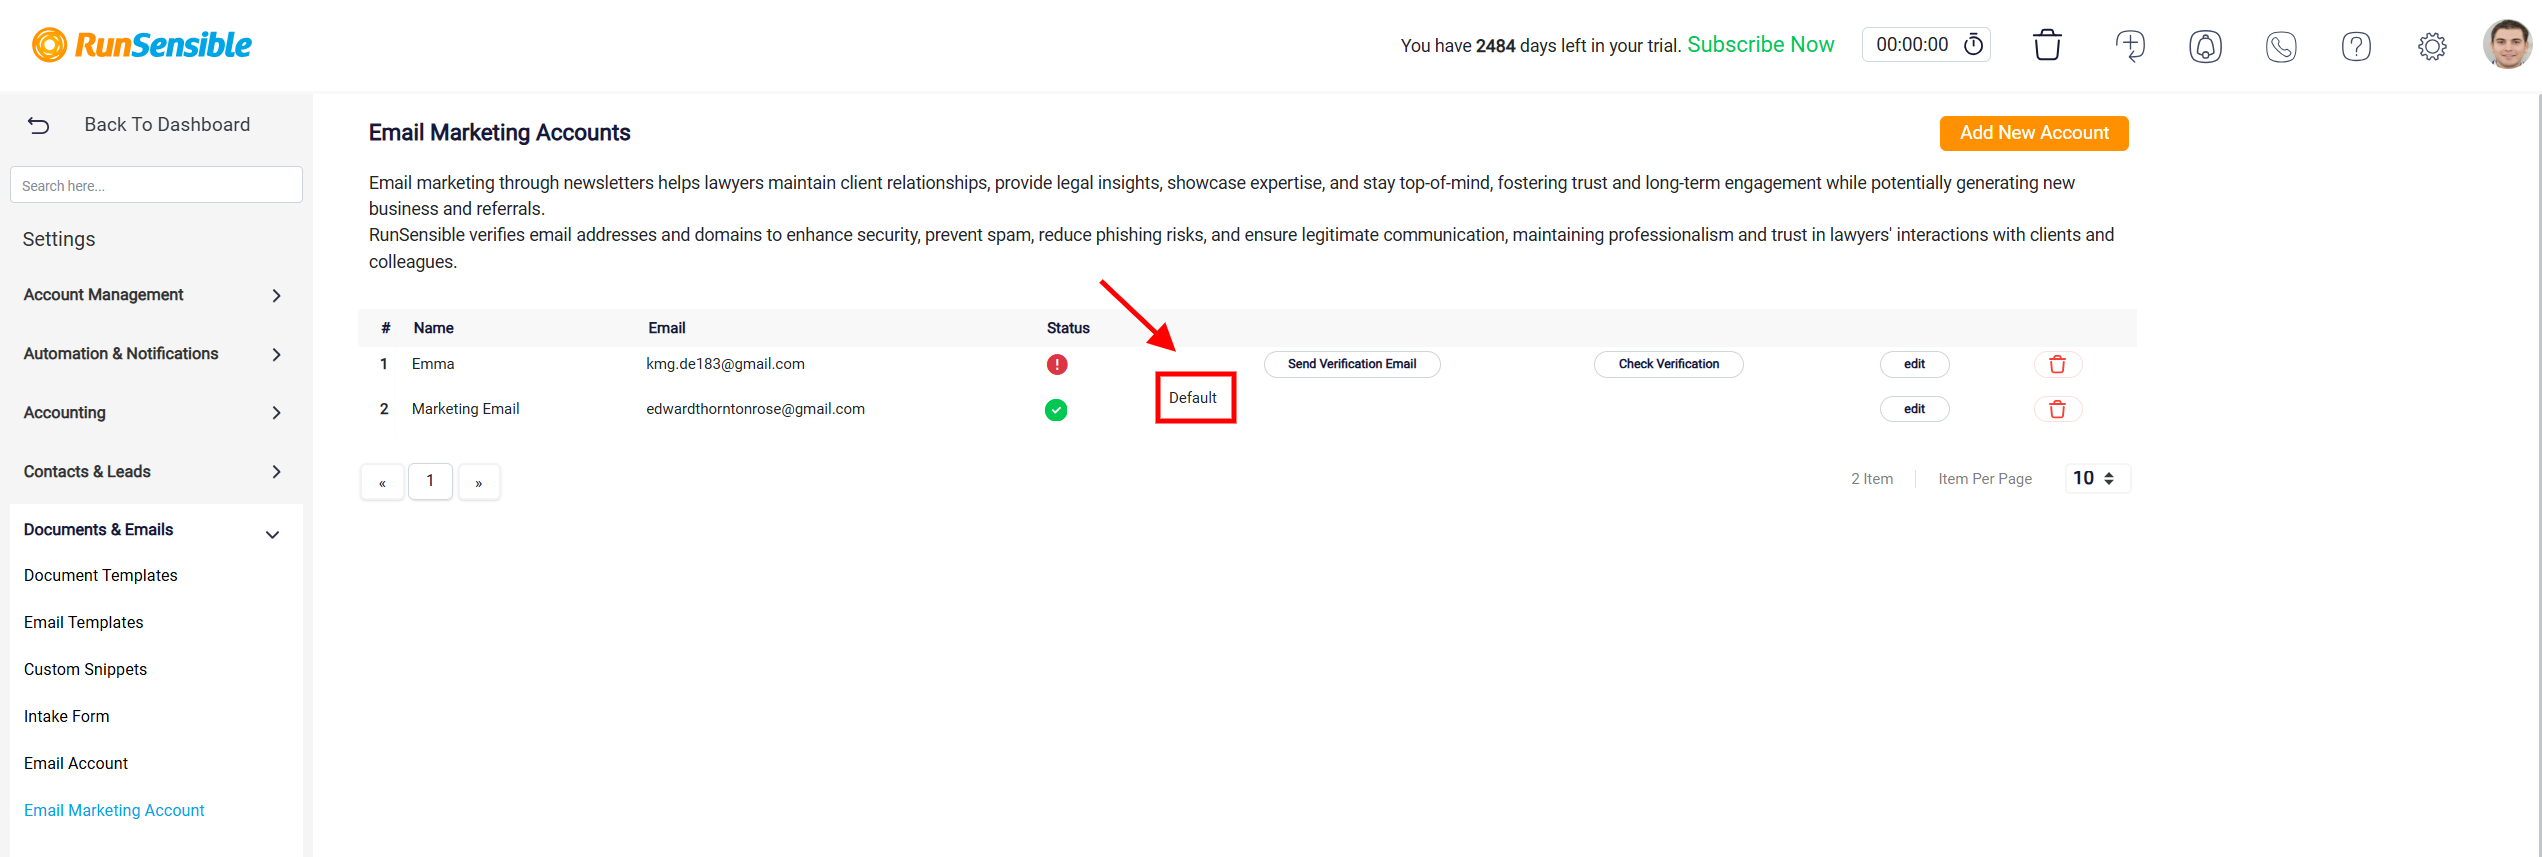
Note: Only verified email accounts can be set as default, so if the account you want to use is not verified, you will need to complete the verification process first by sending a verification email and checking its status.
Editing an Email Marketing Account
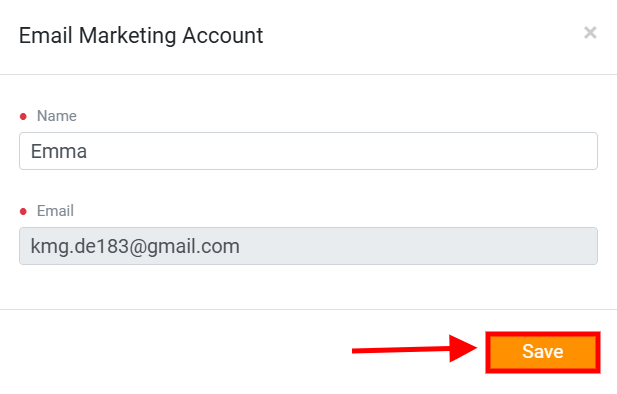
To update the details of an email account, click the Edit button next to the account you want to modify. This will open a form where you can change the display name and email address associated with the account.

After making your changes, make sure to save them by clicking the Save button at the bottom of the form.
Note: Please note that if you change the email address, the new address must go through the verification process again. This ensures that the updated email address is authorized and can be used for marketing purposes. If the new email is not verified, it will not be available for sending marketing emails.
Deleting an Email Marketing Account
If you need to remove an email account from your list, click the trash icon (Delete button) next to the account. A confirmation prompt will appear to ensure you want to proceed with the deletion.
Be cautious when deleting an email account, especially if it is used as the default sender or has been actively used for marketing campaigns.
