Bill Detail Panel and Editing Options
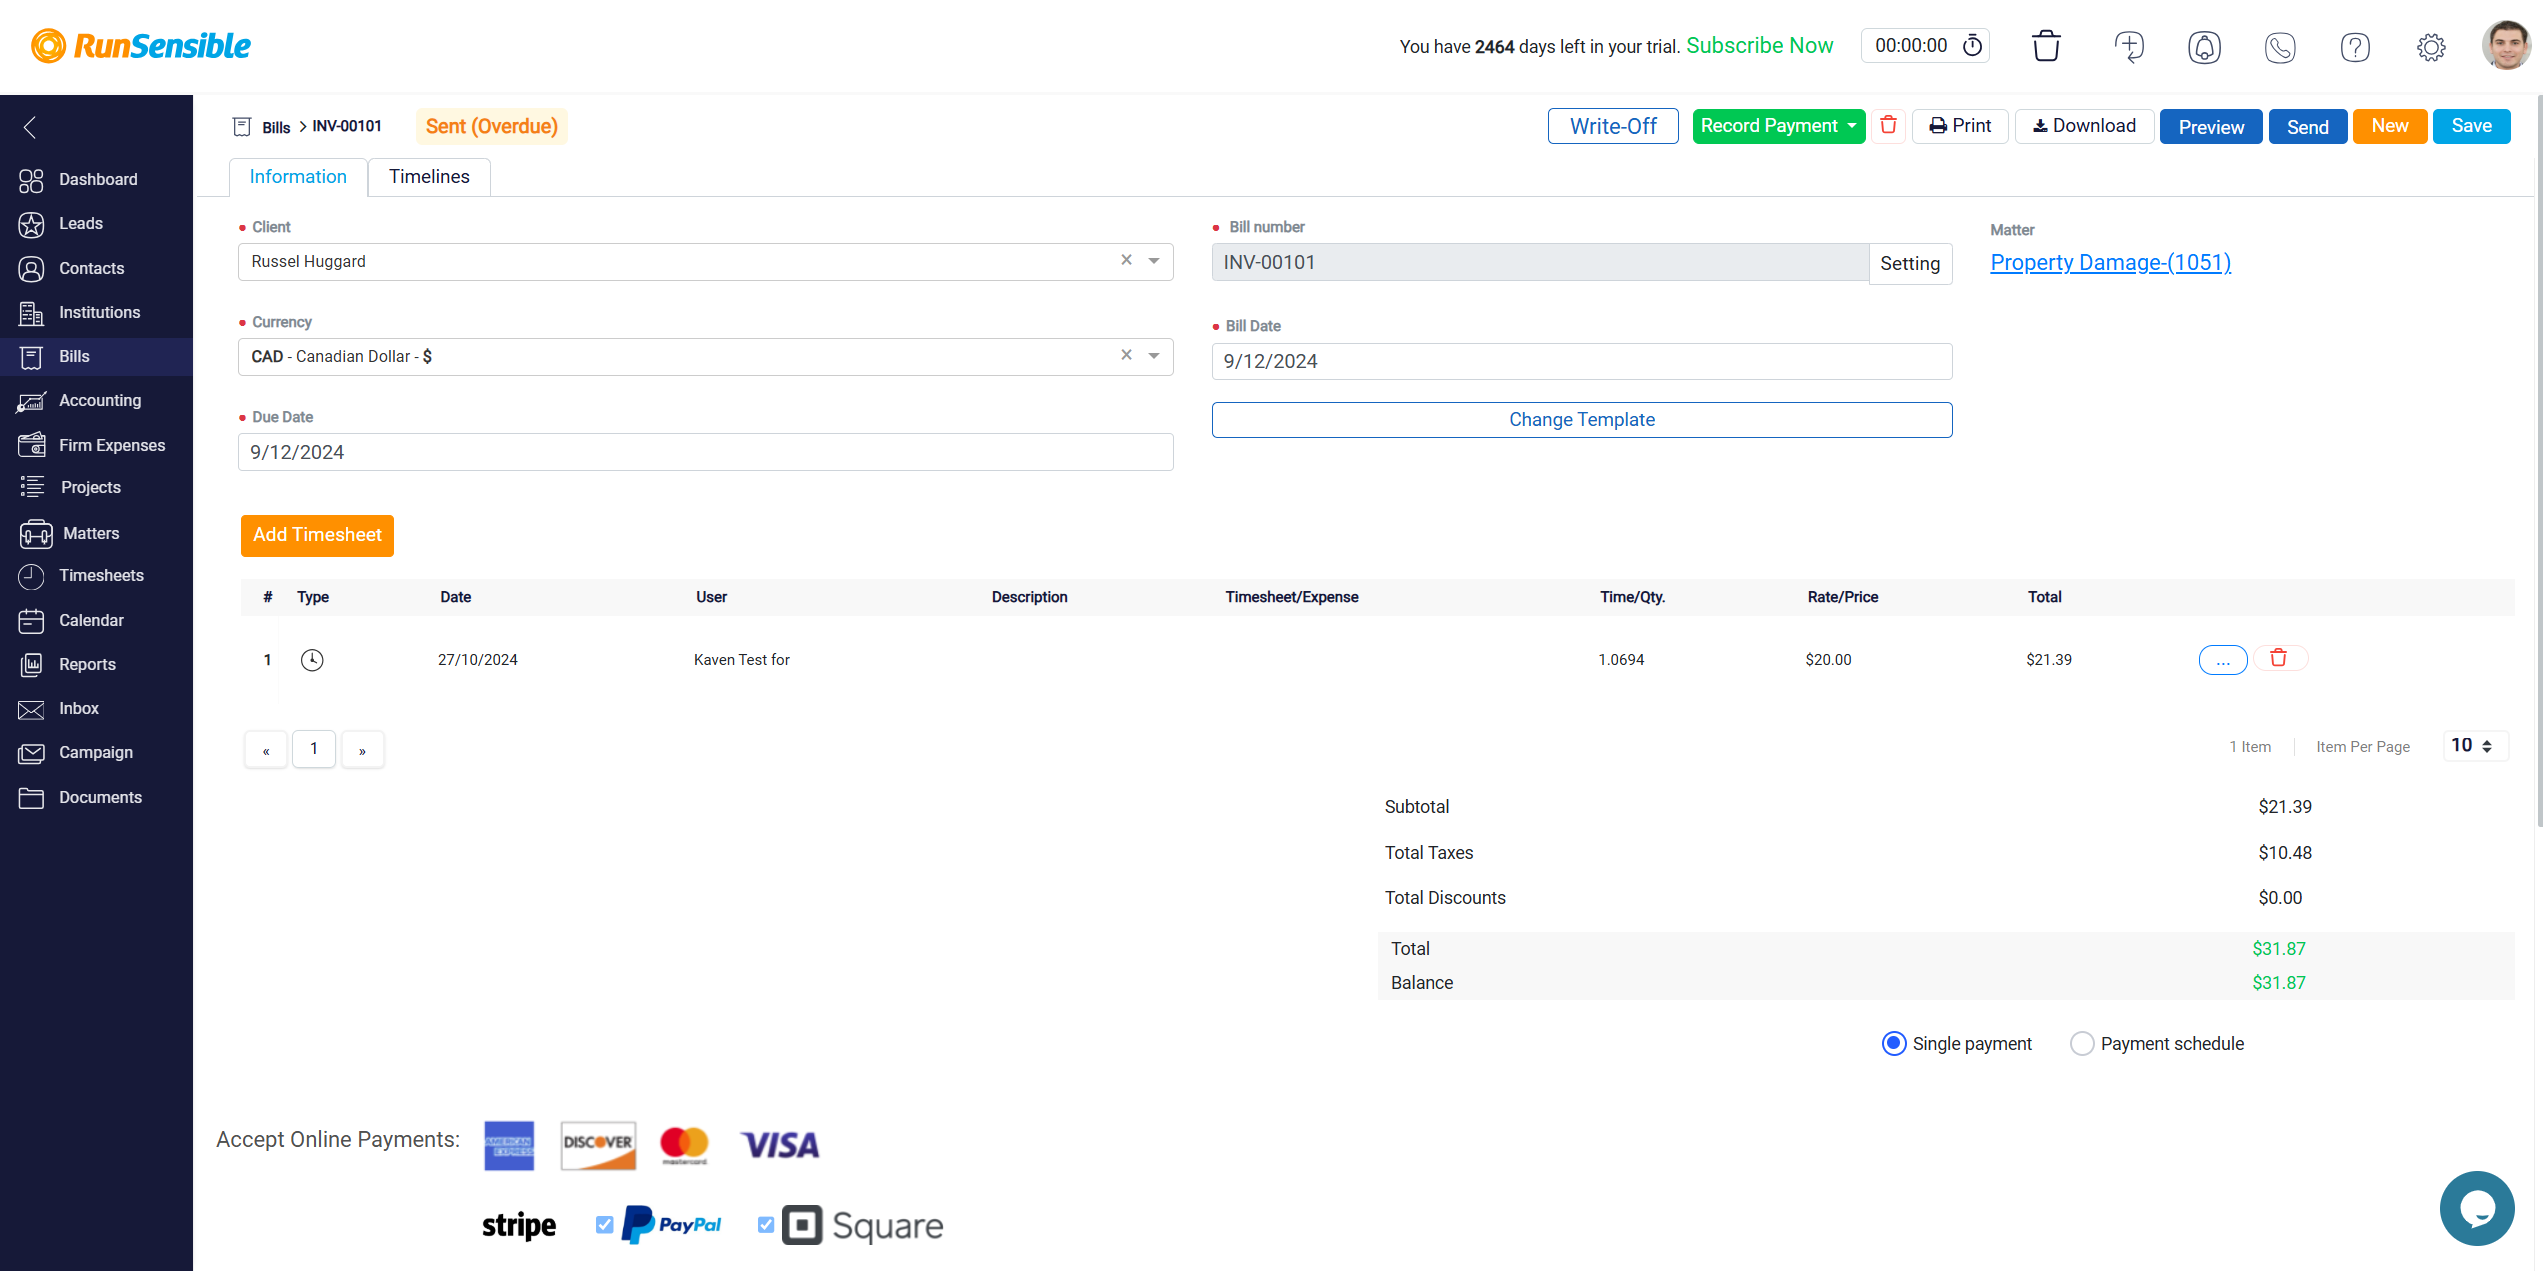
To access the detailed panel of a bill, click on the bill’s Number link, which is highlighted in blue. Alternatively, you can use any other method mentioned earlier to enter the bill’s detail panel. This will allow you to view and manage all the detailed information related to the selected bill.

In the Bill Detail panel, you can modify any information or actions you previously entered when creating the bill. This flexibility allows you to update any aspect of the bill as needed.
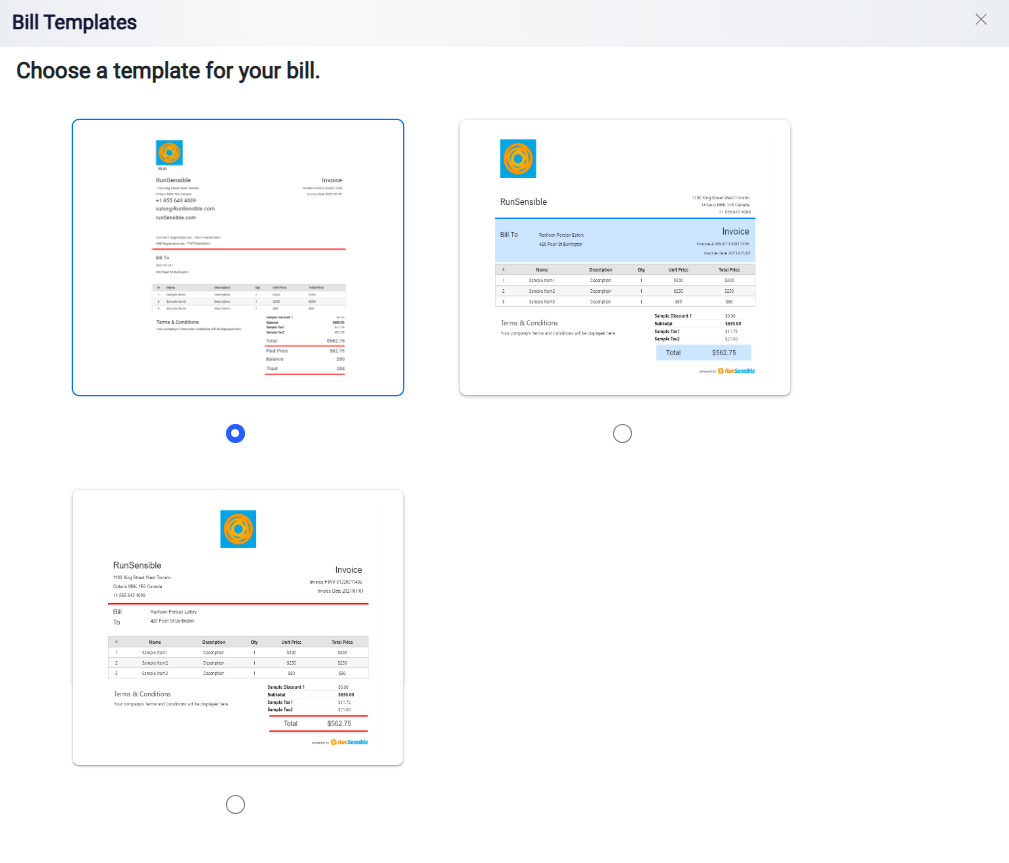
Within this panel, there is a Change Template button available, which provides a variety of templates for customizing how the bill is displayed.
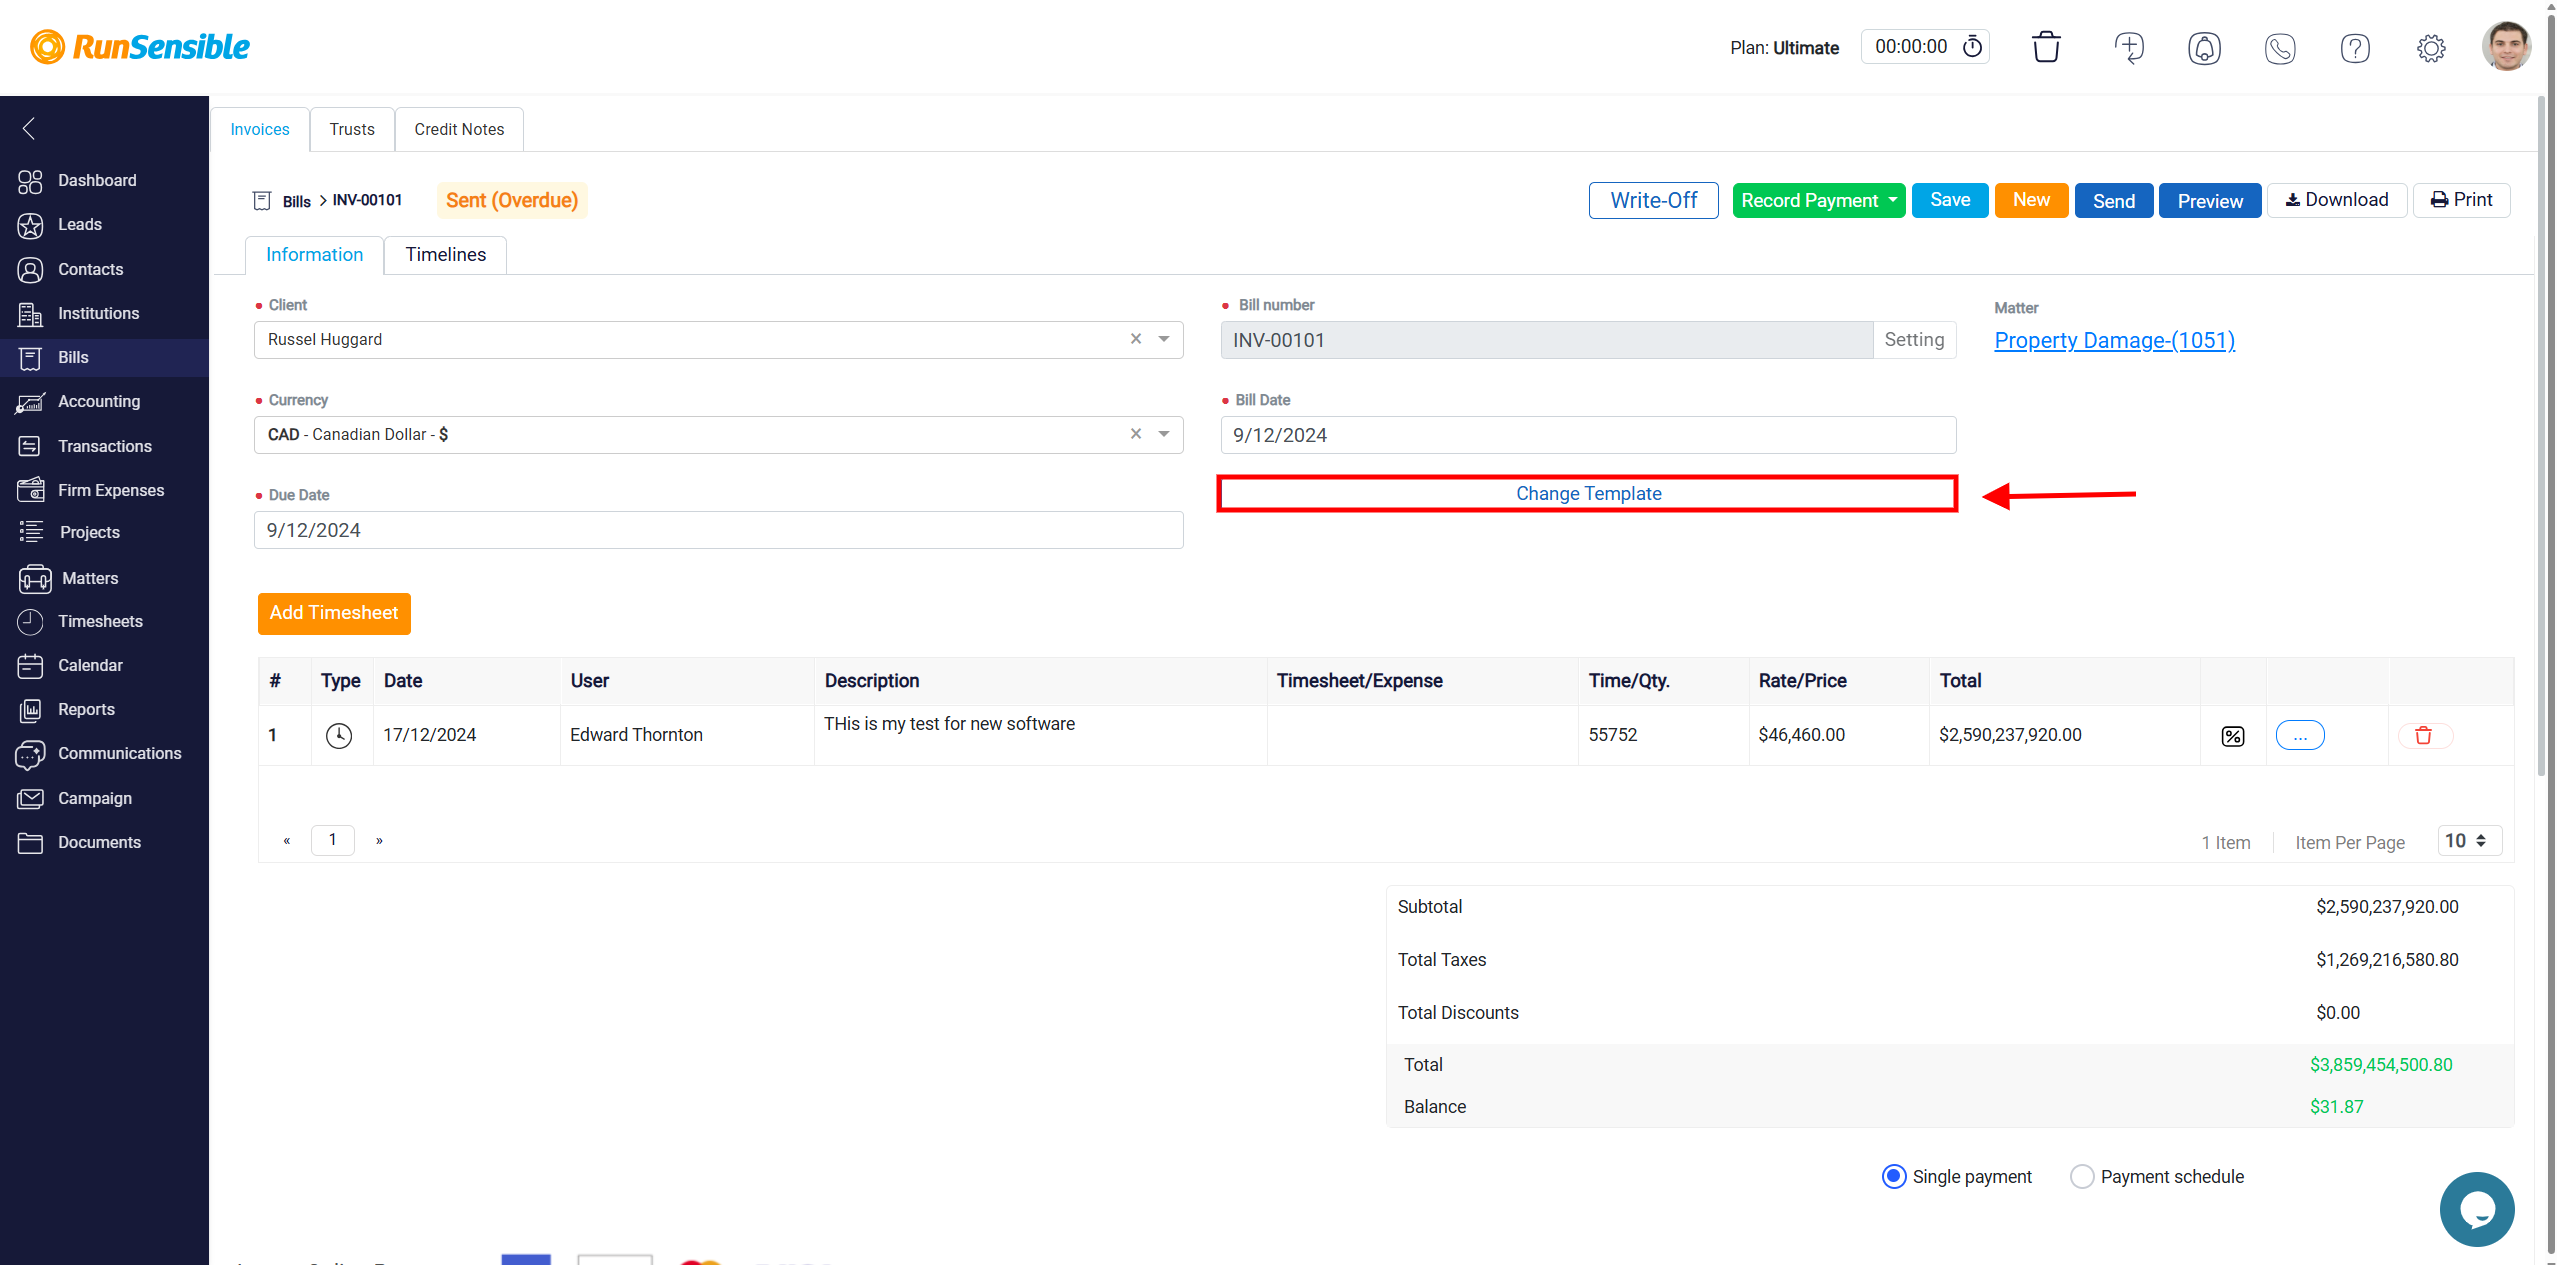
By selecting this option, you can adjust the layout and appearance of your bill to better fit your preferences or requirements.
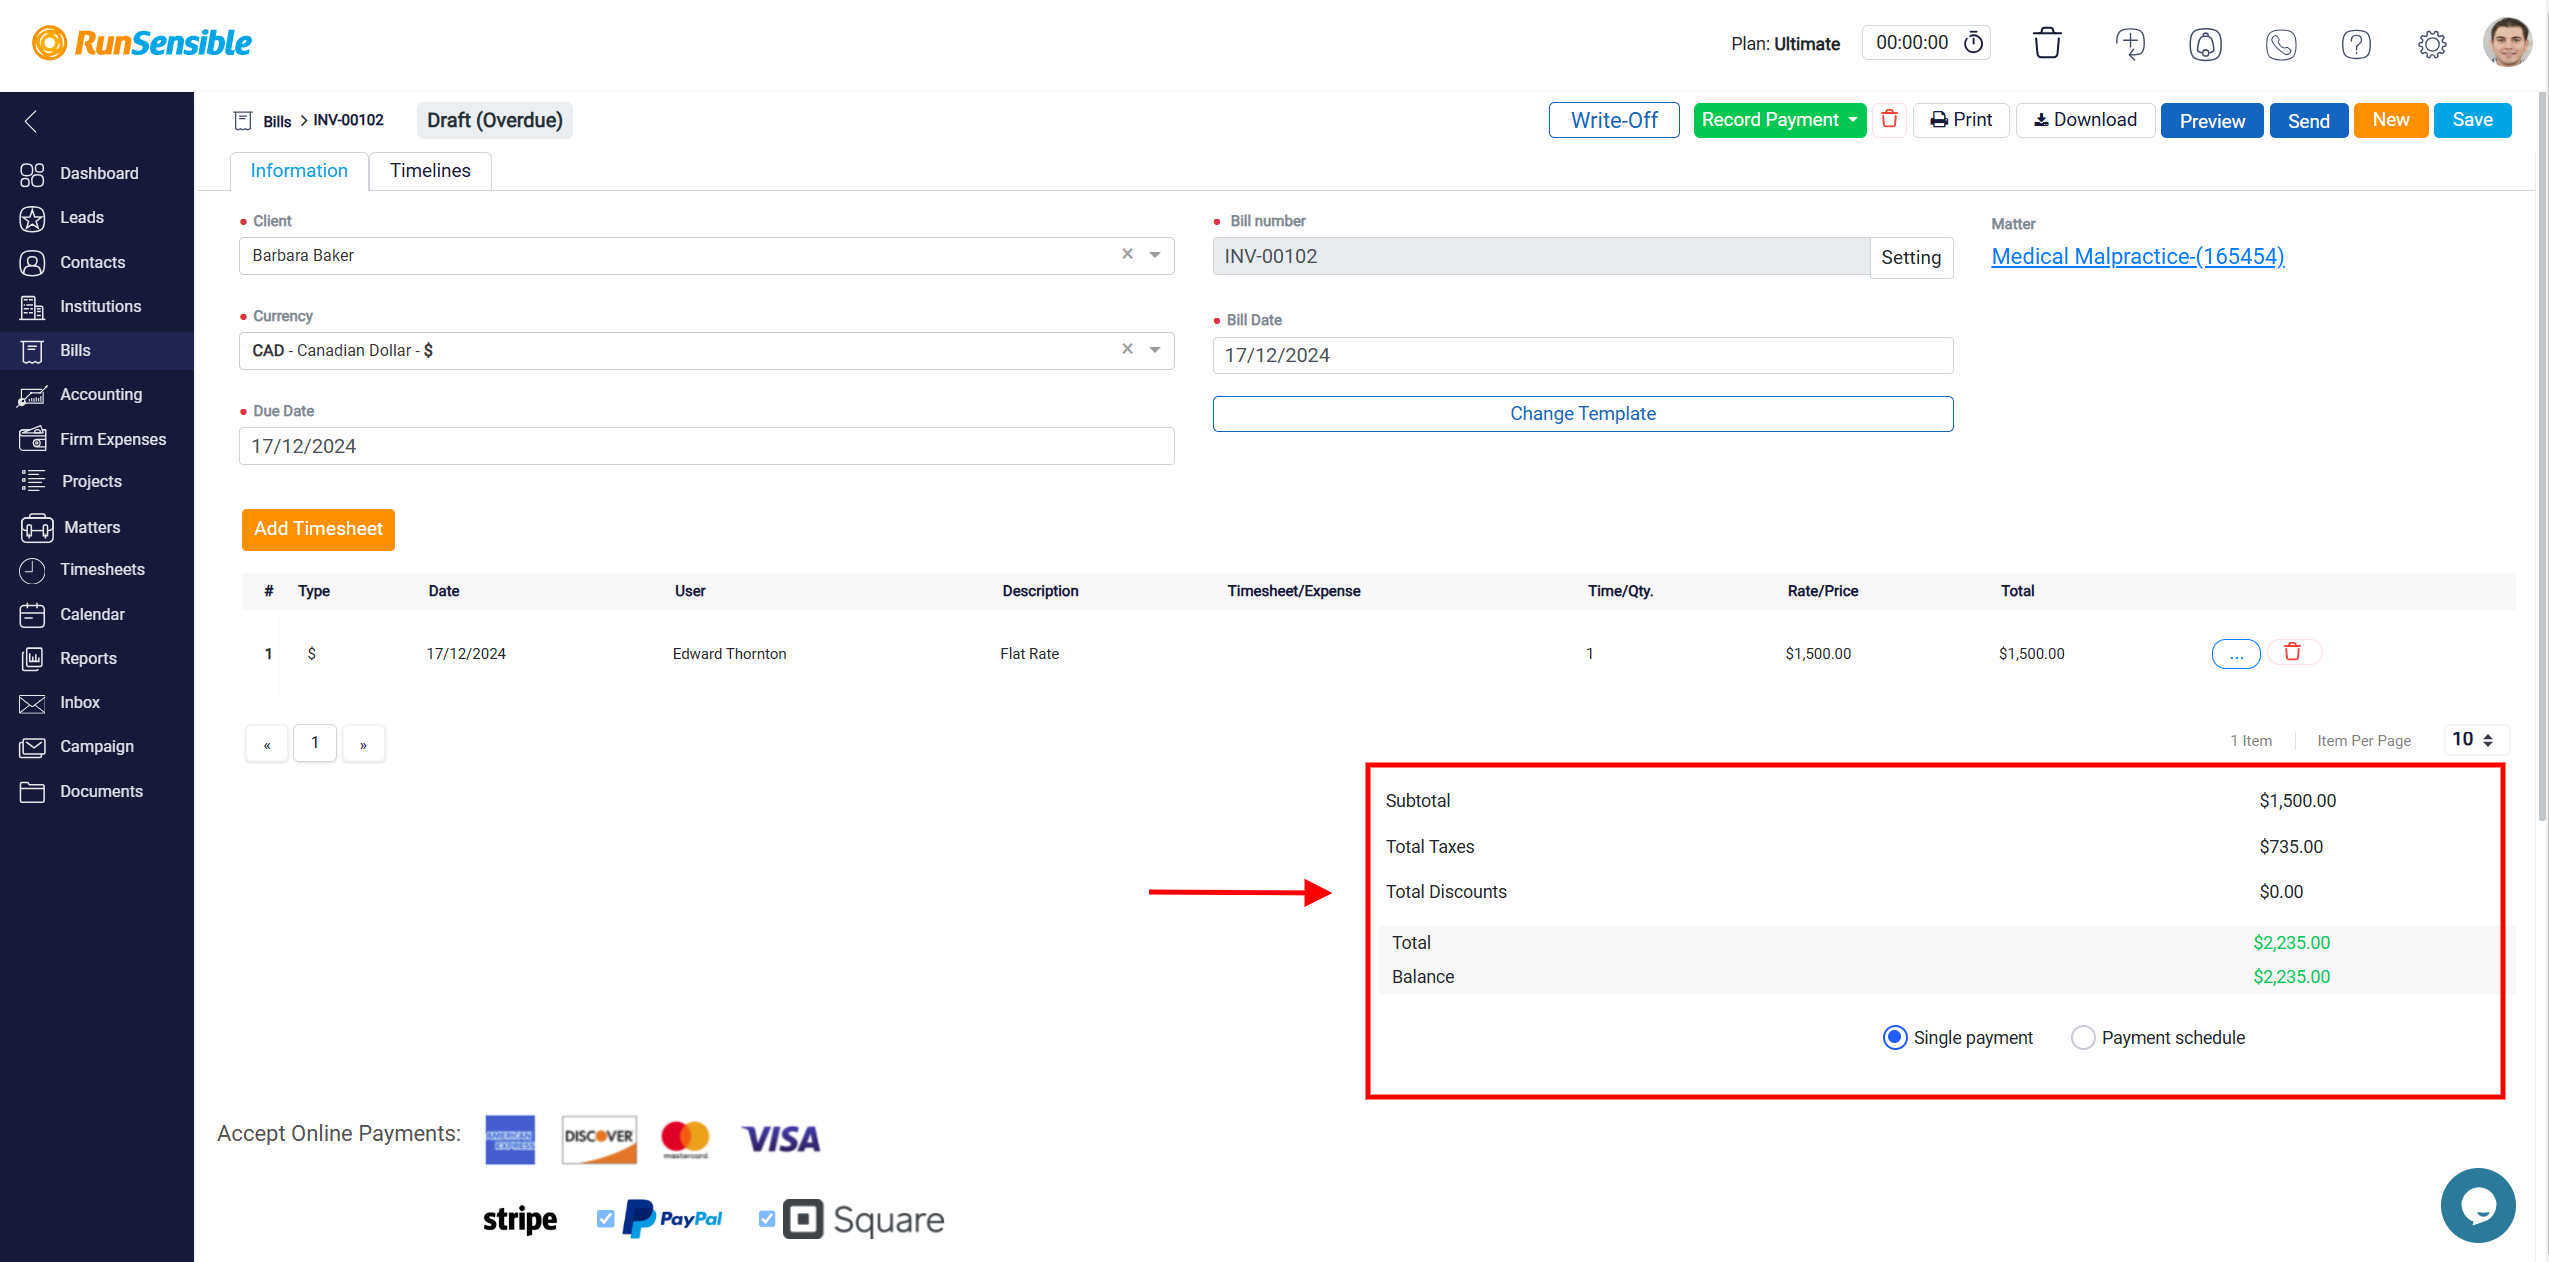
Located in the middle of the Bill detail panel, you will find a section dedicated to the time sheets associated with the bill. Here, you can view all the time sheets linked to this specific bill. If you need to add more time sheets, there is an Add Timesheet button at the top right of the time sheets section.
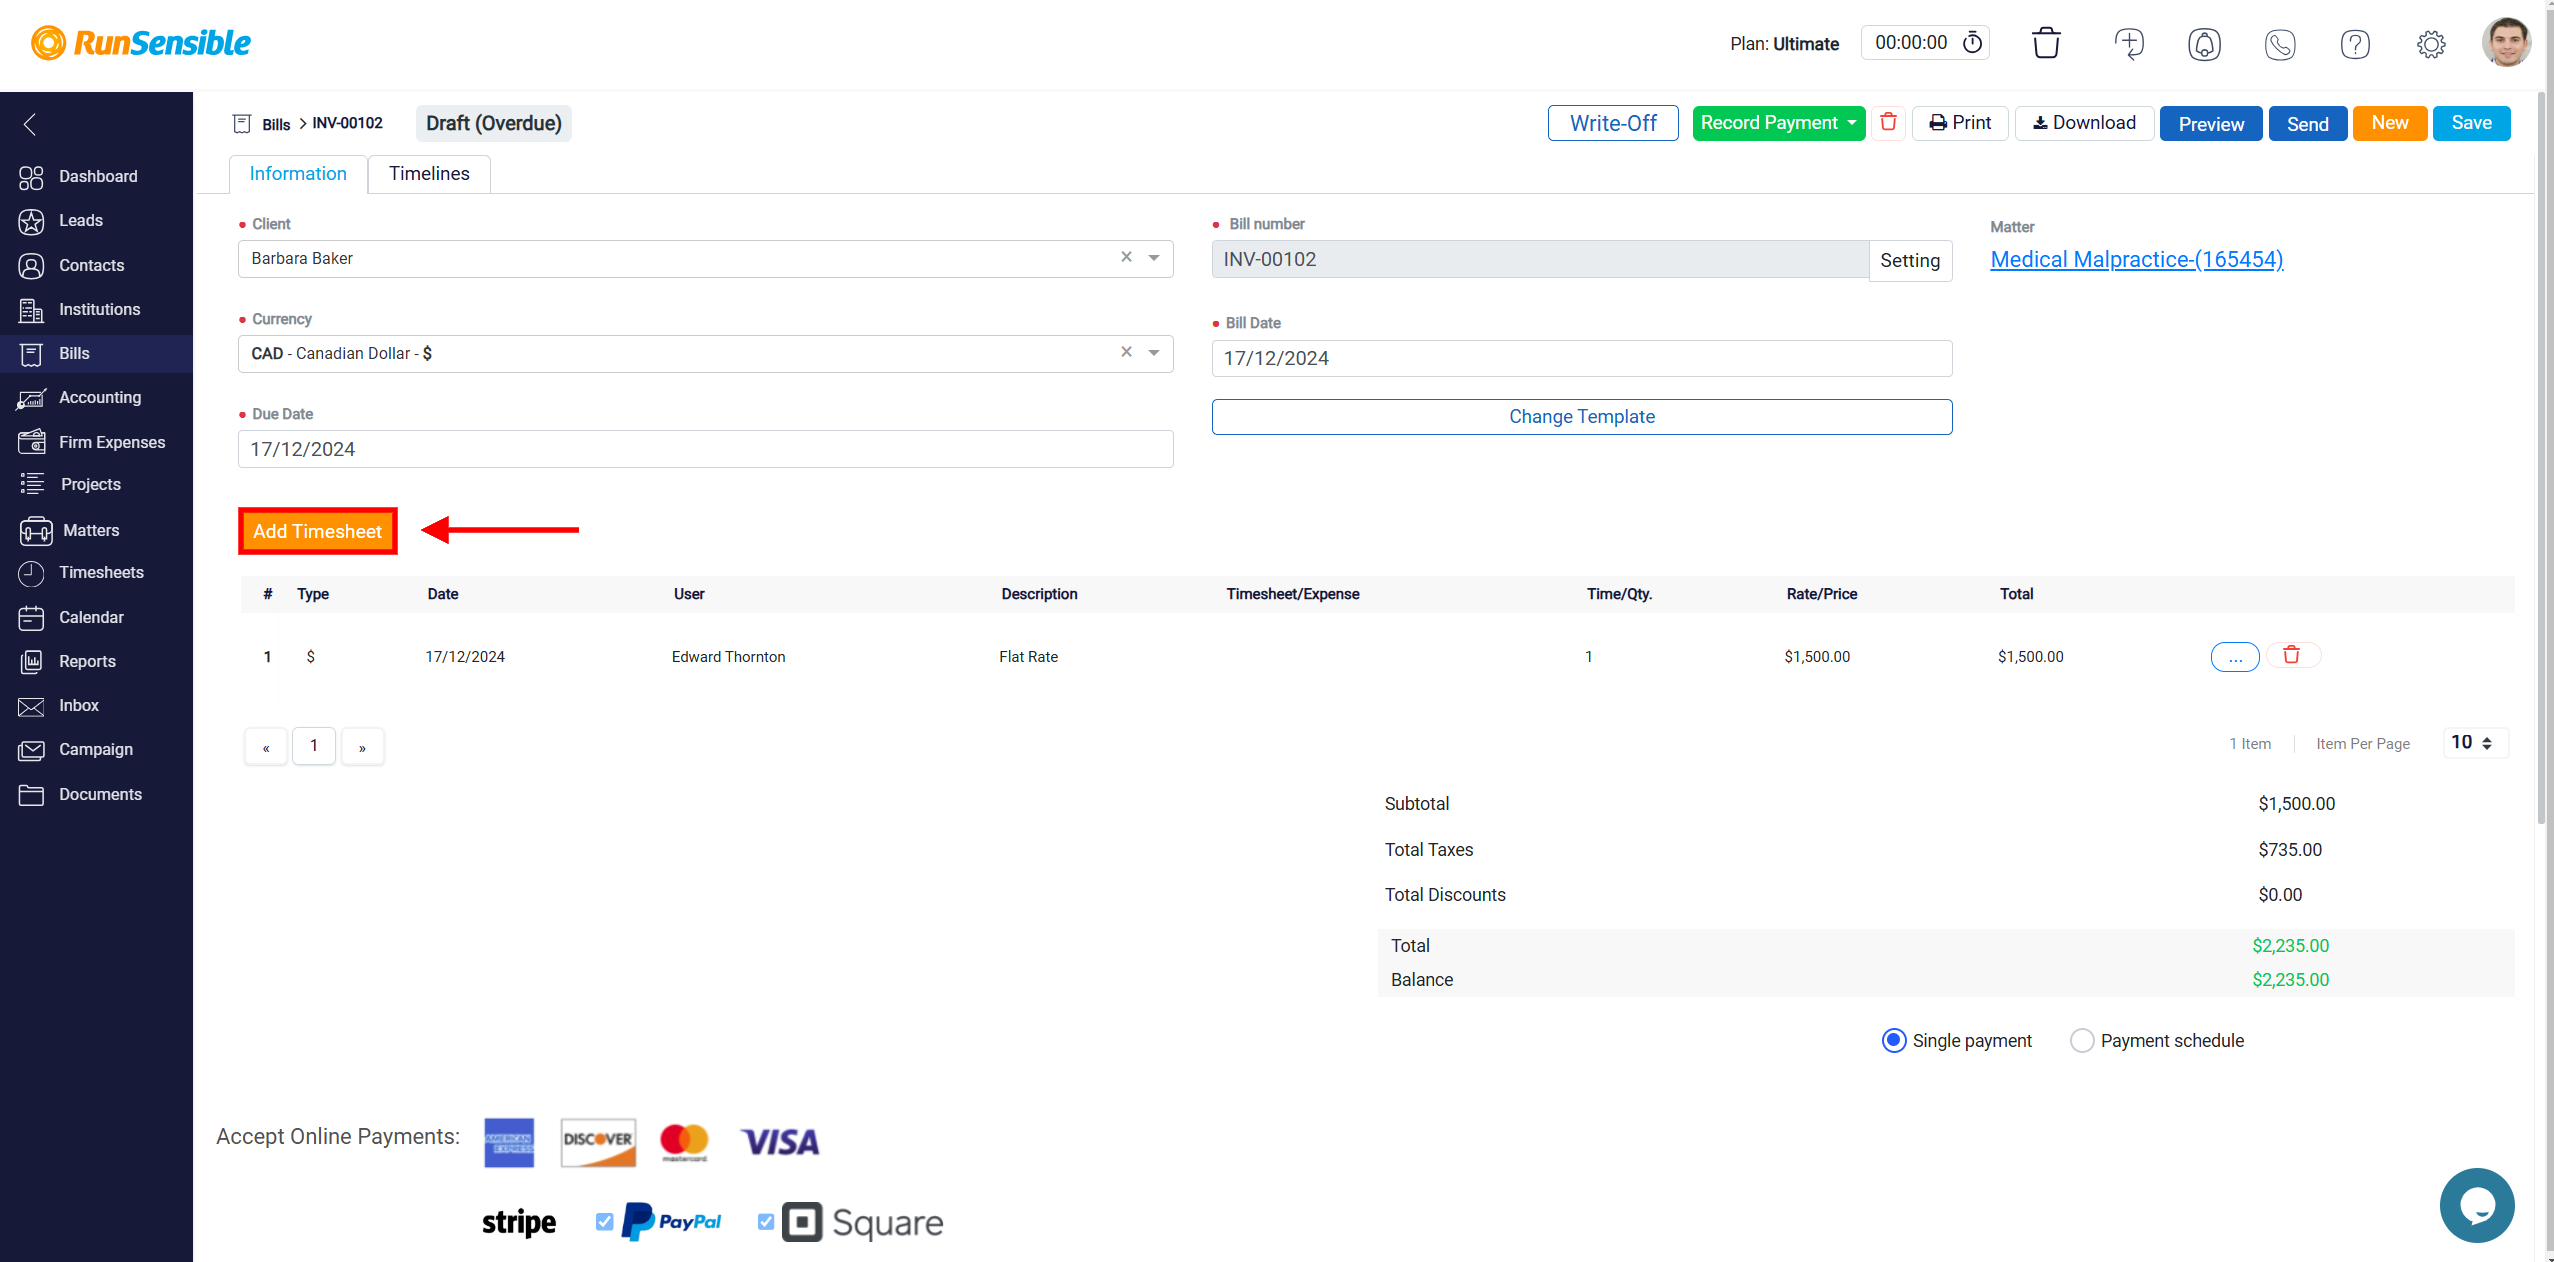
This button allows you to include as many time sheets as necessary, providing flexibility in tracking and managing billable hours.

To the right of the time sheets section, you will see a panel summarizing the financial transactions related to the bill. This panel offers an overview of all monetary activities connected to the bill, allowing you to access and review the relevant financial information quickly. By organizing these details in one place, the panel ensures that you have a clear understanding of the financial aspects of the bill, including any payments or outstanding balances.