Viewing Installments and Payment Details
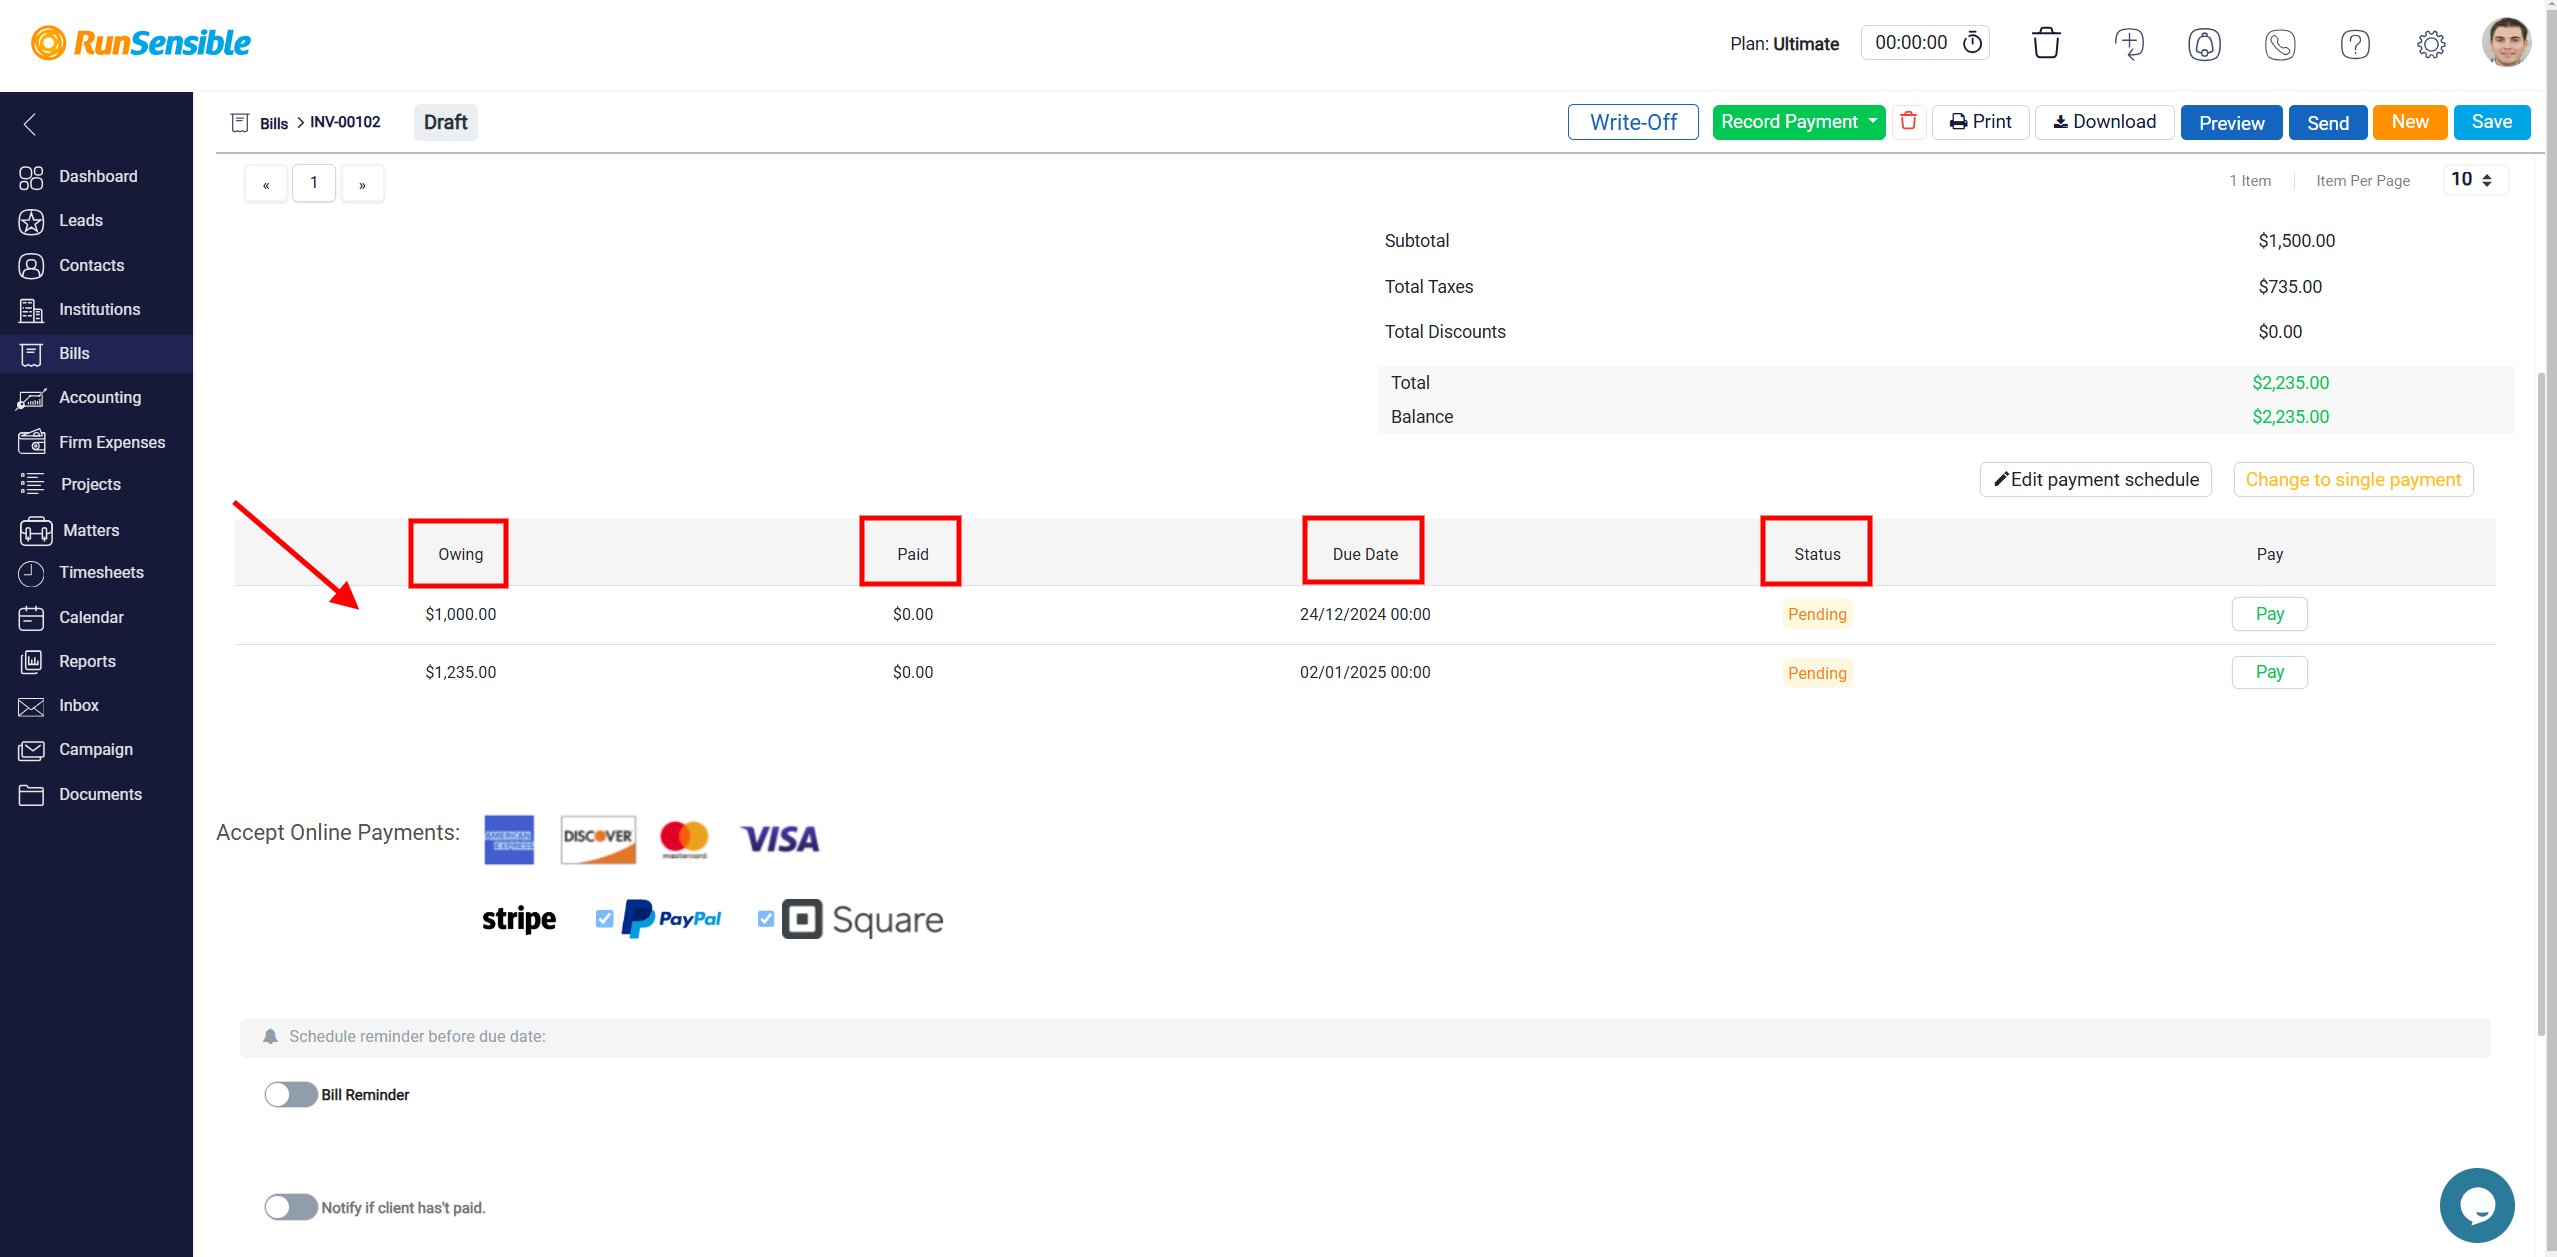
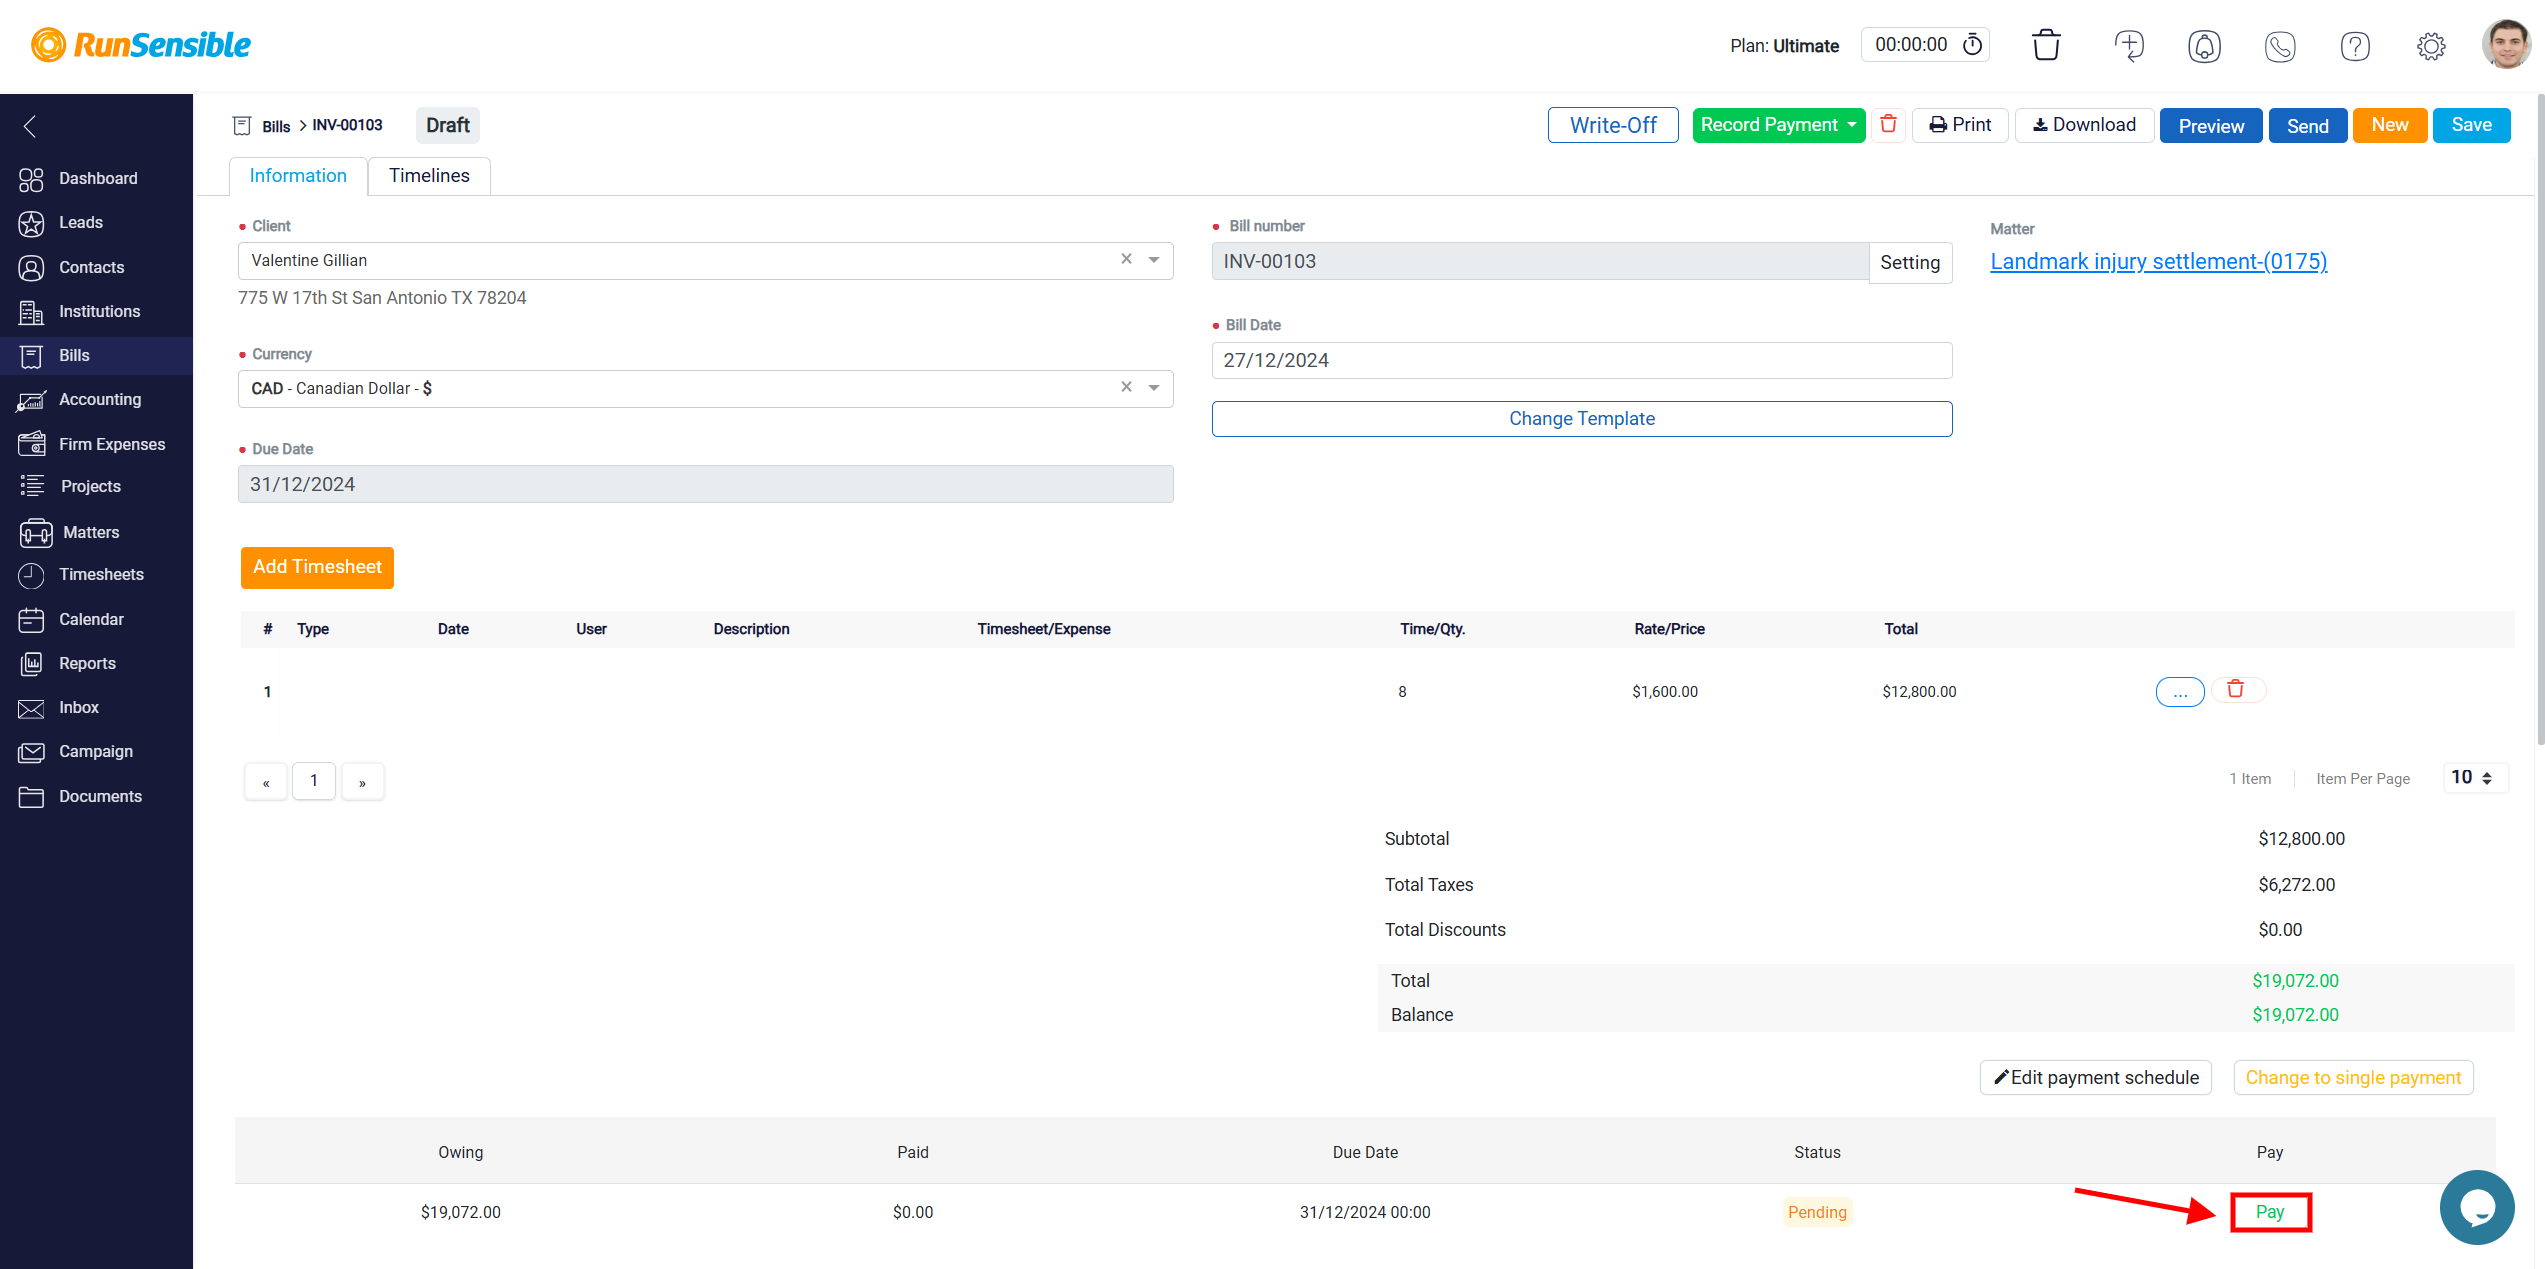
Once you have saved your schedule, you will be able to view the installments listed at the bottom of the screen, each arranged in individual rows. These rows provide detailed information about the installment. The Owing column shows the amount that remains unpaid, while the Paid column indicates how much has already been paid towards the installment. The Due Date column specifies the date by which the installment must be paid, and the Status column reflects the current condition of the payment.
Understanding Payment Statuses
This status may vary, depending on the payment’s progress. If an installment is labeled as Pending, it means no payment has been made yet, and the due date has not passed.
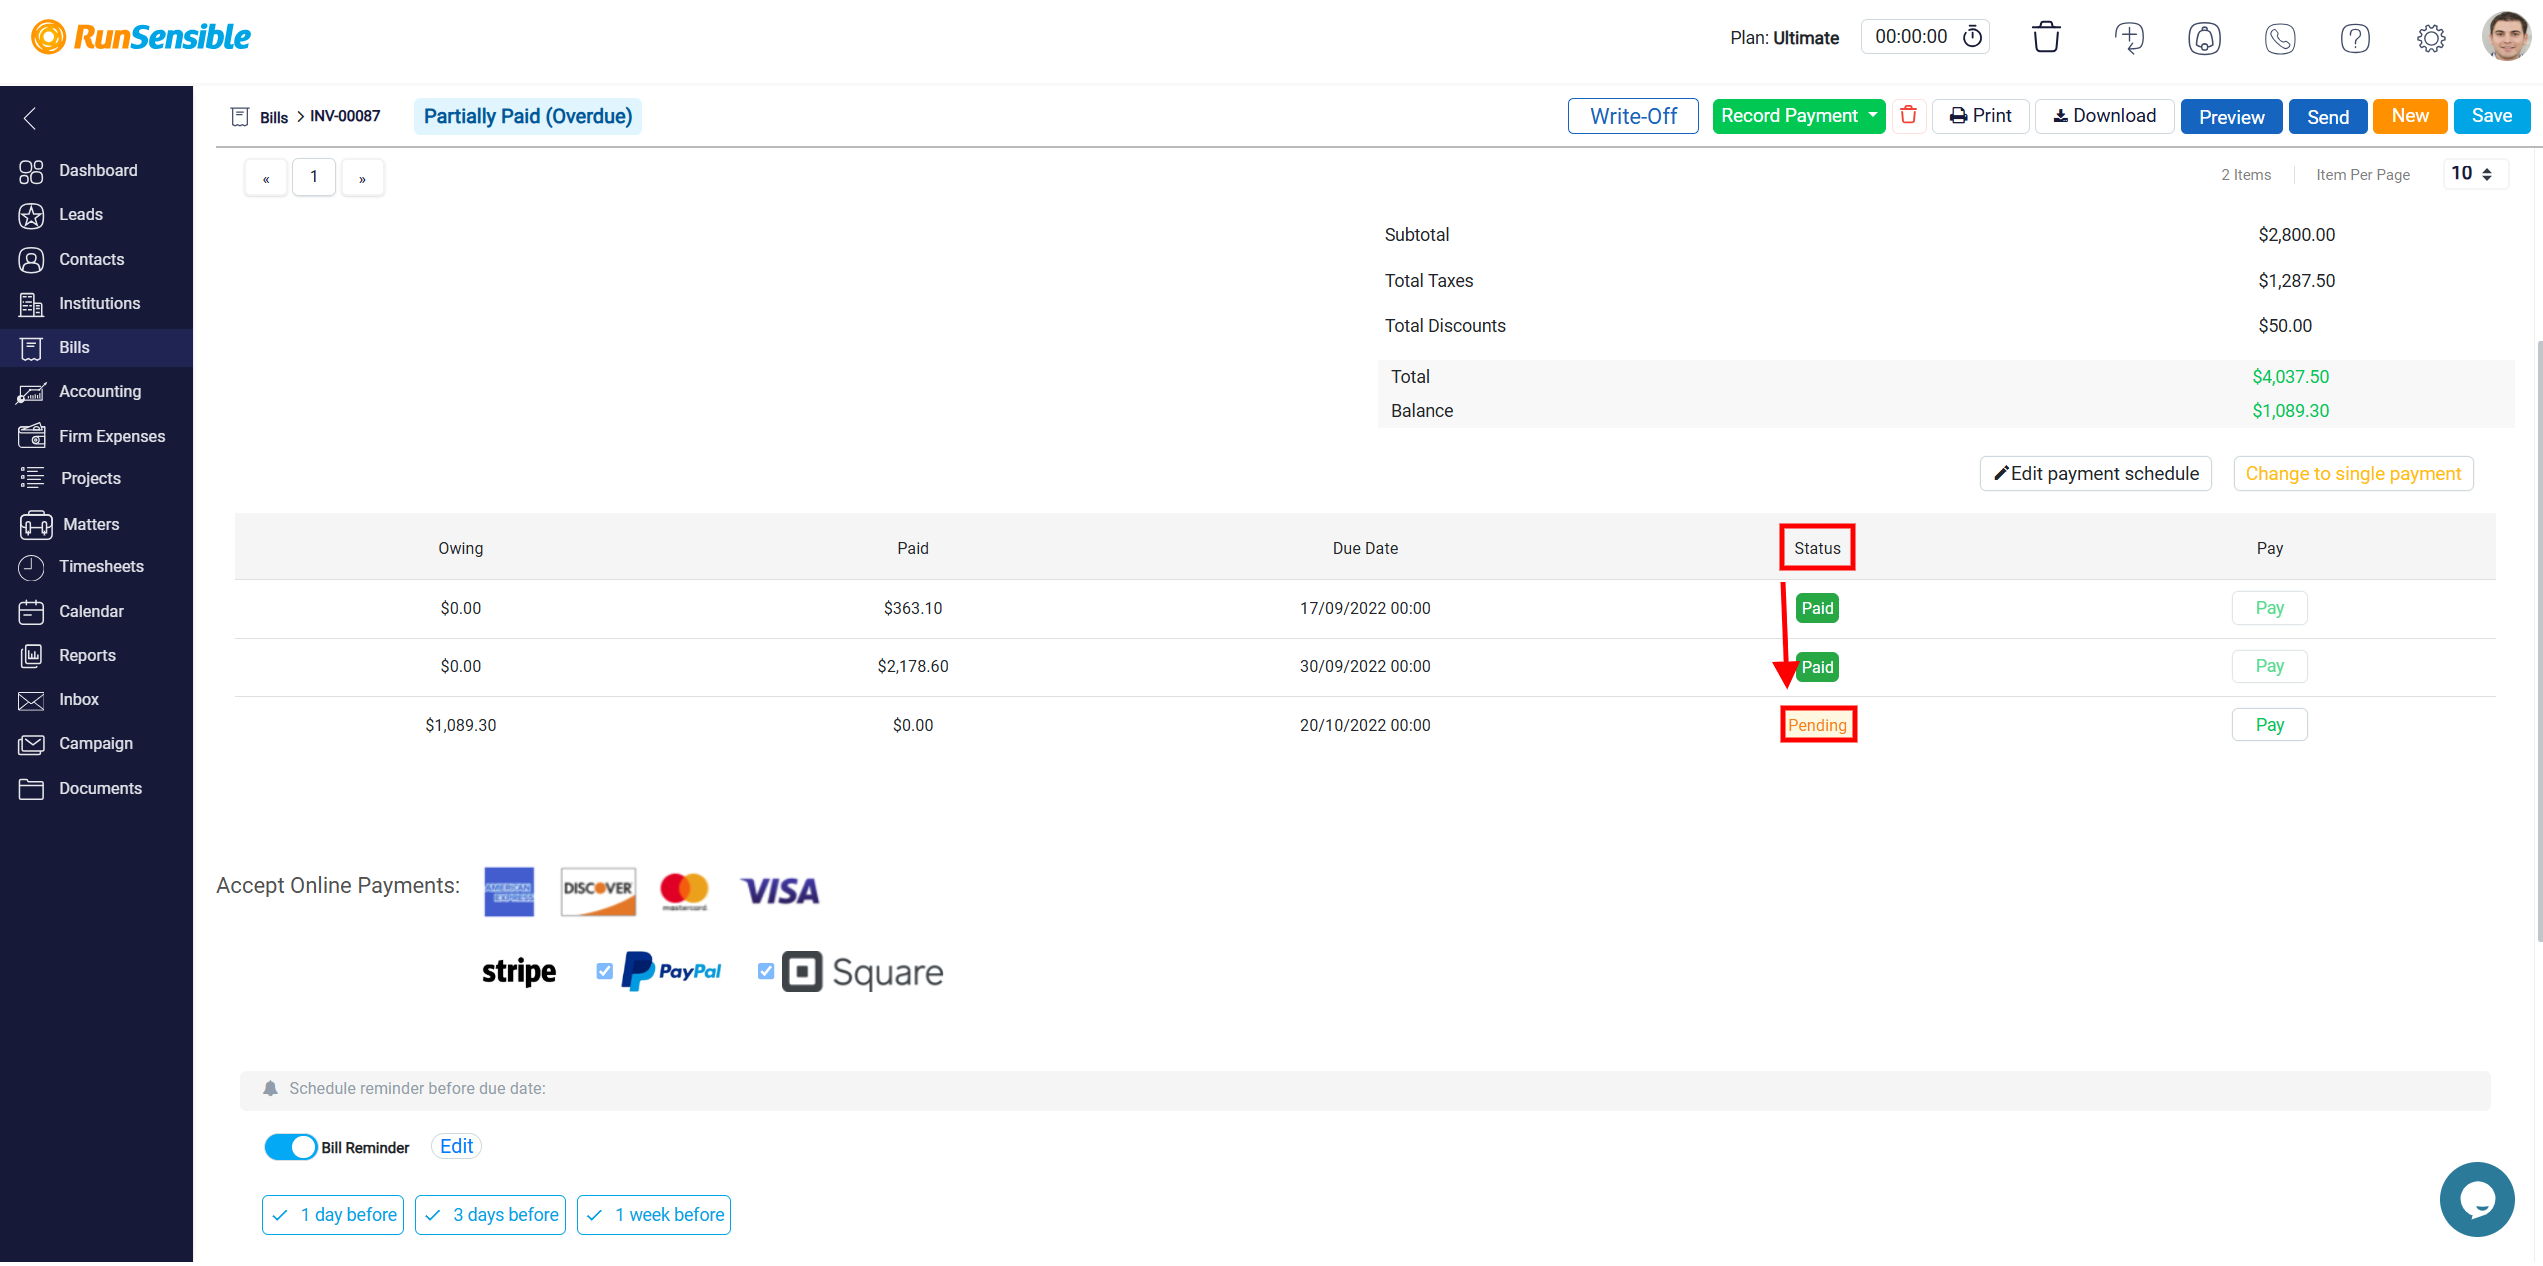
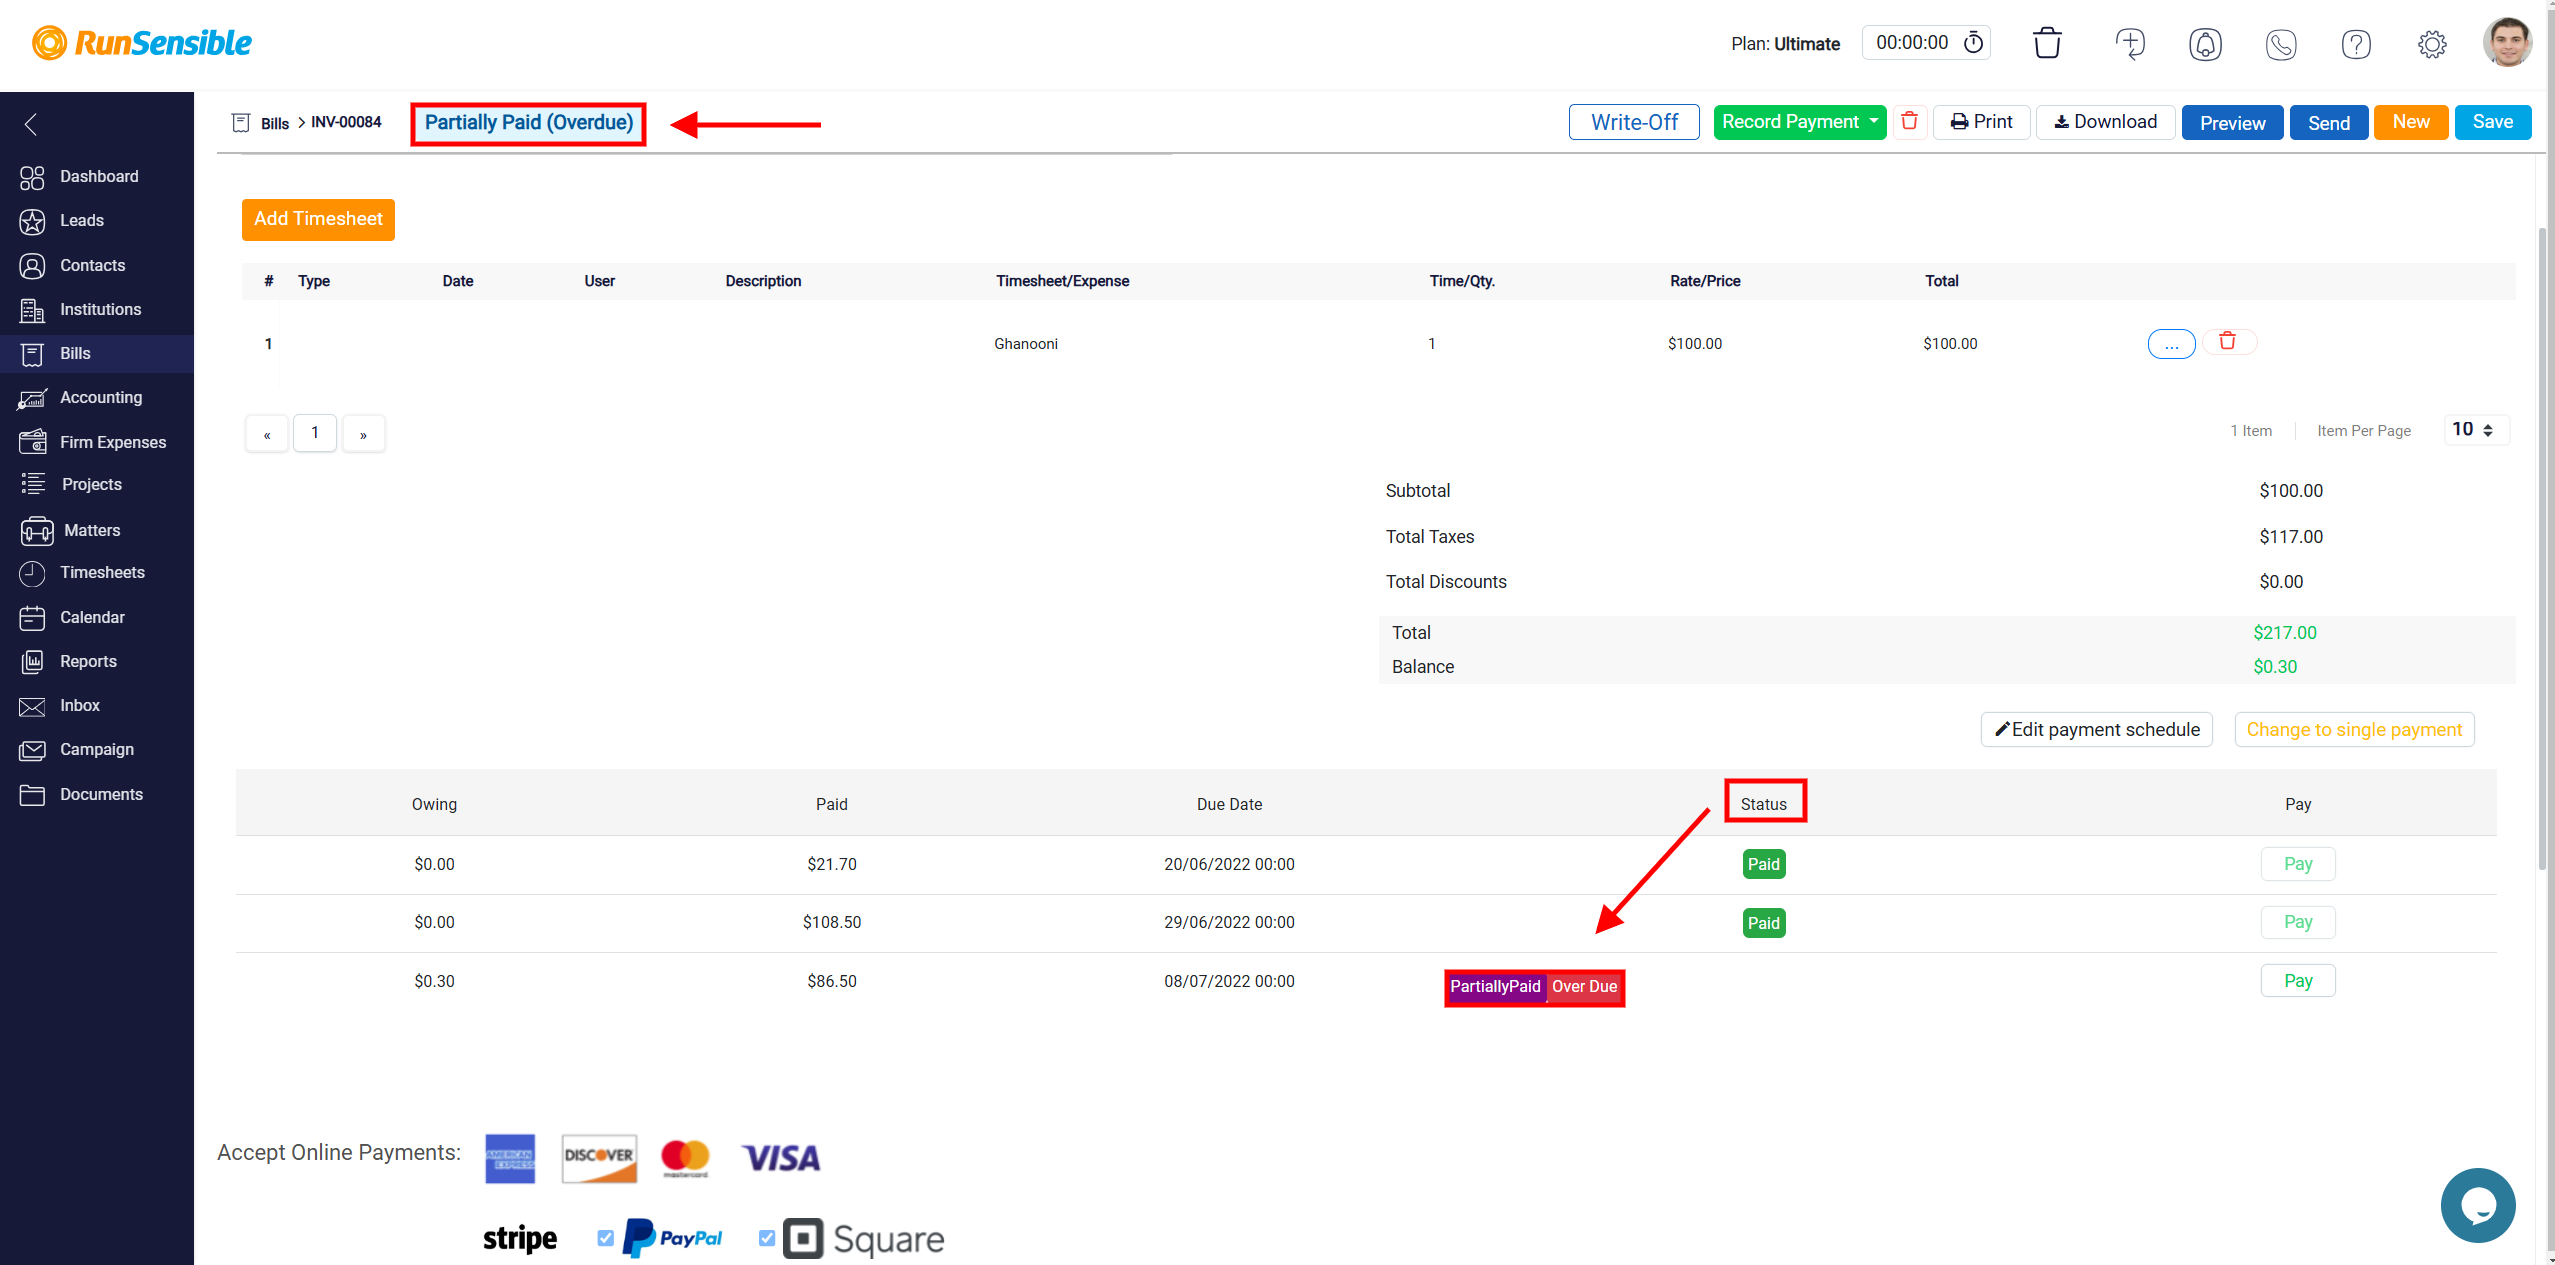
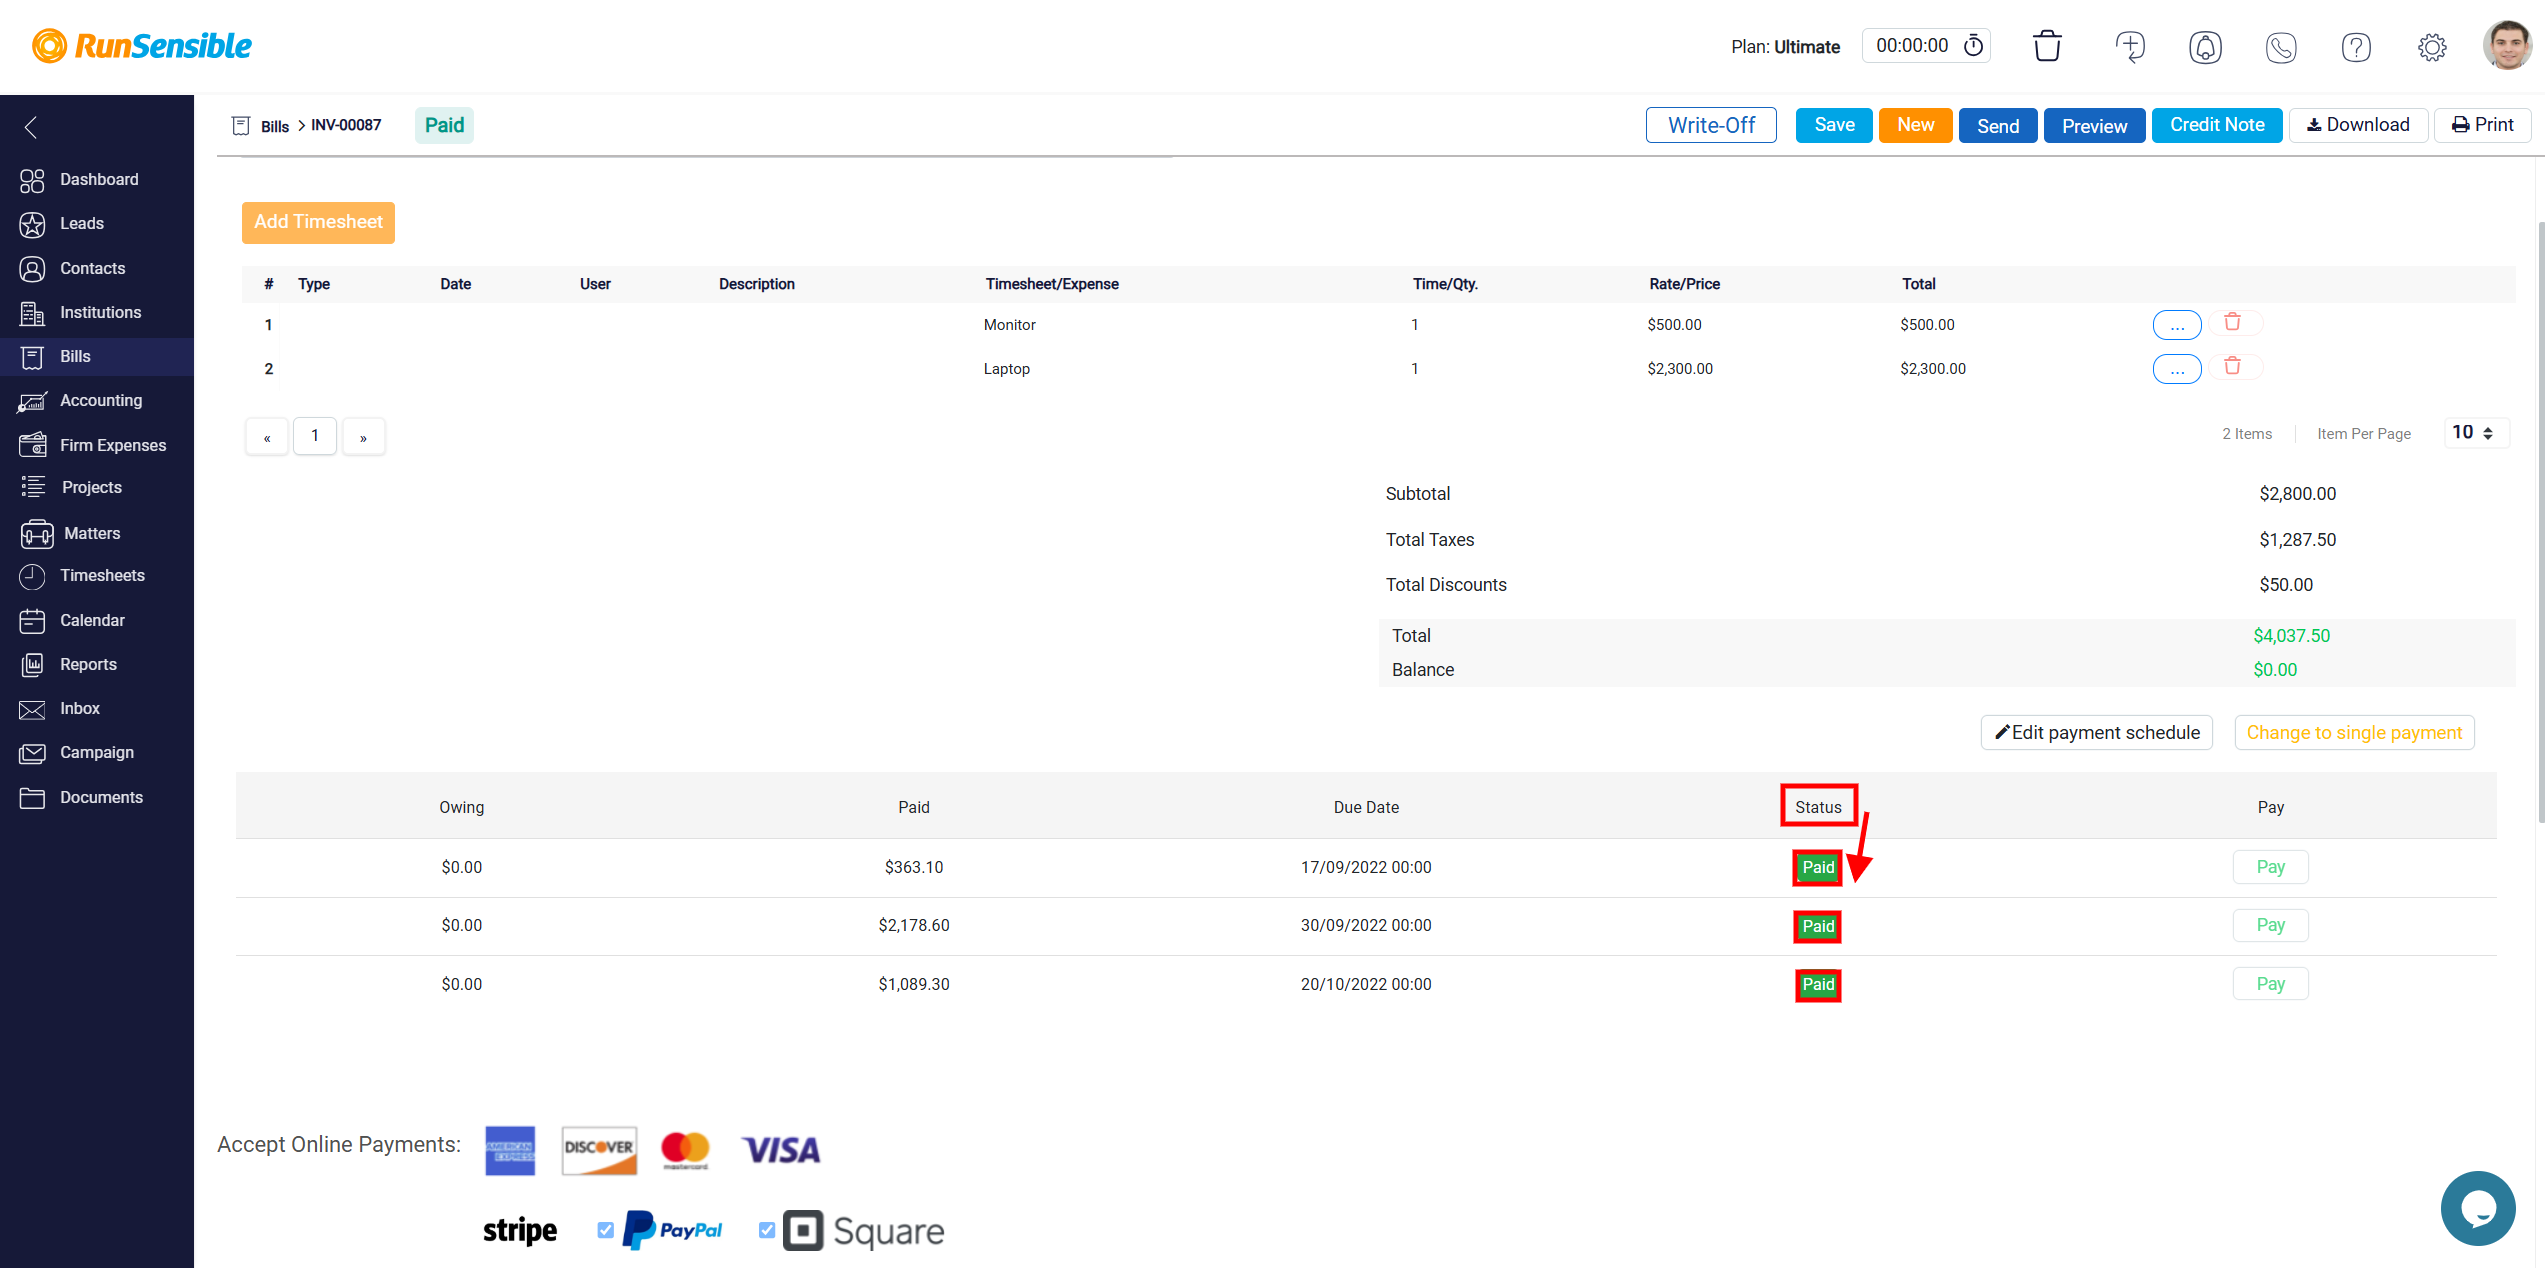
The Partially Paid status means that a portion of the installment has been paid but not the entire amount. If the installment has passed its due date without payment, it will show as Overdue, and when the full amount has been paid, the status will update to Paid.
Manual Payment Update Option
On the right side of each installment row, you will see a Pay button. This button allows you to manually update the payment status of any installment.
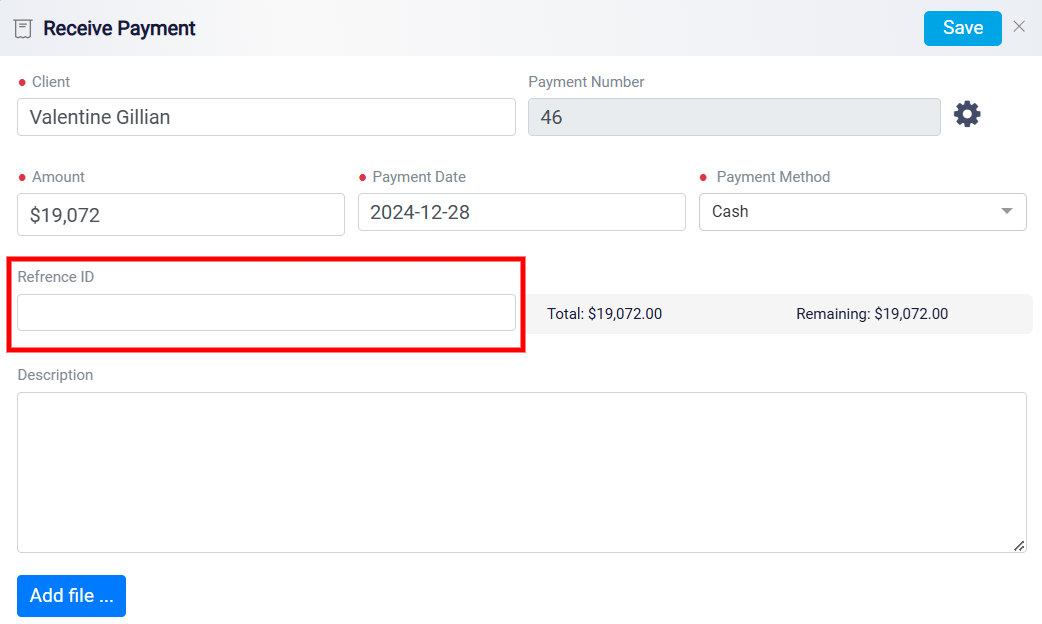
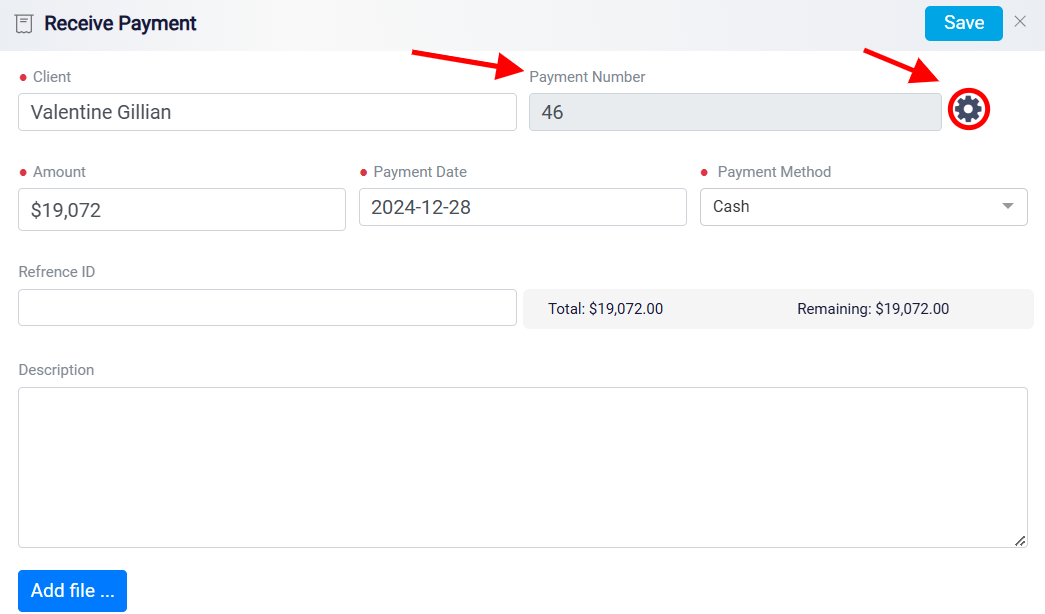
By clicking on it, you can choose to mark the installment as either Paid or Partially Paid, based on the specific payment details. Once you select the Pay option, a detailed Receive Payment panel will open, displaying essential information about the installment for easy review. Here, you will see details such as the Client name and the installment’s current Payment Number, which facilitates accurate tracking and review of each transaction.
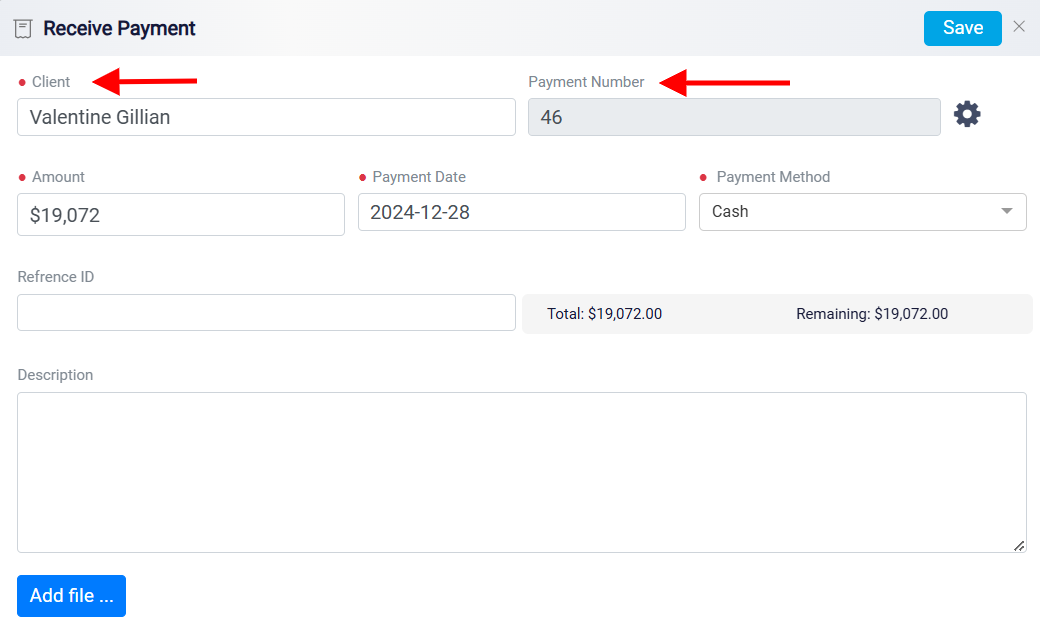
In the same panel, you will find the Amount box, which displays the total amount of the installment. If the payment is partial, you can modify the amount in this box to reflect what has been paid so far. This ensures that the status of the installment is correctly updated to Partially Paid if the full amount is not yet settled.
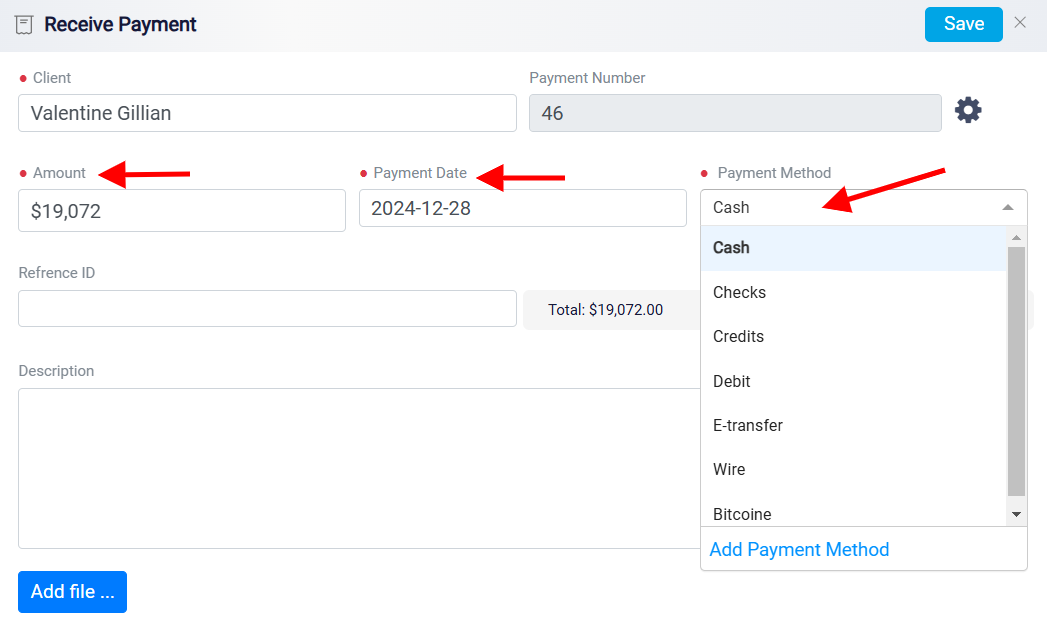
The Payment Date specifies when the payment was made or logged. Beside it, the Payment Method with the dropdown menu indicates how the payment was made. Various options such as Cash, Checks, Credits, Debits, or Electronic Transfer.
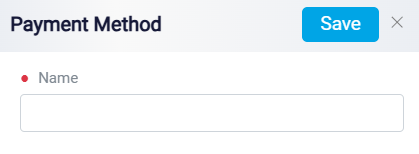
If the payment method you need is not listed, you can add a new one by clicking the Add Payment Method link, found at the bottom of the drop-down menu.
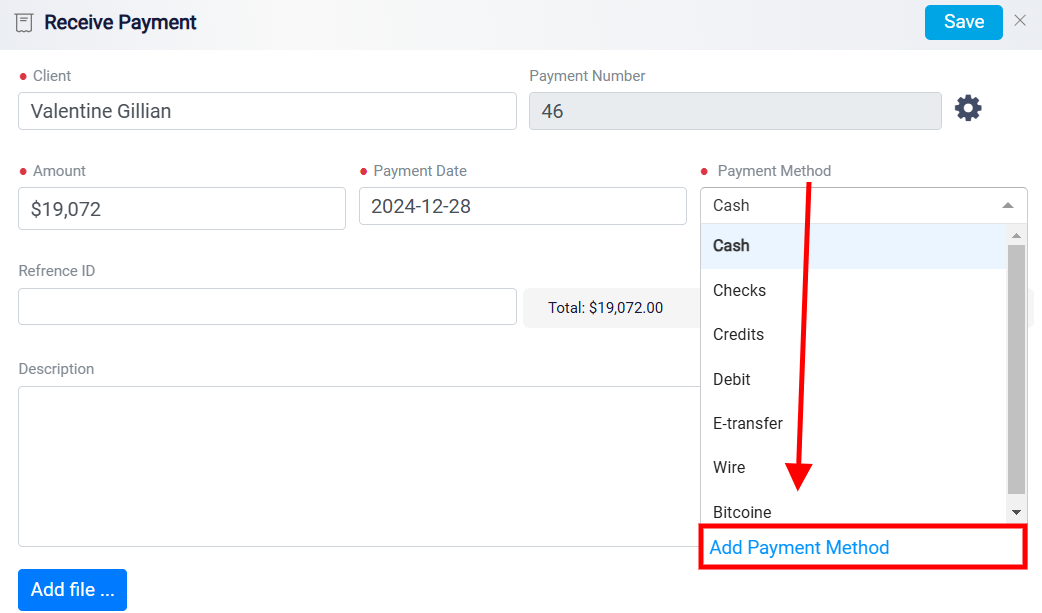
Clicking this option opens a new pop-up window where you can define a custom payment method. Once you have entered the name, click the Save button, and the new method will be added to the available list for future selection.
Further details can be added in the Reference ID field, which is optional and can be used to enter specific identifiers like a check number or transaction ID.
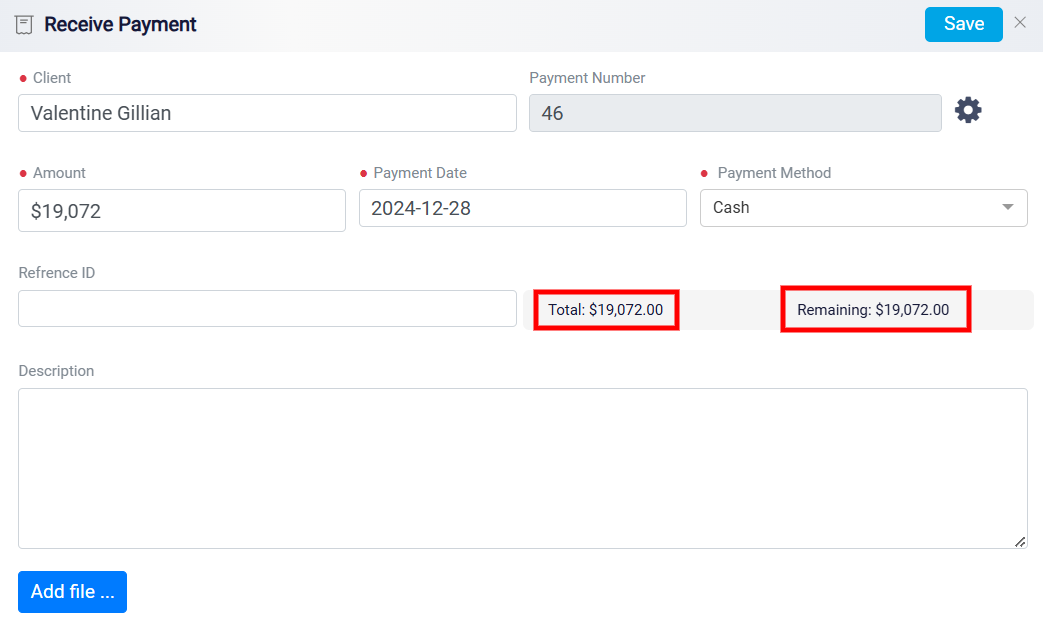
The Total and Remaining amounts provide a financial summary.
The Description box allows you to add any additional notes or relevant details about the payment.
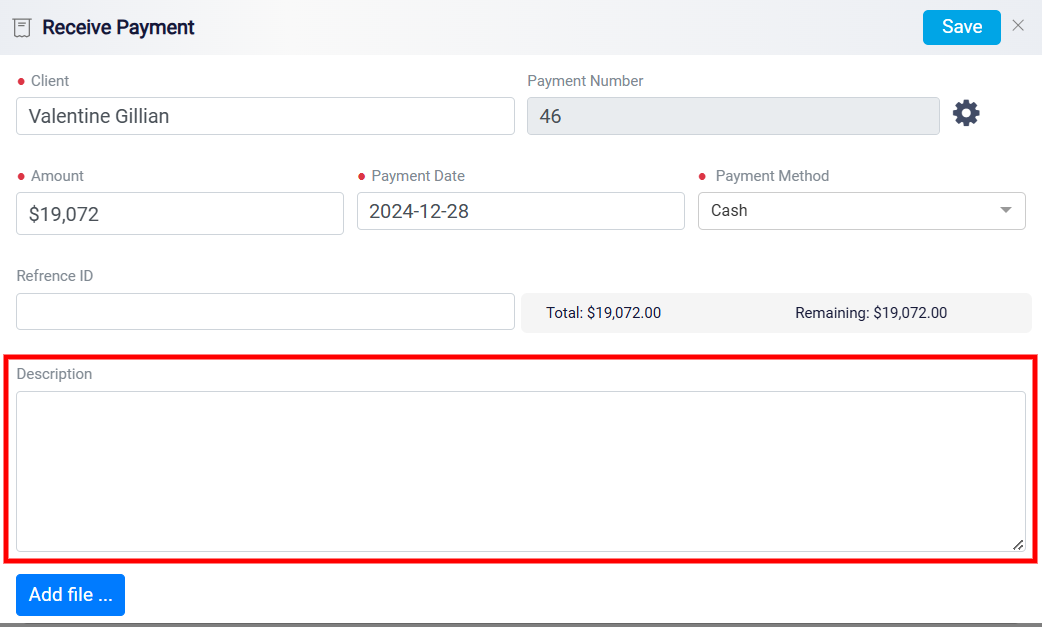
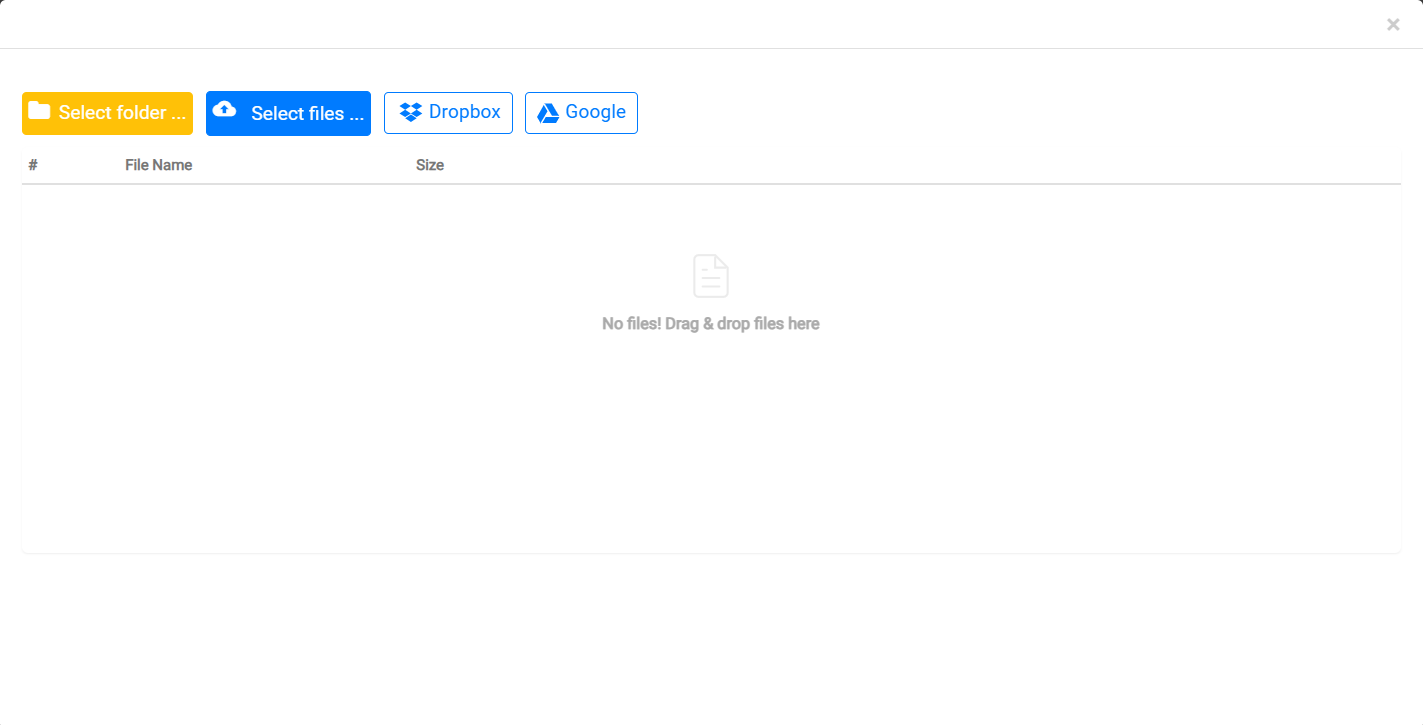
A button labeled Add File is also available, enabling the user to attach related documents such as receipts or invoices for record-keeping purposes.
To finalize the entry, a Save button is prominently displayed at the top right of the interface, ensuring that all inputted information is securely recorded.

If the full amount has been paid, the status will change to Paid. If only part of the amount has been settled, it will be marked as Partially Paid. The bill’s overall status will also reflect the changes, showing whether it has been paid in full or only partially settled. This streamlined process ensures that the installment payment information is accurate and easy to manage.
Customizing Payment Numbers
In the payment panel, the client’s name is displayed as a fixed field and cannot be edited. However, there is flexibility in customizing the installment’s payment number to better suit your specific tracking needs. Located next to the payment number, the Settings button opens a configuration panel that allows you to manage how payment numbers are assigned.
Within this configuration panel, you will find a toggle button that enables two modes for setting up payment numbers: Auto-generate and Add Manually.
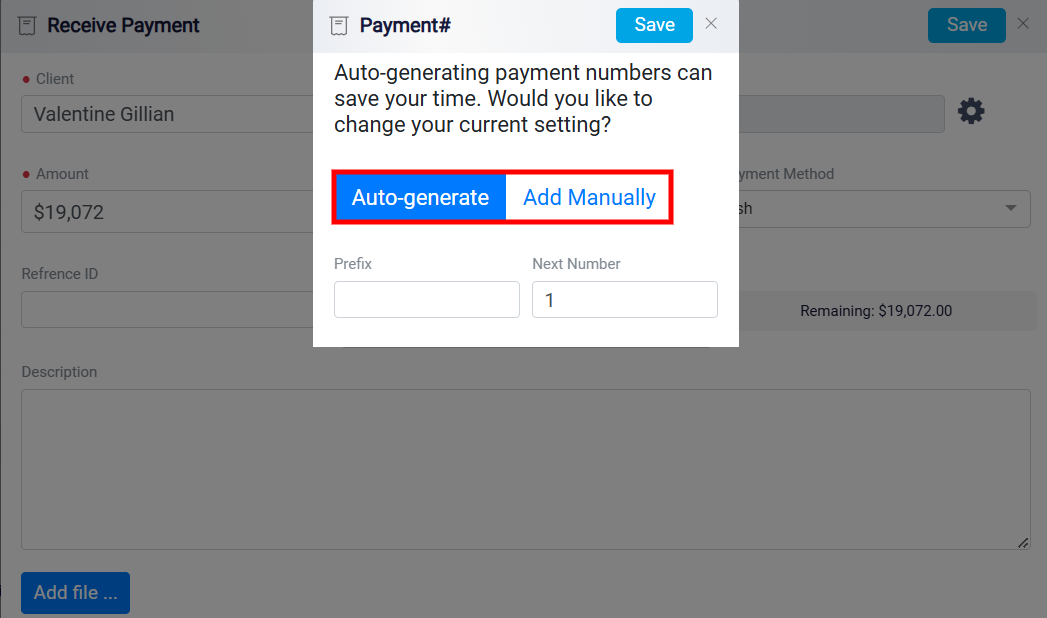
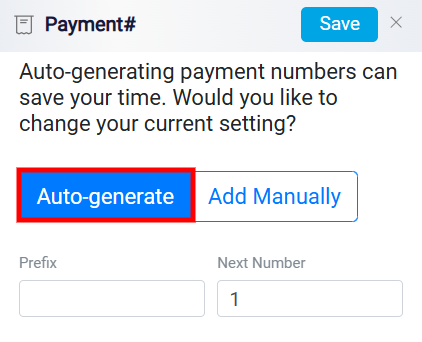
By default, the system is configured to Auto-generate payment numbers, automatically assigning a unique number to each transaction. This feature ensures a consistent numbering sequence across all payments and significantly reduces the chance of input errors or duplicate entries. When Auto-generate is active, the option is highlighted in blue, clearly indicating that the system is managing payment number assignments without the need for manual input.
However, if you need to assign specific payment numbers manually for certain transactions, the system offers a flexible option. You can switch to Add Manual by using the relevant toggle button. Once Add Manual is selected, the system disables automatic number assignments and allows you to enter a custom payment number based on your specific requirements. This option is particularly useful when dealing with transactions that require a unique identifier or a specific numbering format for tracking purposes, giving you full control over how payment numbers are structured. Additionally, when in Manual Entry mode, the system provides input fields where you can enter a custom prefix if desired, adding an extra layer of customization.
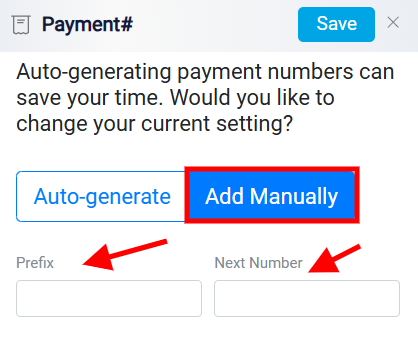
The Prefix is available in both Auto-generate and Manual Entry modes, allowing you to add a customized prefix to your payment numbers. In Auto-generate mode, entering a prefix in the Prefix box instructs the system to include this prefix with every automatically assigned payment number. This helps create a personalized numbering sequence, making it easier to identify and categorize your transactions at a glance. For example, if you enter INV- as the prefix, your payment numbers will appear as INV-001, INV-002, and so on. This feature ensures that your payment numbering follows a consistent format, tailored to your business needs.
In Add Manual mode, the prefix feature works similarly but gives you even greater flexibility. You can manually input a prefix along with your chosen payment number, allowing for highly specific and customized identifiers.
