Using the Payment Tab for Bill Details
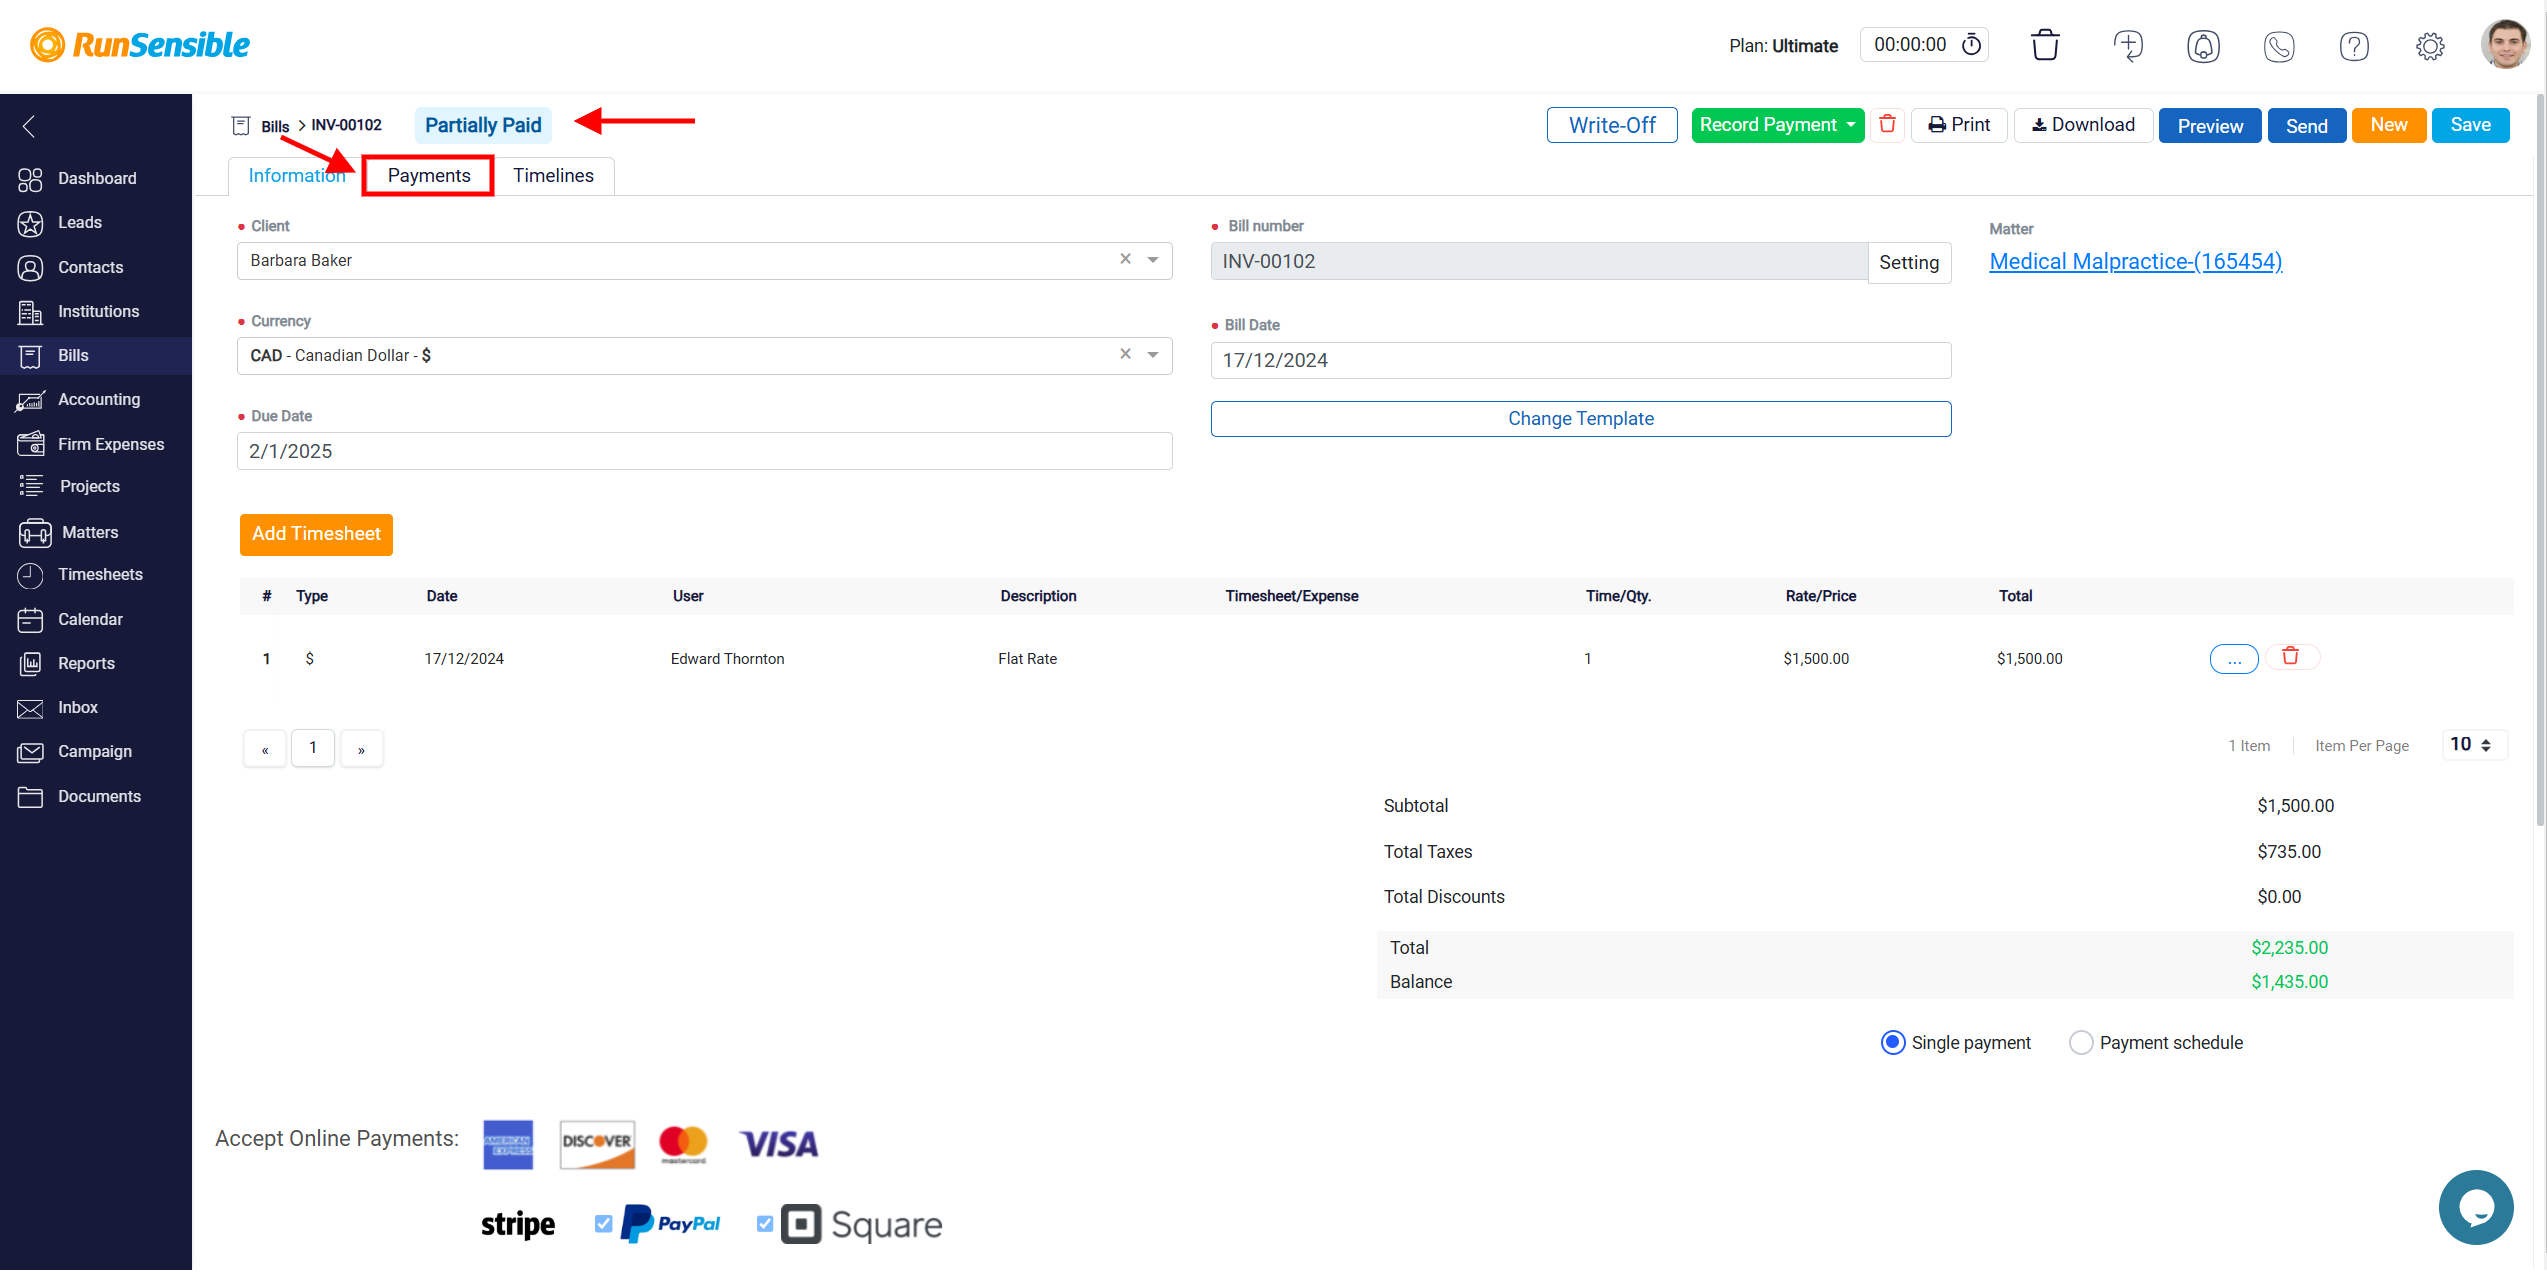
Within the bills section, there is an additional tab available for bills that have at least one payment recorded. This tab called the Payment tab, is positioned between the Information tab and the Timeline tab. It is only visible for bills that have either a Paid or Partially Paid status.
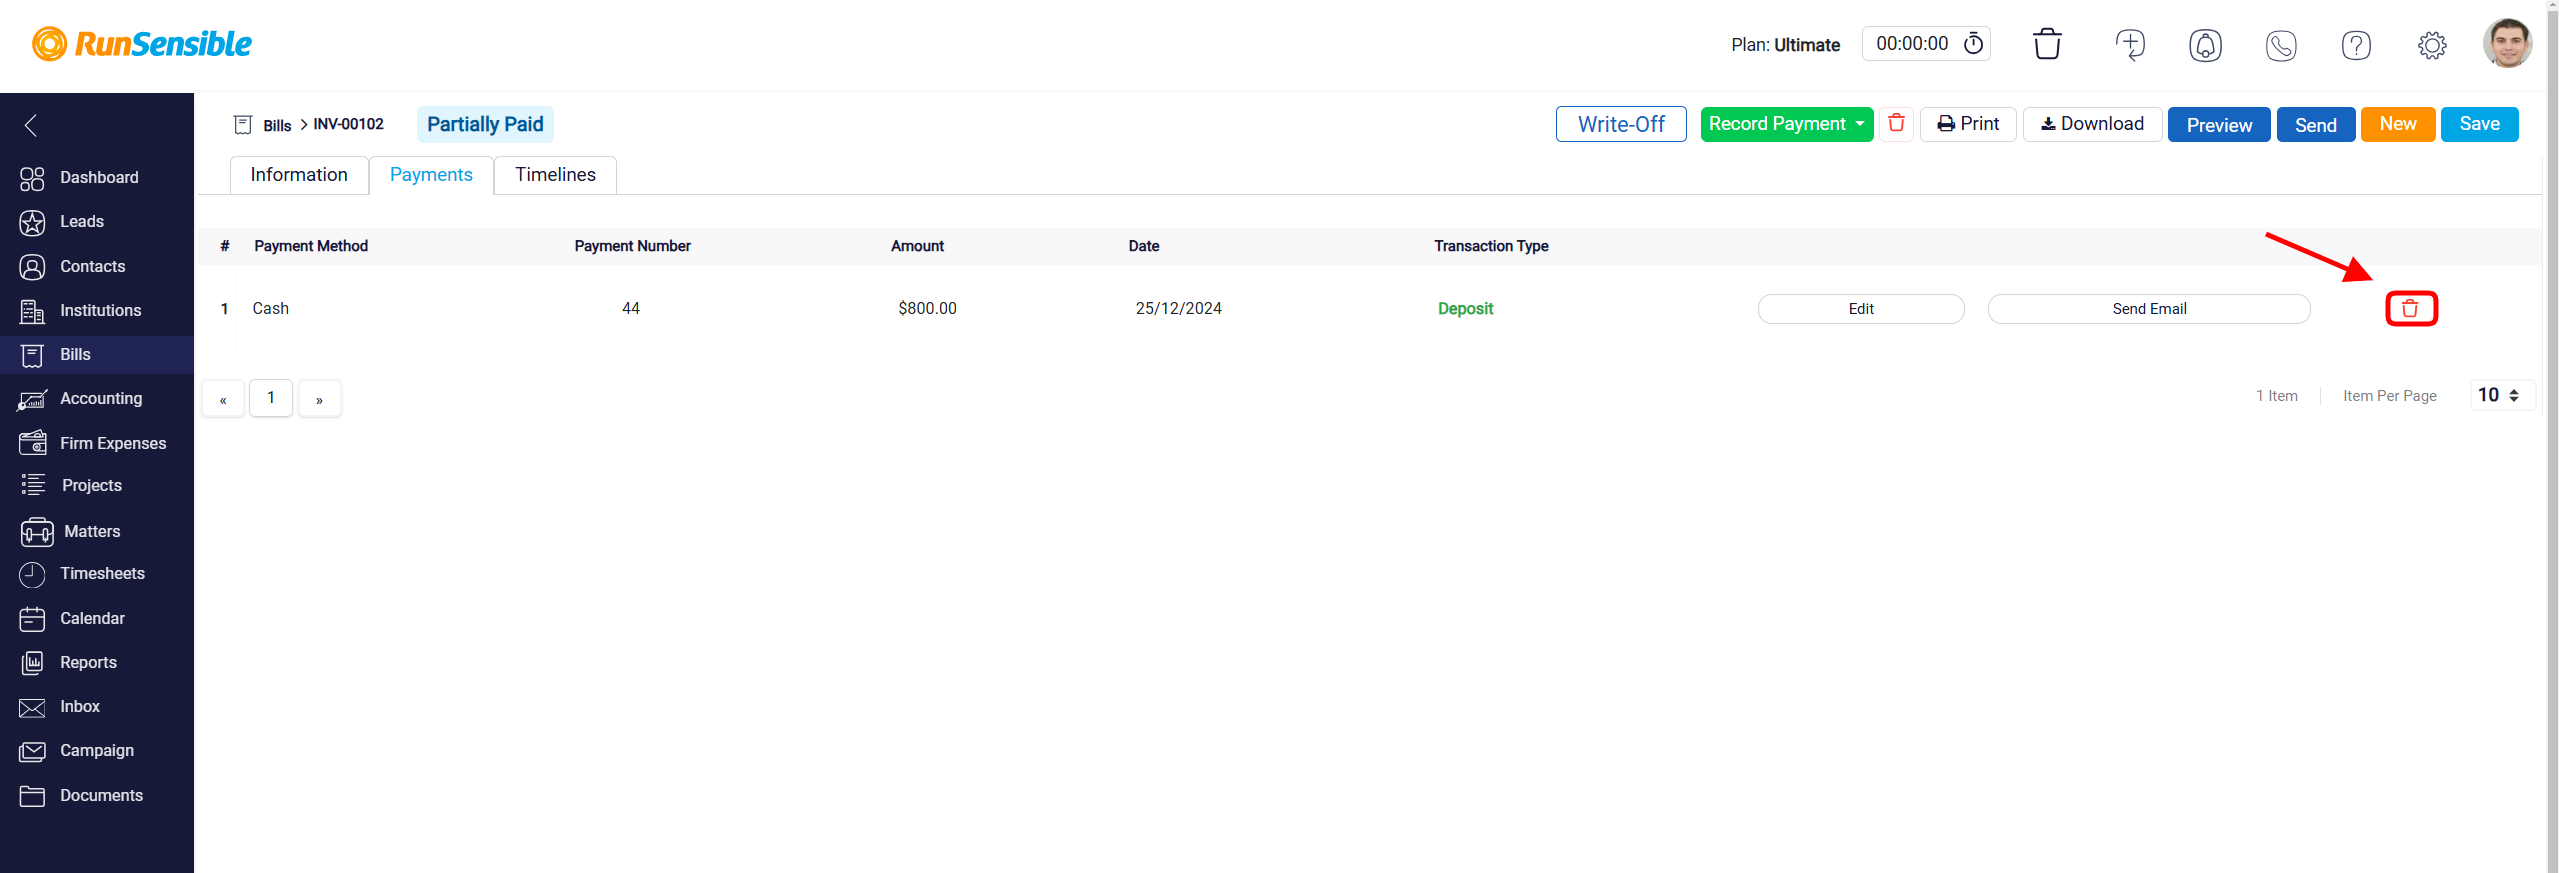
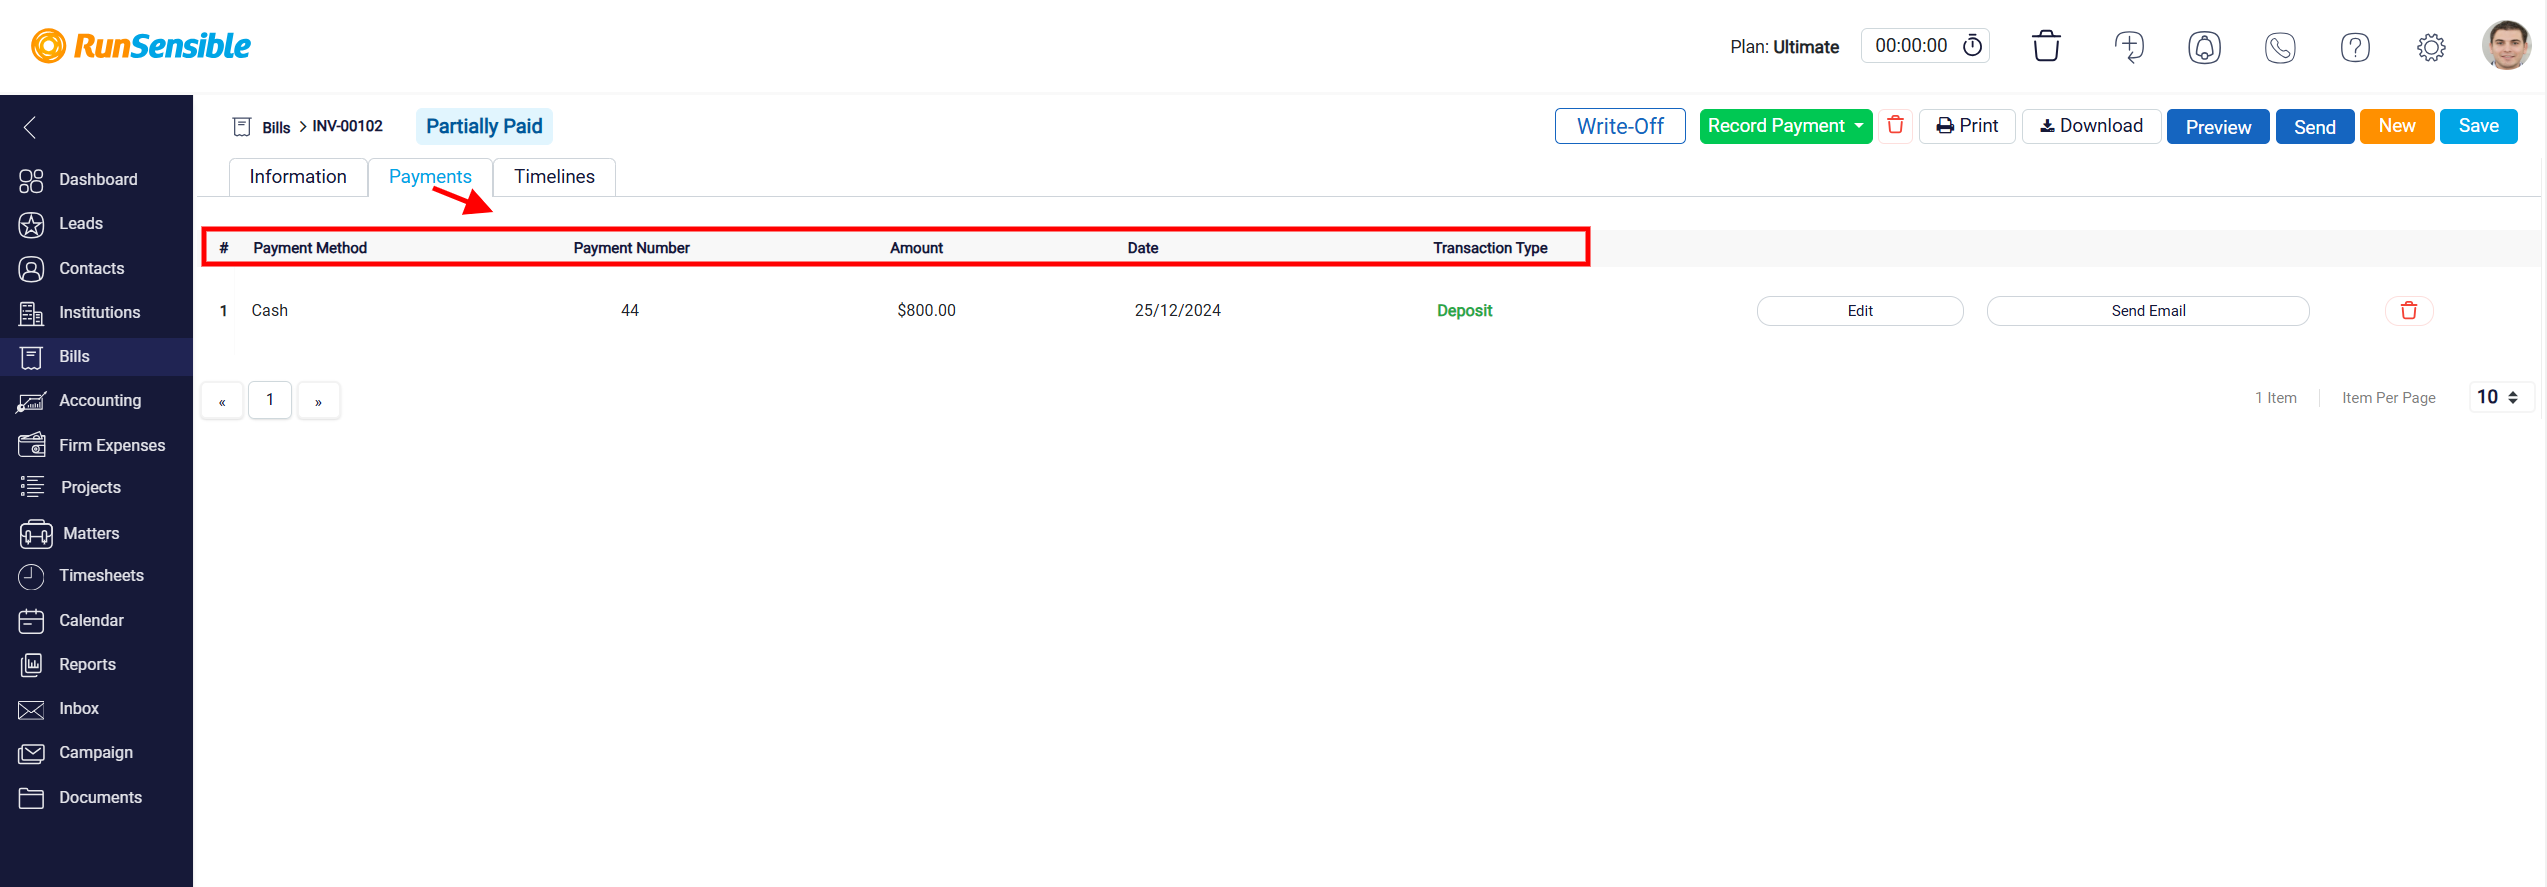
In this tab, you will find a detailed list of all payments associated with the bill. The information is organized into columns, including categories such as Payment Method, Payment Number, Amount, Date, and Transaction Type. This structure allows you to review the payment details for that bill.
Reviewing Payment Records and Actions
On the right side of each payment record, you will see two action buttons. The first button is the Send Email button.
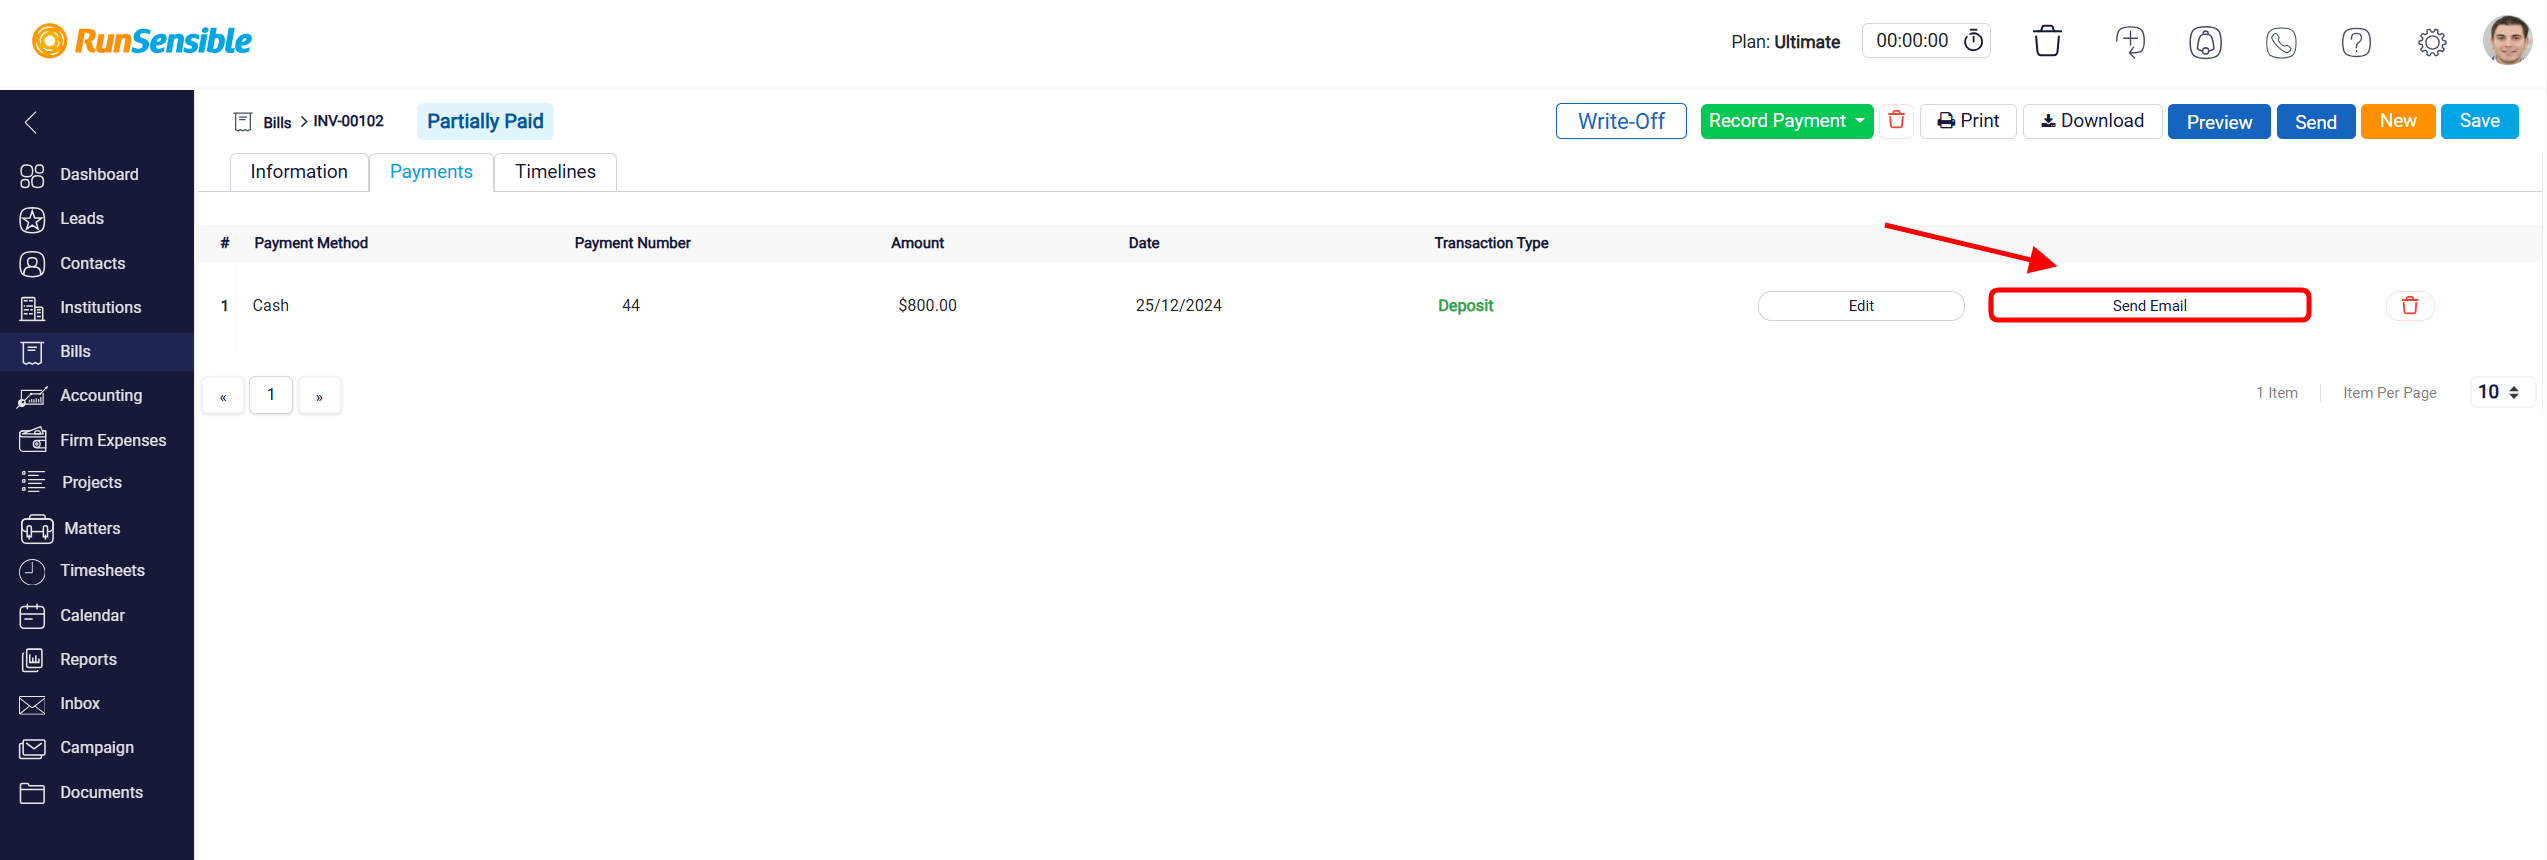
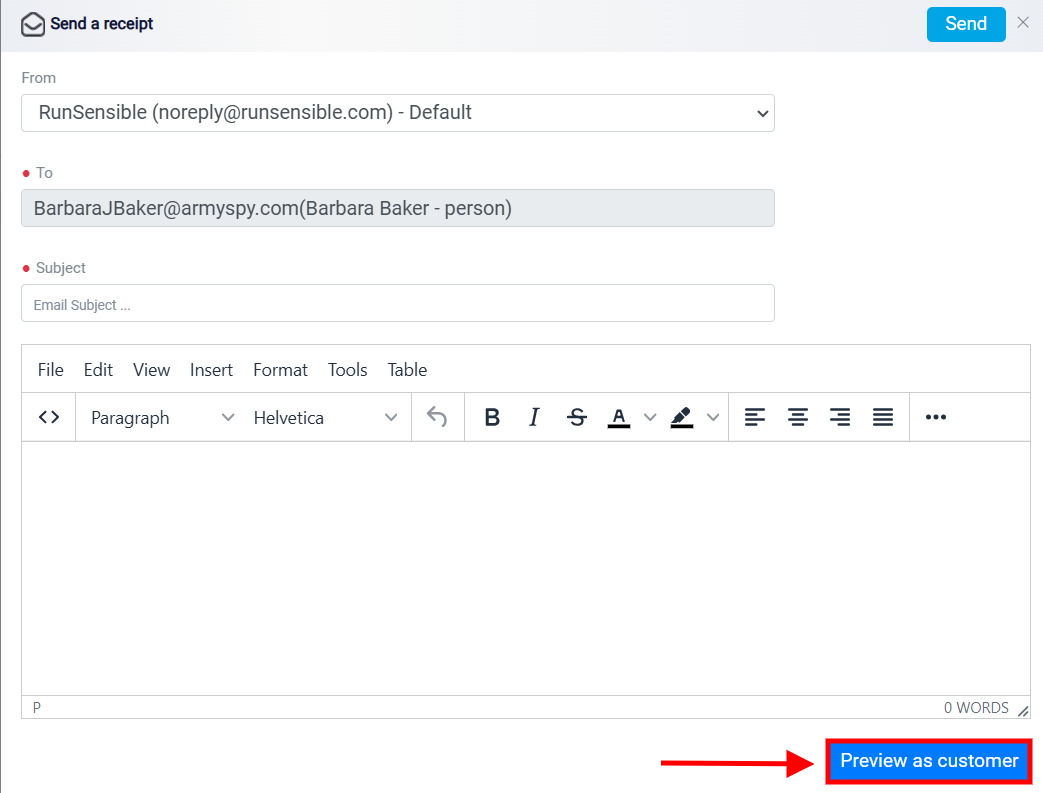
When you click on this button, an email panel opens, enabling you to send a receipt template tailored to the specific payment in question. This email includes all the relevant receipt details of the customer’s transaction.
The “From” section displays the sender’s email address, while the “To” section specifies the recipient’s email address. The Subject field provides a space for the sender to input a subject line, making it easy to communicate the purpose or context of the email.
The email body editor offers a rich text interface, complete with formatting tools such as bold, italic, and underline text styling, paragraph alignment, font selection, and options to insert additional elements. This editor is designed to provide maximum flexibility, allowing the sender to craft professional and visually appealing emails with ease.

At the bottom of the email panel, there is a Preview as a Customer button.
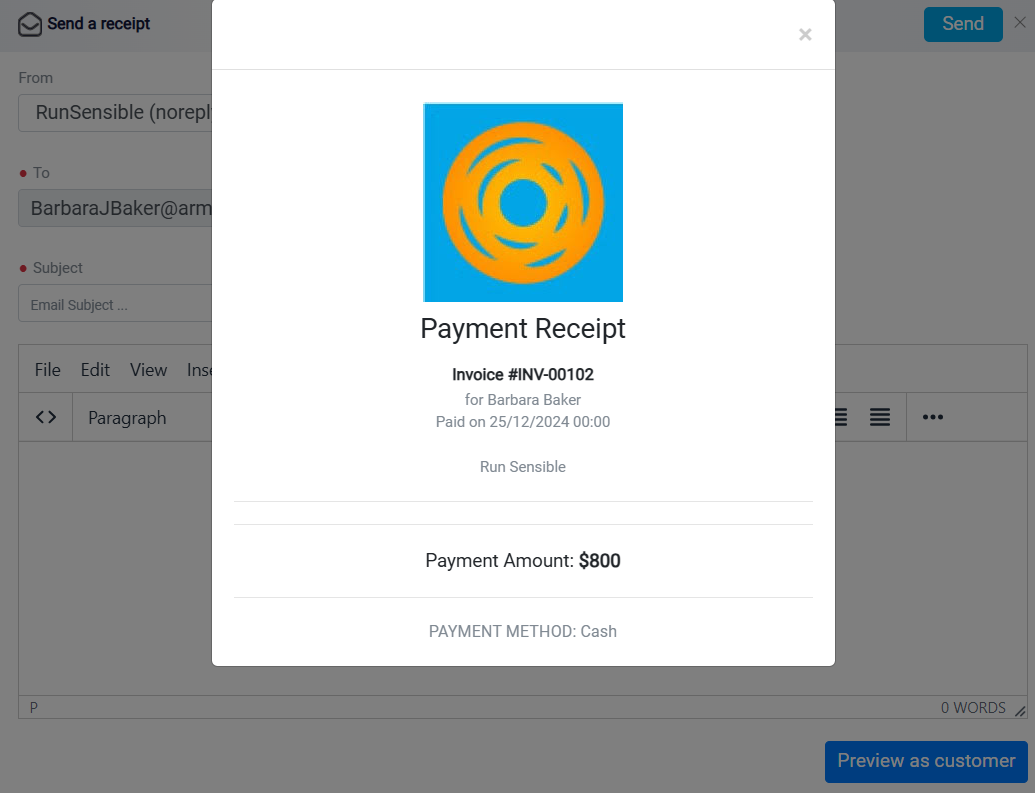
By clicking on this, you can view how the receipt will appear to the customer before you send it.
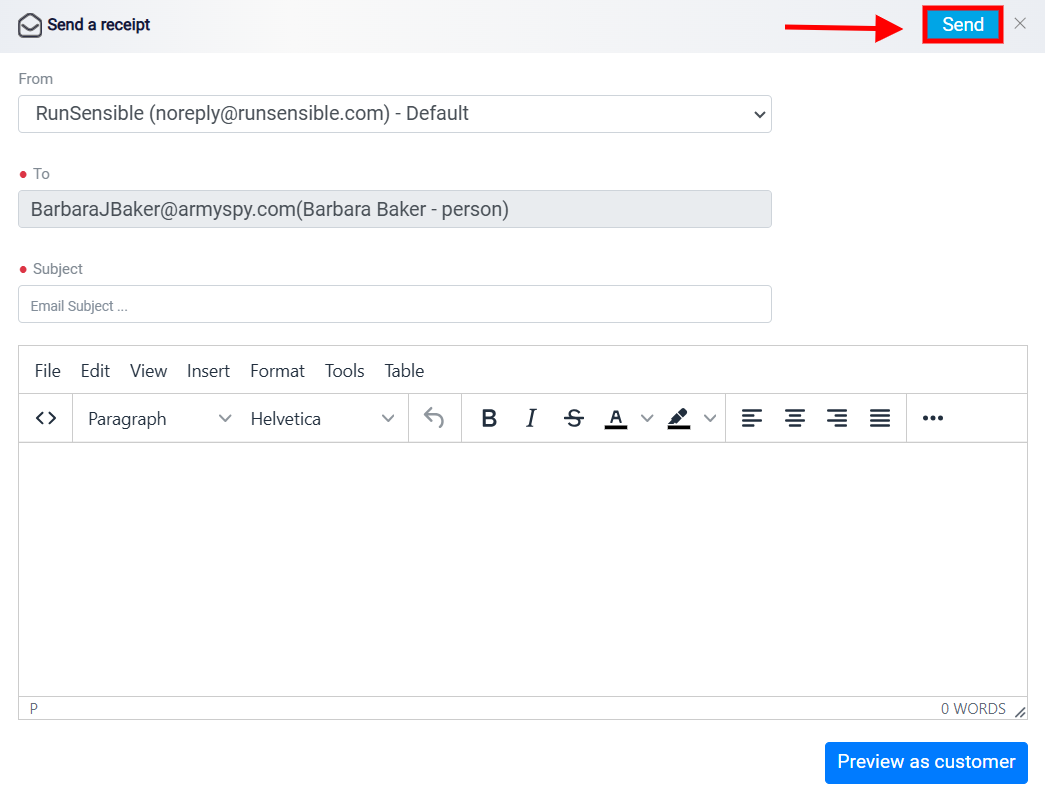
Once you are satisfied with the preview, click the Send button located at the top right of the panel to deliver the email.
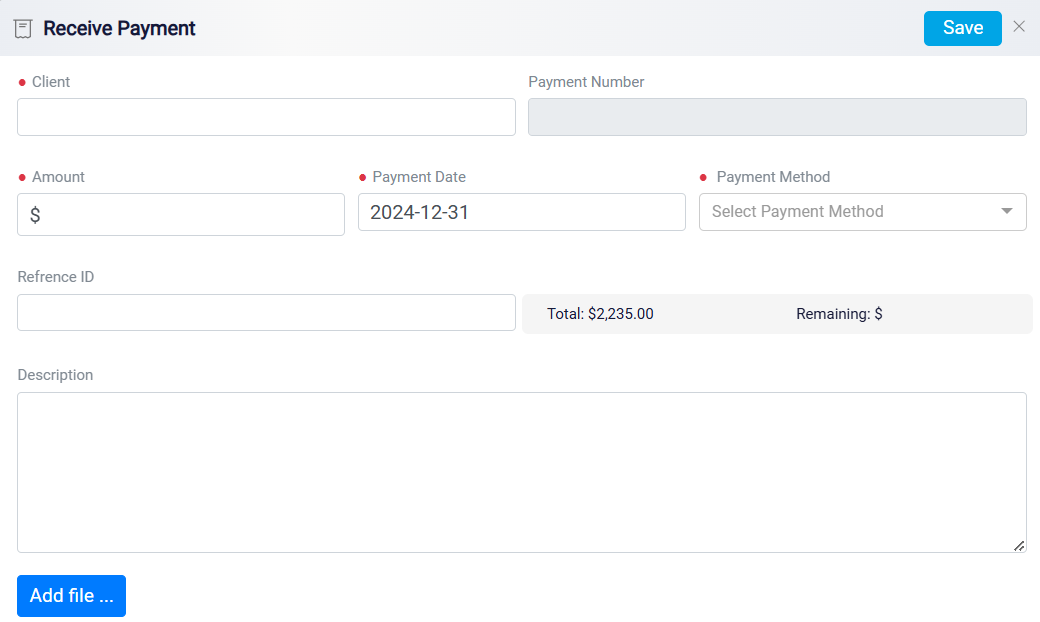
The second button is the Edit button.

Clicking this will open the Receive Payment panel, where you can modify or add information to the payment record. This allows you to make adjustments to the payment details, ensuring the record is accurate and up to date.
The Trash button is typically used to delete the recorded payment for the bill displayed in the Payments tab. Clicking on this button would usually prompt a confirmation to ensure the action is intentional before permanently removing the payment entry.