Manage Credit Notes
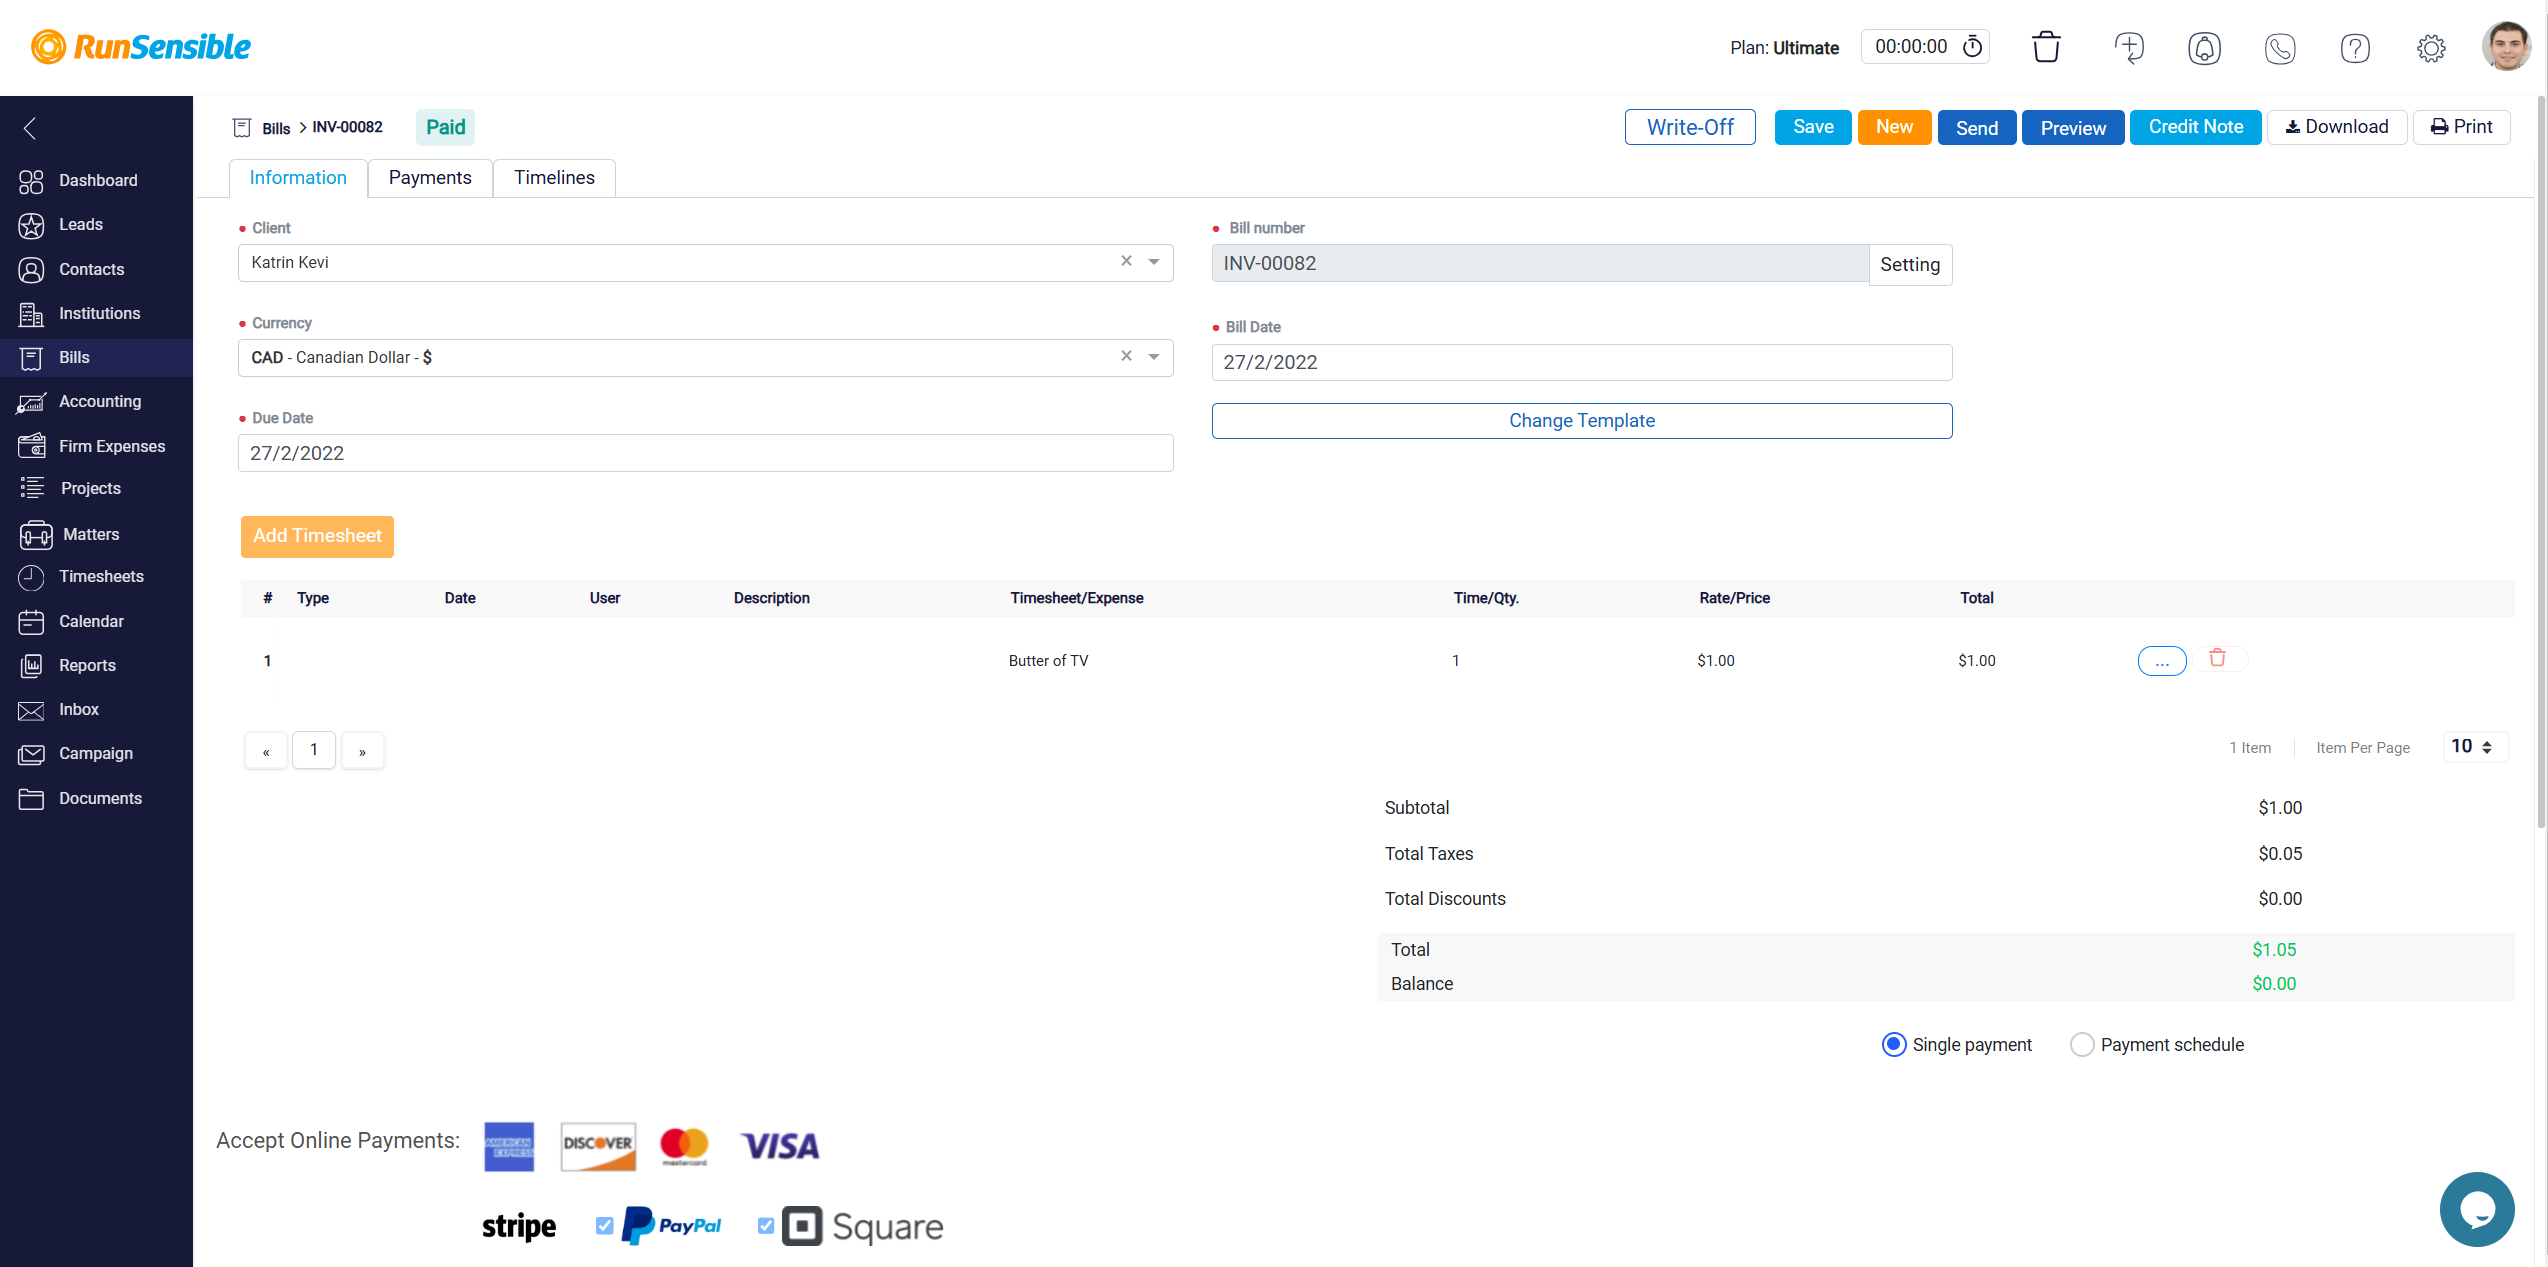
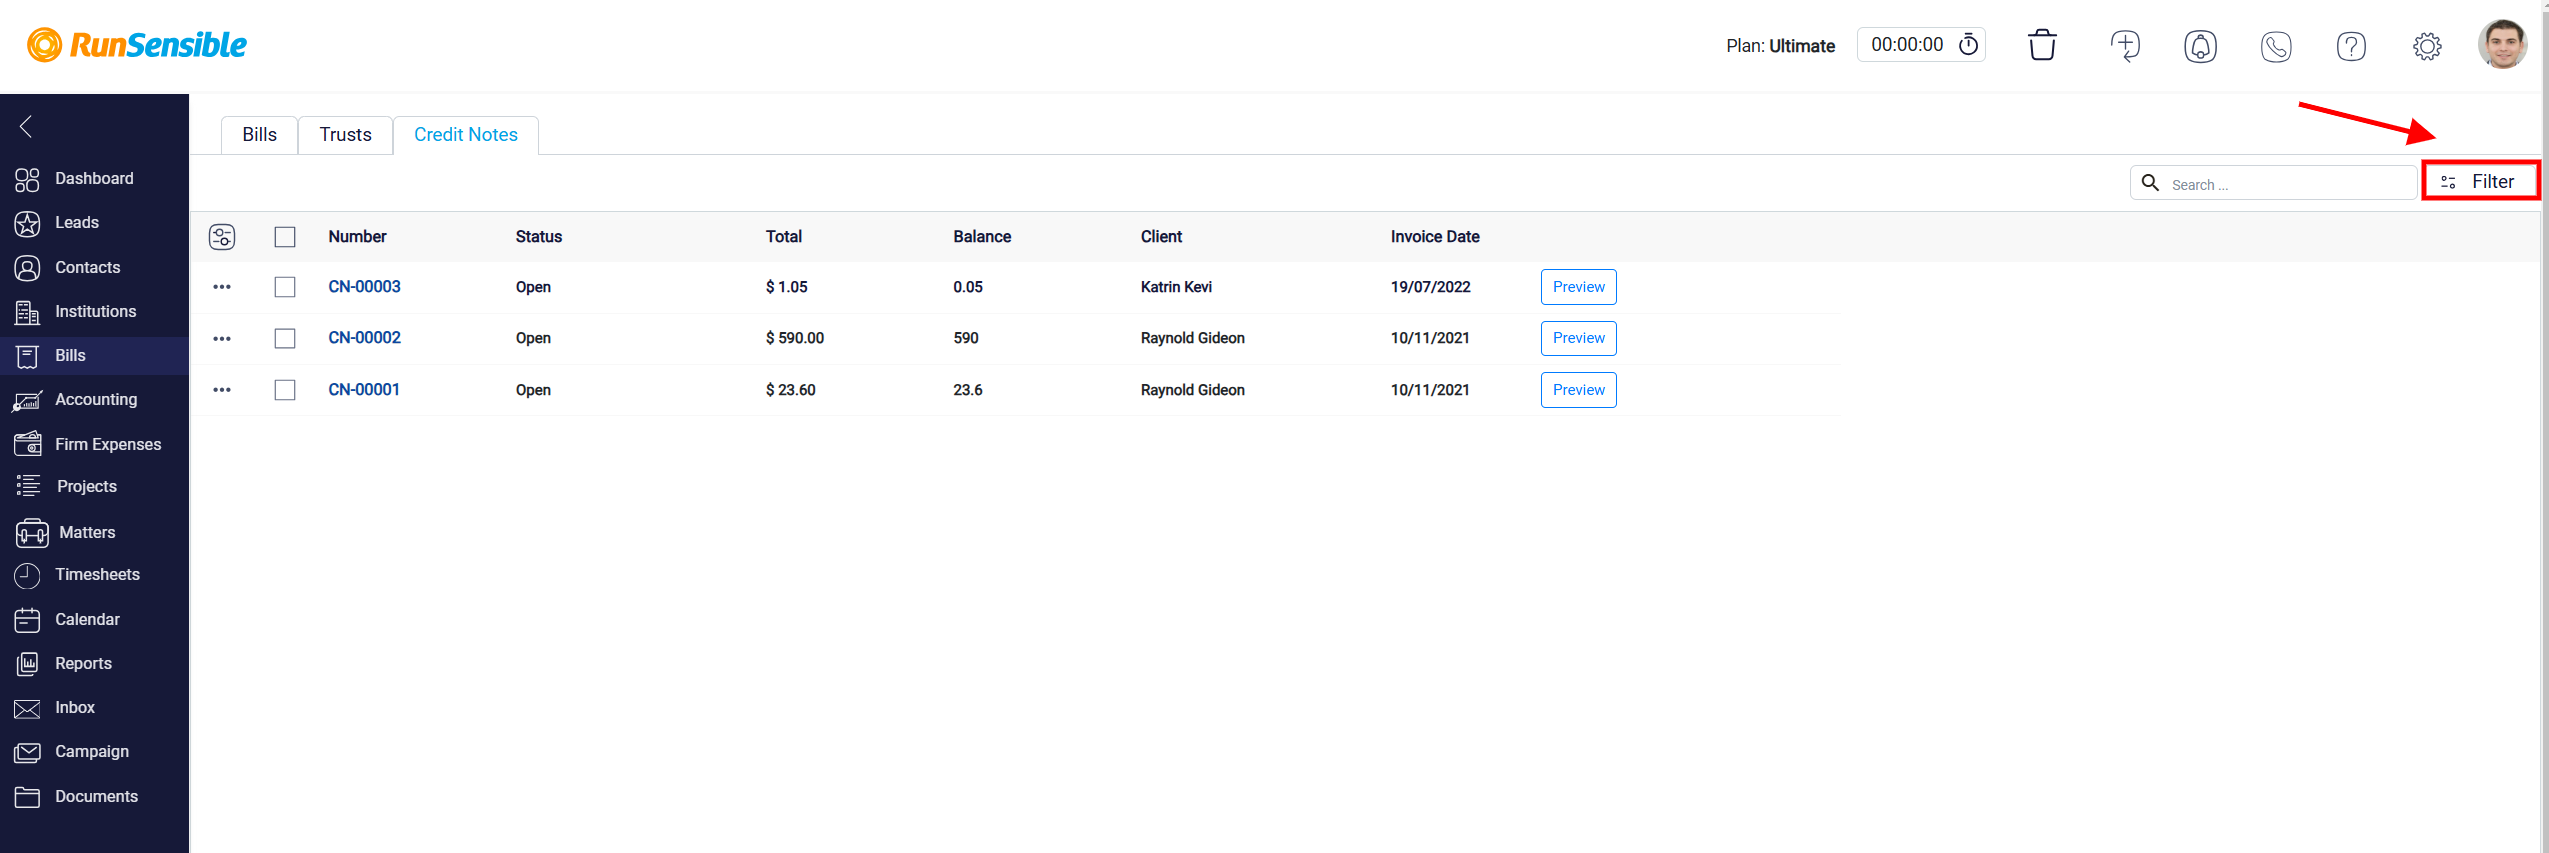
To manage your credit notes, start by navigating to the Credit Notes tab. This section provides a detailed list of all the credit notes you have issued, allowing for easy tracking and management.
On the right side of each record, there is a Preview button. Clicking this button opens a template view of the credit note, which resembles a detailed receipt. This preview allows you to check the details before proceeding with any further actions.

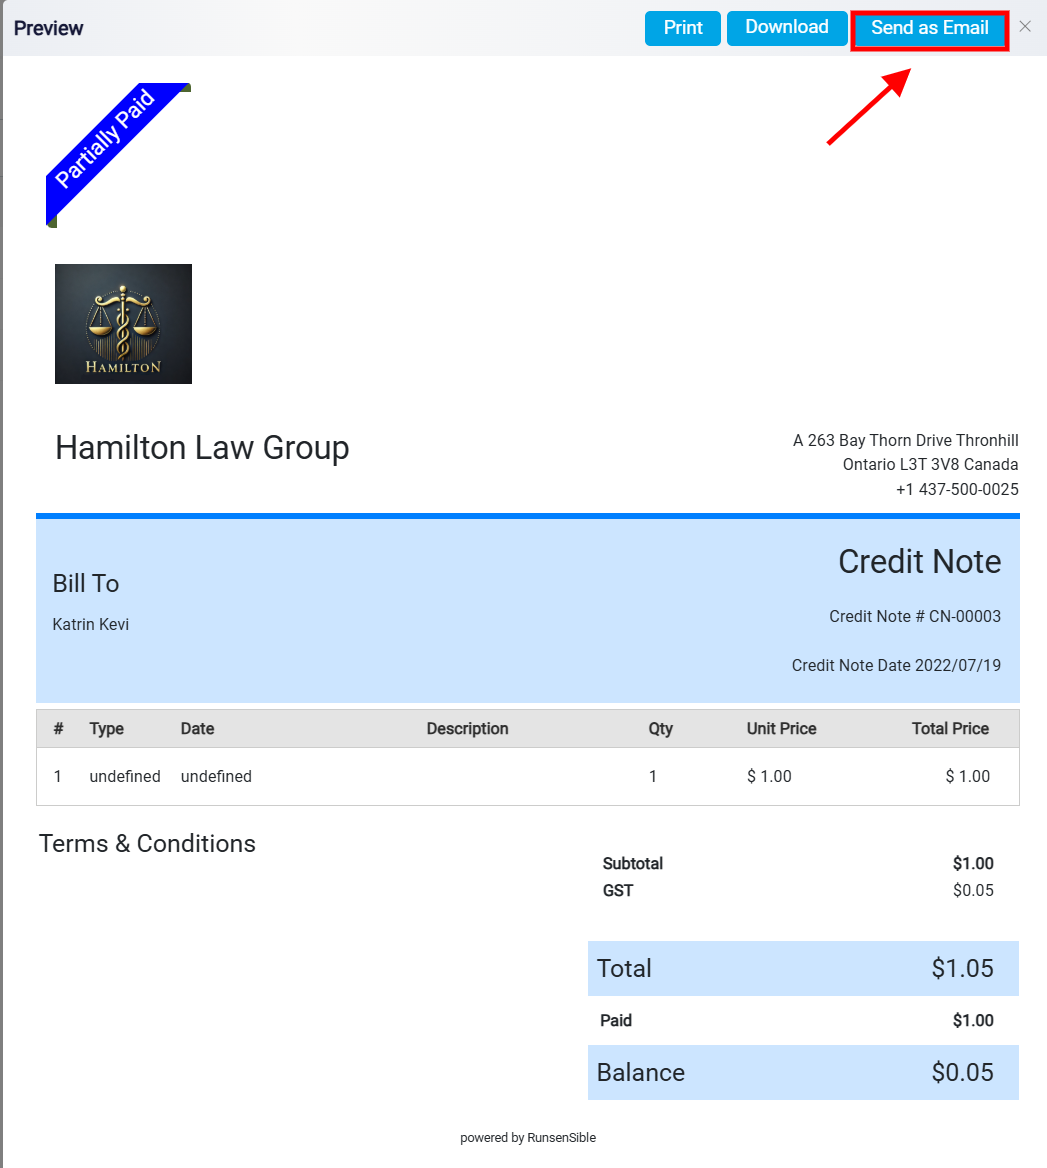
At the top of the preview panel, you will find three key action buttons: Send as Email, Download, and Print.

The Send as Email button enables you to send the credit note directly to the client.
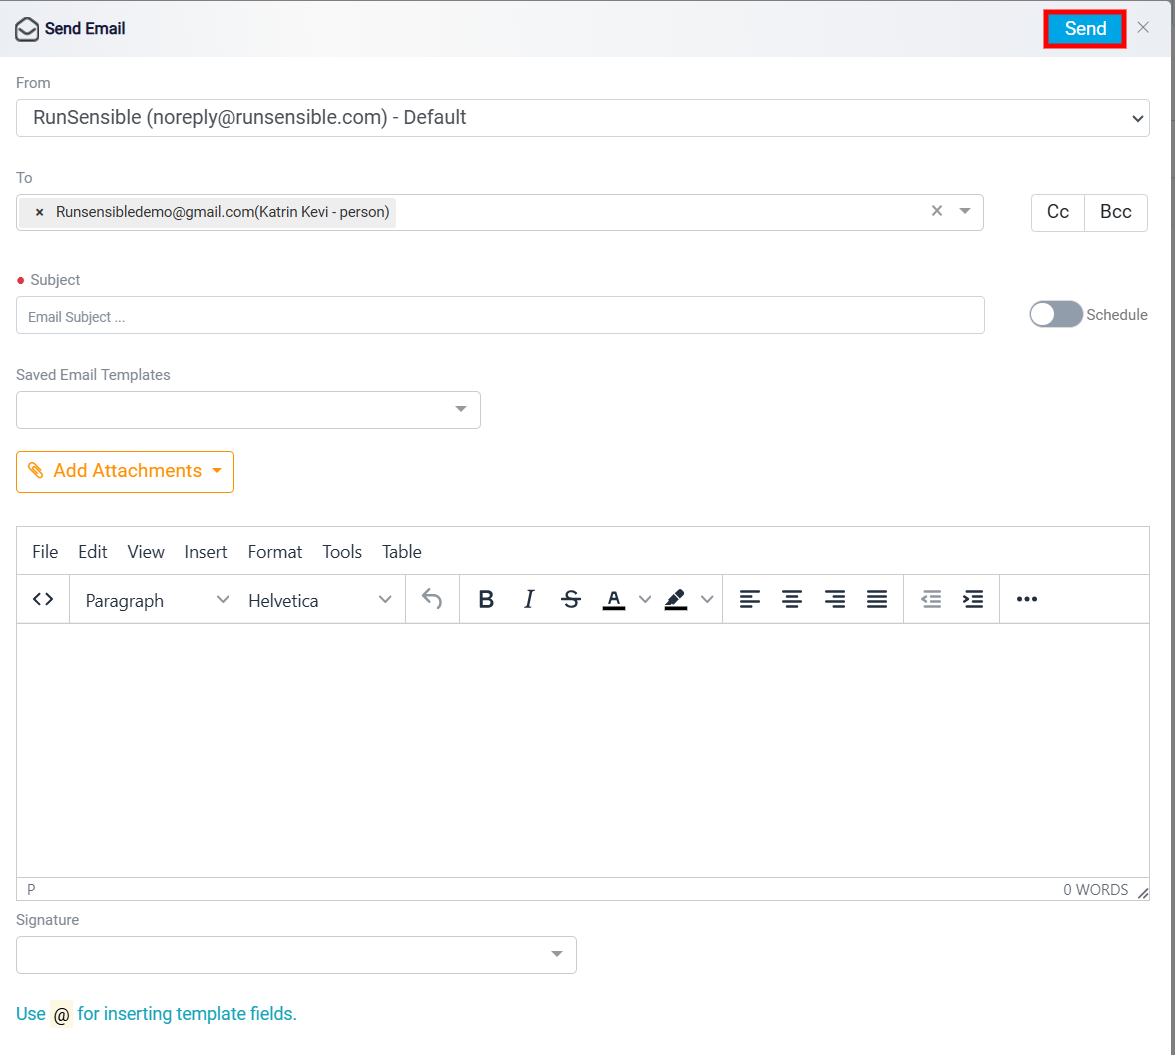
When you click this button, an email panel appears with the client’s email address already filled in, and the template of the credit note is automatically attached. You can add a subject line in the designated input box and provide any additional information or explanation using the text editor below. After completing these fields, click the Send button located at the top right corner of the panel to dispatch the email to the client.
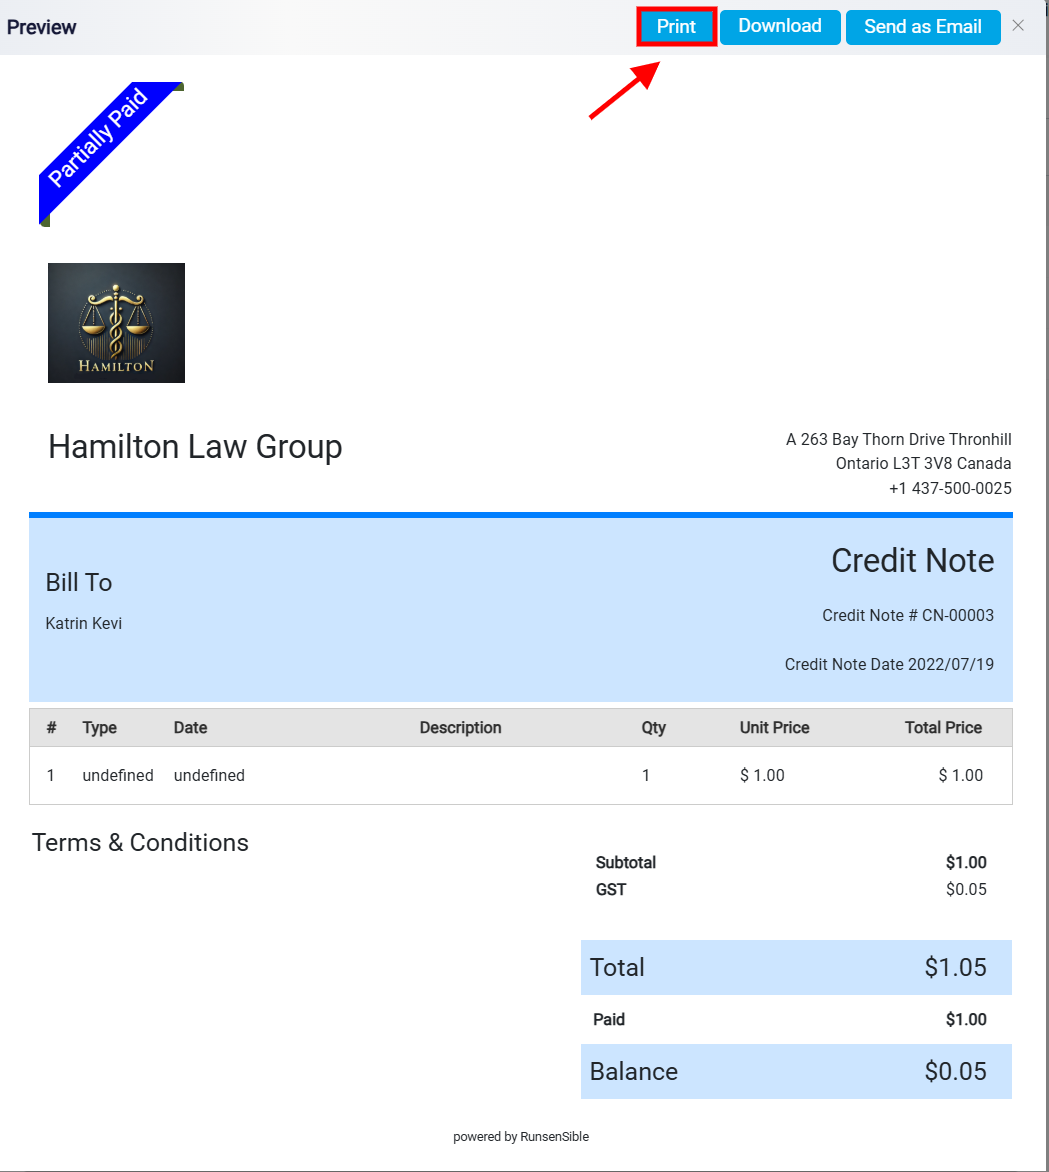
The Download button allows you to save a PDF version of the credit note template to your device. This feature ensures that you can access, store, or share the credit note in a standard format whenever necessary.

The Print button provides the option to print a physical copy of the credit note directly from your device. Clicking this button will open the print dialog, where you can adjust printer settings and preferences before printing the document.
On the left side of each credit note entry, you will see a three-dot menu. This menu provides additional options for managing the credit note. You can use it to either open the credit note details panel or delete the credit note entirely.

To view the full details of a credit note, you have two options: click directly on the credit note Number or select the Show Details option from the three-dot menu. This will take you to a detailed panel where you can review all the information related to that specific credit note.

To customize these columns, start by clicking the Grid Customization button located at the top left corner.

This will open a detailed customization menu where you can tailor the layout to meet your specific needs. If you want to reorder the columns, locate the Reorder button next to each column name. Click and hold this button, then drag the column to your desired position within the list. This allows you to arrange the columns in a way that prioritizes the most relevant information for your workflow.
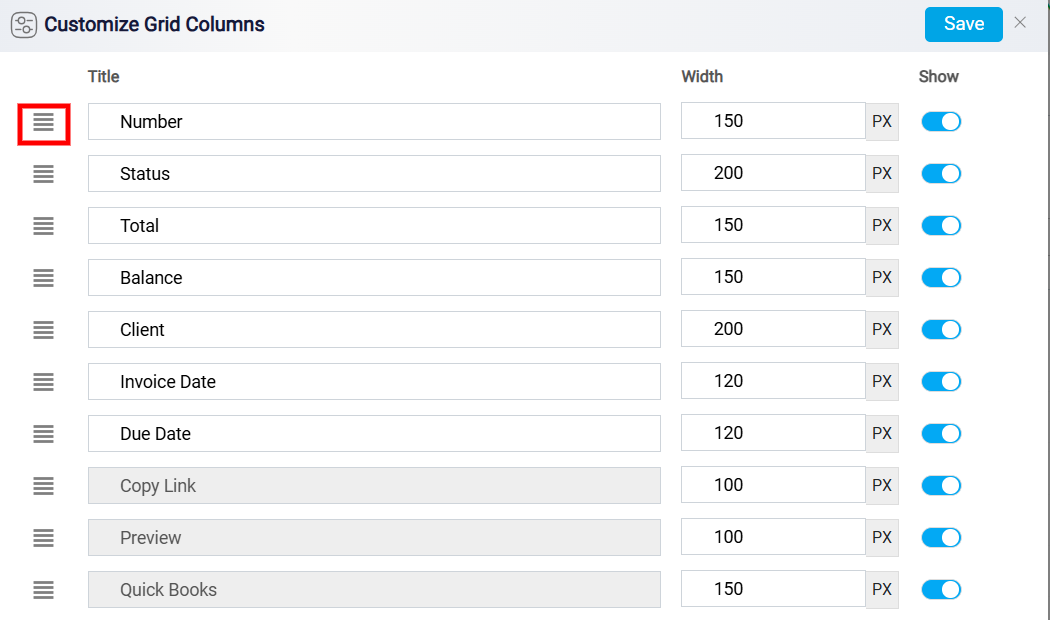
To rename a column so that it better reflects the data it represents, click directly on the current name within the Title column. This will enable you to edit and update the name to something more appropriate.

To adjust the visibility of each column, go to the Width column within the customization panel. Here, you can modify the width of individual columns by entering a new numerical value, ensuring that all your data is displayed clearly and fits within your preferred layout.

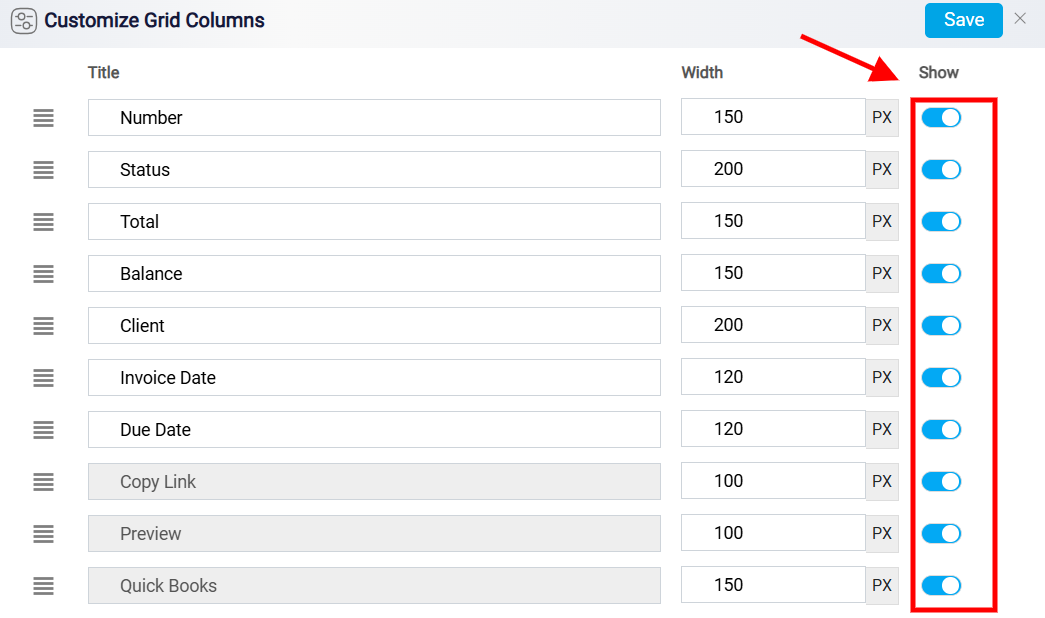
On the right side of the panel, you will find the Show column, which contains toggle buttons. These buttons allow you to show or hide specific columns in Table View mode, helping you focus on the most critical information and declutter your screen.
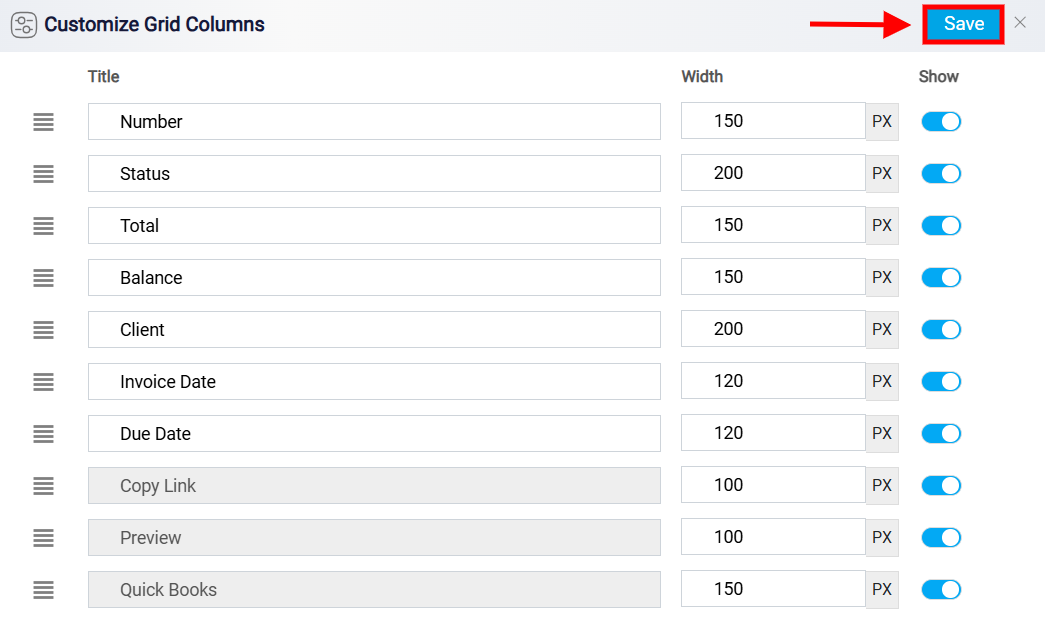
After you have made all your adjustments, click the Save button located at the top right corner of the screen.
The Search box is an essential feature designed to enhance user efficiency and simplify the navigation of large datasets. In the context of managing credit notes, it provides users with a quick and intuitive way to locate specific entries without having to manually scroll through potentially extensive lists. By typing relevant keywords, such as a credit note number, client name, or any other identifiable detail, users can instantly narrow down the displayed records to find the desired item.

Next to the Search bar, you’ll find the Filter button, a highly useful feature designed to help users streamline and organize displayed data based on specific criteria. This powerful tool enables users to efficiently sort through extensive lists of credit notes, bills, or other financial records, ensuring quick and easy access to the most relevant information.
For comprehensive guidance on filtering Credit Notes, please refer to the Filtering Bills page.
Credit Note Panel
This panel provides a comprehensive overview of all the information related to the credit note in a clear and organized format. It serves as a centralized workspace for managing and processing credit notes efficiently. On the right side of the panel, you will find a hyperlink that displays the name of the original bill associated with the credit note.

By clicking on this hyperlink, you can quickly view and access the details of the related bill.