Assigning a Flat Rate to a Matter
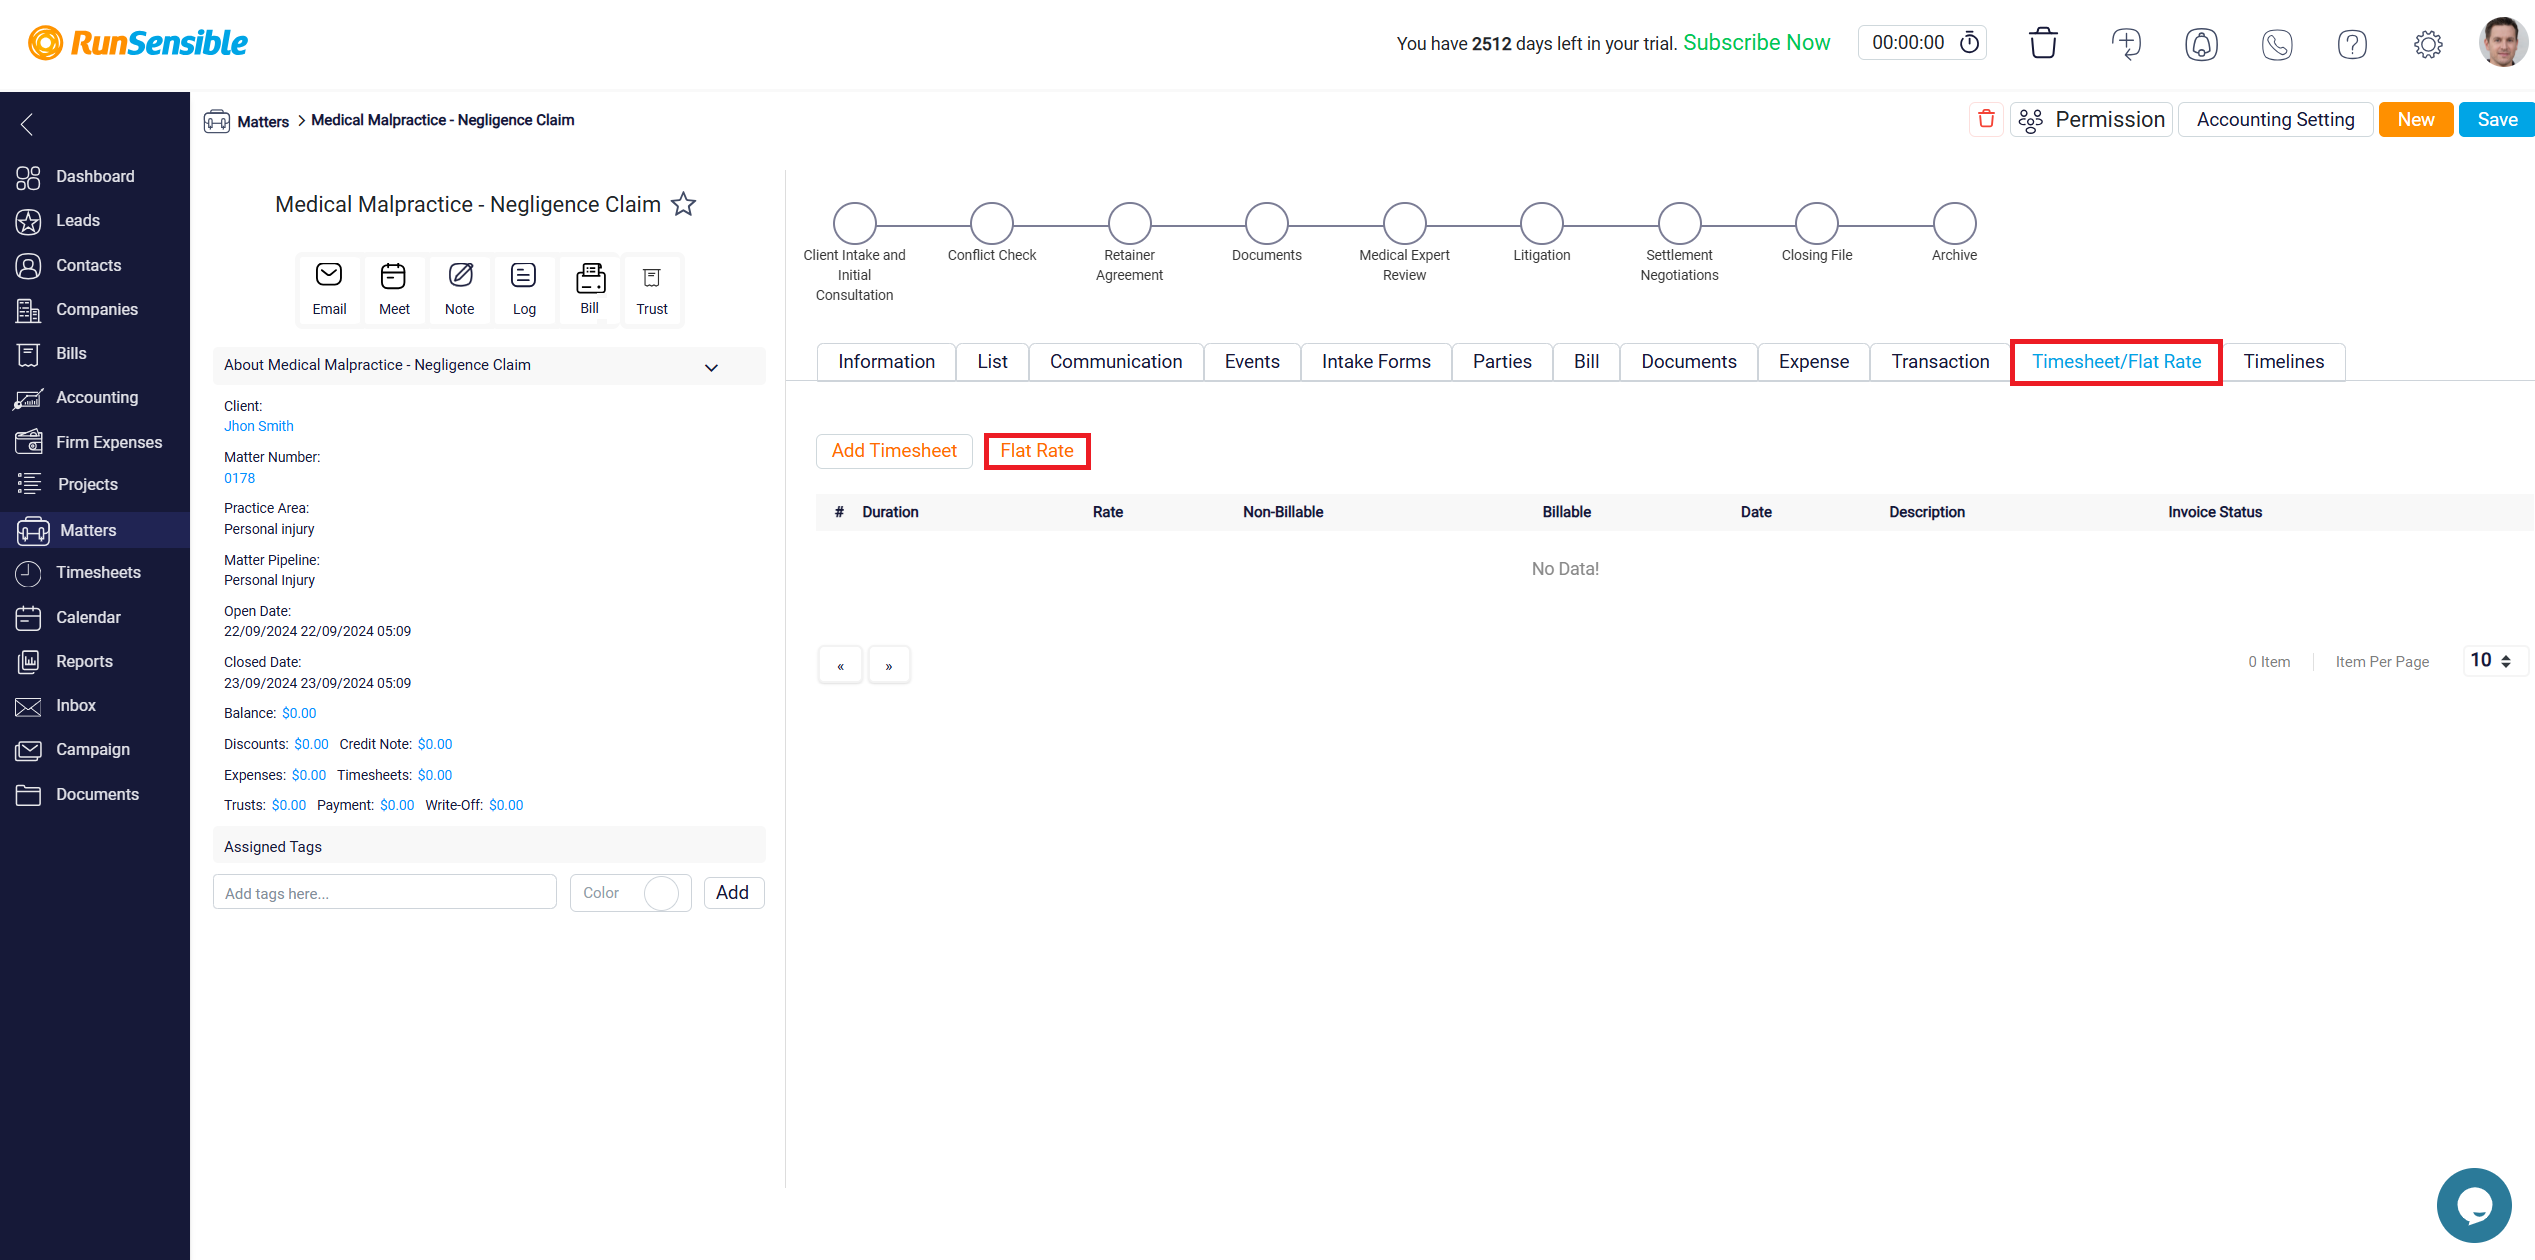
The next feature is the Flat Rate button, which allows you to assign a flat rate to the matter at hand. When you click this button, a panel will open, providing options to configure the flat rate according to your needs.
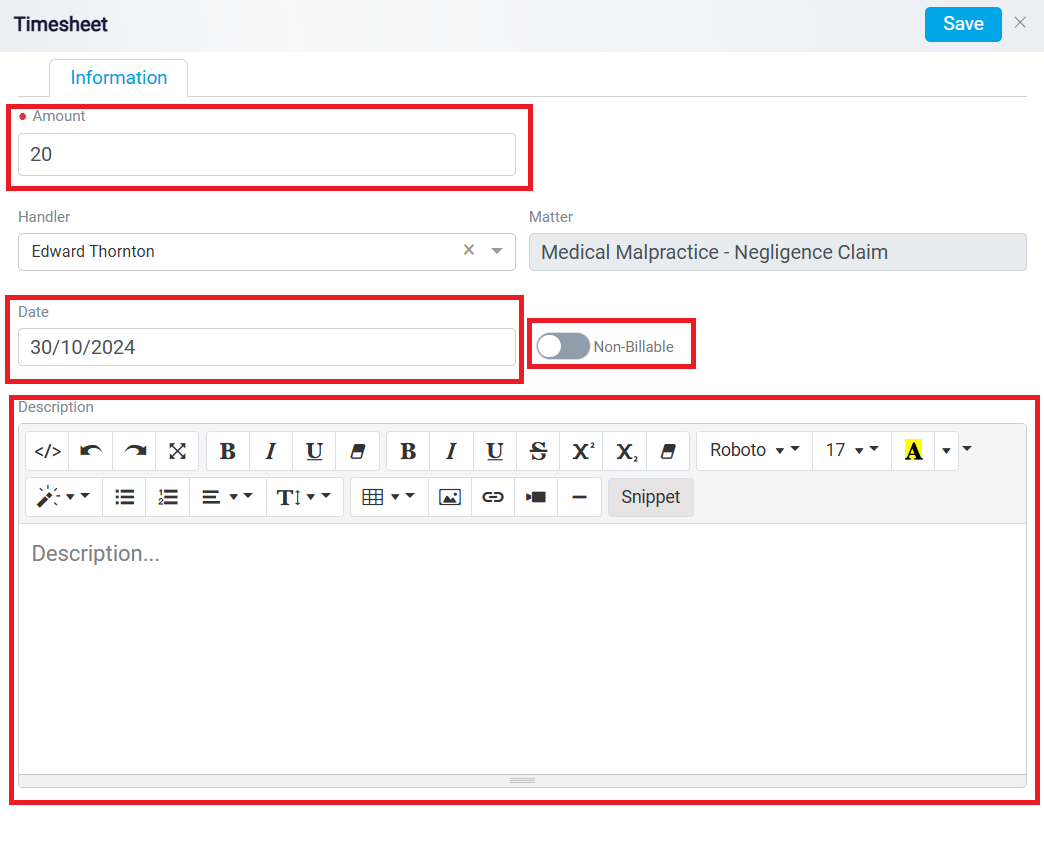
Within the panel, you will first see the Amount box, which displays your default flat rate. You can modify this amount by adjusting the value in the box to match the specific requirements of the matter. In the Handler dropdown menu, select the user responsible for managing this flat rate. Confirm the relevant matter in the Matter box to ensure the rate is correctly assigned to the appropriate case.
Next, set the date for creating the flat rate using the Date box. You will also notice a Non-Billable toggle button. If you wish to apply this flat rate without charging the client, toggle this option on. Otherwise, leave it off to charge the client based on this rate.
In the Description box, you can add any additional details or context related to the flat rate.
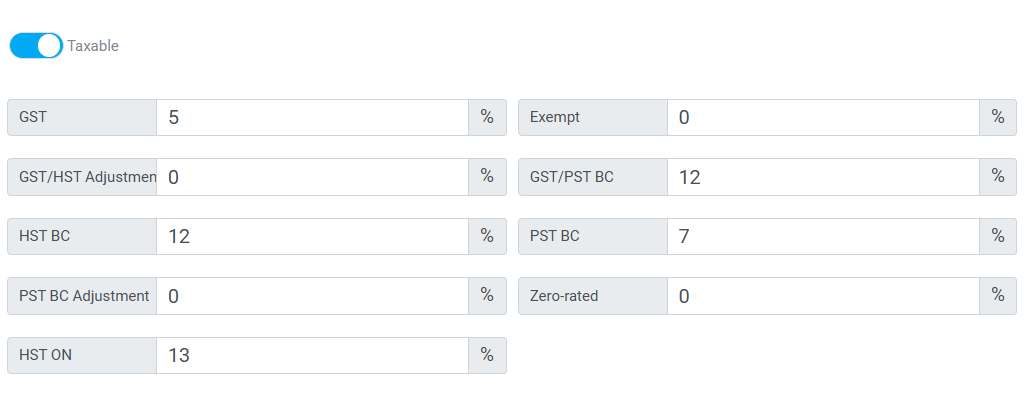
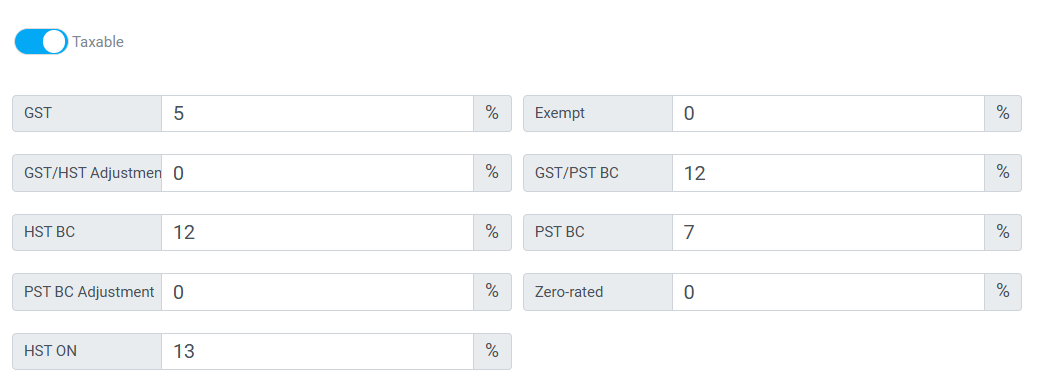
Similar to the timesheet feature, there is a Tax toggle button that allows you to decide whether to apply the default tax rate to this flat rate. Toggle it on if taxes should be included, or leave it off if no taxes will be applied.
Finally, adjust the permission settings to control which users have access to this flat rate entry.
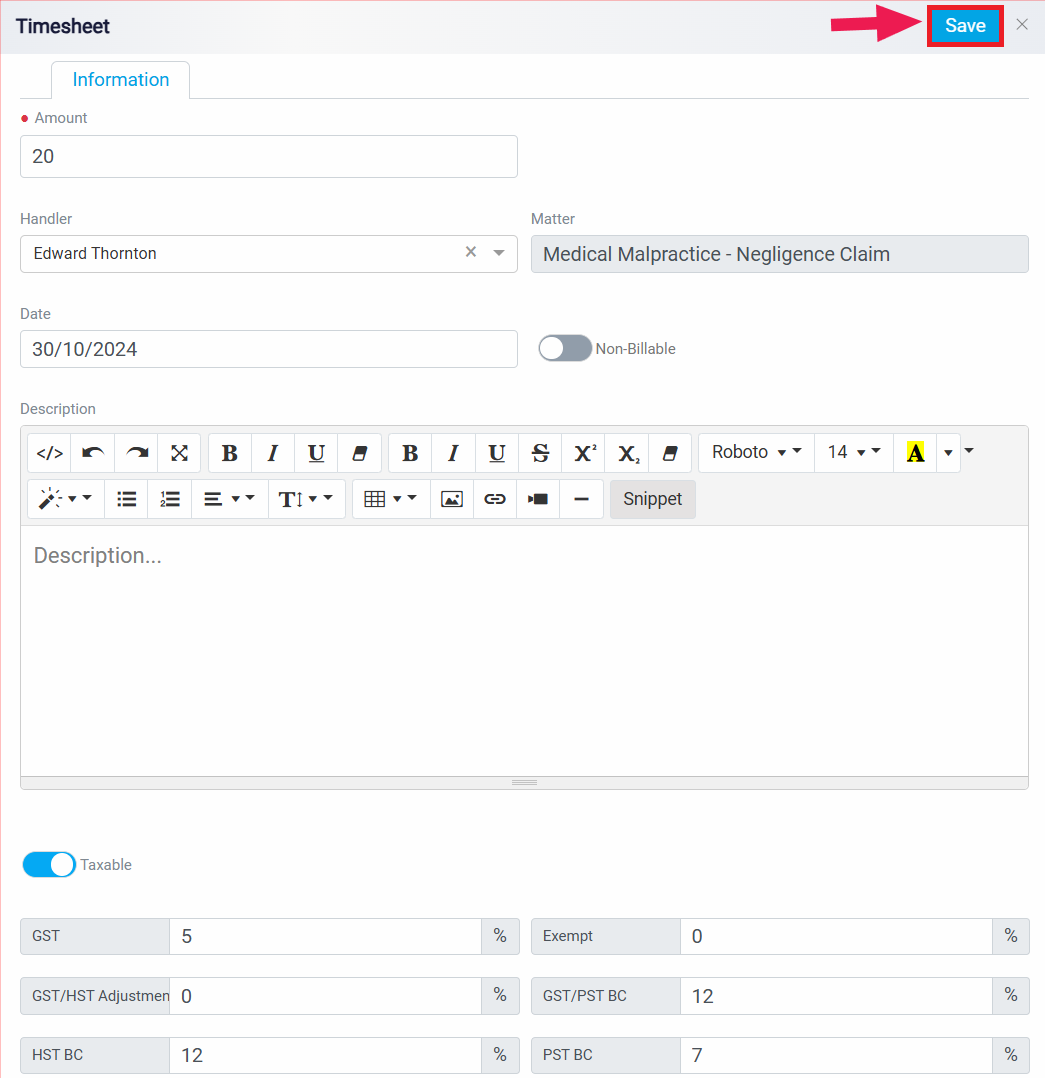
Once you have completed all the necessary fields and configurations, click the Save button at the top to finalize and apply the flat rate to the matter.
