How Automation Works
An automation system works by following a simple cause-and-effect process. It starts with a trigger, which is an event or condition that sets the automation in motion. For example, if a contact in your system has a specific value in one of their information fields, that can act as a trigger. When the trigger happens, the system automatically carries out an action, which is a task or response you’ve already set up. These actions can include things like sending a notification, updating a field, or creating a new task.
Setting Up an Automation
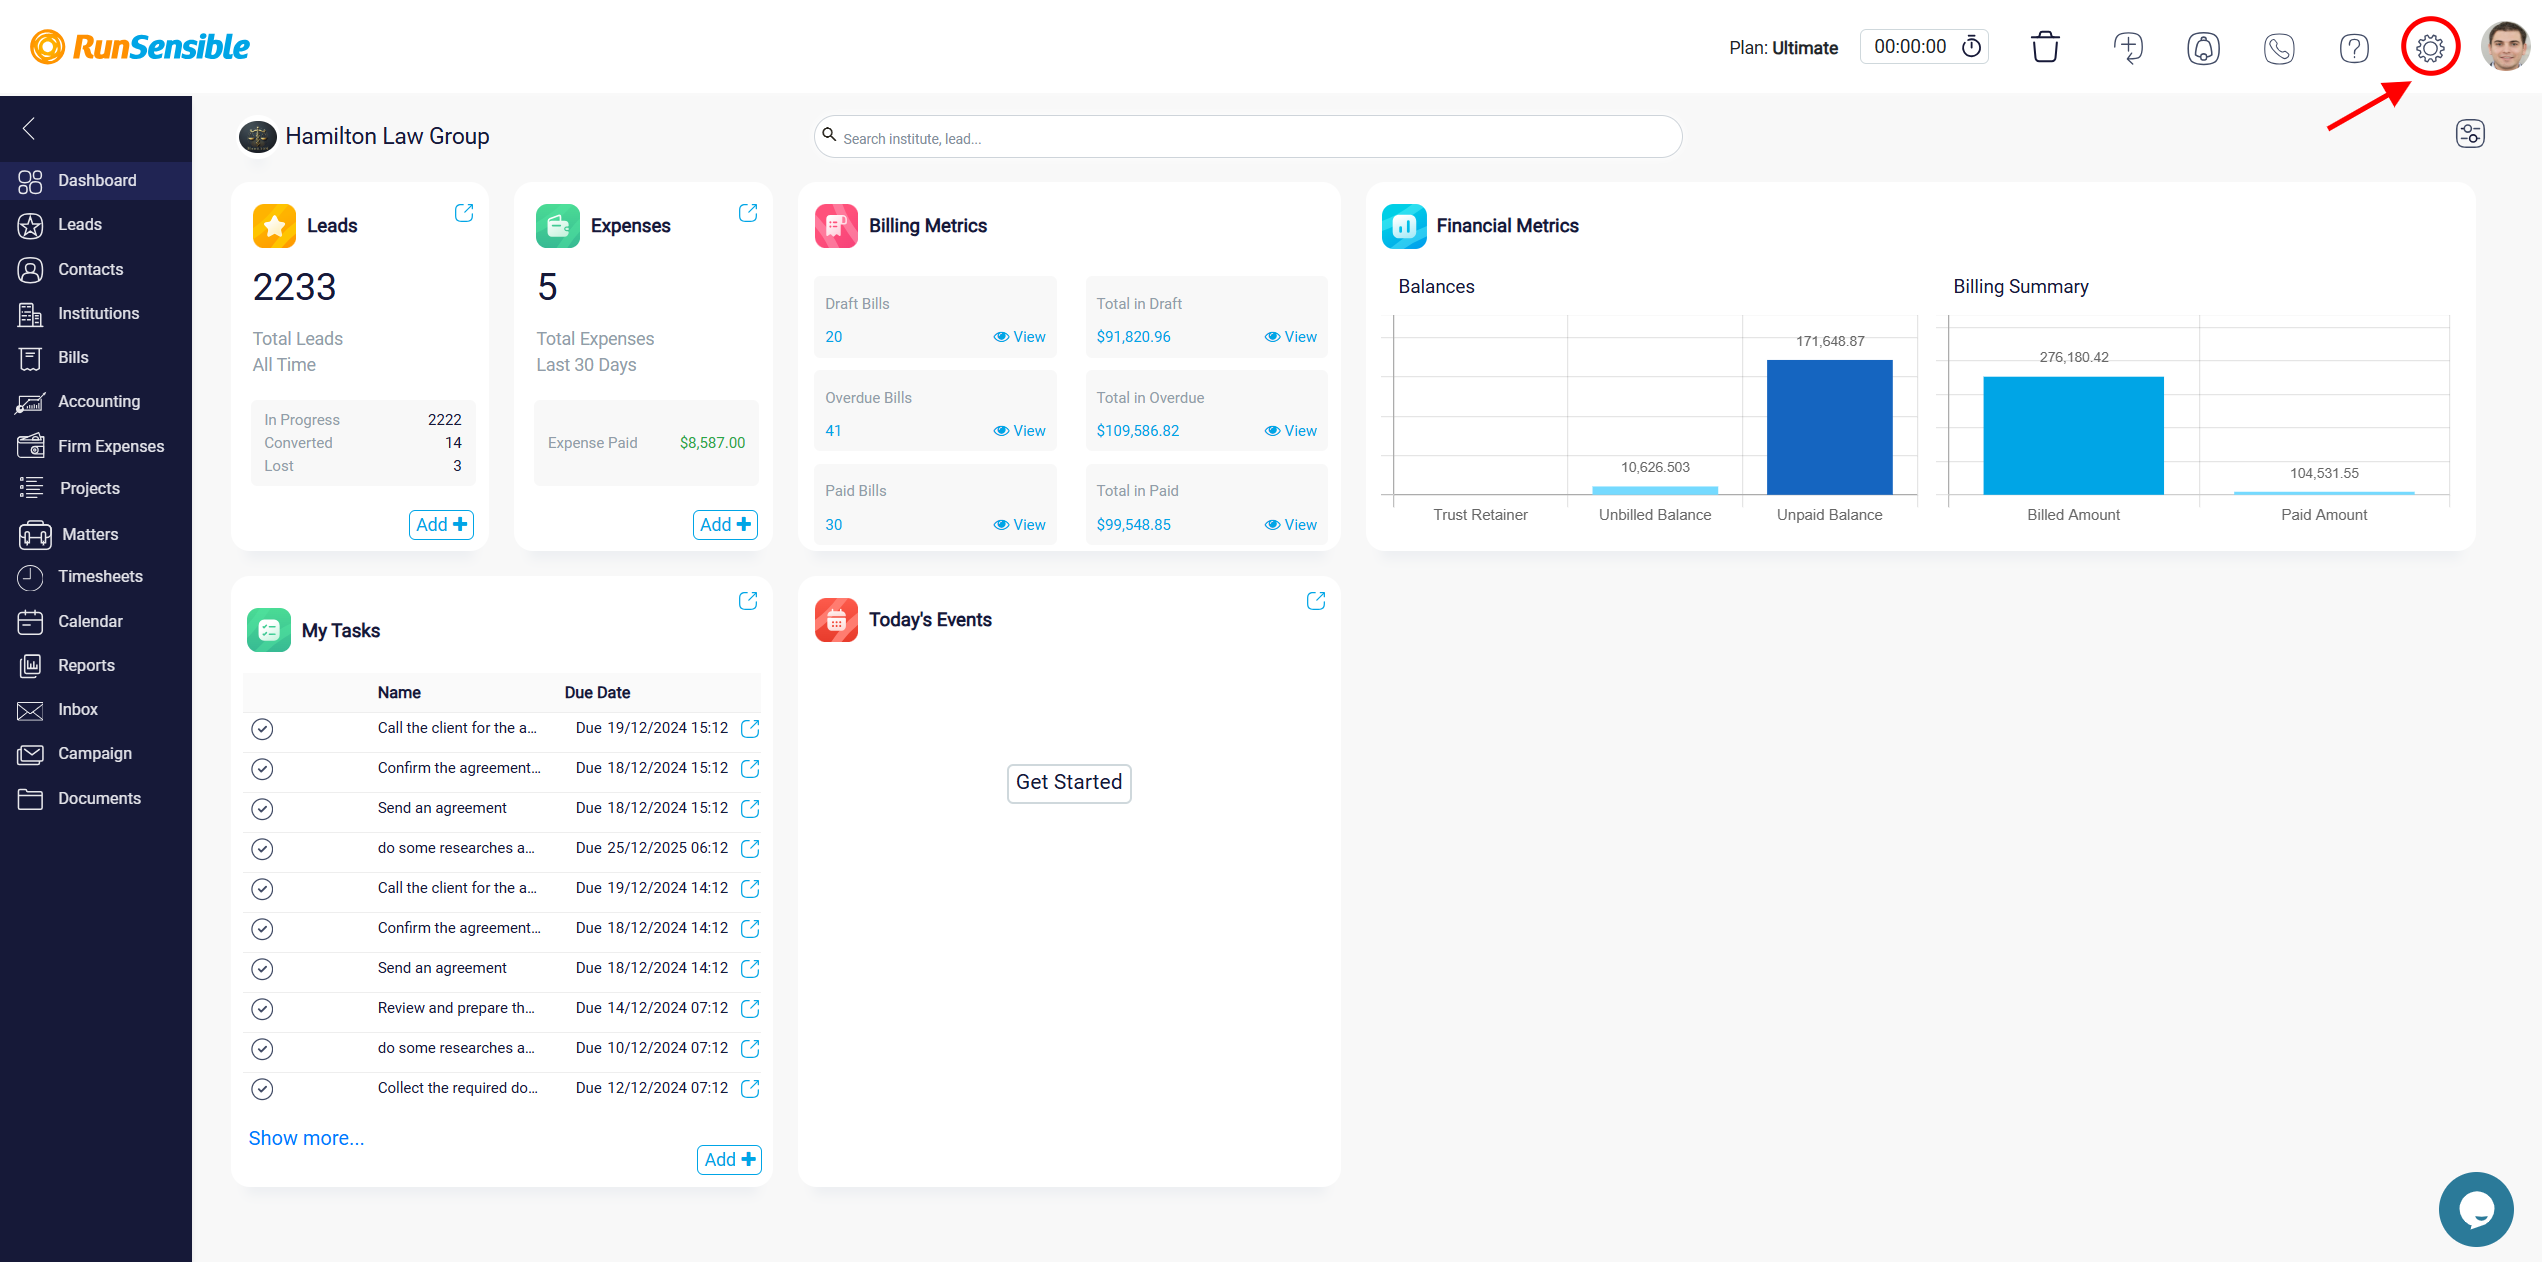
To create a new automation within the system, begin by accessing the Settings menu. This menu can be found by clicking the Settings button located in the top-right corner of your screen.
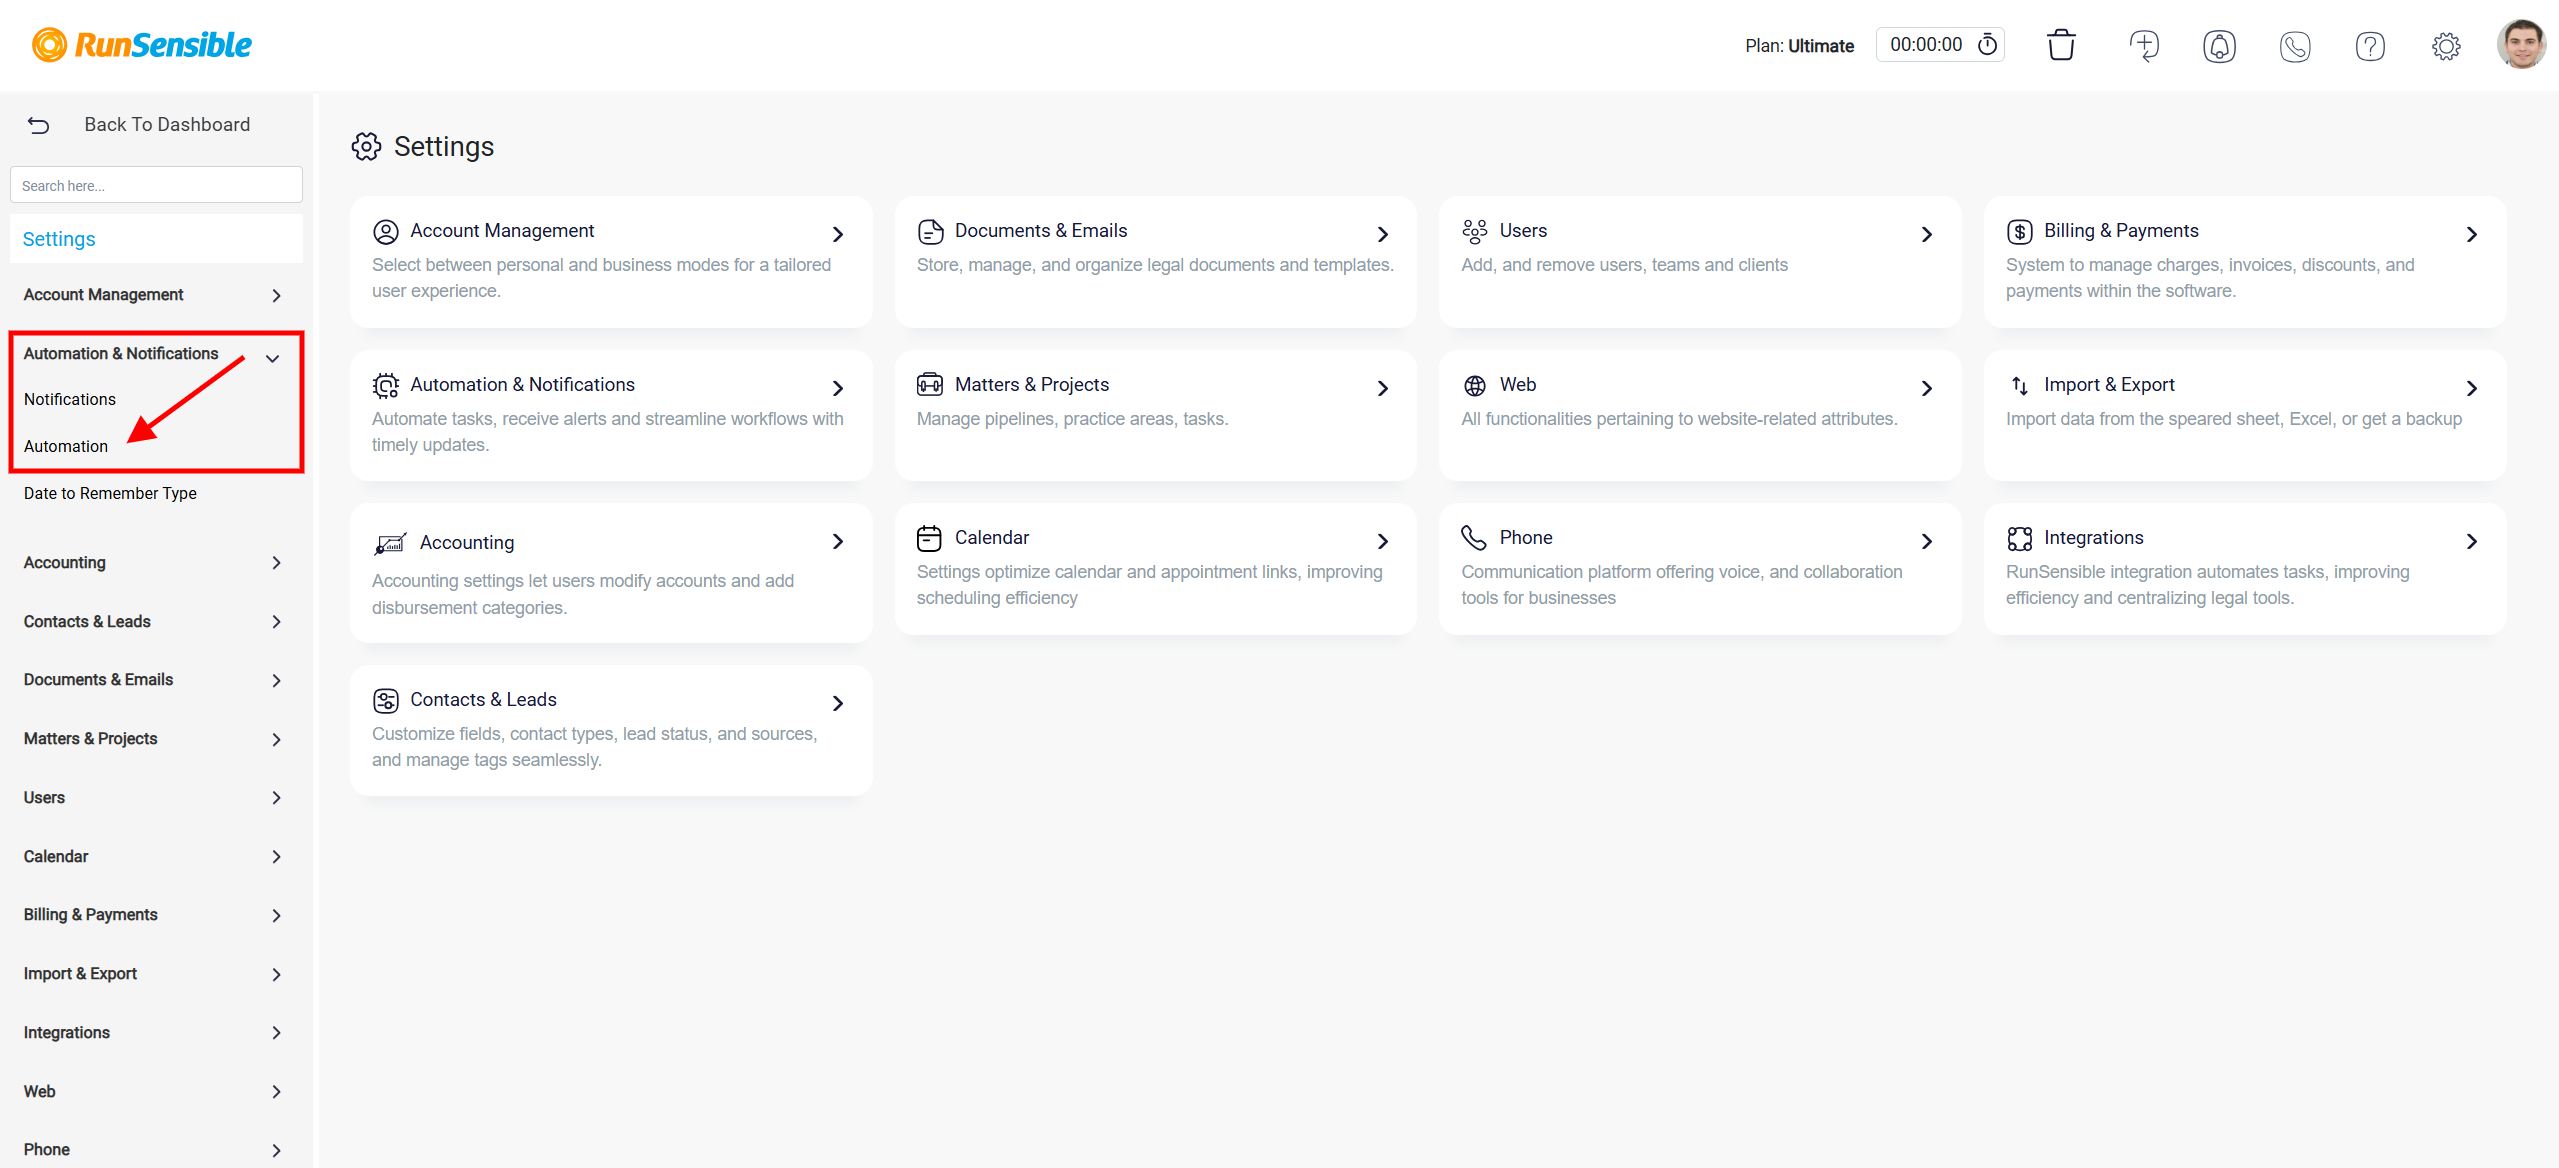
Once you have entered the Settings menu, look for and select the Automation & Notifications section. Within this section, you will see an option labeled Automation; click on it to proceed.
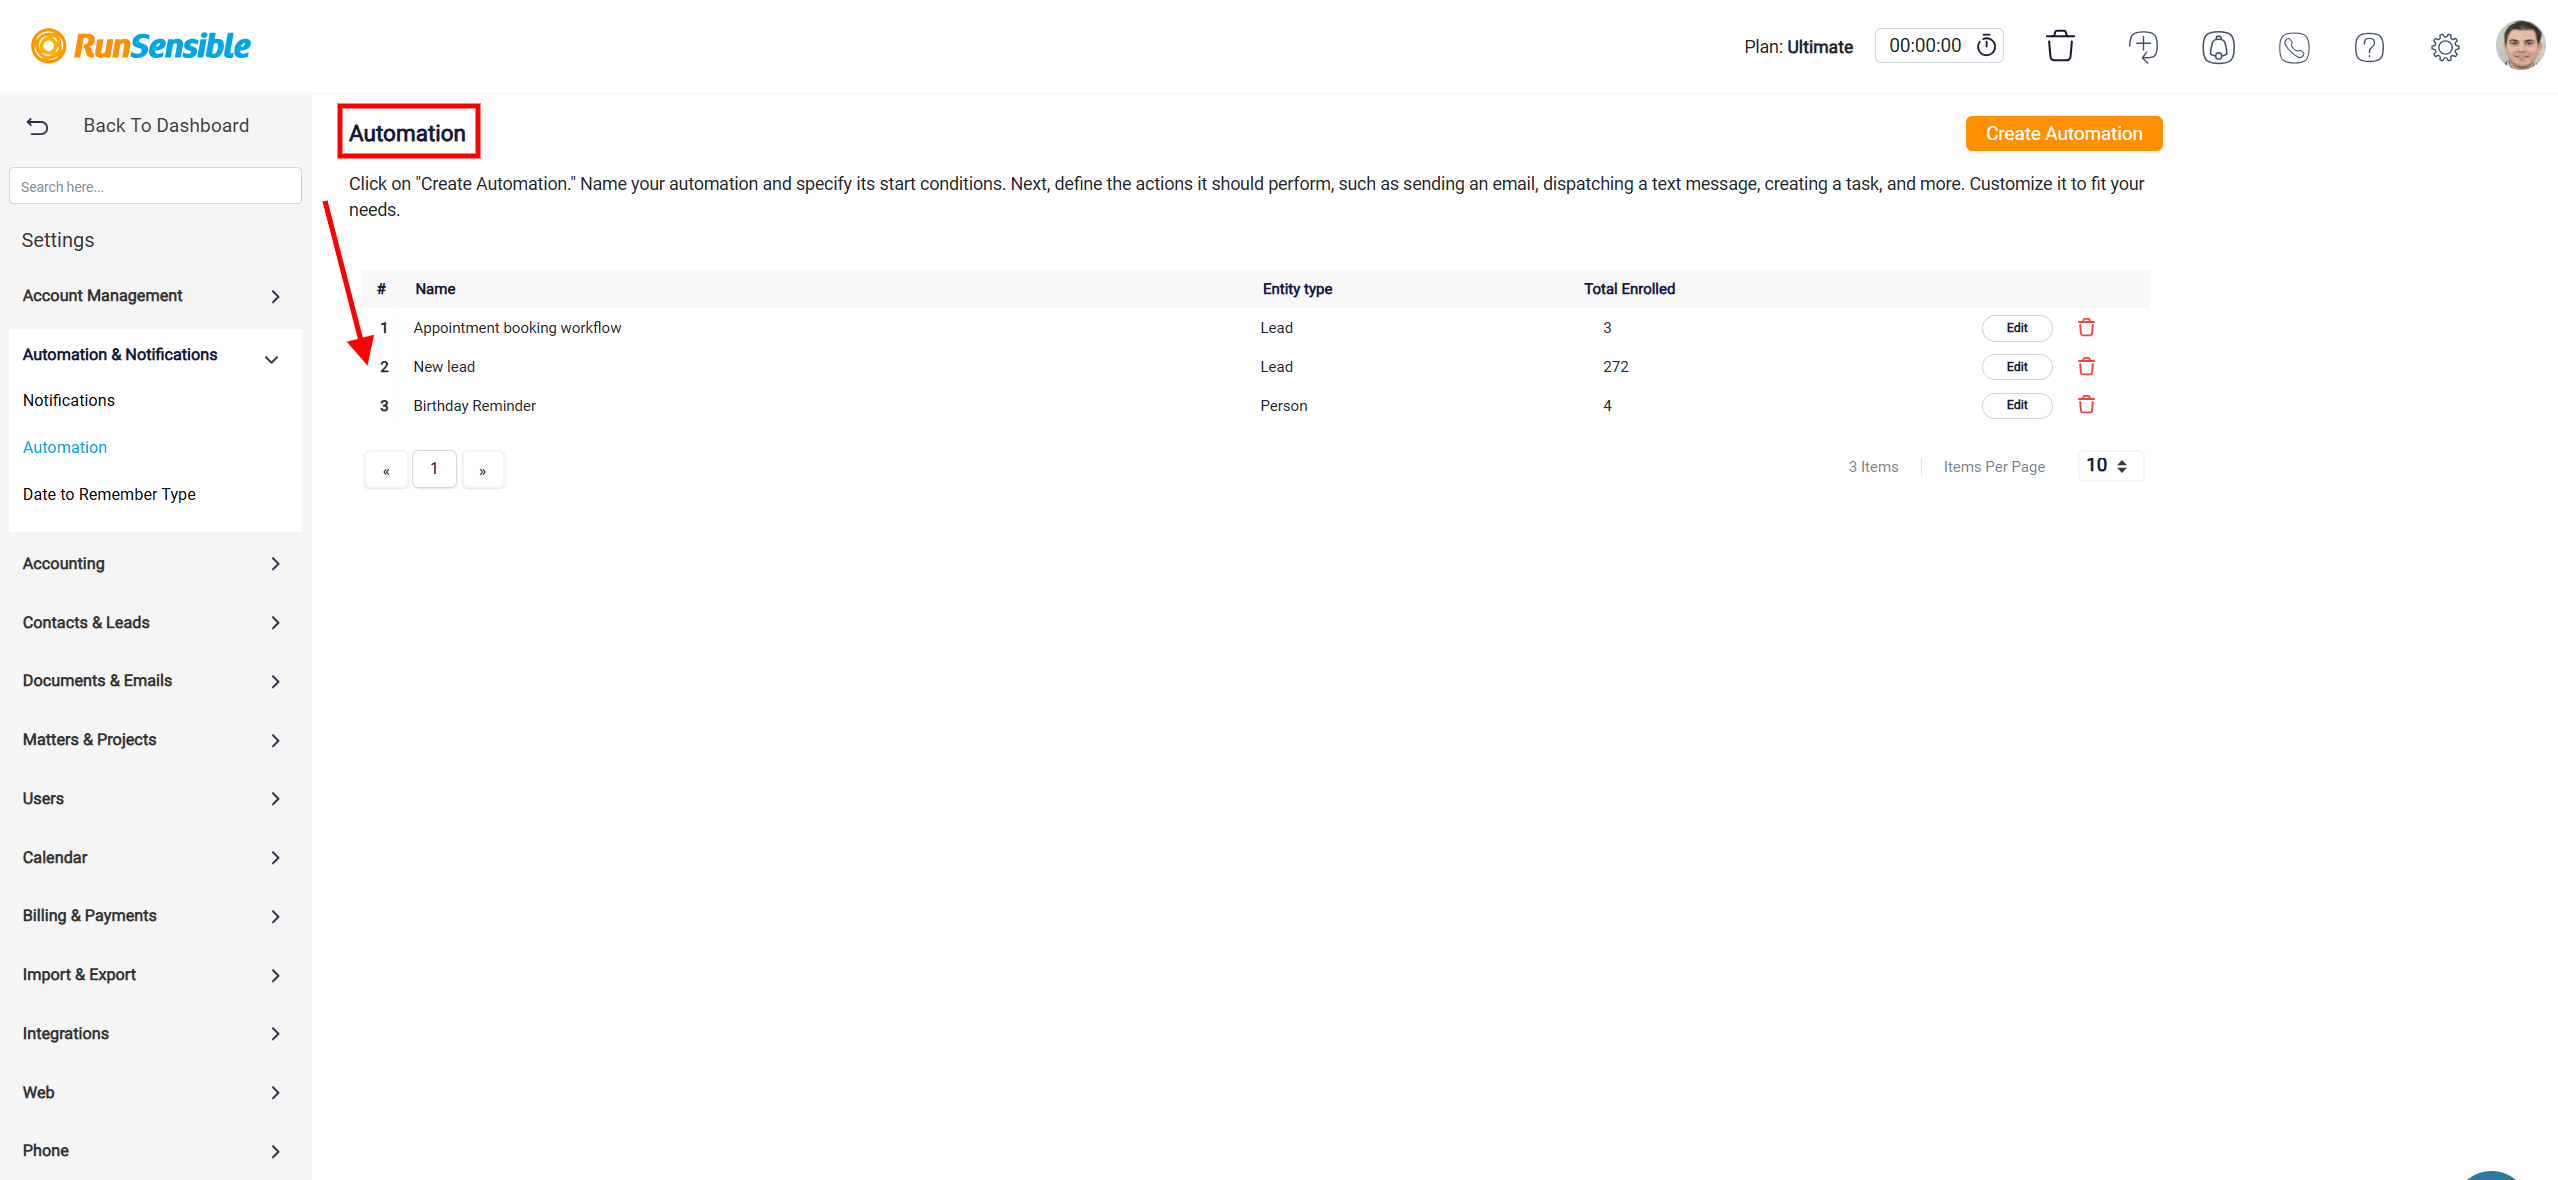
The Automation section serves as a hub for managing all automation workflows within the system. Here, you can view a comprehensive list of all previously created automations. Each entry in this list provides key details about the specific workflow and includes options to modify or delete it.
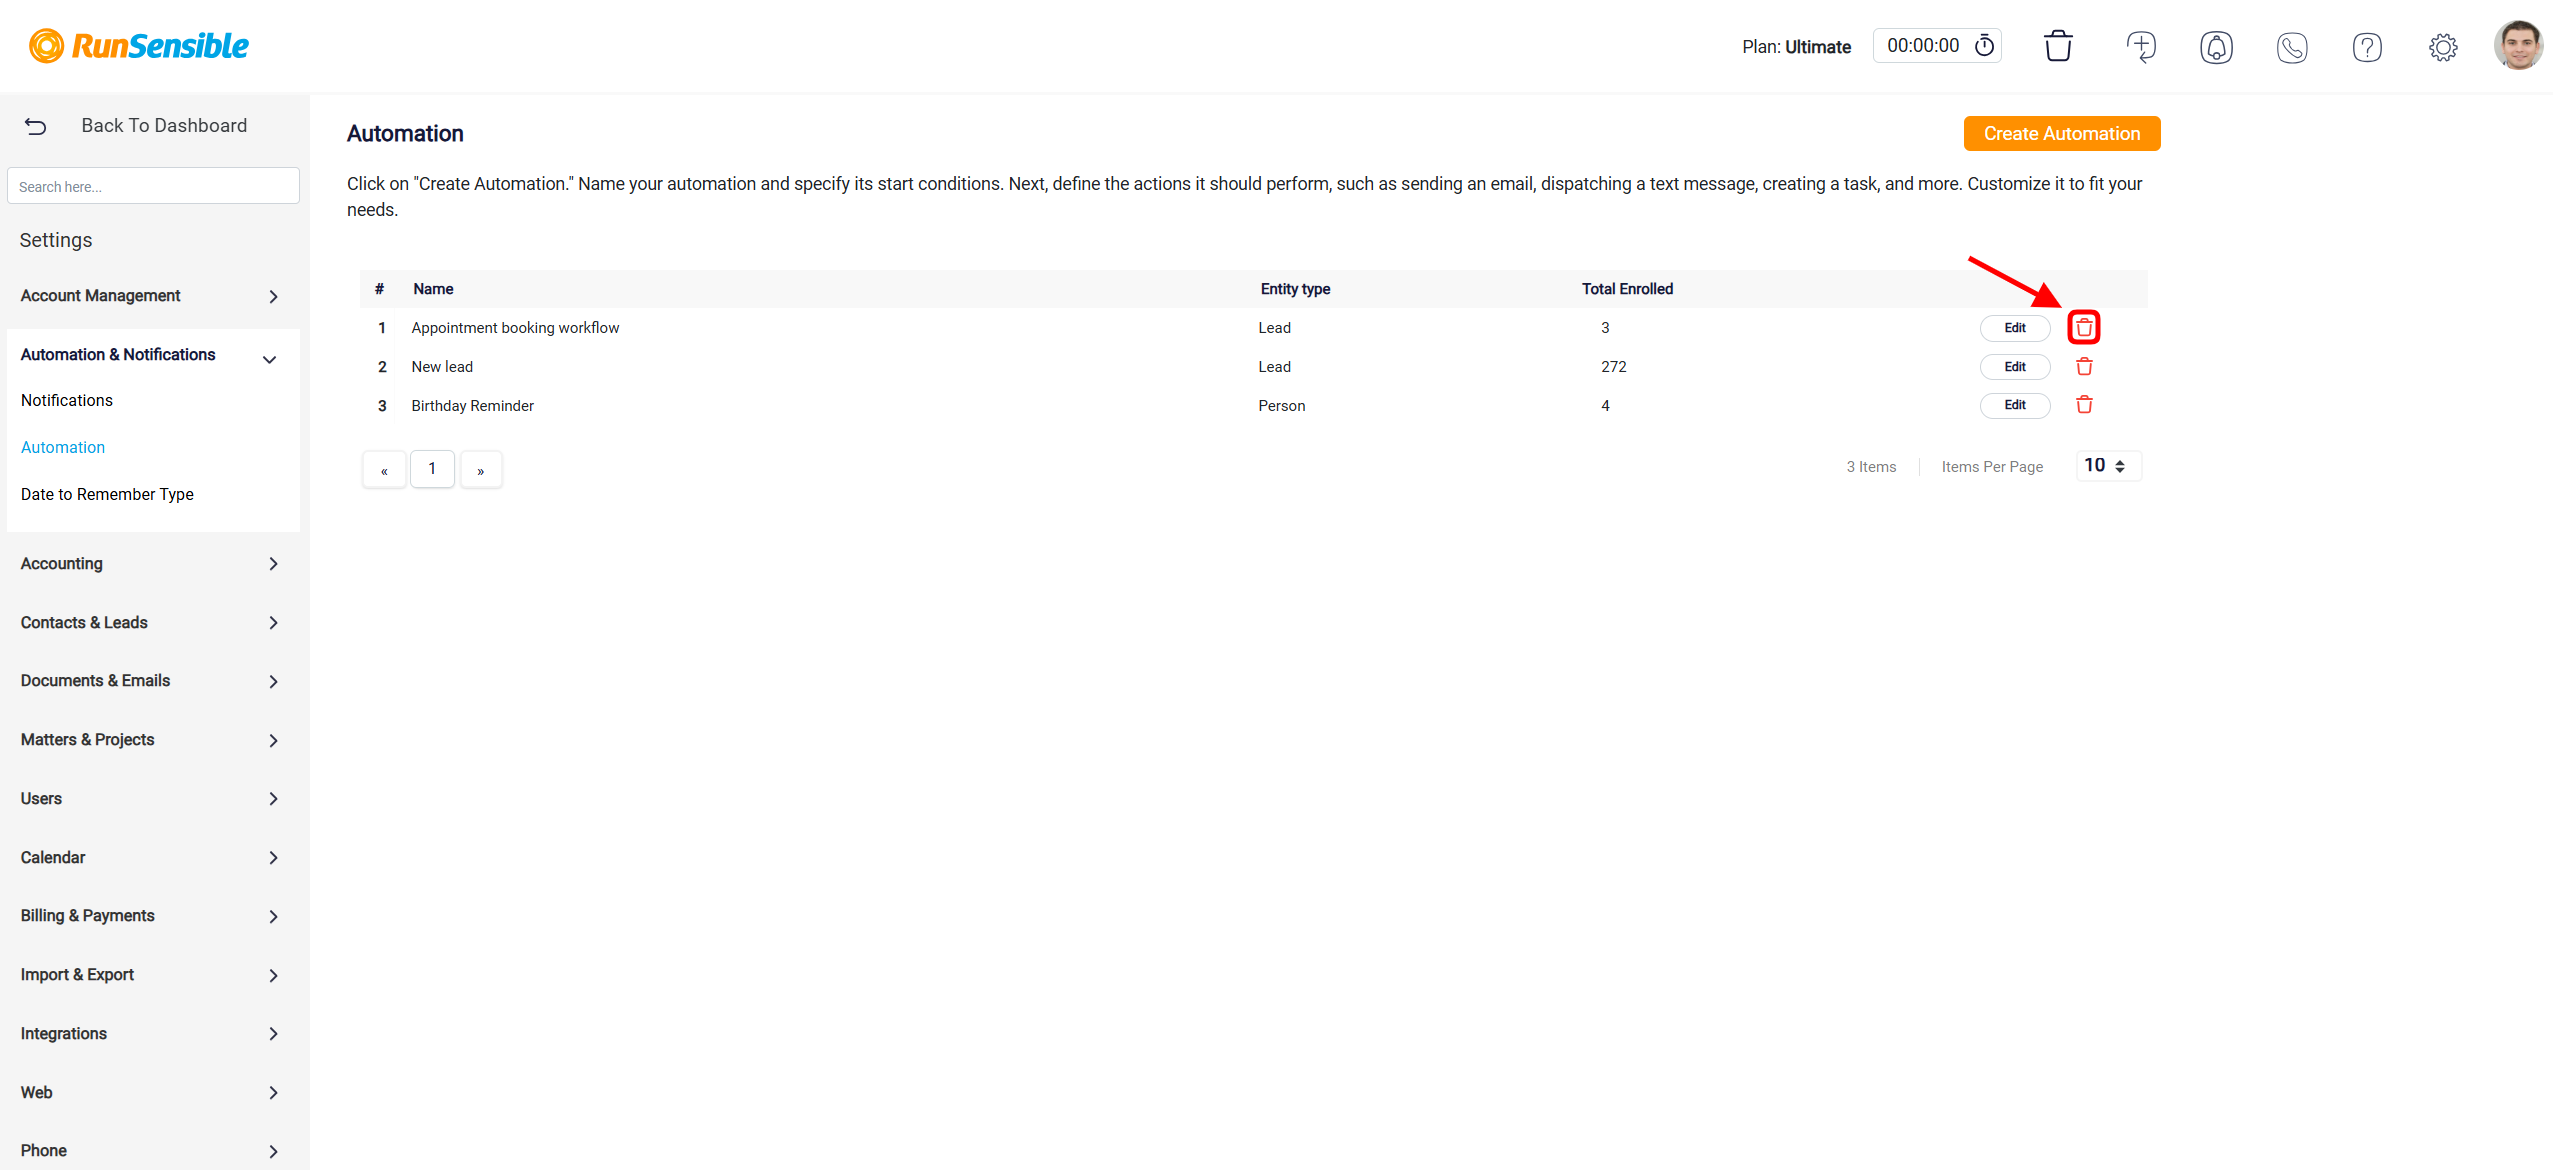
To make changes to an existing automation, locate the corresponding entry and use the Edit button, situated to the right of the record.

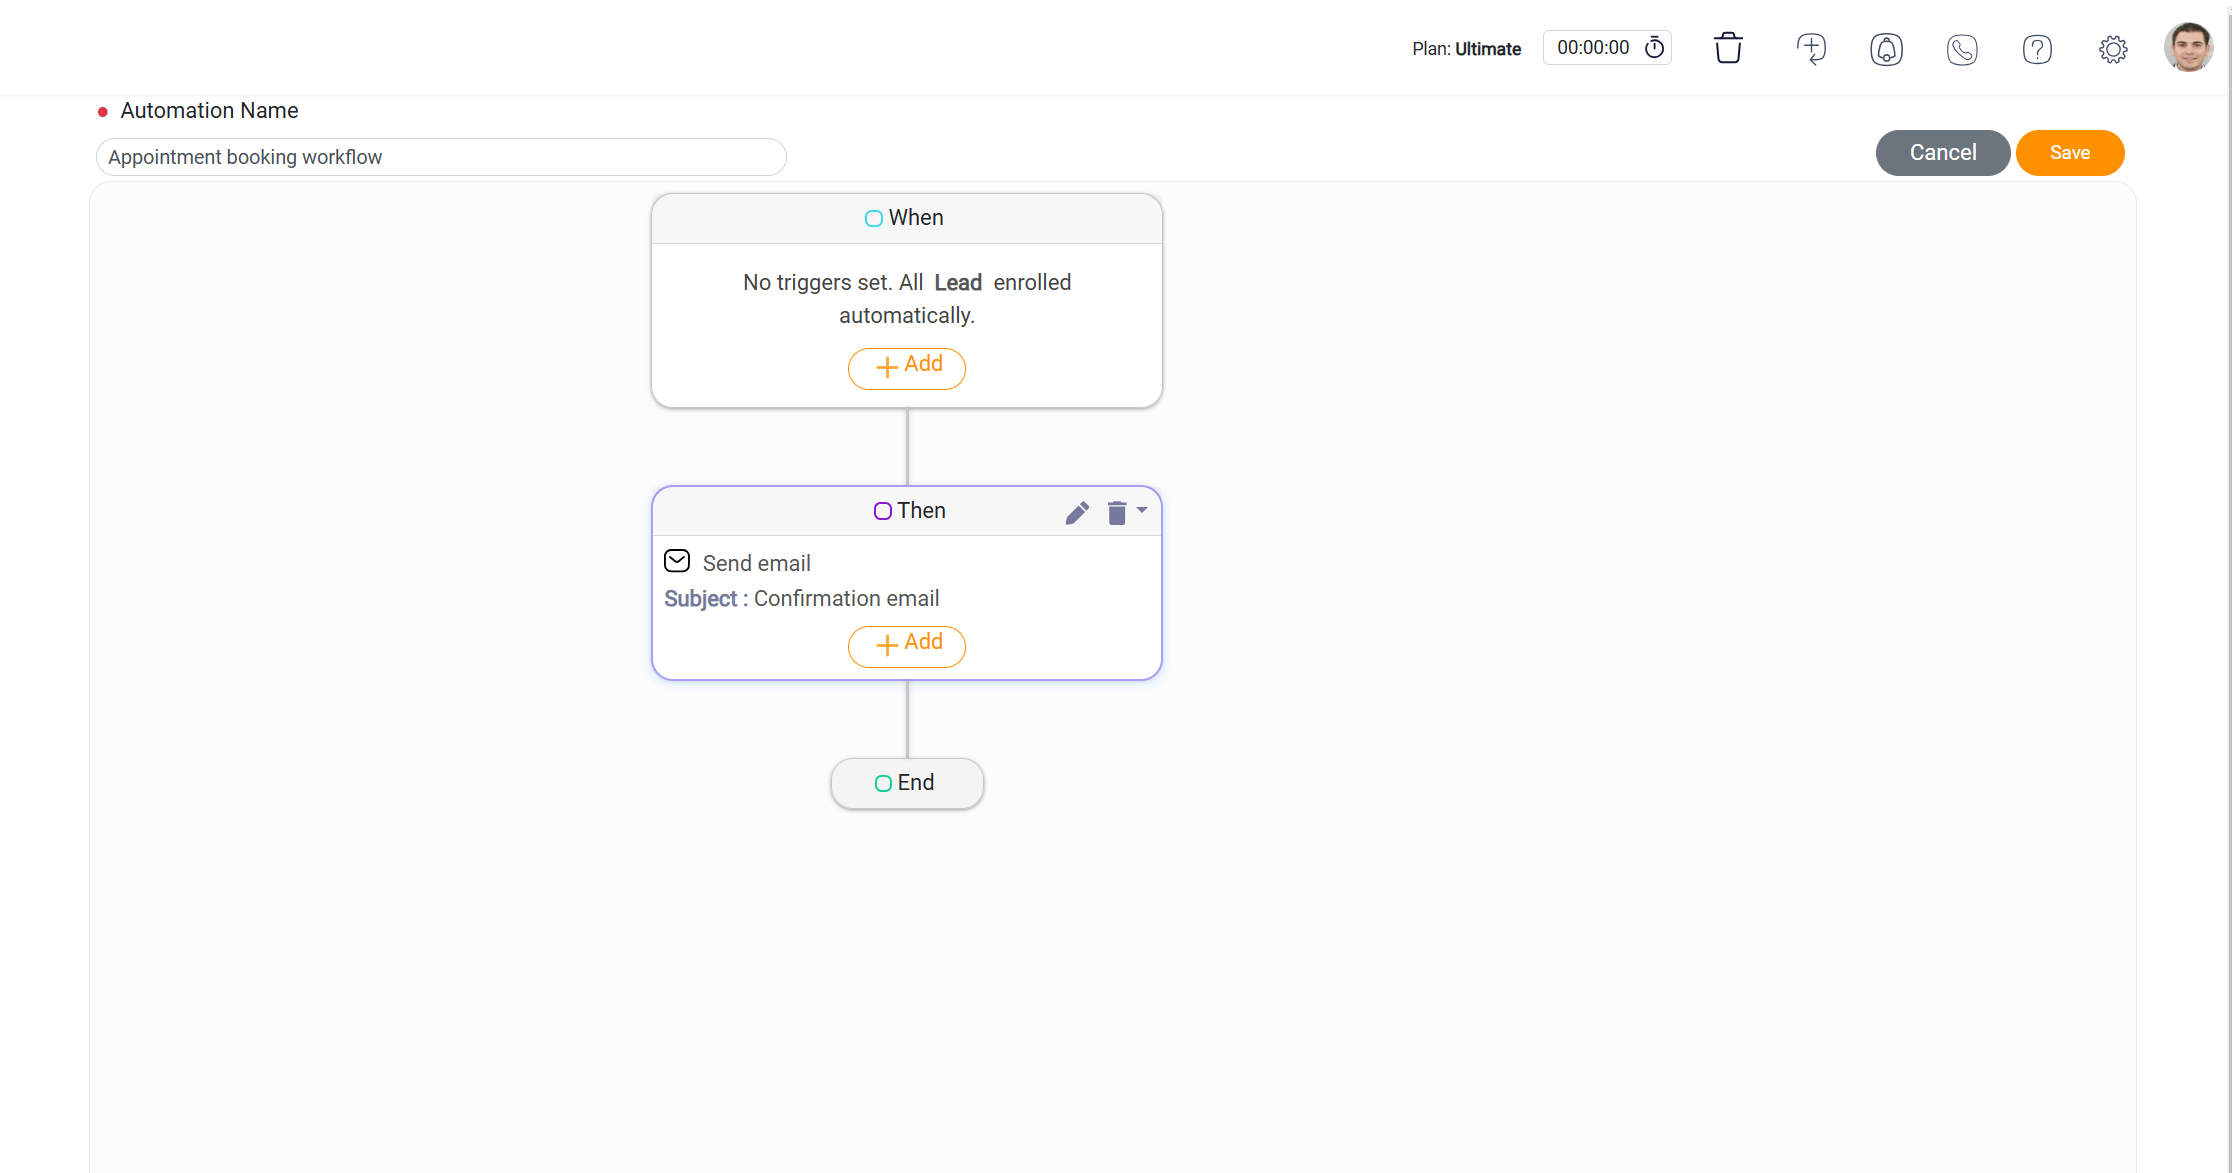
If you wish to remove an automation, click the Delete button next to the relevant entry.
