Bill/Tax/Discount Management
The Bill/Tax/Discount section of the system is designed to provide users with a centralized location to configure and manage critical aspects of billing processes, taxes, and discounts. This section allows you to activate specific billing settings, adjust tax rates to suit your requirements, and create predefined discounts for streamlined usage during the billing process. By organizing these features into a unified interface, the system ensures efficient and accurate financial management.
Configuring Billing Settings
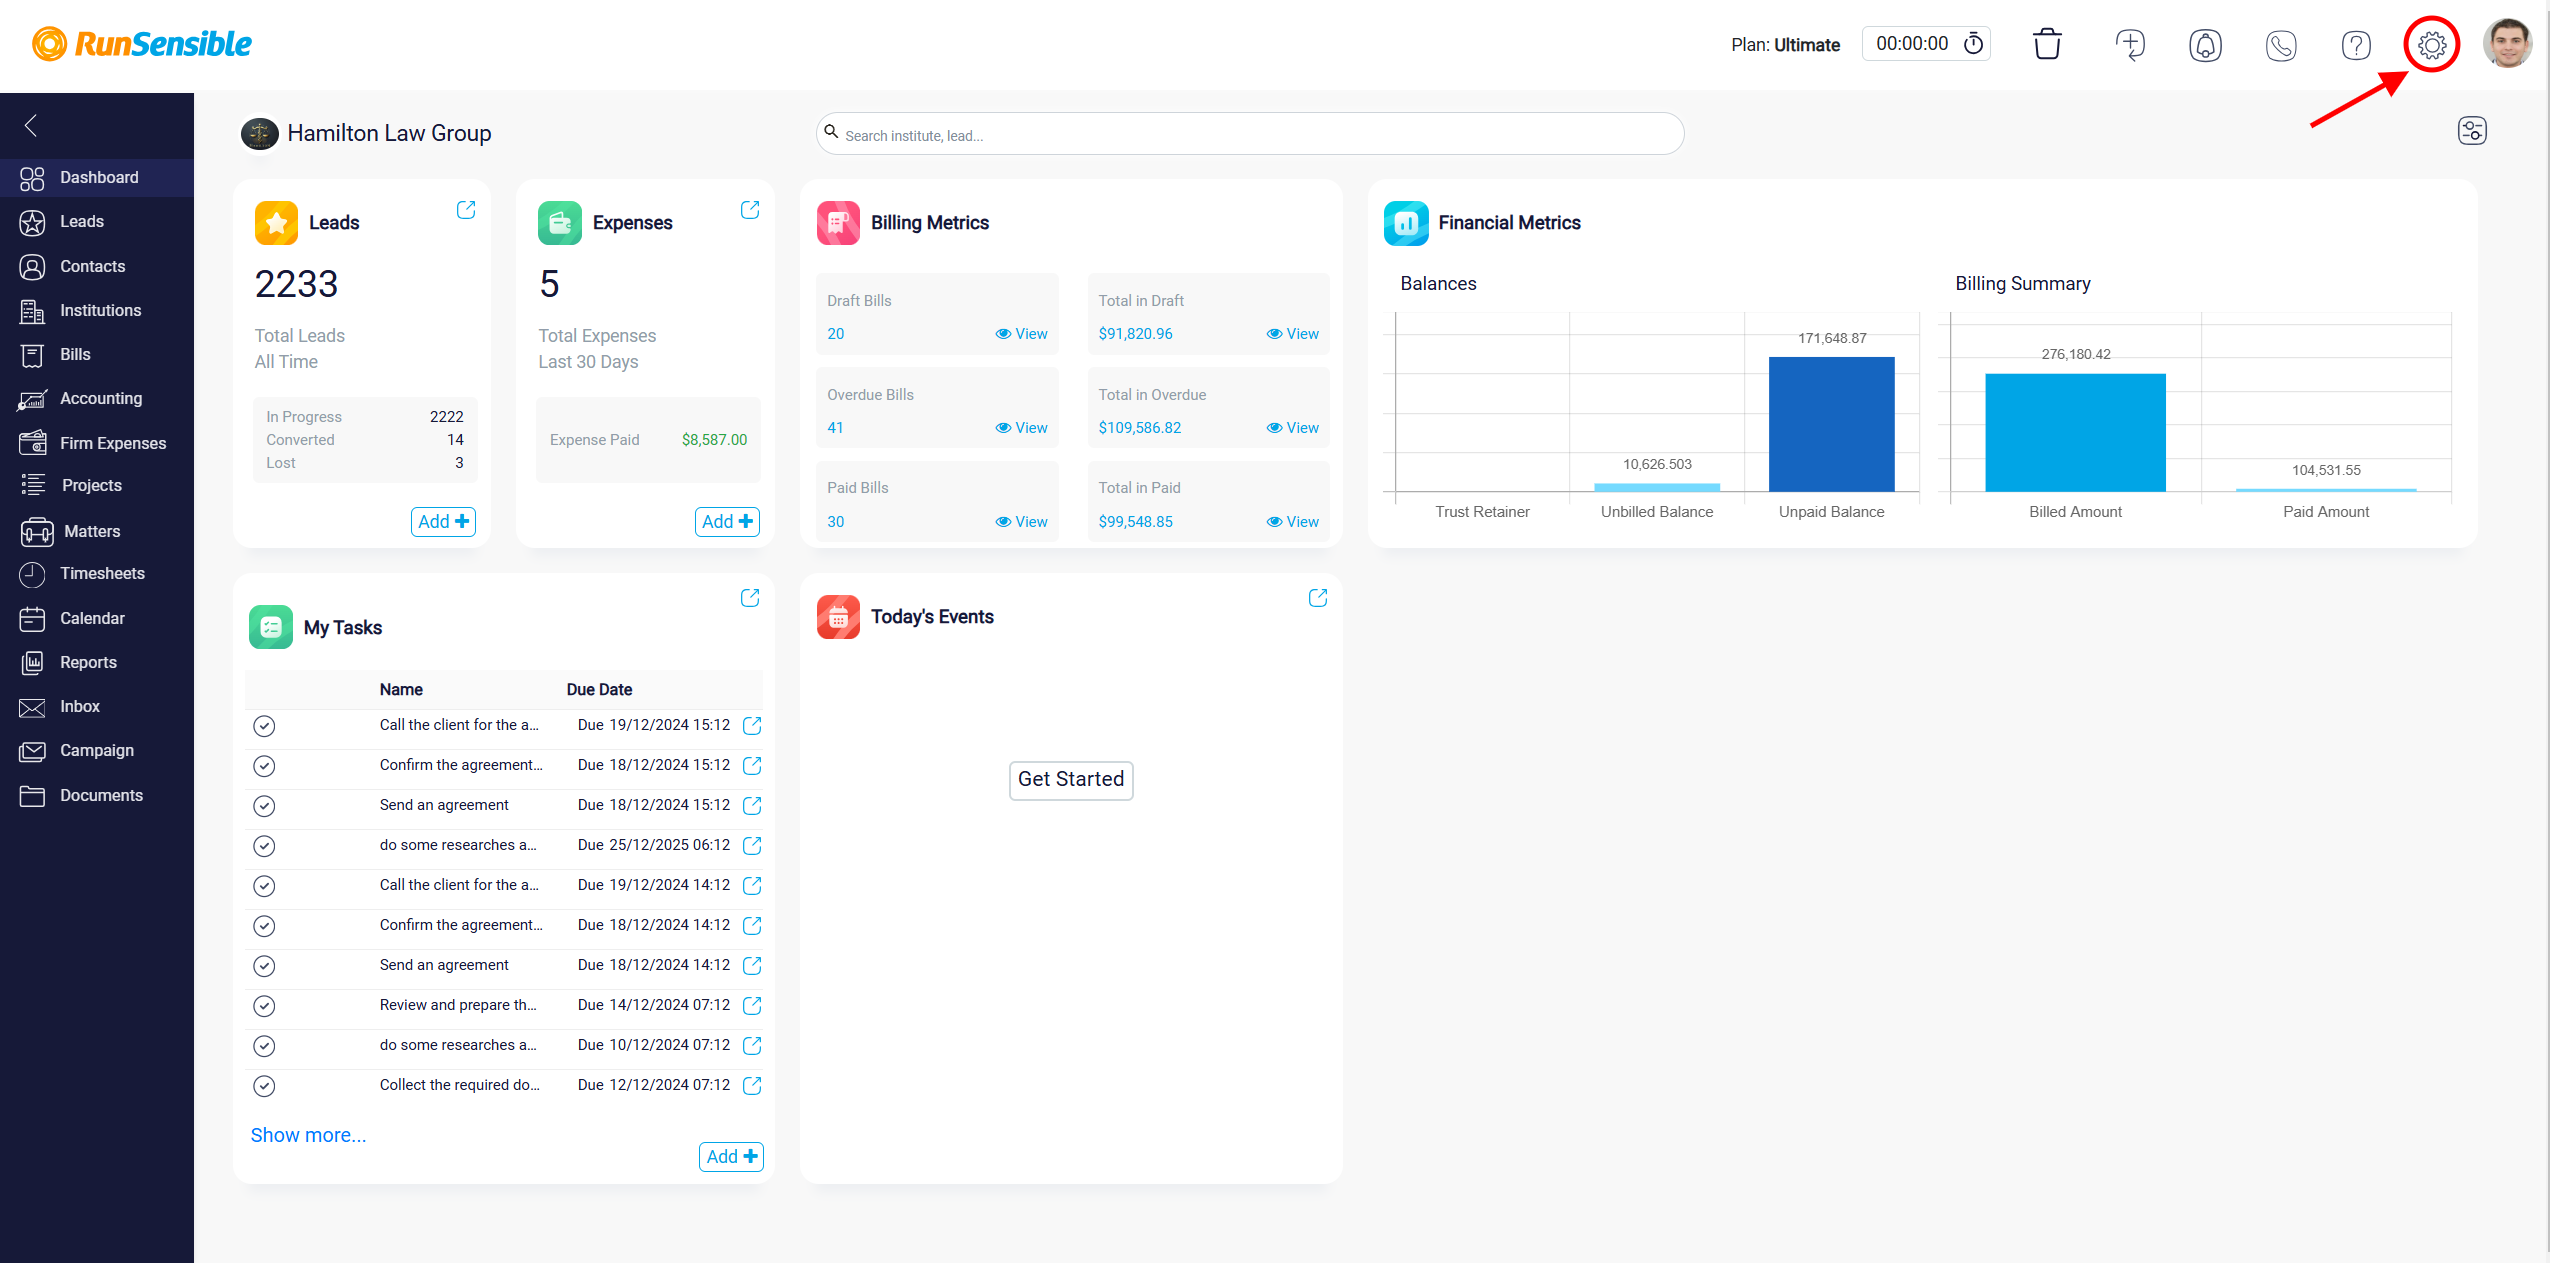
To access and configure billing-related settings, begin by navigating to the Settings option located in the top-right corner of the system.
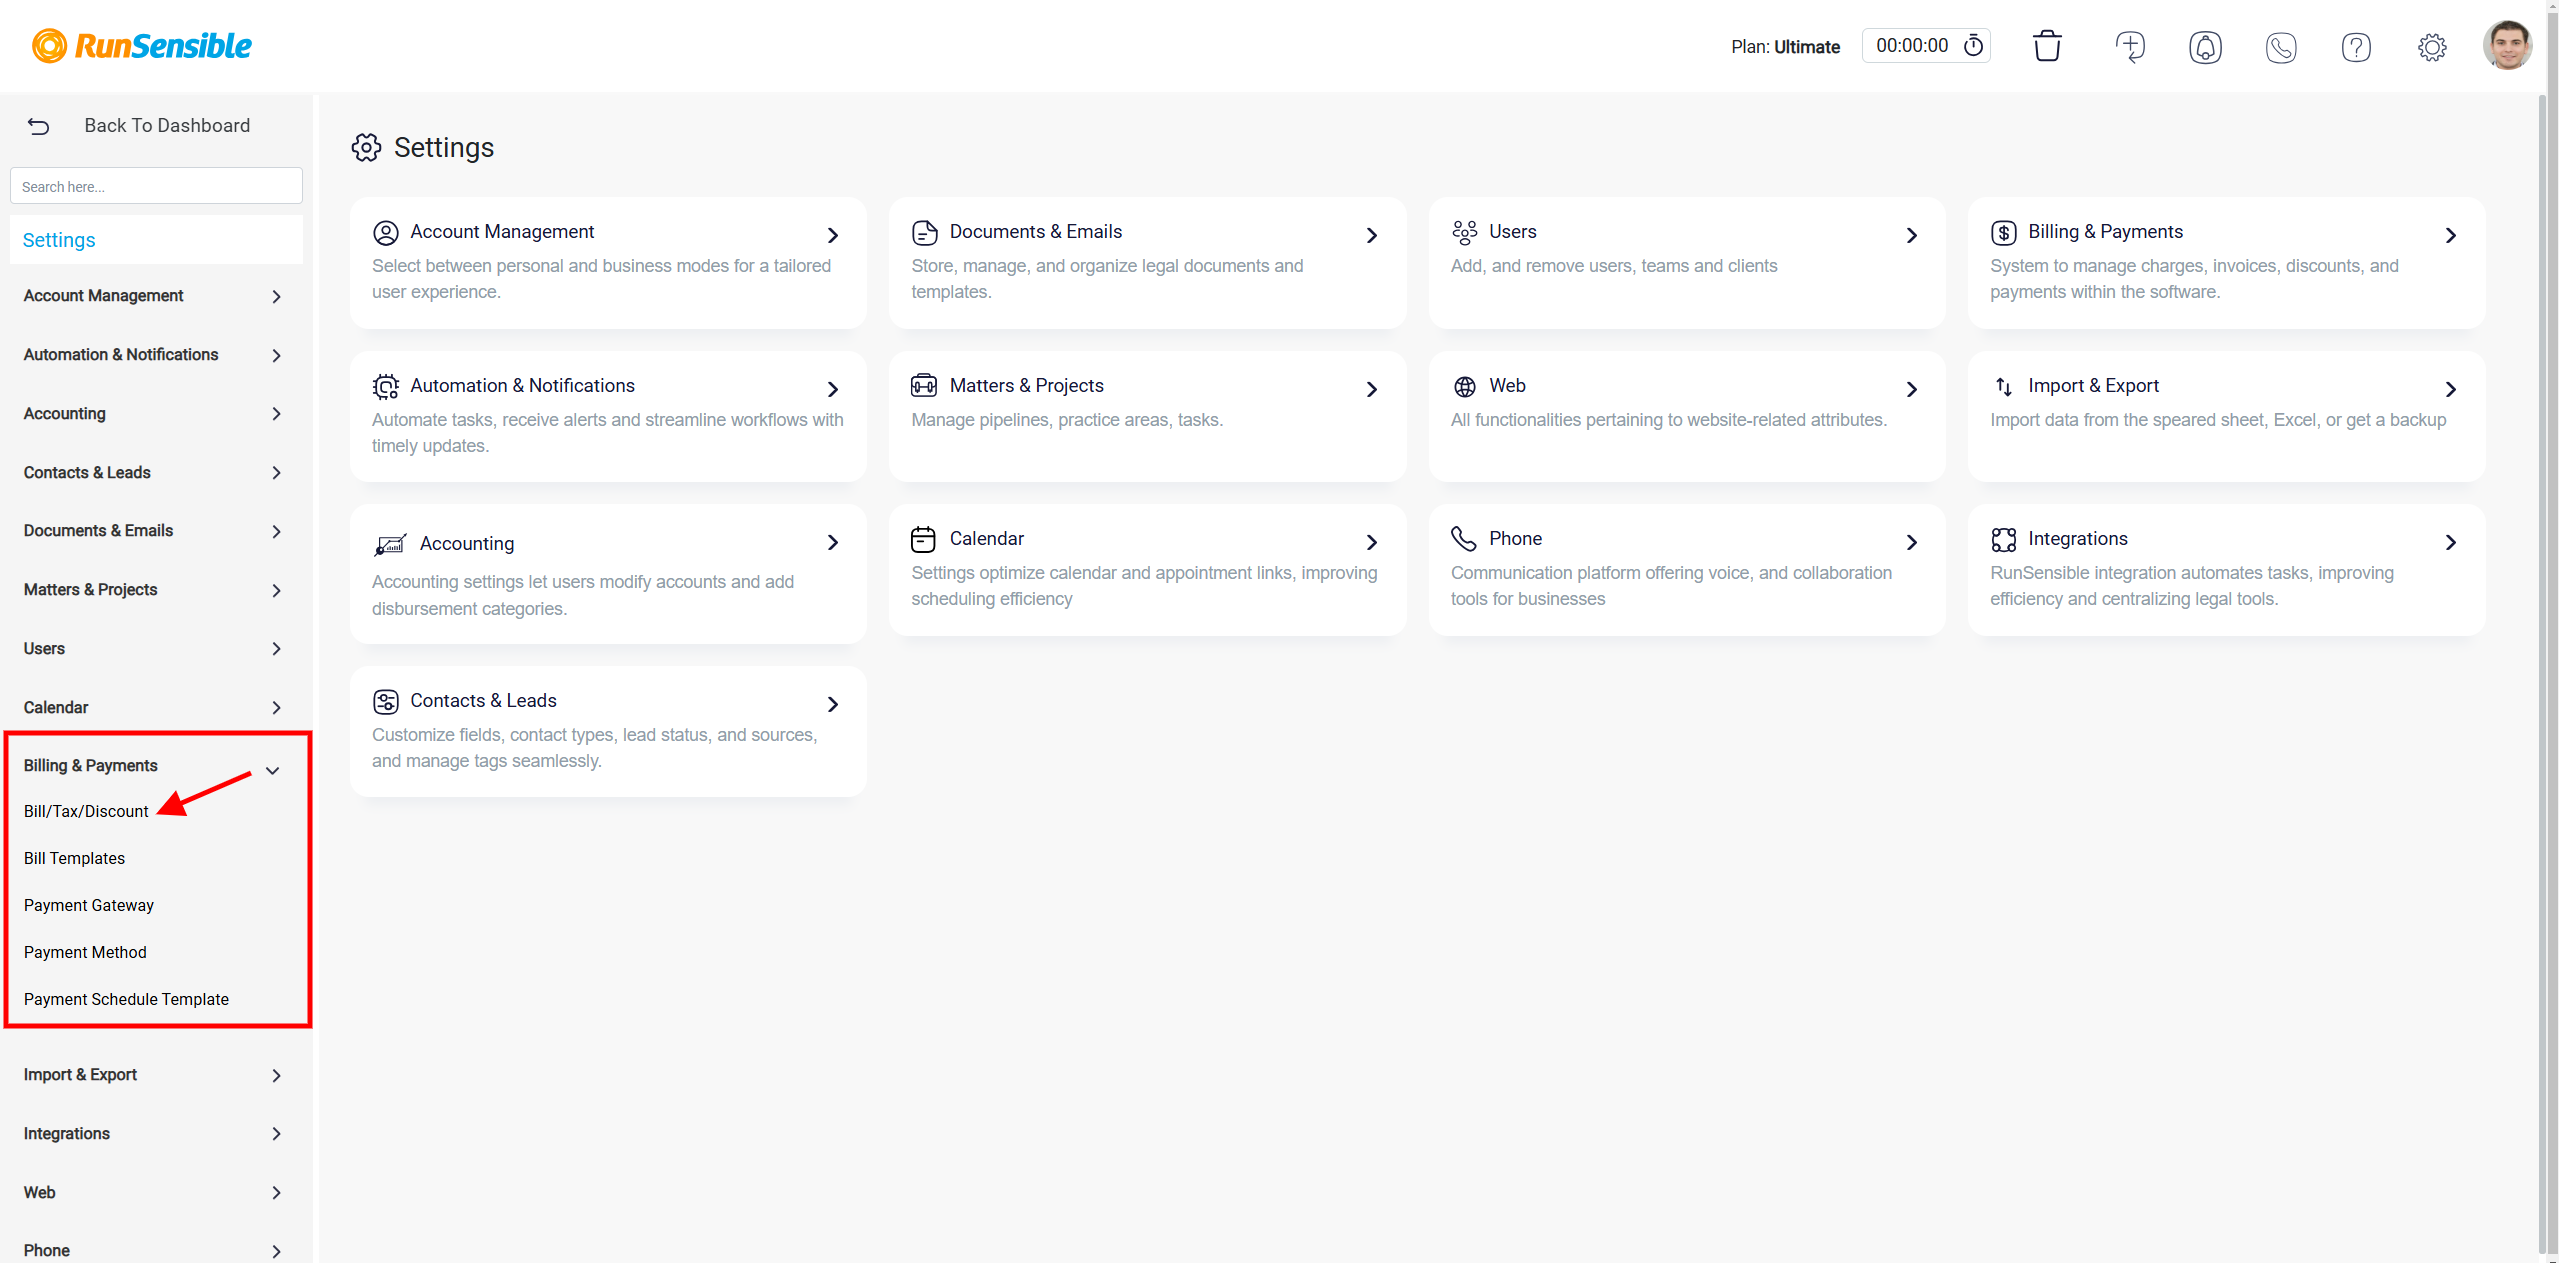
From the menu on the left-hand side, select Billing & Payments, and then choose Bill/Tax/Discount.
Once you reach this section, you will see the default view set to the Bill tab. This tab contains two toggle buttons, each enabling a specific functionality.
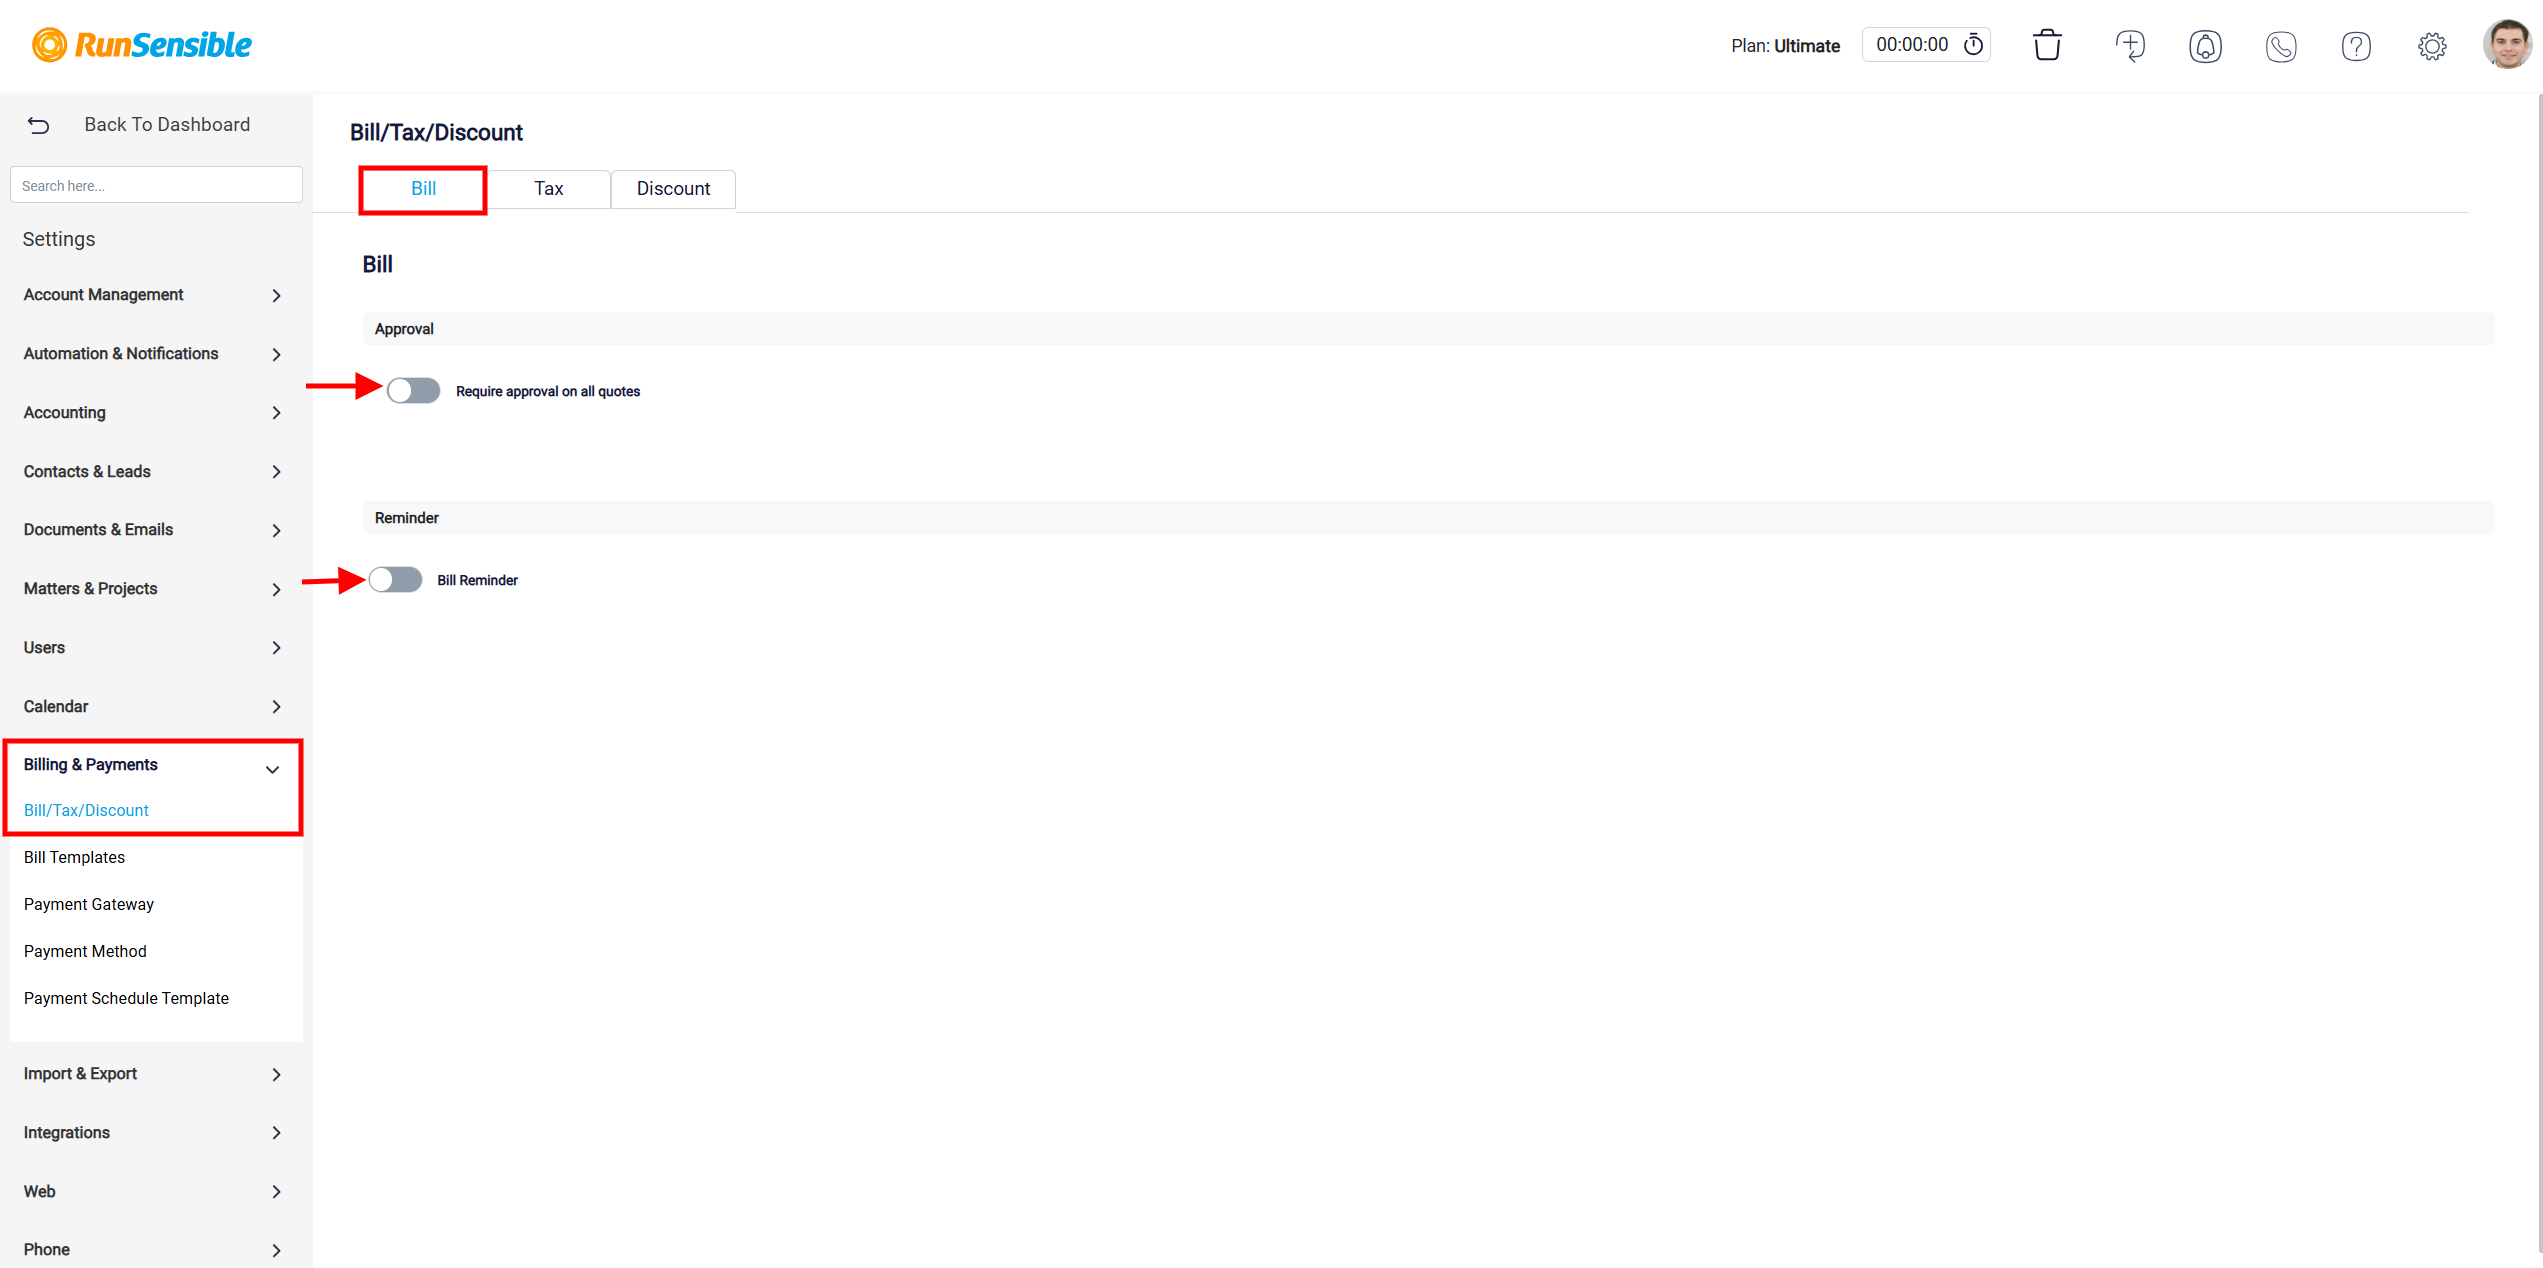
The first toggle is labeled Require approval on all quotes. When this option is activated, any bills created within the system will need to be reviewed and approved by the system supervisor before they are finalized. This feature ensures an additional layer of oversight in the billing process.
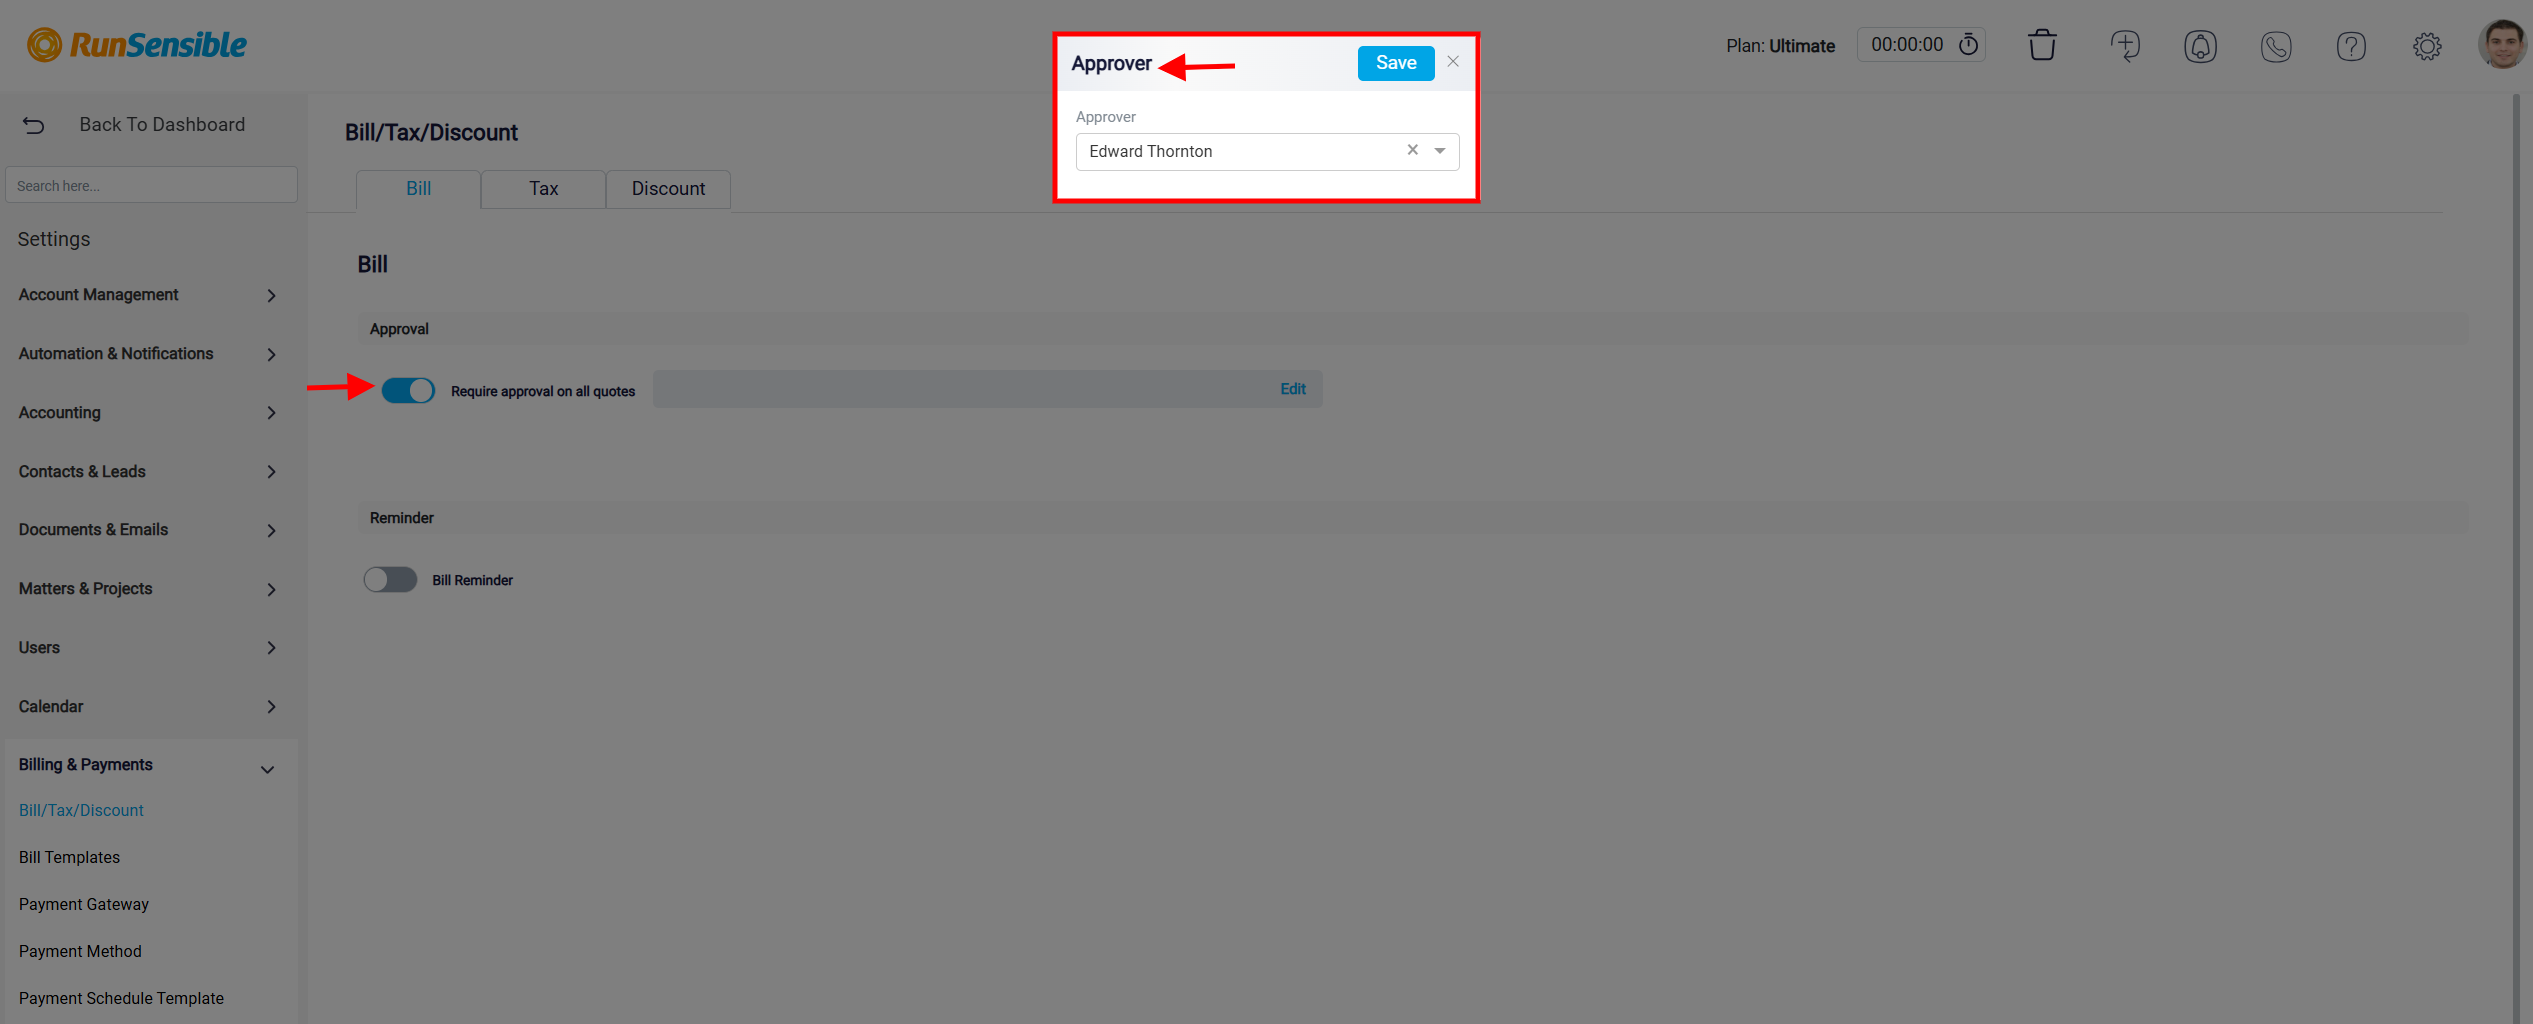
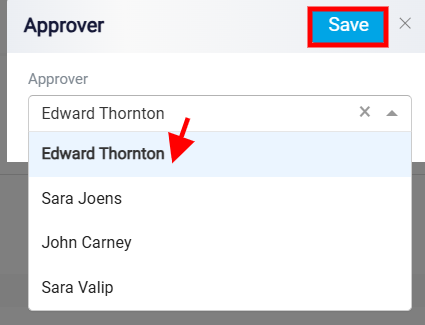
You can update the Approver name by selecting a different option from the dropdown menu if the current selection is incorrect. Once you’ve chosen the appropriate name, click the Save button to confirm your changes.
The second toggle is named Bill Reminder. Activating this feature prompts the system to automatically send reminders to clients regarding their upcoming bills before the due date, helping to ensure timely payments and reducing the risk of overdue accounts. When the toggle is turned on, an Edit option will appear next to it.
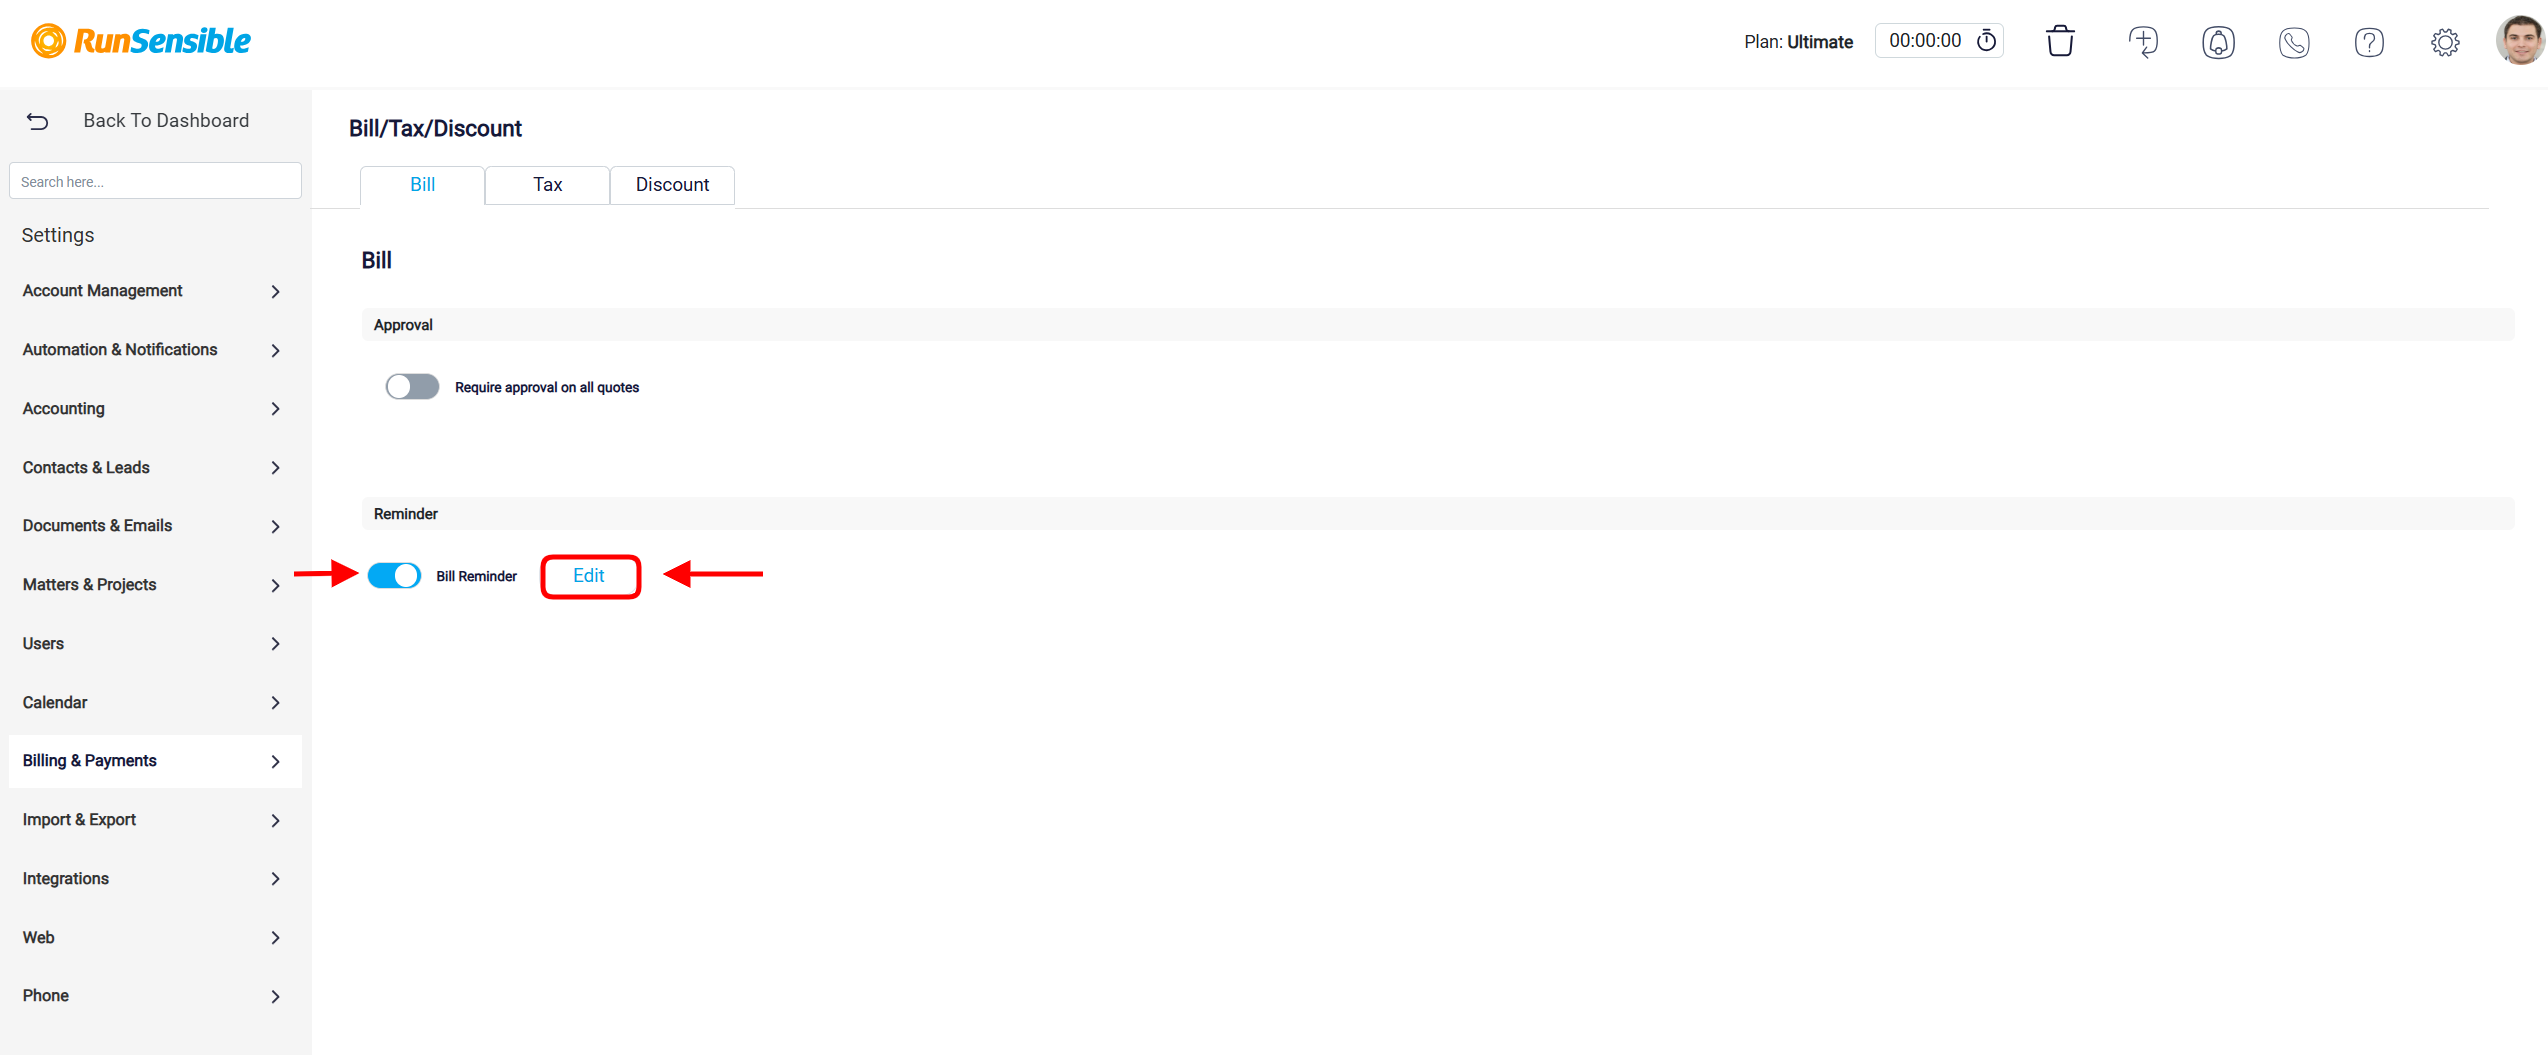
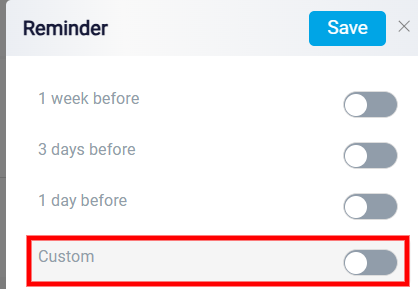
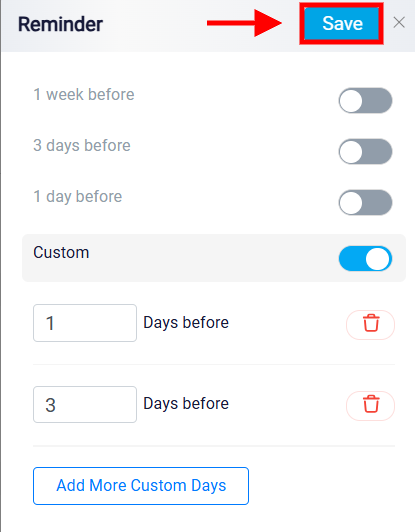
Click on Edit to proceed to the next page, where you can customize your reminder schedule. Pre-defined options include daily, weekly, or a fully customizable schedule.
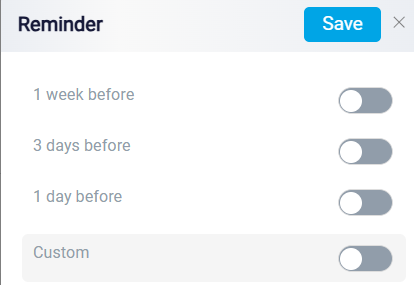
For added flexibility, you can enable custom reminders.
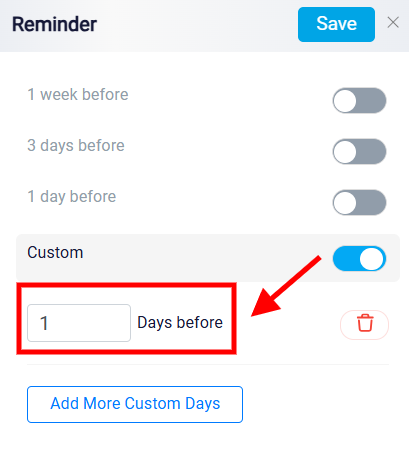
This option allows you to specify the exact number of days before a billing event for the reminder to be sent. For example, if a bill is due on a specific date, you can set a reminder to alert you 1 day prior or any other preferred timeframe.
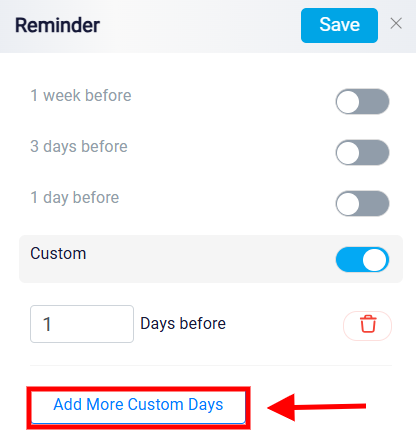
Additionally, the Add More Custom Days feature lets you schedule multiple custom reminders for different time intervals, providing a comprehensive notification setup for critical billing events.
If a reminder is no longer needed or was created in error, the Trash icon can be used to remove it.
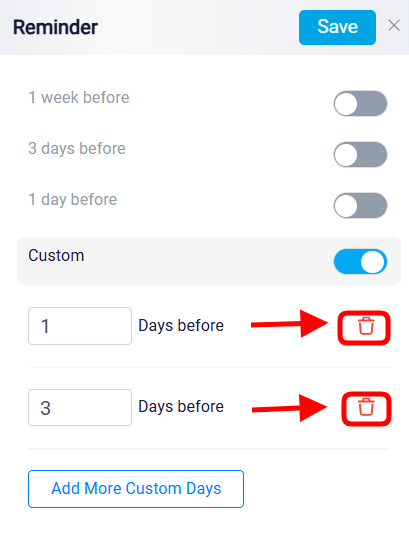
After adjusting any options, clicking Save button to apply the changes.
Managing Tax Settings
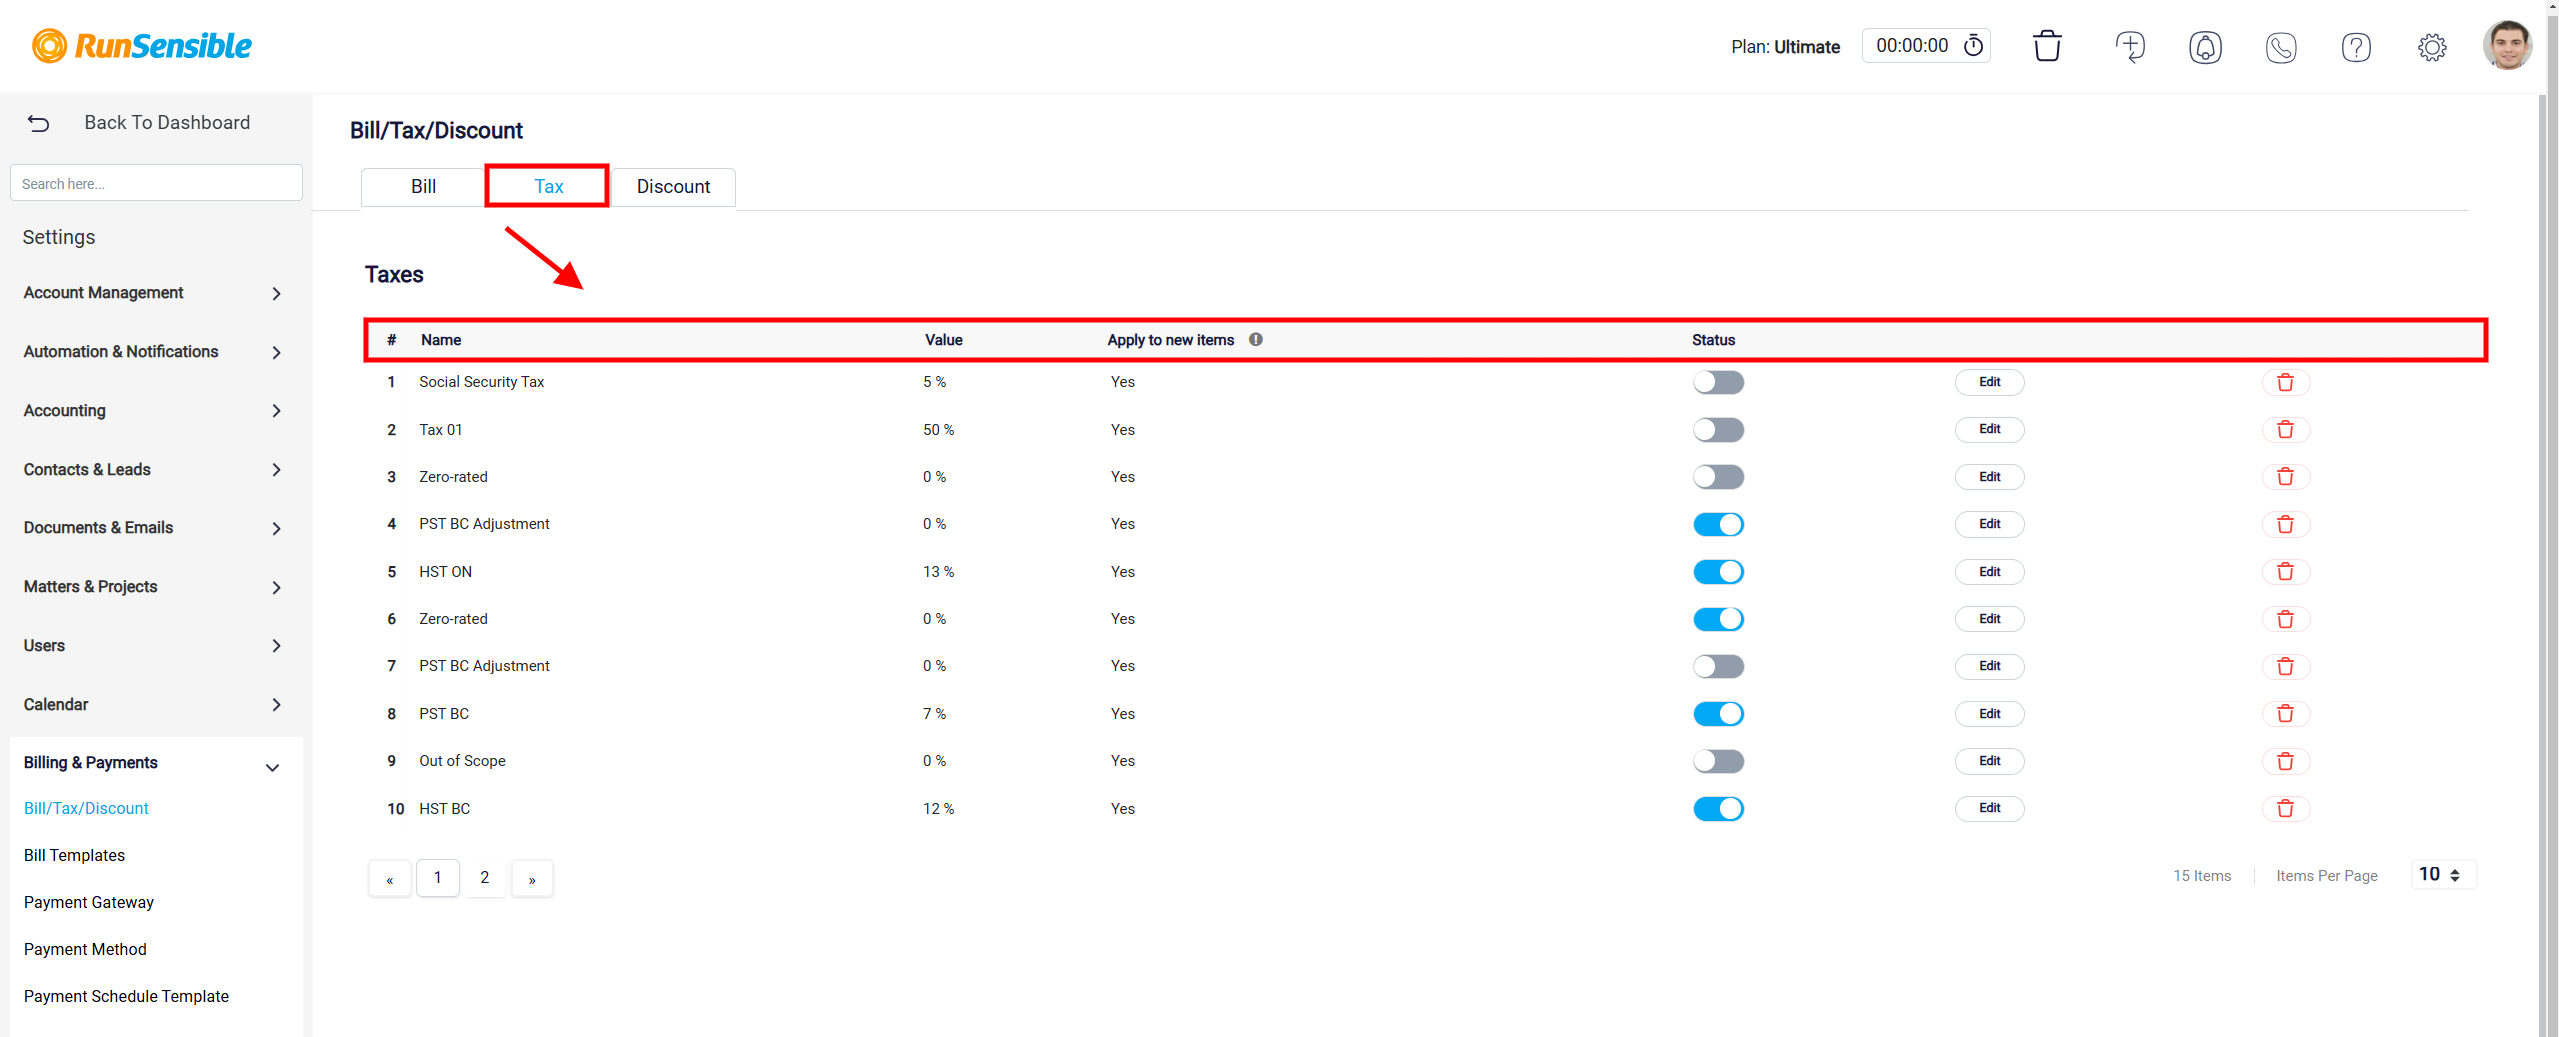
To adjust or create tax settings, navigate to the Tax tab, which is located at the top of the Bill/Tax/Discount panel.
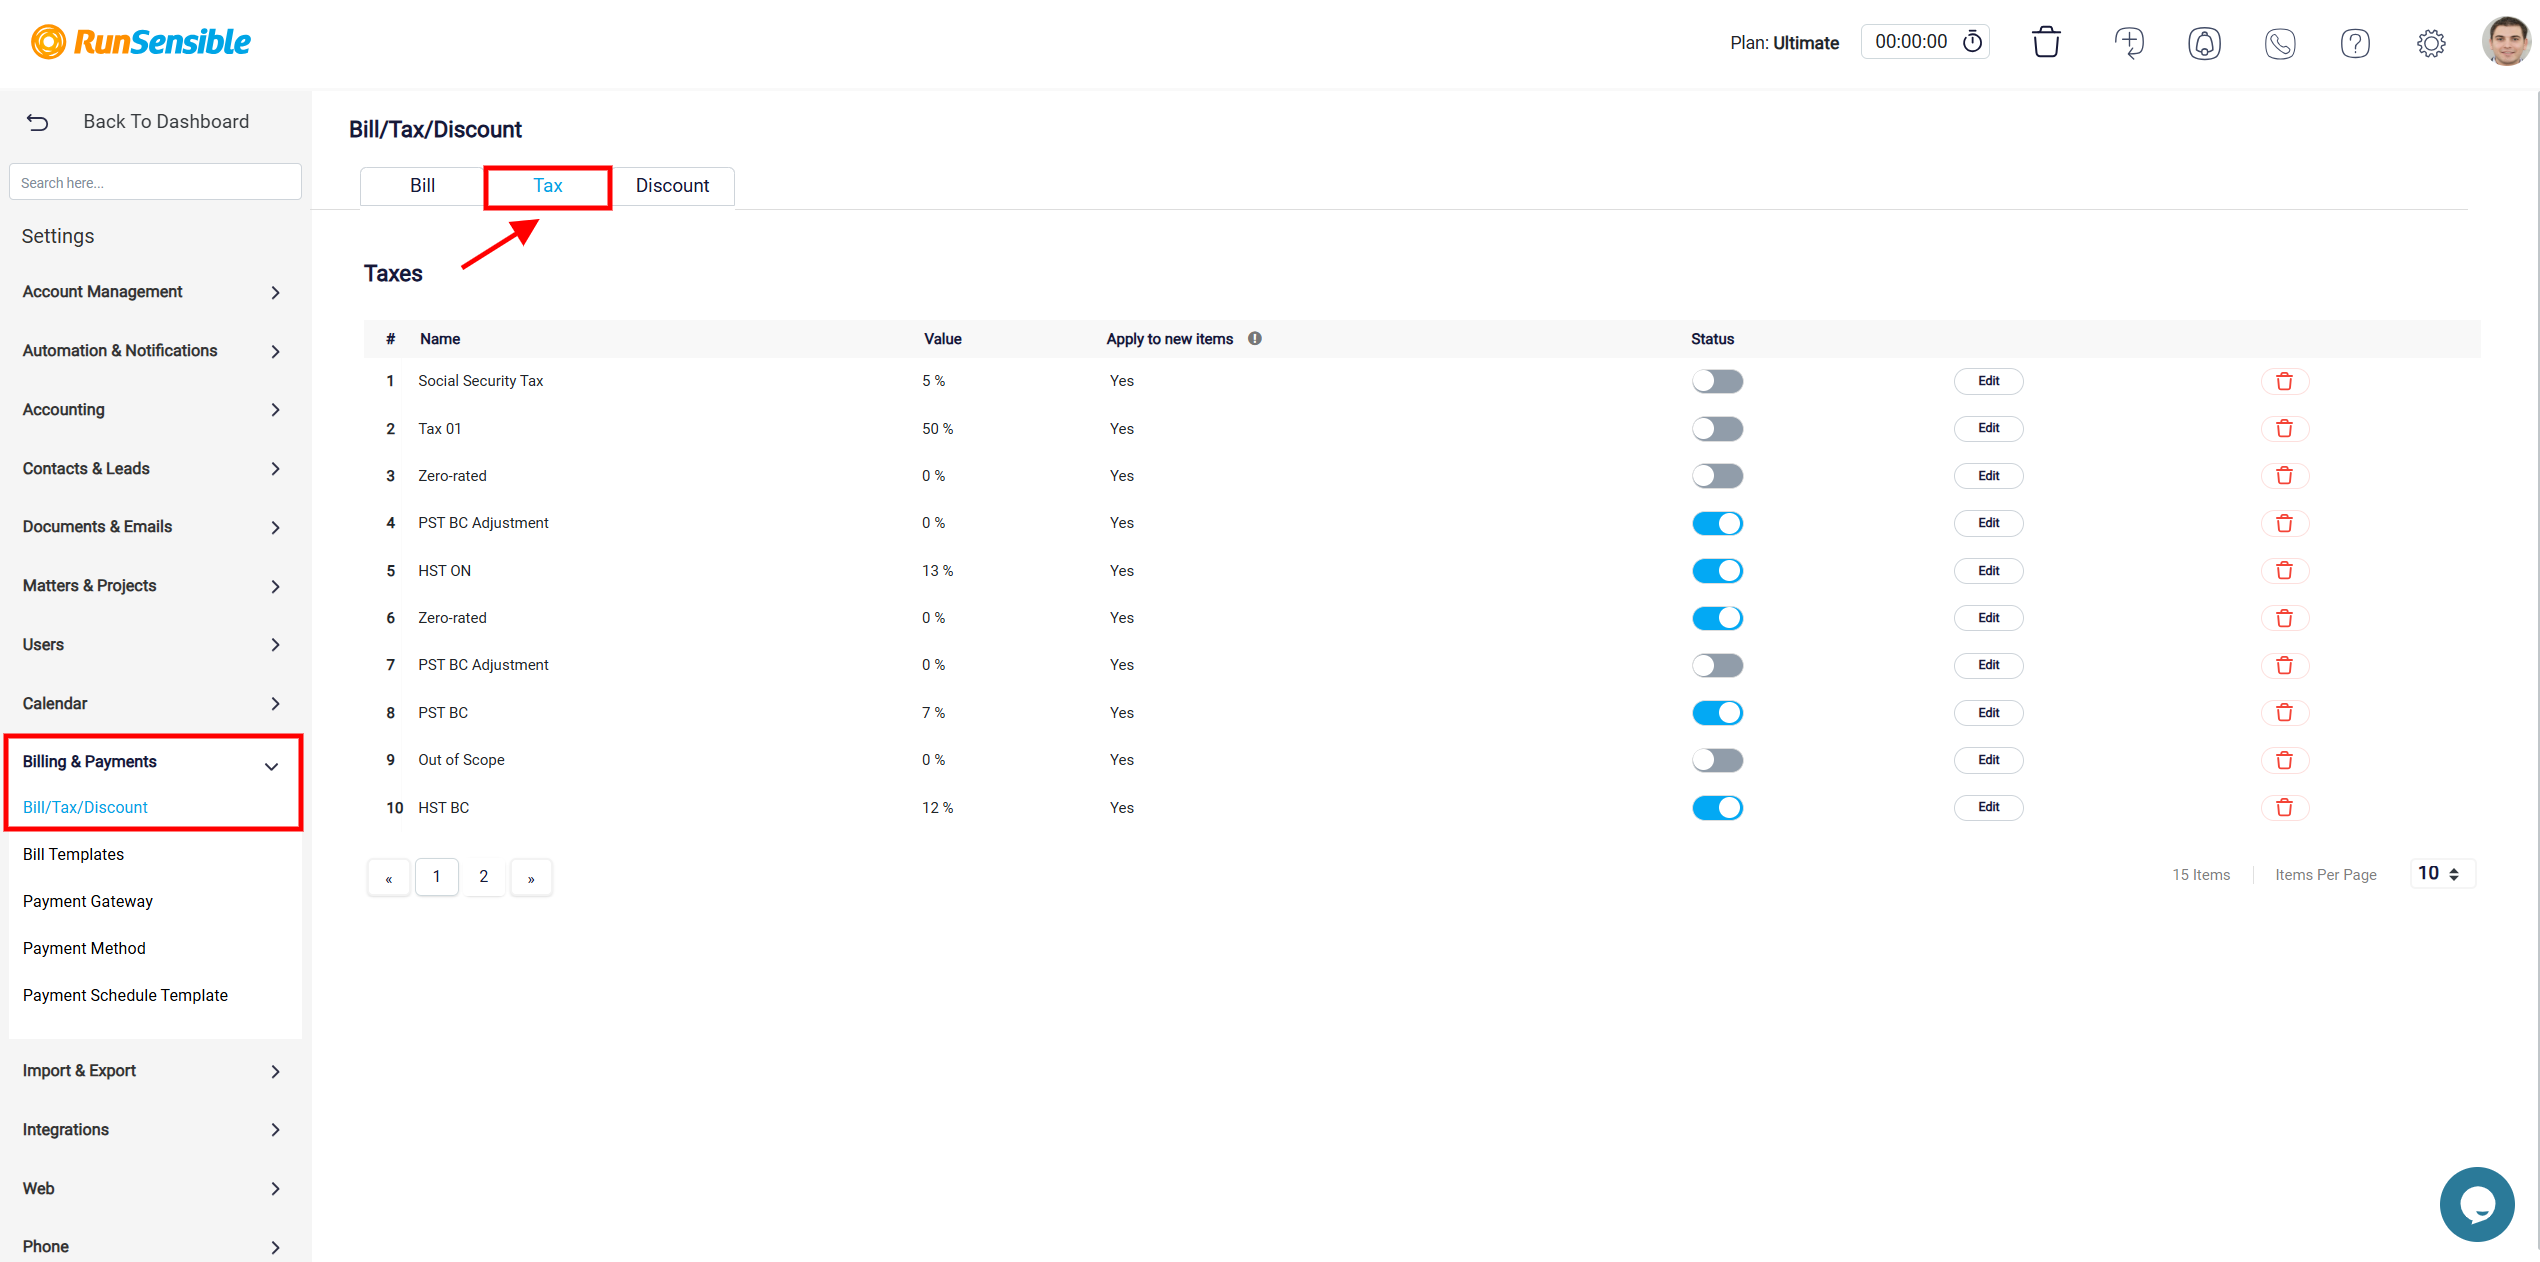
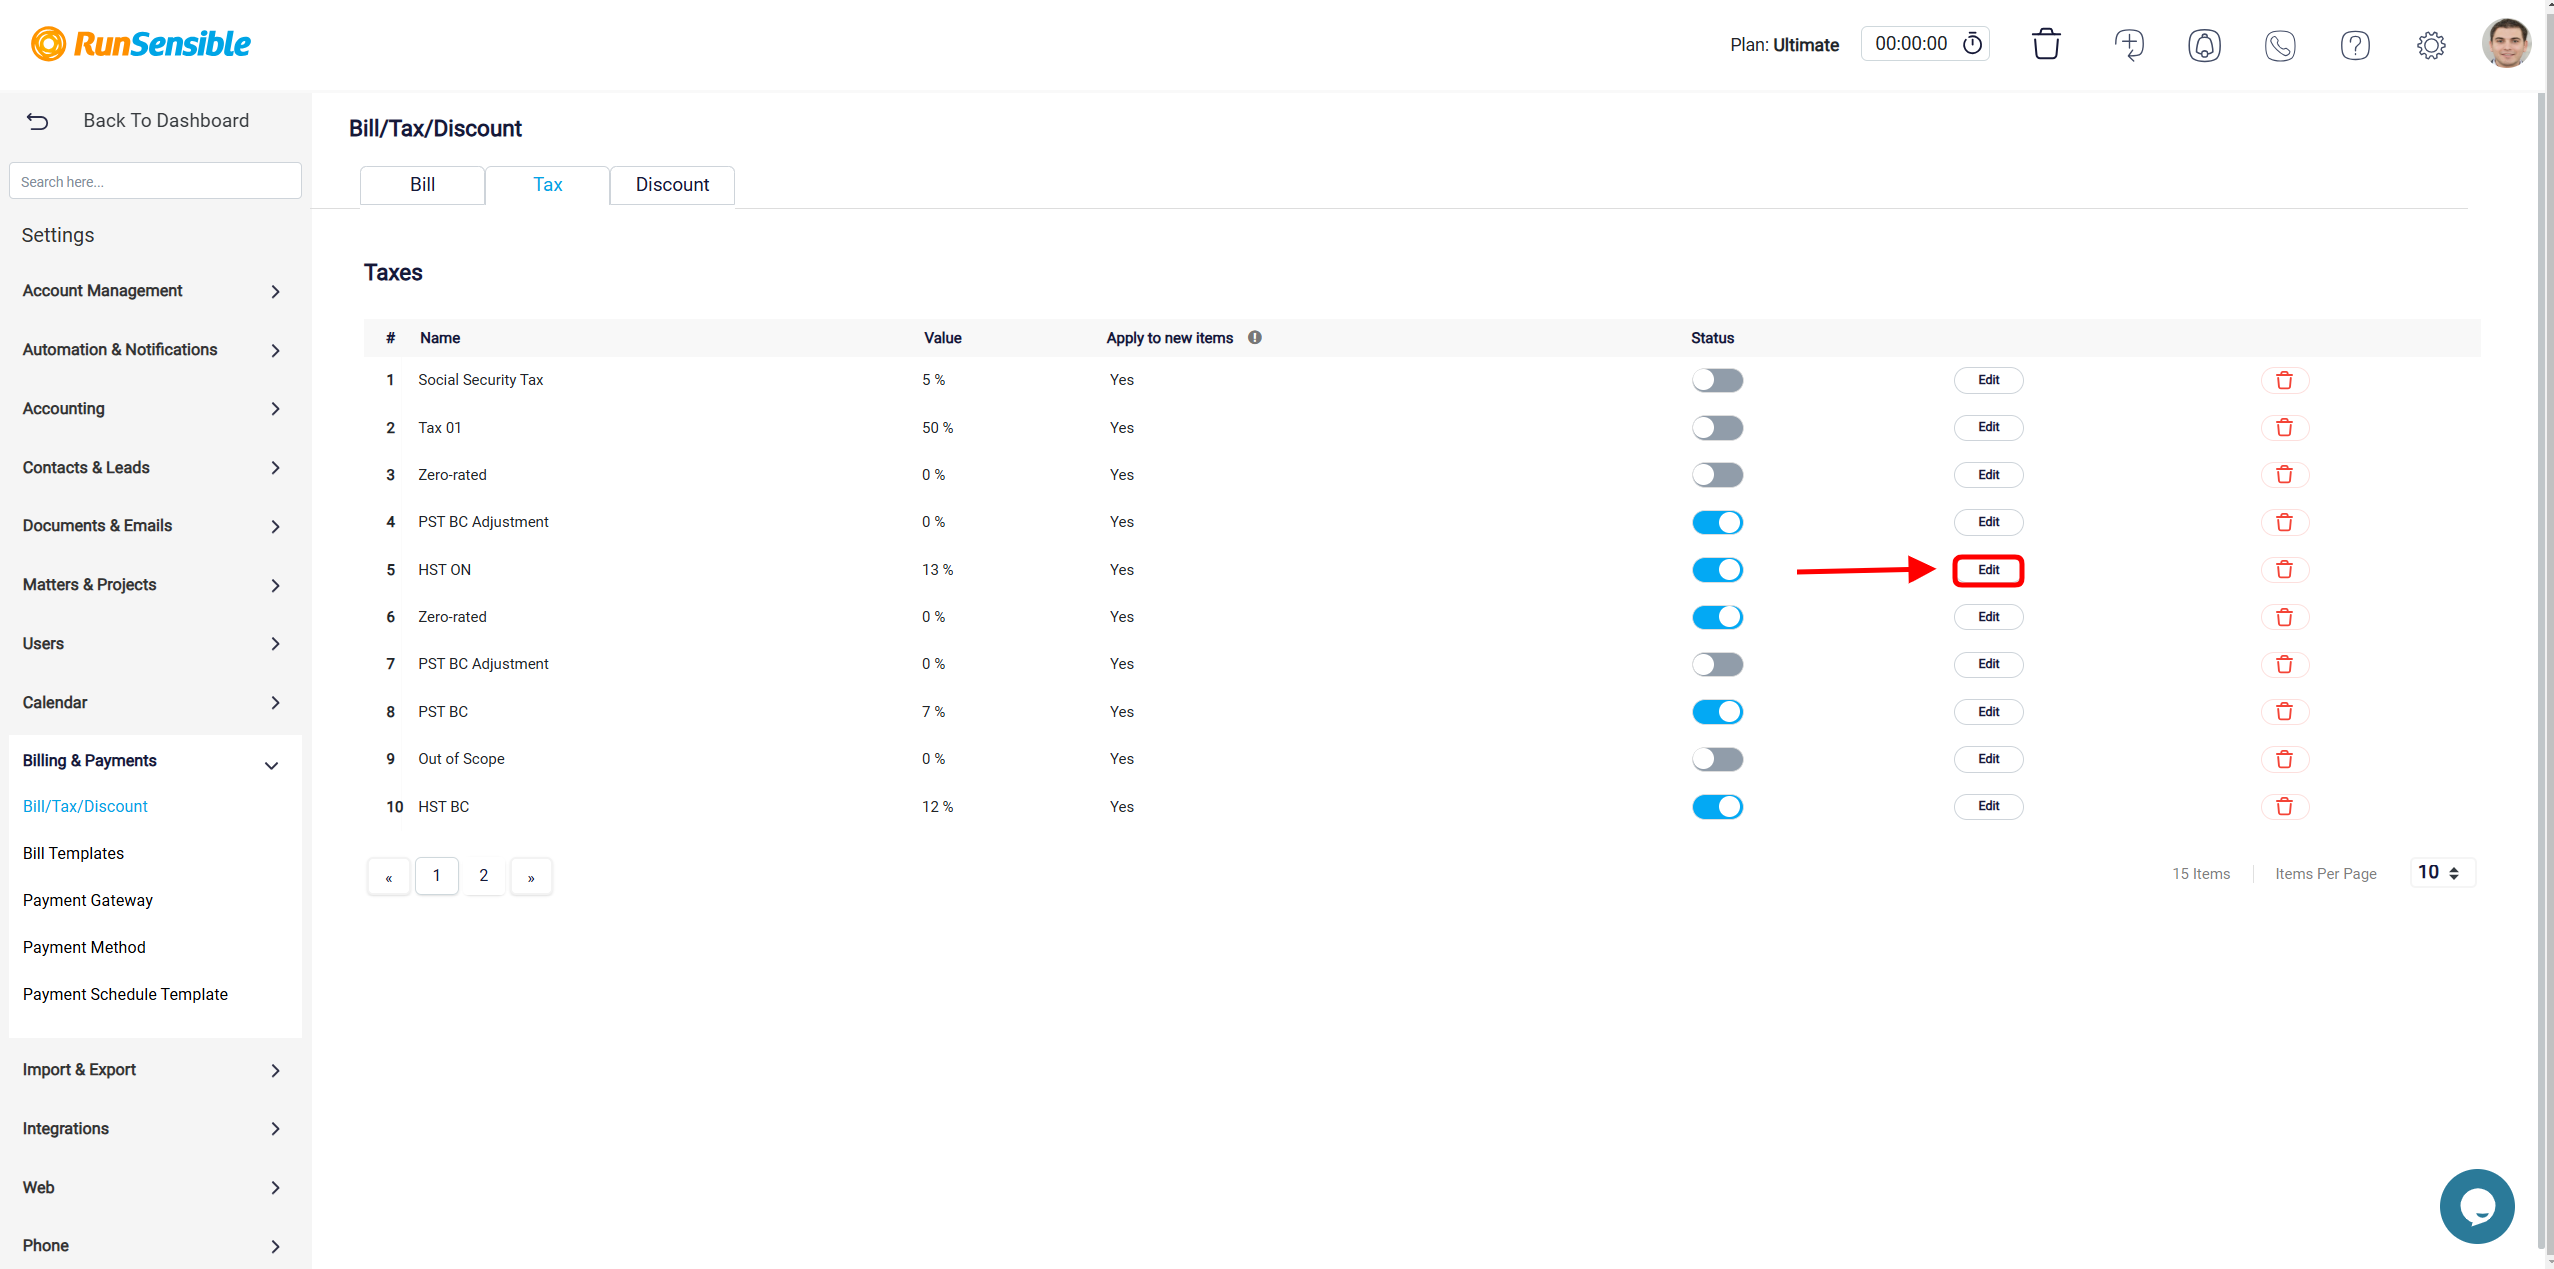
The system is configured with a default tax rate, typically set to 13%. If you need to modify this rate or introduce a new tax, begin by clicking the Edit button found on the right-hand side of the tax entry listed in the panel.
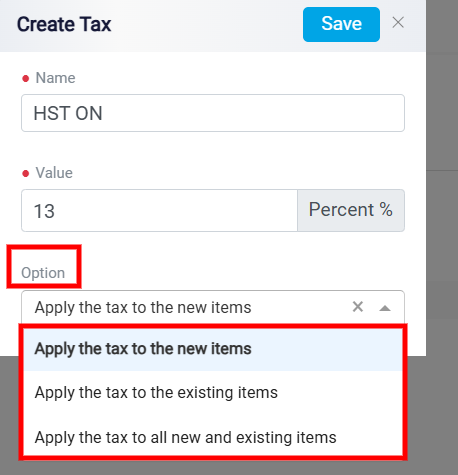
Clicking this button opens a configuration interface where you can customize the tax settings to align with your specific requirements. In the configuration panel, the first step is to provide a descriptive name for the tax in the Name field. After naming the tax, proceed to the Value field, where you can define the tax rate as a percentage. Enter the desired percentage rate that will be applied to transactions. Accurate input here is essential, as this rate determines the tax calculations for your items or services.
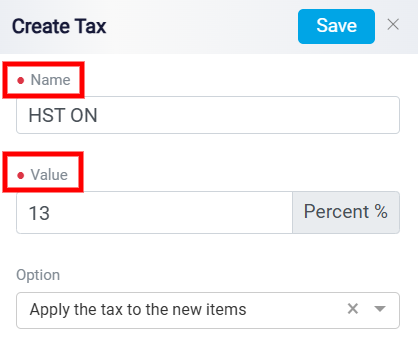
The system also includes a dropdown menu that allows you to specify how the tax should be applied. There are three application options, each catering to different taxation scenarios. Selecting the Apply the tax to new items option ensures that the tax will only be applied to items added to the system after this configuration is completed. This setting is suitable if you want to limit the tax to future items without affecting existing ones. Alternatively, selecting Apply the tax to existing items will restrict the tax application to items already present in the system at the time of the configuration, leaving any items added in the future unaffected by the defined tax. Finally, the Apply the tax to all new and existing items option ensures that the tax is universally applied to all items, both currently in the system and those that will be added in the future. This option provides comprehensive coverage and consistency across all transactions.
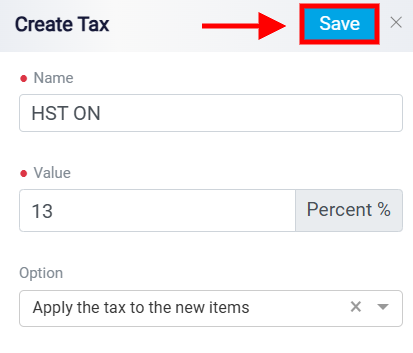
Once you’ve made your modifications, click the Save button located in the top-right corner of the page.
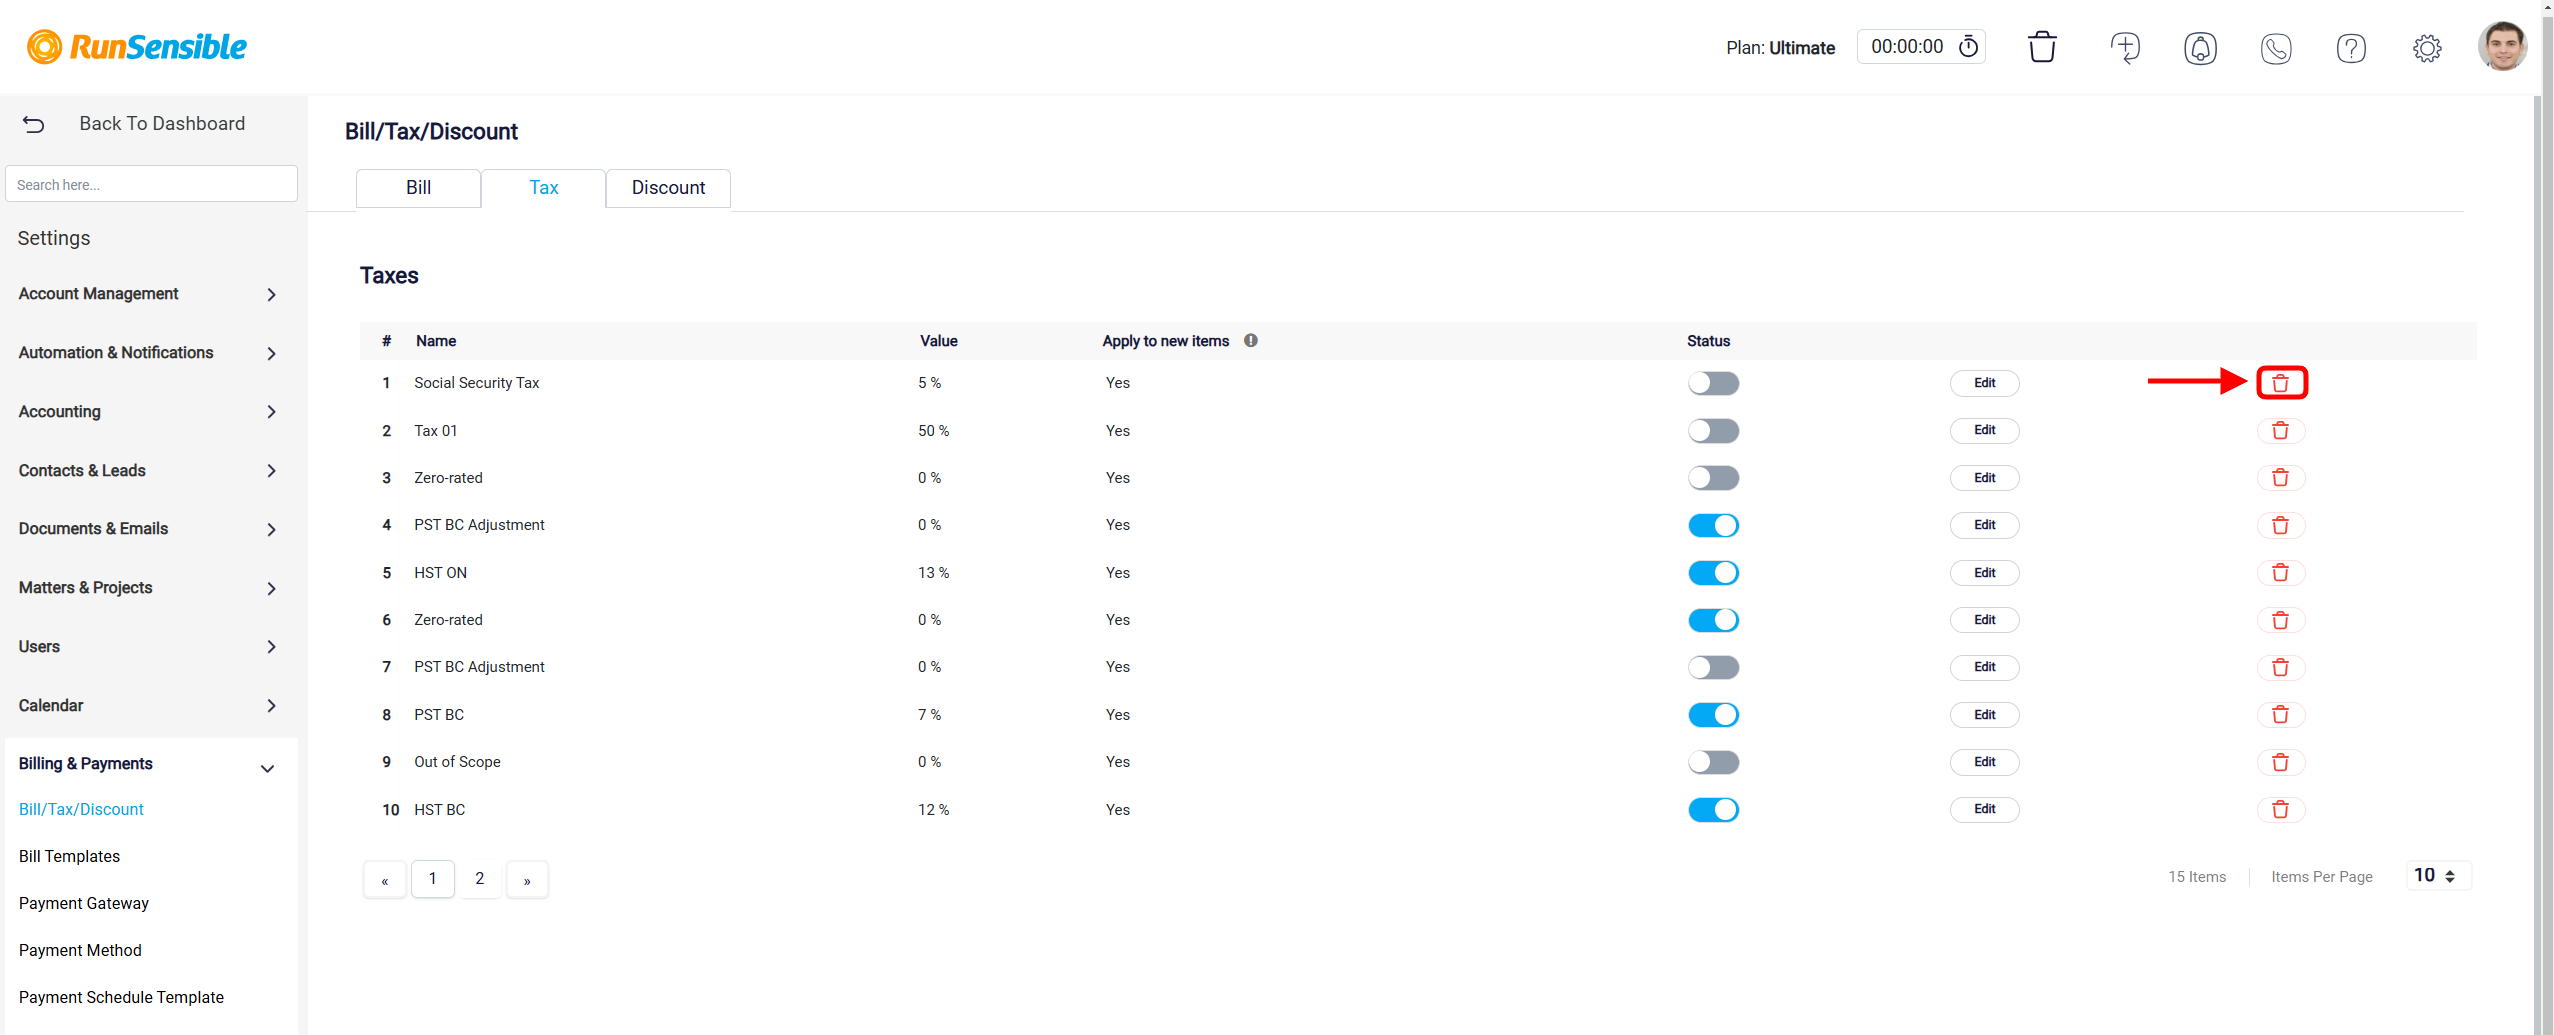
The list of defined taxes is displayed including their names, values (percentage rates), application status to new items, and current operational status. This organized view ensures users can quickly review their tax settings at a glance.
For each tax, a toggle switch is available under the Status column to enable or disable the tax easily.
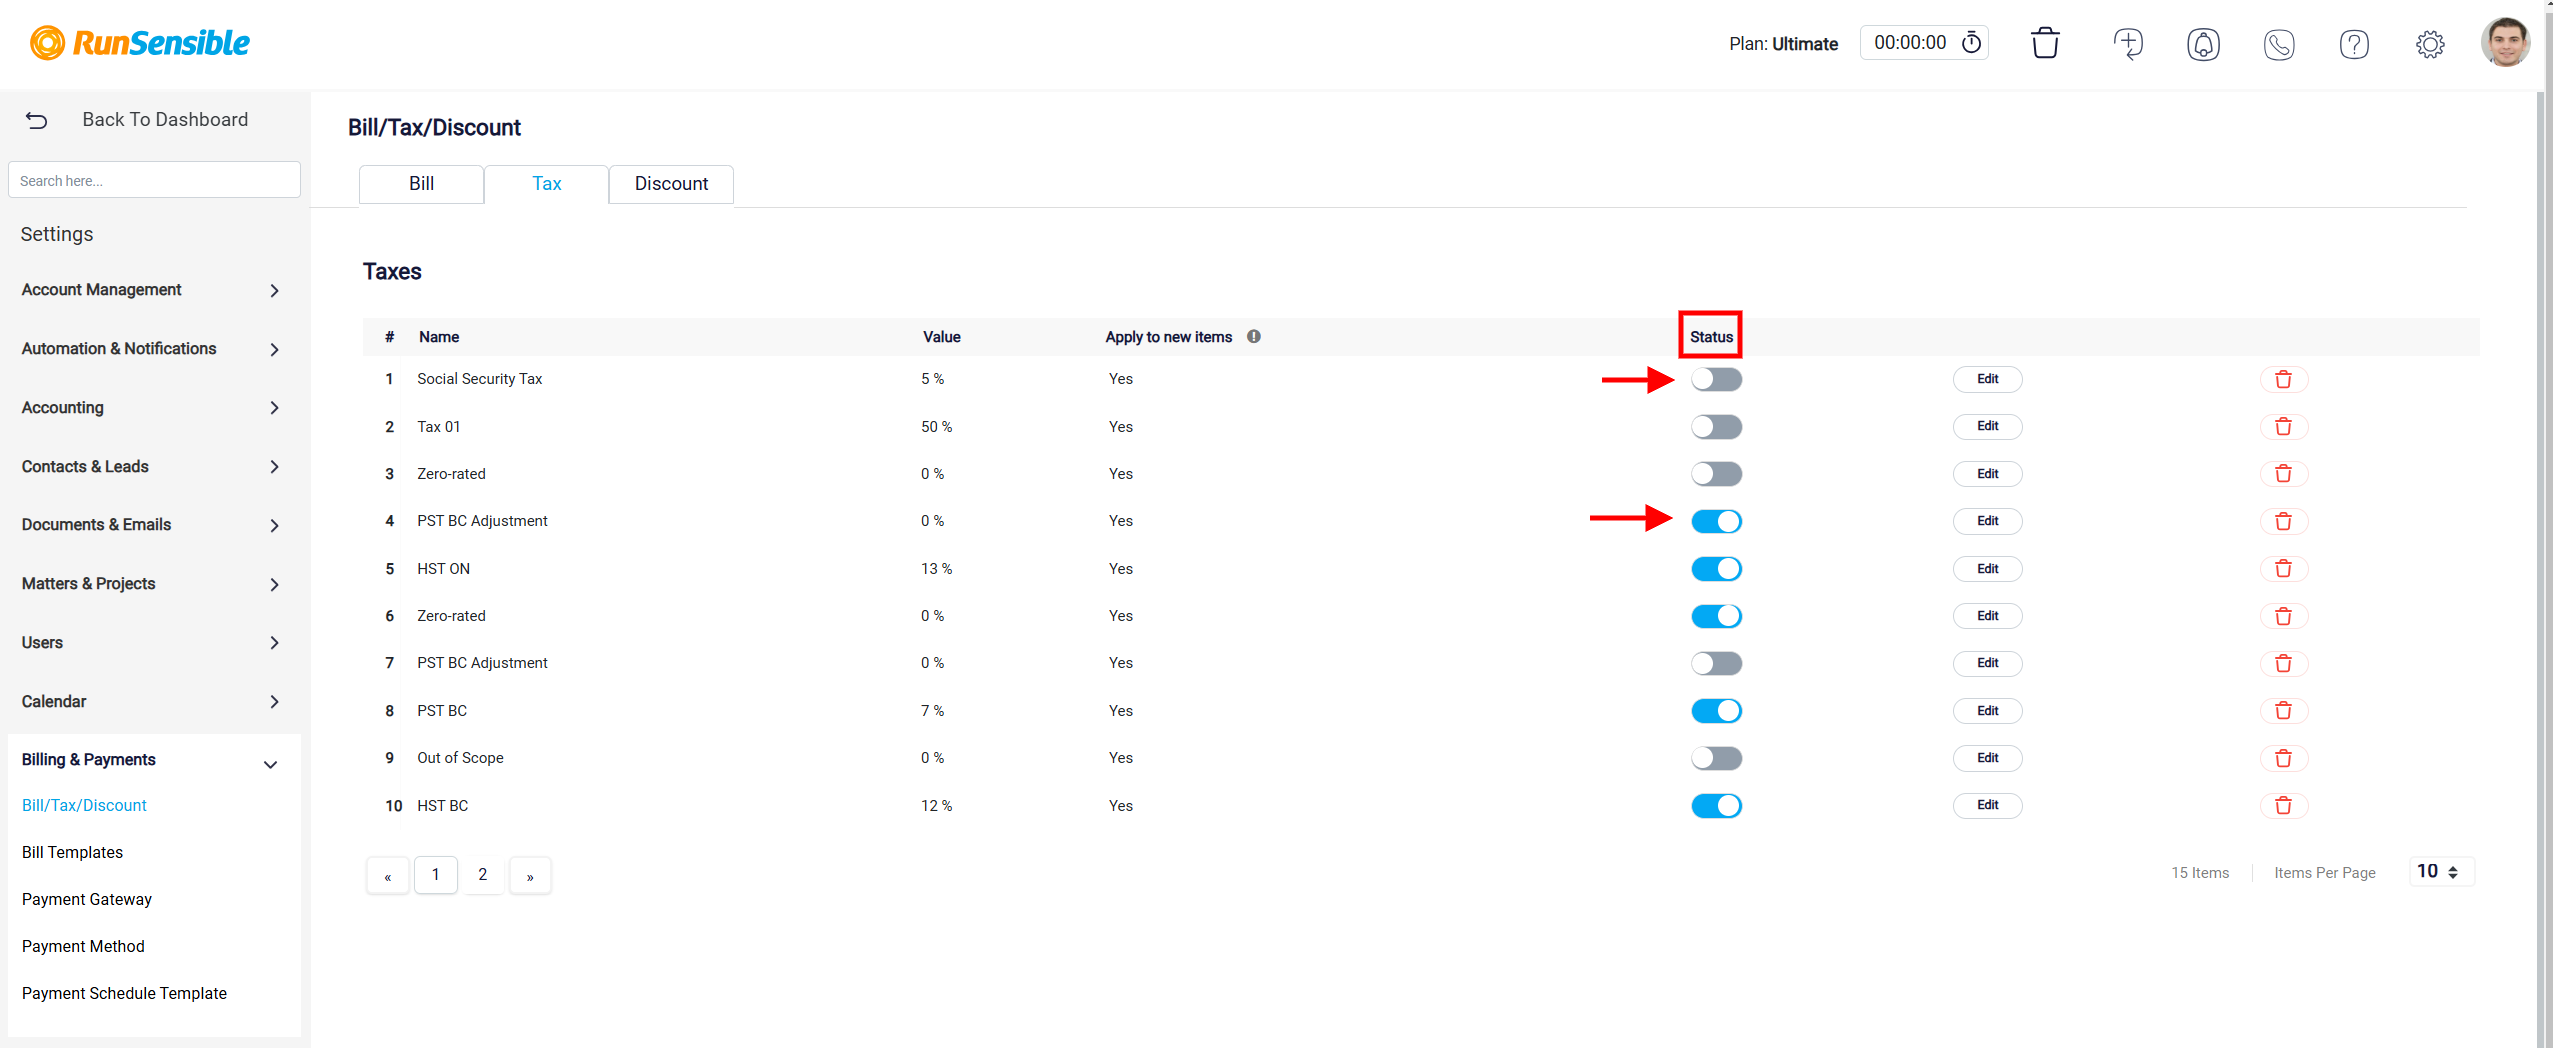
The Trash icon in the image represents the option to delete a particular tax entry.
Creating and Managing Discounts
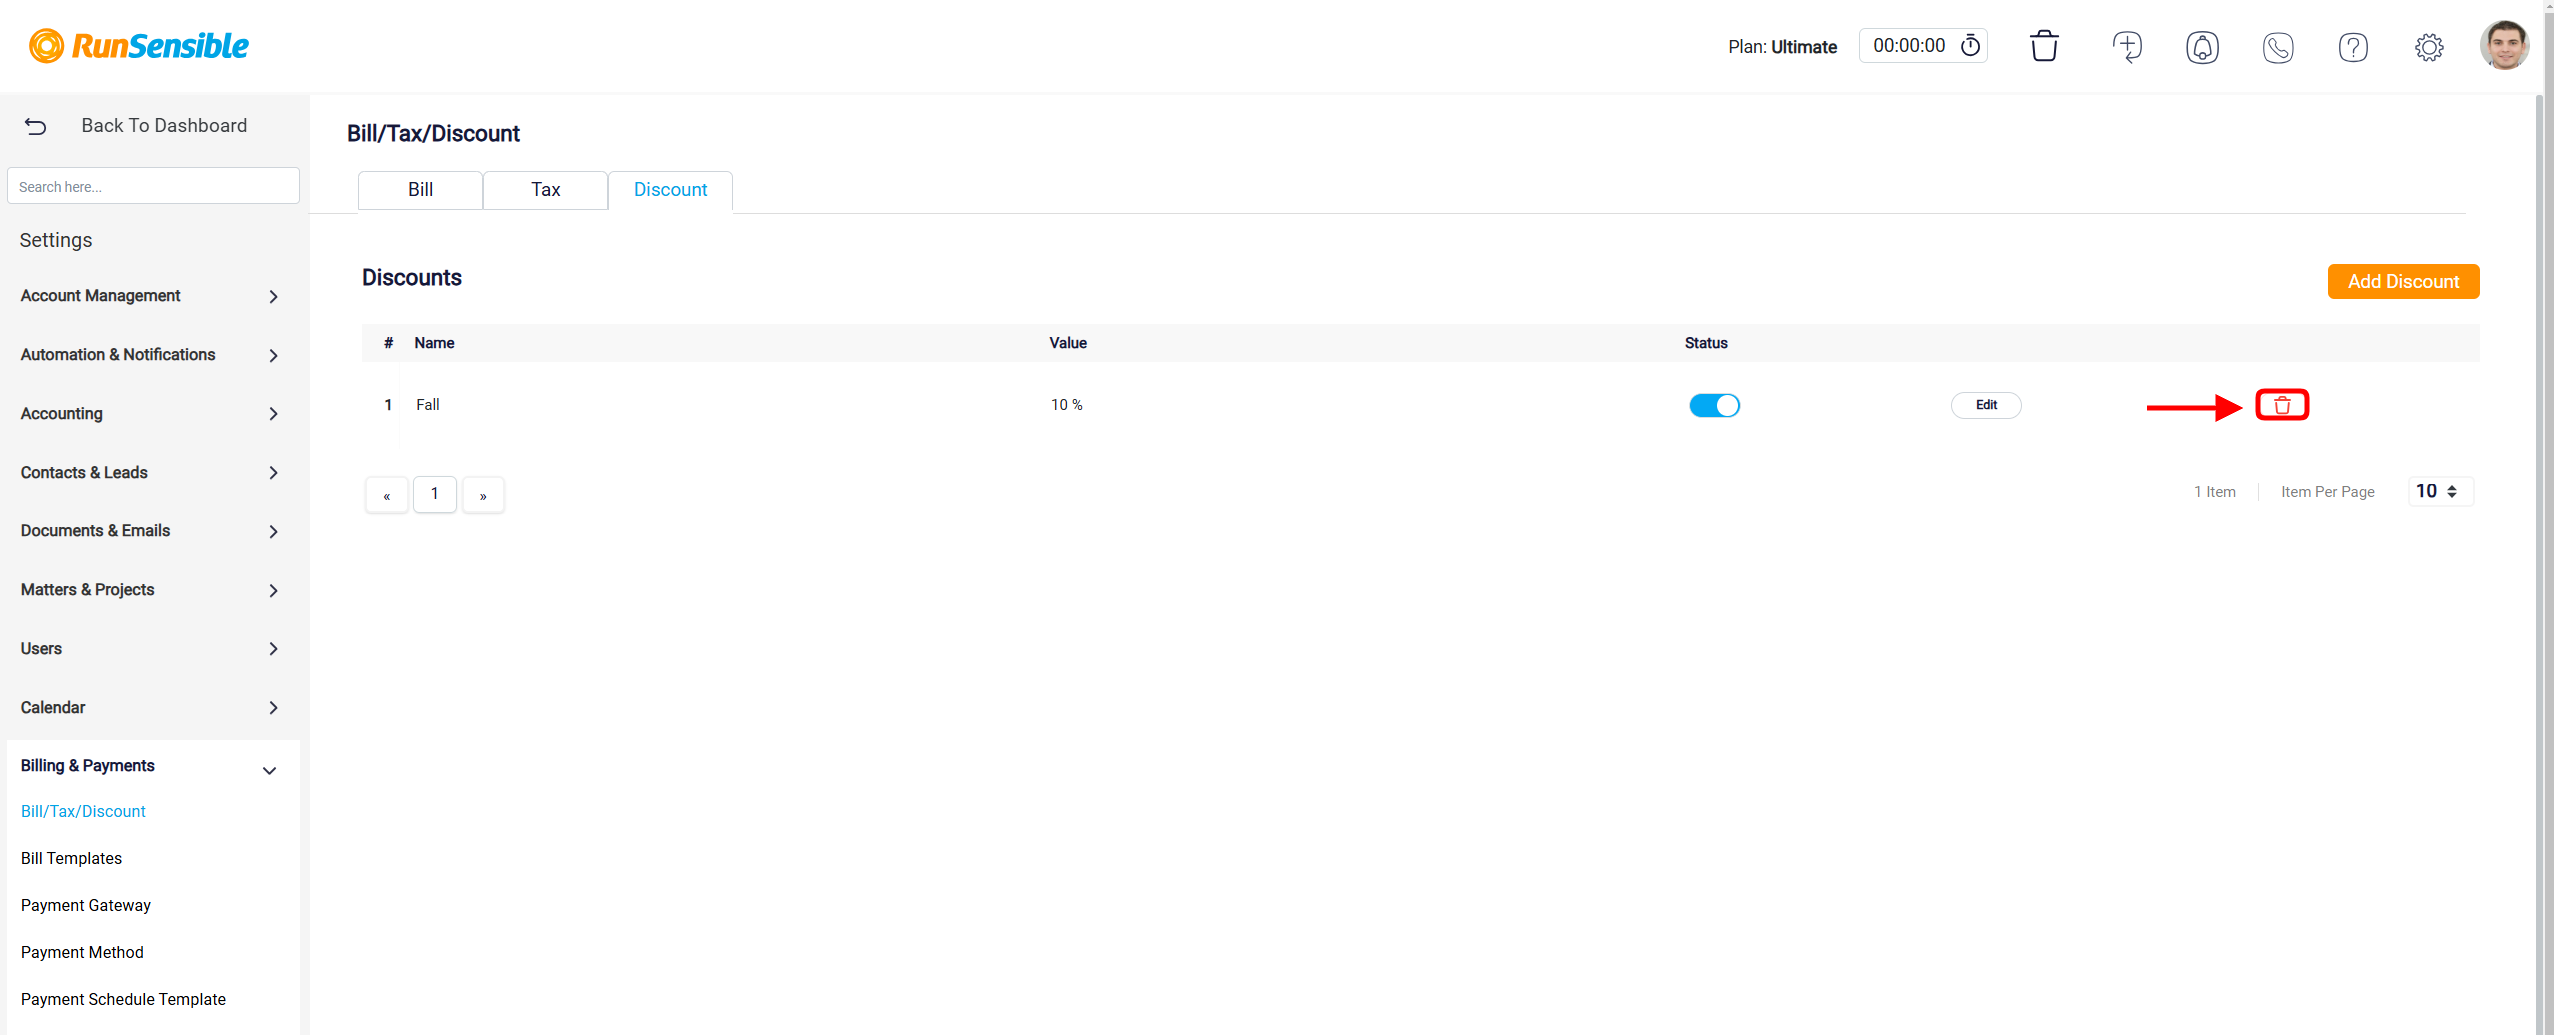
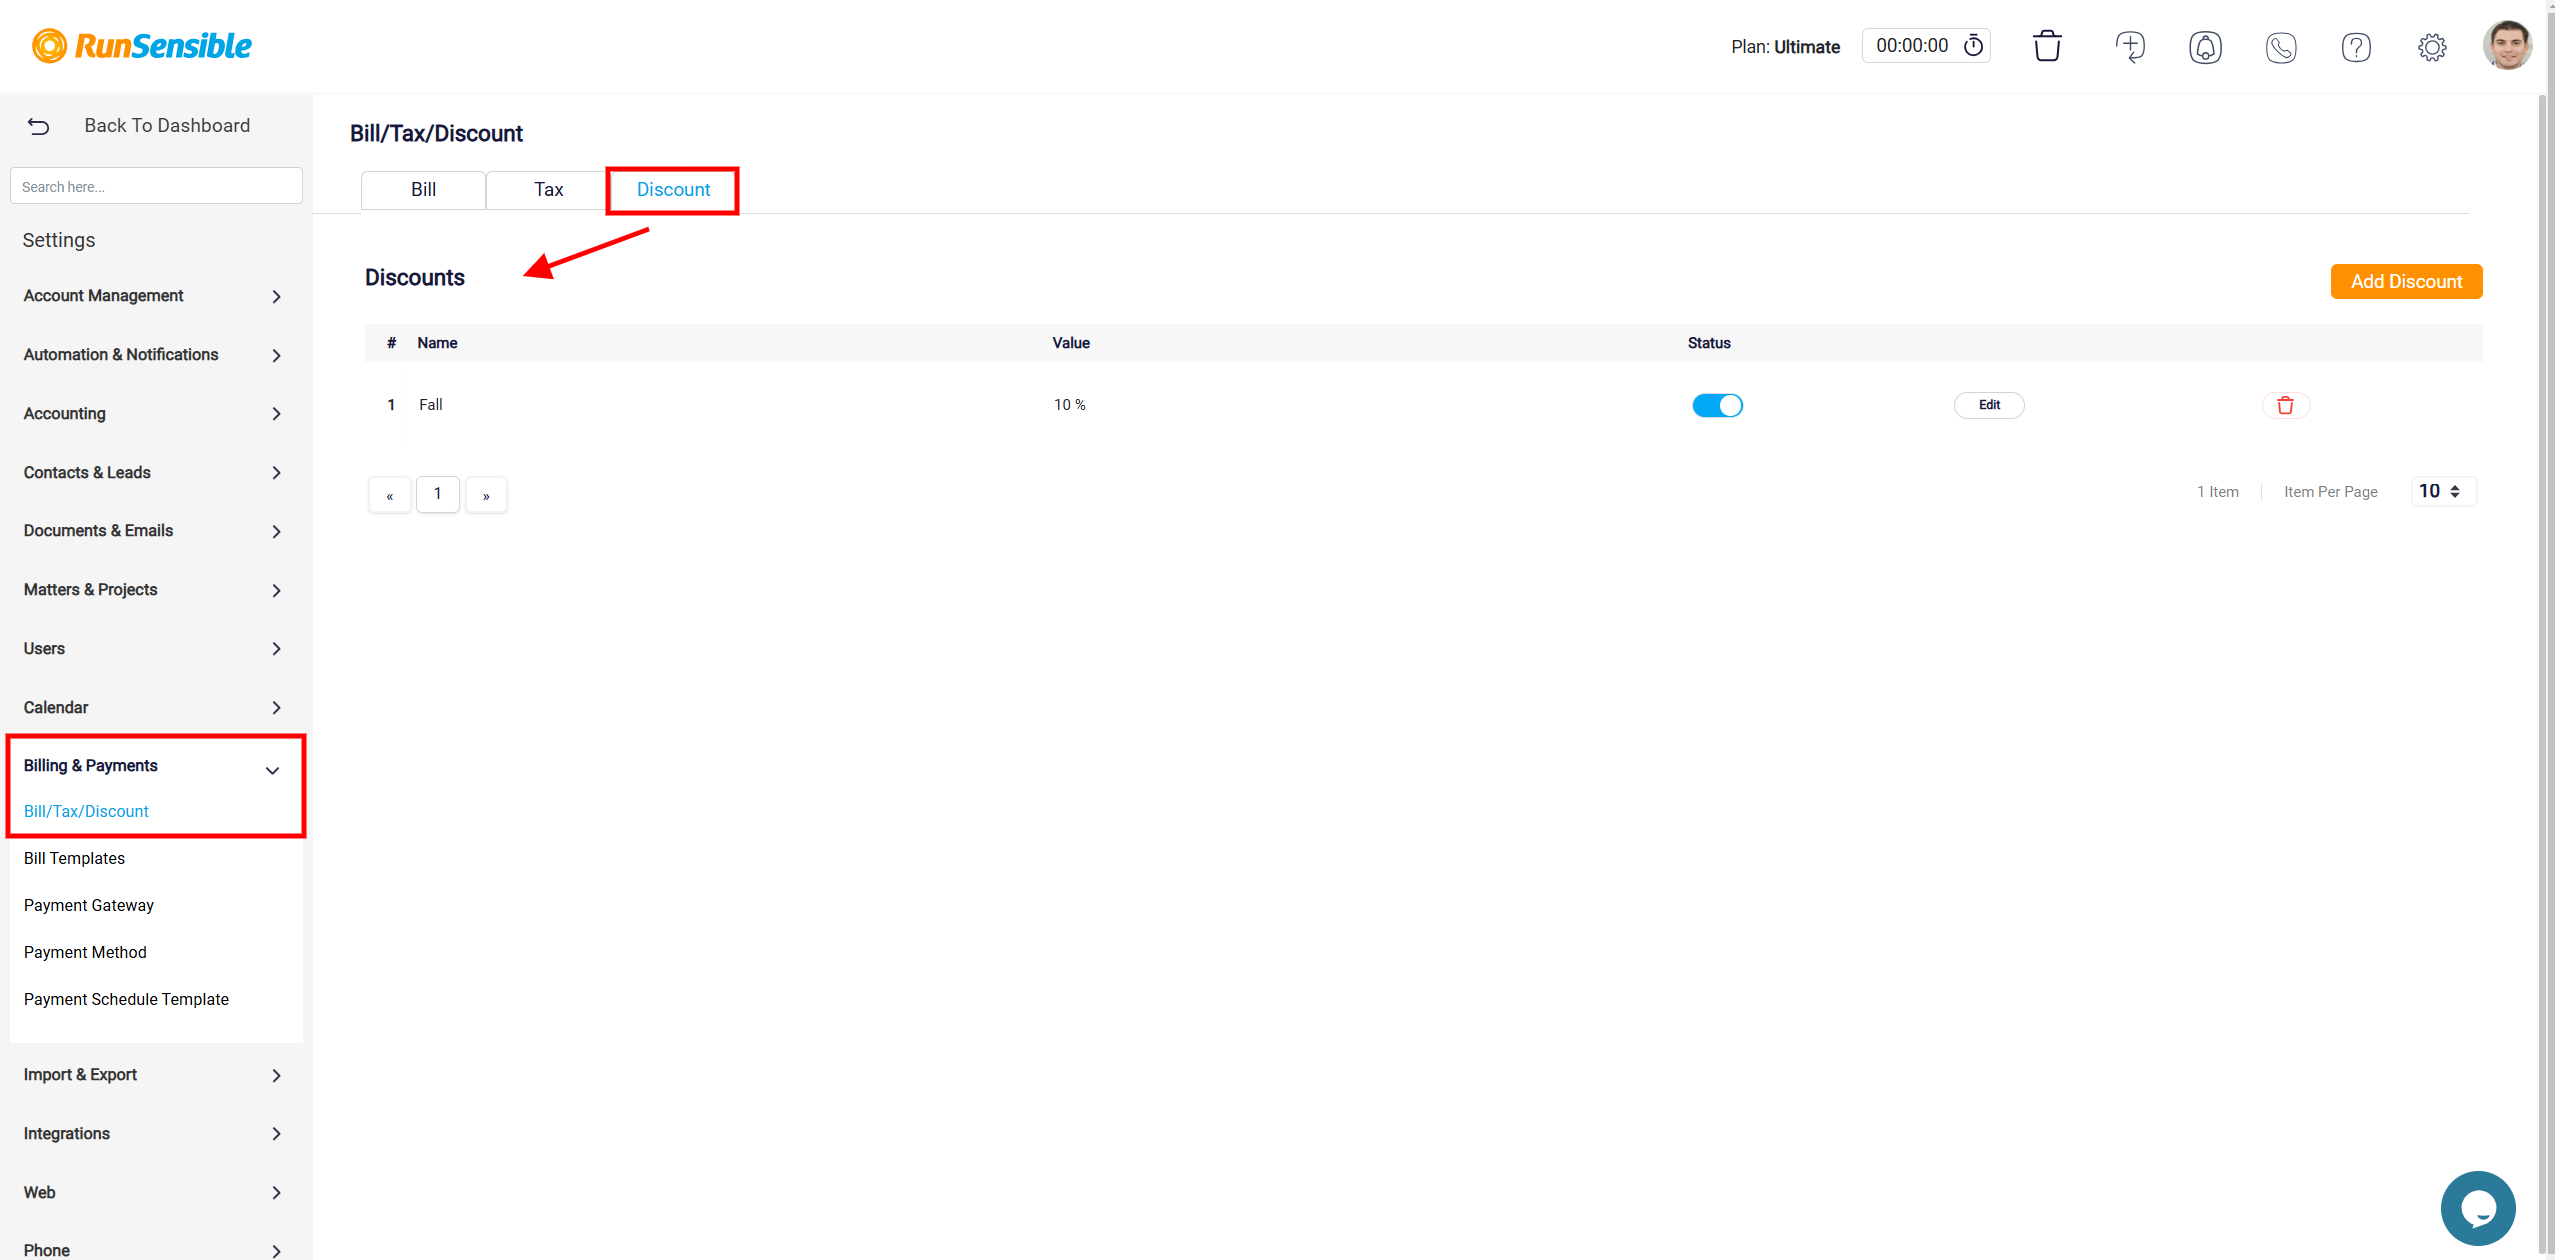
To manage discounts, switch to the Discount tab at the top of the Bill/Tax/Discount section. This tab displays a list of all discounts currently defined in the system.
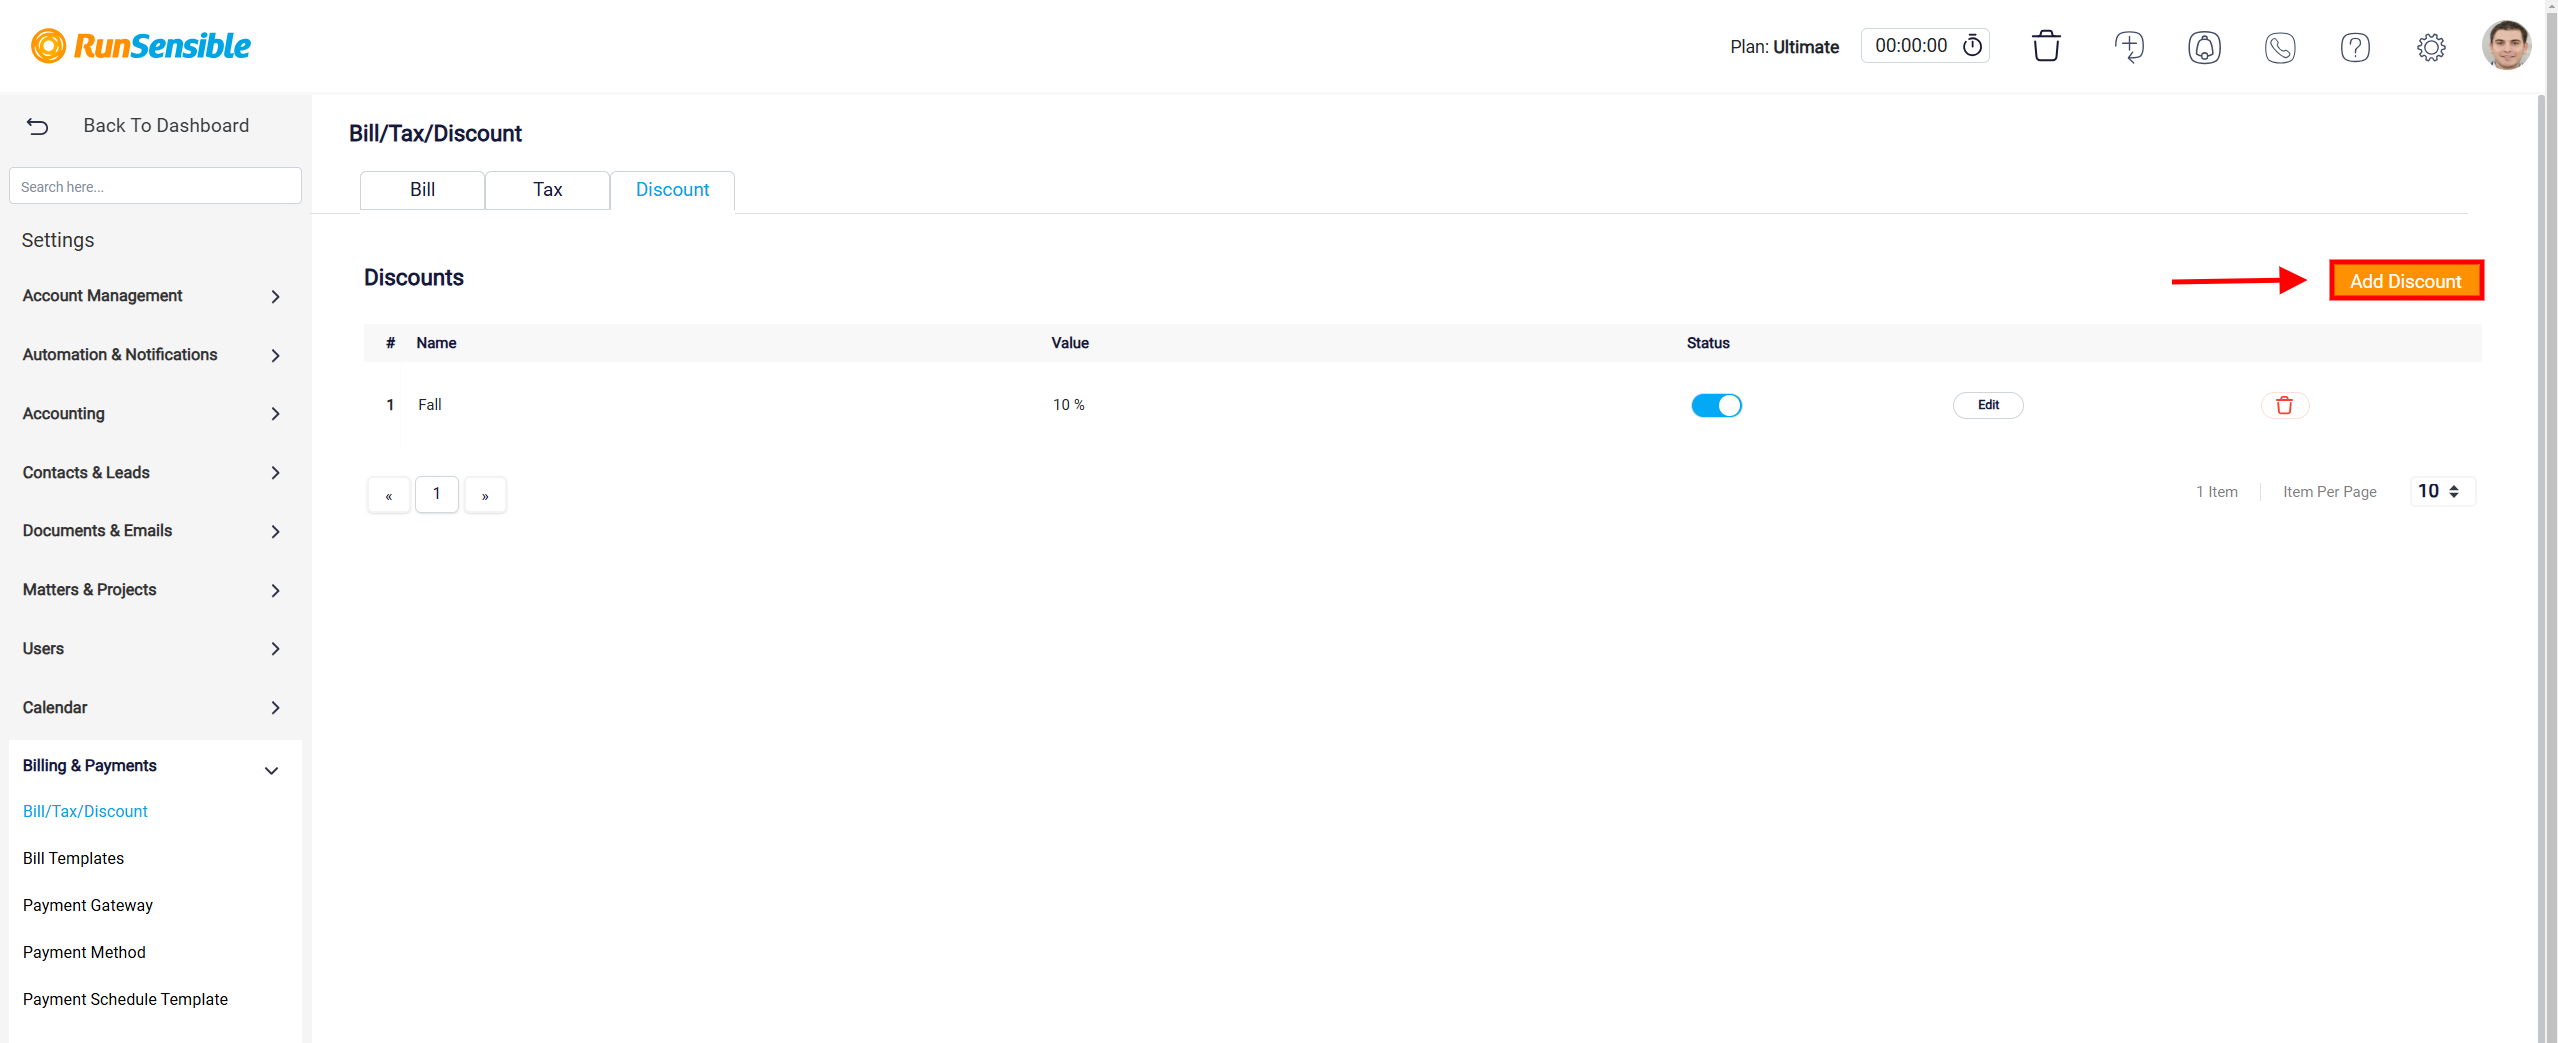
To create a new discount, click the Add Discount button located in the upper-right corner.
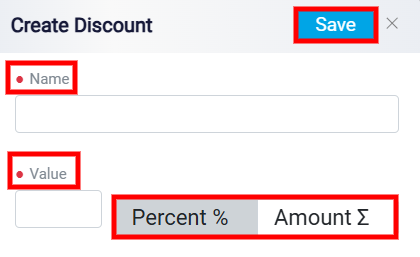
In the configuration panel that opens, enter a descriptive name for the discount in the Name field. Then, input the discount value in the Value field, specifying whether it is a percentage-based or fixed-amount discount using the options on the right side of the panel. Once all necessary details are filled in, save the new discount by clicking the Save button at the top-right corner of the page.
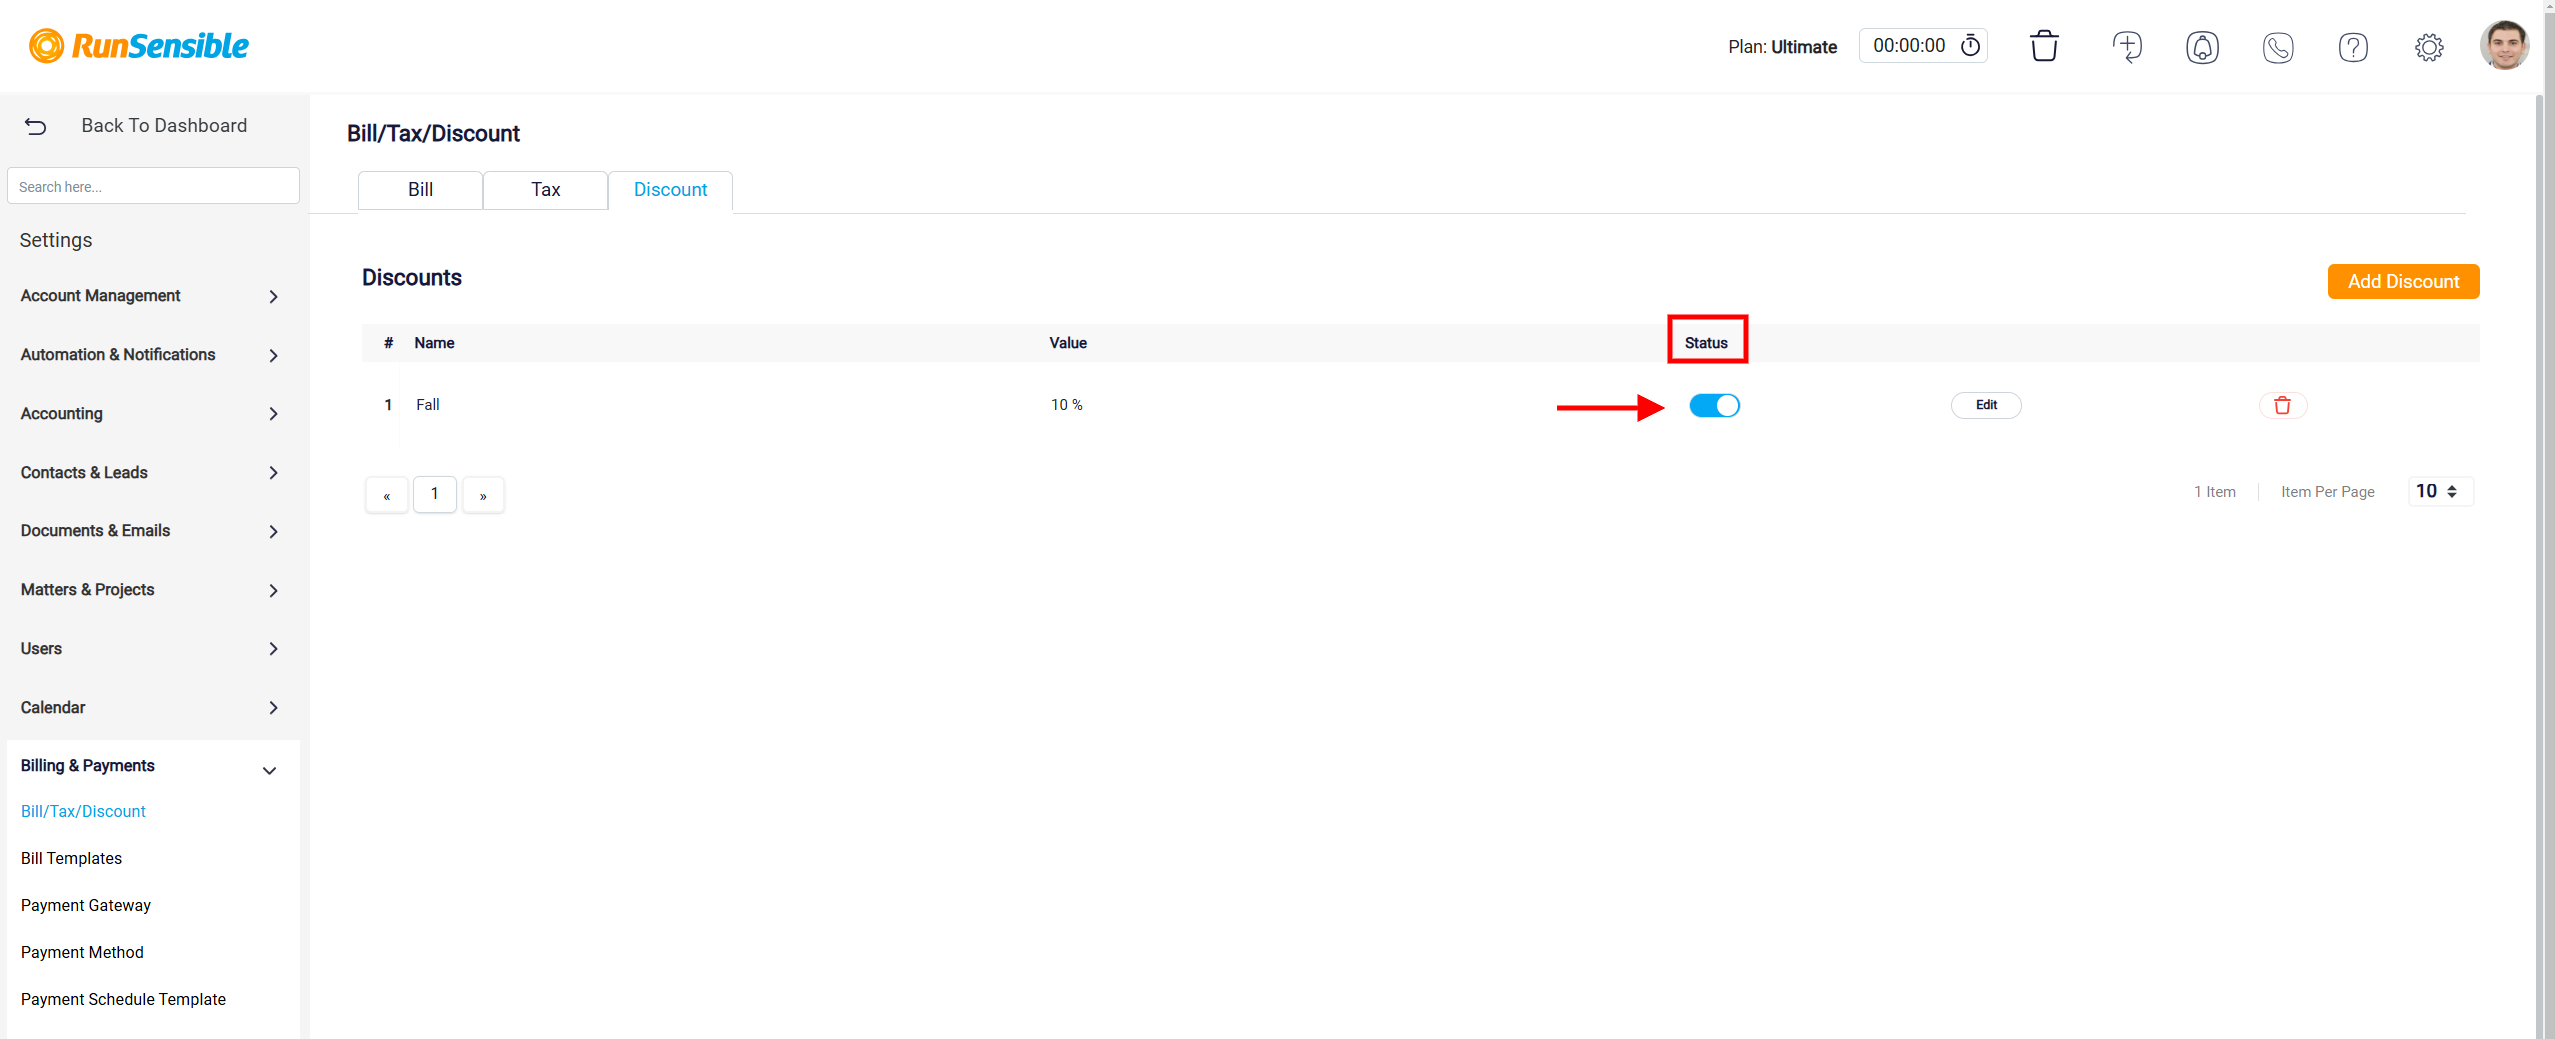
The discount list also includes a Status column where you can activate or deactivate discounts by toggling the respective buttons.
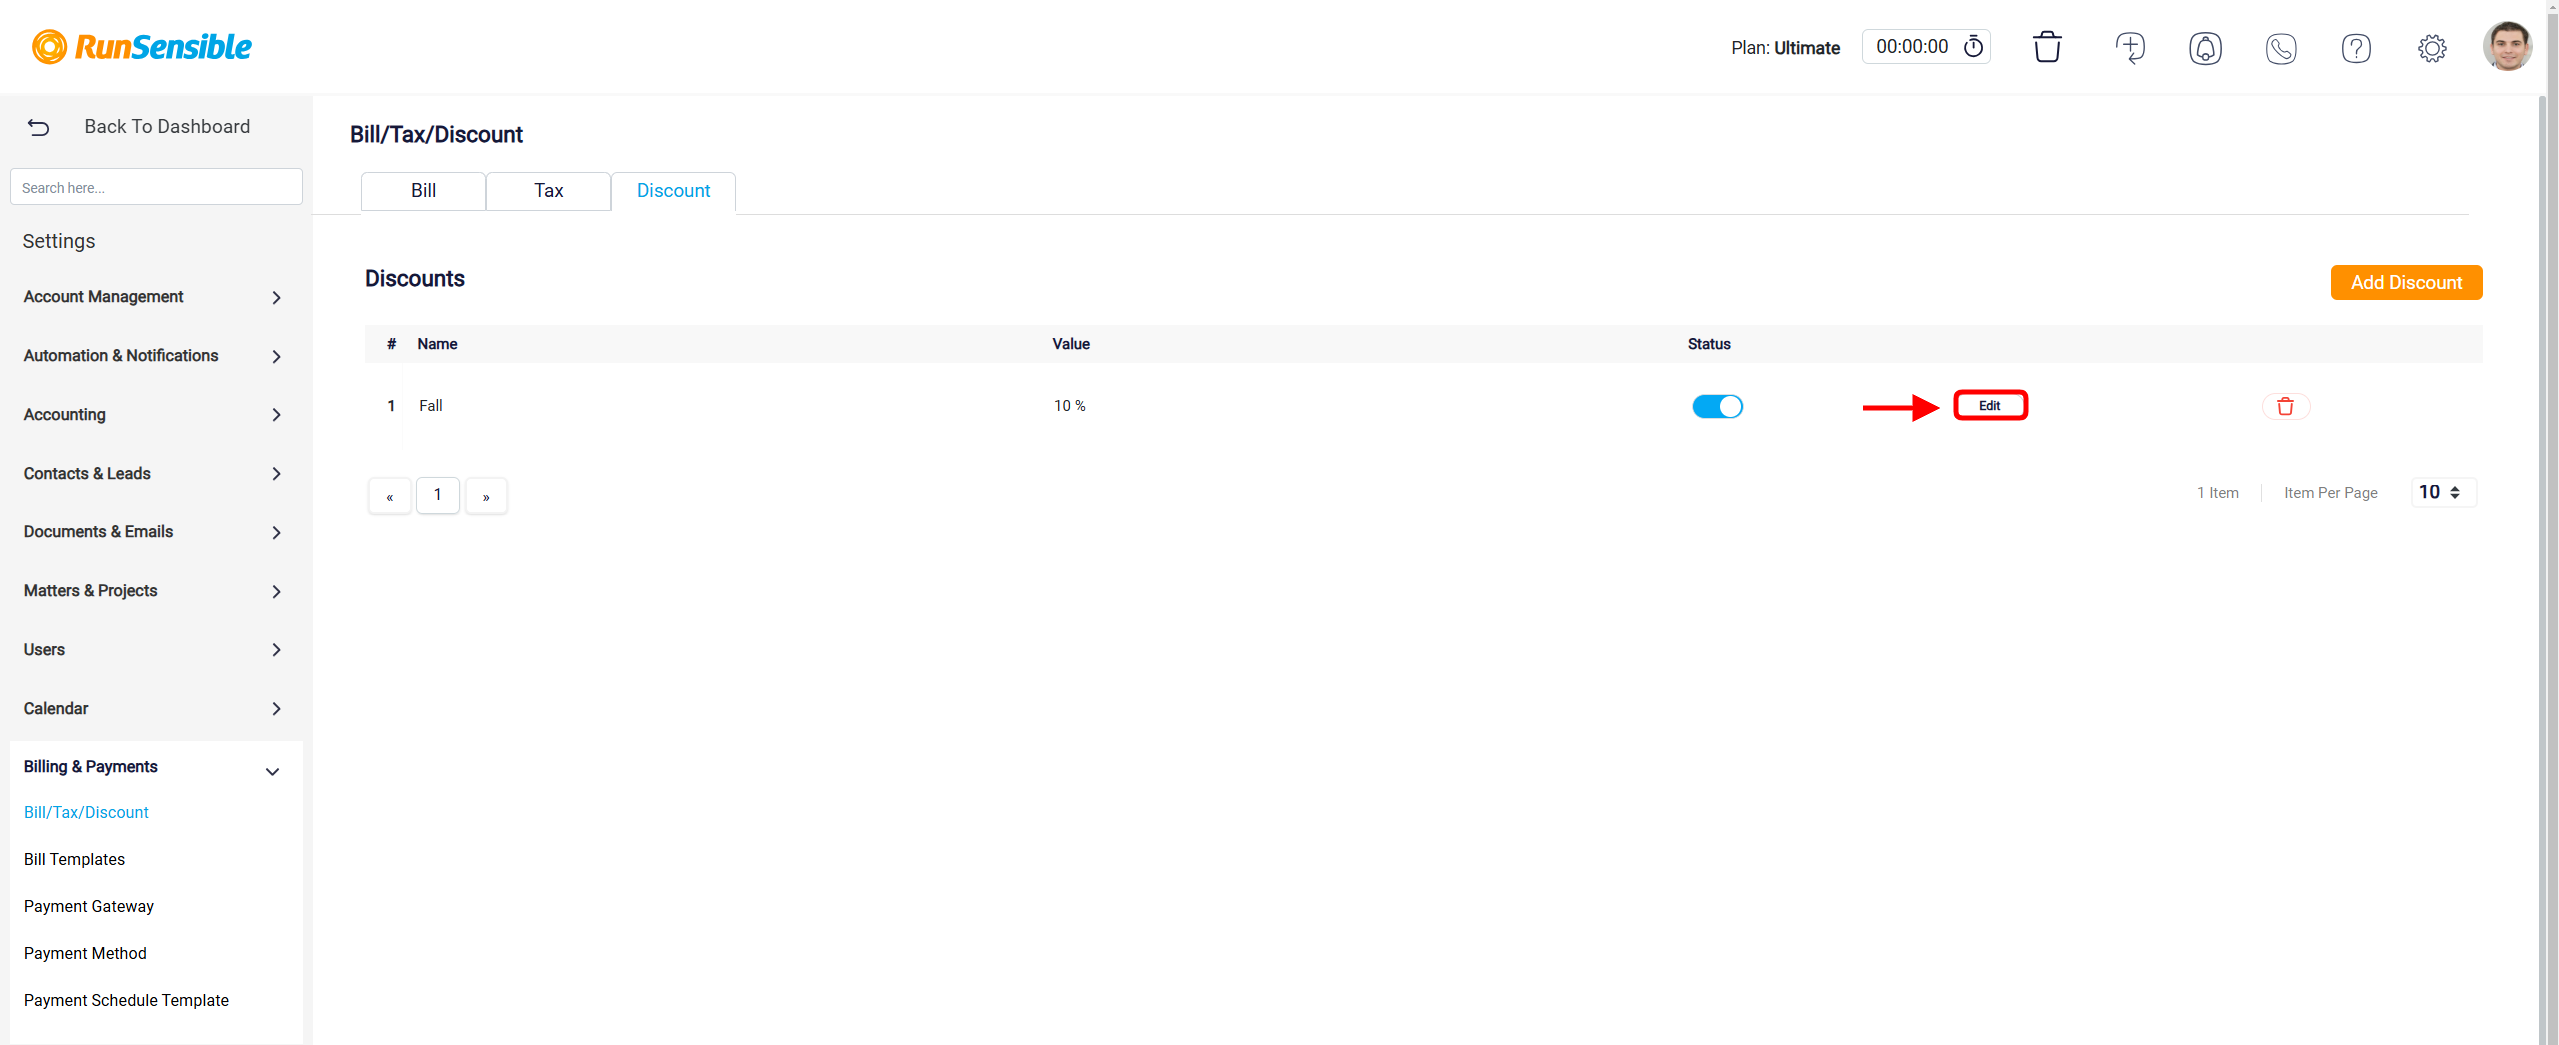
If you need to modify an existing discount, use the Edit button to adjust its settings.
Similarly, you can permanently remove a discount by clicking the Trash icon.