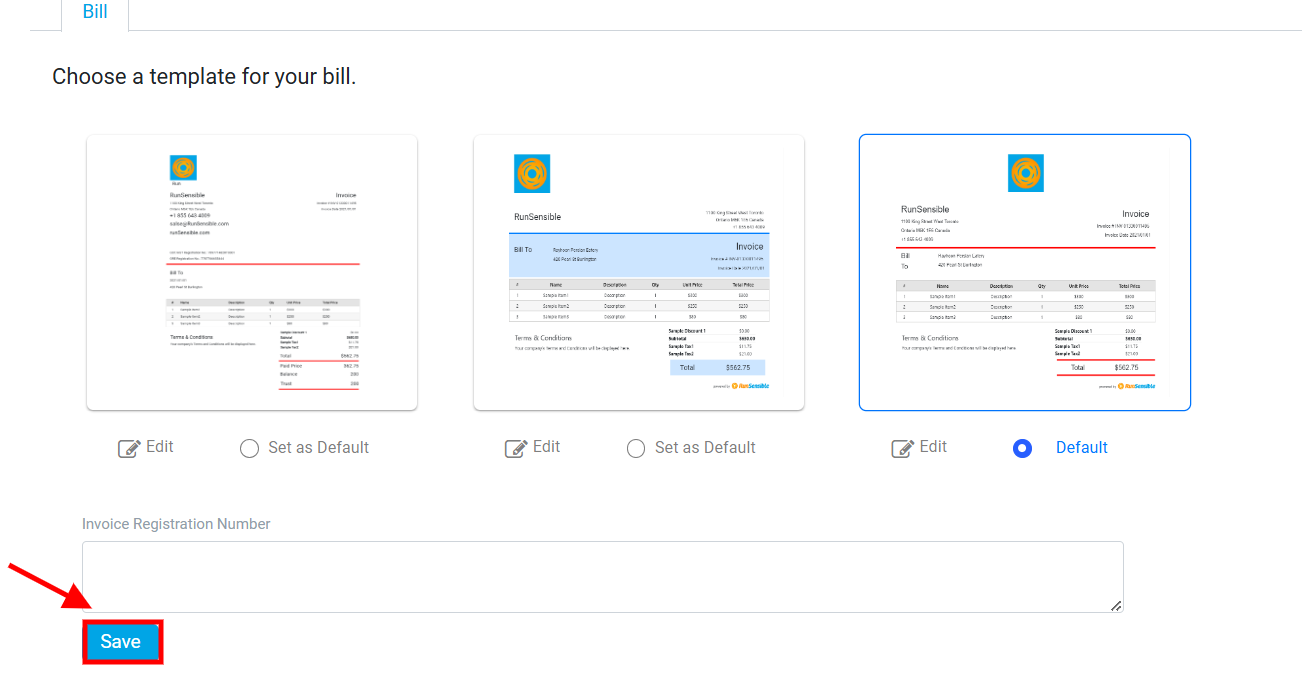
Bill Templates
RunSensible allows you to customize how your invoices look when sending them to clients. With these templates, you can modify the layout, style, and content of your bills to align with your firm’s branding and preferences.
Accessing Bill Templates
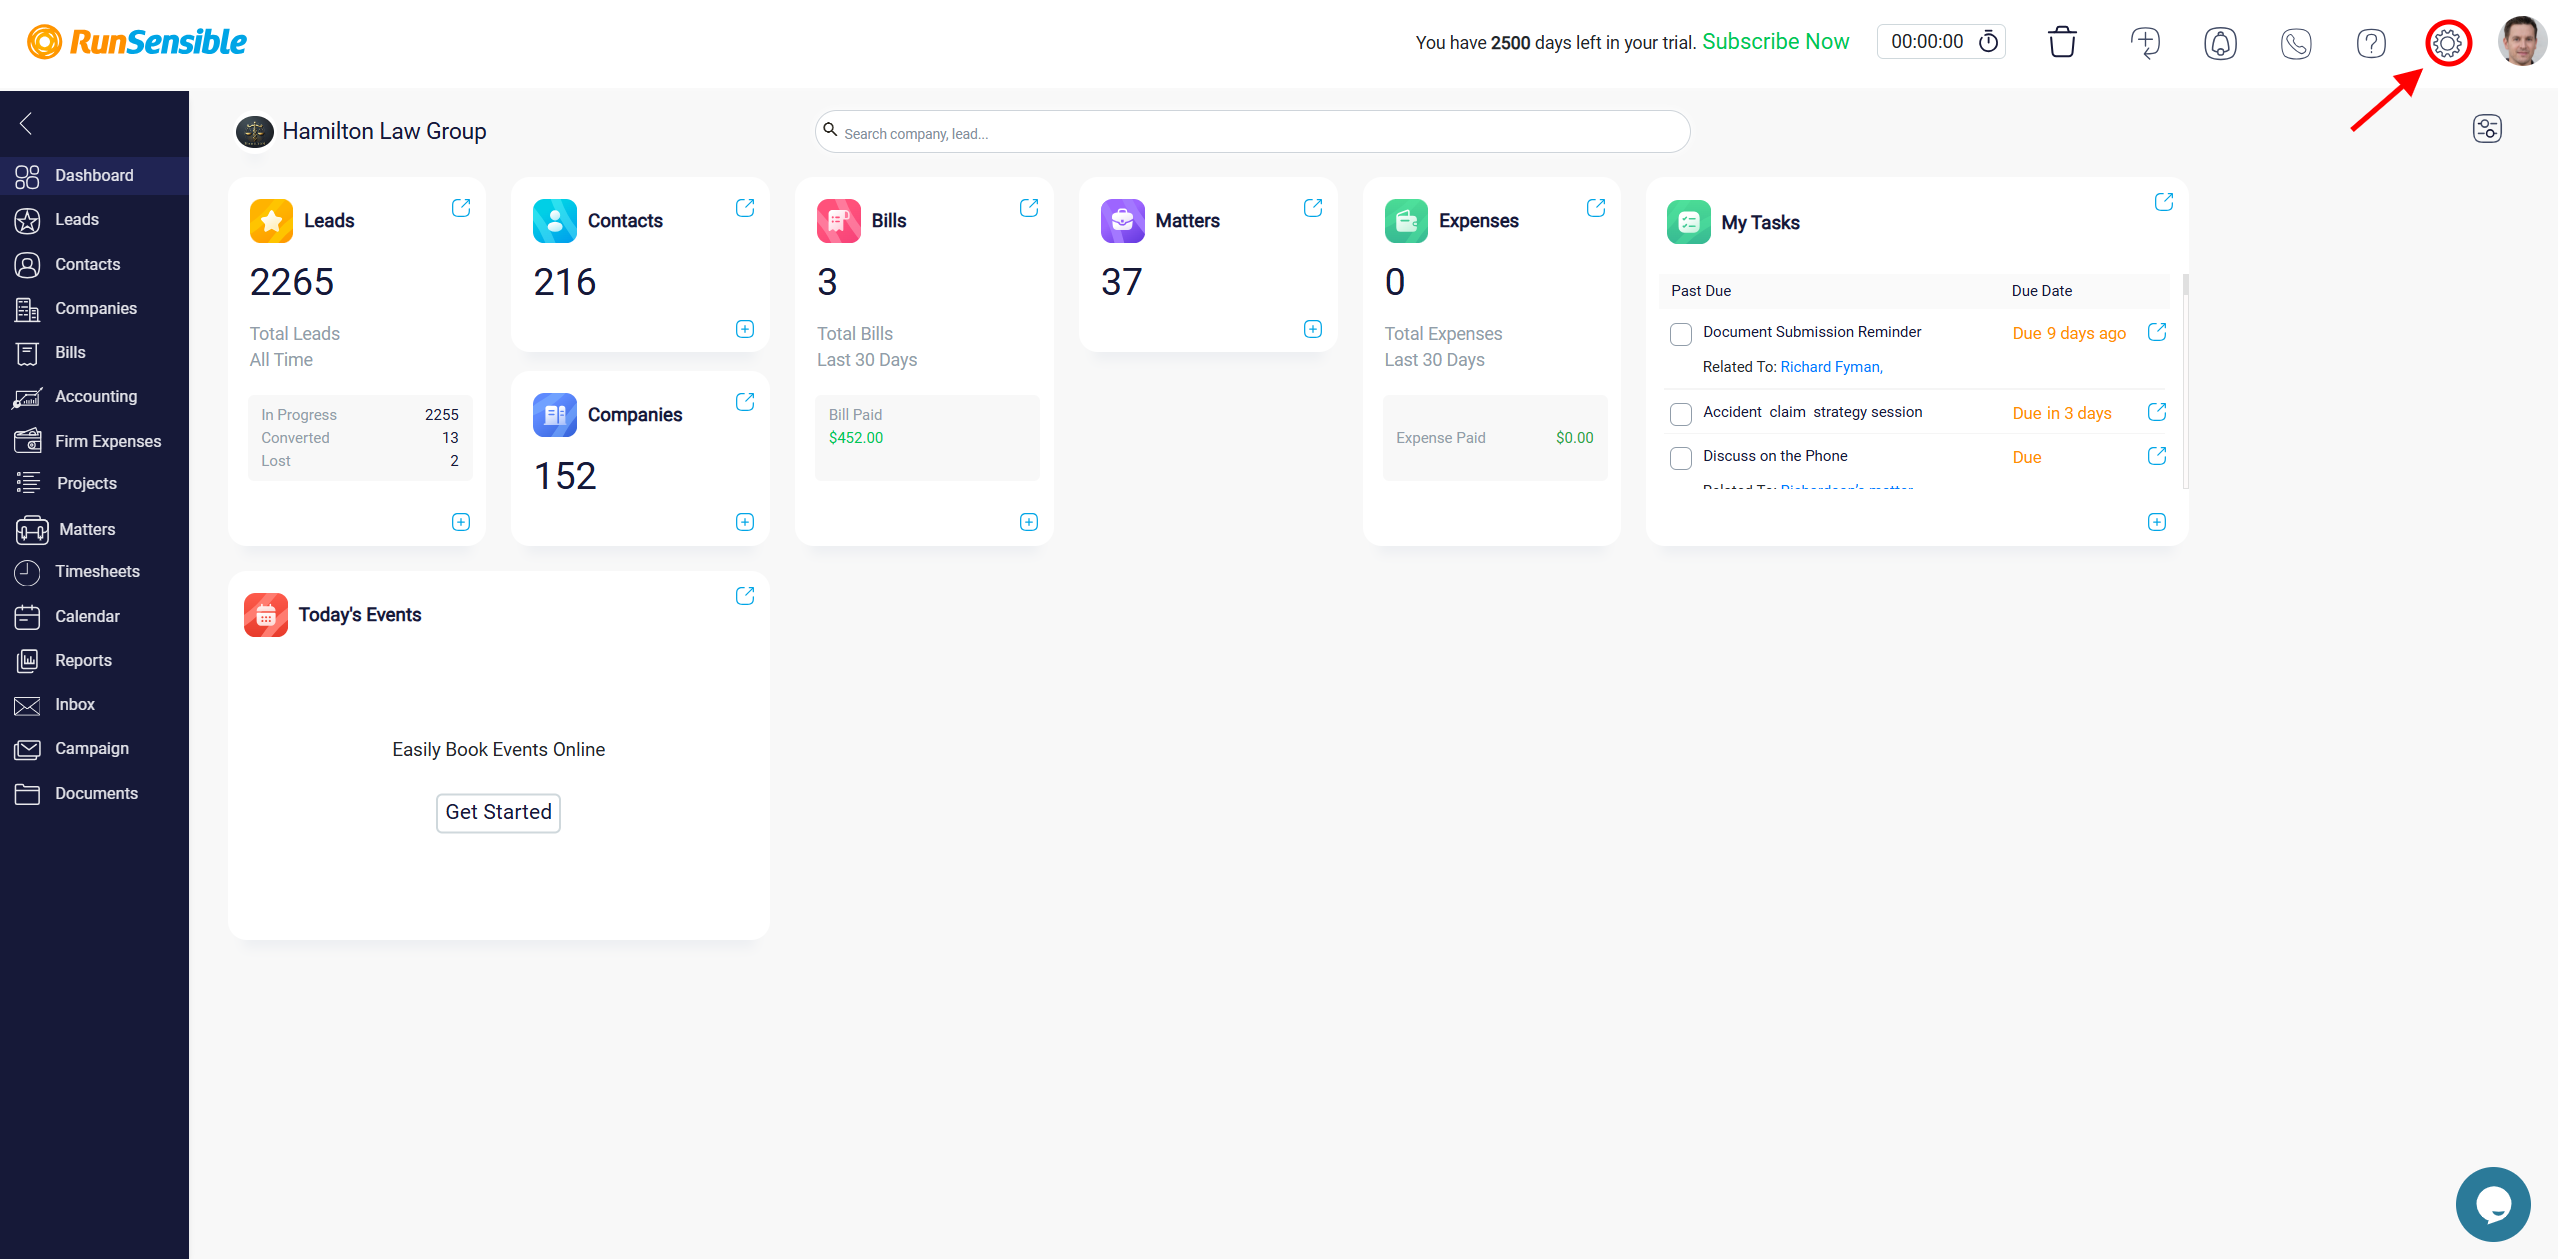
To start, click on Settings on the top right hand of the screen.
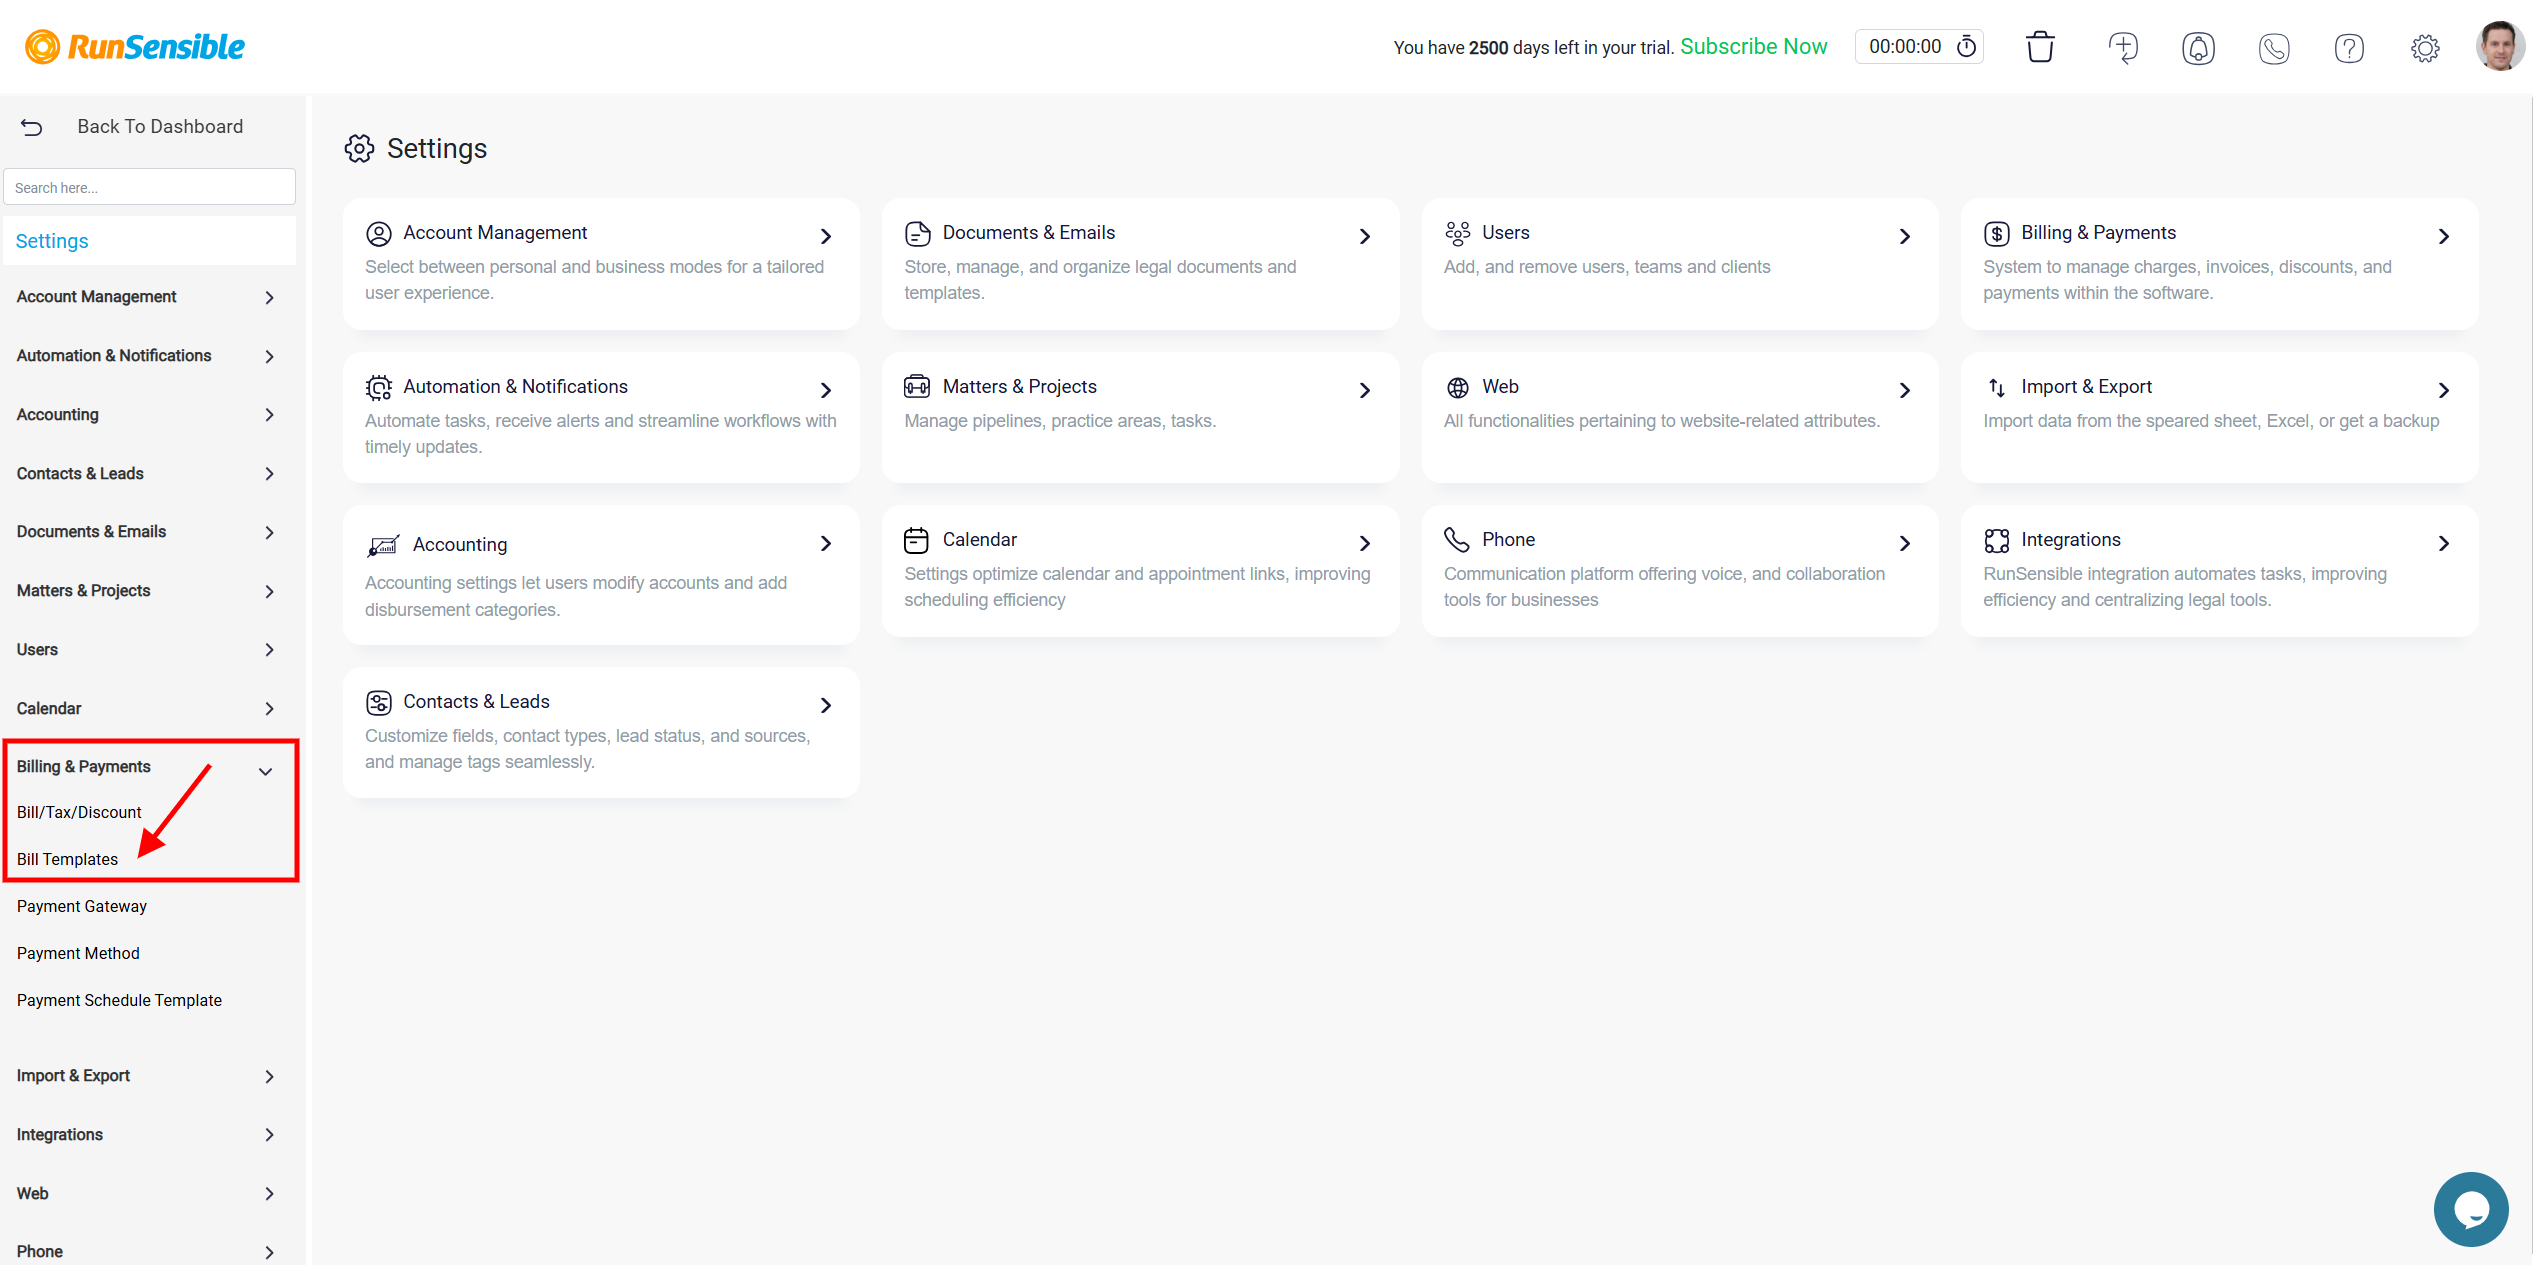
Click on Billing and select Bill Templates.
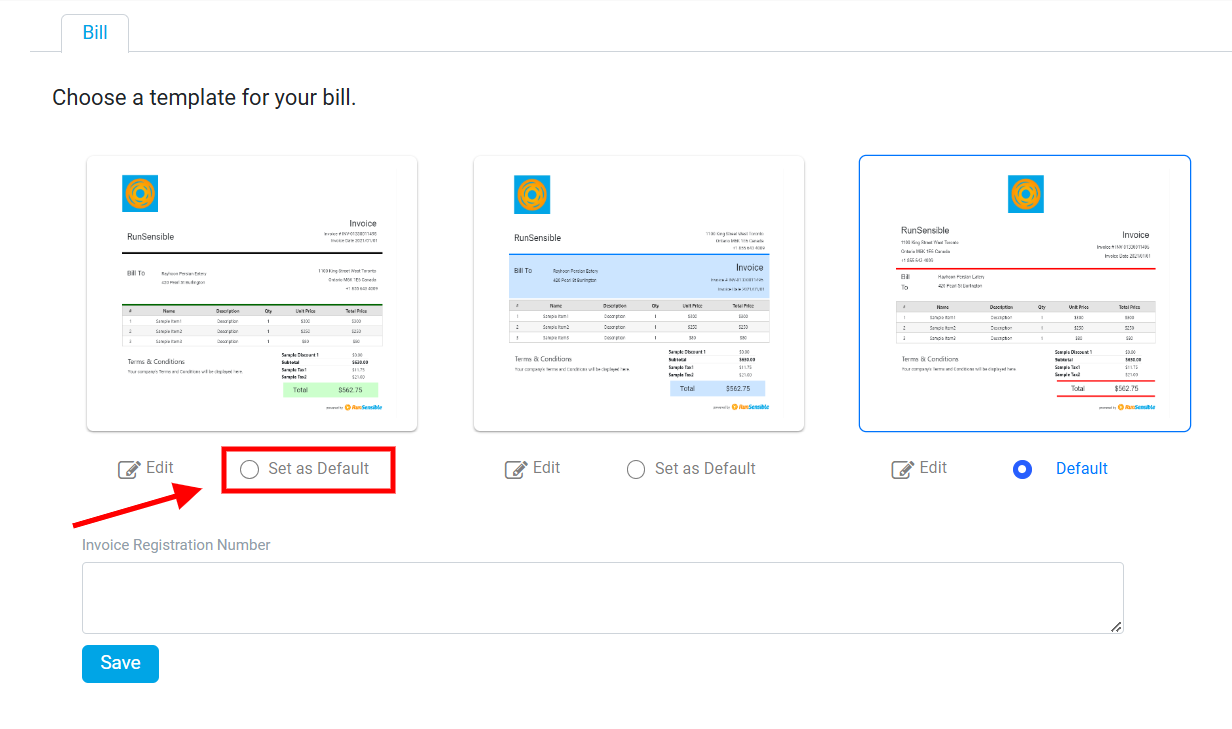
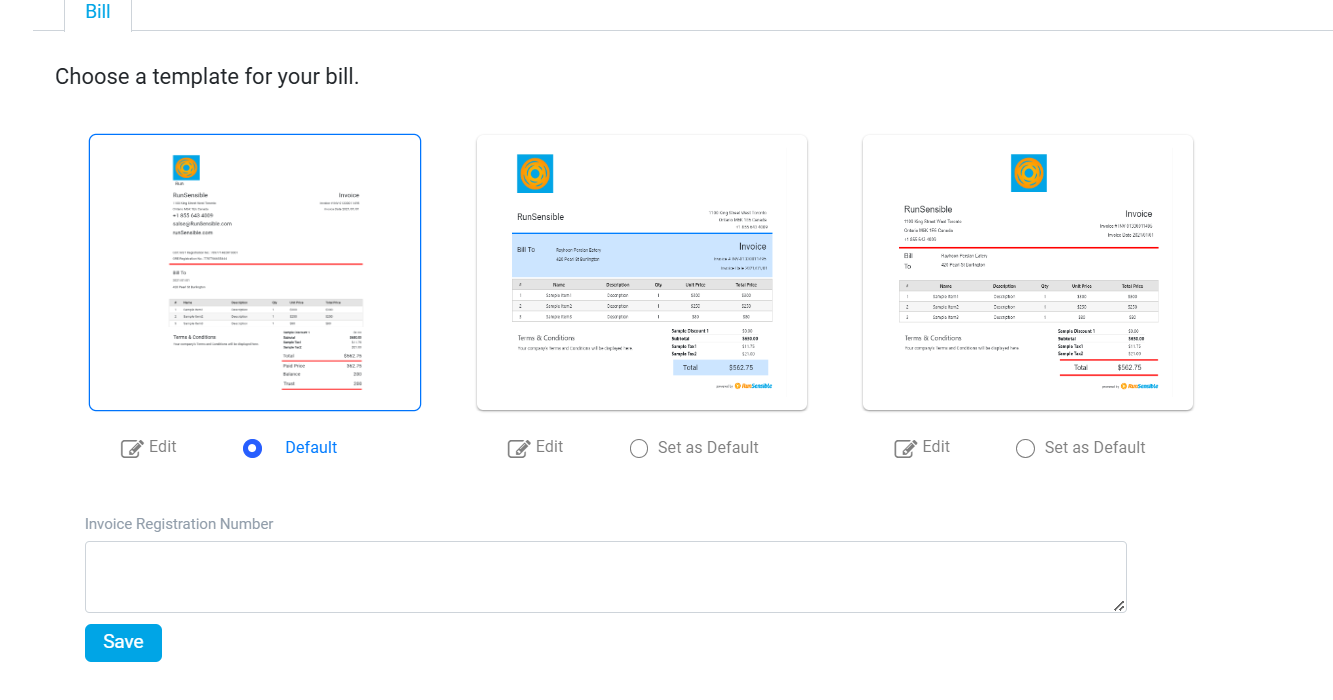
To choose a template, simply browse the grid of available options. If you find a template that suits your needs, you can set it as your default by checking the Set as Default box underneath, or simply clicking on the template. This ensures that the selected template will automatically be applied to all new invoices or you create unless you choose another one for a specific purpose.
Editing Bill Templates
If you want to make adjustments to a template, you can do so by clicking the Edit button.
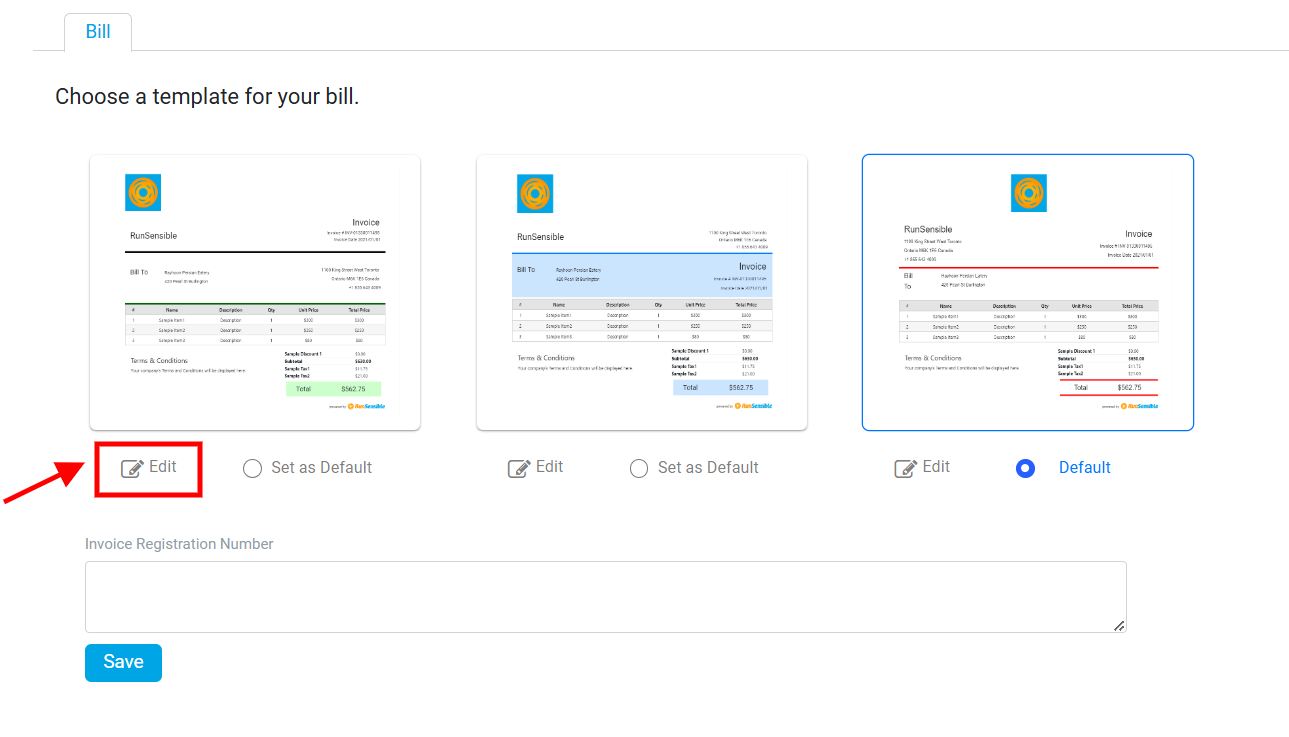
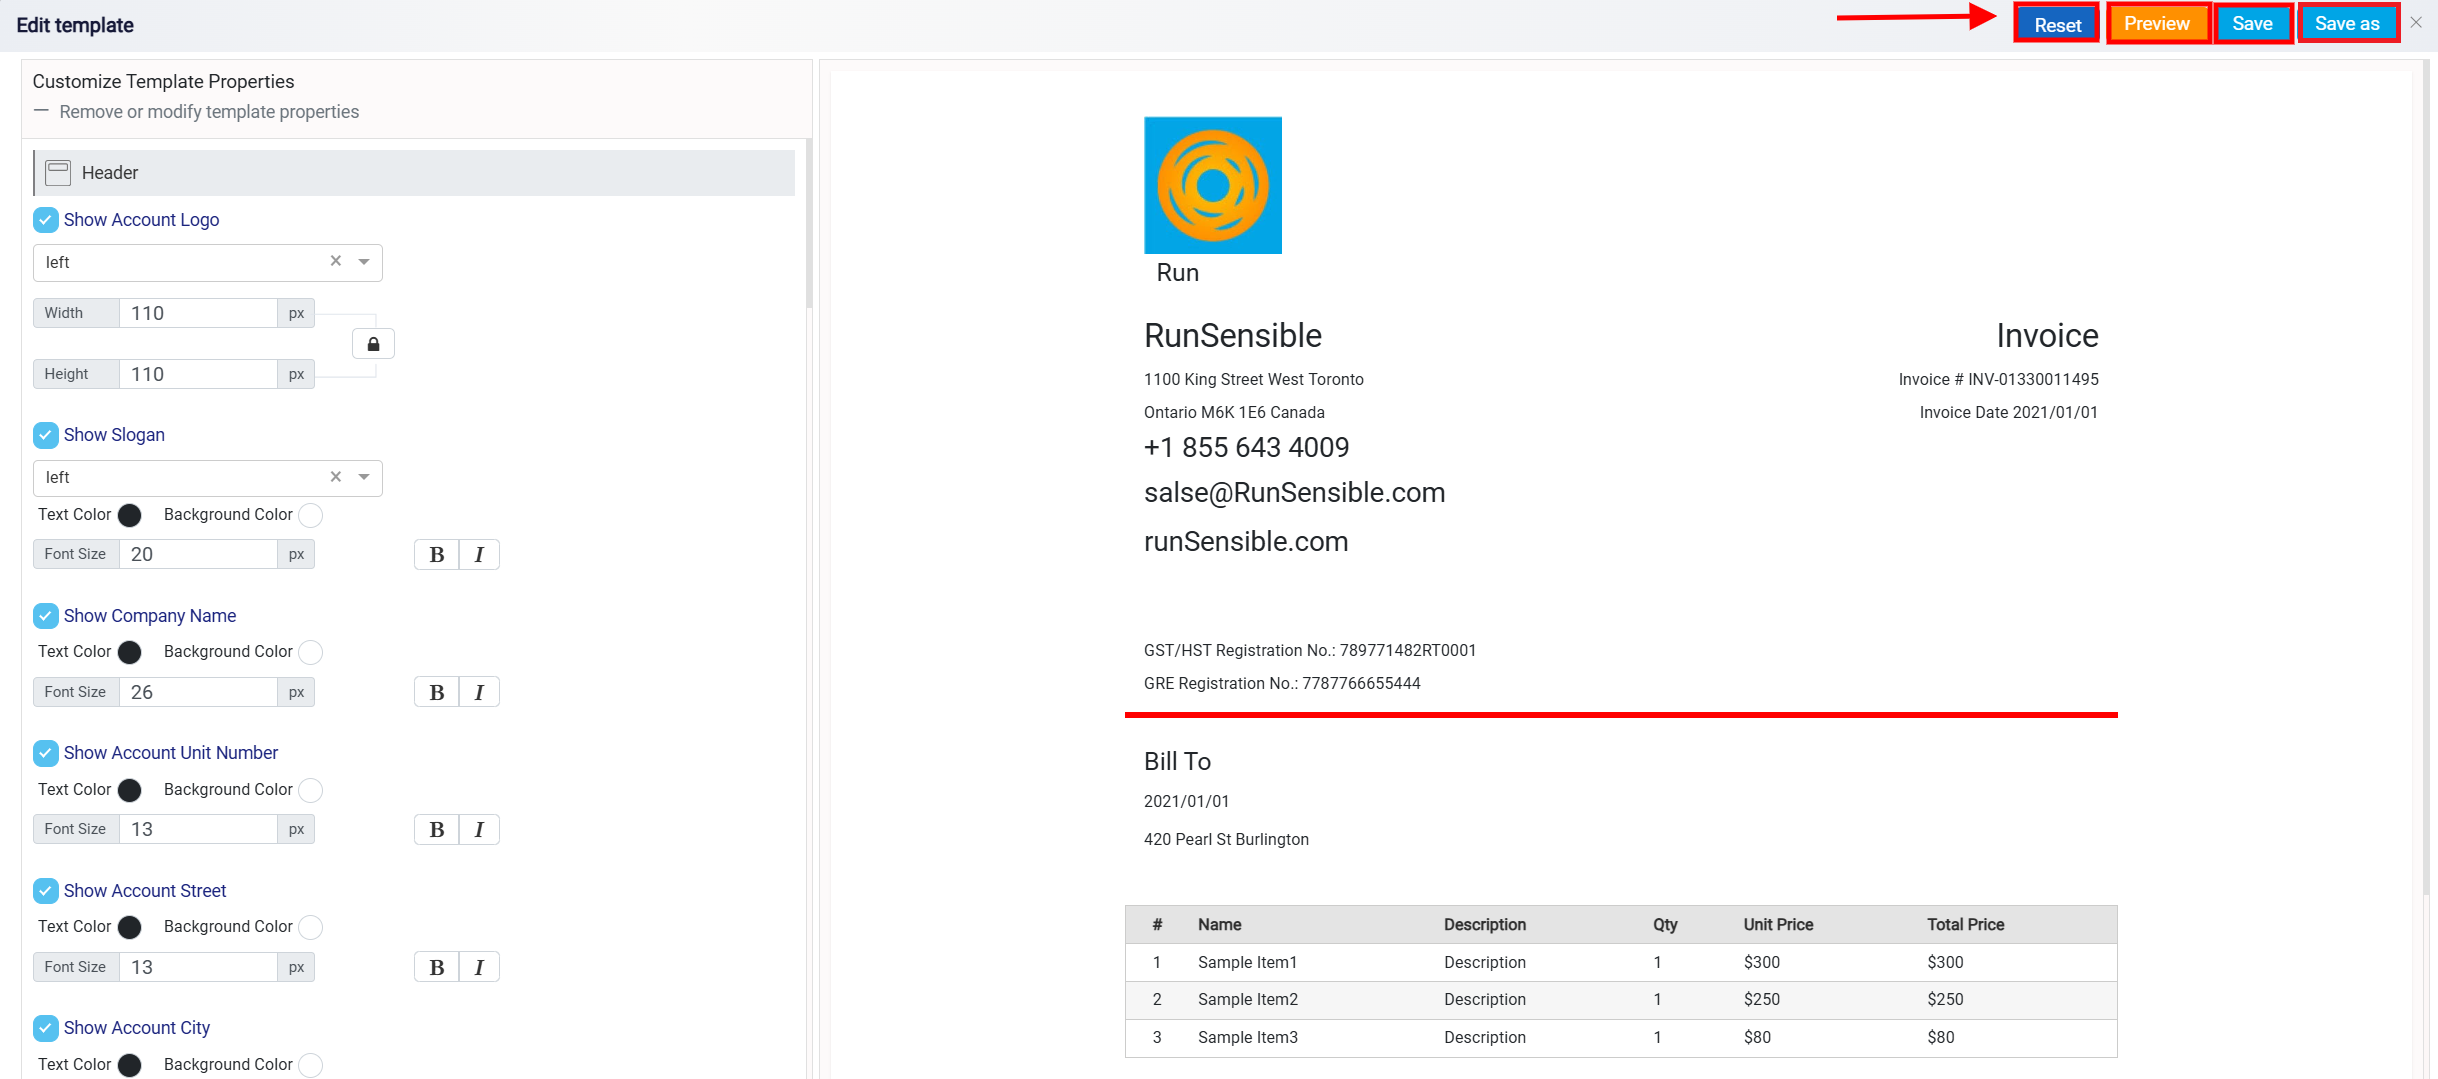
This opens the template in an editor where you can modify elements like fonts, colors, layout, and content. Once you’re happy with the changes, saving the template will apply it to future documents, ensuring consistency and professionalism across all your billing and quoting activities. As you make changes to the template, the preview on the right will update in real-time, allowing you to see how your modifications will look.
If you want to revert your changes and start over, click the Reset button. This will restore the template to its original state before any modifications were made. To see a full-screen view of your invoice before saving it, click the Preview button. Once your template is ready, click Save to apply the changes. If you want to create a new template based on the current one, click Save as and give the new template a unique name.
At the bottom of the page, there’s a section for entering an Invoice Registration Number, which is particularly useful if your billing practices or regulatory requirements mandate it. Entering this number ensures it appears on all your generated invoices.
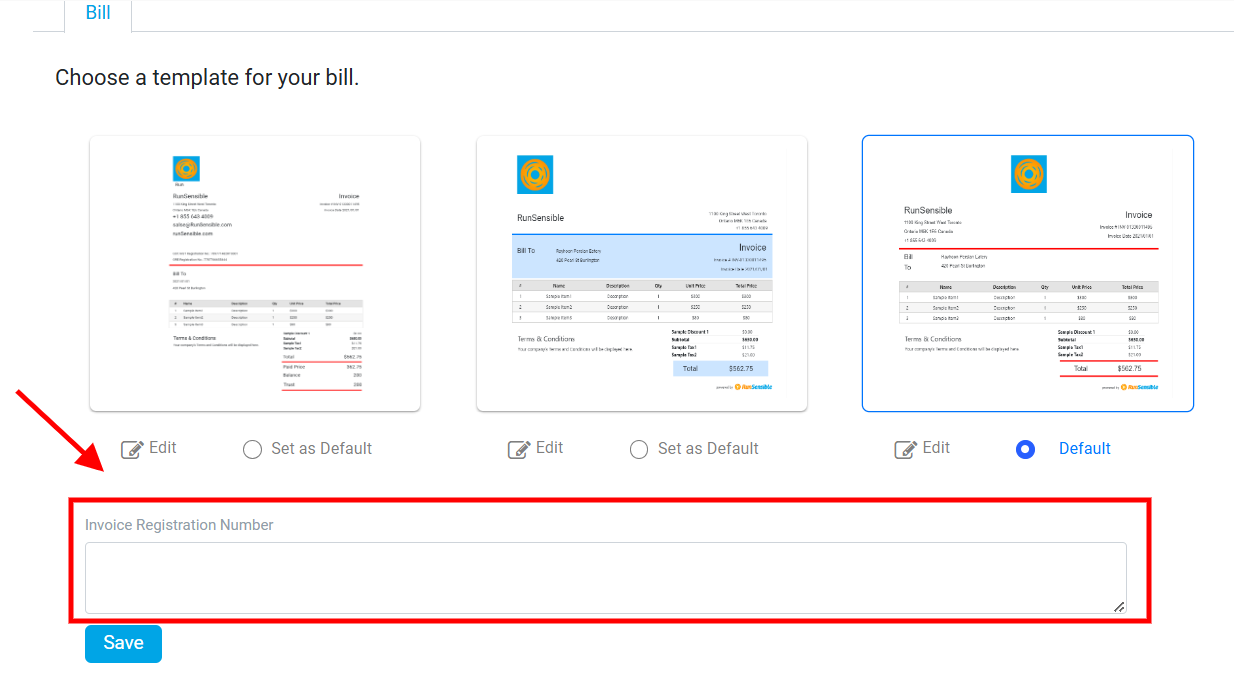
After making any changes to your templates or settings, it’s important to click the Save button at the bottom of the page. This final step confirms your choices and ensures that your preferences are applied to all future invoices generated through RunSensible.
