Filtering Bills
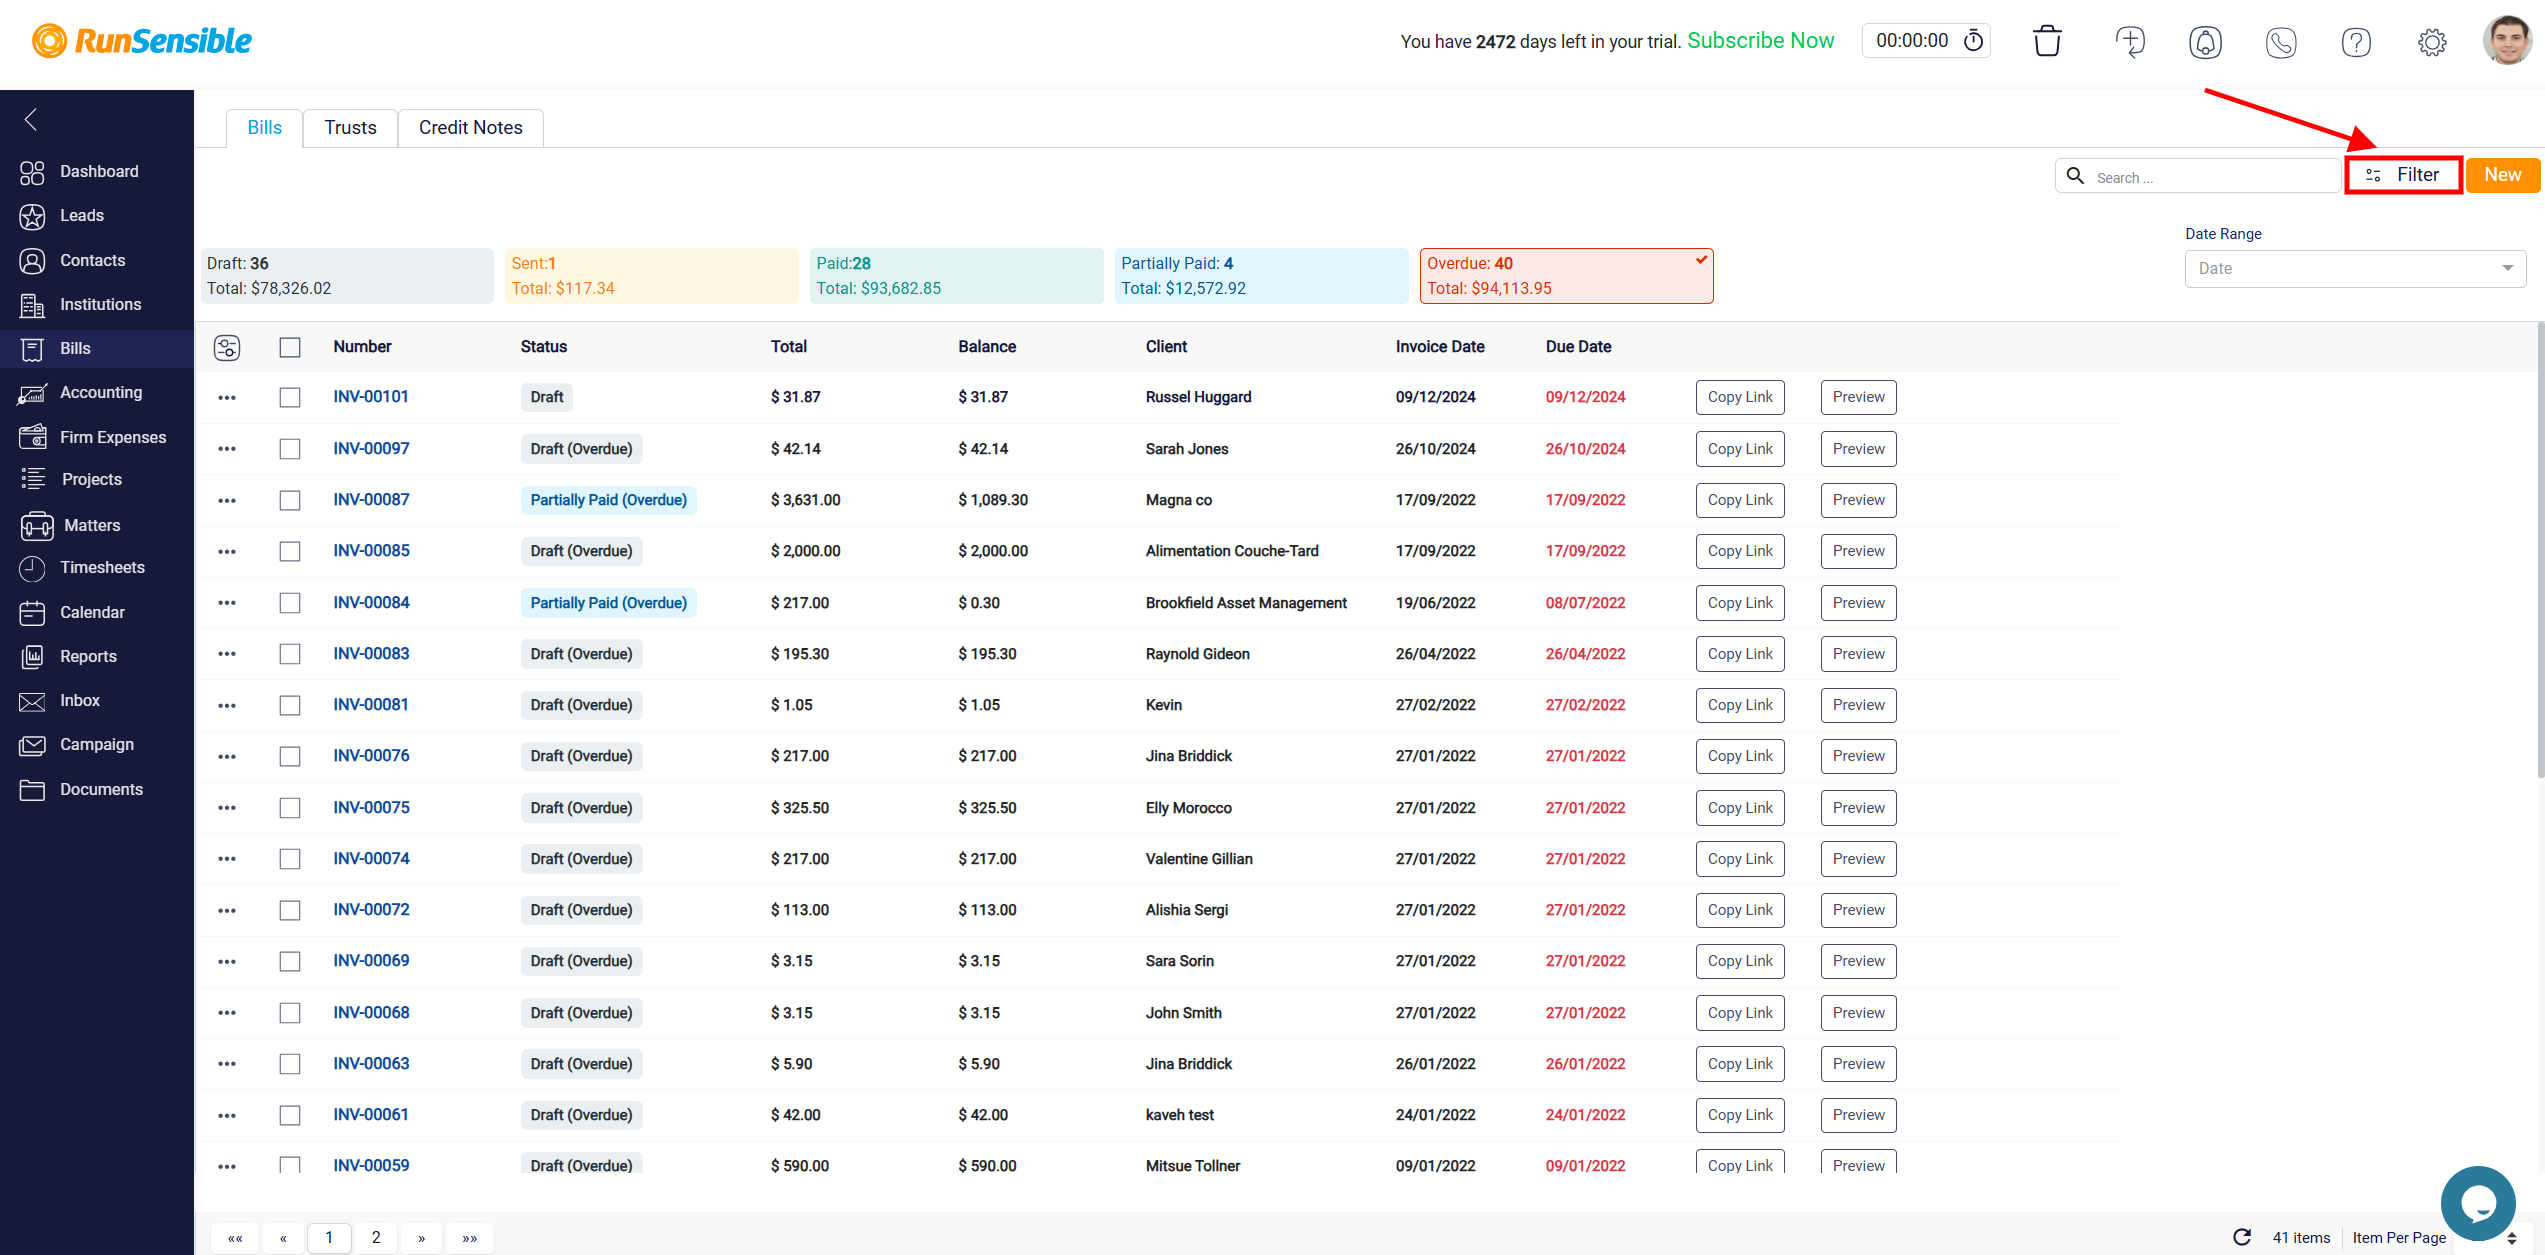
In addition to filtering bills by payment status, you can further narrow down your search by using the Filter button located in the top-right corner of the screen. This button lets you apply more detailed filters based on specific criteria, such as clients, responsible attorneys, or due dates.
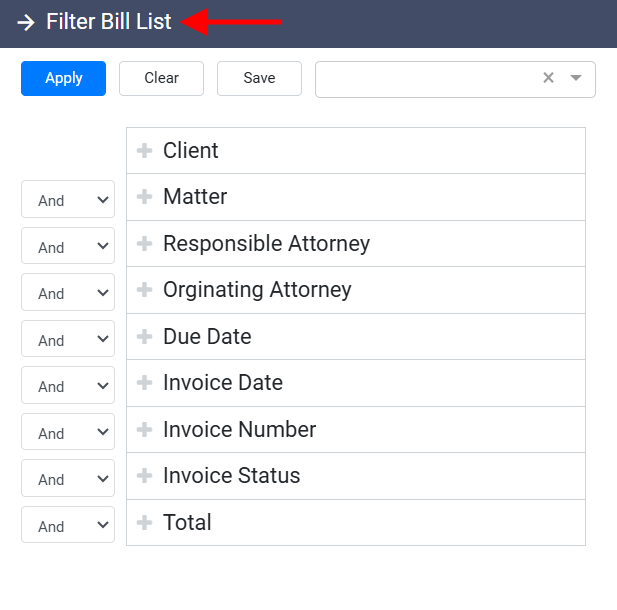
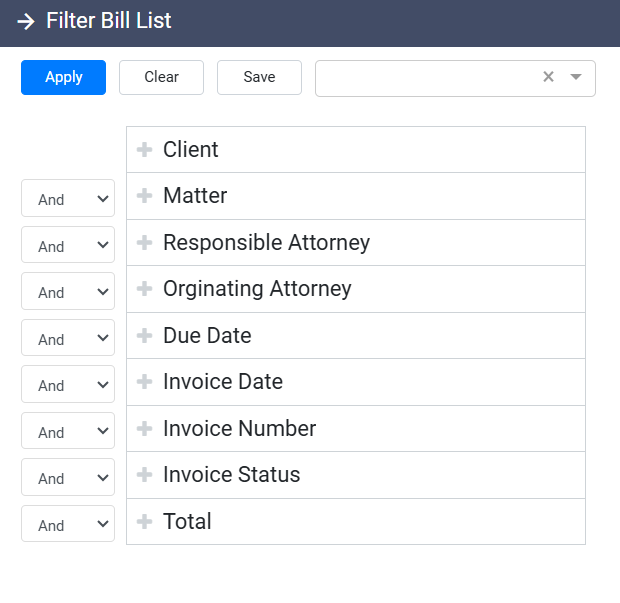
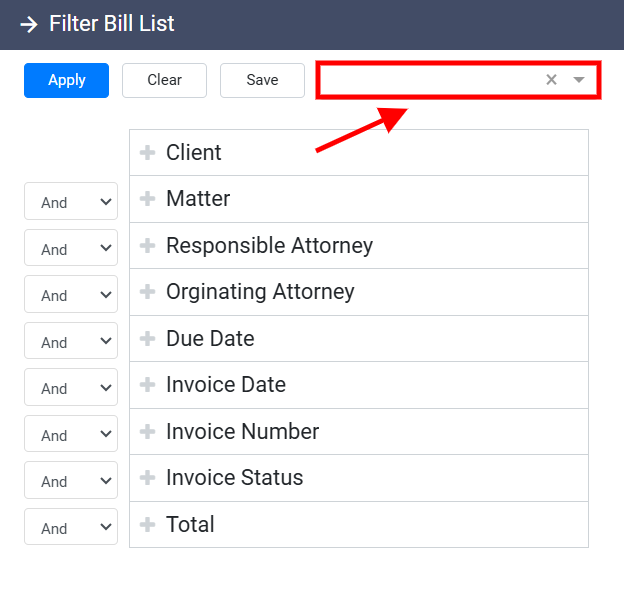
After clicking the Filter button, a panel will open where you can customize these filters to better manage and organize your bills according to your needs. Choose from a range of filtering options based on your needs. These filters include Client, Matter, Responsible Attorney, Originating Attorney, Due Date, Invoice Date, Invoice Number, Invoice Status, and Total.
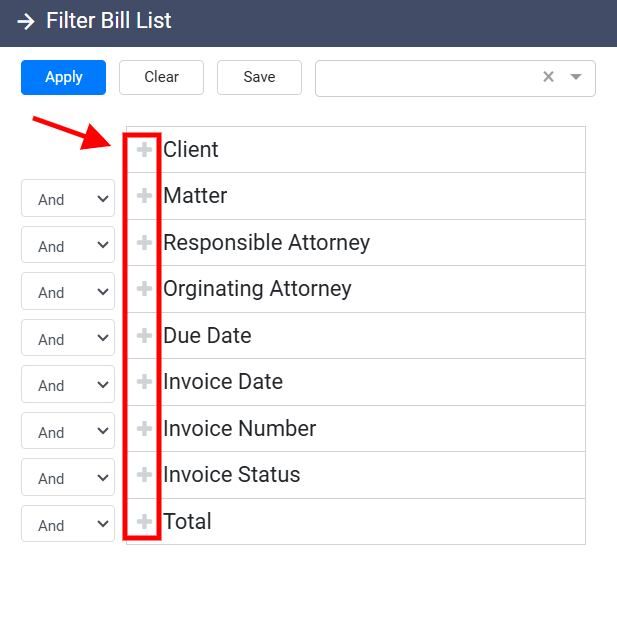
To filter your results by a particular field, click the Plus button next to the desired field.
Doing so opens a filtering panel with two main components: a dropdown menu and a search box.
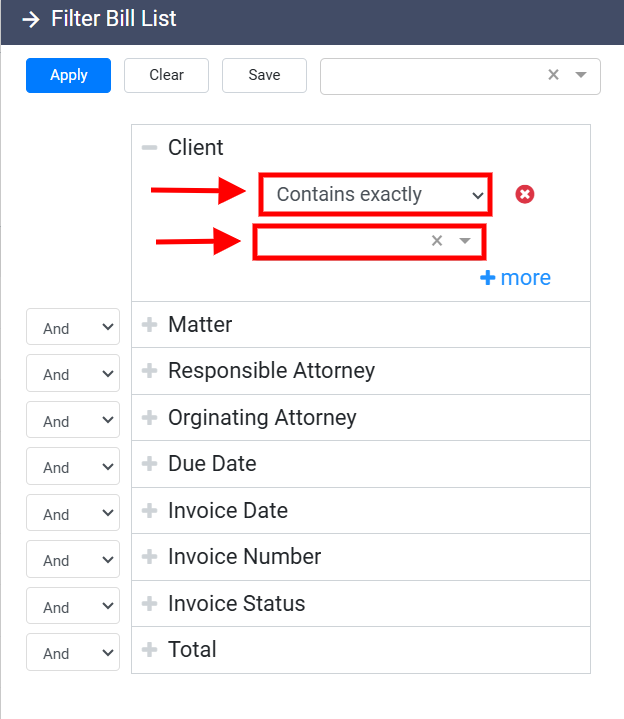
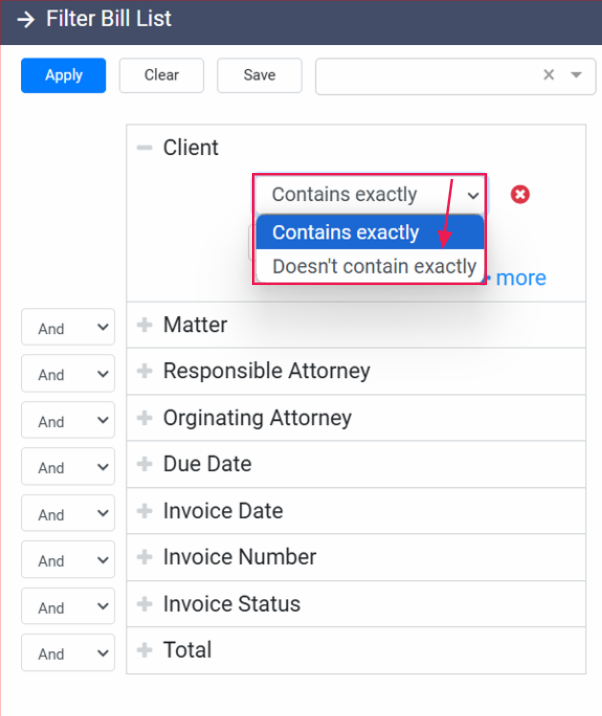
The dropdown menu provides several filtering options that determine how closely your search results will match the entered term. You can select options such as Contains exactly or Doesn’t contain exactly depending on how precise you want the filter to be.
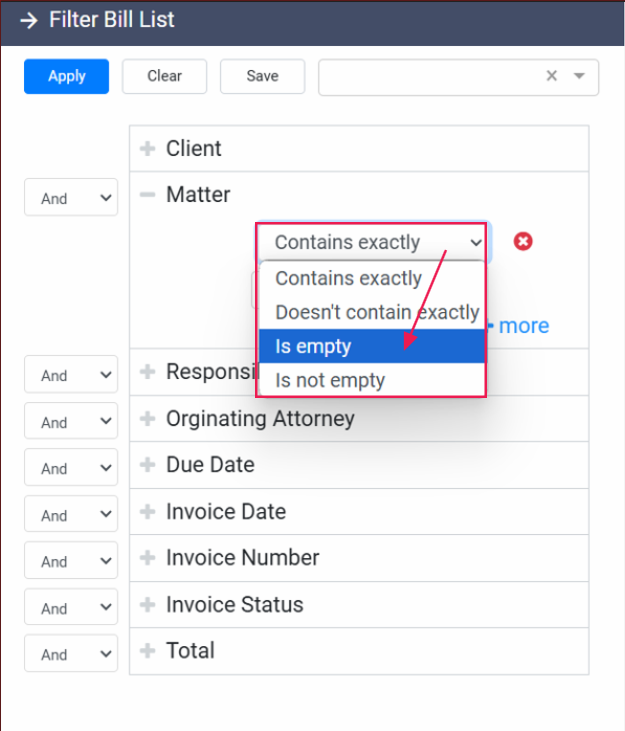
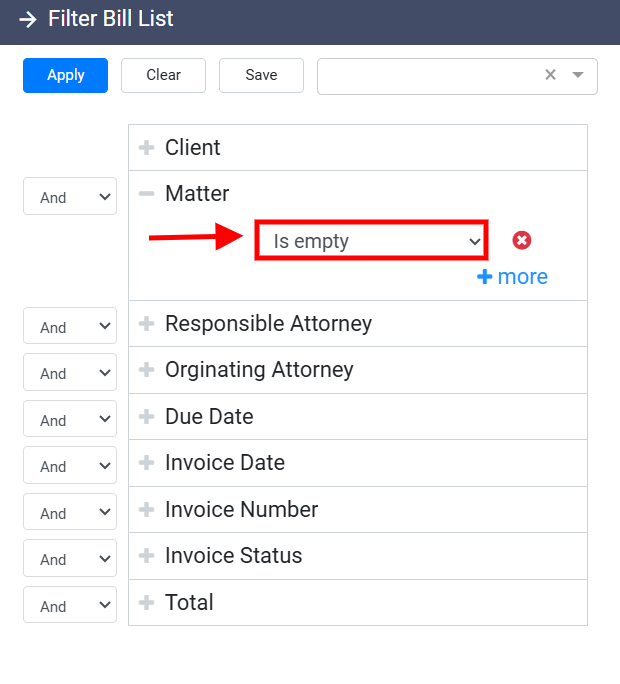
Additionally, options like Is empty or Is not empty allow you to filter based on whether a field contains any data. When using these options, the search box will disappear, as no search term is needed.
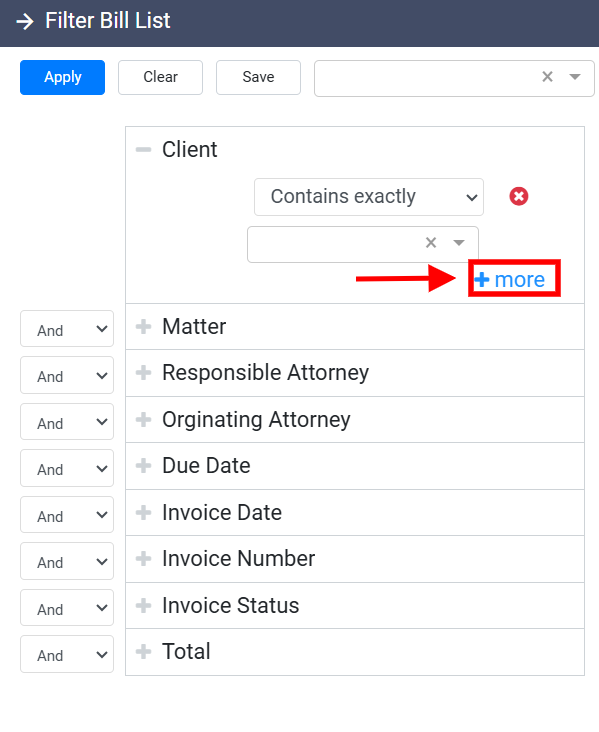
For more advanced filtering, you can refine your results further by adding additional criteria. To do this, click the More button at the bottom of the panel, which will expand to reveal a second dropdown menu and search box. You can then set a second filtering condition using the same process.
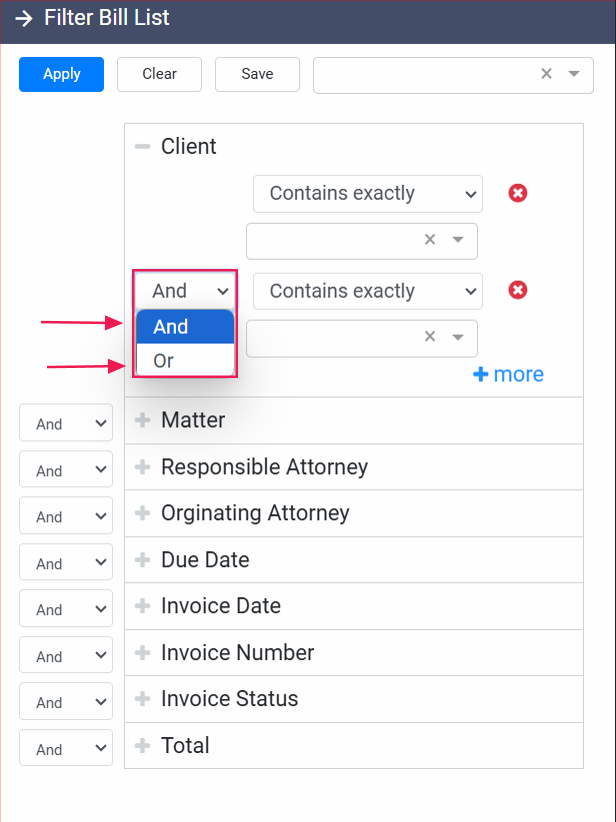
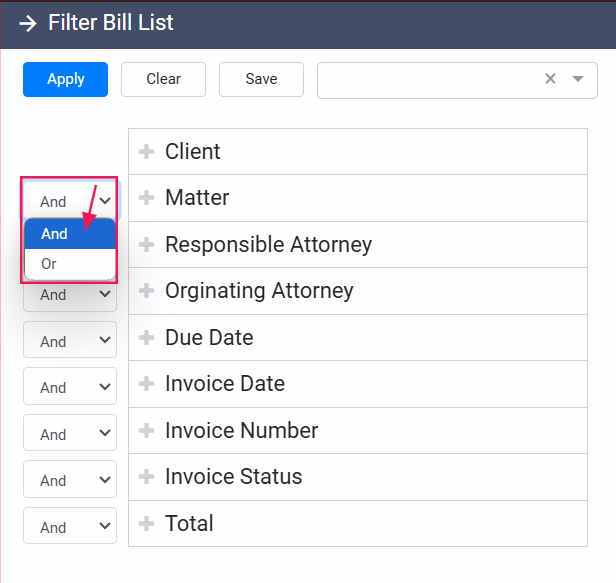
At this point, you must decide whether both conditions should be met simultaneously (And) or if results matching either condition should be included (Or) from the right-side drop-down menu. The system defaults to And, meaning the results must meet both criteria, but you can easily switch this to Or to broaden the search.
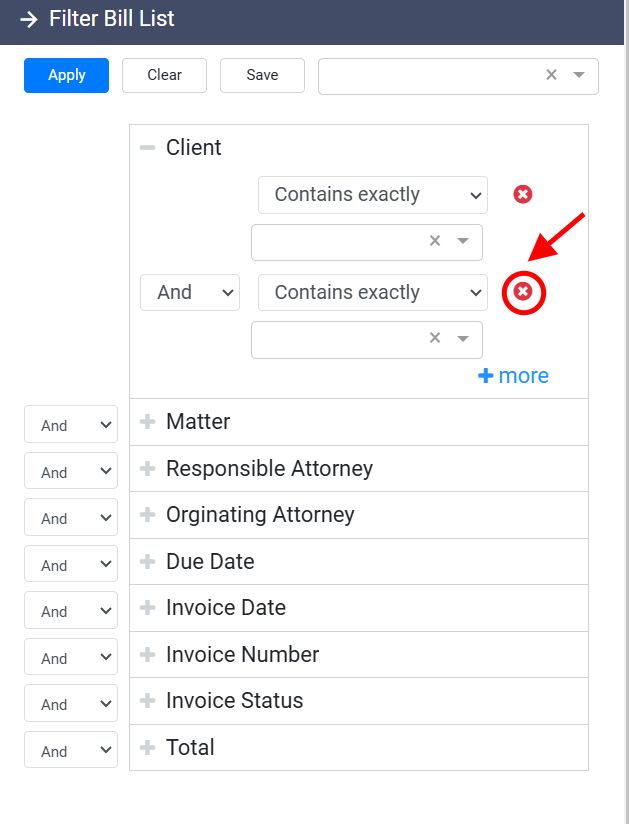
If you no longer need the second condition, remove it by clicking the X button next to the second search box.
In situations where you need to apply multiple filters across different fields, RunSensible allows you to combine several criteria simultaneously. After defining one filter, move on to the next by selecting additional fields via the Plus button.
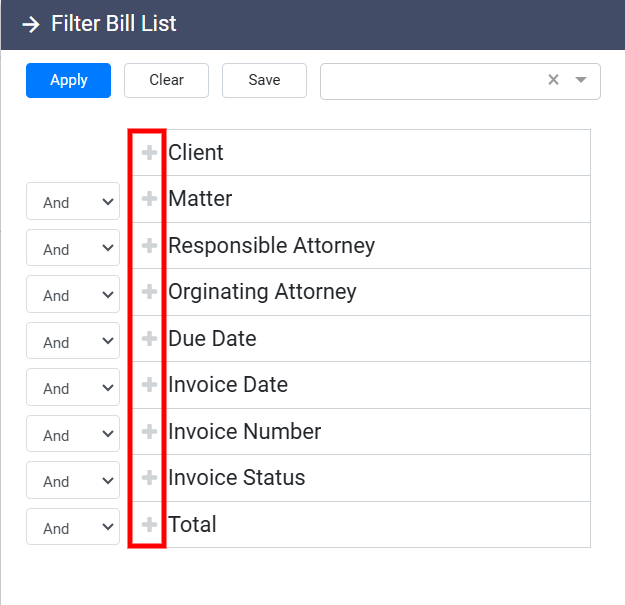
You can then establish values for each additional field, just as you did for the first. As with the dual-value filter, you will need to decide if all criteria must be met (And) or if the results can match any of the applied filters (Or) from the right-side drop-down menu. This flexibility allows you to create highly customized search results that meet complex filtering needs across multiple fields.
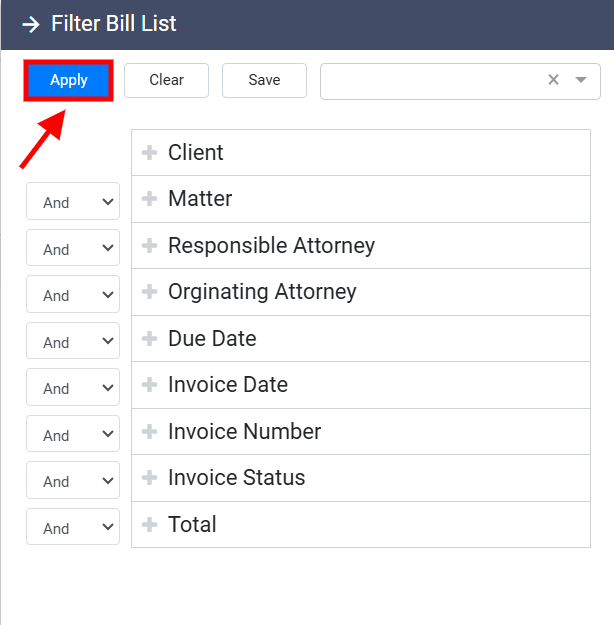
Now Make sure to click the Apply button after selecting your desired filters. Your matter list will automatically update to show only the matters that match the chosen criteria.
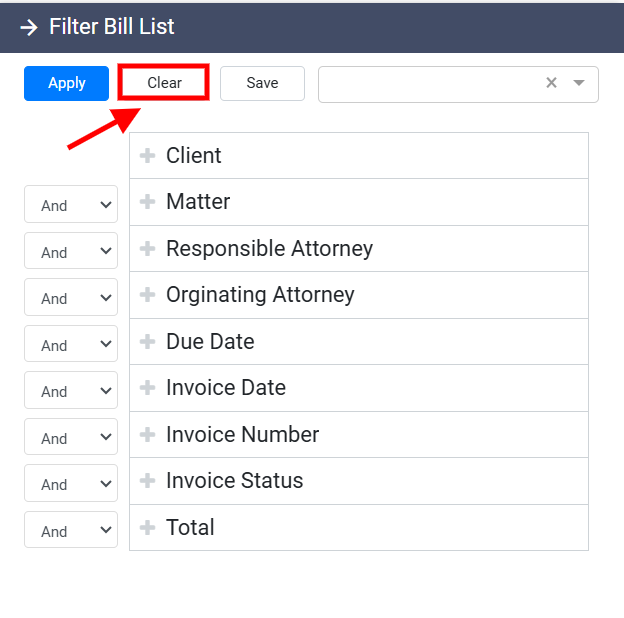
To remove filters and see the complete matters list again, click the Clear button.
For convenience, RunSensible also provides the option to save your filters for future use. To do so, click the Save button at the top of the filter panel after you’ve set your filters.
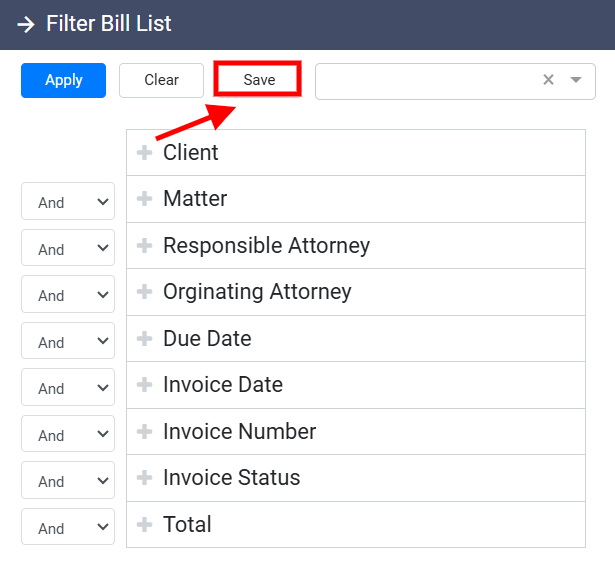
This will open the Save Current Filter panel, where you can enter a name for your filter.

Once saved, you can easily retrieve it by searching for the filter name in the Search box located at the top right of the filter panel. This feature allows you to quickly apply frequently used filters without the need to reconfigure the settings each time.
To close the filter page, simply click on “Filter Bill List”.
