Managing Bills
On the left side of each bill in the Bills List, there are two options you can use to manage your bills. The first option is the three-dot menu. By clicking on this button, a small menu will appear with two additional options. The first option, Show Details, allows you to access the bill’s detailed panel, where you can view and edit the full information related to that bill. The second option, Remove, gives you the ability to delete the bill from the list if needed.
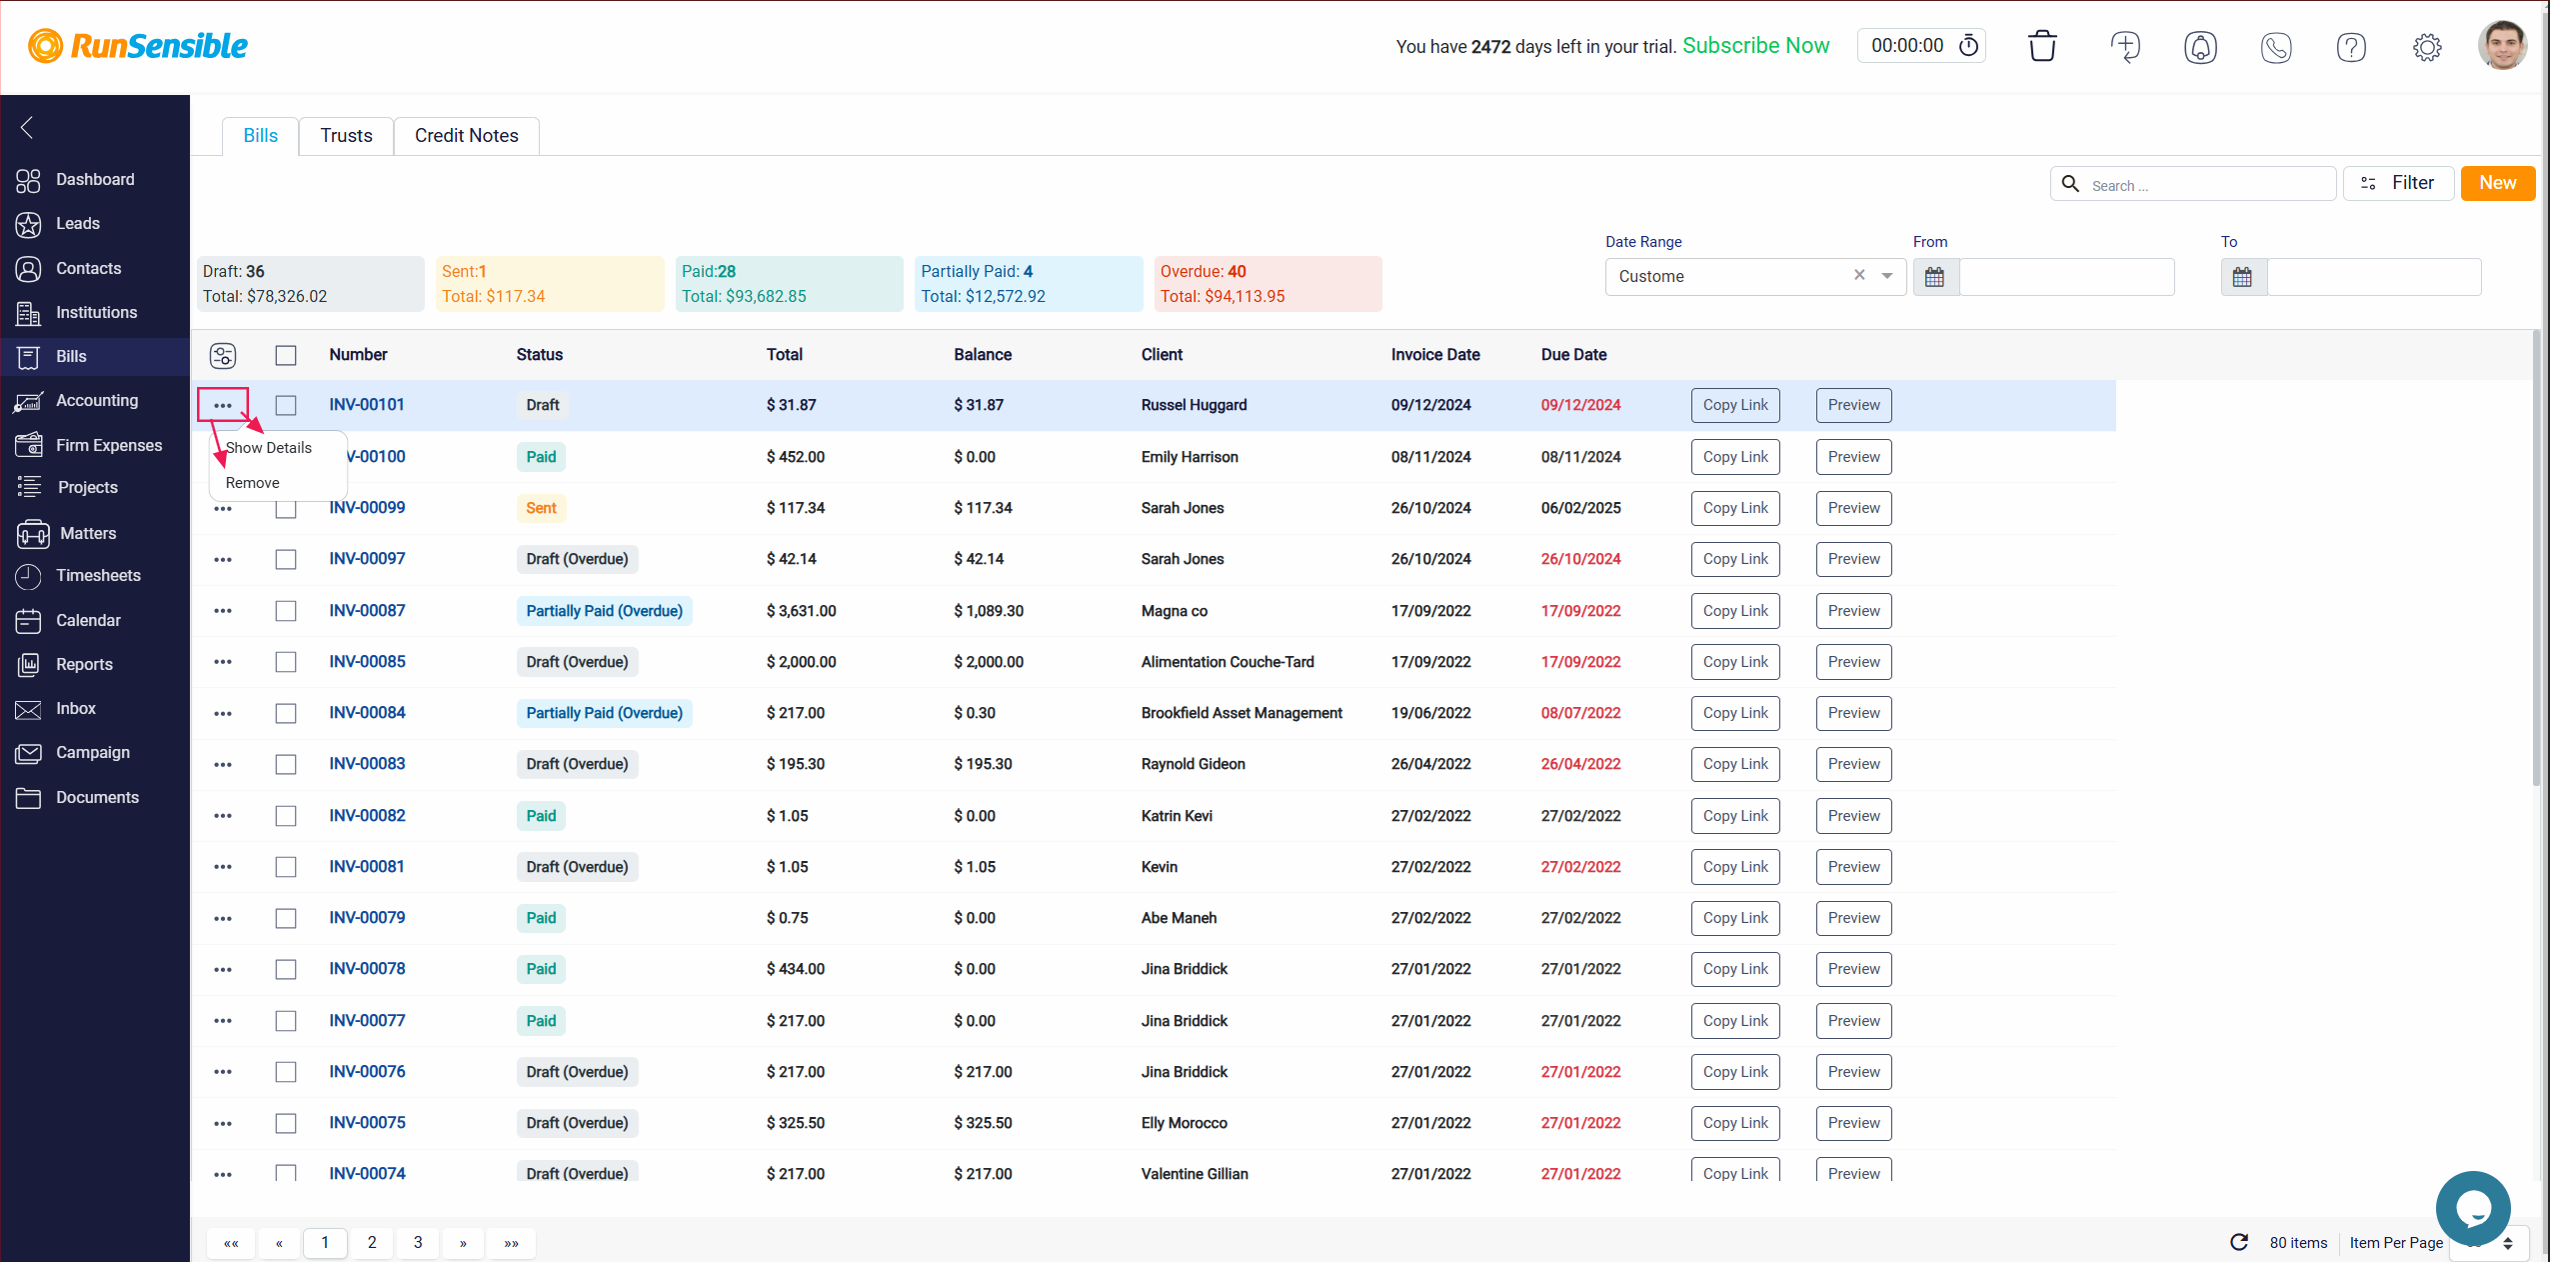
The second option available on the left side of each bill is a Checkbox.
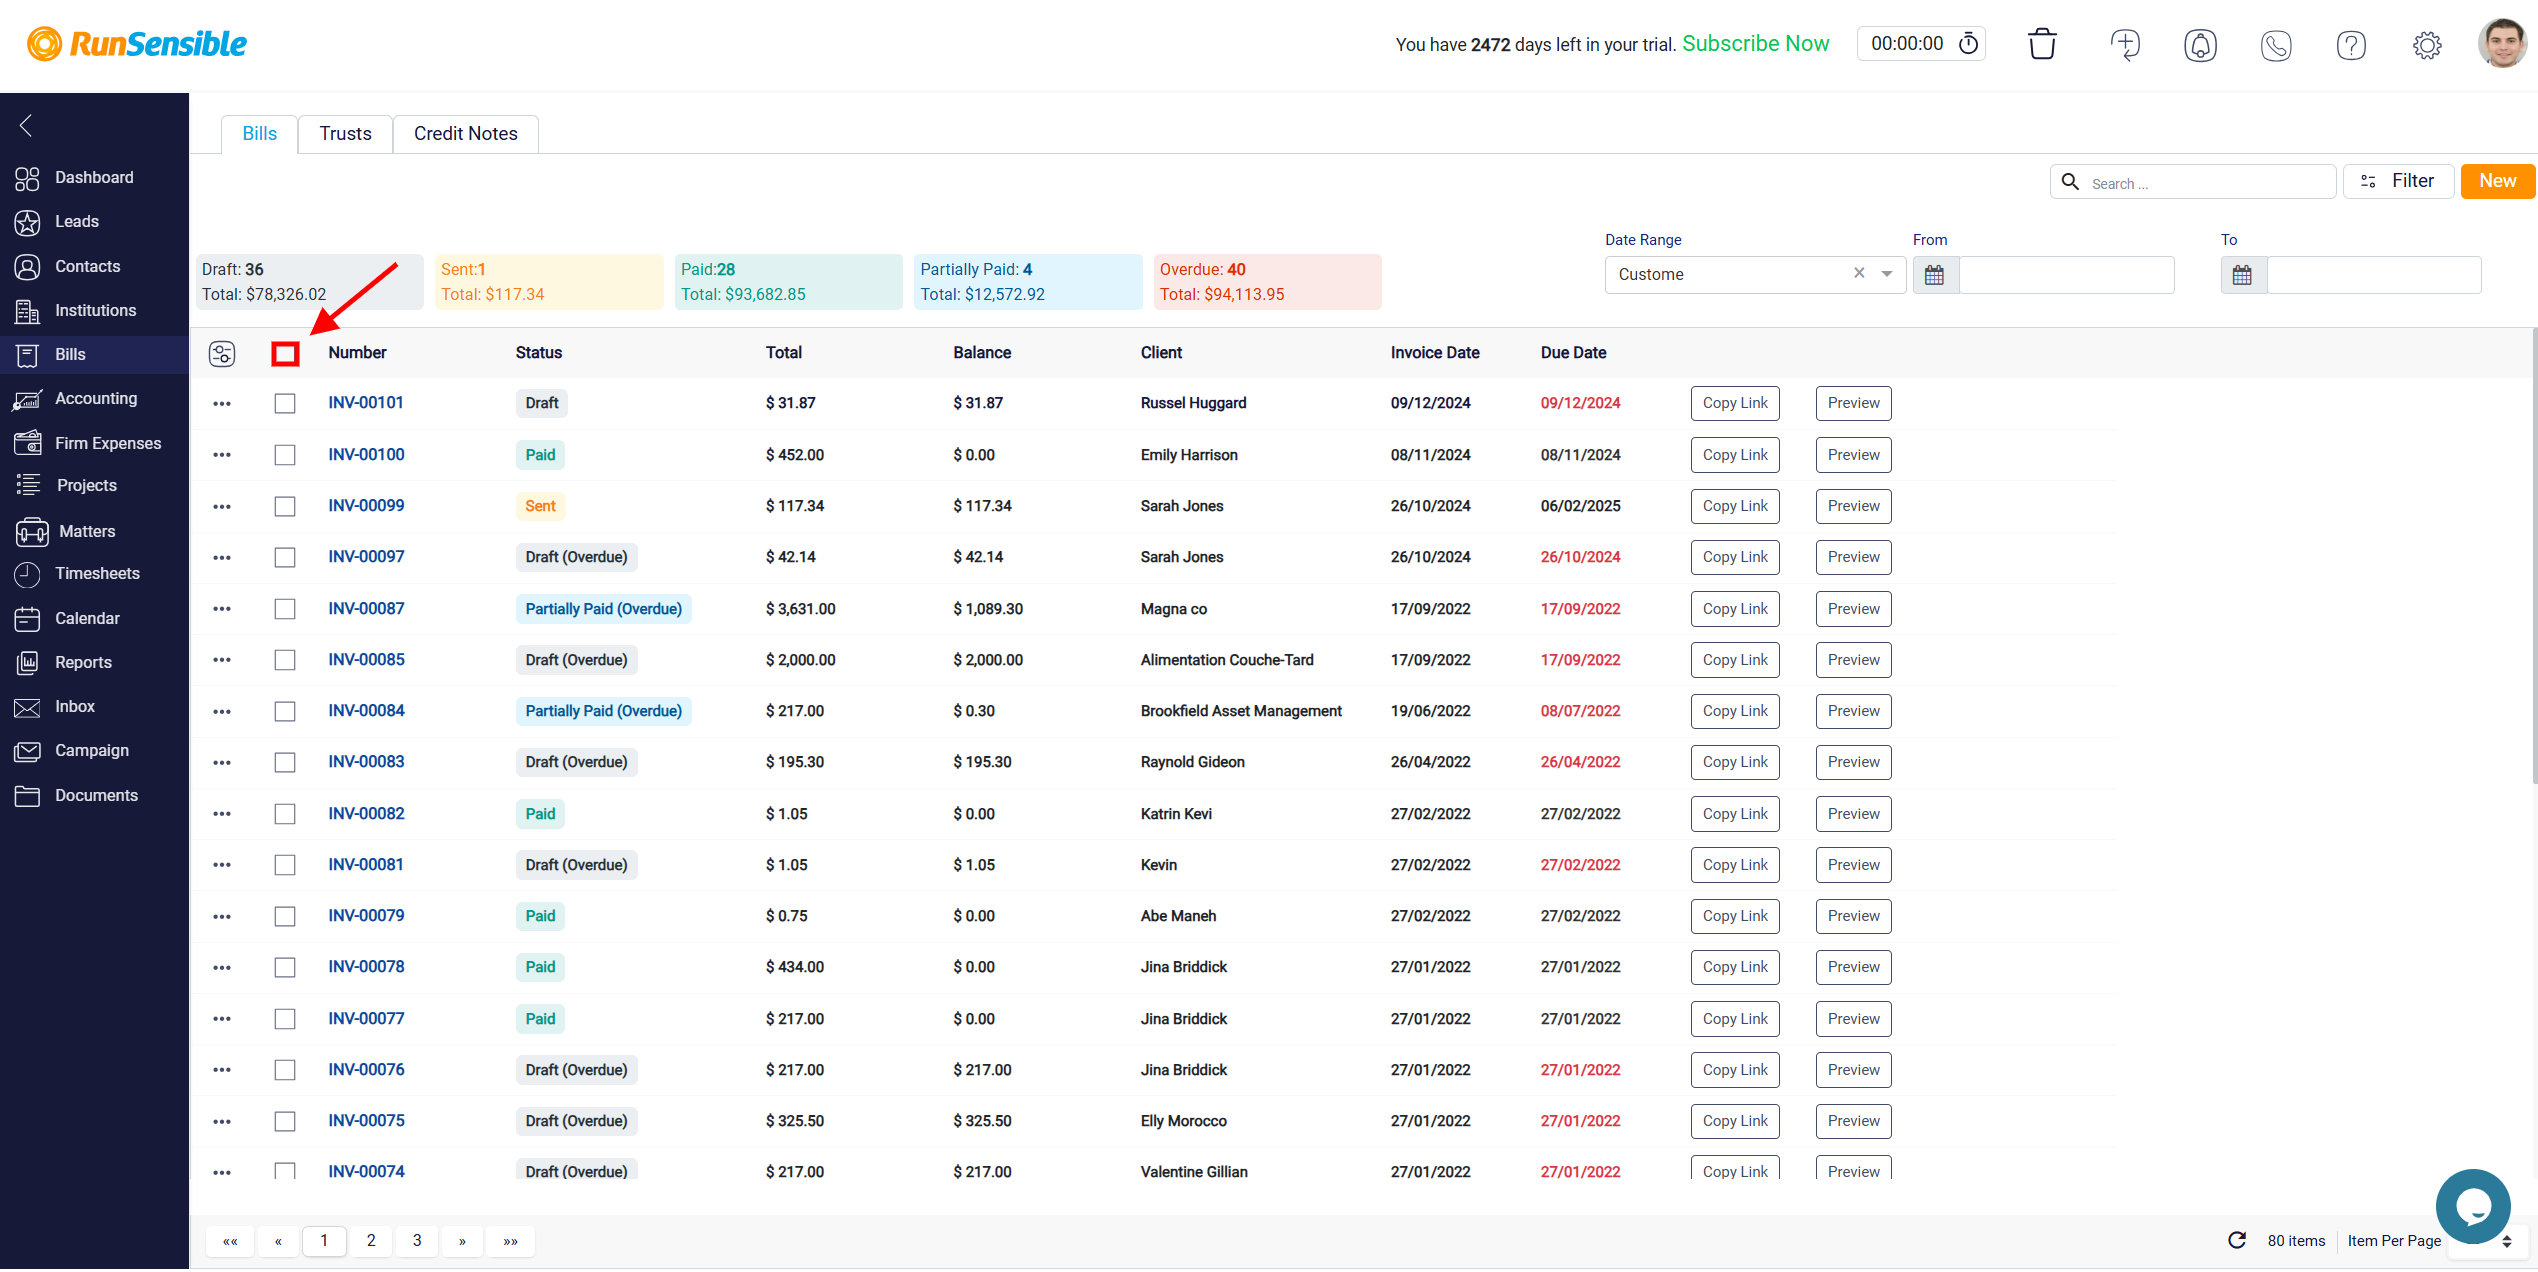
By selecting this checkbox, you can choose multiple bills simultaneously, allowing you to perform bulk actions with ease. Once you check one or more boxes, a new row of action buttons will appear at the top of the screen. The first button in this row is the Trash button, which enables you to delete all the selected bills at once. This is especially useful if you need to remove several bills without having to delete them individually.
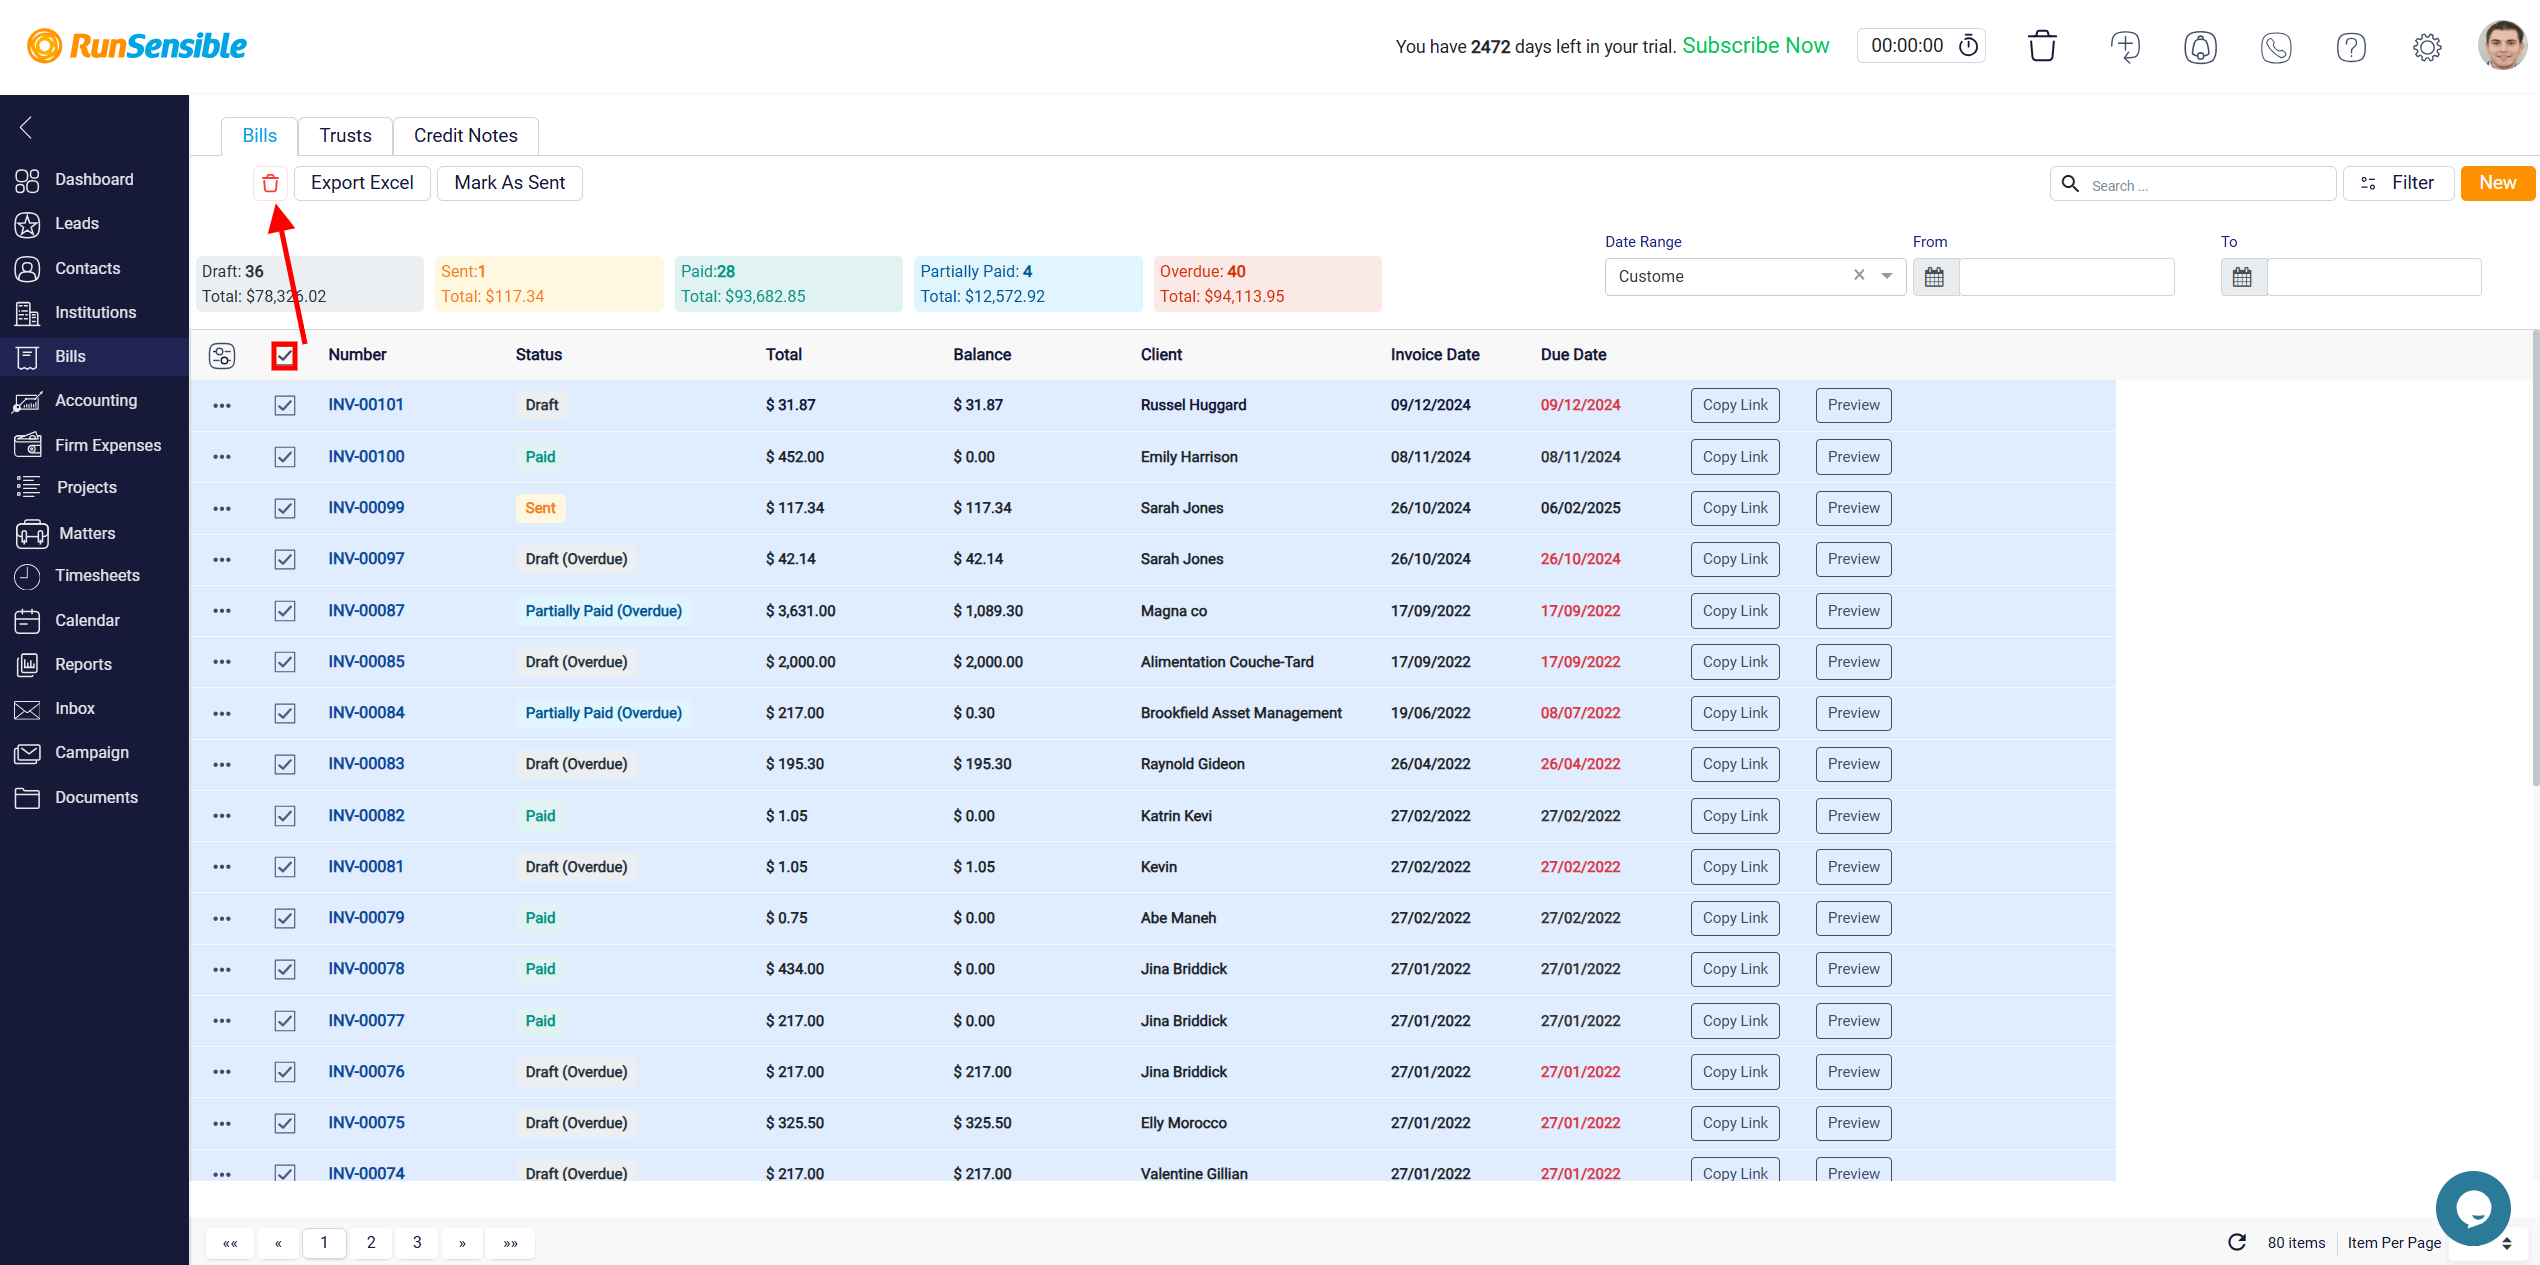
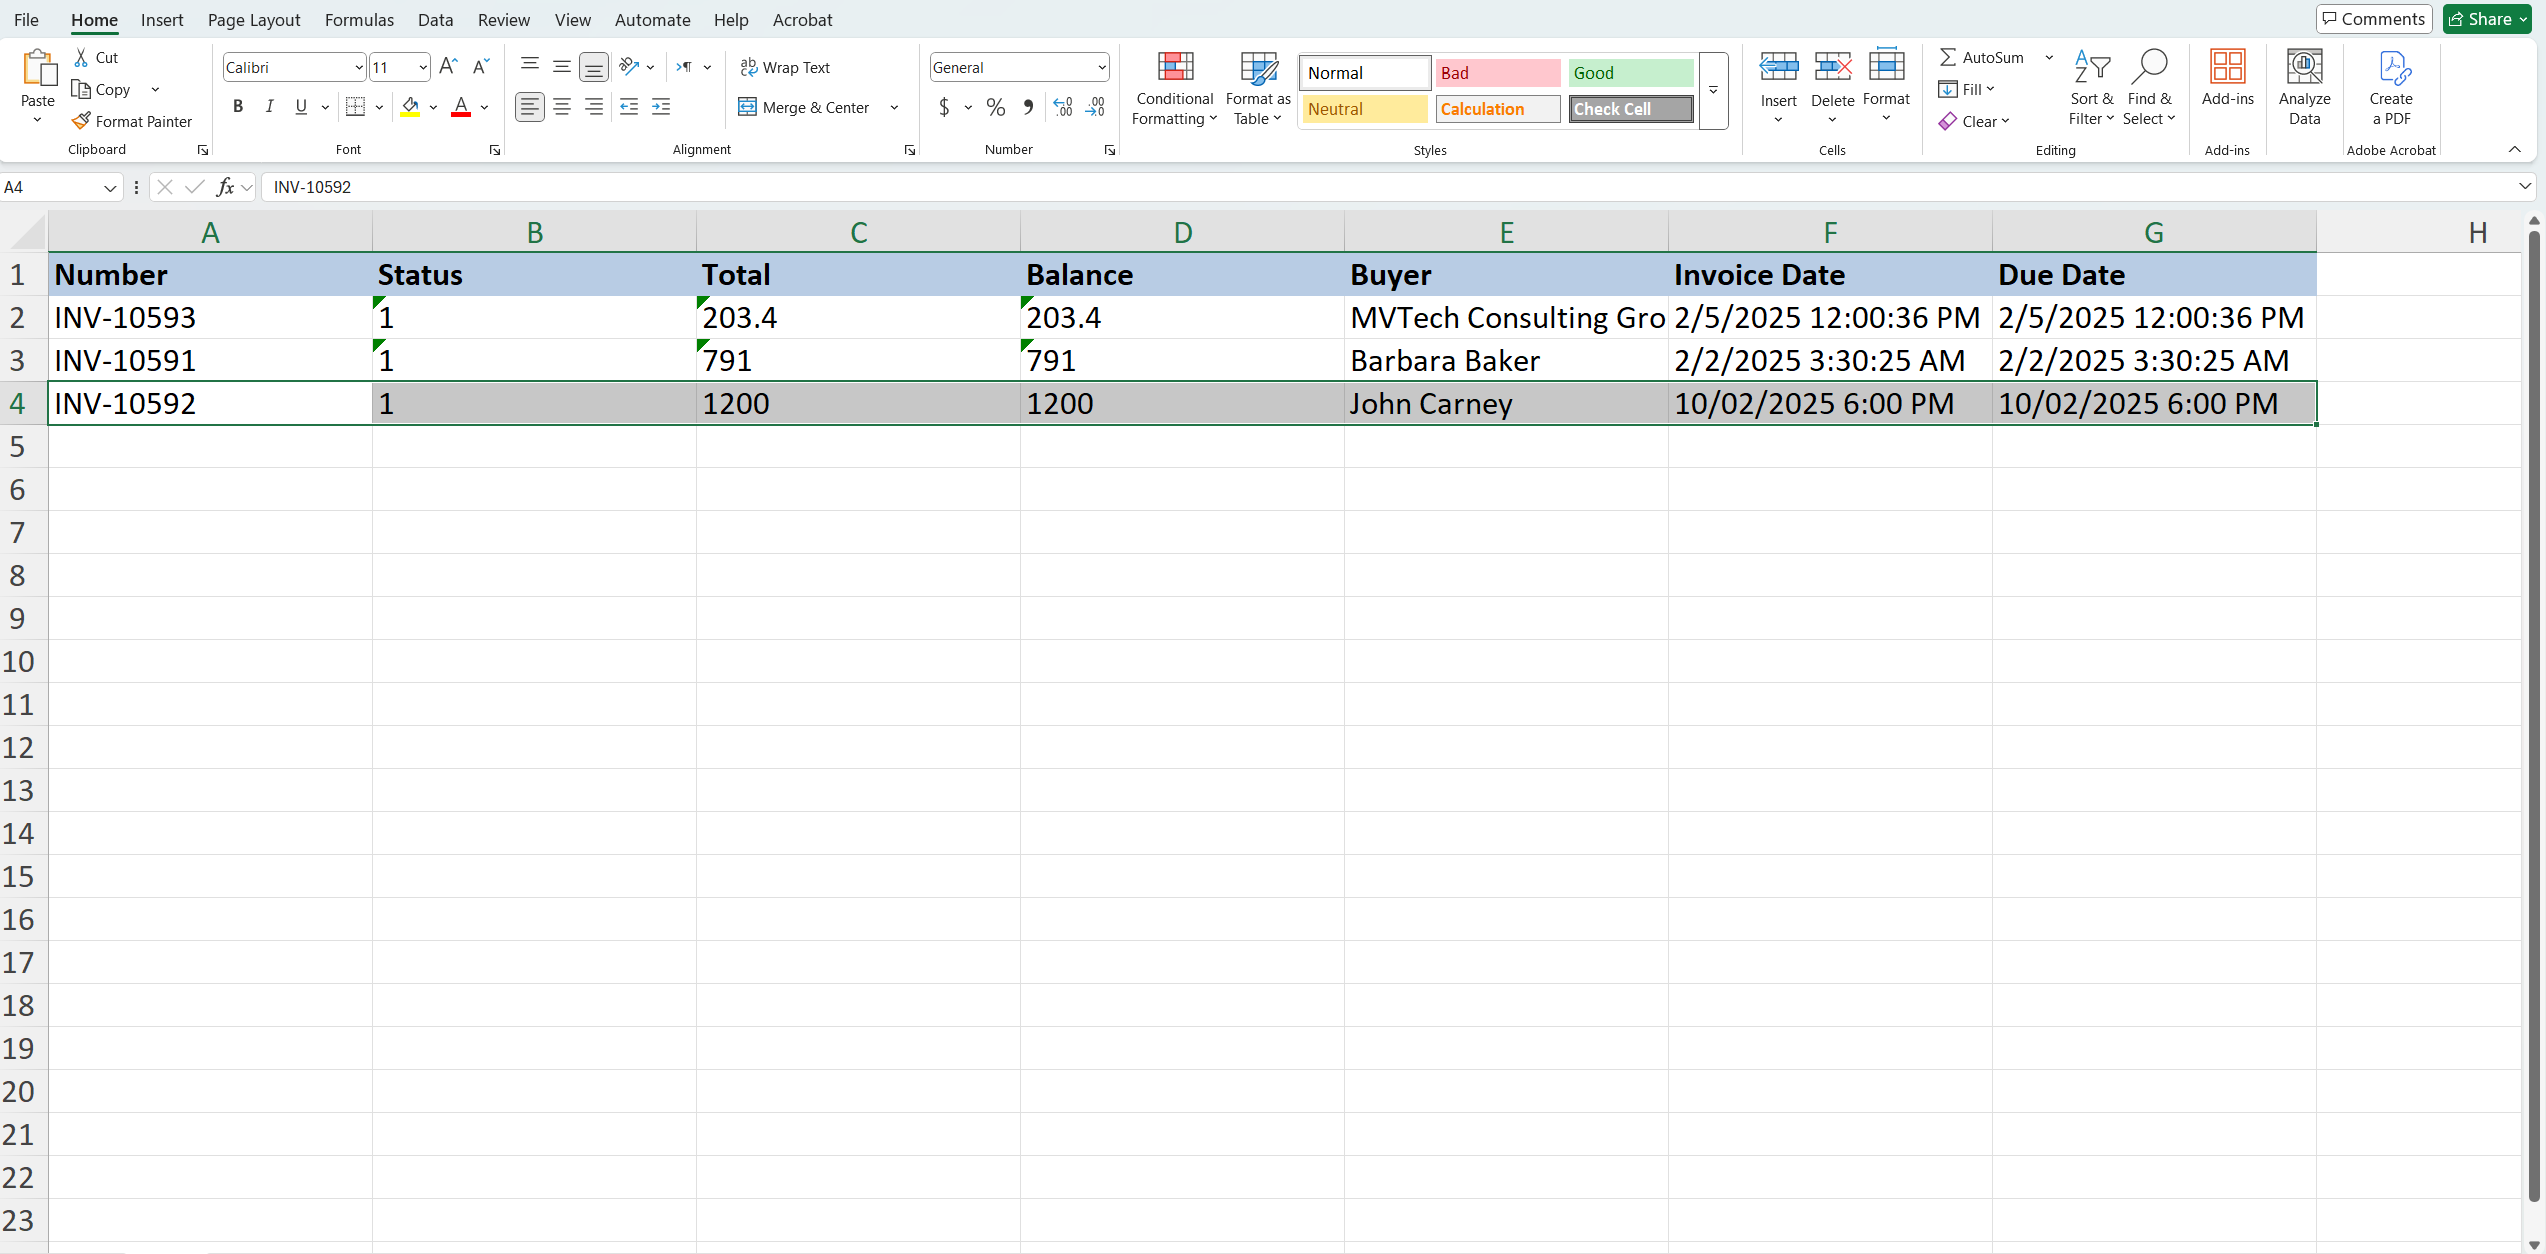
Next to the Trash button is the Export to Excel button. When you click on this button, an Excel file containing the details of all selected bills will be generated and sent to the email address associated with your logged-in account.
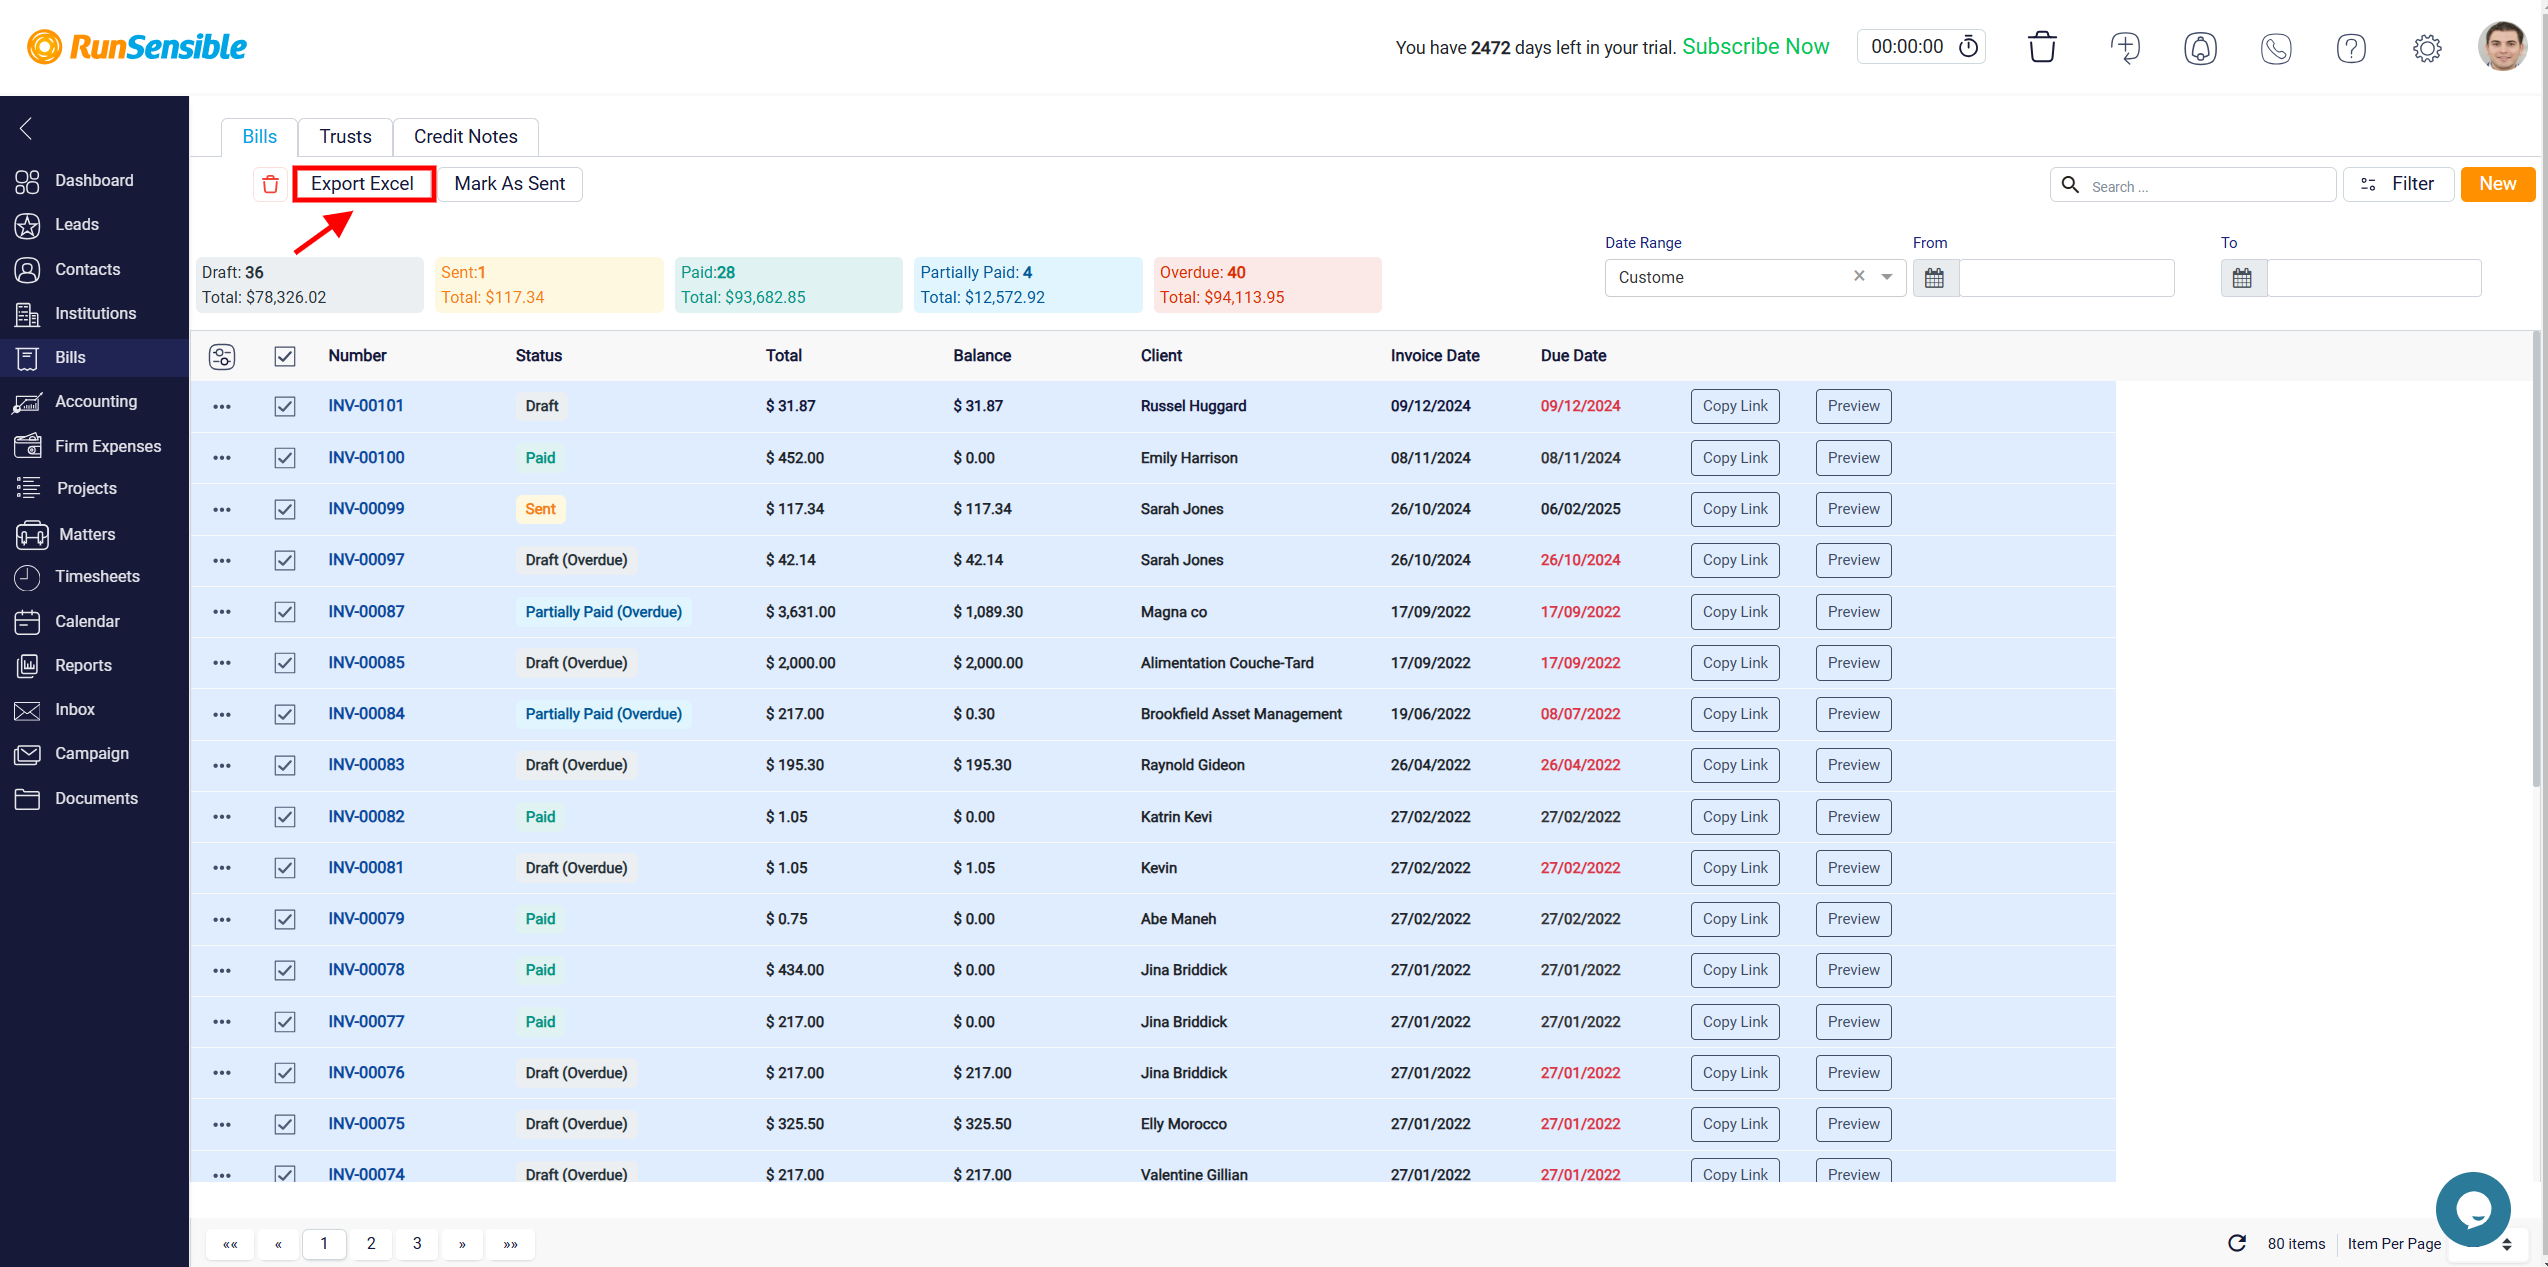
The Excel file will include essential information such as the Bill Number, Status, Total, Client, Invoice Date, and Due Date, organized into columns for easy reference. This allows you to have a detailed and downloadable record of your billing data in a format that can be used for further analysis or reporting.
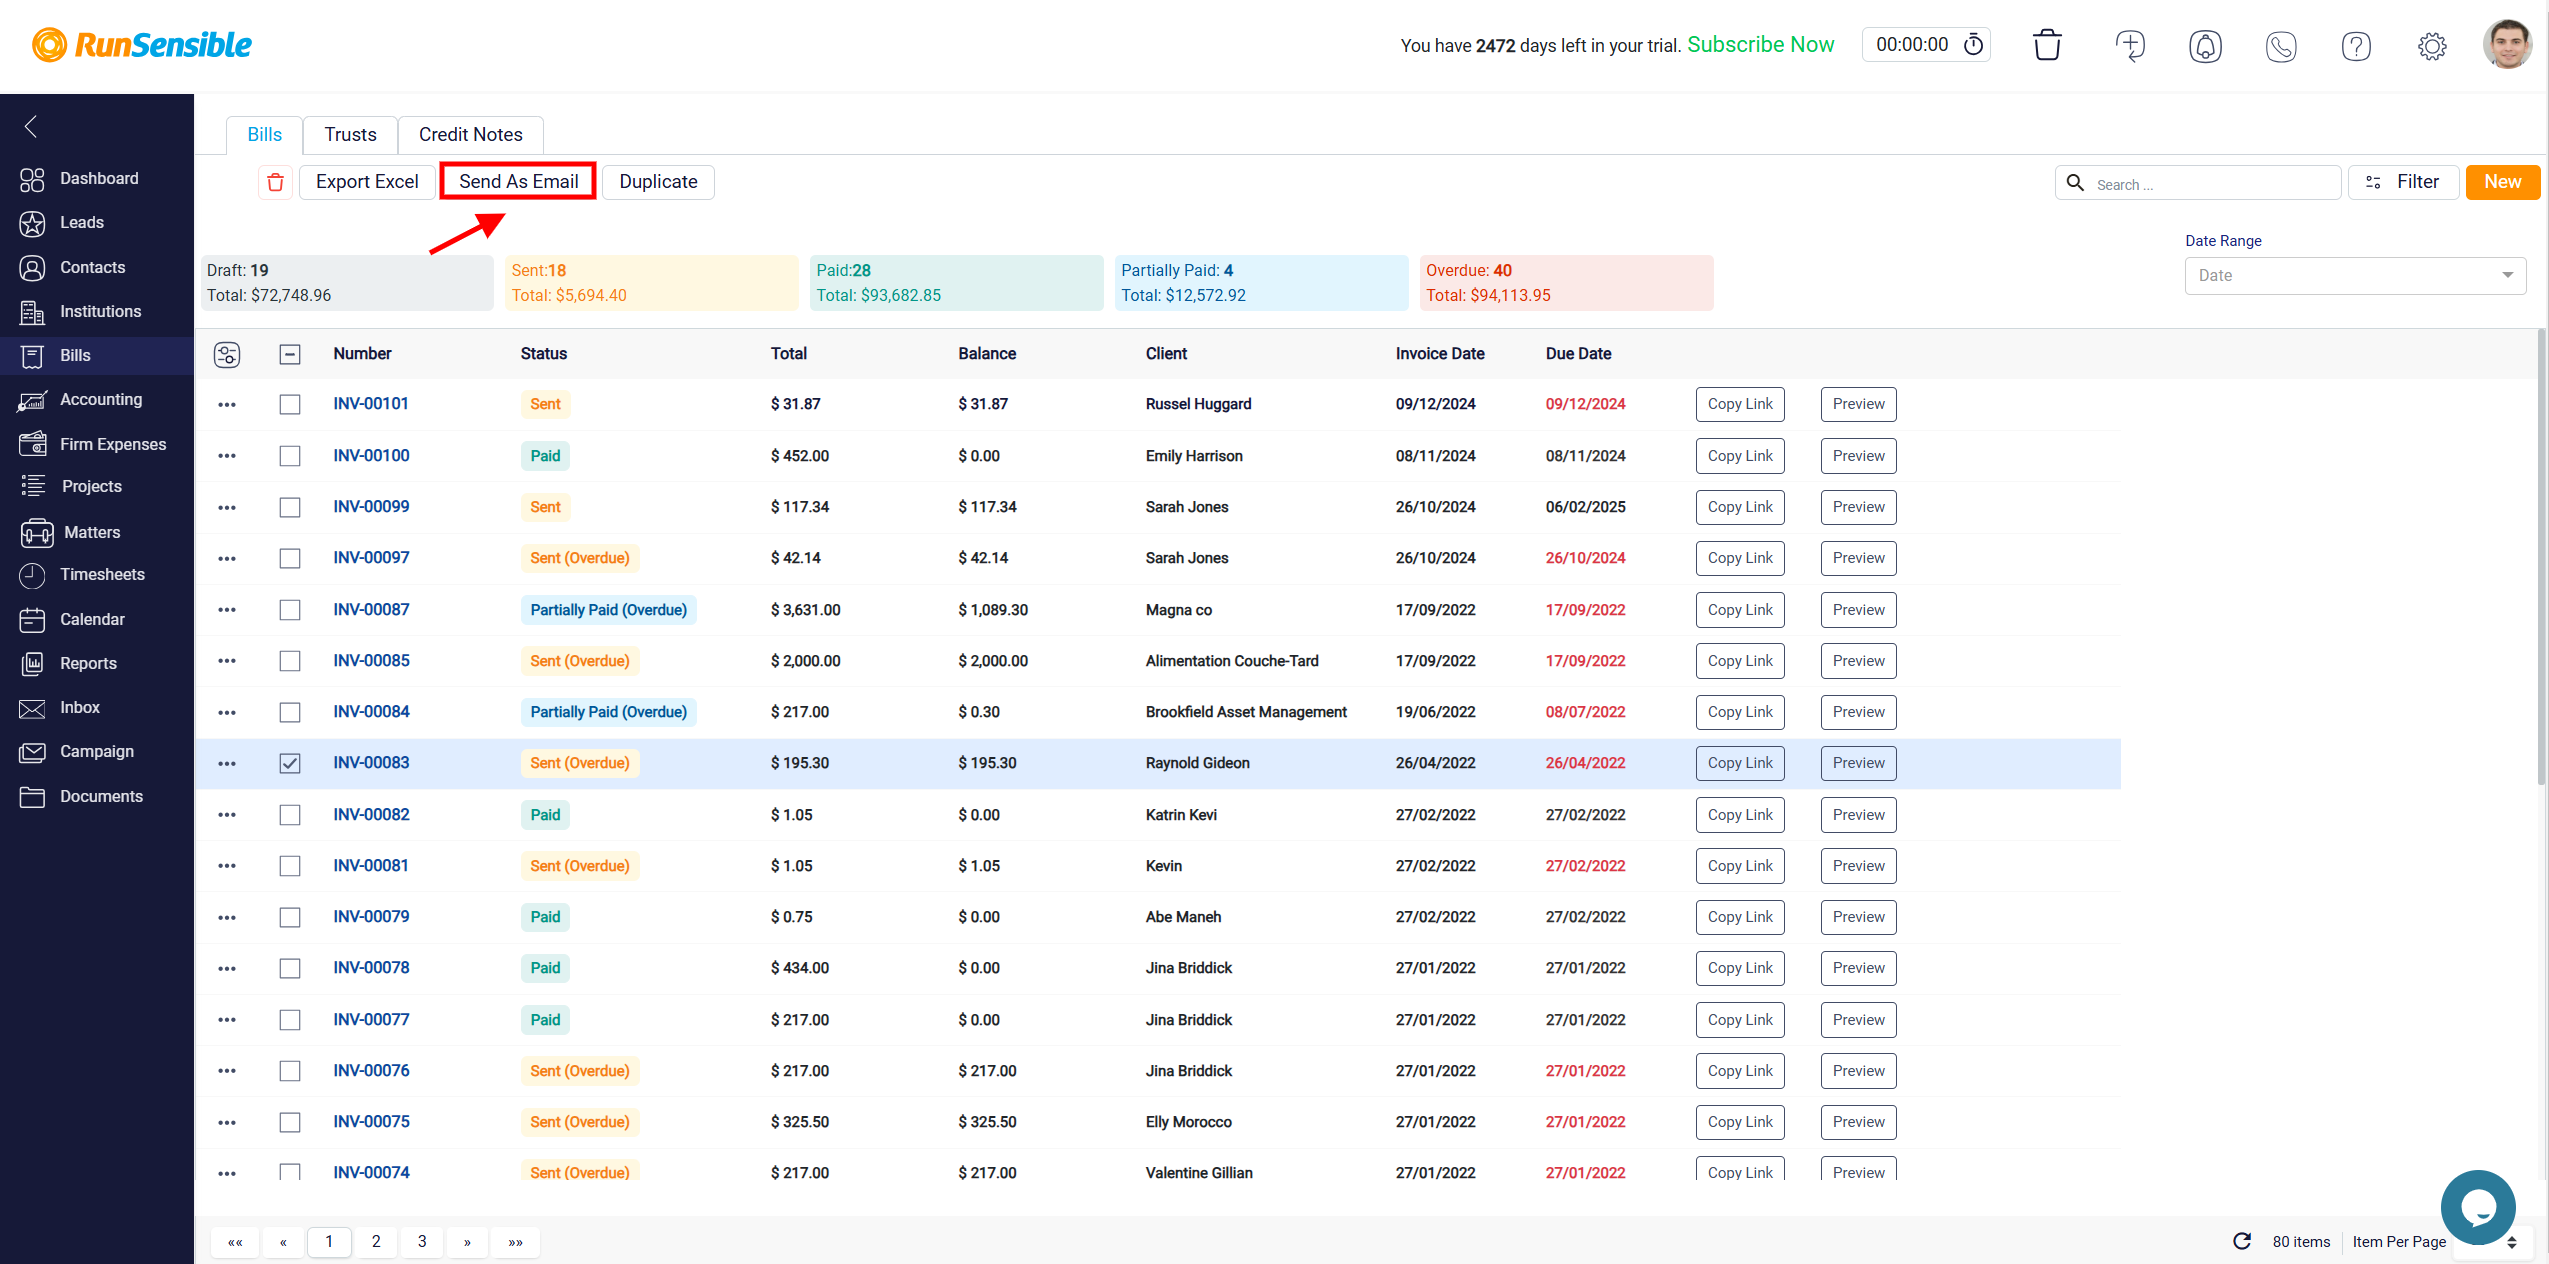
Following the Export to Excel button is the Send as Email button. Clicking this button opens an email panel that is automatically populated with the client’s email address and the relevant bill details. In addition to the bill information, the email includes a Pay Now button, which allows the client to conveniently pay the bill online. This feature simplifies the process of sending bills and ensures that the client has all the necessary details to complete the payment efficiently.
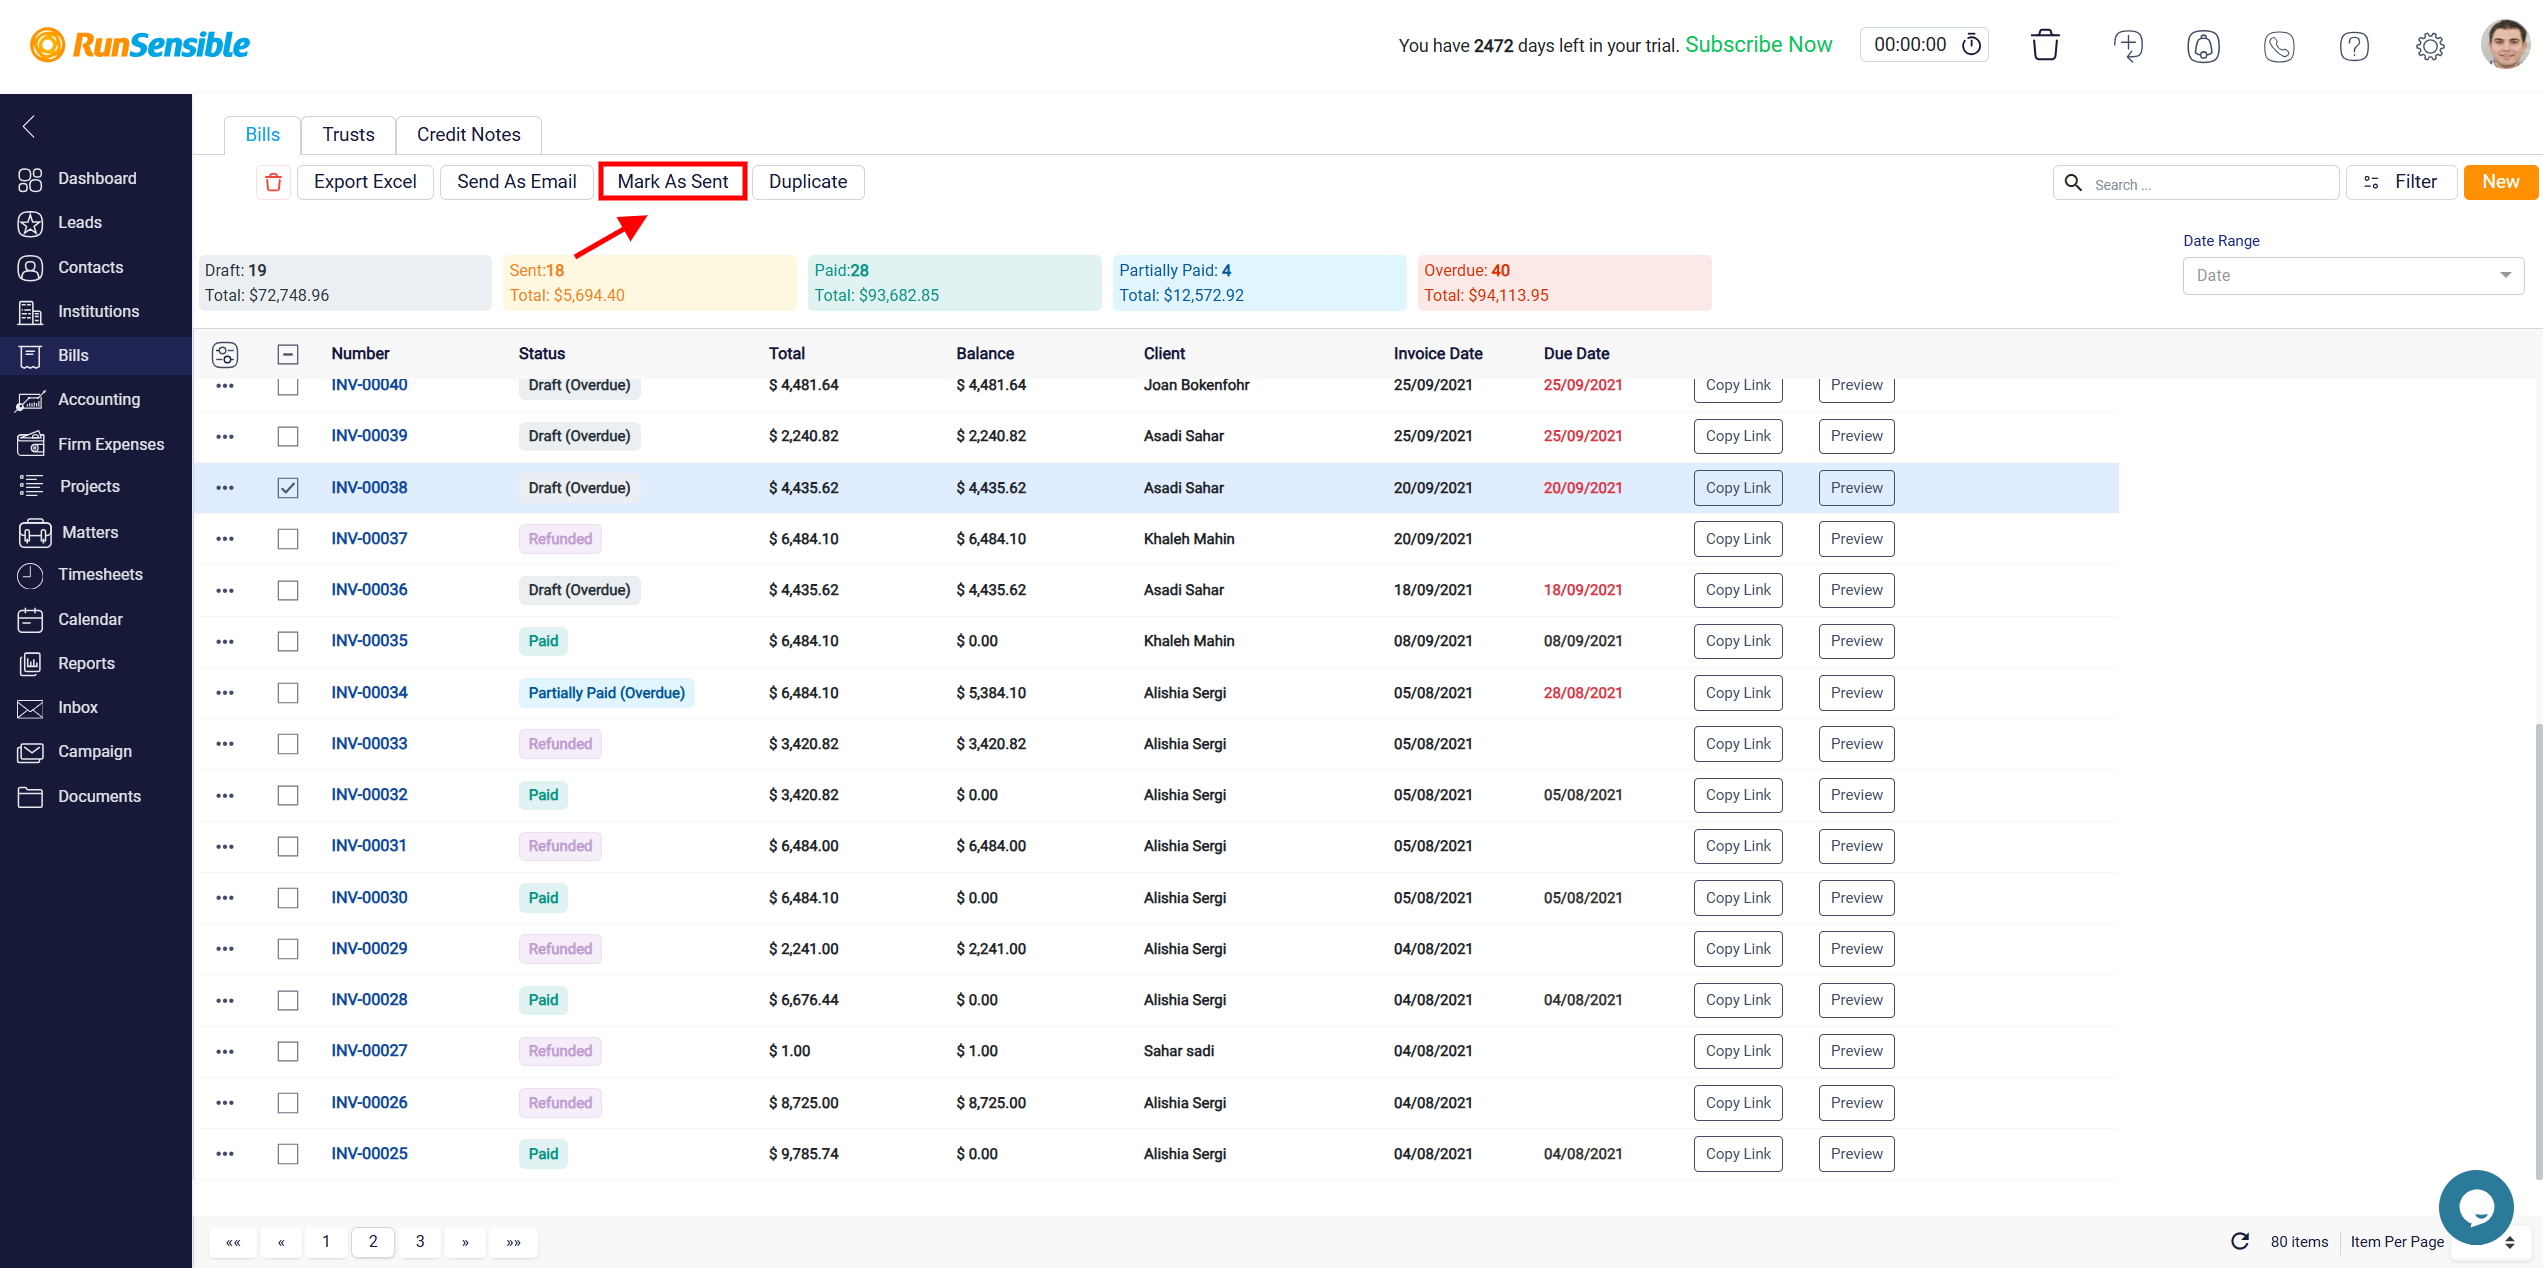
The next action is the Mark as Sent button. By clicking this button, you can manually mark multiple bills as sent within the system. This feature is particularly useful when you have already notified the client of the bill through other means, outside of the system, and want to update the bill’s status for tracking purposes.
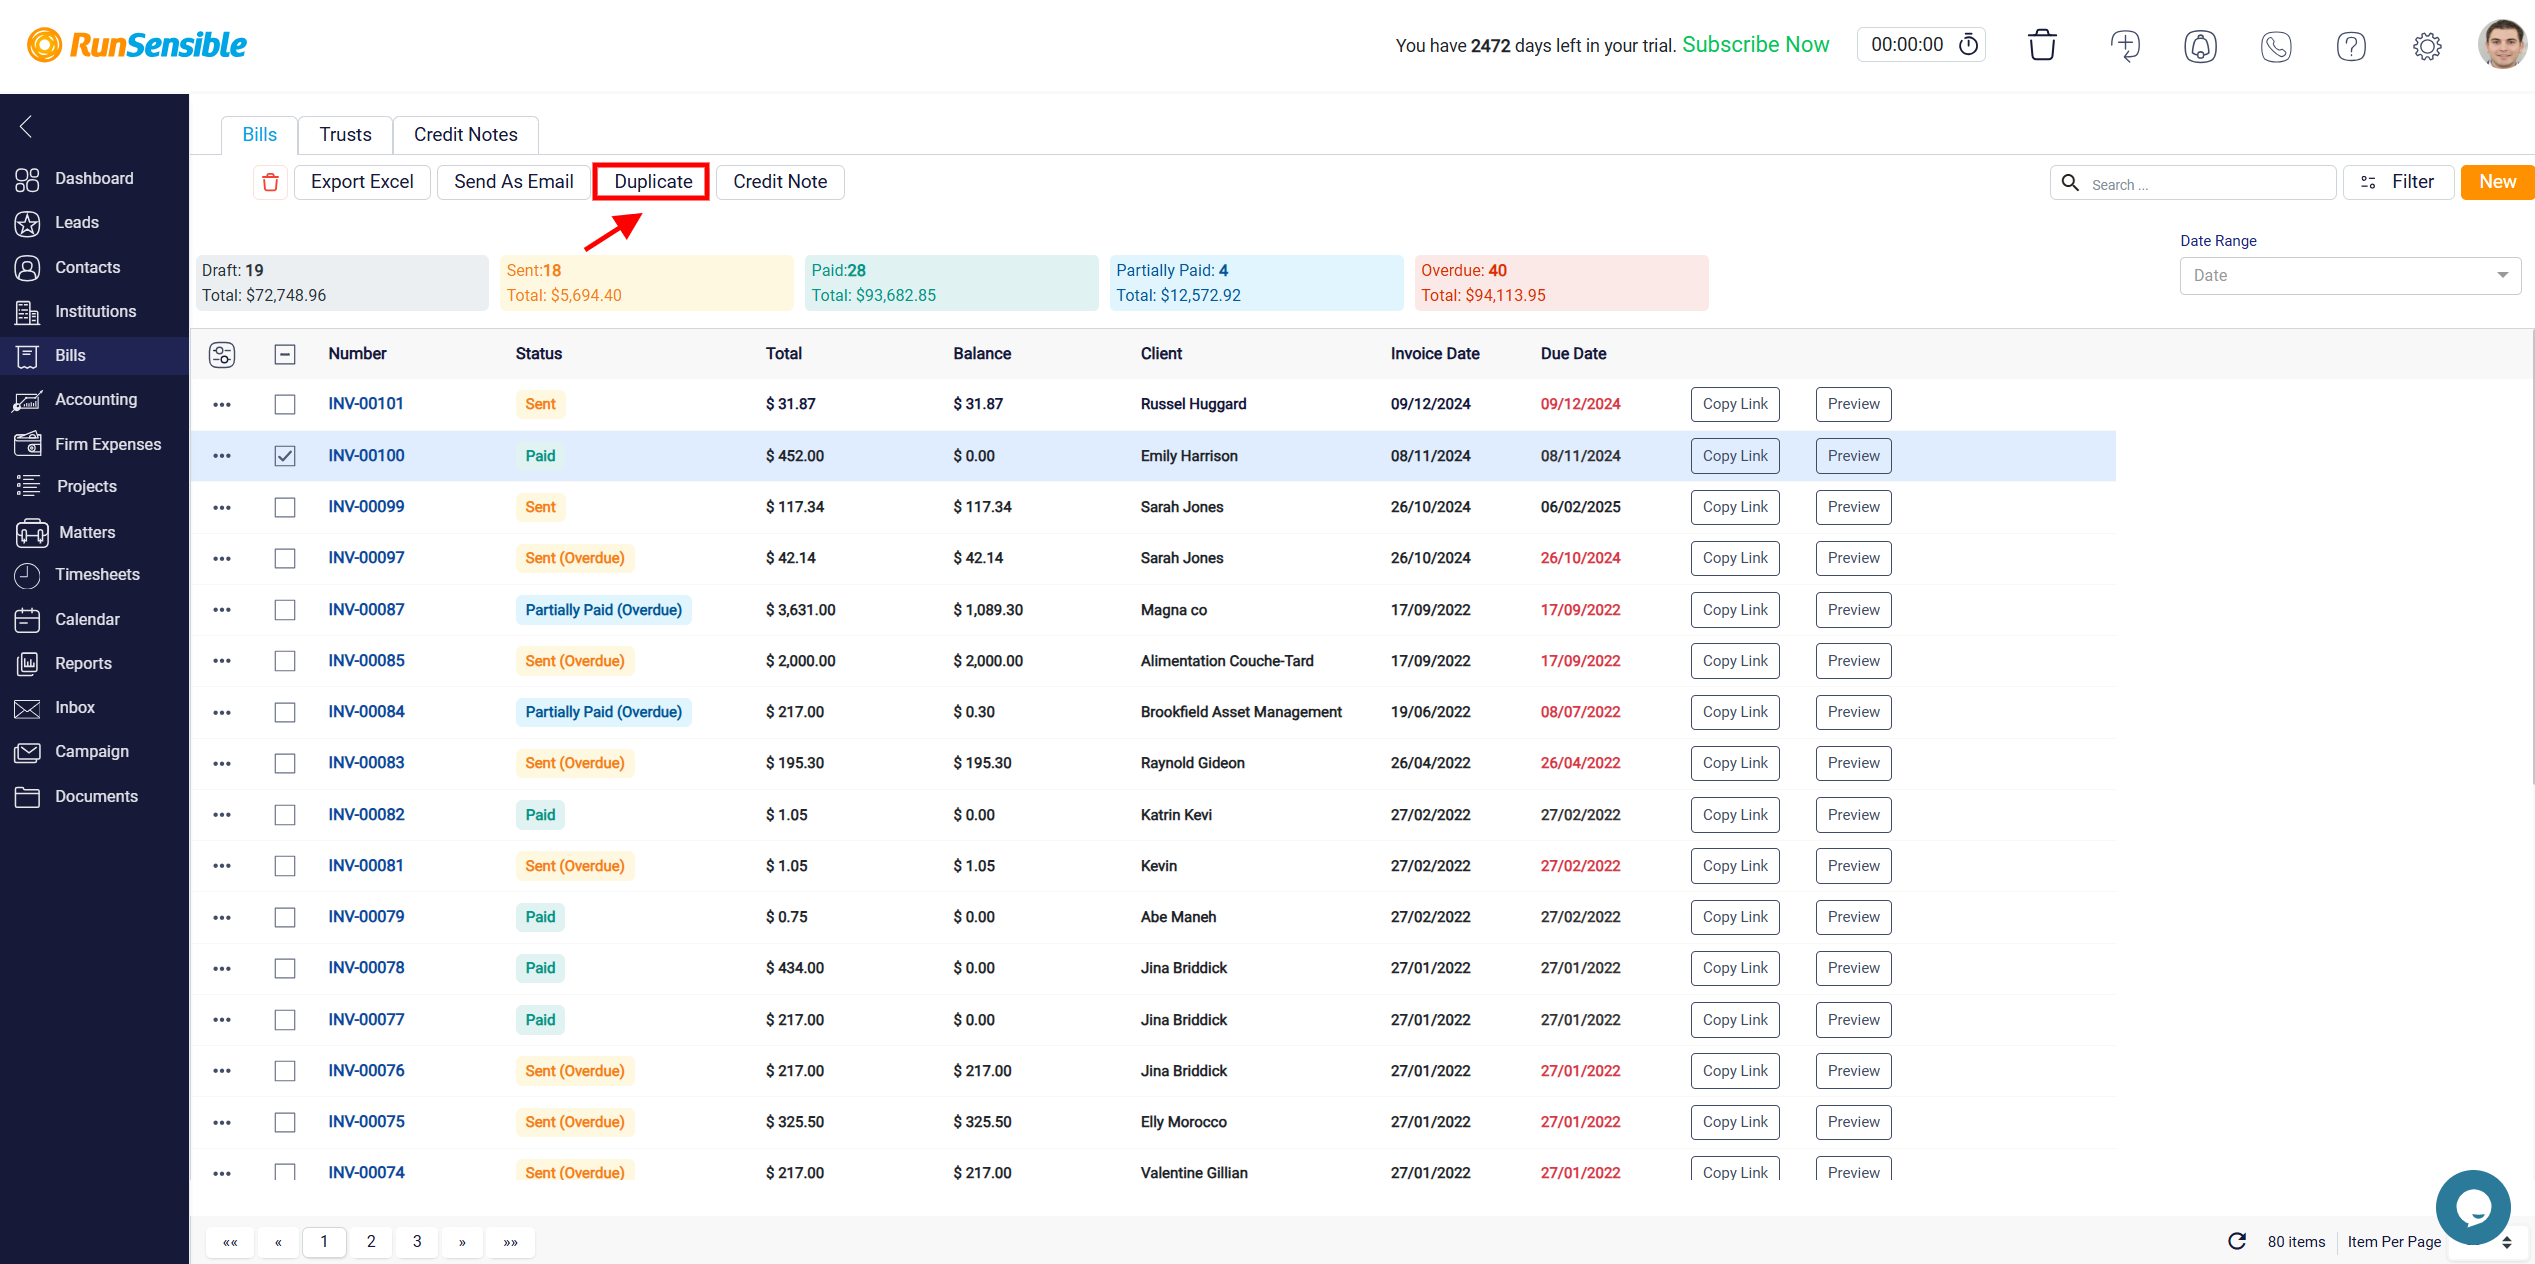
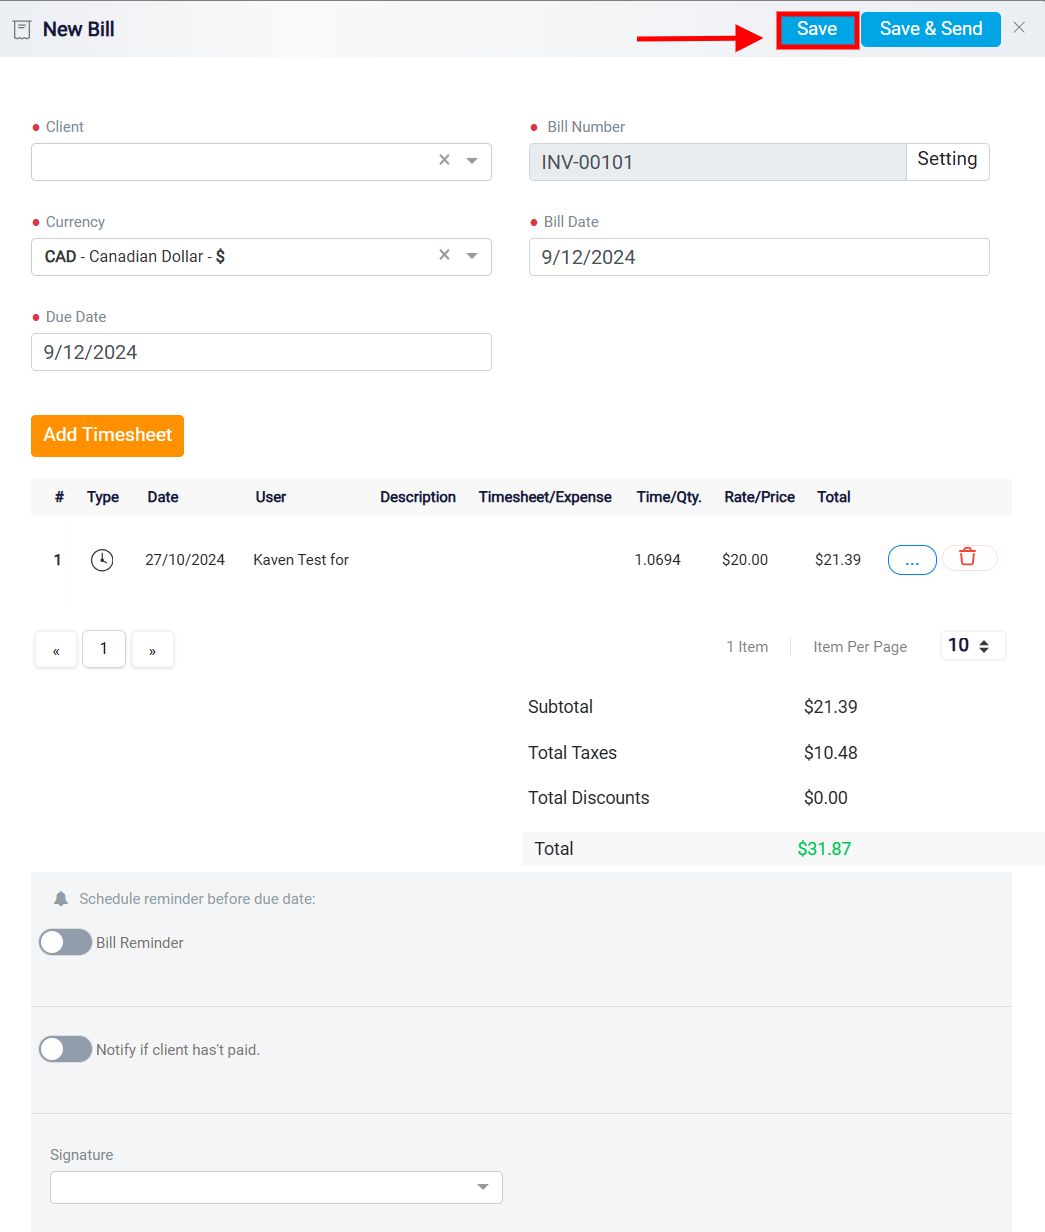
Another useful action is the Duplicate button, which allows you to create a copy of a bill. When you click on this button, a new bill panel will open, identical to the process of creating a new bill. You can then customize the duplicated bill with any necessary changes or edits.
Once you have finished adjusting the details, click the Save button located at the top-right corner of the screen to store the new version of the bill.
Note: If you select more than one bill, the Send as Email and Duplicate buttons will not appear at the top. This is because these actions cannot be applied to multiple bills at the same time due to the nature of their functionality. Additionally, if you select a bill that is already marked as Sent, the Send as Email option will also not be available, as the system recognizes that the bill has already been sent to the client.