Searching and Customizing Bills
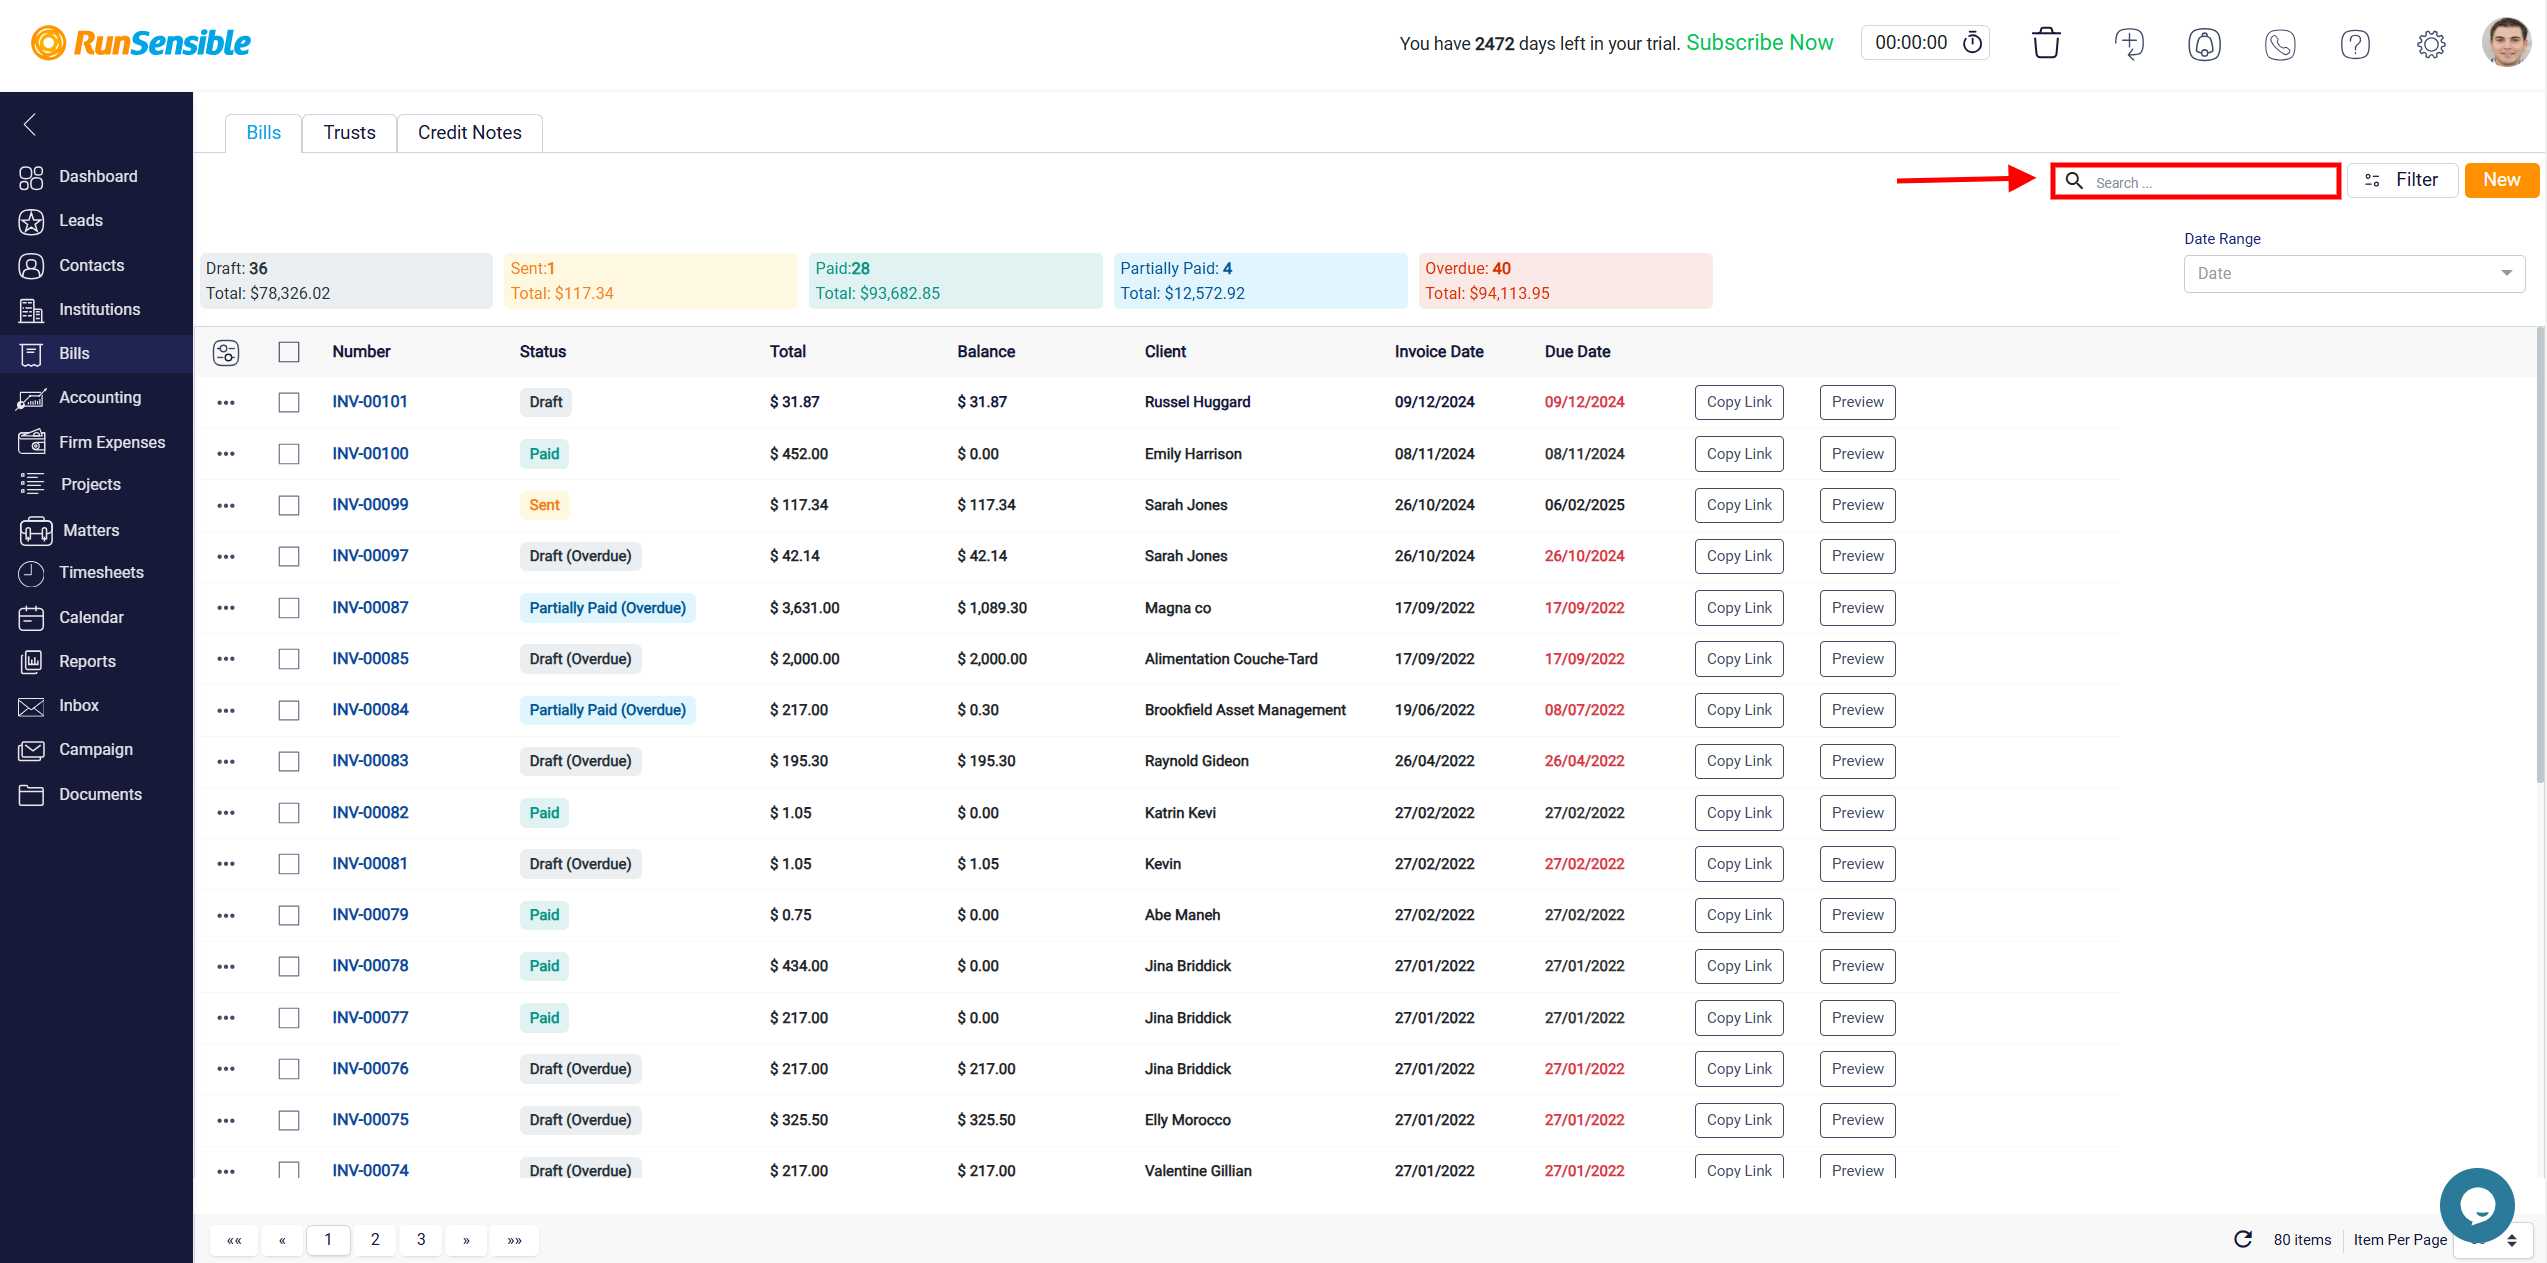
To the left of the Filter button, you will find a Search box that you can use to look up a specific bill by entering the relevant bill number.
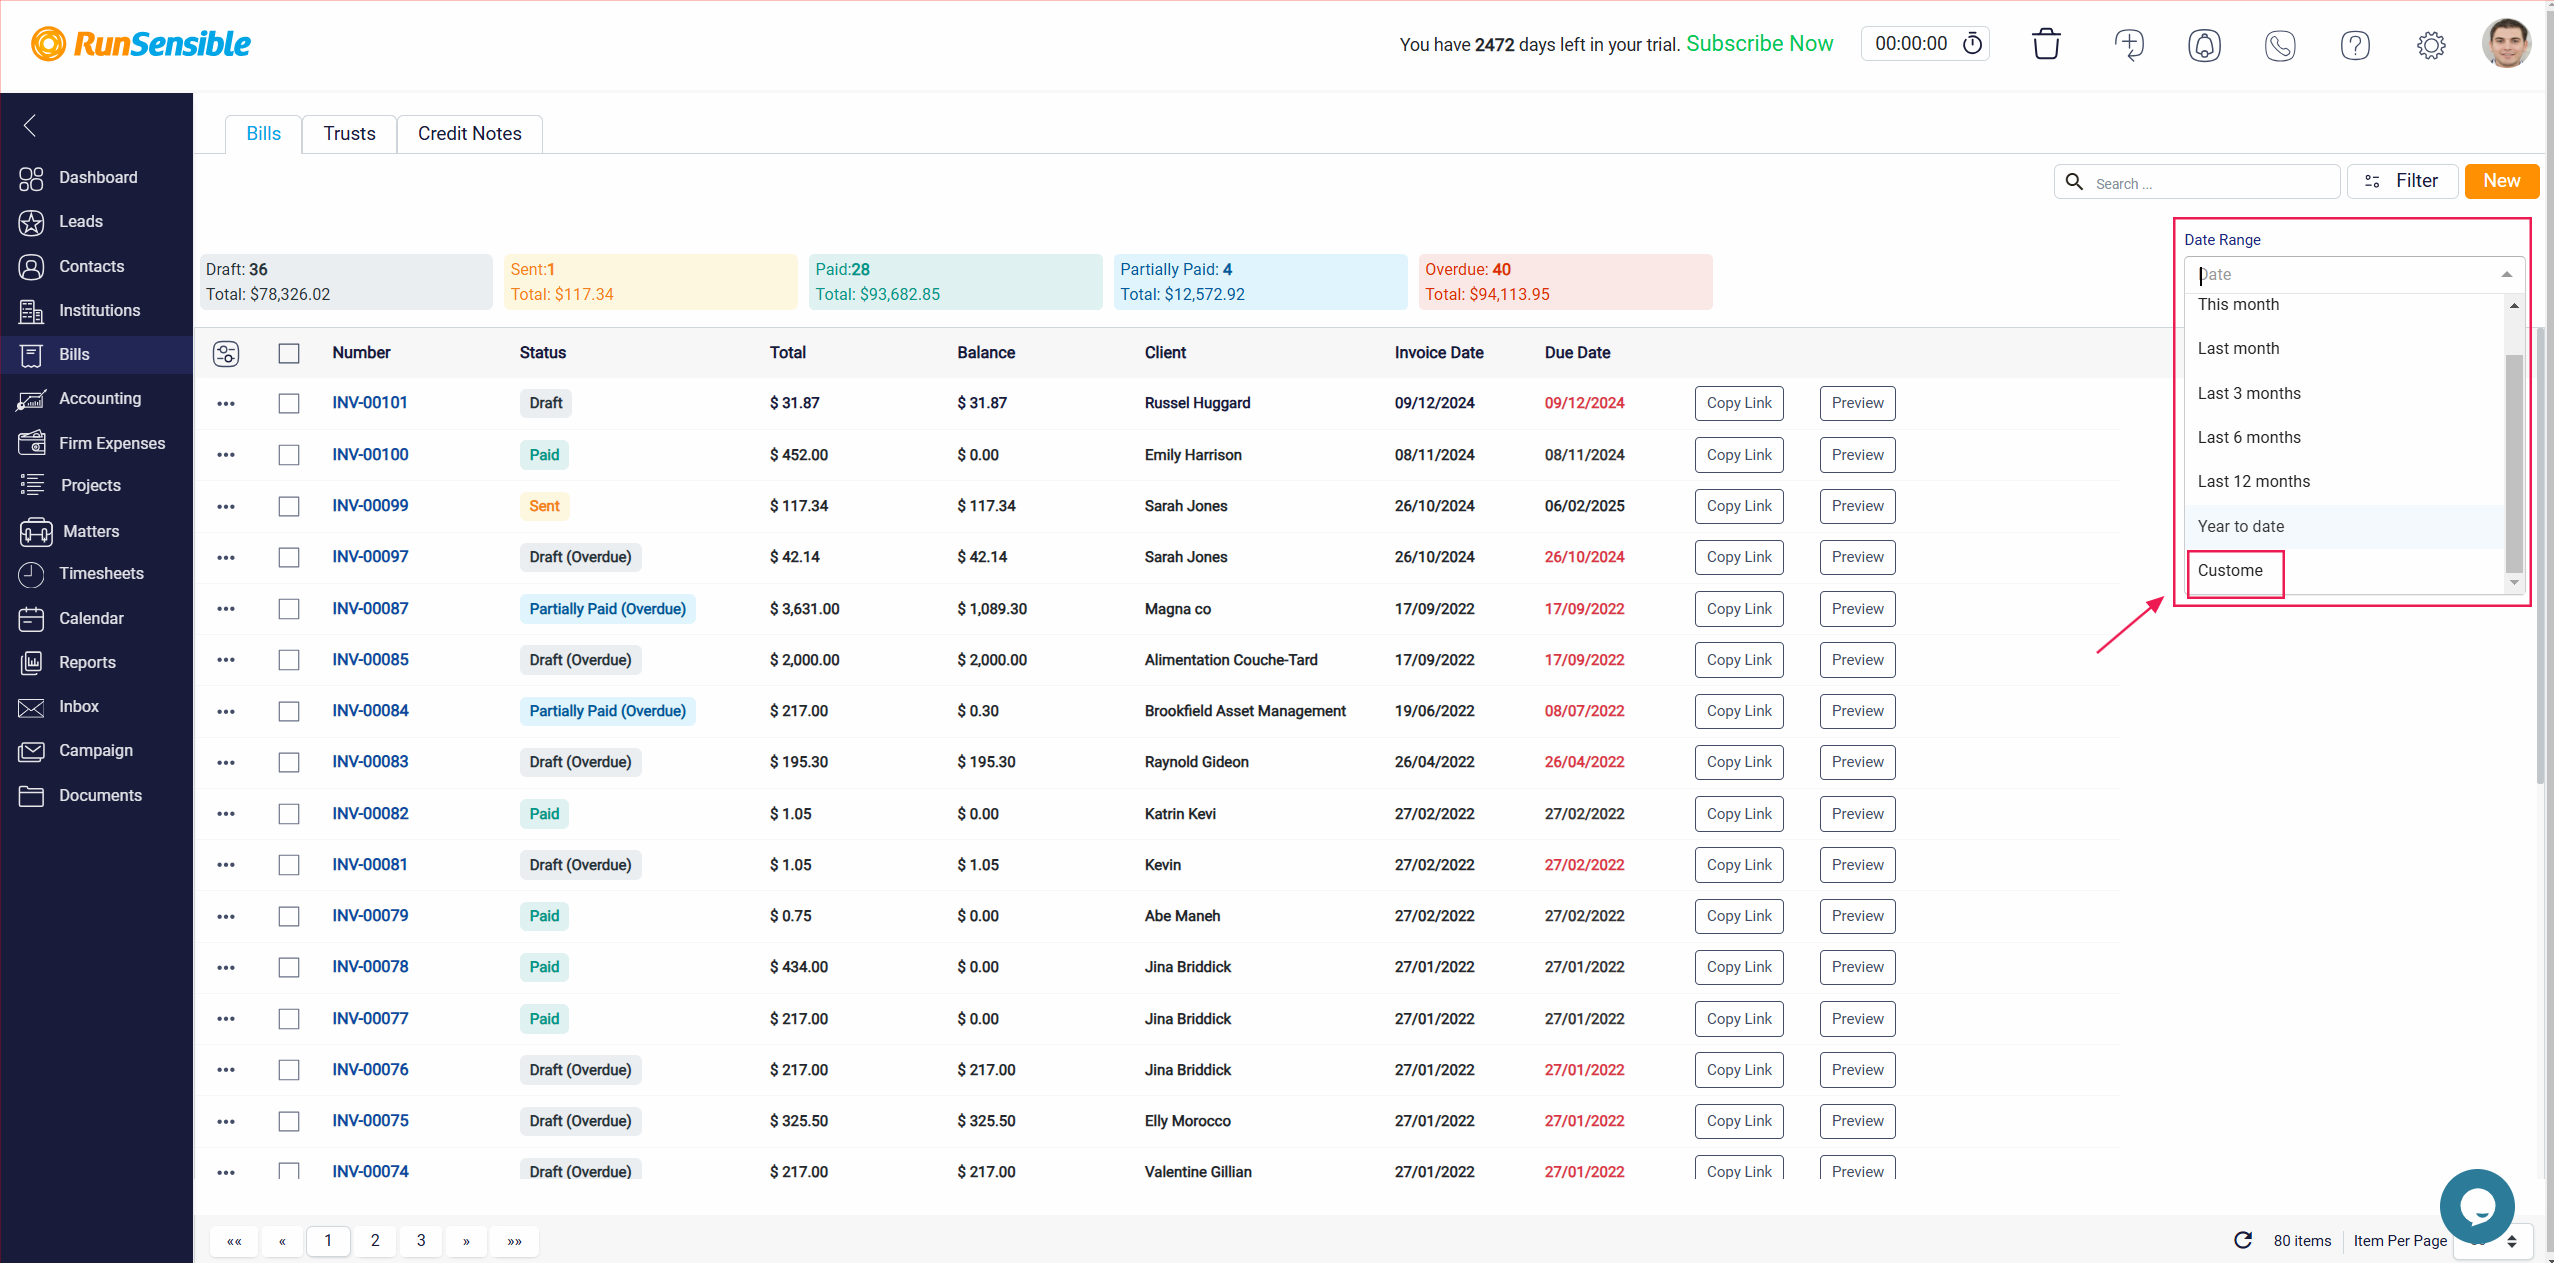
In addition, on the top-right side of the screen, there is a Date Range drop-down menu that allows you to filter your bills based on the period when they were created. For example, if you want to view only the bills created in the last month, you can use this drop-down menu.

When you click on the Date Range drop-down, you will see a list of predefined date ranges, such as This Month or Last 6 Months. At the bottom of this list, there is an option called Custom.
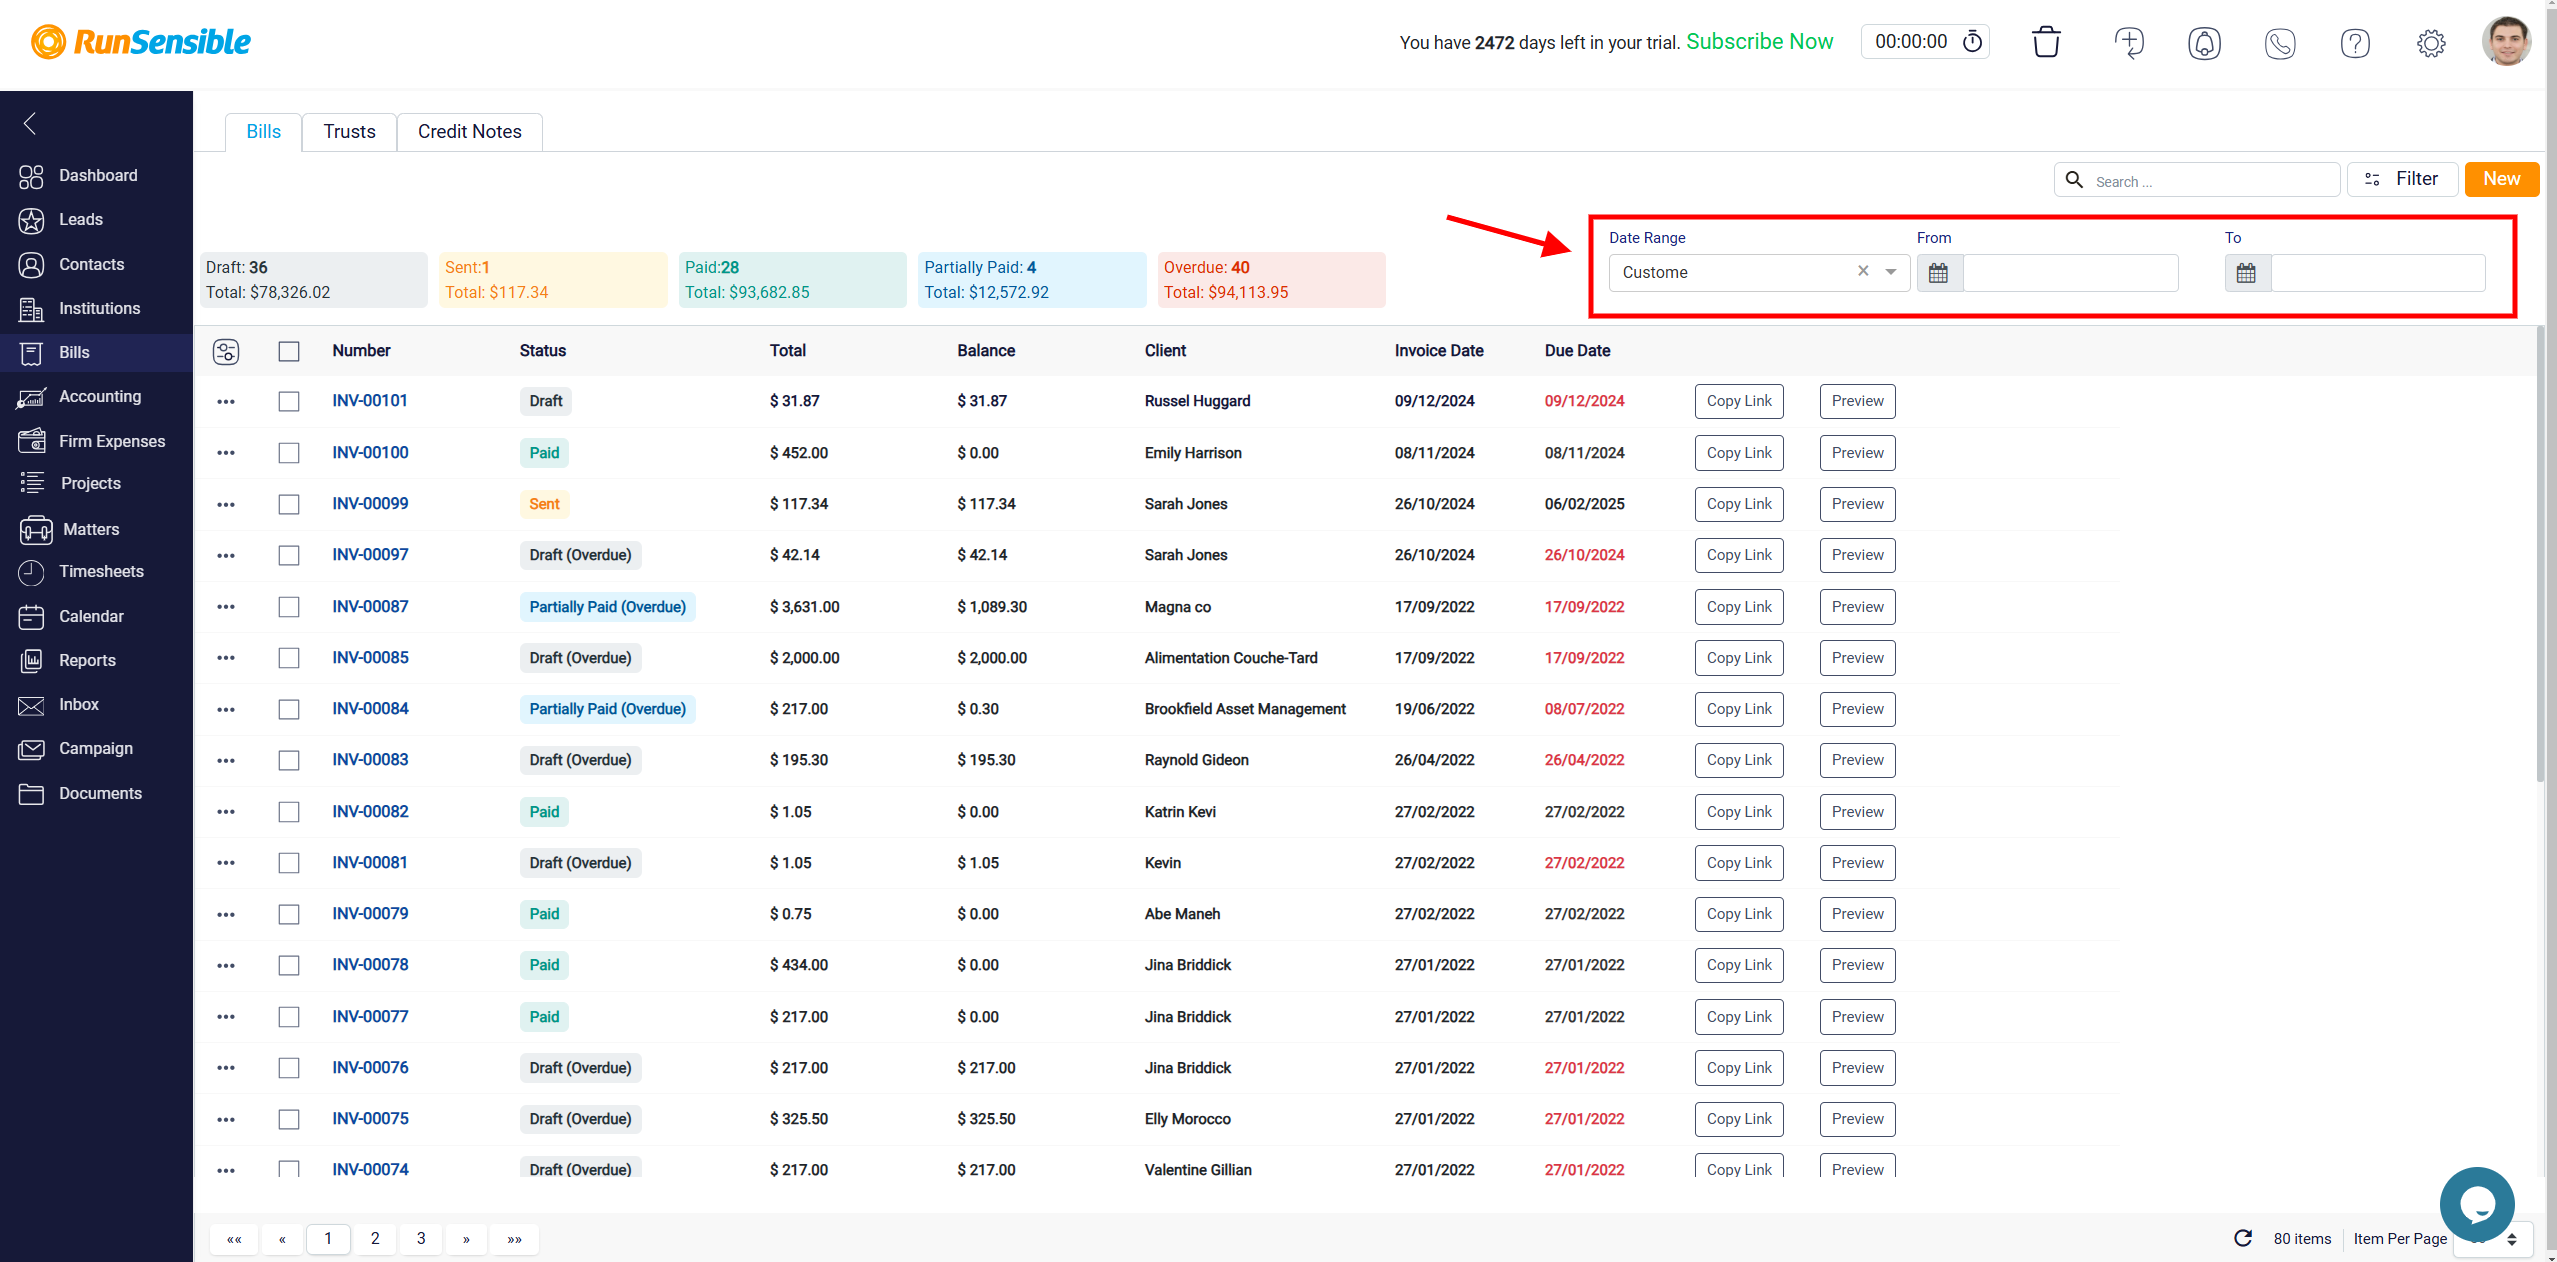
Selecting this option will display two additional fields labeled From and To. These fields let you specify a custom date range, allowing you to filter bills created within the exact timeframe you choose.
In the Bills List, seven columns provide essential information about each bill, helping you manage and track your billing efficiently. The Bill Number column shows the unique identifier for each bill, making it easy to reference specific bills. The Status column indicates the current payment status, such as Draft, Sent, Paid, Partially Paid, or Overdue. The Total column displays the total amount due for the bill, allowing for a quick overview of the financial value of each bill. The Balance column reflects the remaining balance due, if any, on the invoice. The Client column shows the name of the client associated with the bill, while the Invoice Date represents the date the bill was issued, helping you monitor when billing started. Finally, the Due Date column indicates the payment deadline, allowing you to keep track of when payments are expected.
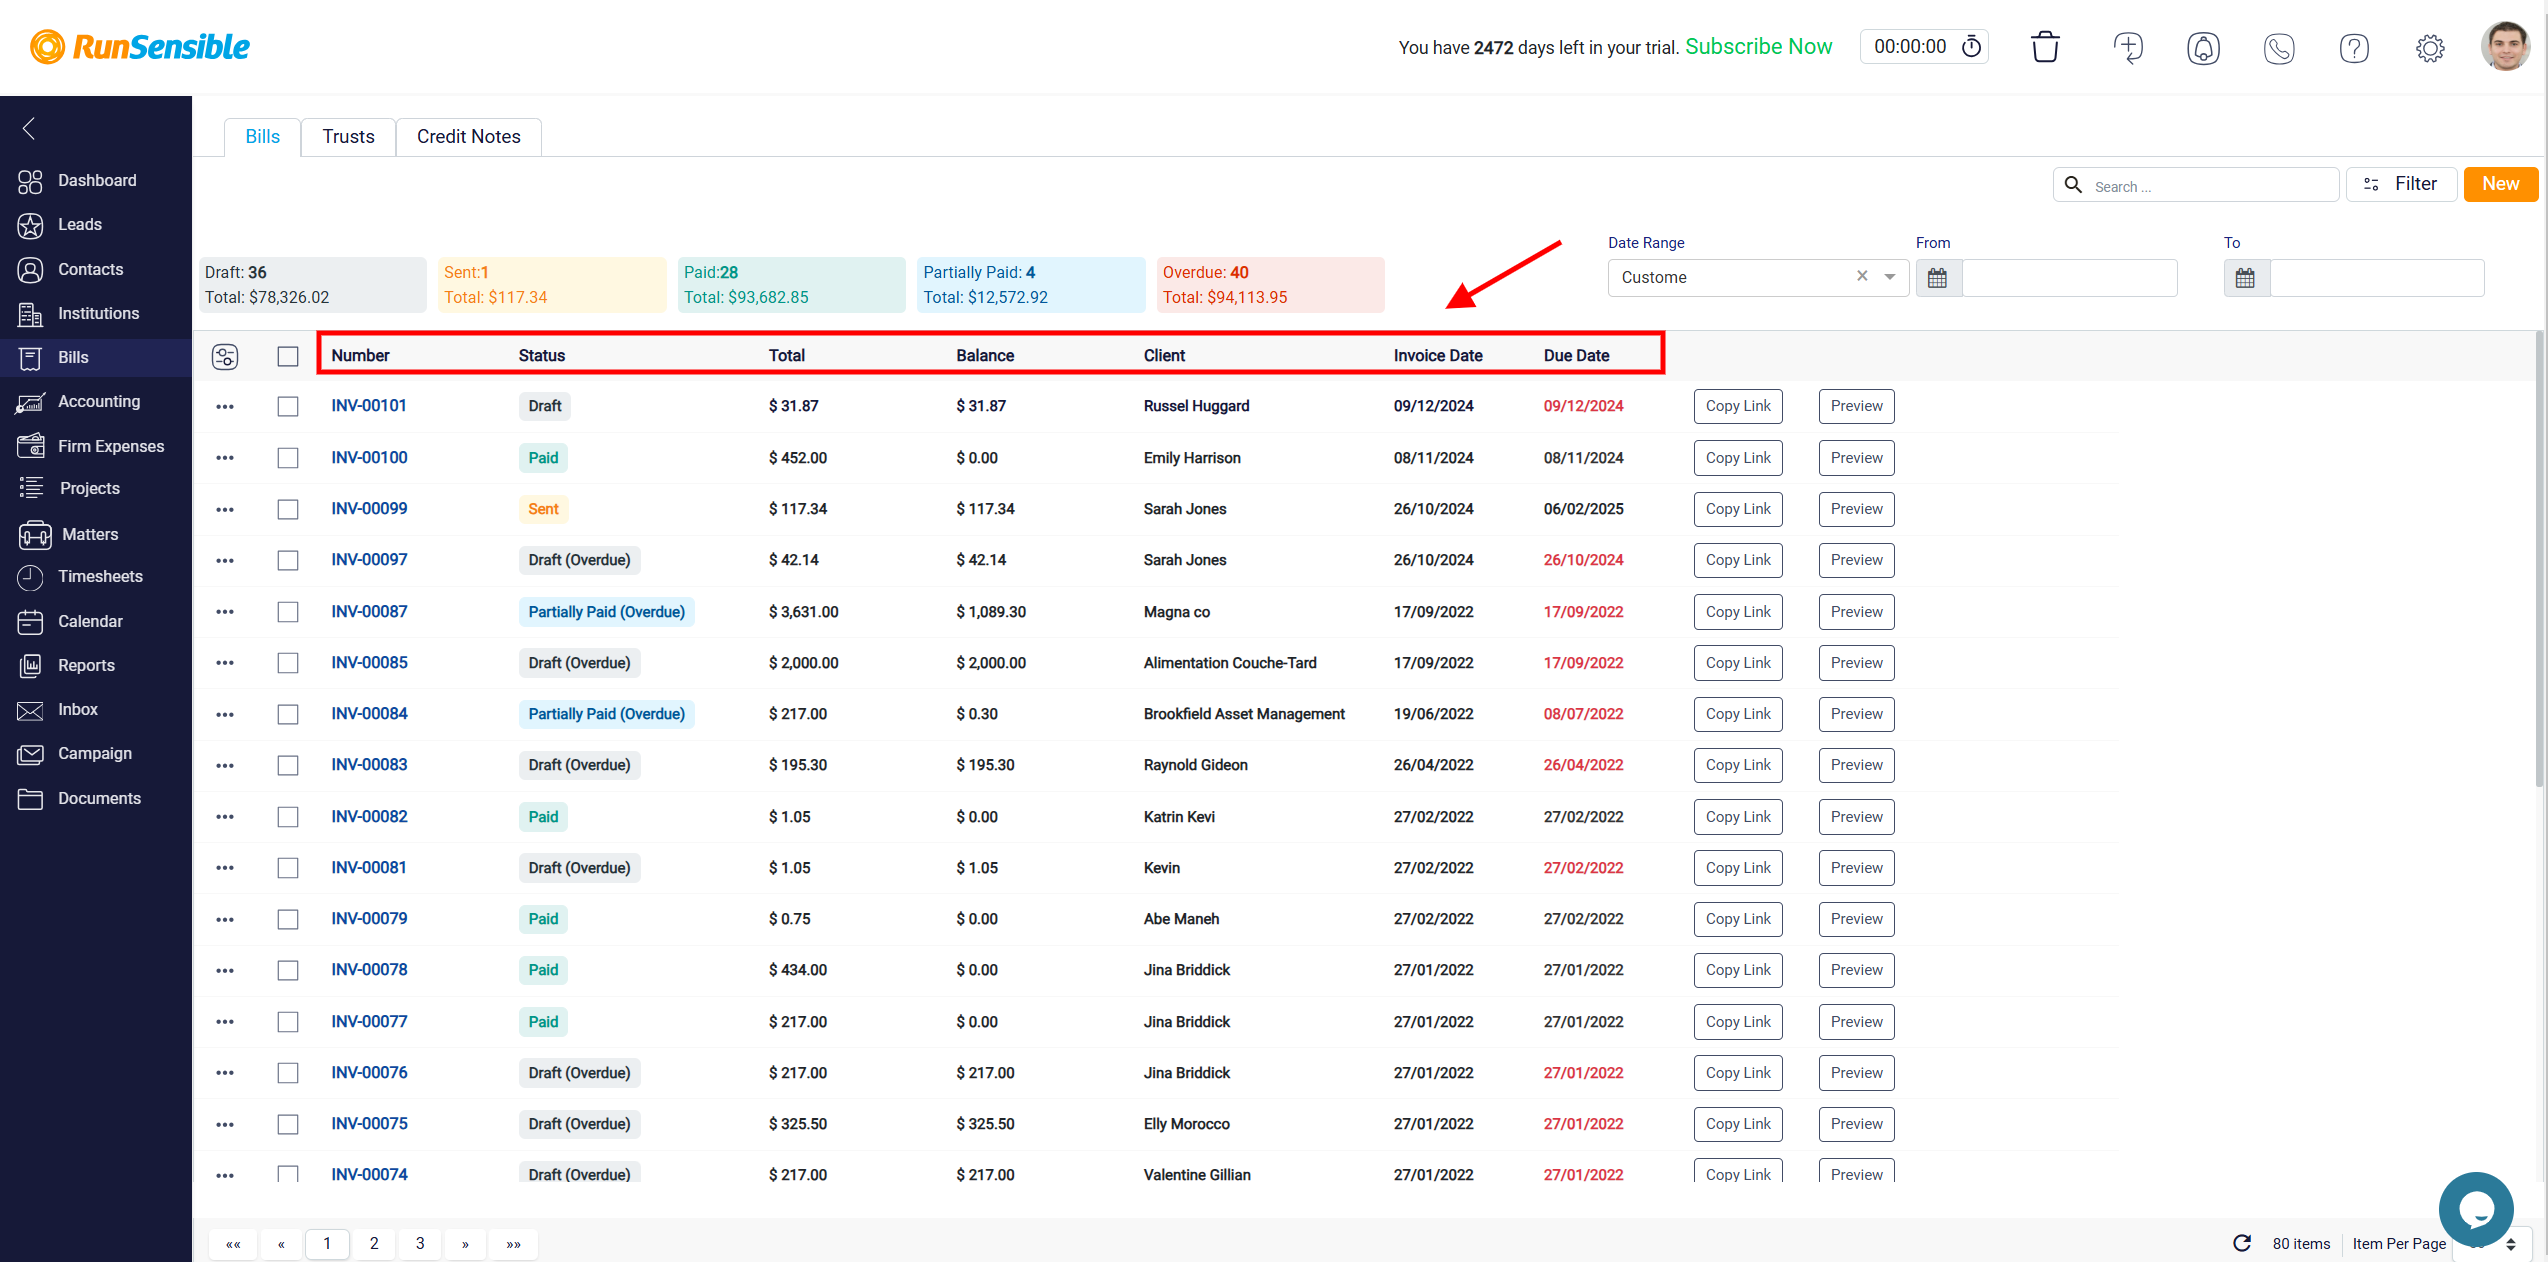
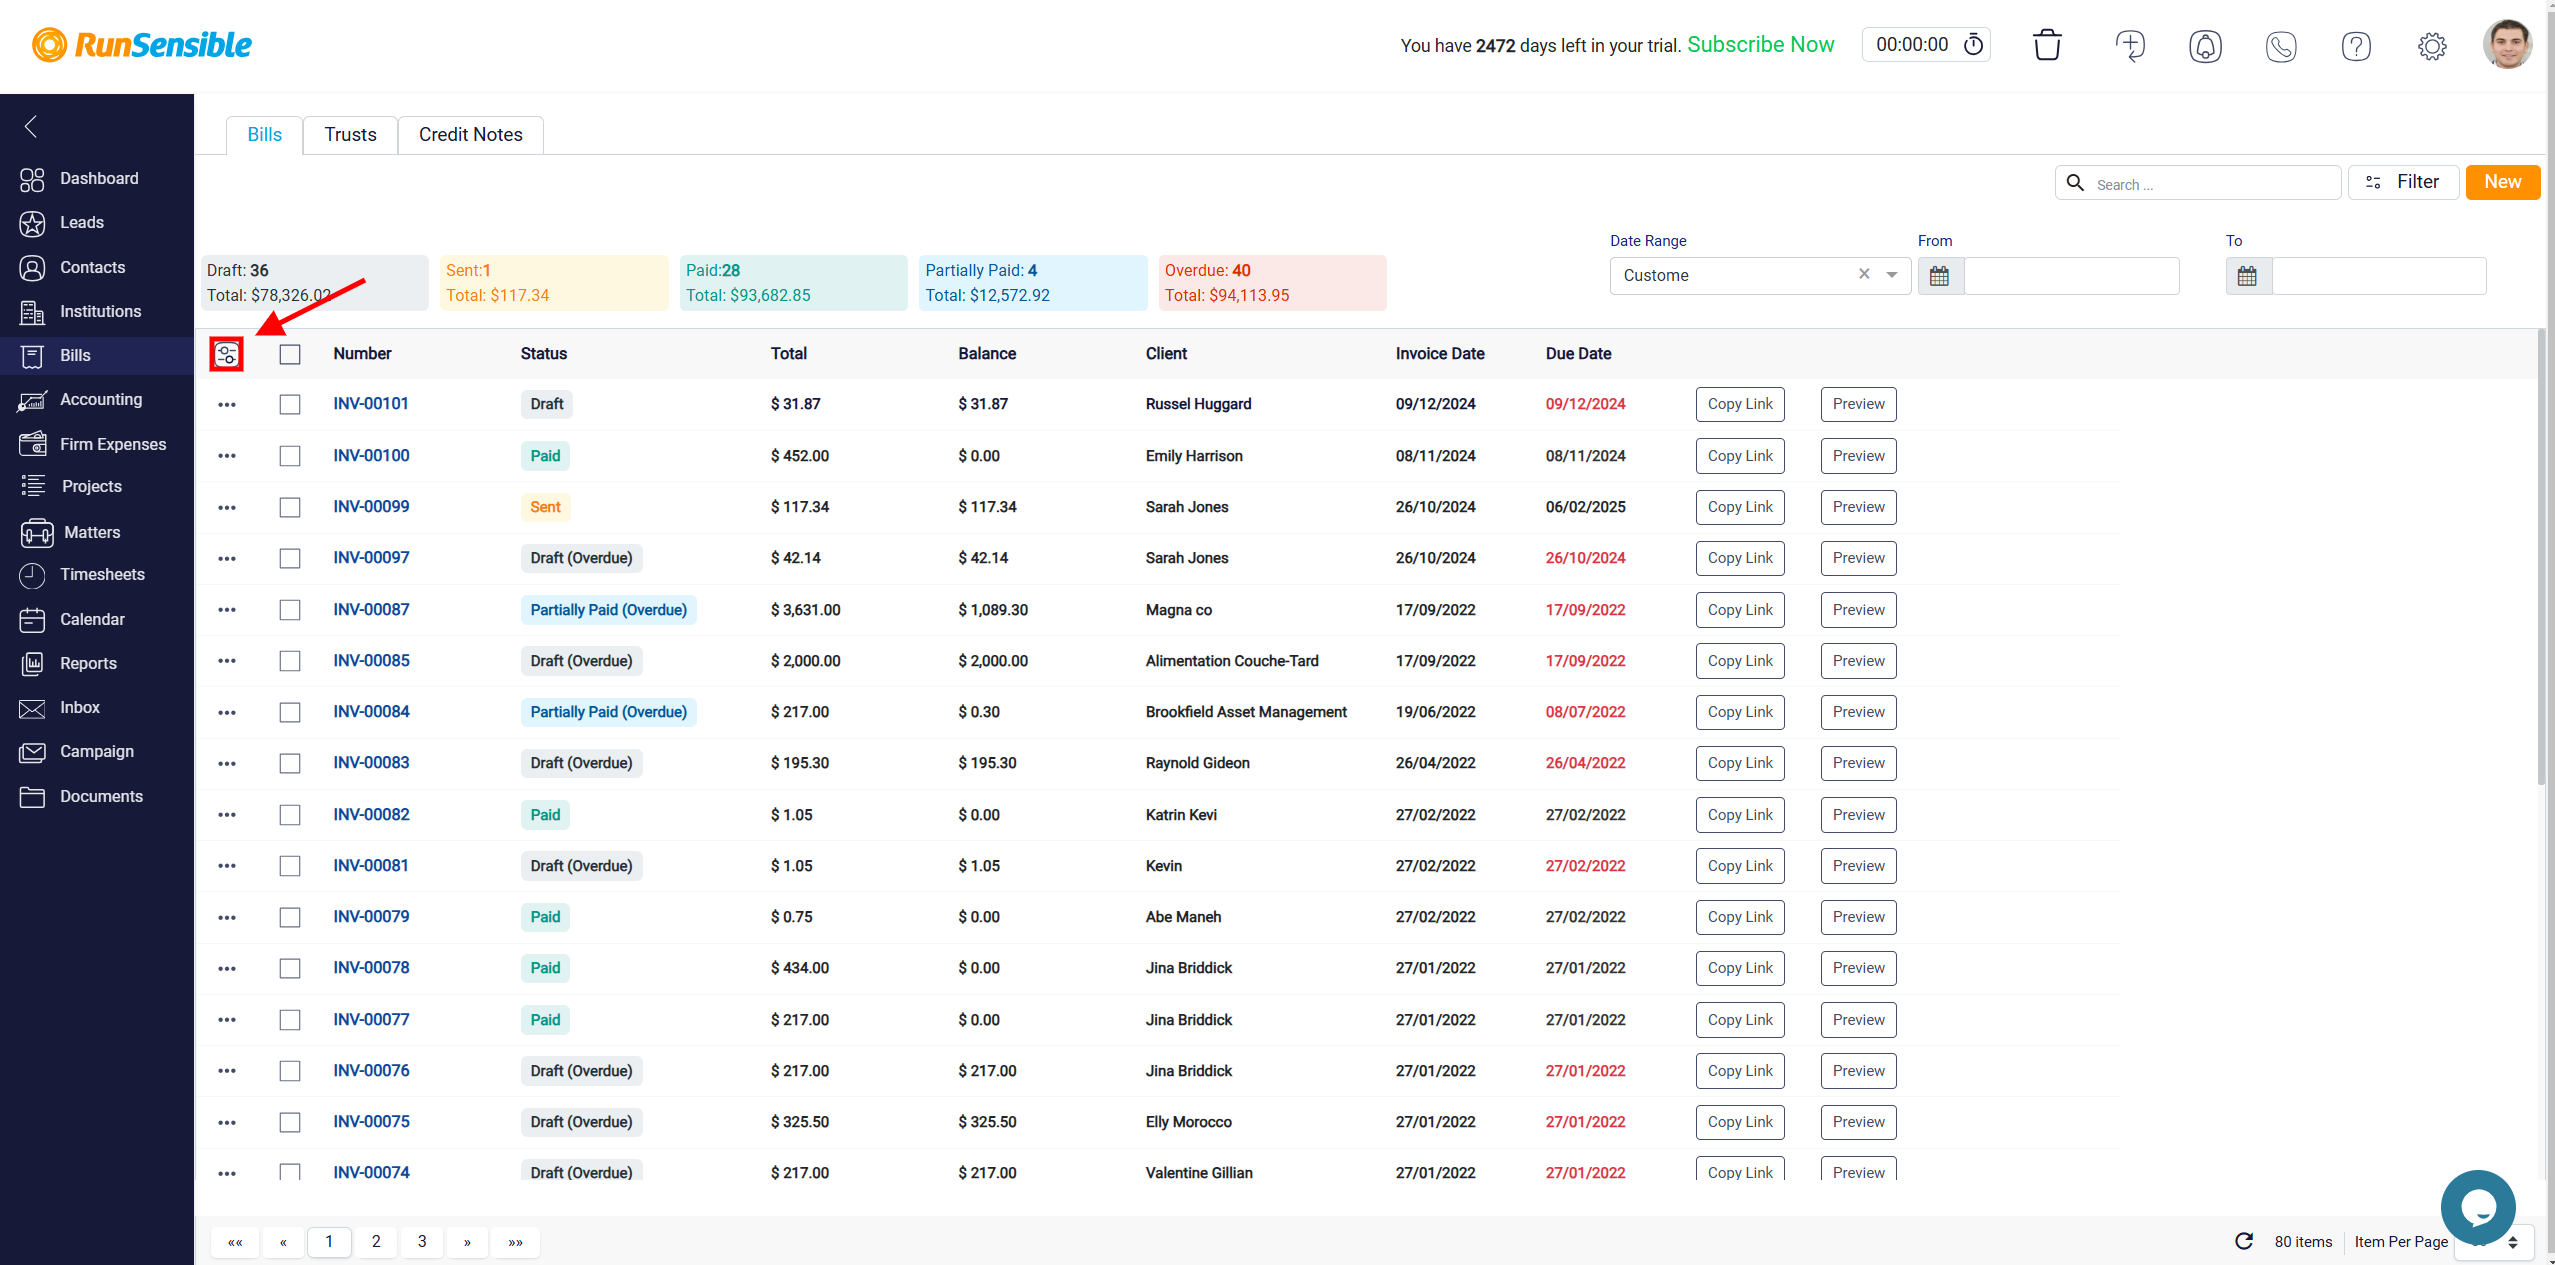
To customize these columns, start by clicking the Grid Customization button located at the top left corner.
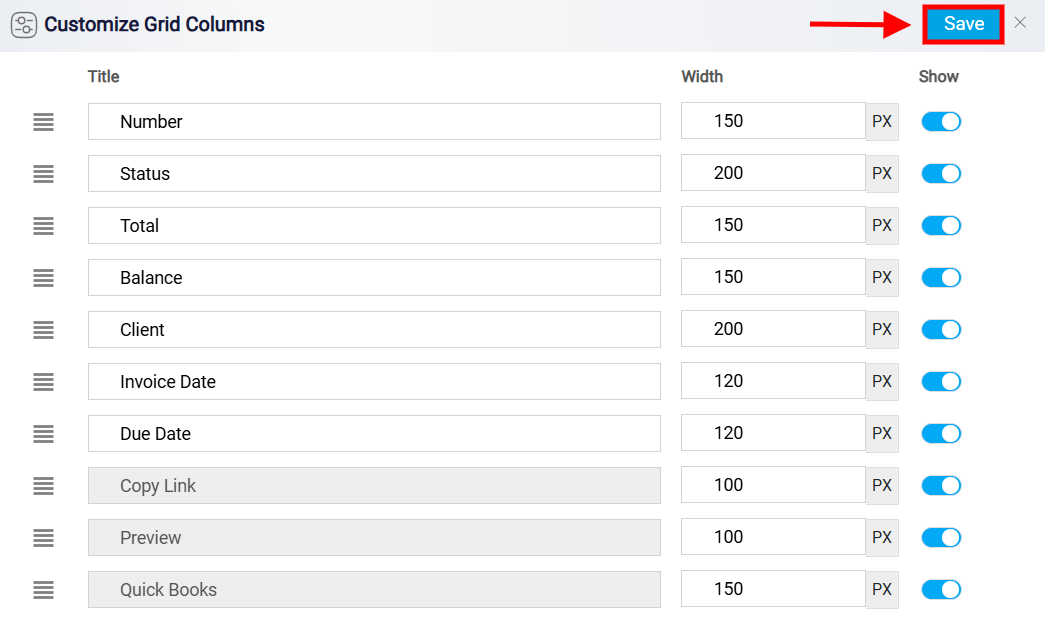
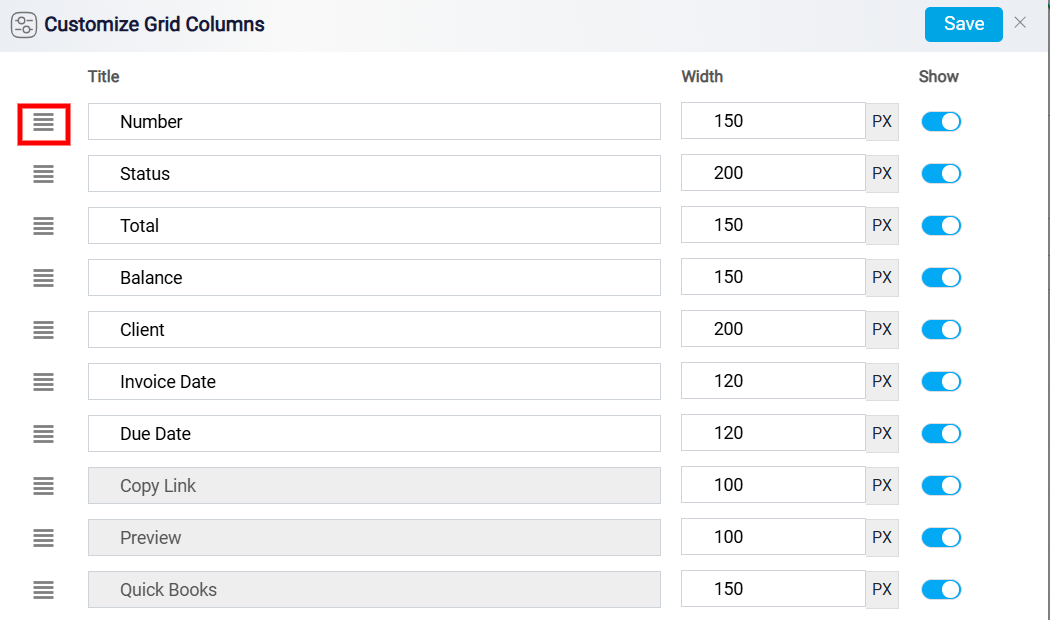
This will open a detailed customization menu where you can tailor the layout to meet your specific needs. If you want to reorder the columns, locate the Reorder button next to each column name. Click and hold this button, then drag the column to your desired position within the list. This allows you to arrange the columns in a way that prioritizes the most relevant information for your workflow.
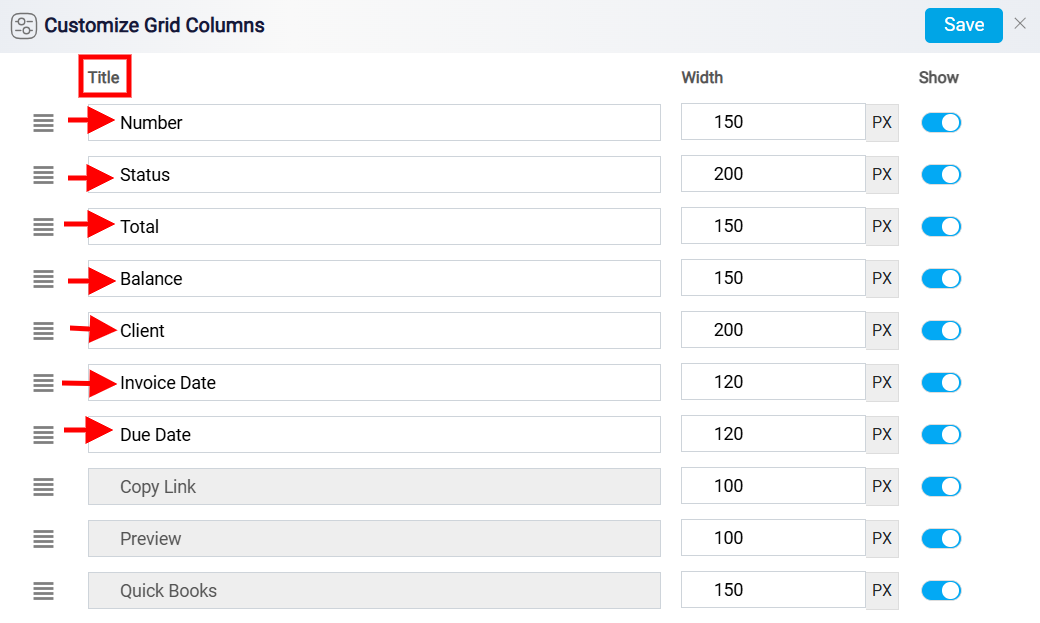
To rename a column so that it better reflects the data it represents, click directly on the current name within the Title column. This will enable you to edit and update the name to something more appropriate.
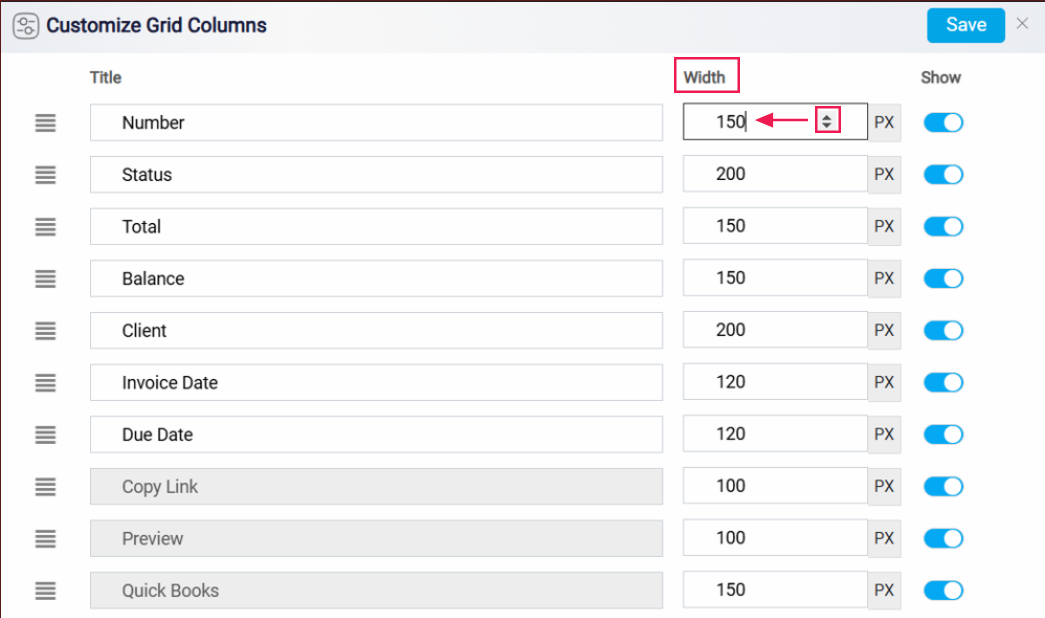
To adjust the visibility of each column, go to the Width column within the customization panel. Here, you can modify the width of individual columns by entering a new numerical value, ensuring that all your data is displayed clearly and fits within your preferred layout.
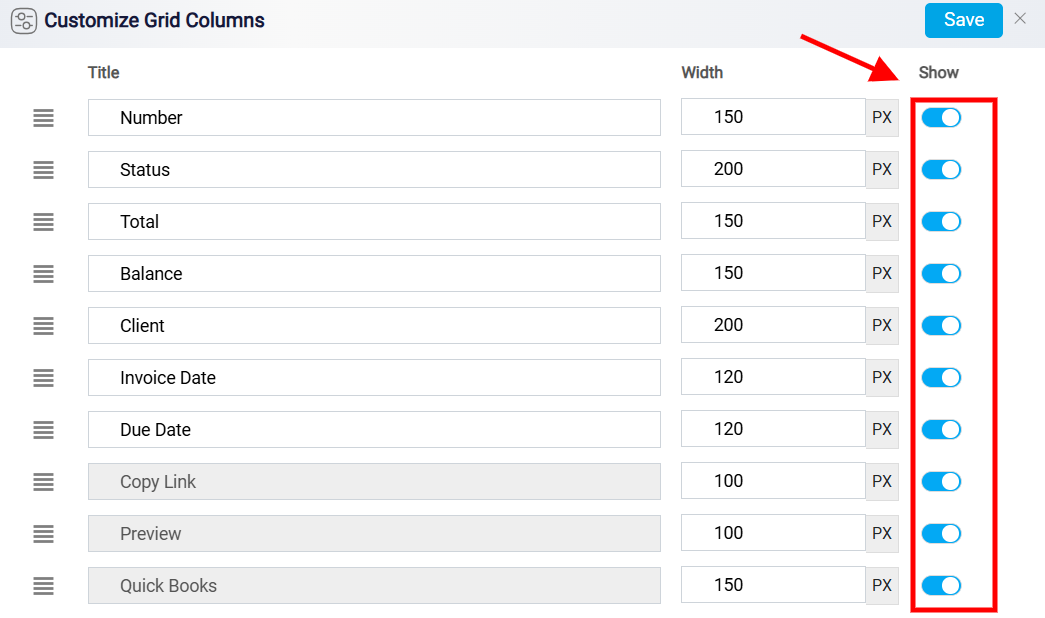
On the right side of the panel, you will find the Show column, which contains toggle buttons. These buttons allow you to show or hide specific columns in Table View mode, helping you focus on the most critical information and declutter your screen.
After you have made all your adjustments, click the Save button located at the top right corner of the screen.
