Adding a New Contact
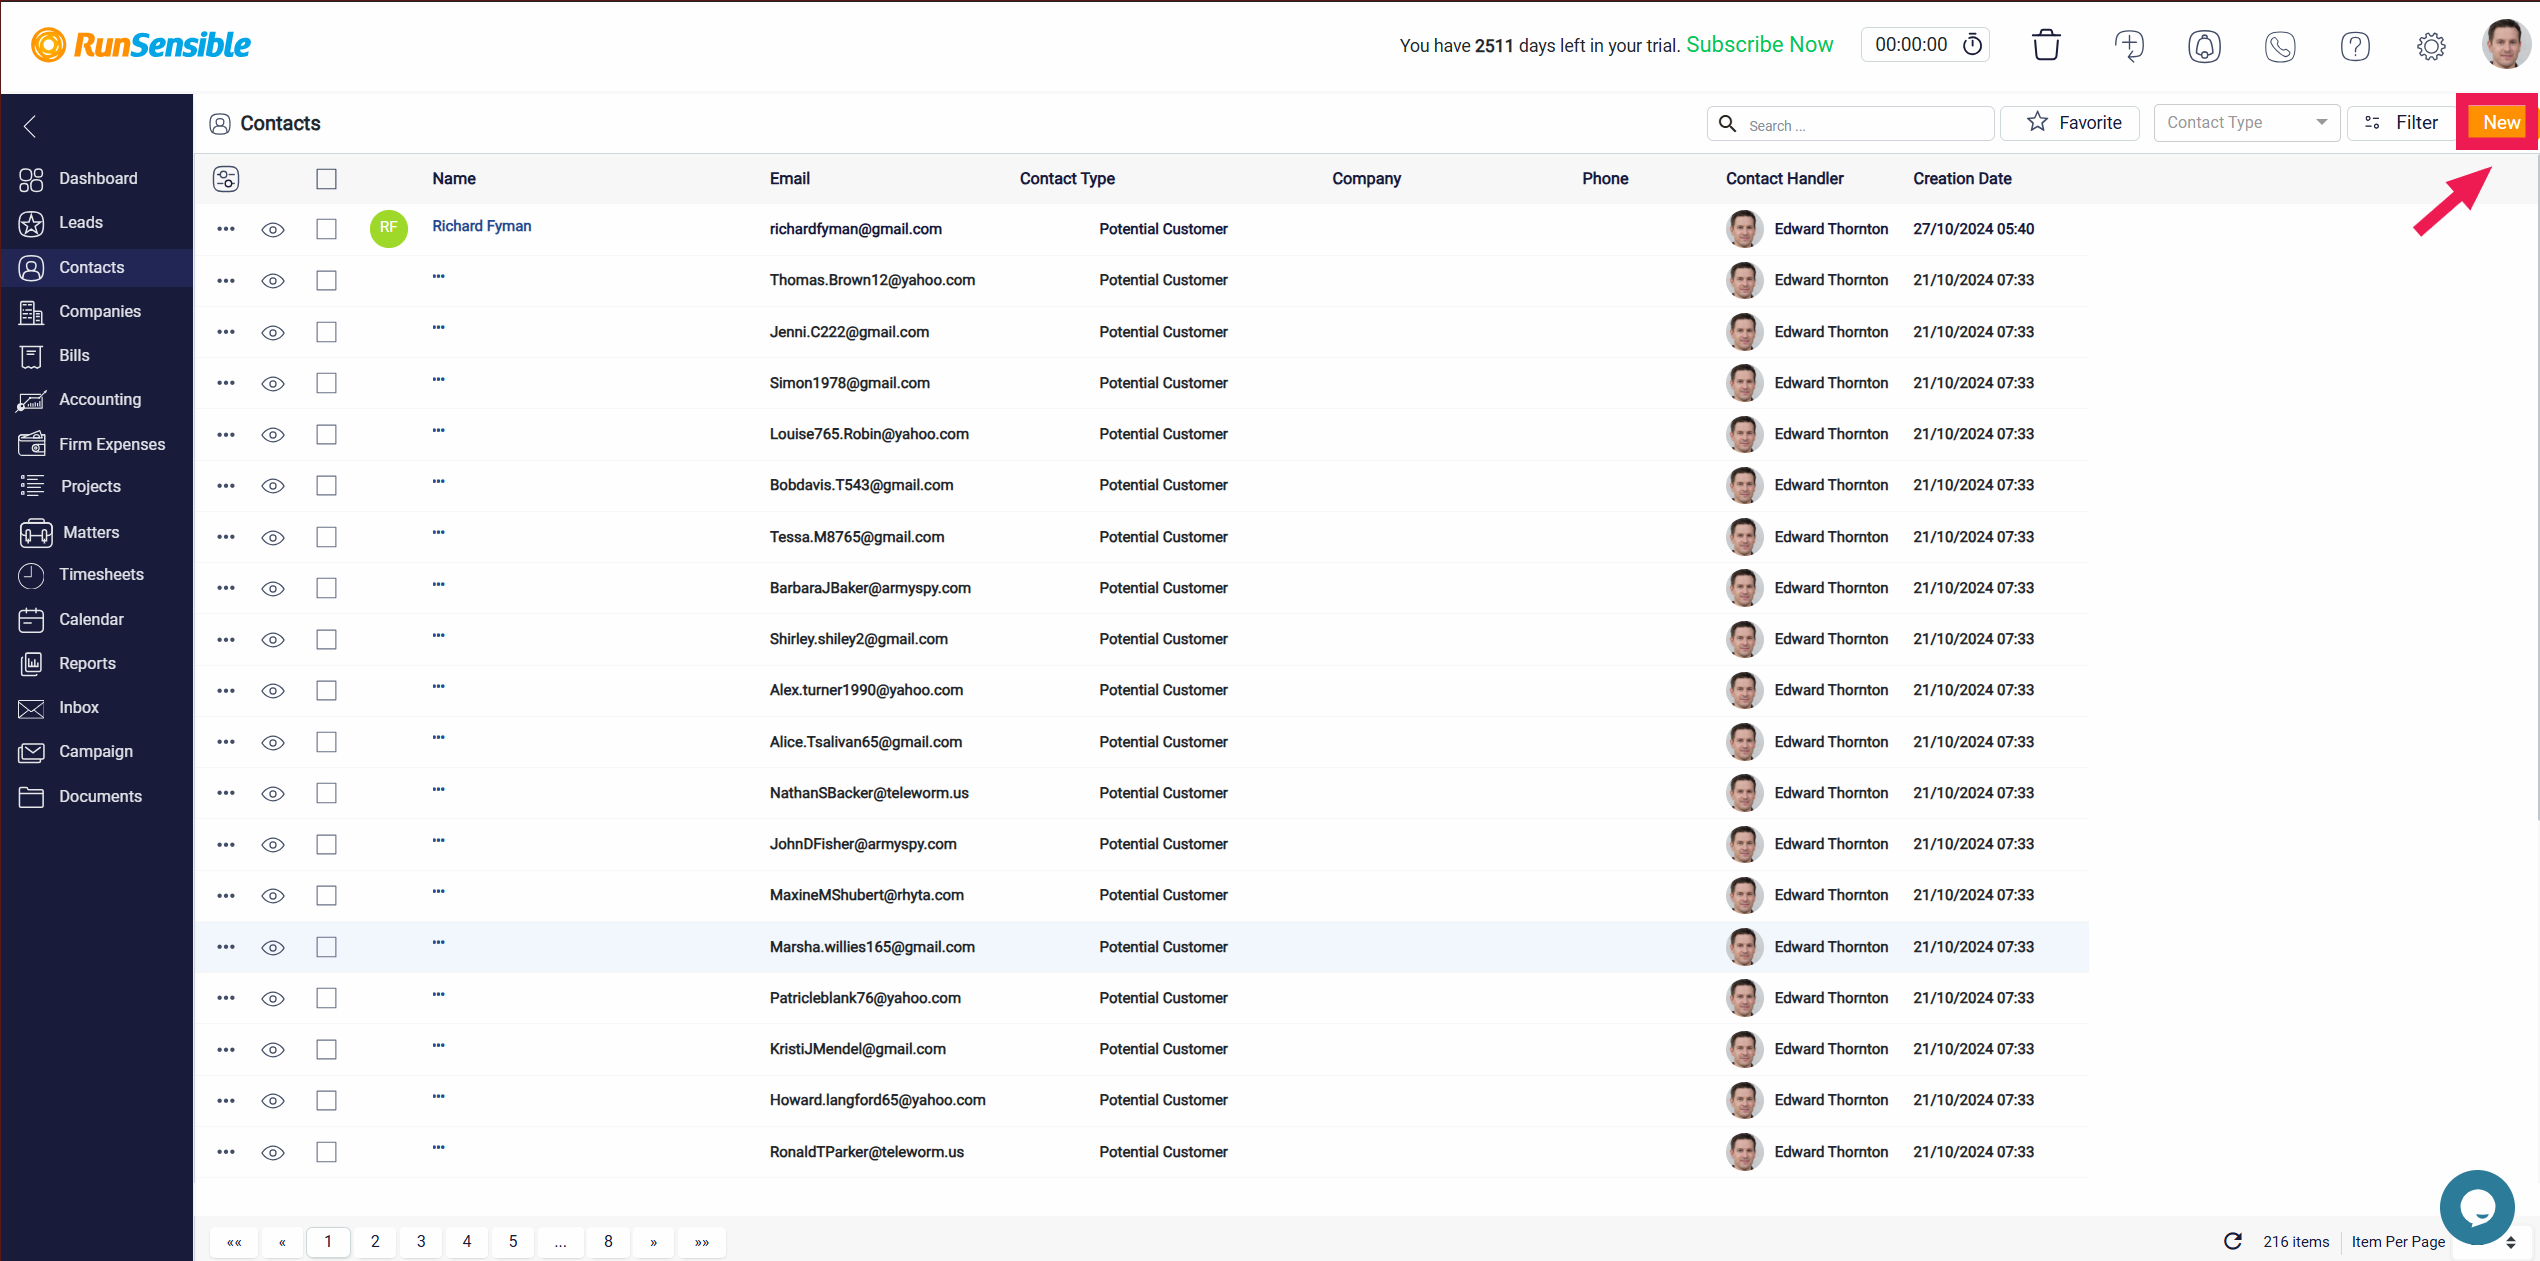
Contacts can be added to RunSensible manually. This guide will take you through each step to ensure you can easily add new contacts with all the necessary details. To add a new contact, click on the New button at the top right side of your screen. Clicking this button will open a new window where you can input the details of the contact you want to add.

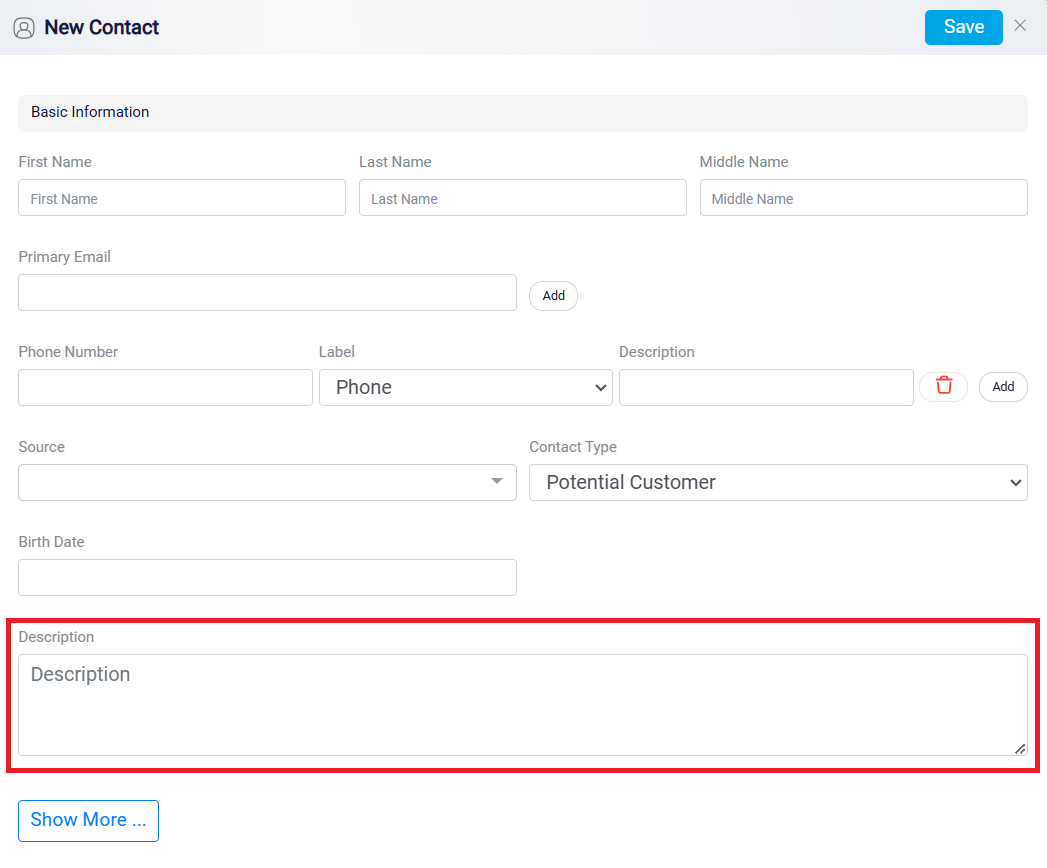
This window is designed to guide you through the process of entering essential information. Make sure to fill in all the required fields to create a comprehensive contact profile.
If there is any extra data you need to enter, use the Description field. The Description field is a flexible space where you can add any additional information that doesn’t fit into the standard fields.

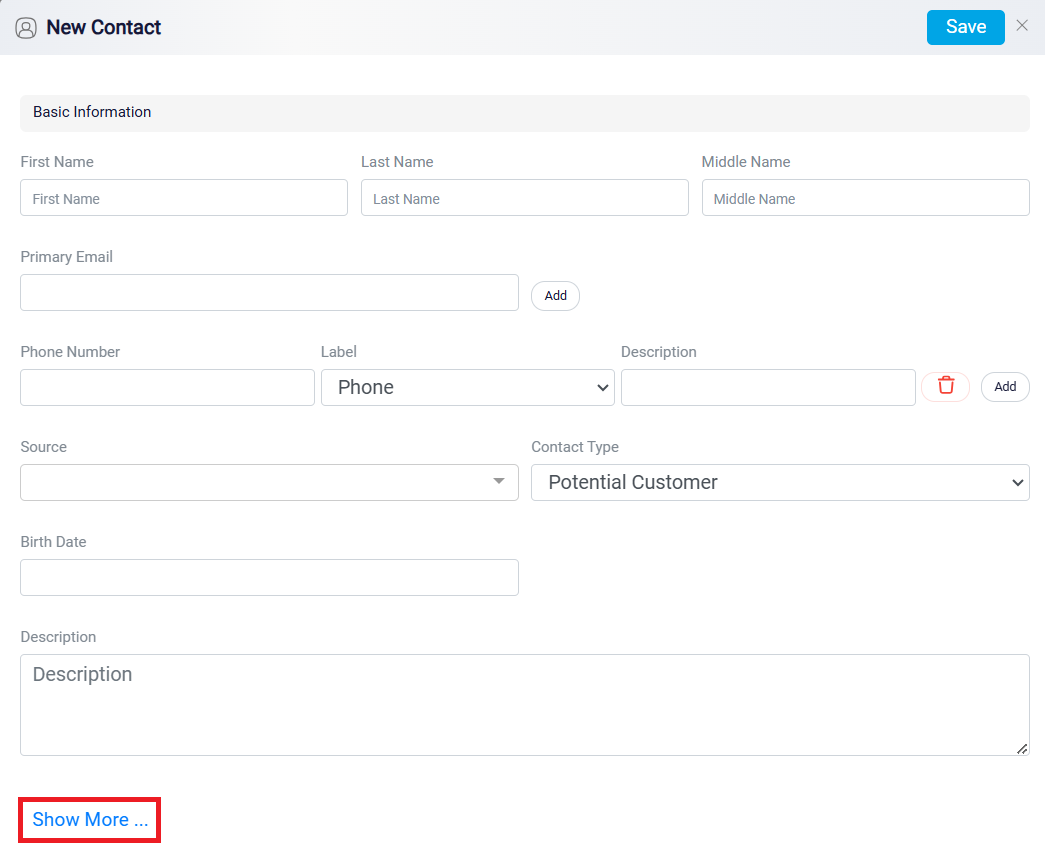
Click Show More to add more detailed information, such as your contact’s industry, address information, and important dates to remember. The Show More option expands the form, revealing additional fields where you can input more specific details.

Assigning Tags to your contacts helps organize your contacts into different categories for better identification.
After entering a tag for your contact, set a color for it to recognize and identify it faster. Color-coding your tags adds an extra layer of visual organization, making it even easier to find and sort your contacts at a glance. Choose distinct colors for different tags to enhance clarity.

You can also set Permissions to control who can access the contact you have manually added.
In RunSensible, you can specify which firm members have access to specific contacts. This ensures that sensitive information is only accessible to those who need it and helps you comply with data protection regulations.
