Customizing Contacts List
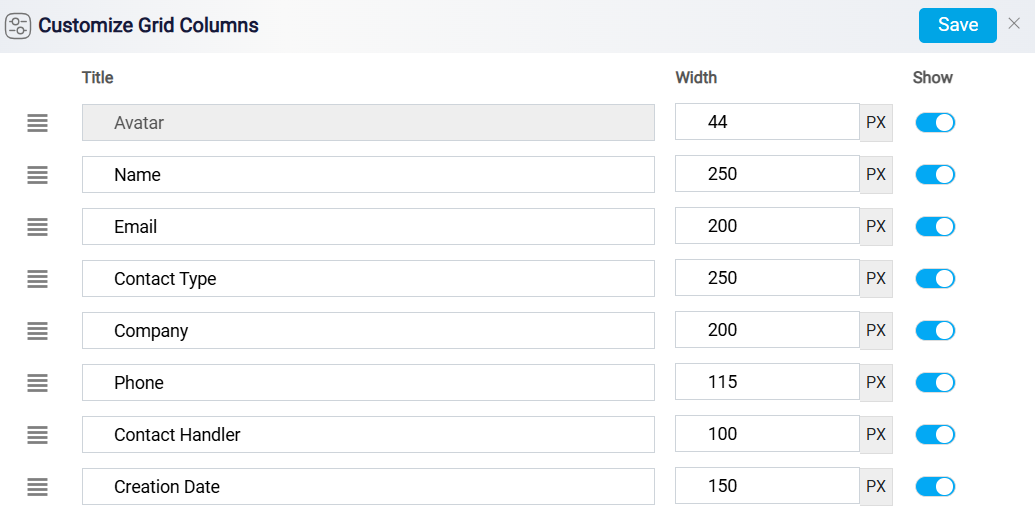
To customize your contacts list, click on the Customize button on your top left. This button allows you to control which columns are shown or hidden, adjust the order of the titles, and modify the width of each column.

The Eye button located on the right side of each contact is known as the quick view button. When clicked, it provides an instant, detailed view of the contact’s information, allowing you to quickly access key details without navigating away from the main contacts page.

The three dots button, found on the right side of each contact entry, provides a menu of options. By clicking this button, you can access the full details of the contact, allowing for in-depth viewing and editing. Additionally, this menu includes an option to remove the contact from your list.

Once you click on a contact’s name you will be taken to the detailed contact view page. This page offers a comprehensive overview of the selected contact, providing various tools and sections to effectively manage and interact with their information.
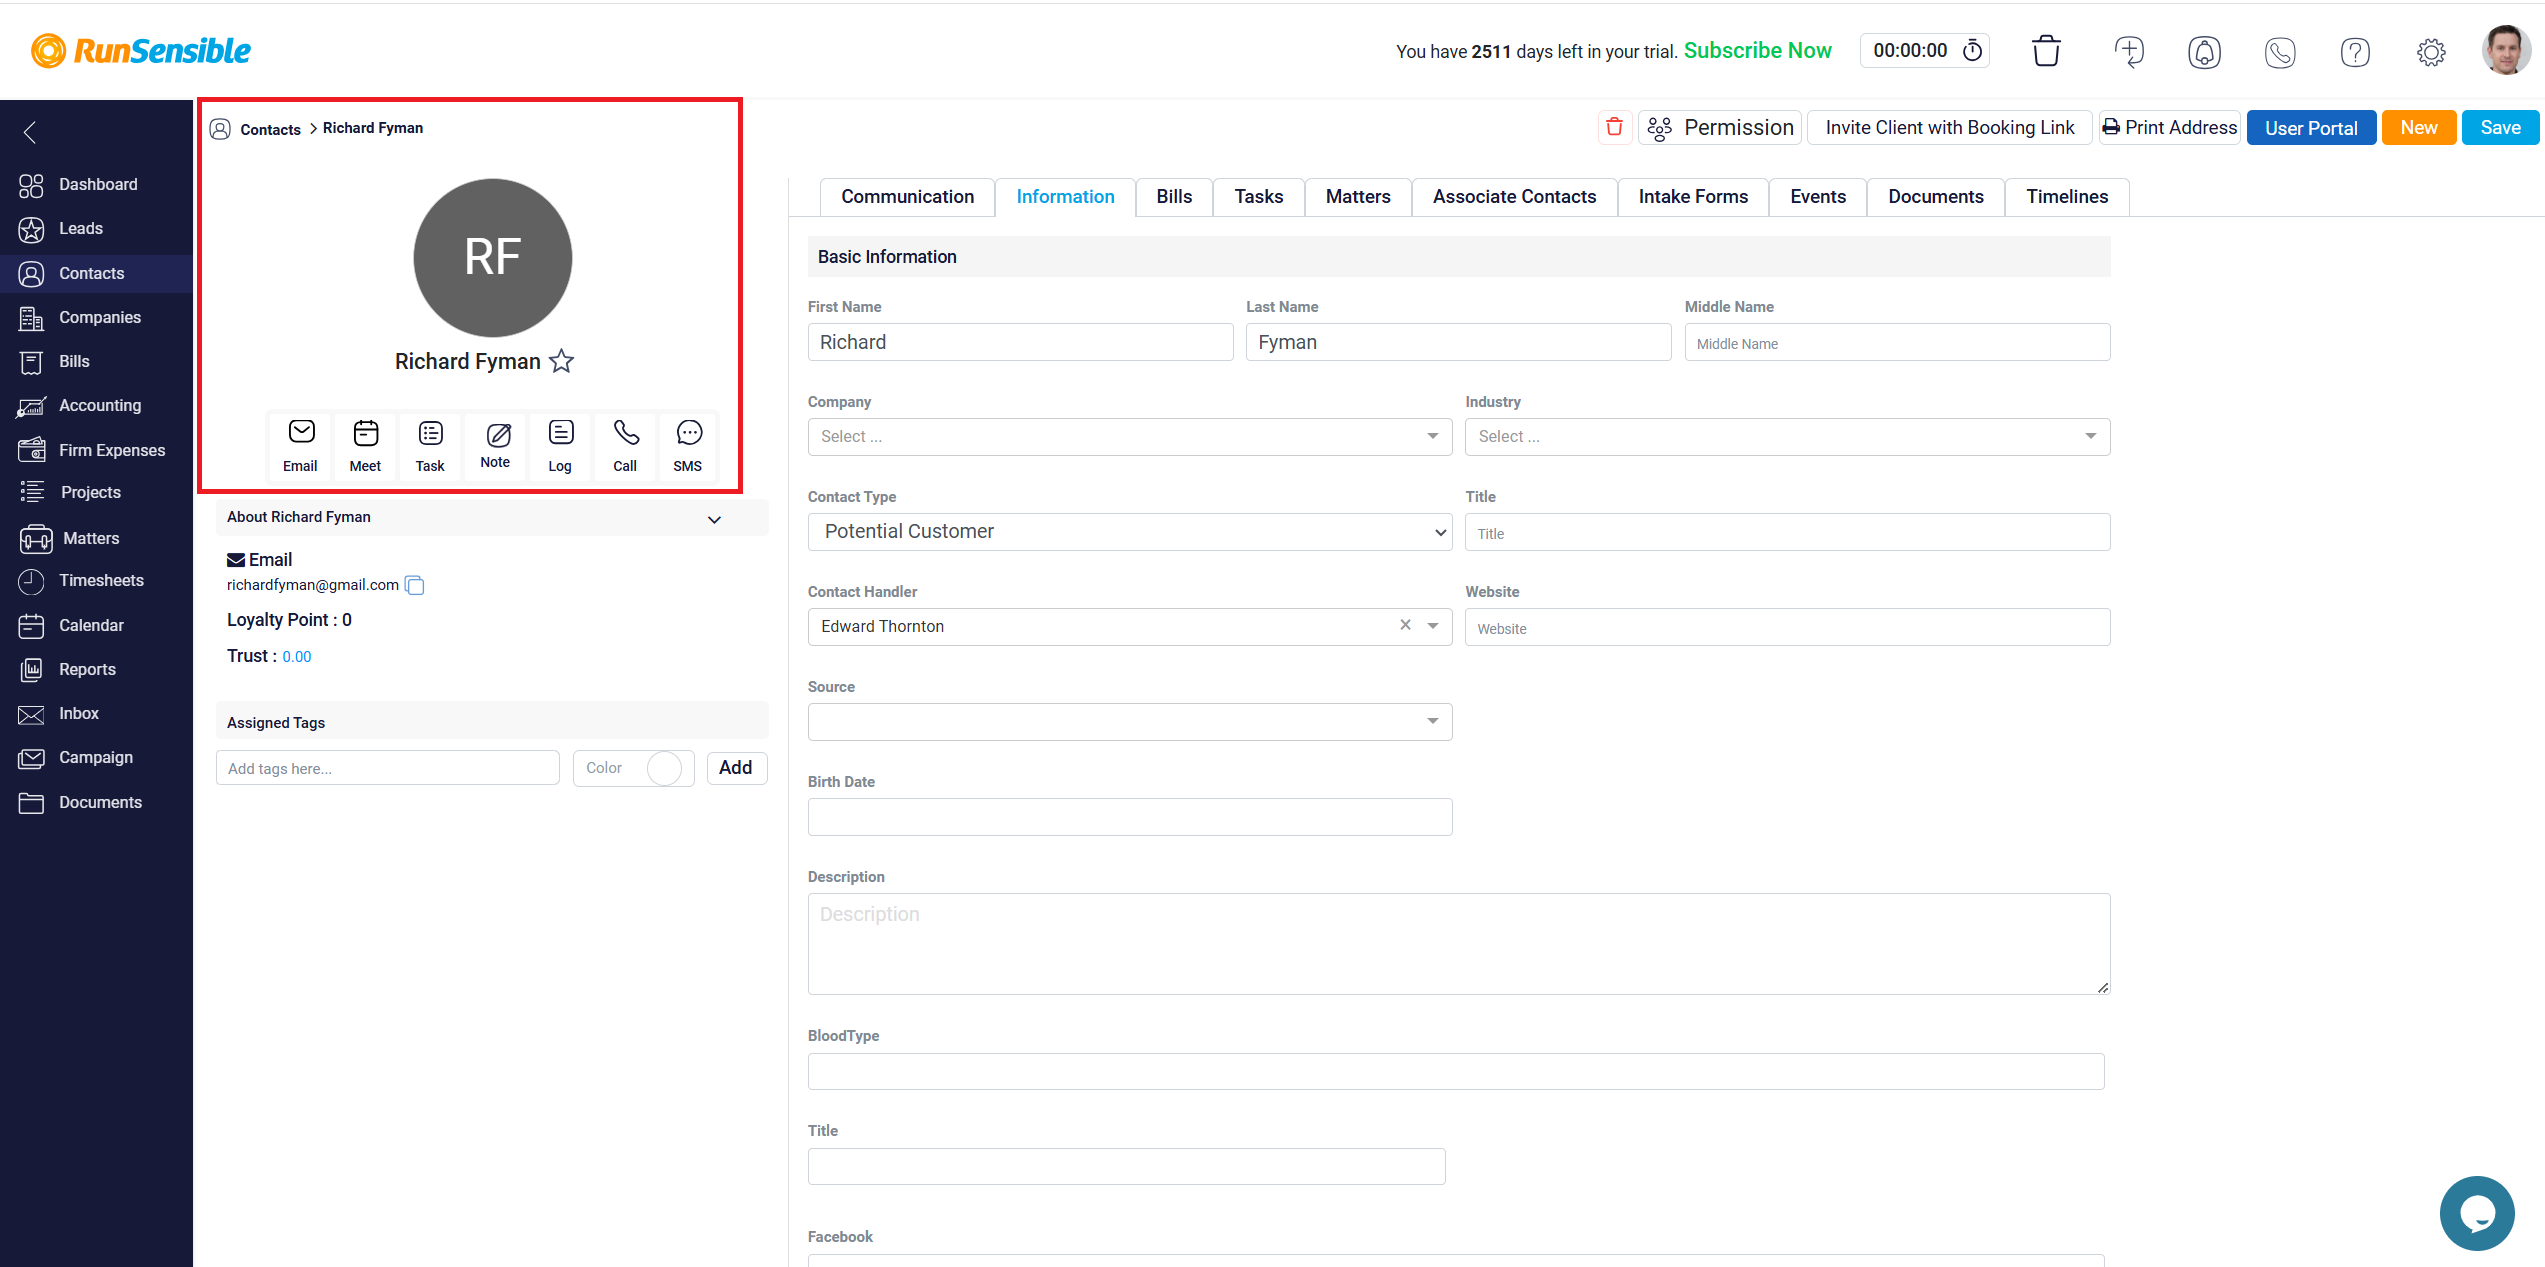
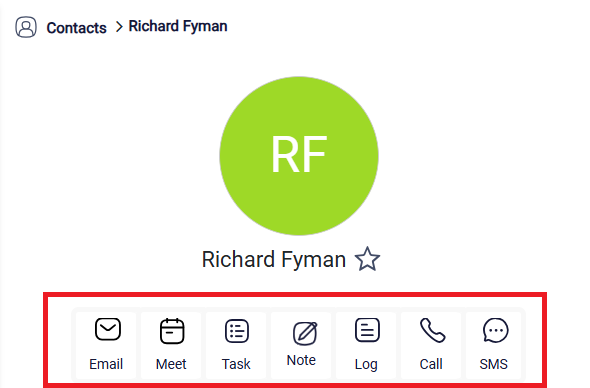
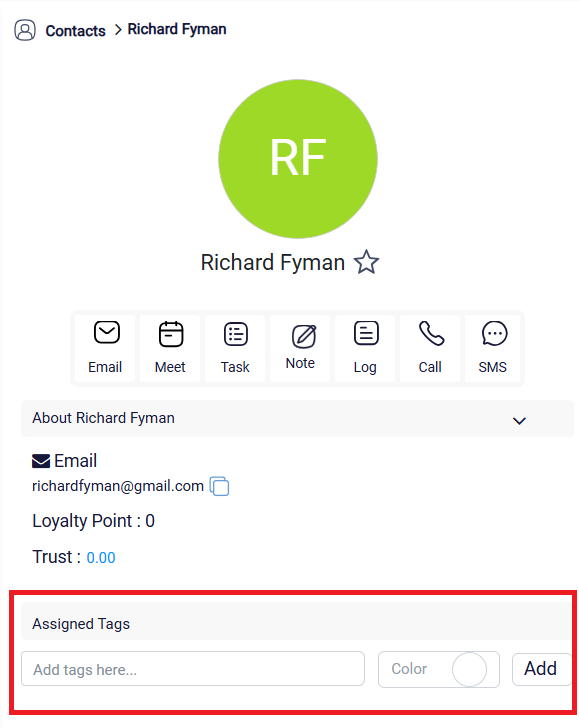
At the top left of the page, you will see the contact’s name along with their profile image or avatar. Below the name, there are several action buttons that enable you to perform tasks related to this contact, such as sending an email, scheduling a meeting, creating a task, adding a note, logging an interaction, initiating a phone call, or sending a text message.
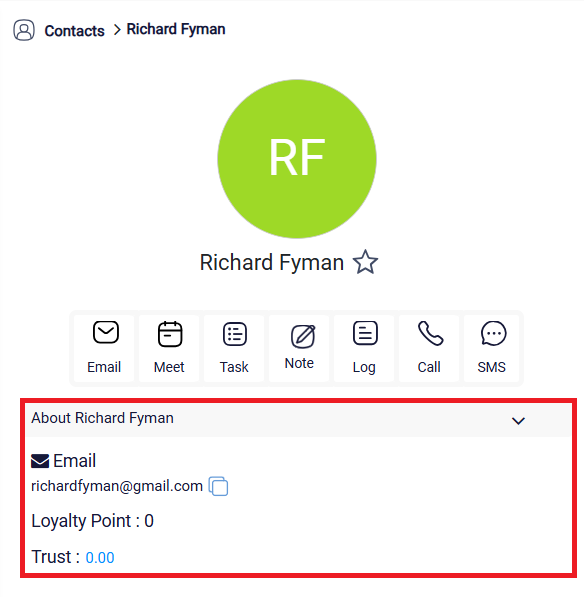
Directly beneath these action buttons, you’ll find a dropdown menu labeled “About [Contact Name]” which allows you to toggle between different views or sections of the contact’s details, including personal information, account details, and more. Additionally, this section displays metrics related to the contact’s engagement and relationship status with your organization, such as loyalty points and trust levels.
On the left side of the page, there is an area dedicated to assigning tags to the contact. Tags help categorize contacts based on specific criteria or characteristics, making it easier to filter and organize them. You can add new tags by typing into the provided field and selecting a color for the tag to make it visually distinct.
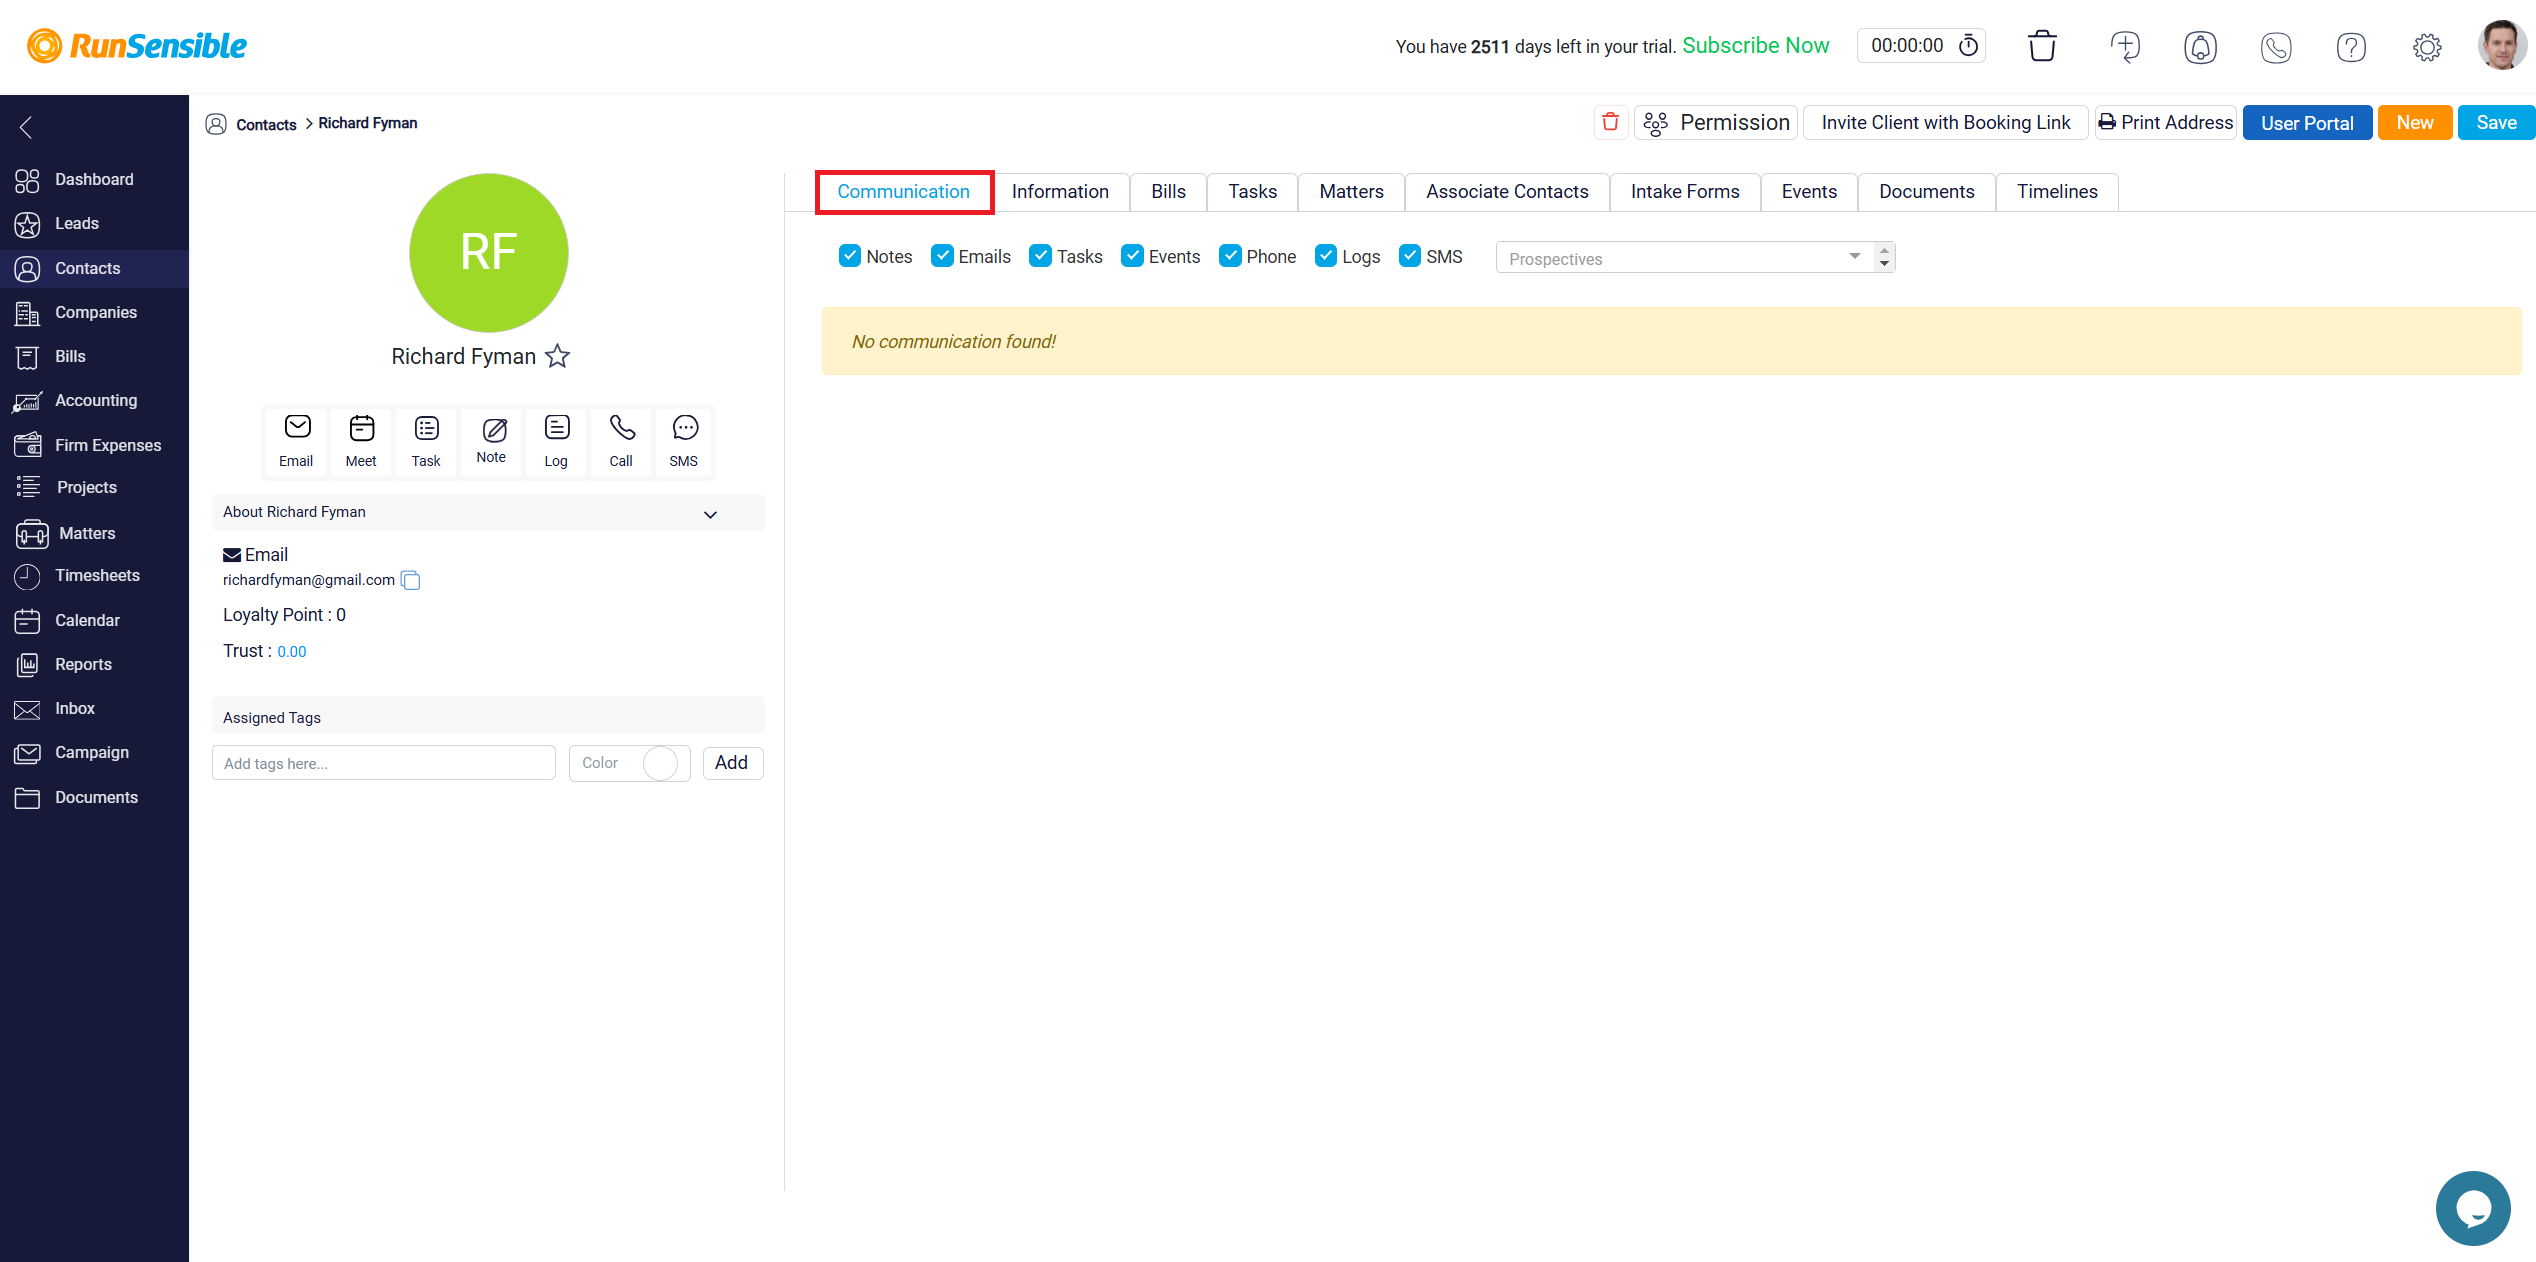
The main portion of the page is organized into several tabs that allow you to access different types of information and activities associated with the contact. The Communication tab provides access to all communications with the contact, including emails, phone calls, and messages.
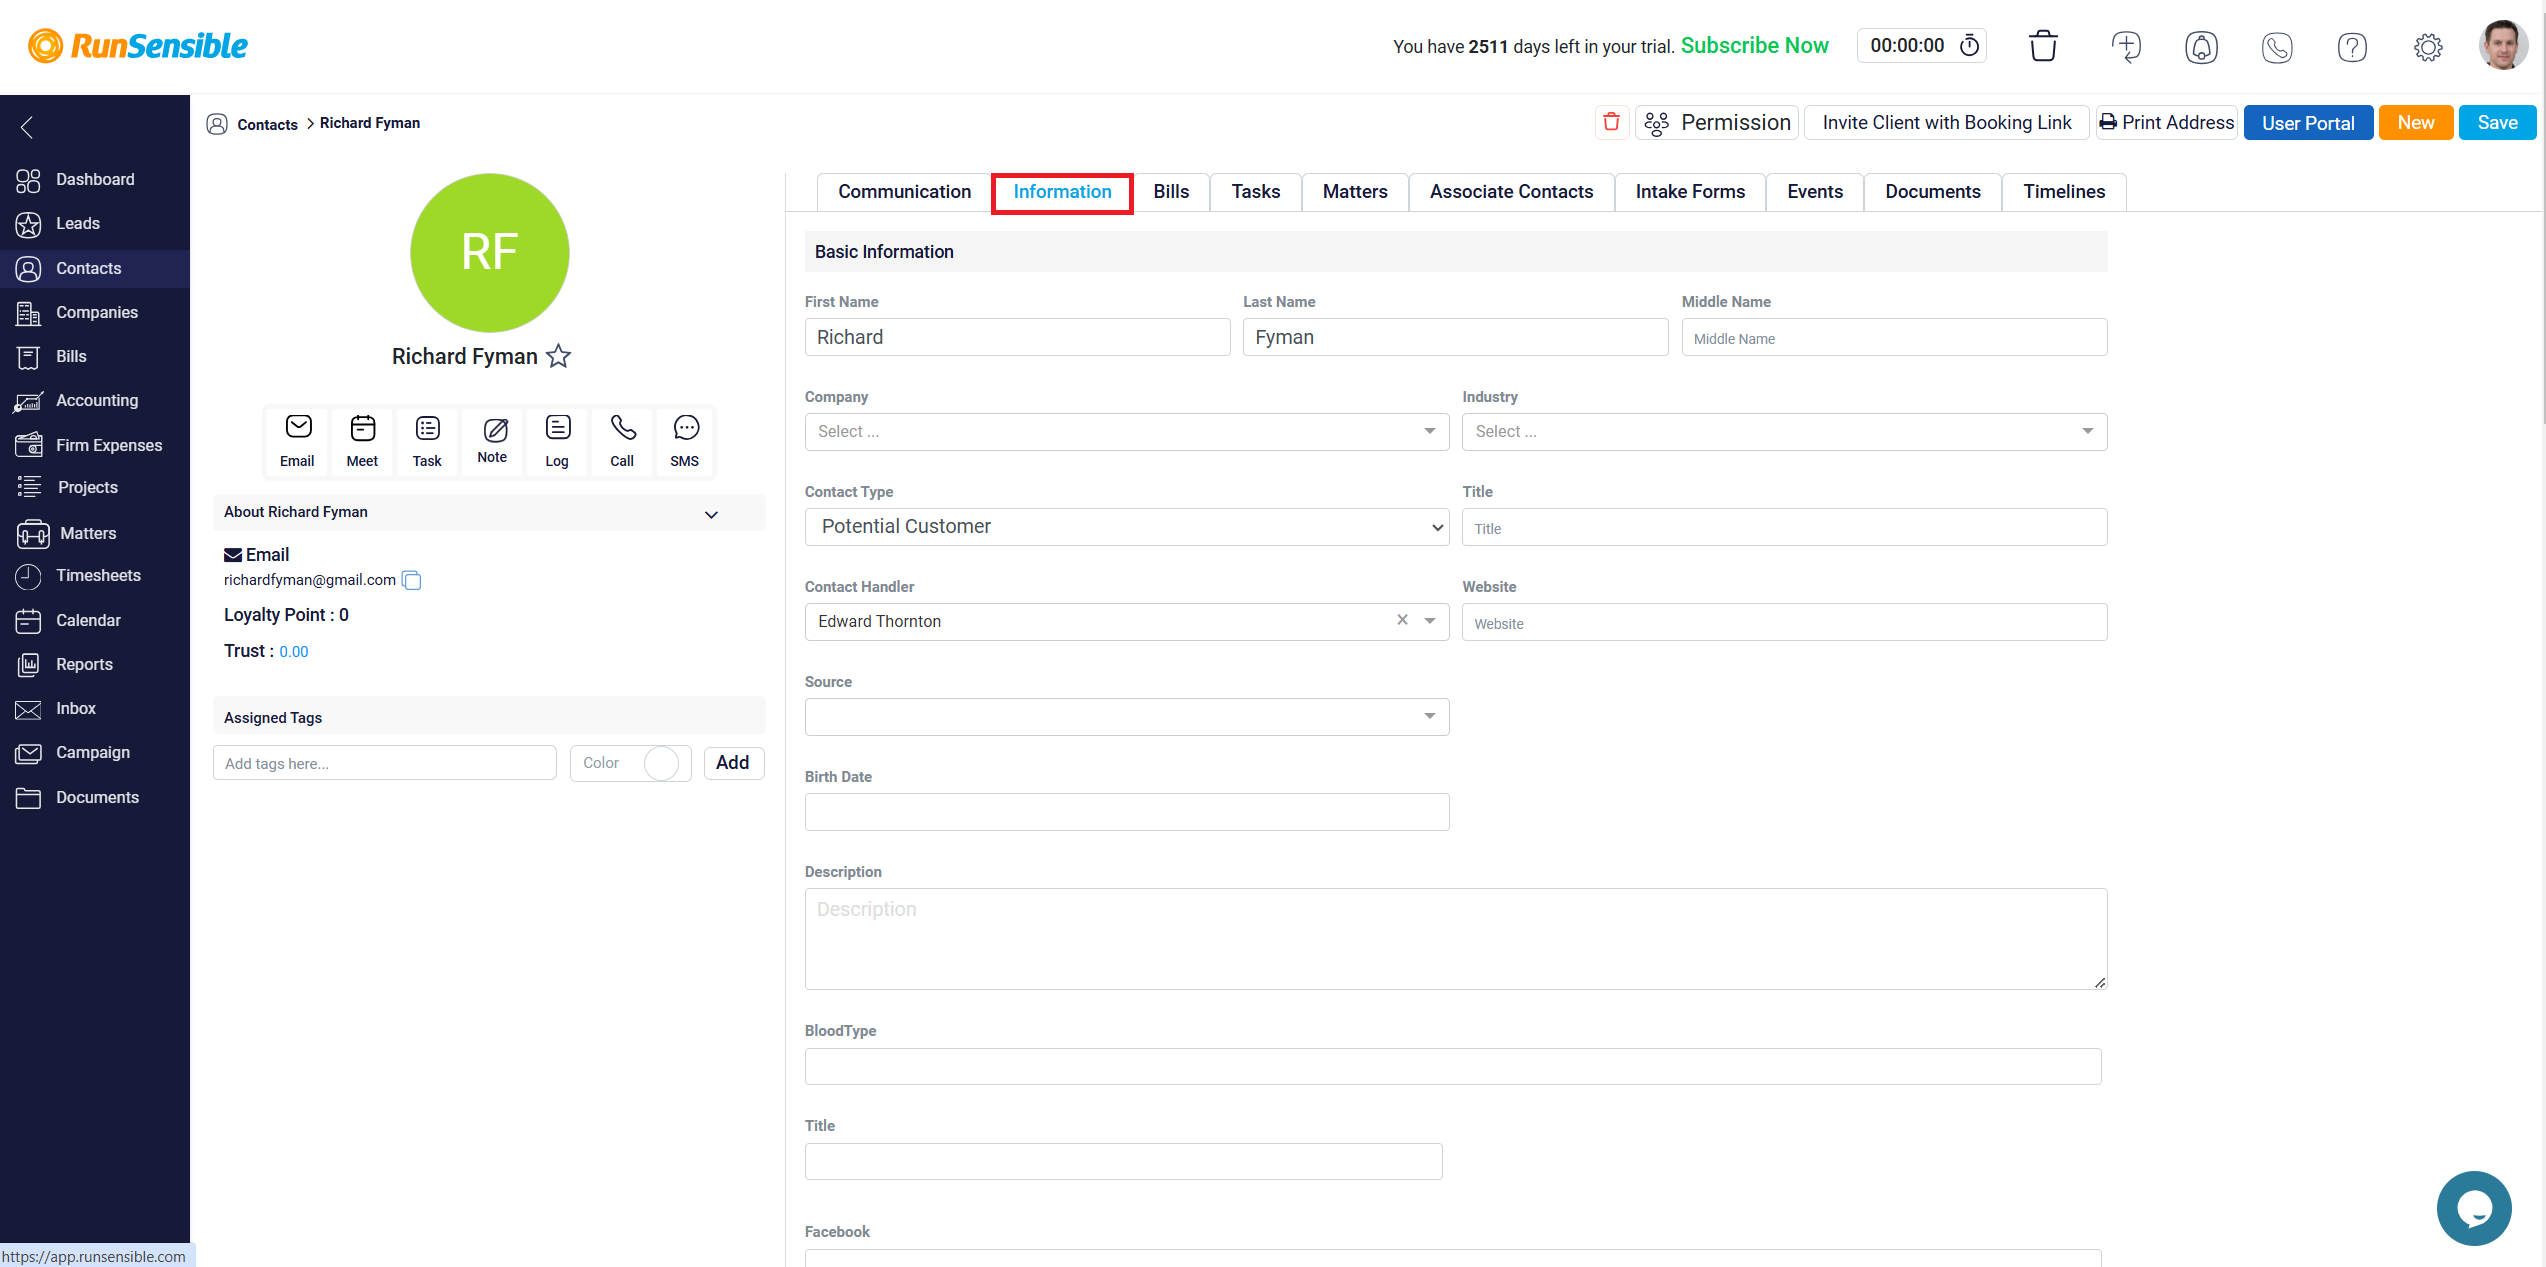
The Information tab offers detailed information about the contact, such as personal details and notes.
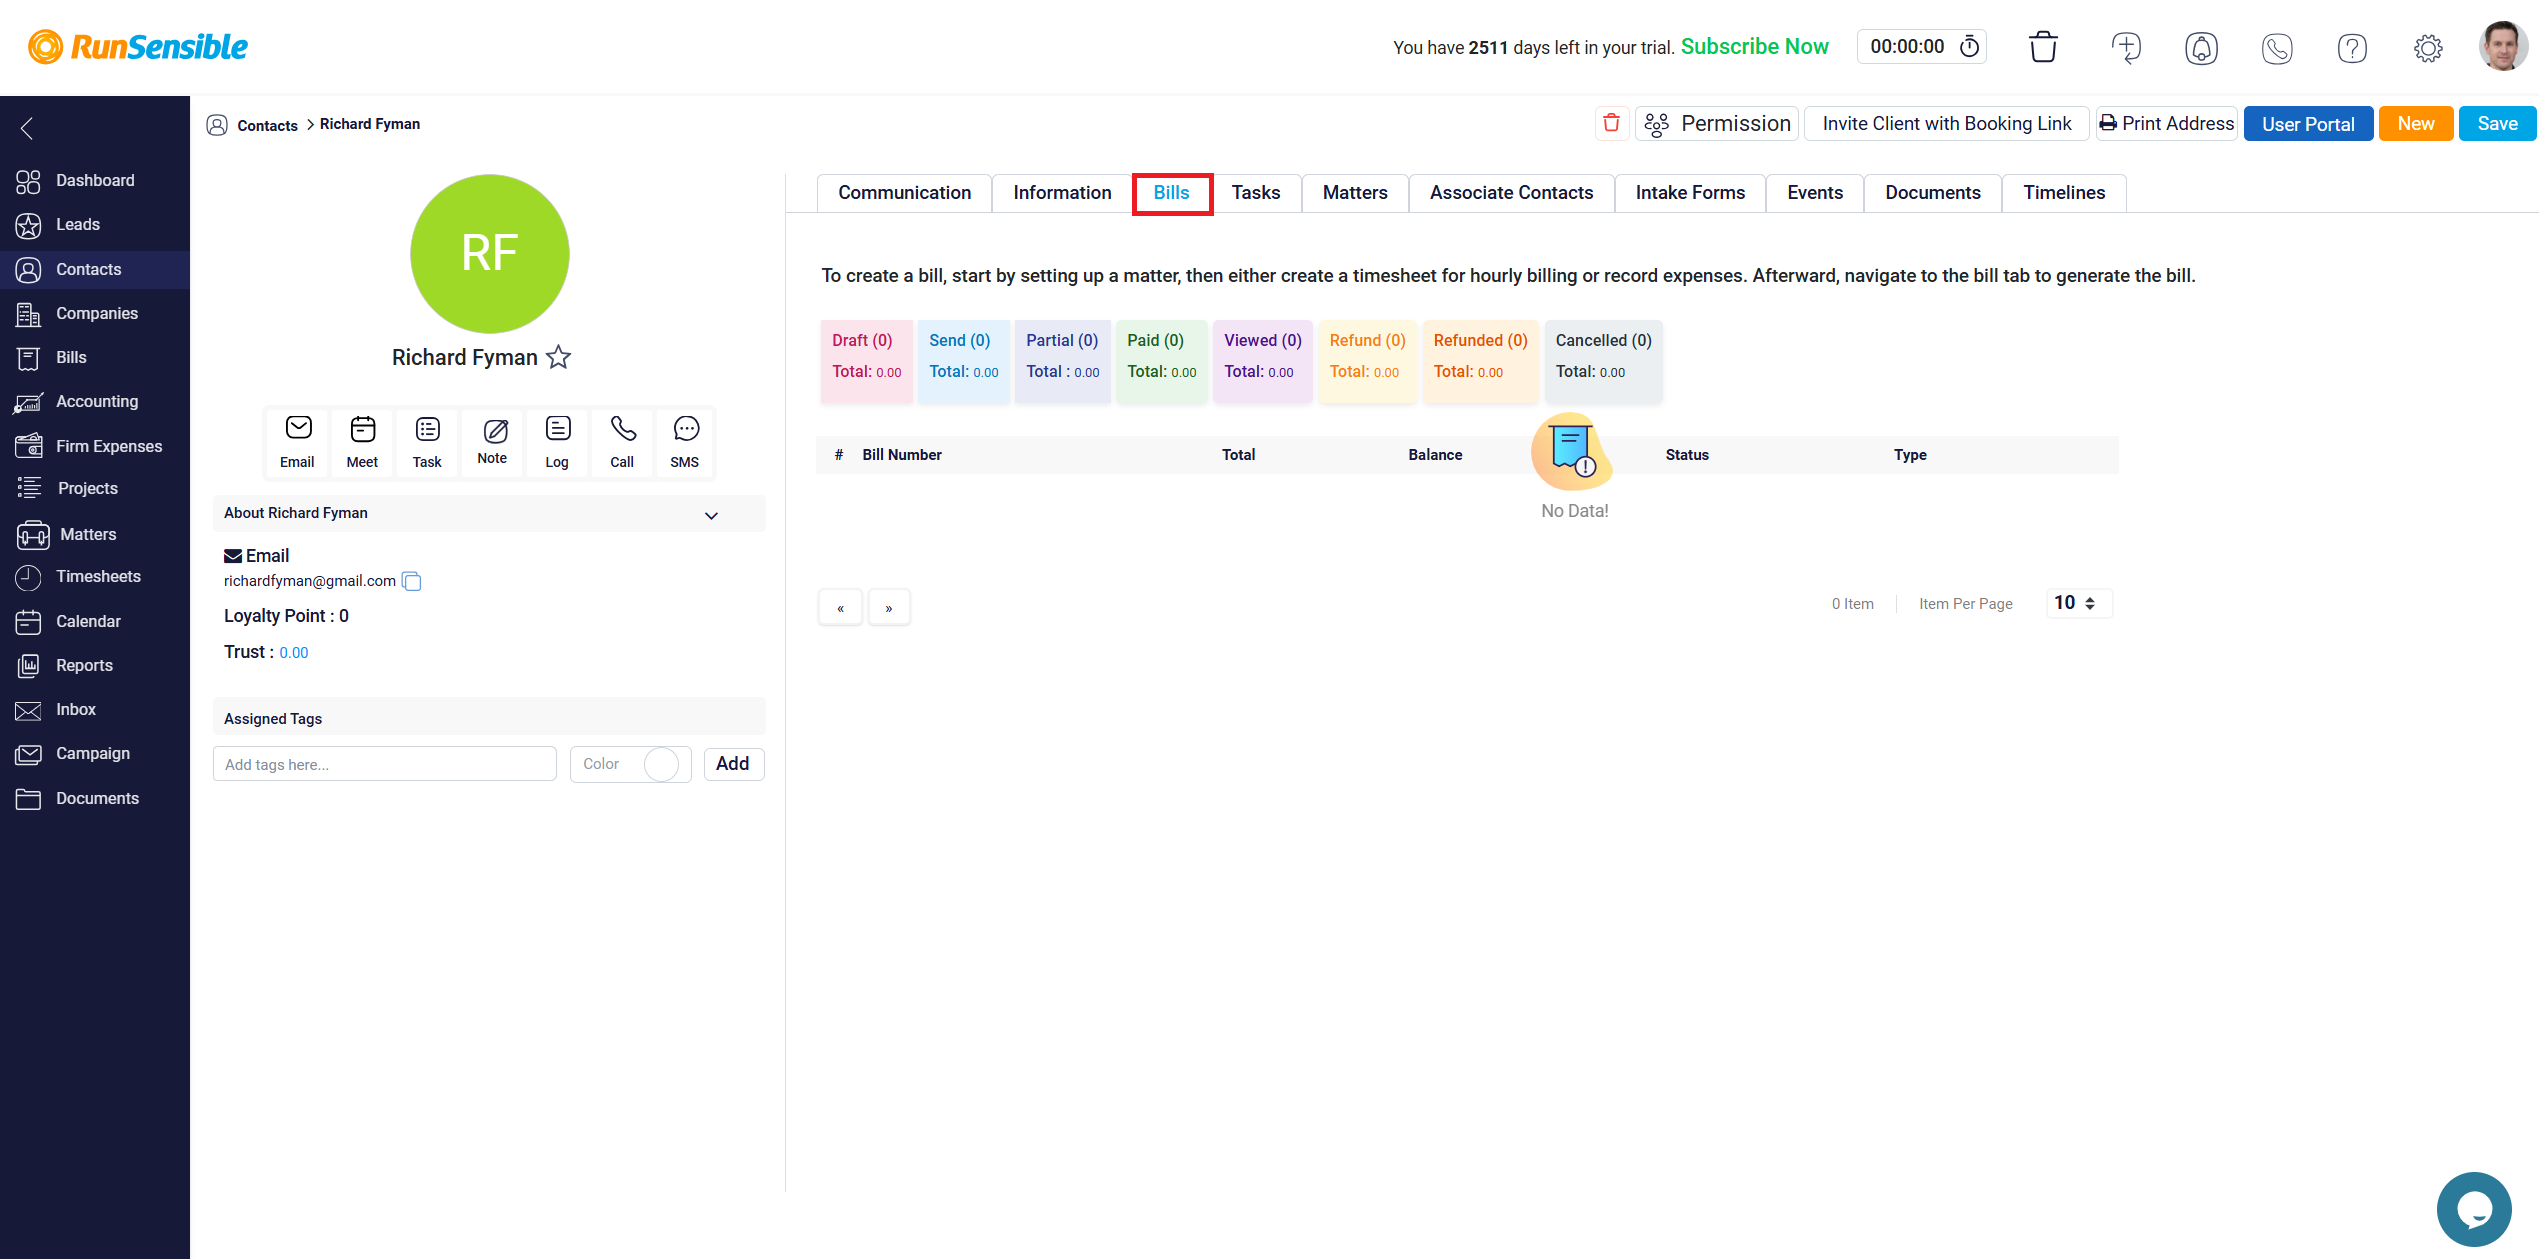
The Bills tab allows you to review any billing information linked to the contact.
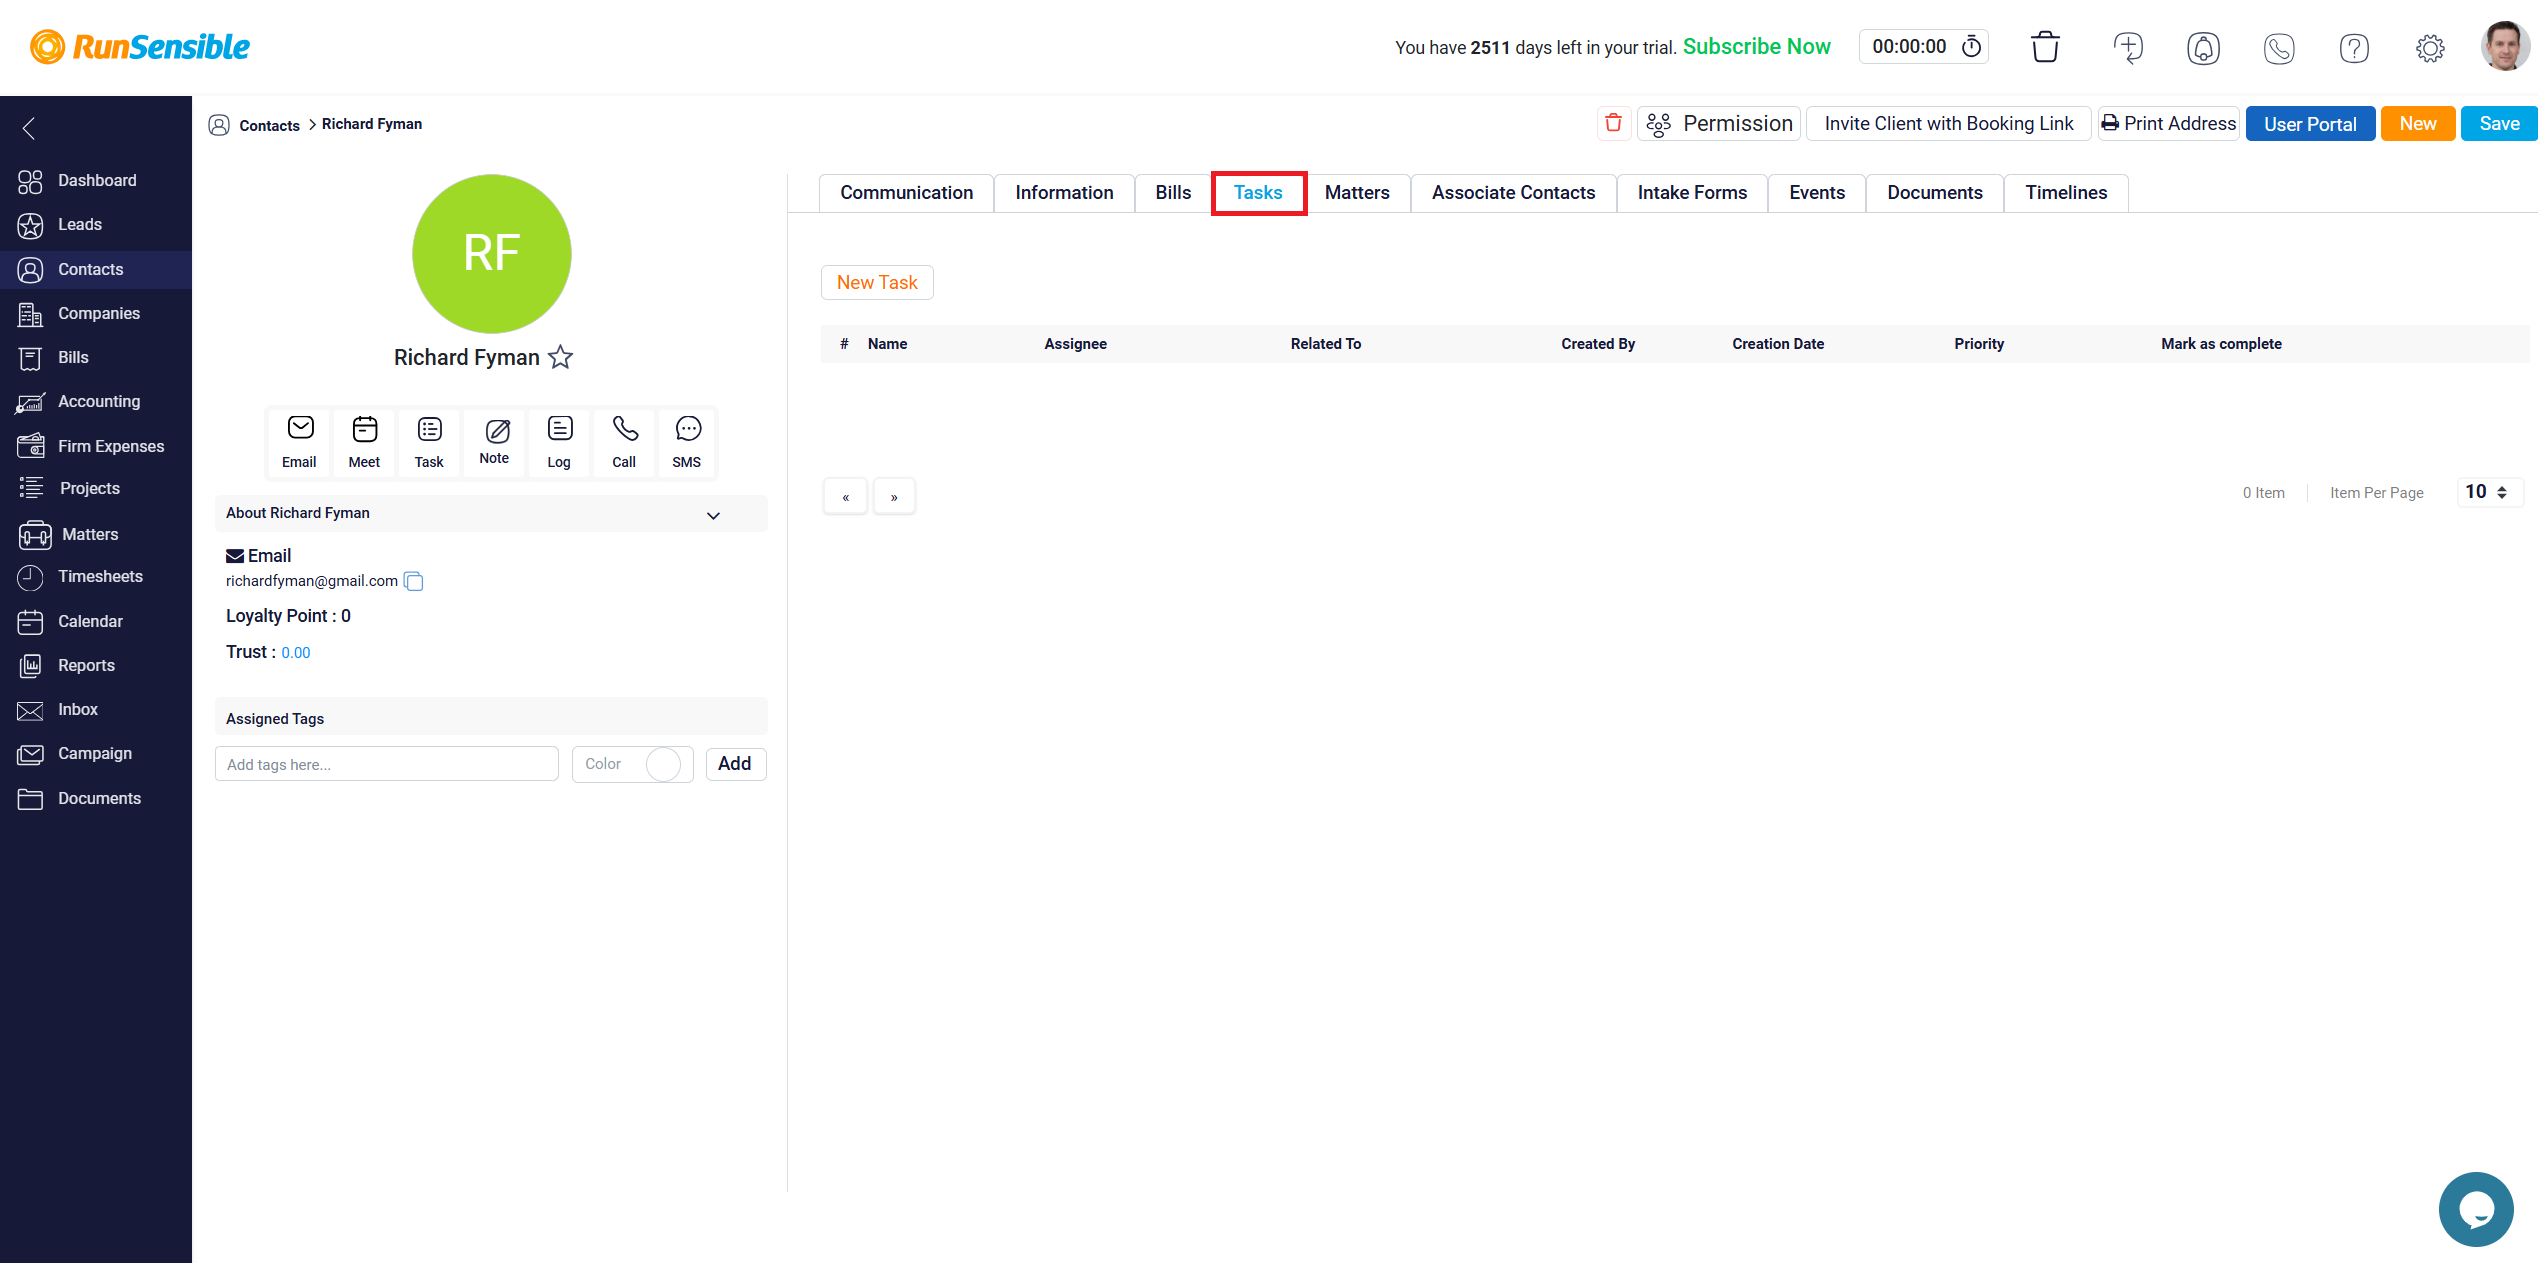
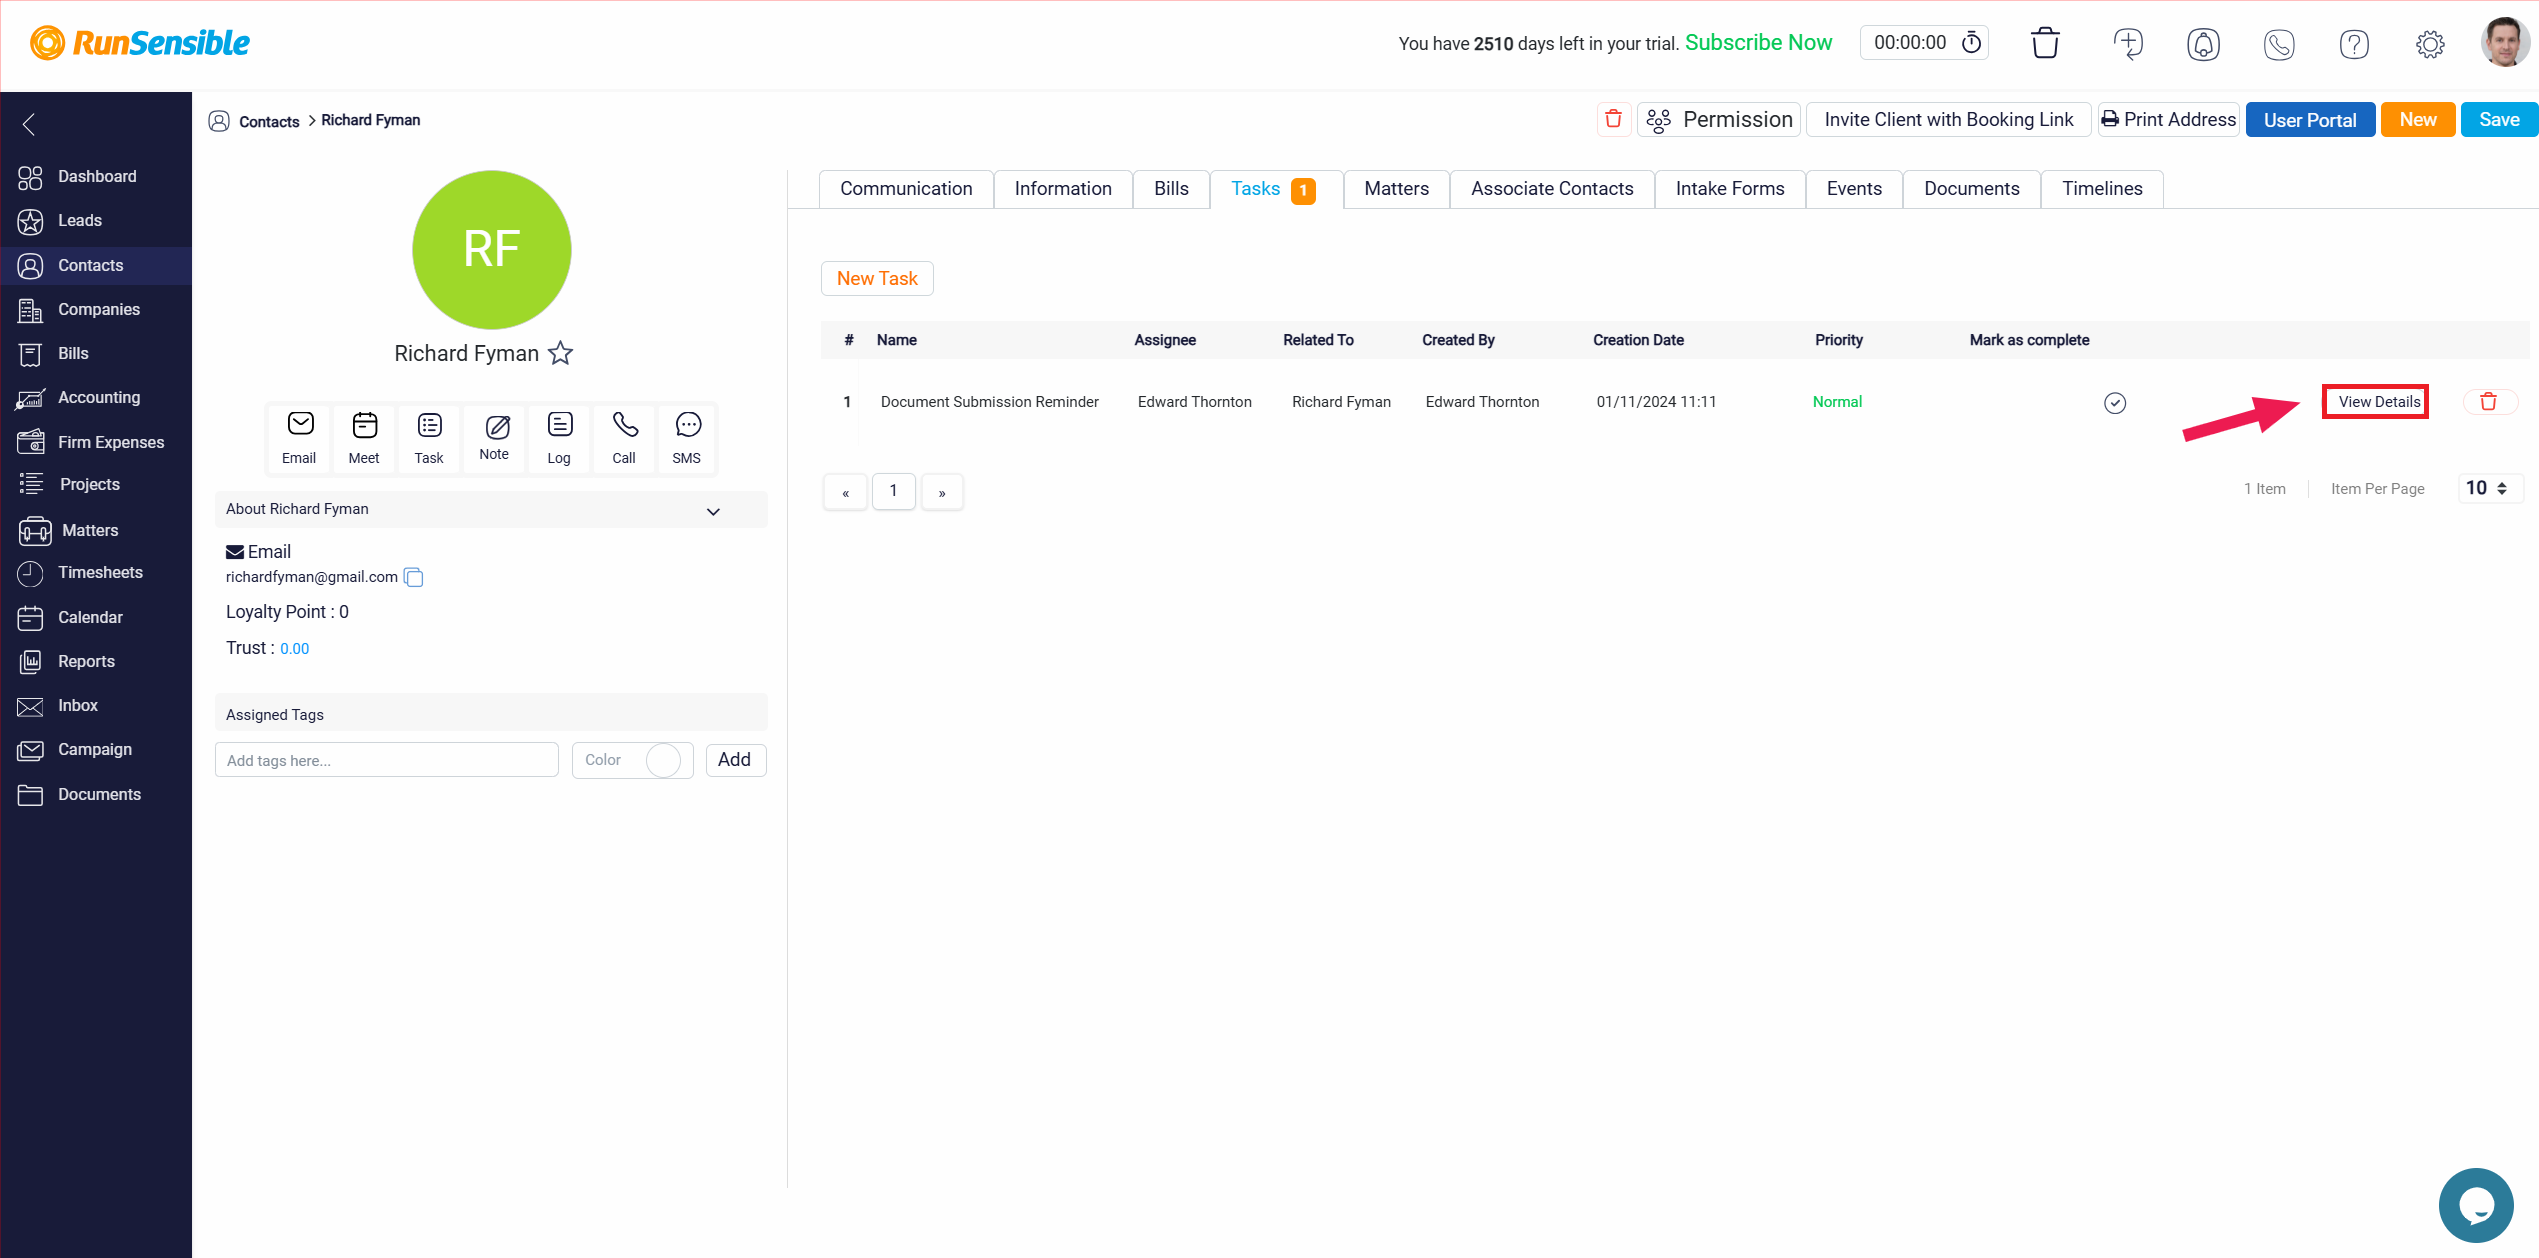
The Tasks tab helps you manage tasks associated with the contact, with tasks that have due dates displayed prominently.
You can view or edit these tasks by clicking the View Details button.
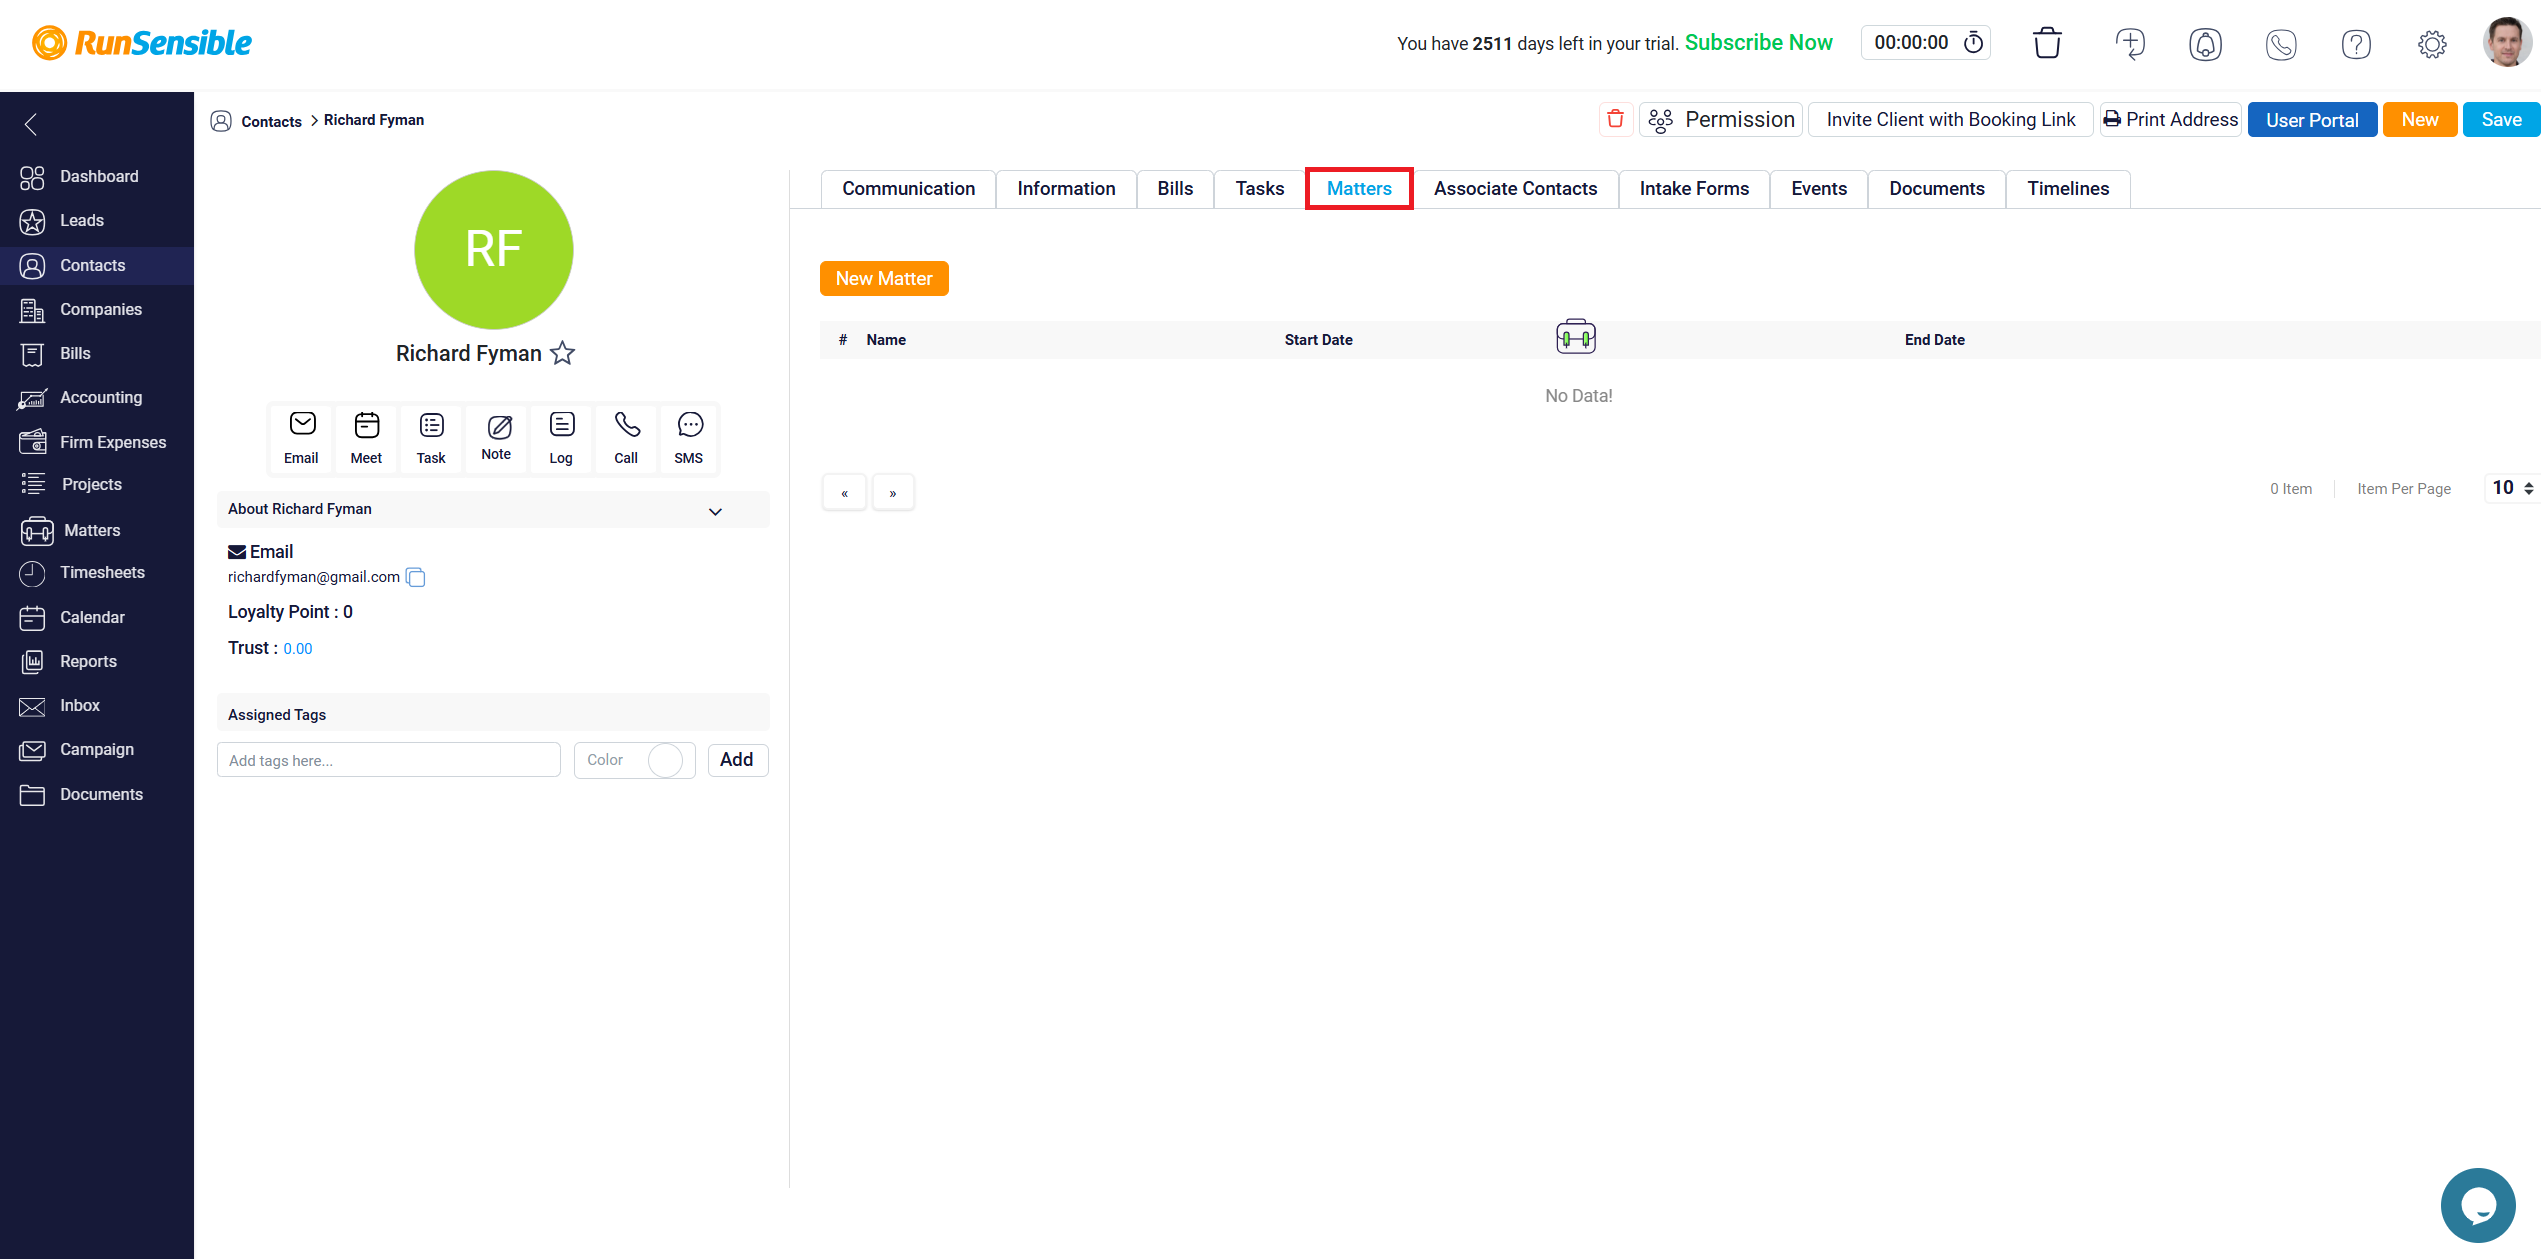
The Matters tab shows all matters or projects associated with contact.
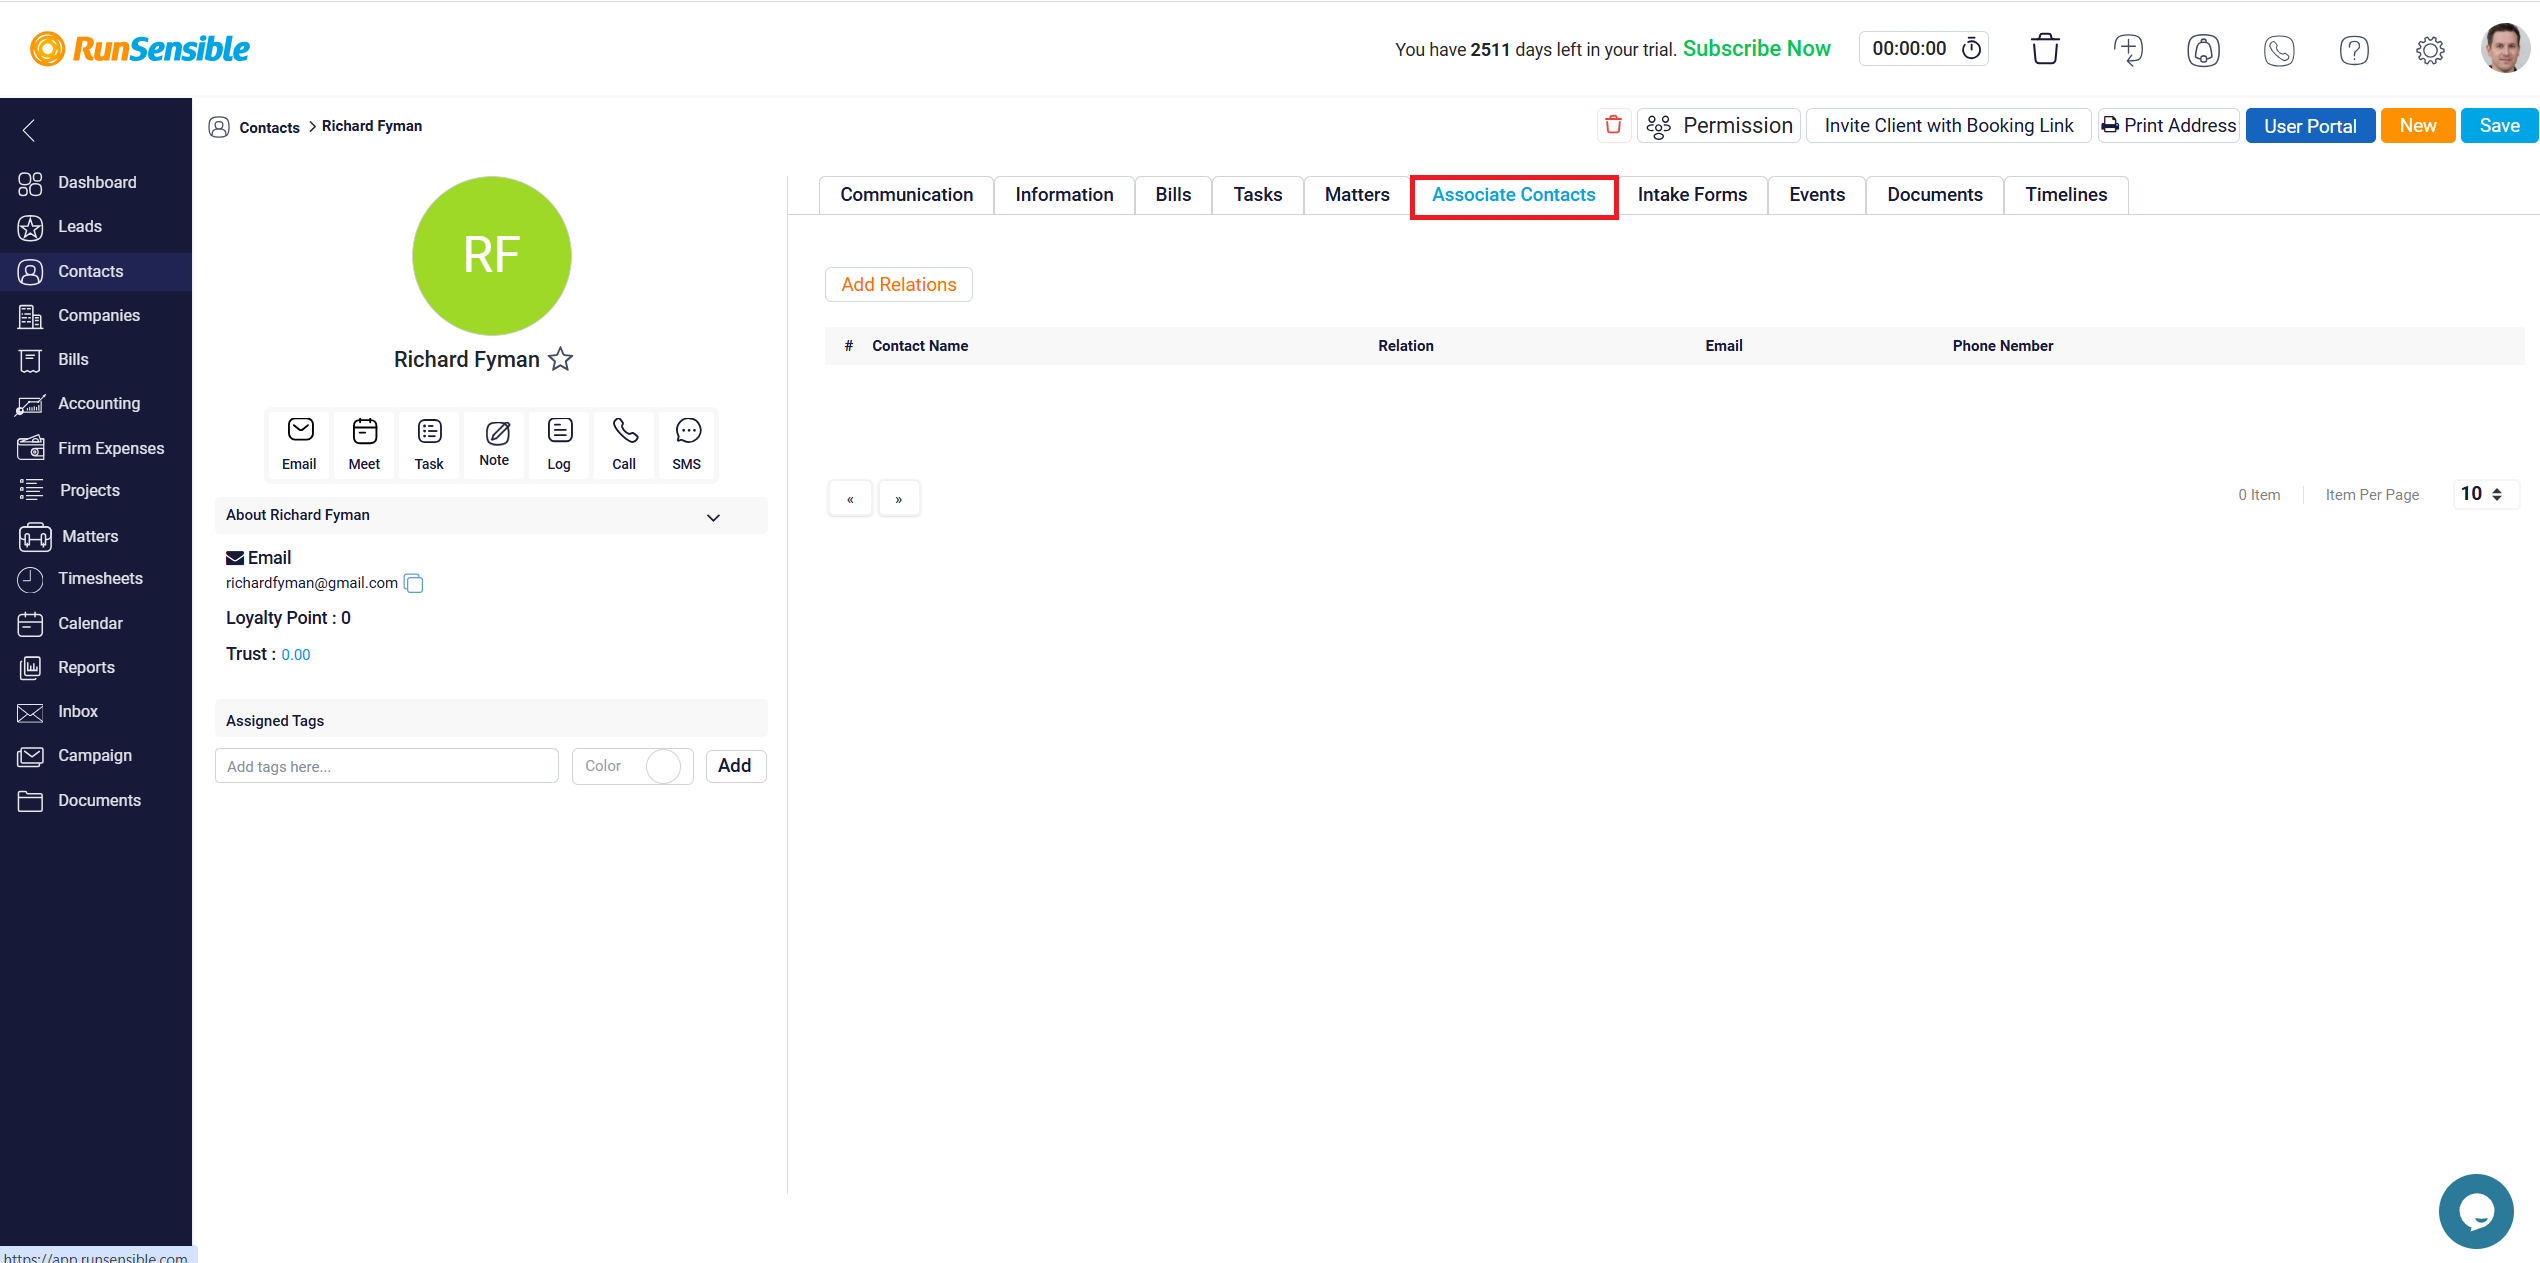
The Associate Contacts tab enables you to view and manage any related contacts connected to this individual. This feature is especially useful for law firms or businesses that need to manage relationships between different individuals or entities involved in a case or project.
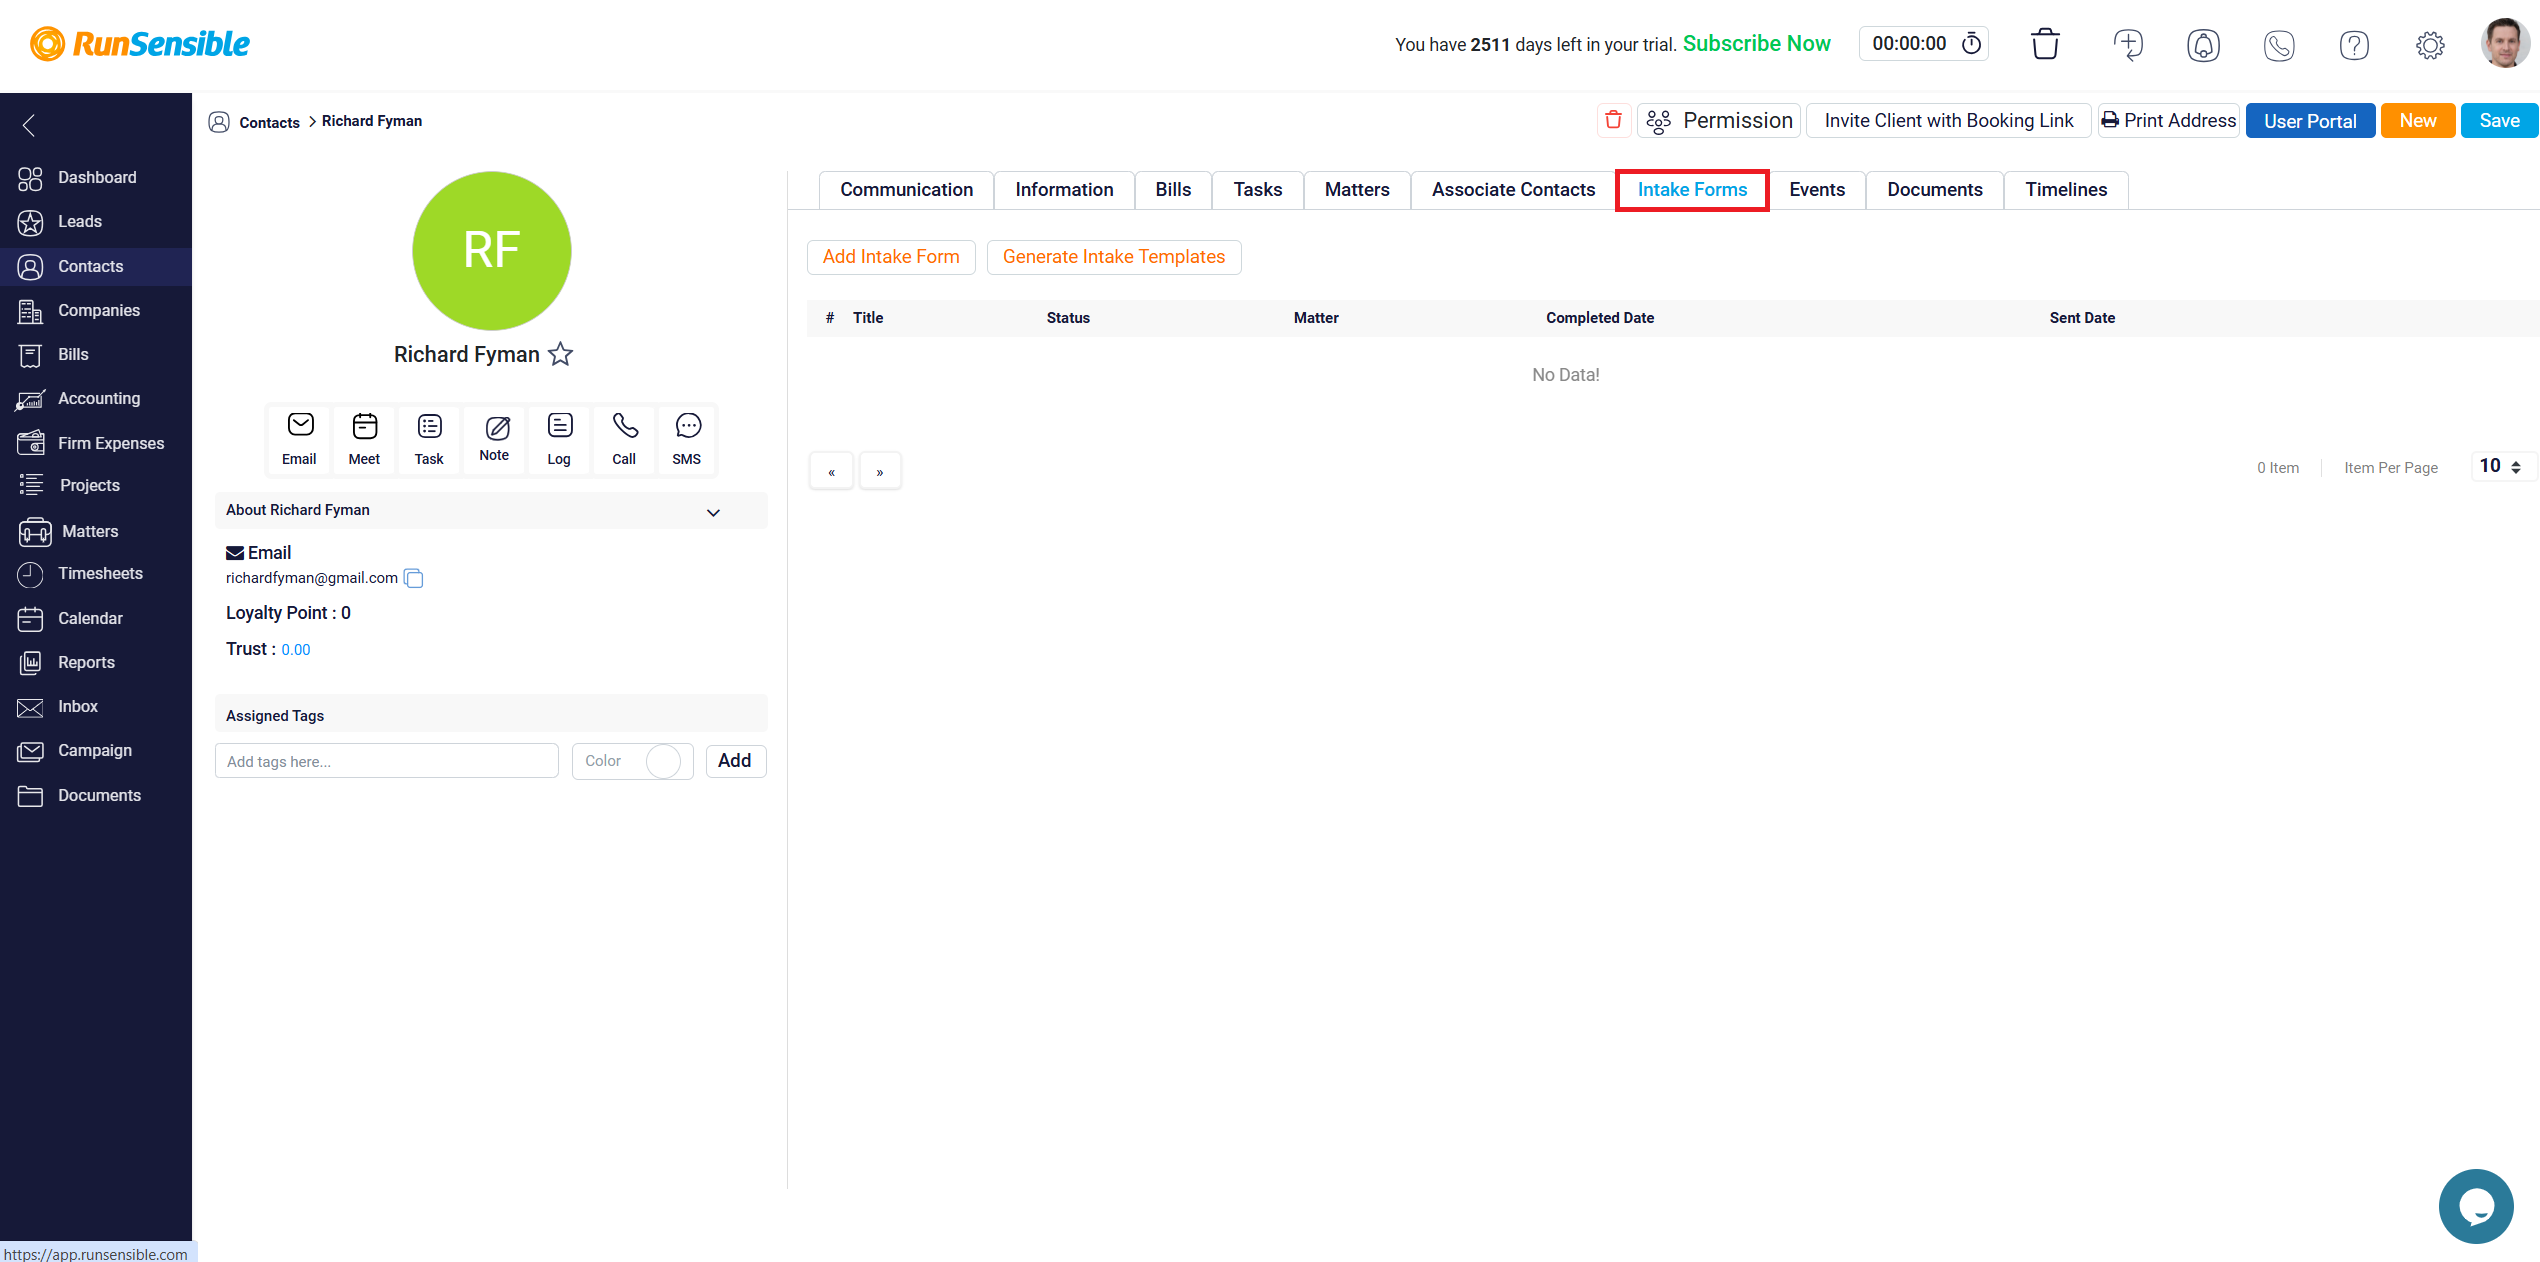
The Intake Forms tab gives you access to any intake forms that the contact has filled out, and the Events tab allows you to check scheduled events and appointments involving the contact.
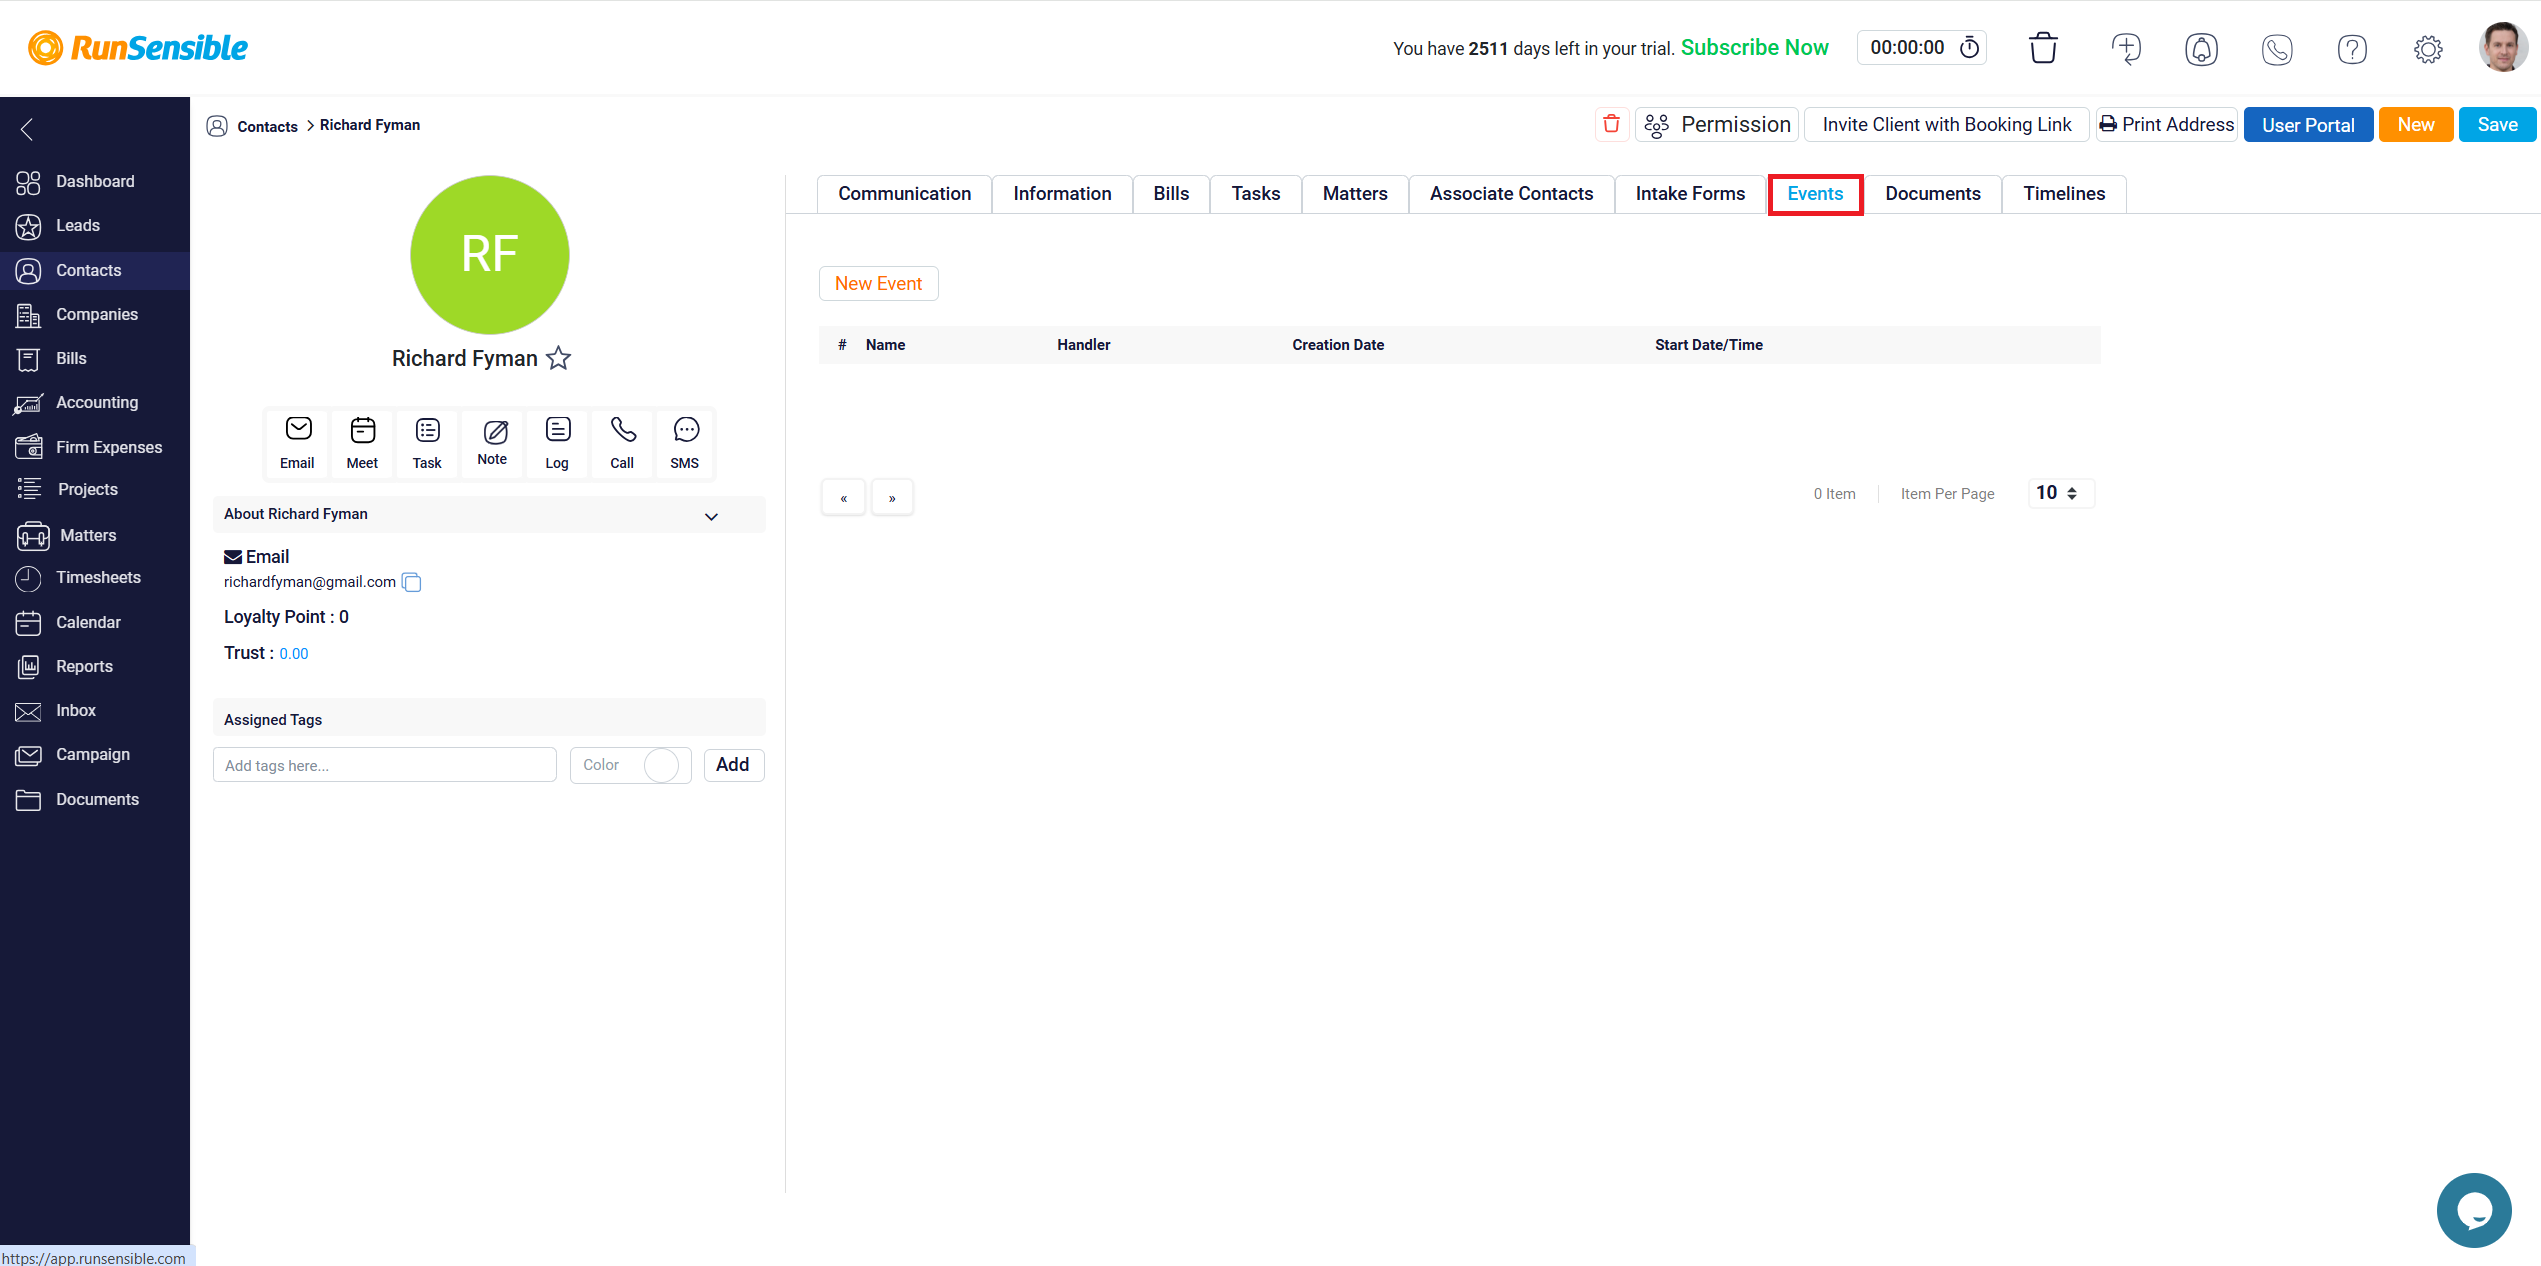
The Events tab is designed to help you manage and view all scheduled activities or appointments related to a specific contact.
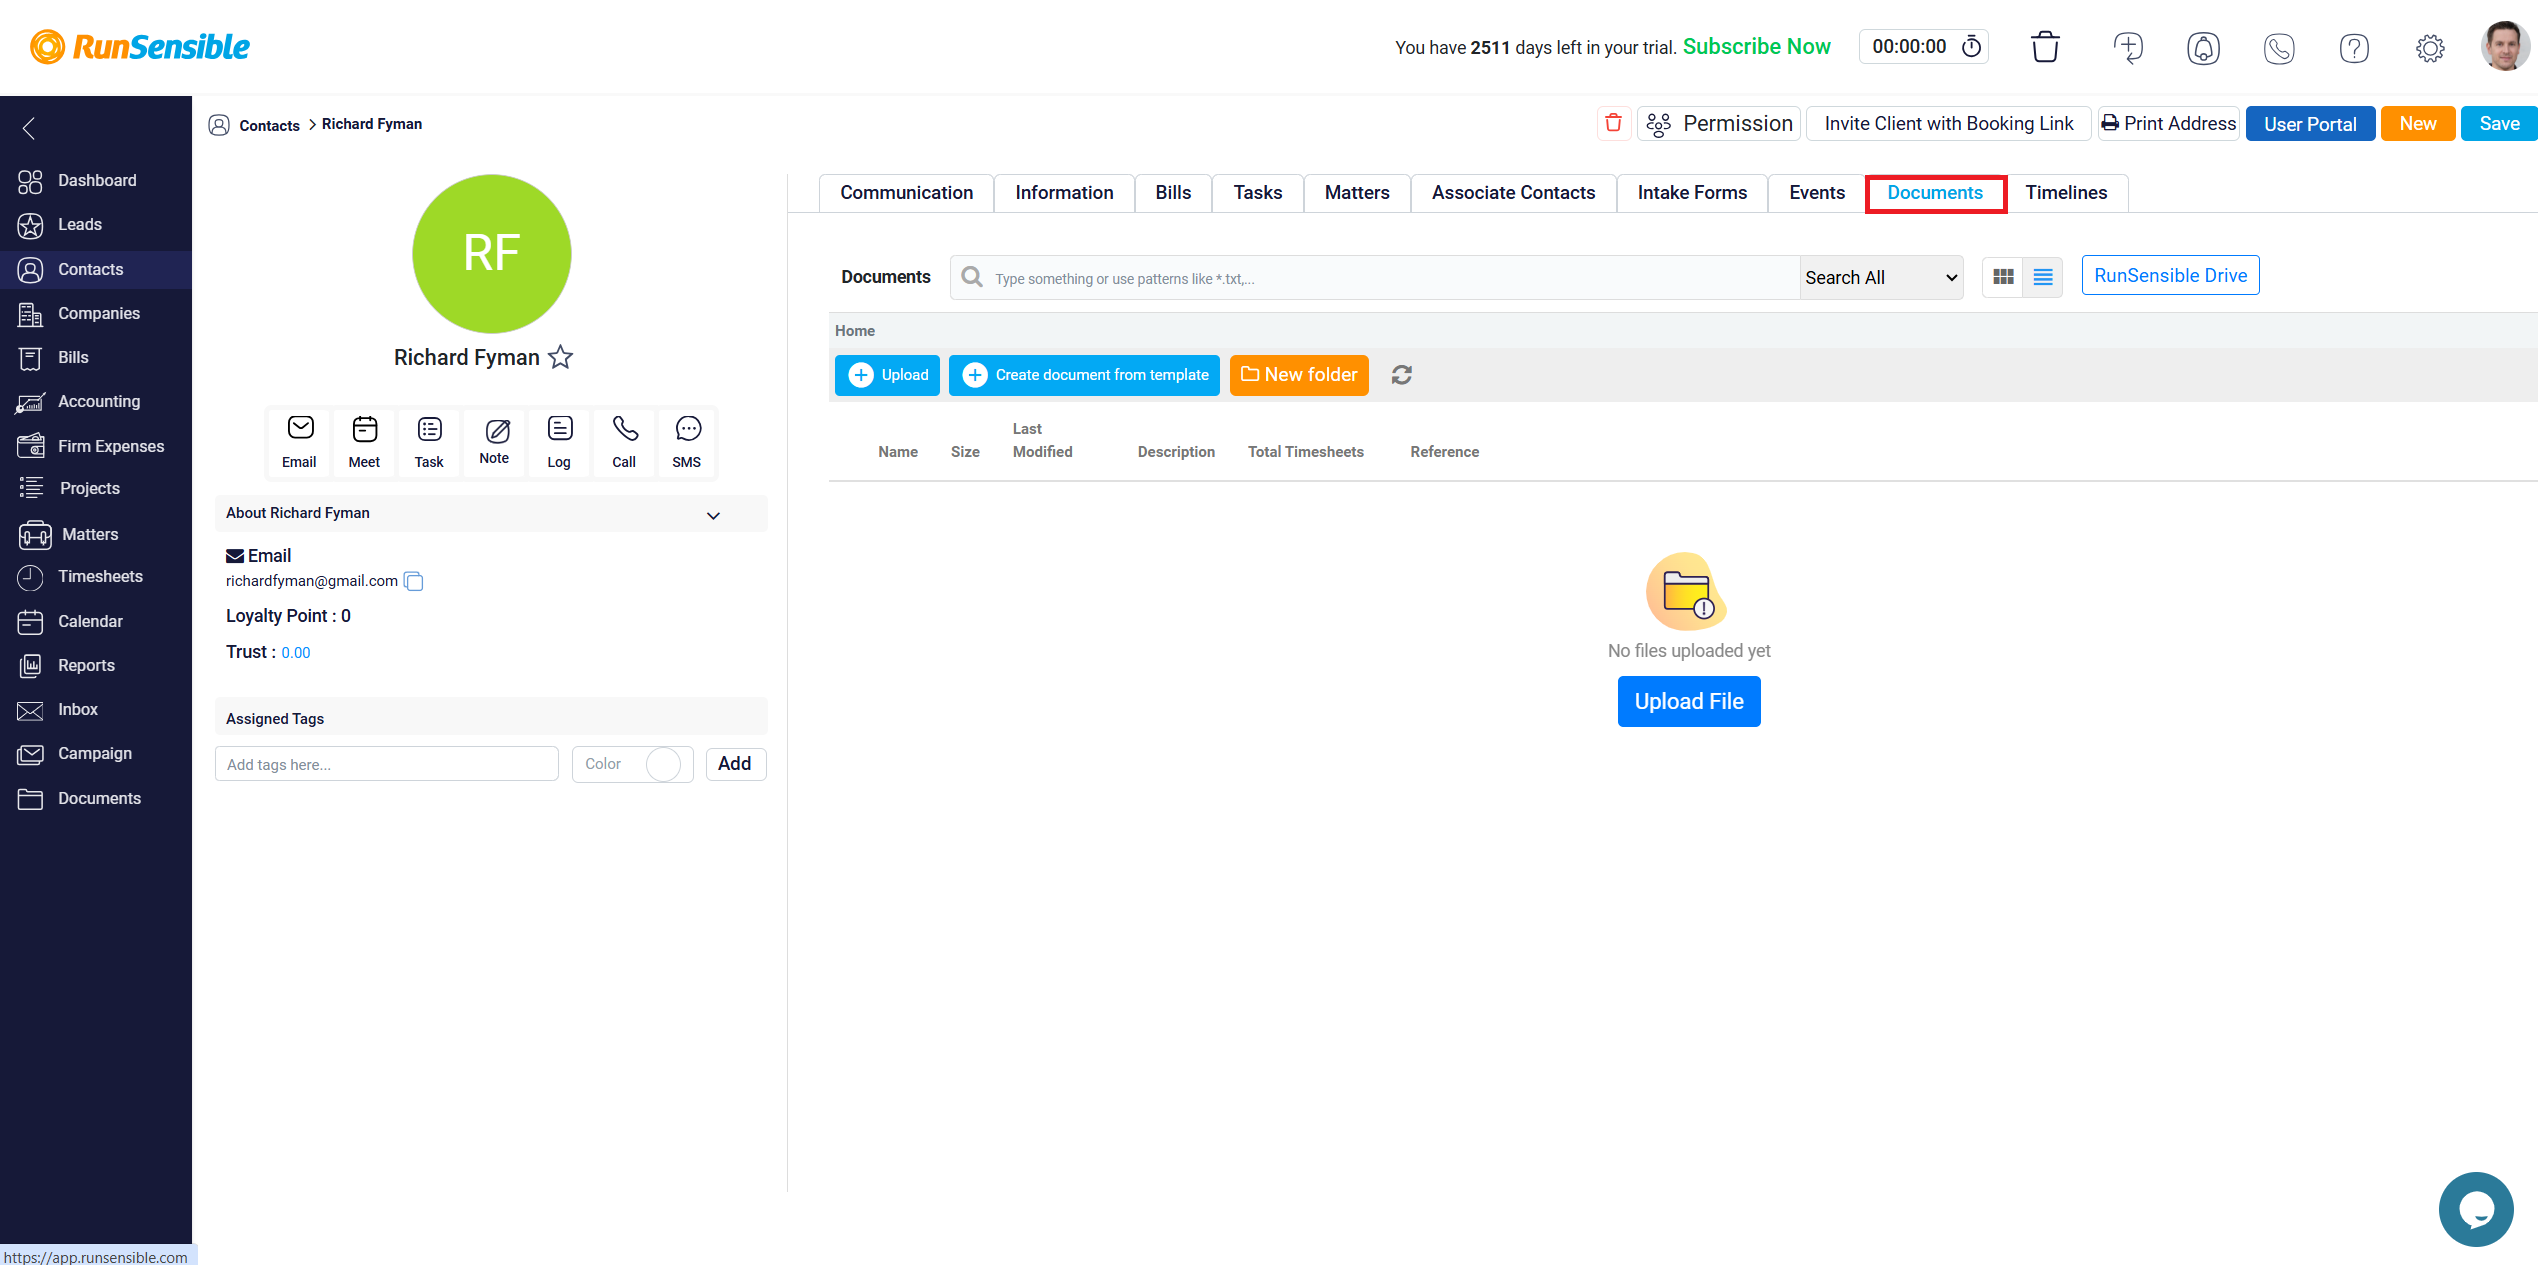
The Documents tab is where you can store and view documents related to the contact, and the Timelines tab provides a chronological log of all interactions and changes associated with the contact.
On the right side of the page, you will find additional action buttons. These include the Trash button that allows you to remove the contact, Permission settings to control who can access the contact’s information, an option to Invite to Meet for setting up meetings with the contact, and a Print Address function for generating mailing labels.
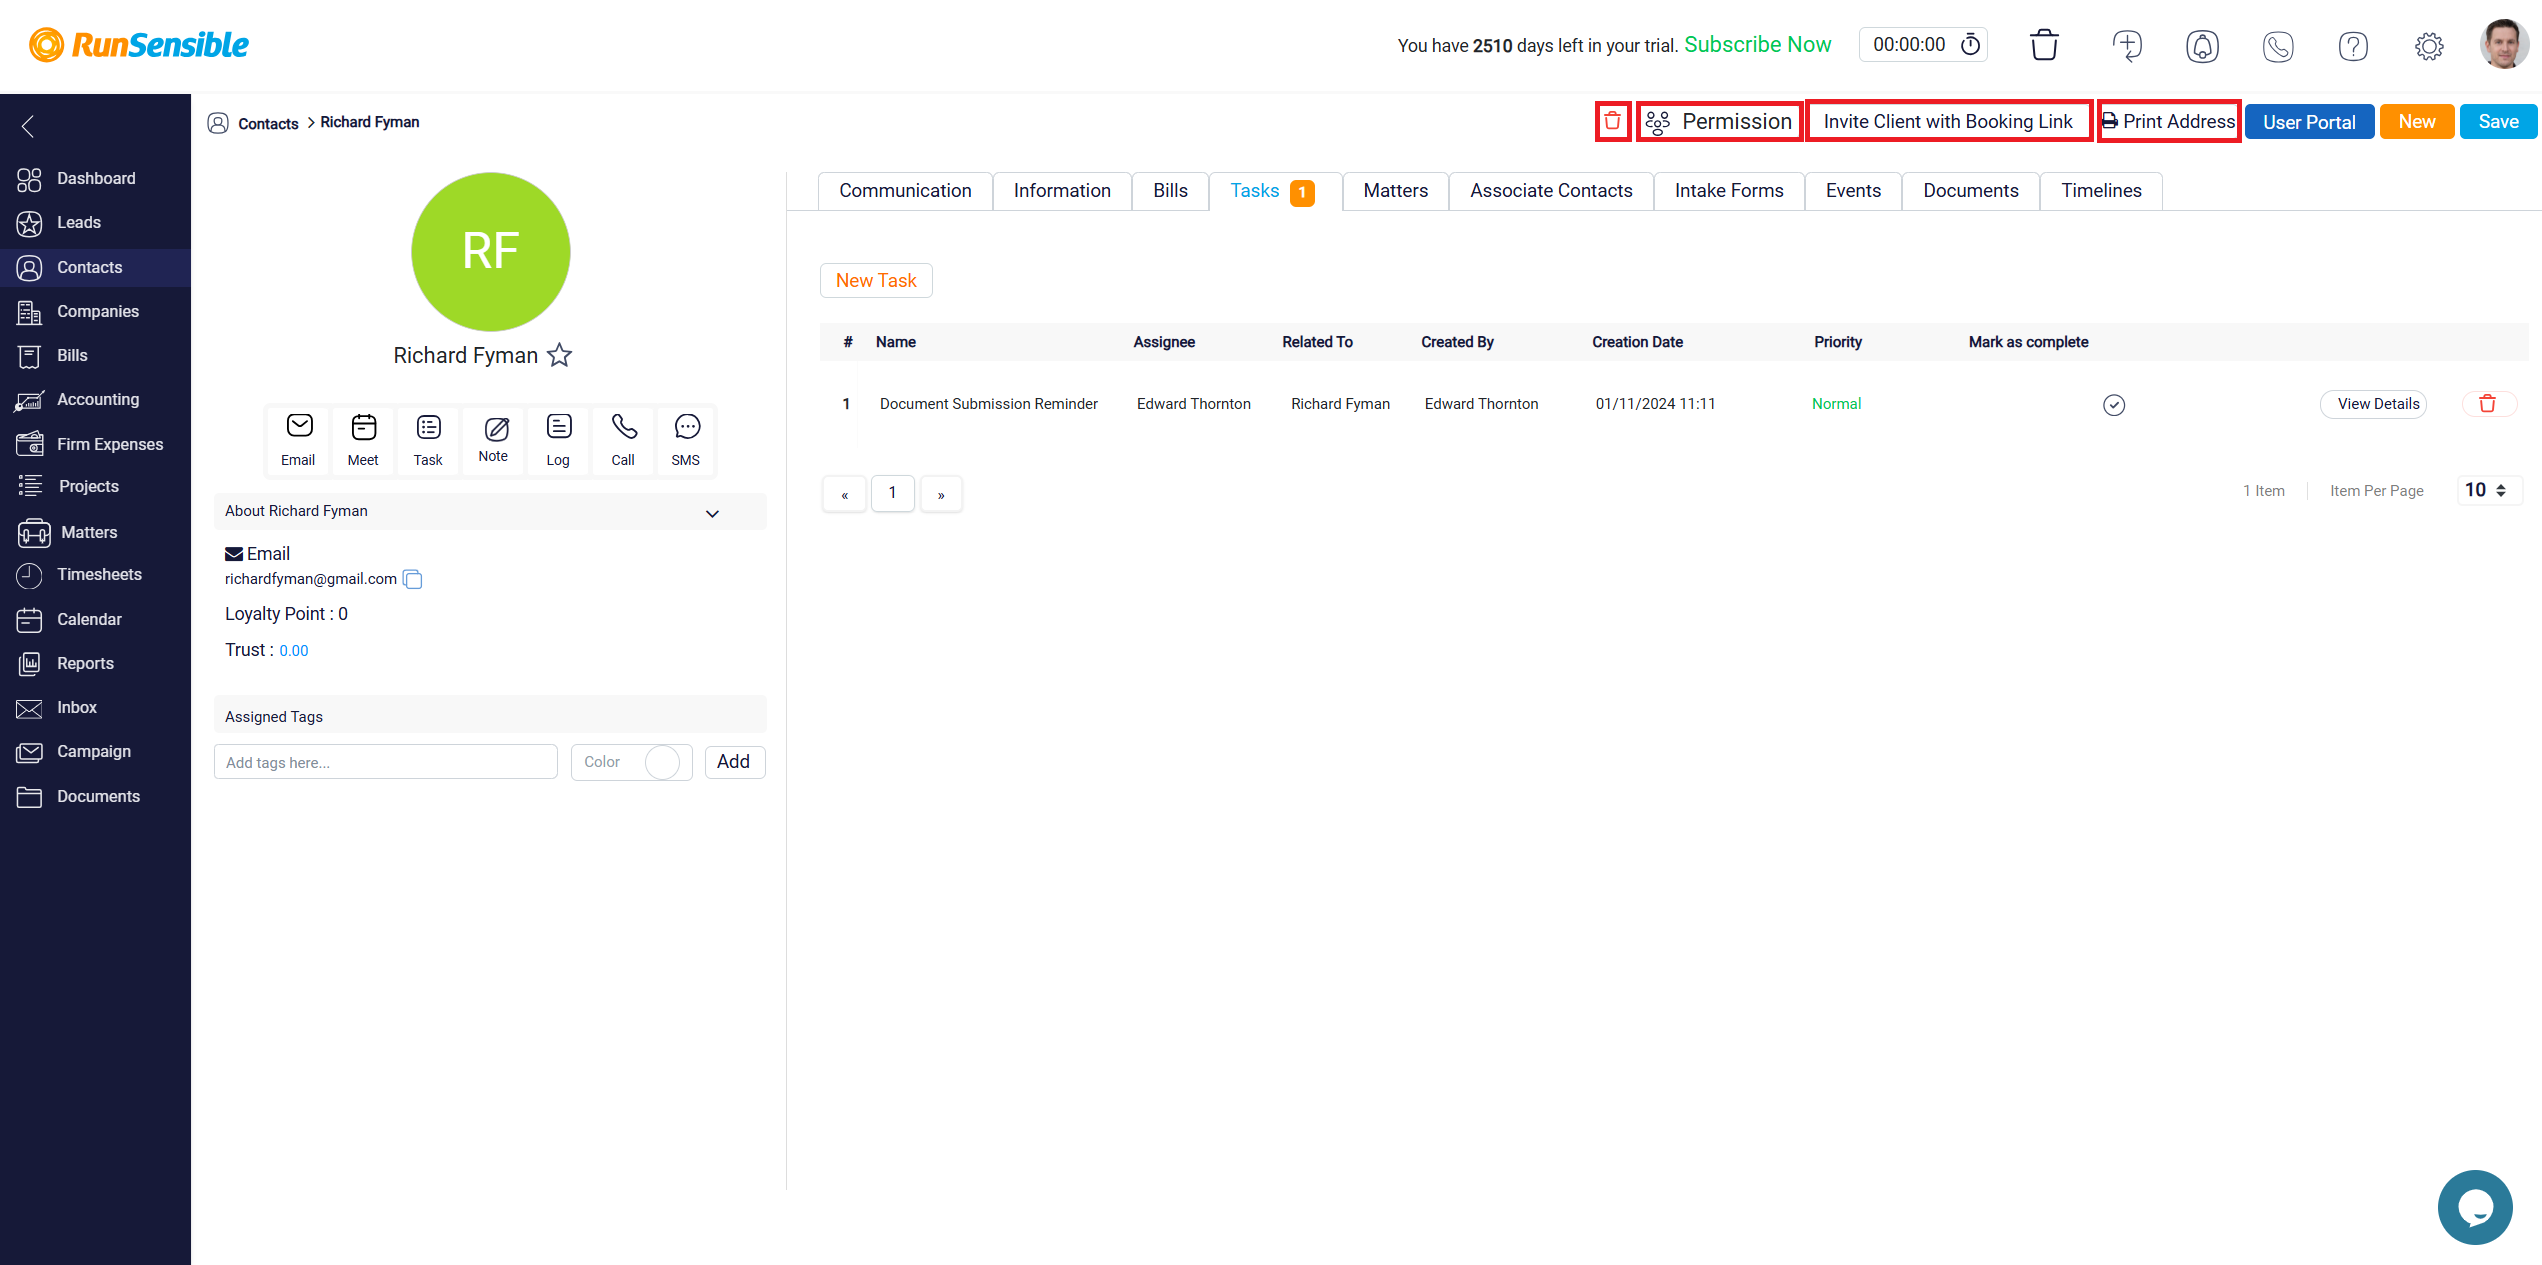
The Client’s Portal button provides access to a portal where the contact can interact with your system directly.

There is also a Save button at the top right of the page, allowing you to save any changes made to the contact’s details.
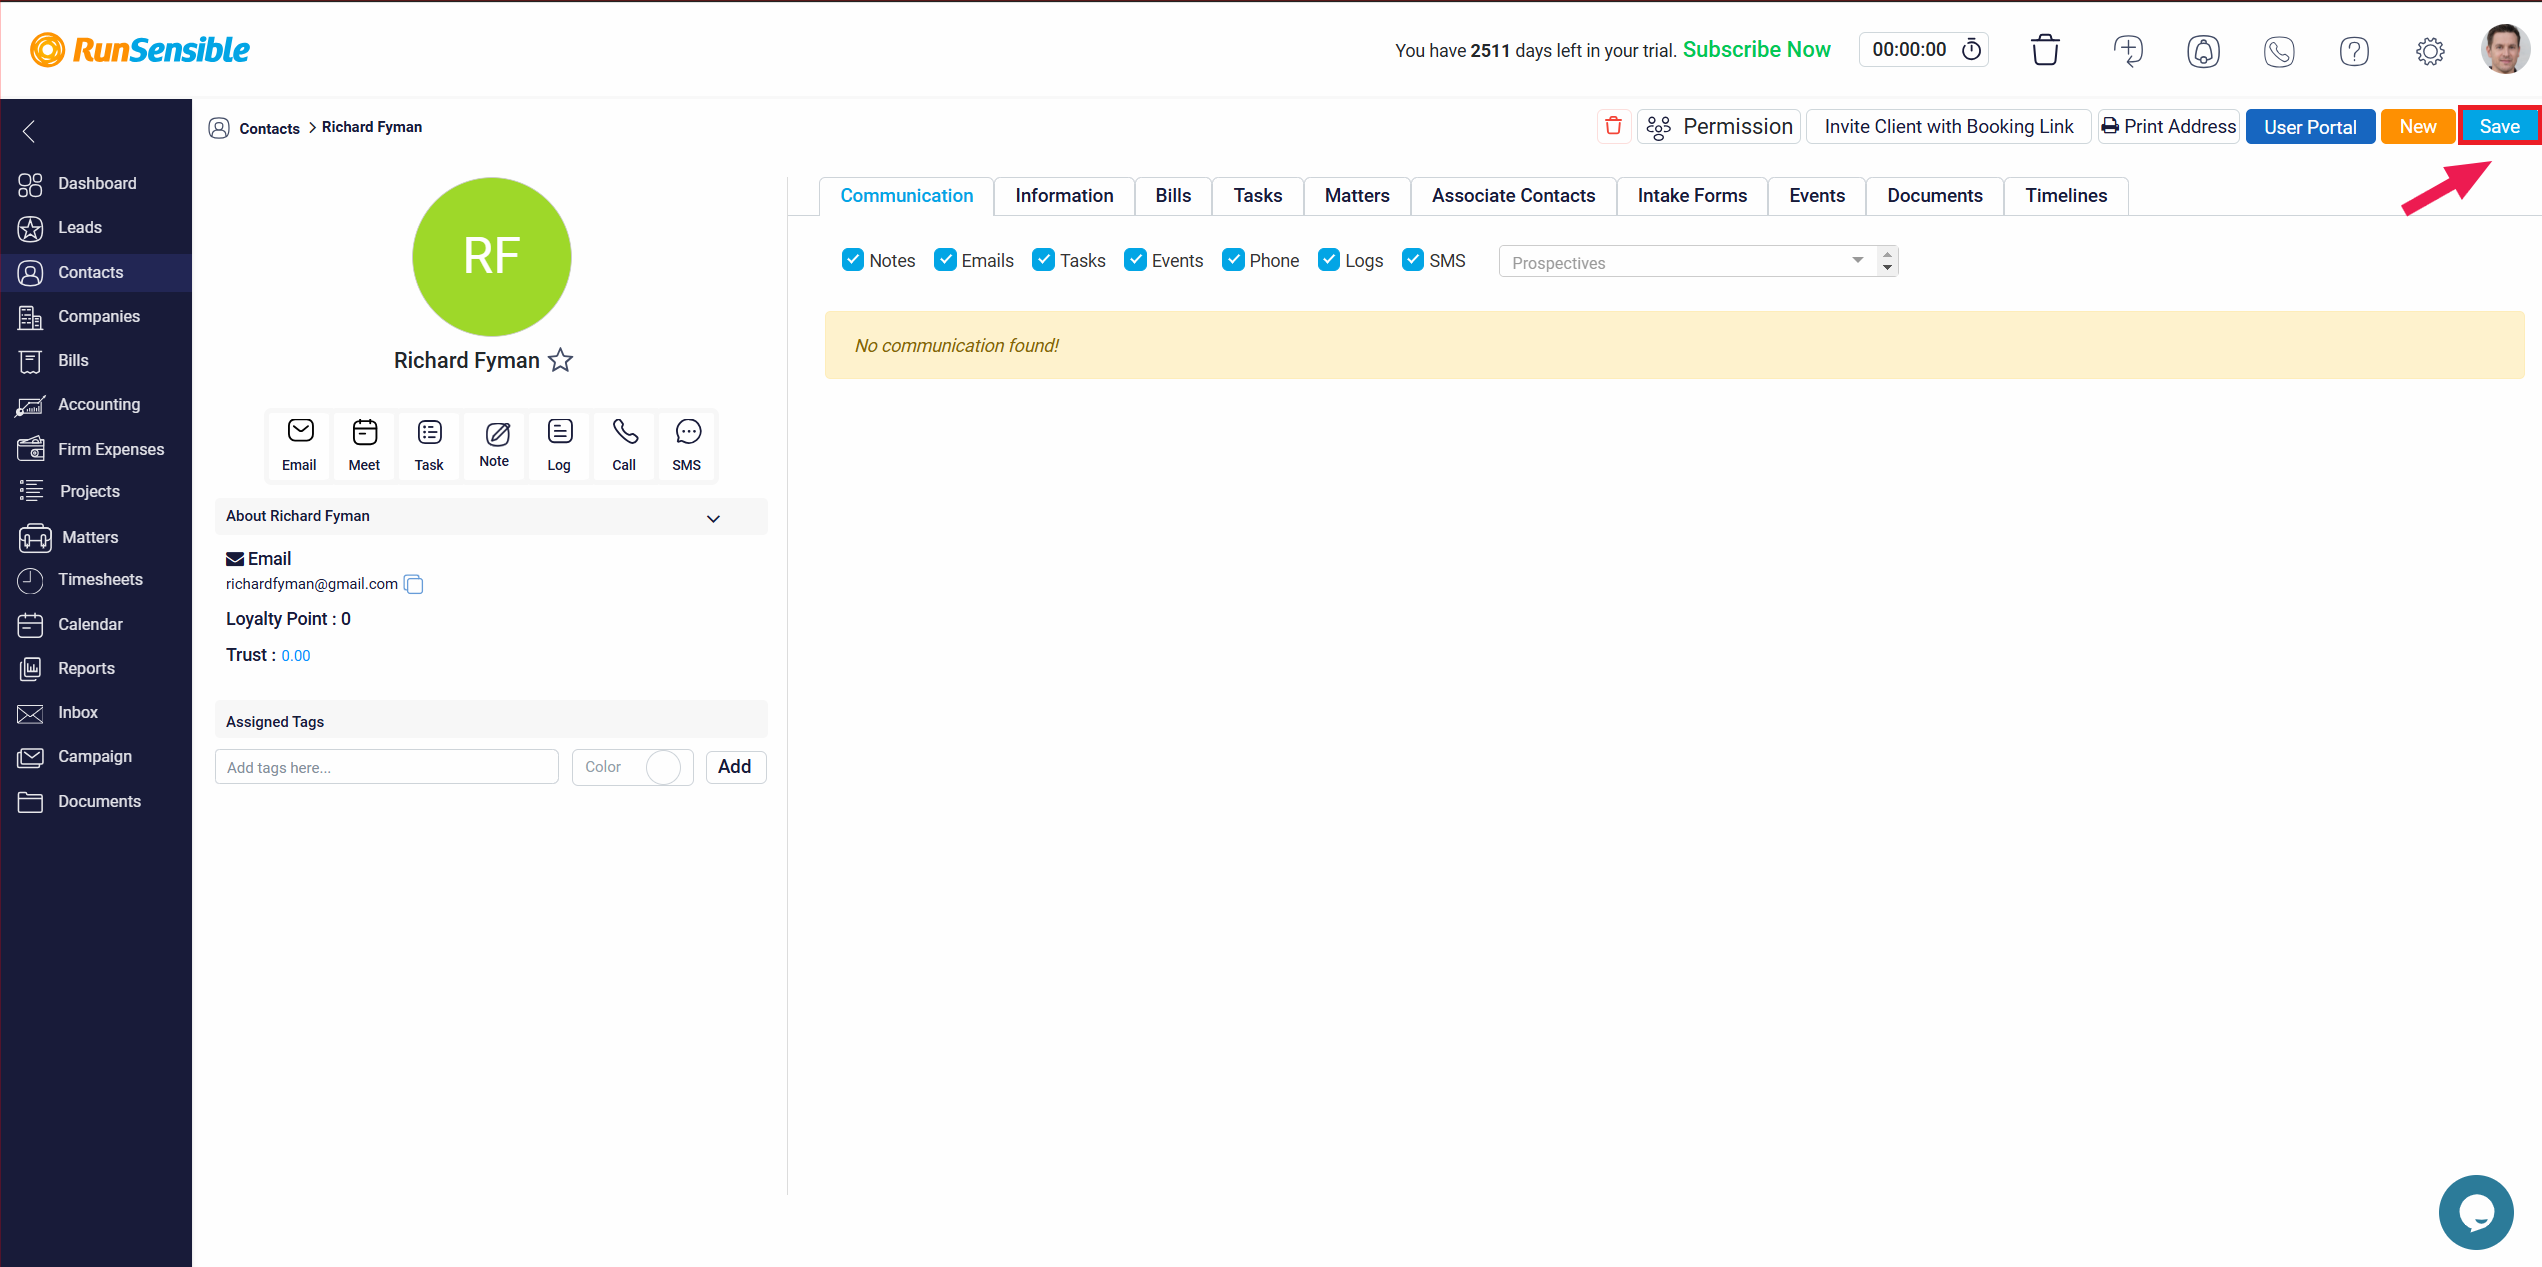
This page is designed to give you a detailed and organized view of each contact, offering all the tools necessary to manage and interact with them effectively. Whether you need to update their information, track communication, manage tasks, or handle documents, this page serves as a central hub for all contact-related activities within RunSensible.