Create a Support Ticket
Once a customer reports an issue or asks a question, you should issue a support ticket. Support tickets can be tracked and are a good source of information to know how much progress has been made on any problem, and, of course, to fix it. Let’s create a support ticket together.
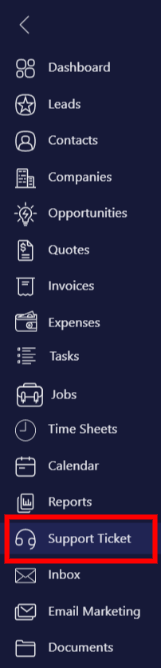
From your dashboard, click on Support Ticket.
All your support tickets will be listed here.
Click on New to add a ticket.

Start by giving the ticket a name.
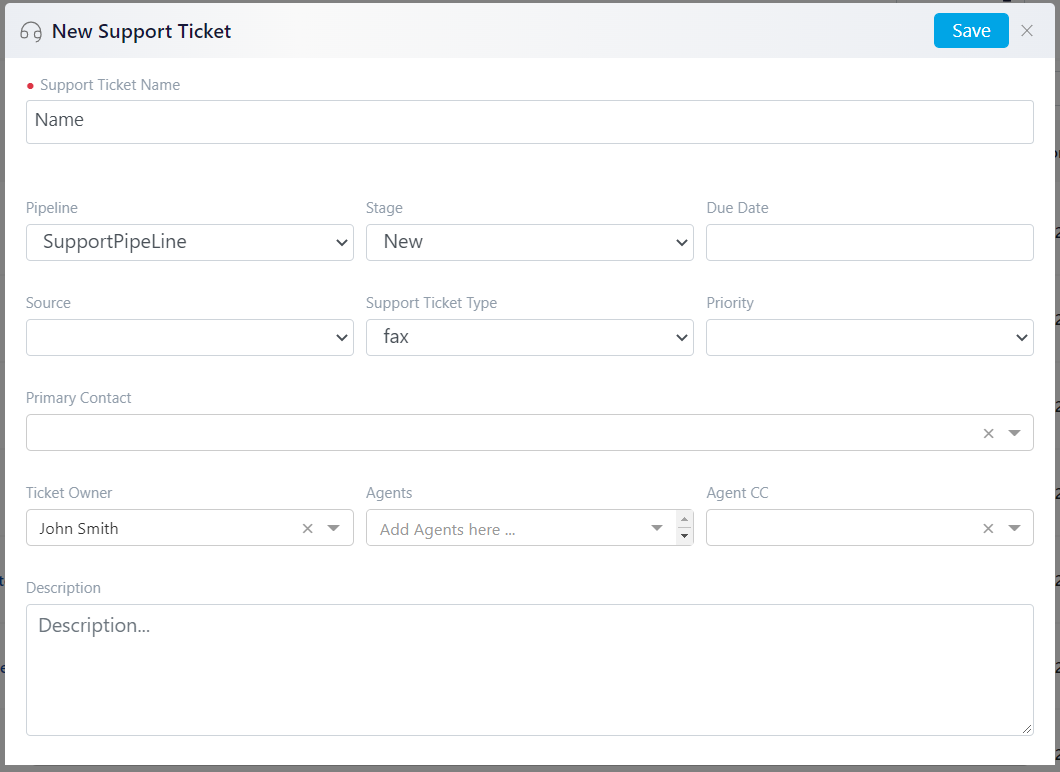
Choose a Pipeline and leave the Stage on New.
If you have a due date, add that as well.
Give your ticket a Source, choose its Type, and then choose its priority level.
Choose the Primary Contact who’s the person requesting customer support.
Choose your Agents and Agent CC.
And finally, use the Description box to describe the issue.
When you’re done, click on Save.
From your list, click on the support ticket to enter its profile.
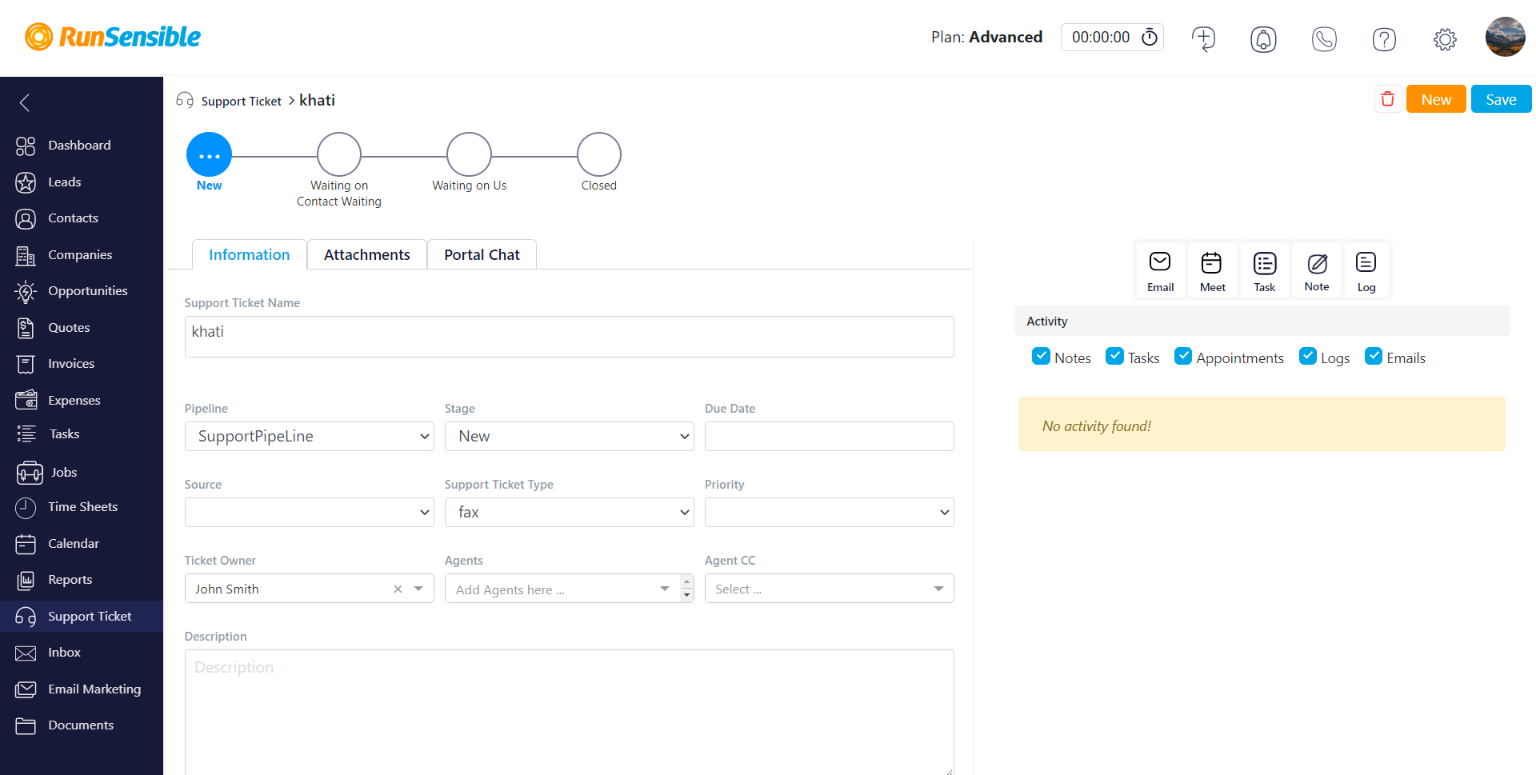
You can see the pipeline status at the top left side of your support ticket profile.
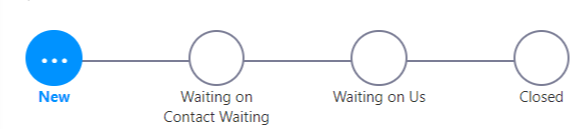
Every time progress is made in the support pipeline, you can update the status from here.