Creating a Project
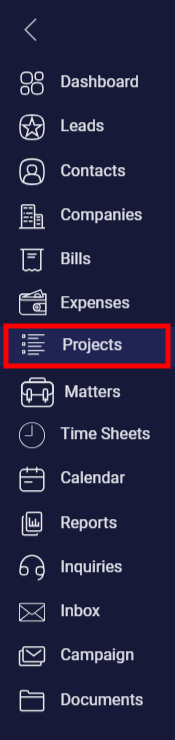
Let’s create a project together. To start, open your dashboard and click on the projects.
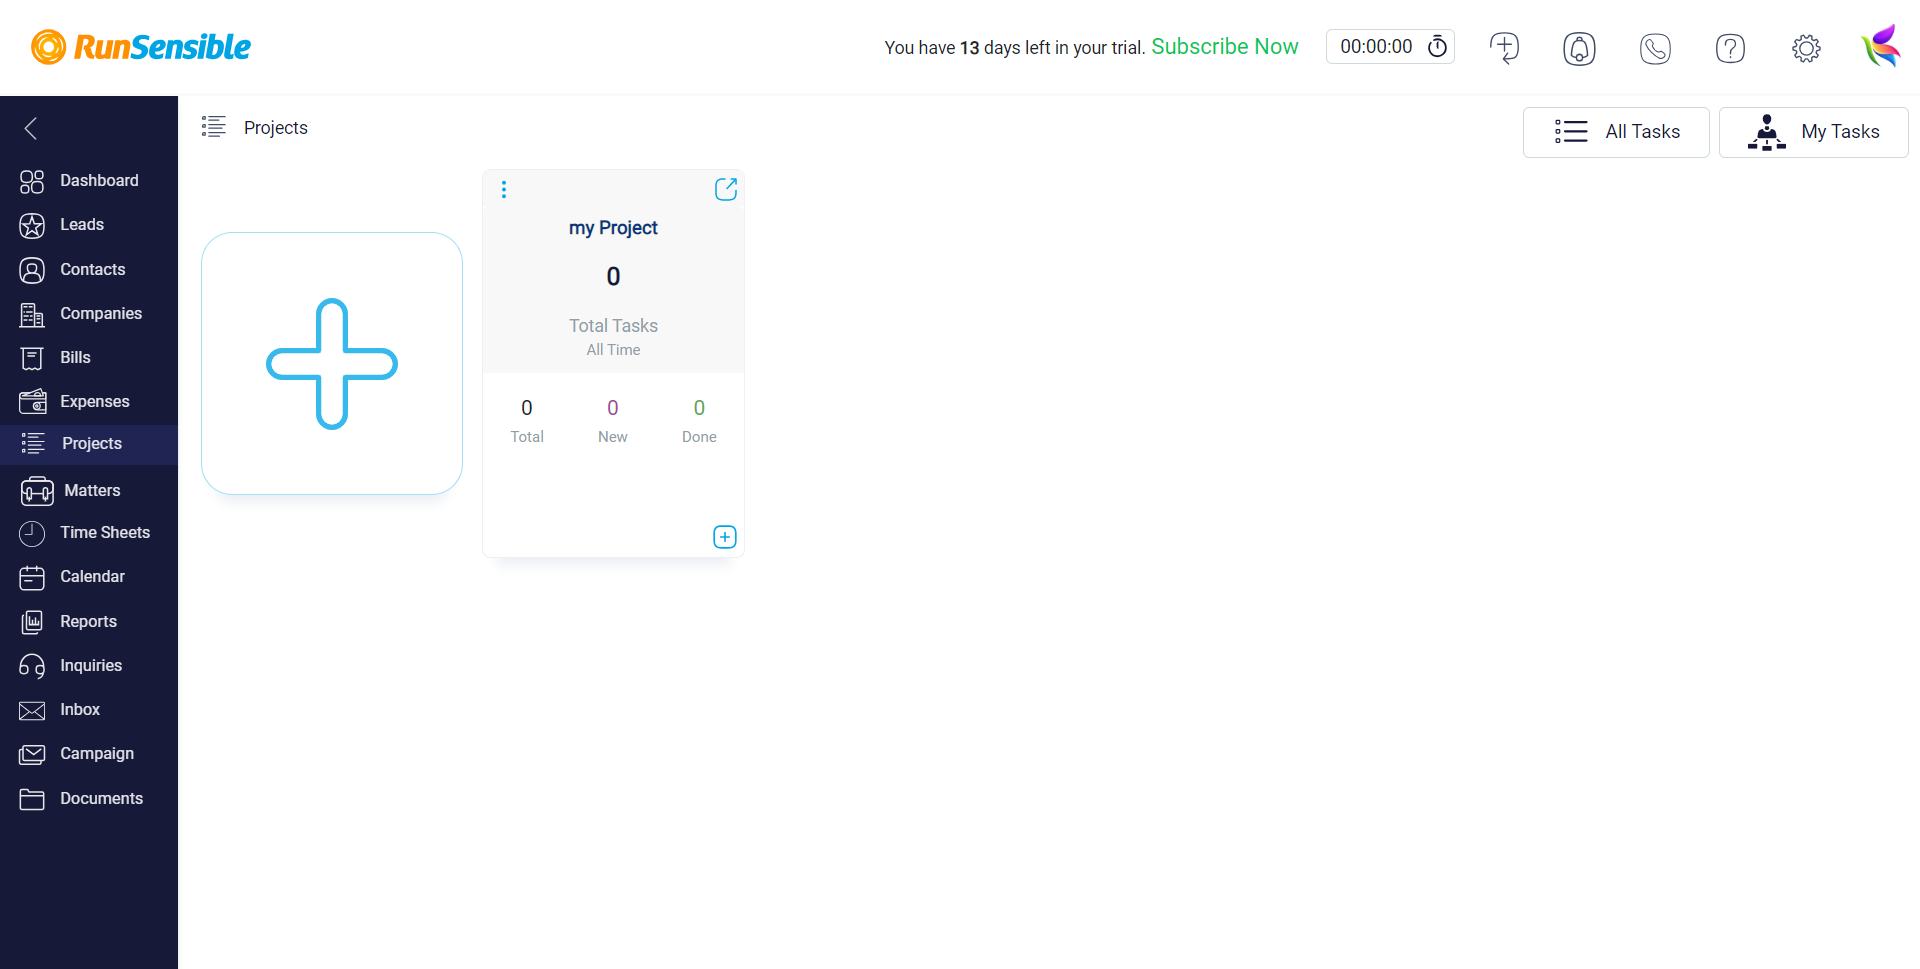
At first, you don’t have any project so click on the big “plus” button to create a new one.
In this window, you should give your project a name and clarify the stages of your project. You can click on the “add new stages” in the bottom of the page to add new stages.
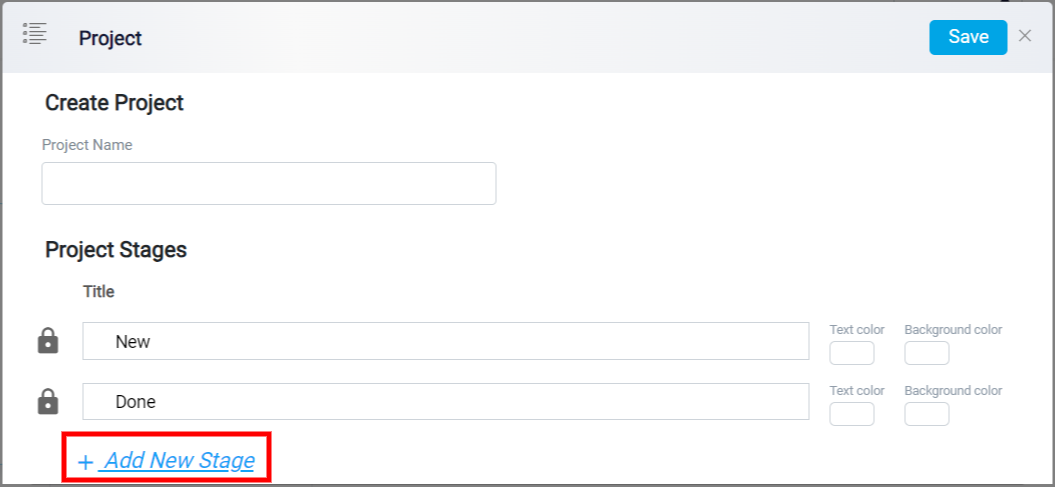
After you done that, save your new project.
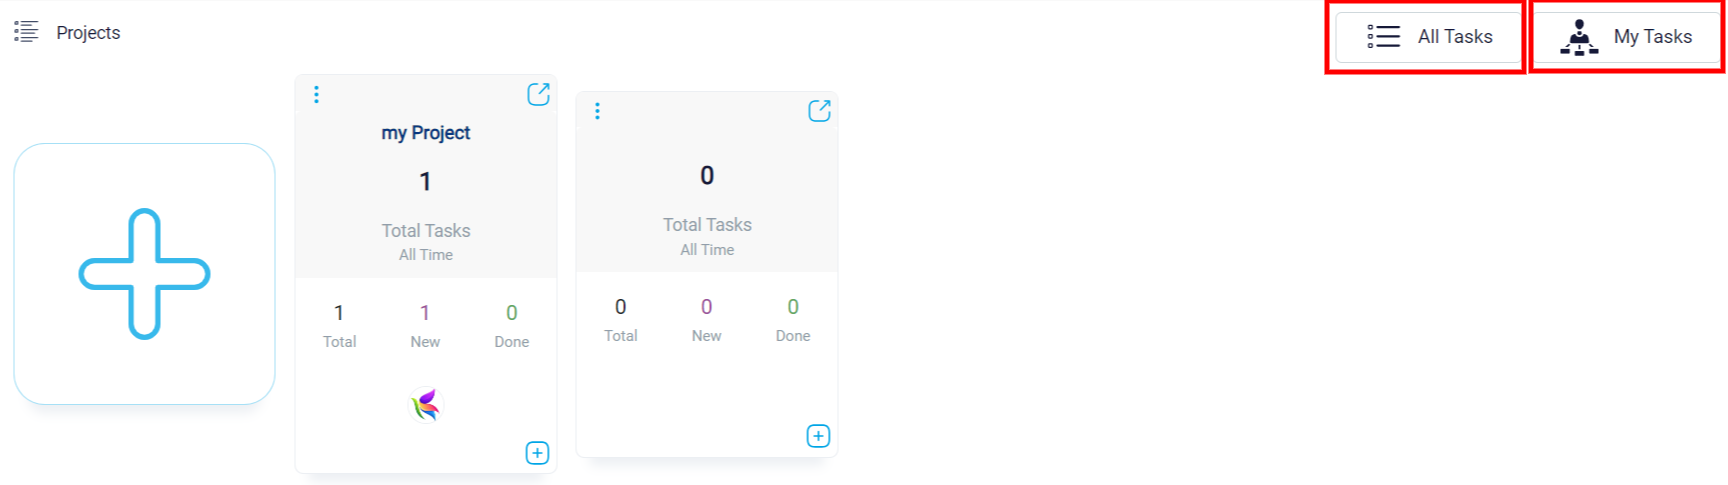
Now you can see your project in this page.
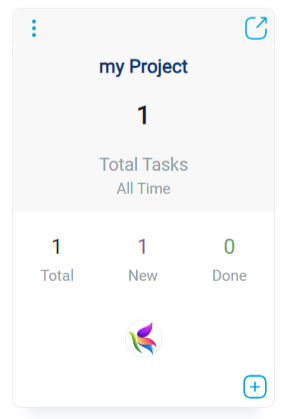
Look at the top right to see tow of the most useful button in this page. You can see all the tasks you have in every one of your projects by clicking on the “all tasks” button, and you can see the task that only assigned to you by clicking on the “my tasks” button.
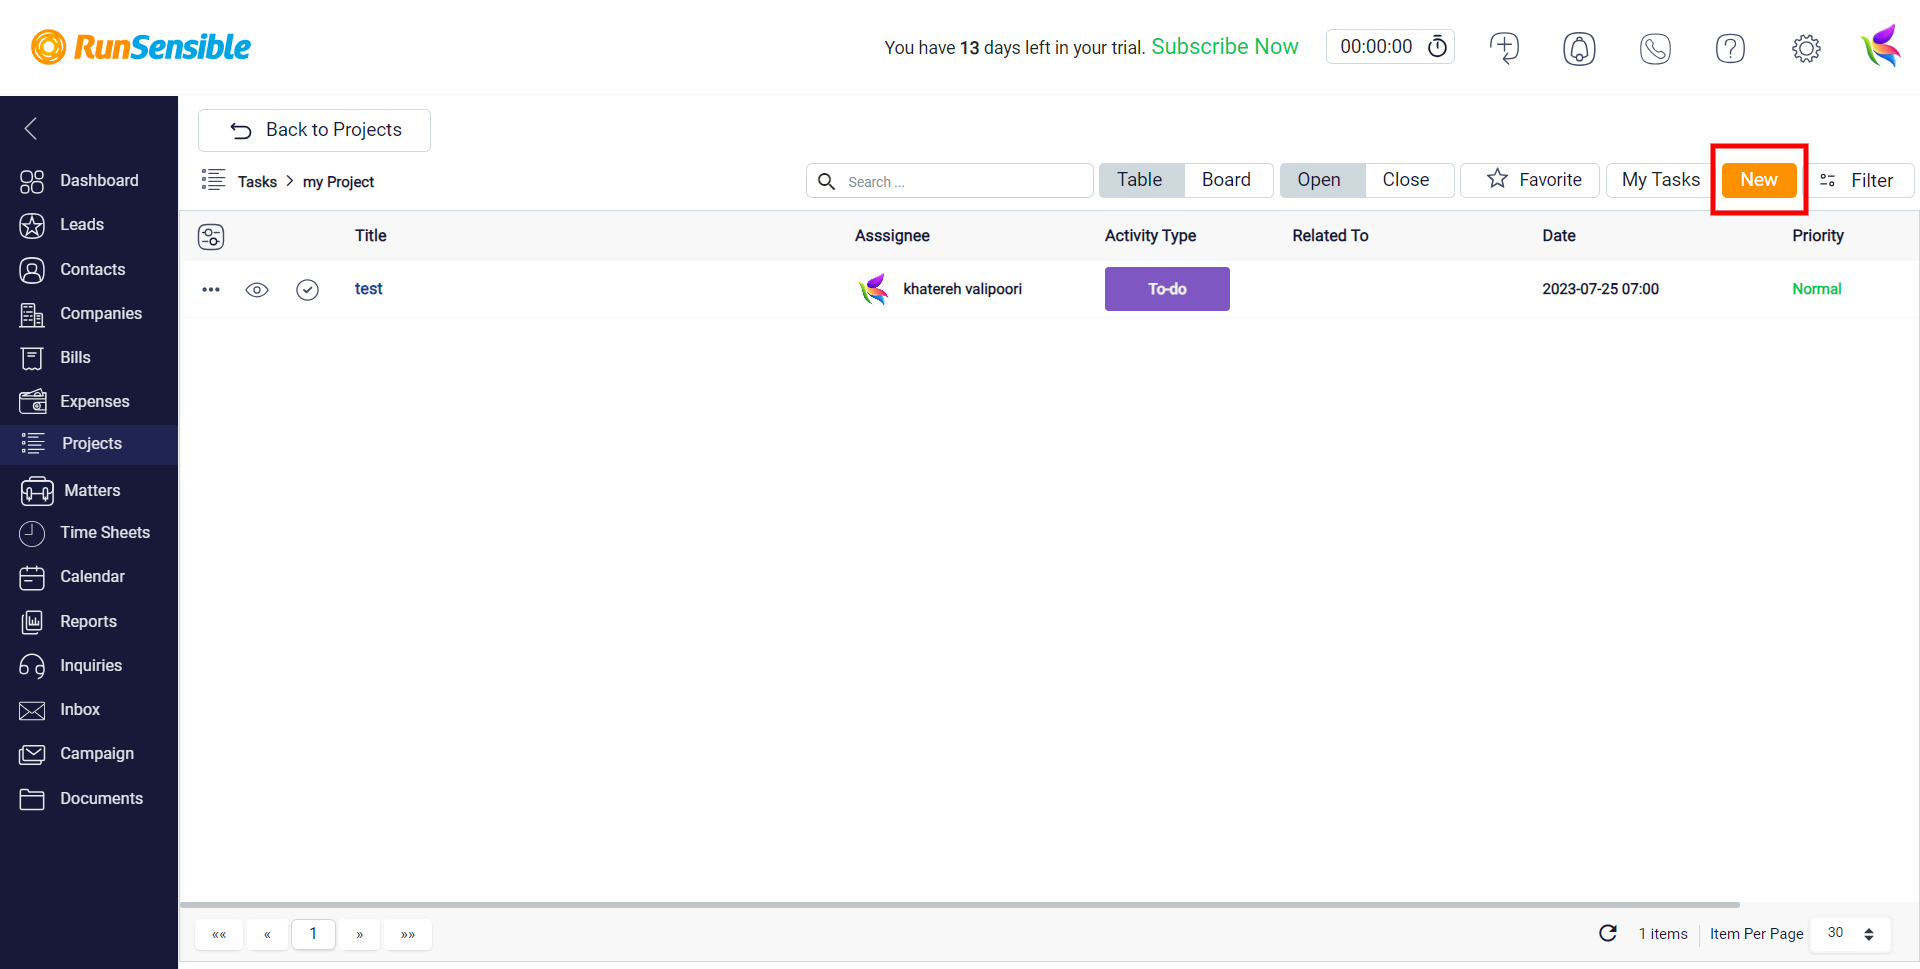
For that, open one of your projects and click on the “new” button on the top right on the page.
Remember! You can add as many tasks as you want in your project.
All your tasks will be listed here. You can filter your list by Task Status to only see open or complete tasks.

Click on New to create a new task.
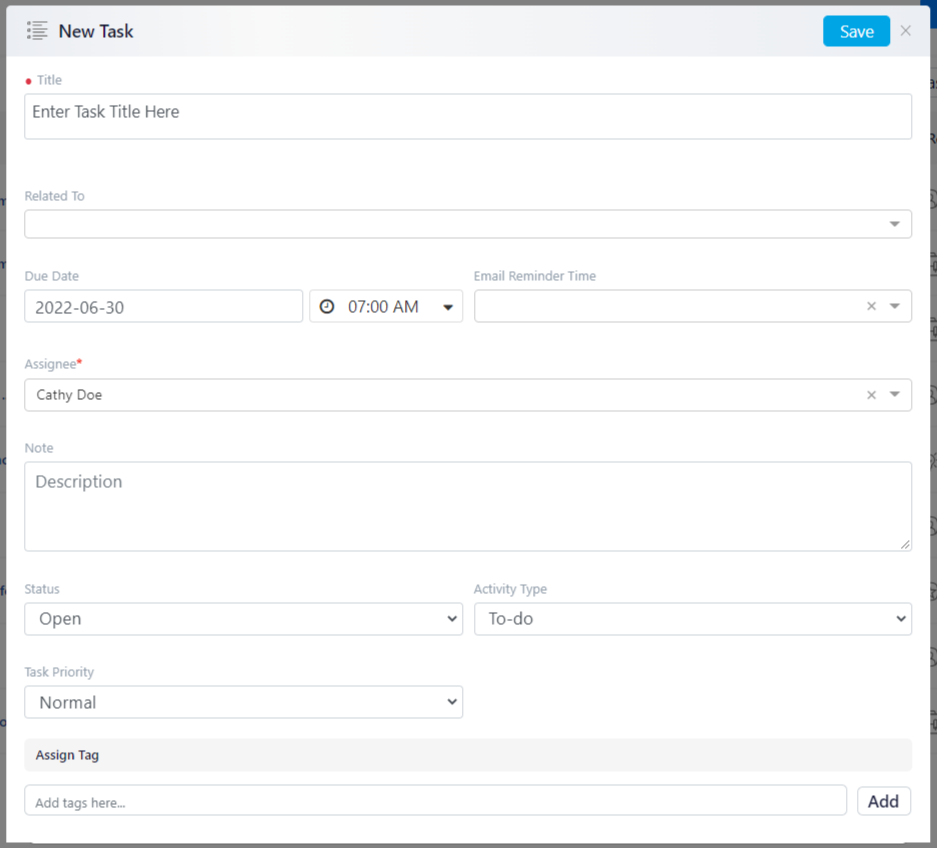
On this new window, give your task a name and assign an Activity Type.
If this task is related to a company, contact, or lead, click on Related to and search for them.
Now, you have to give your task a due date and time. You can also set a reminder email.
Click on Assignee to assign the task to yourself or a team member.
Add any notes, points, or descriptions to the Notes box.
Since this is a new task, leave Status to Open and choose your Task Priority.
To make it easy to search for this task in the future, assign related tags by clicking on Add.
When you’re done, click on Save, and the task will be added to your list.
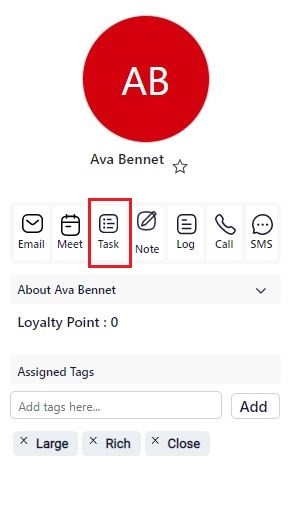
You can also create tasks from a user’s profile. Let’s say you need to email a lead. Head over to the lead’s profile and click on .