Email Reports
With RunSensible, you can view a comprehensive report of all the emails you have sent within the software. This report provides detailed information about each email, giving you a clear overview of your communication history.
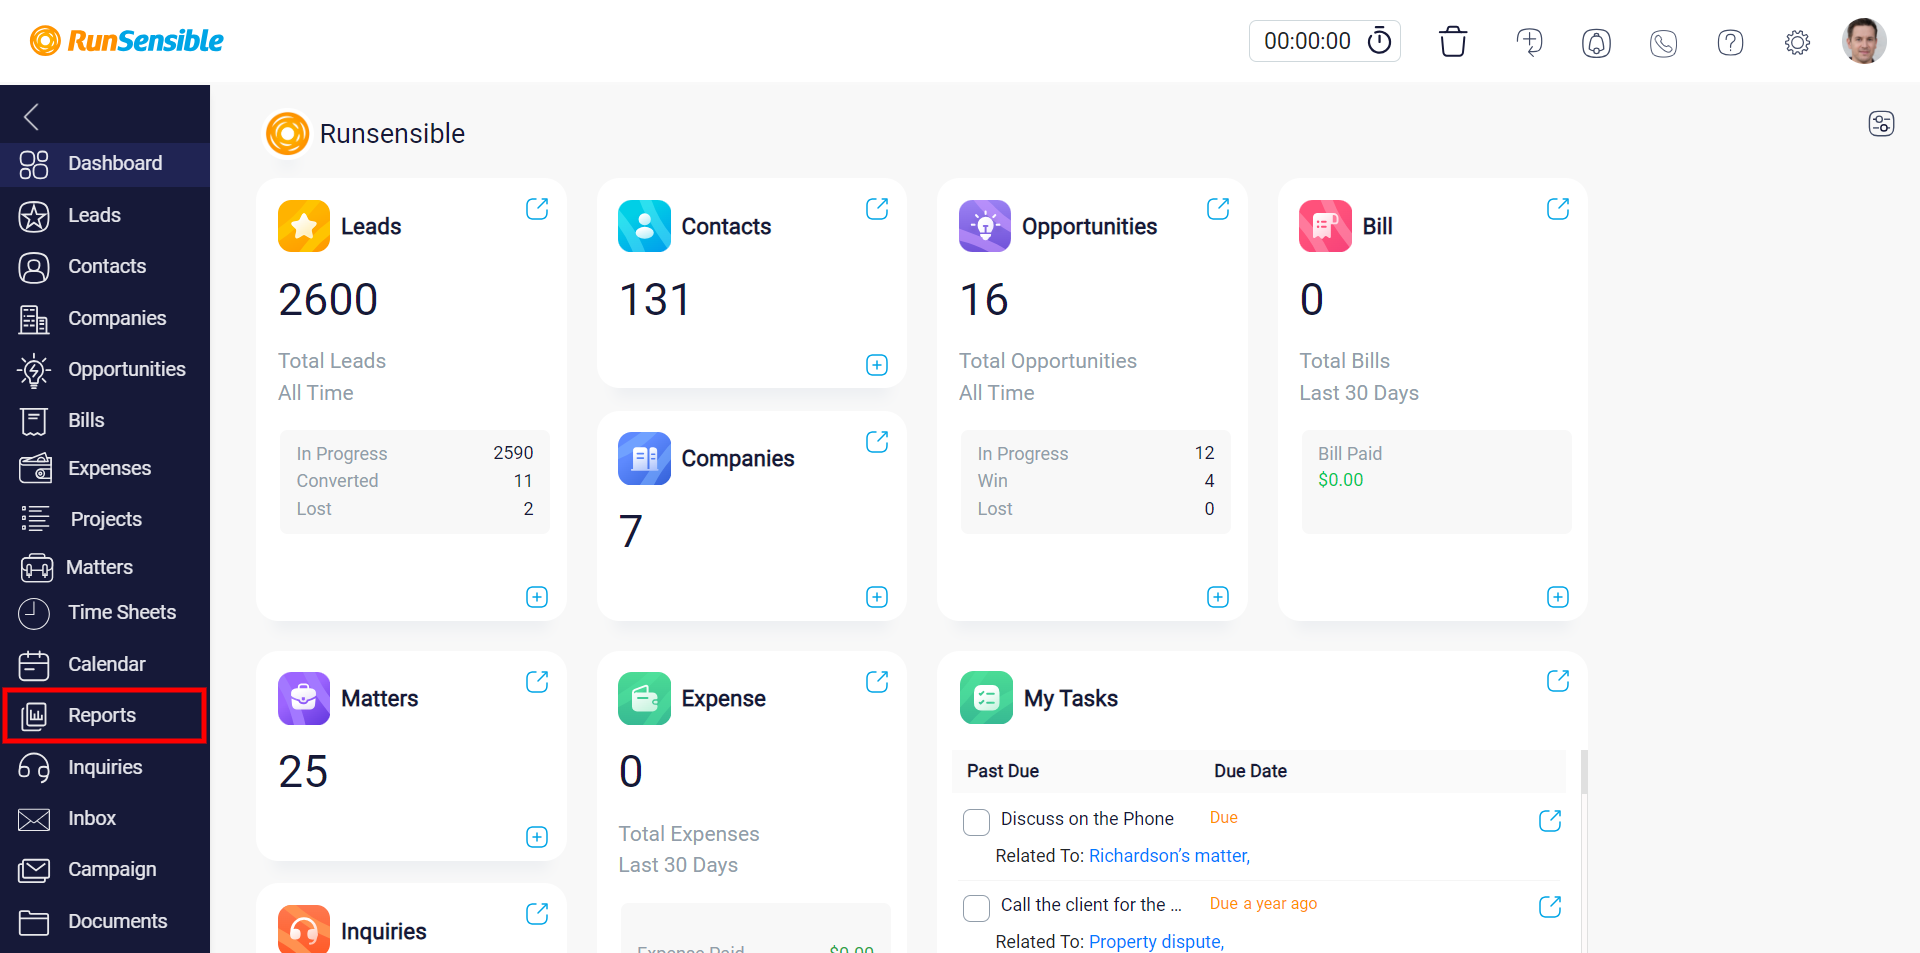
To access the email report, navigate to the sidebar menu and click on the ‘Report’.
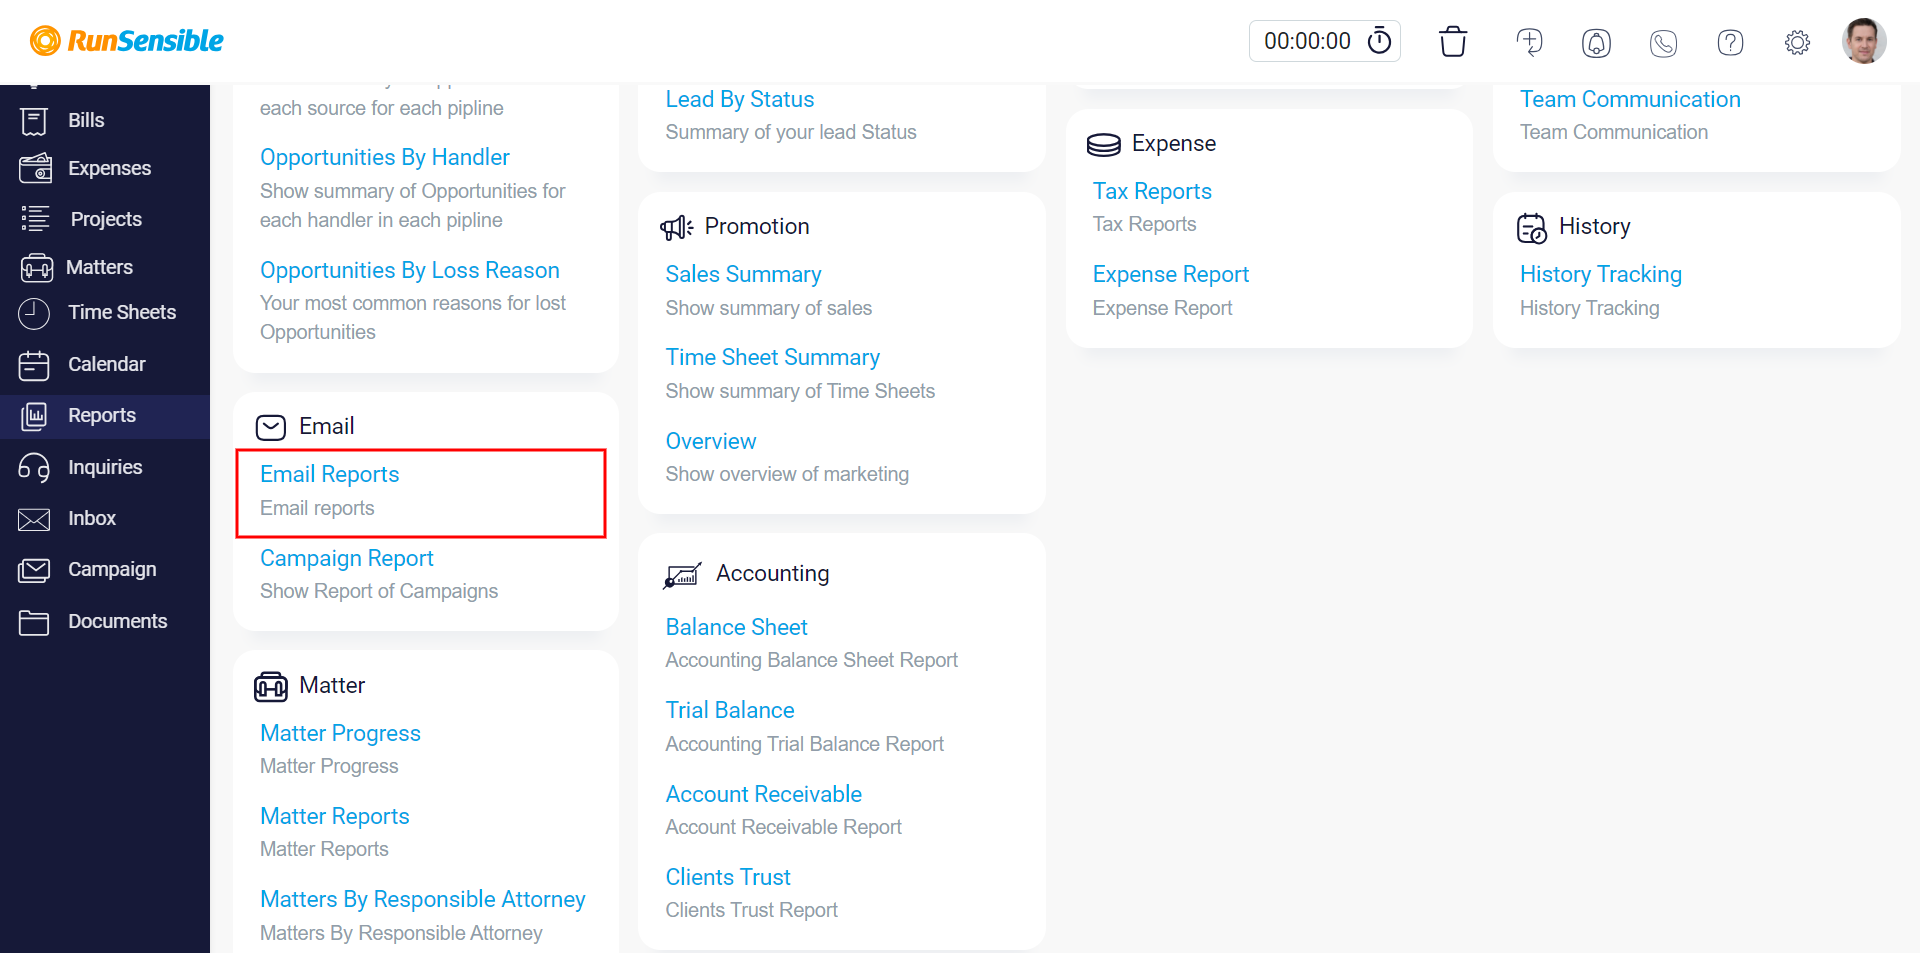
Then, click on ‘Email Report’ positioned on the down-left side of your screen.
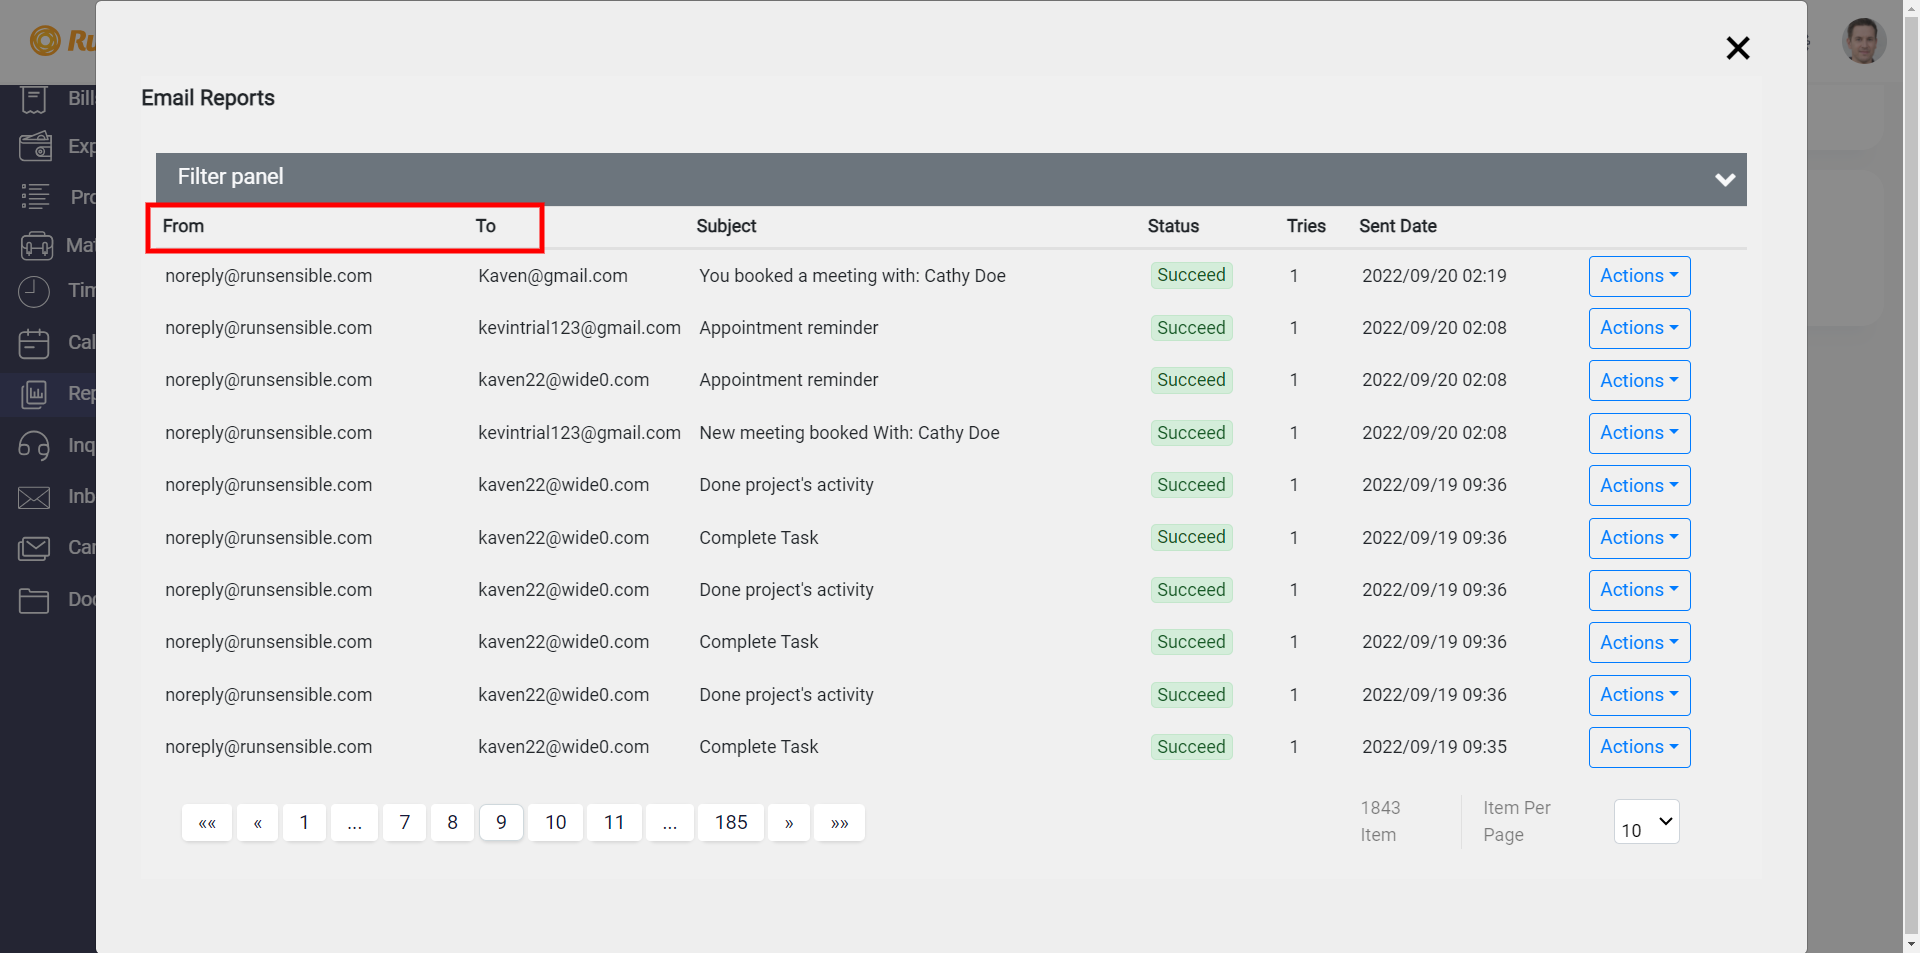
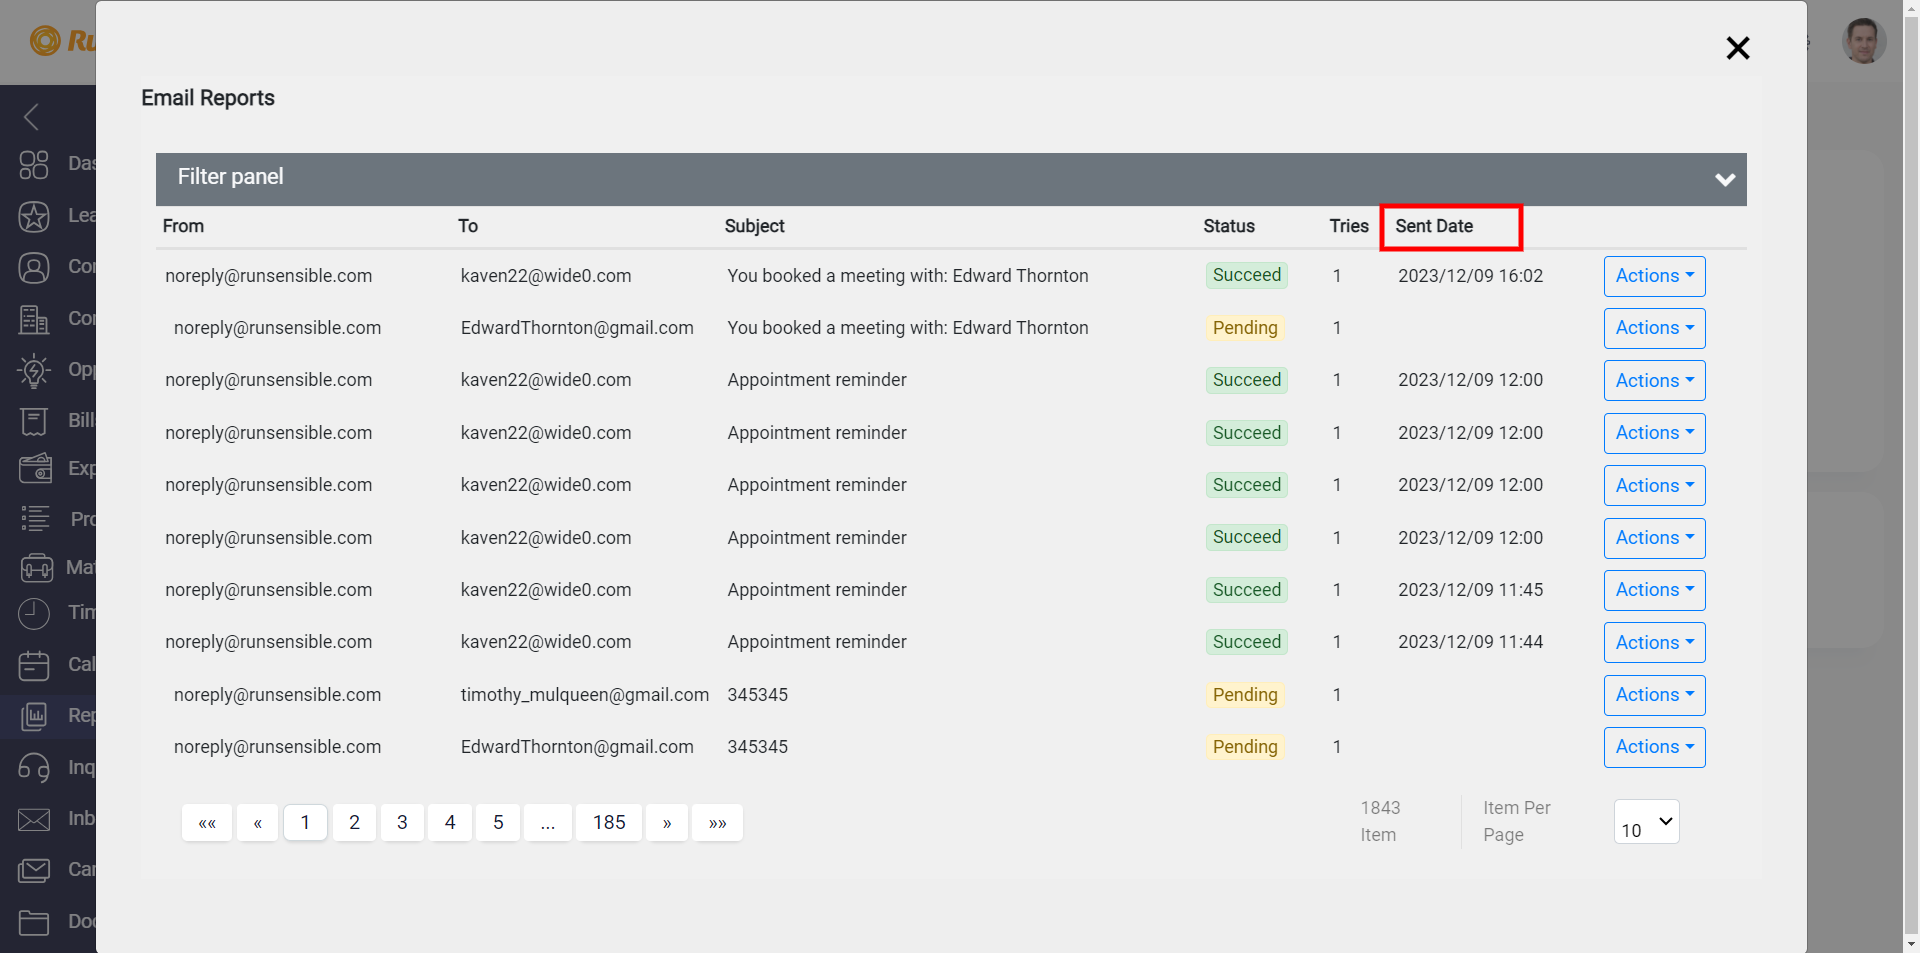
Once you are there, you’ll encounter a comprehensive list of all the emails you’ve sent through RunSensible. Within this list are multiple columns that we are about to elaborate on in detail.
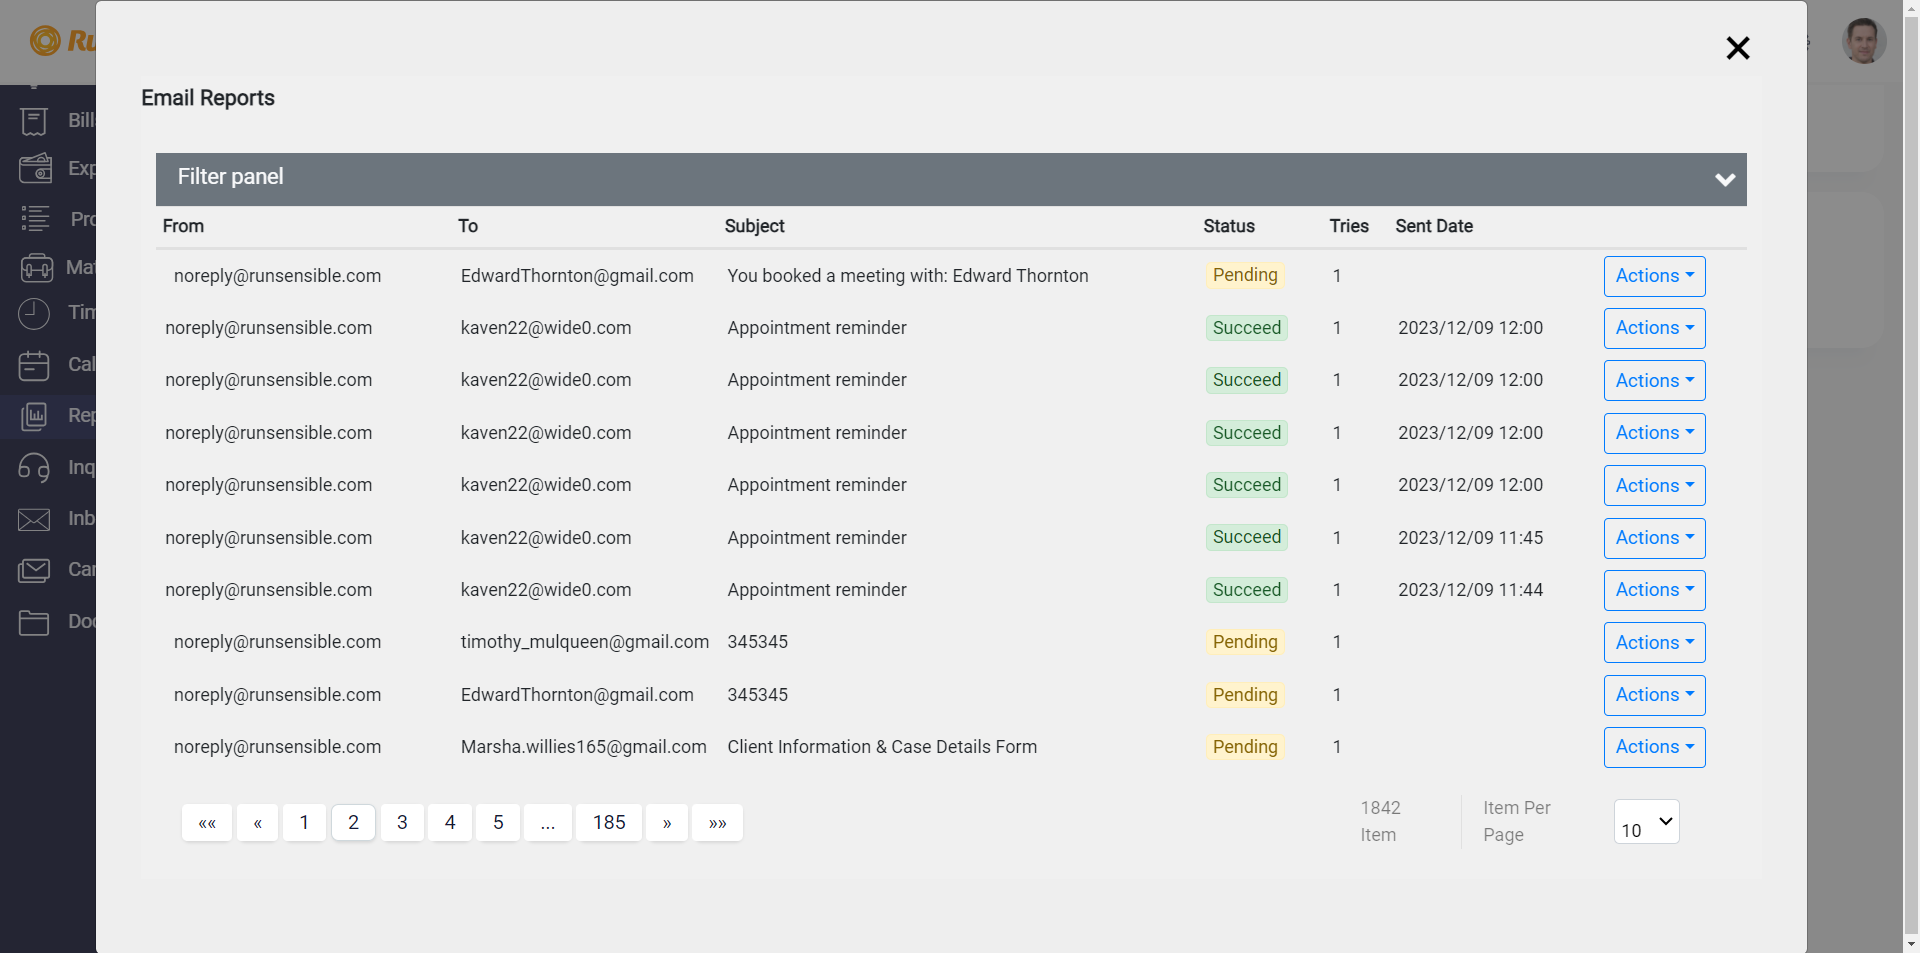
The first two columns, denoted as ” From “ and ” To “, respectively, display the email addresses of the message sender and recipient.
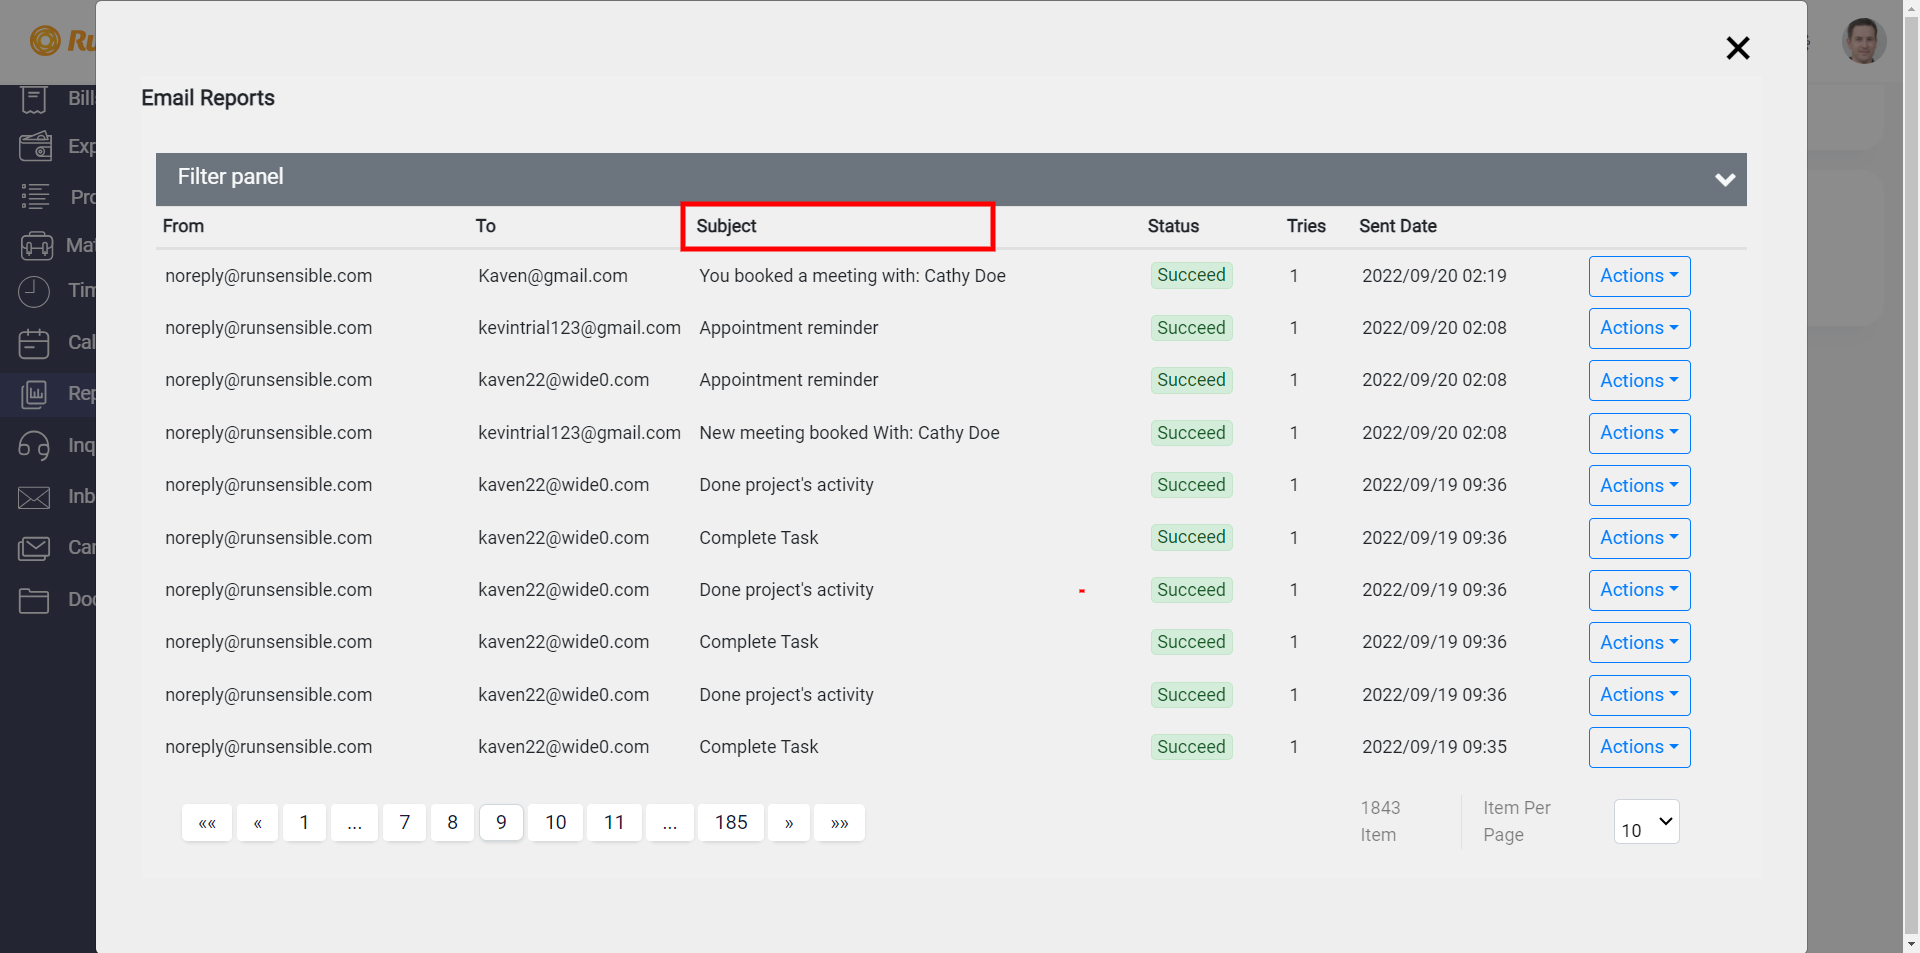
The “Subject” column is designated for showcasing the subject line of the email.
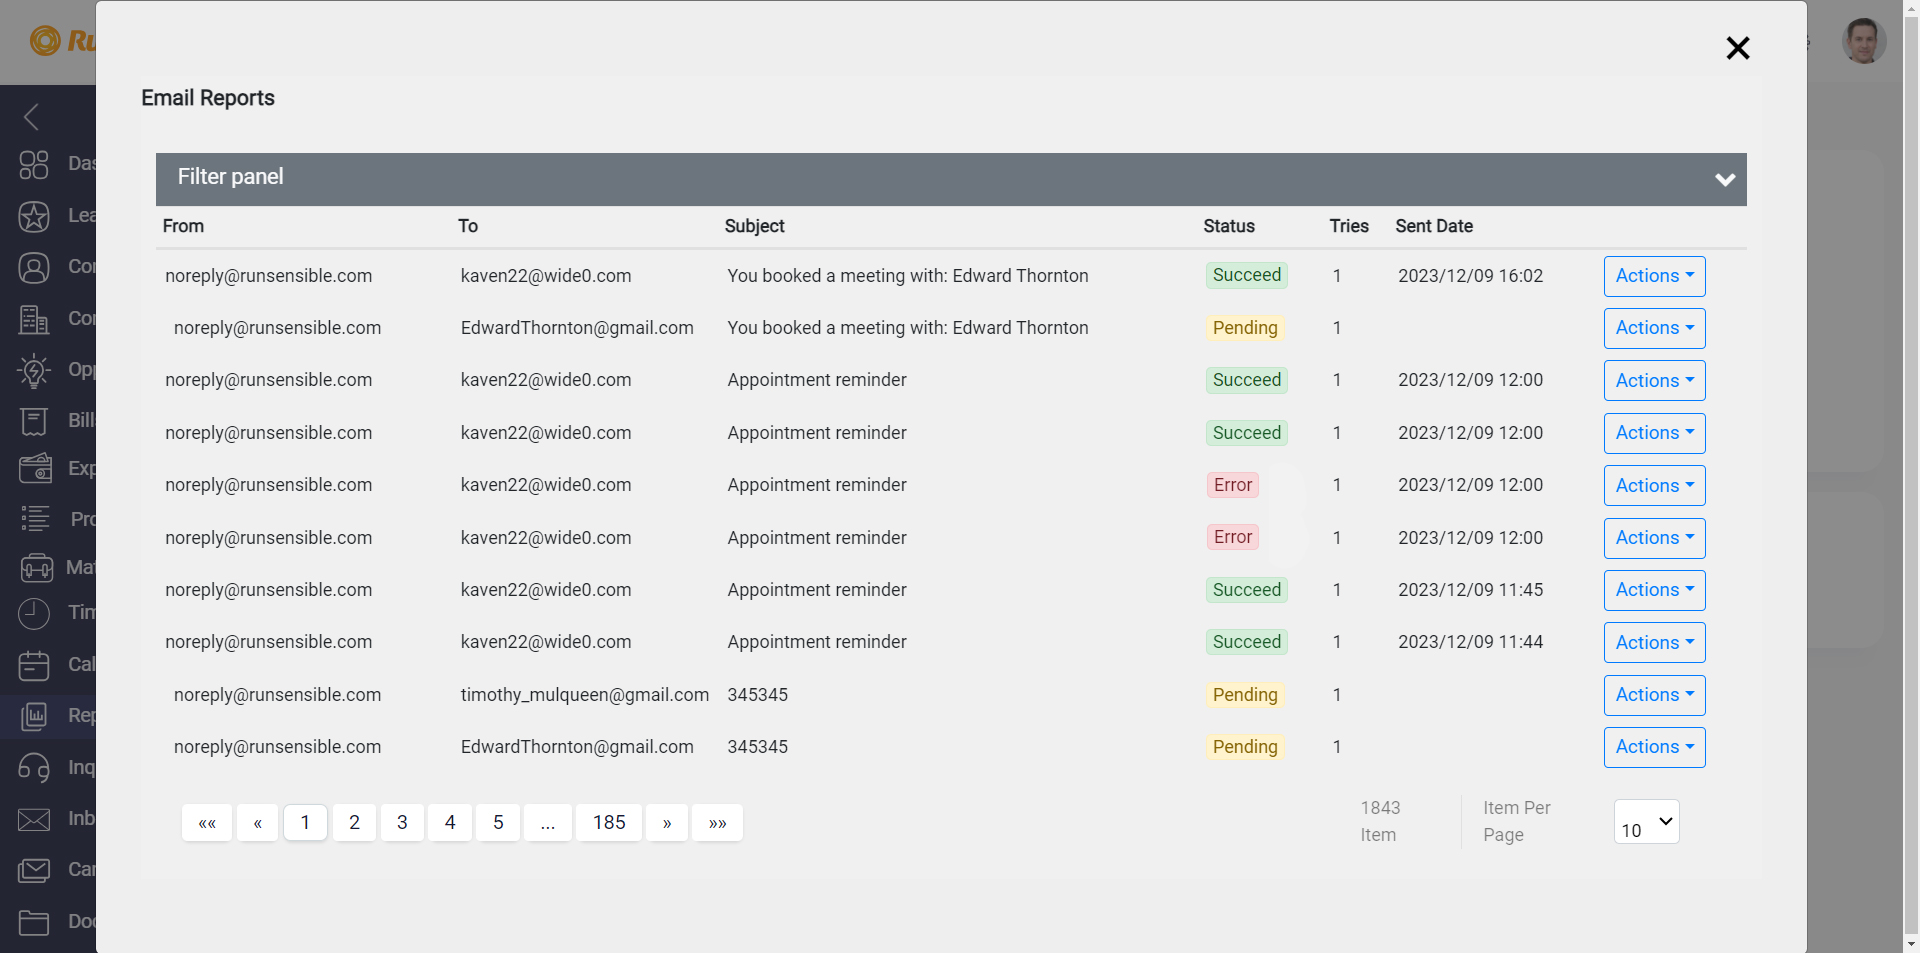
The Status column stands as a pivotal component within the email tracking system, serving as a comprehensive indicator of the current state of each email. This column is designed to convey crucial information about the progress or condition of the email, with its status being expressed through three distinct states: Succeed Pending, and Error.
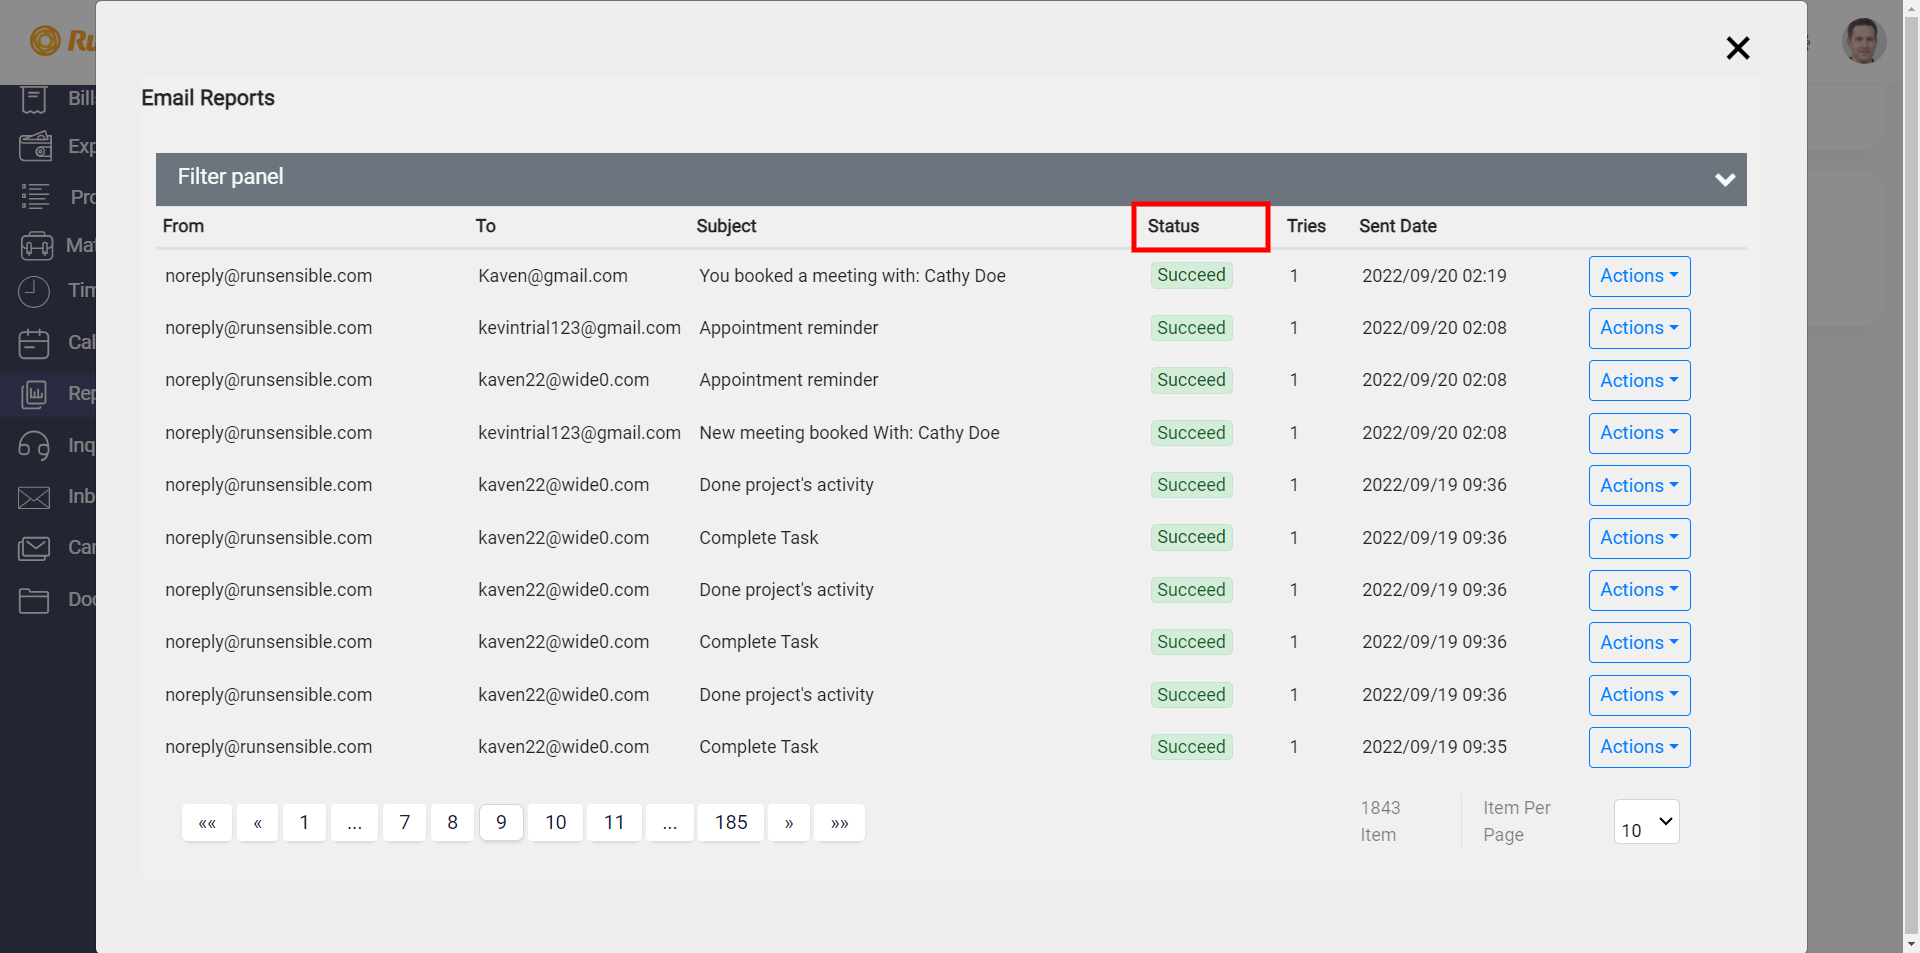
Succeed: This status denotes that the email has been successfully sent and delivered to the intended recipient.
Pending: Emails marked as pending are in a transitional state, implying that they are yet to be dispatched or are currently undergoing processing.
Error: The error status indicates the email transmission process has encountered an obstacle.
The Tries column quantifies the number of attempts made to dispatch the email.

The Sent Date column is dedicated to recording the date on which the email was successfully sent.
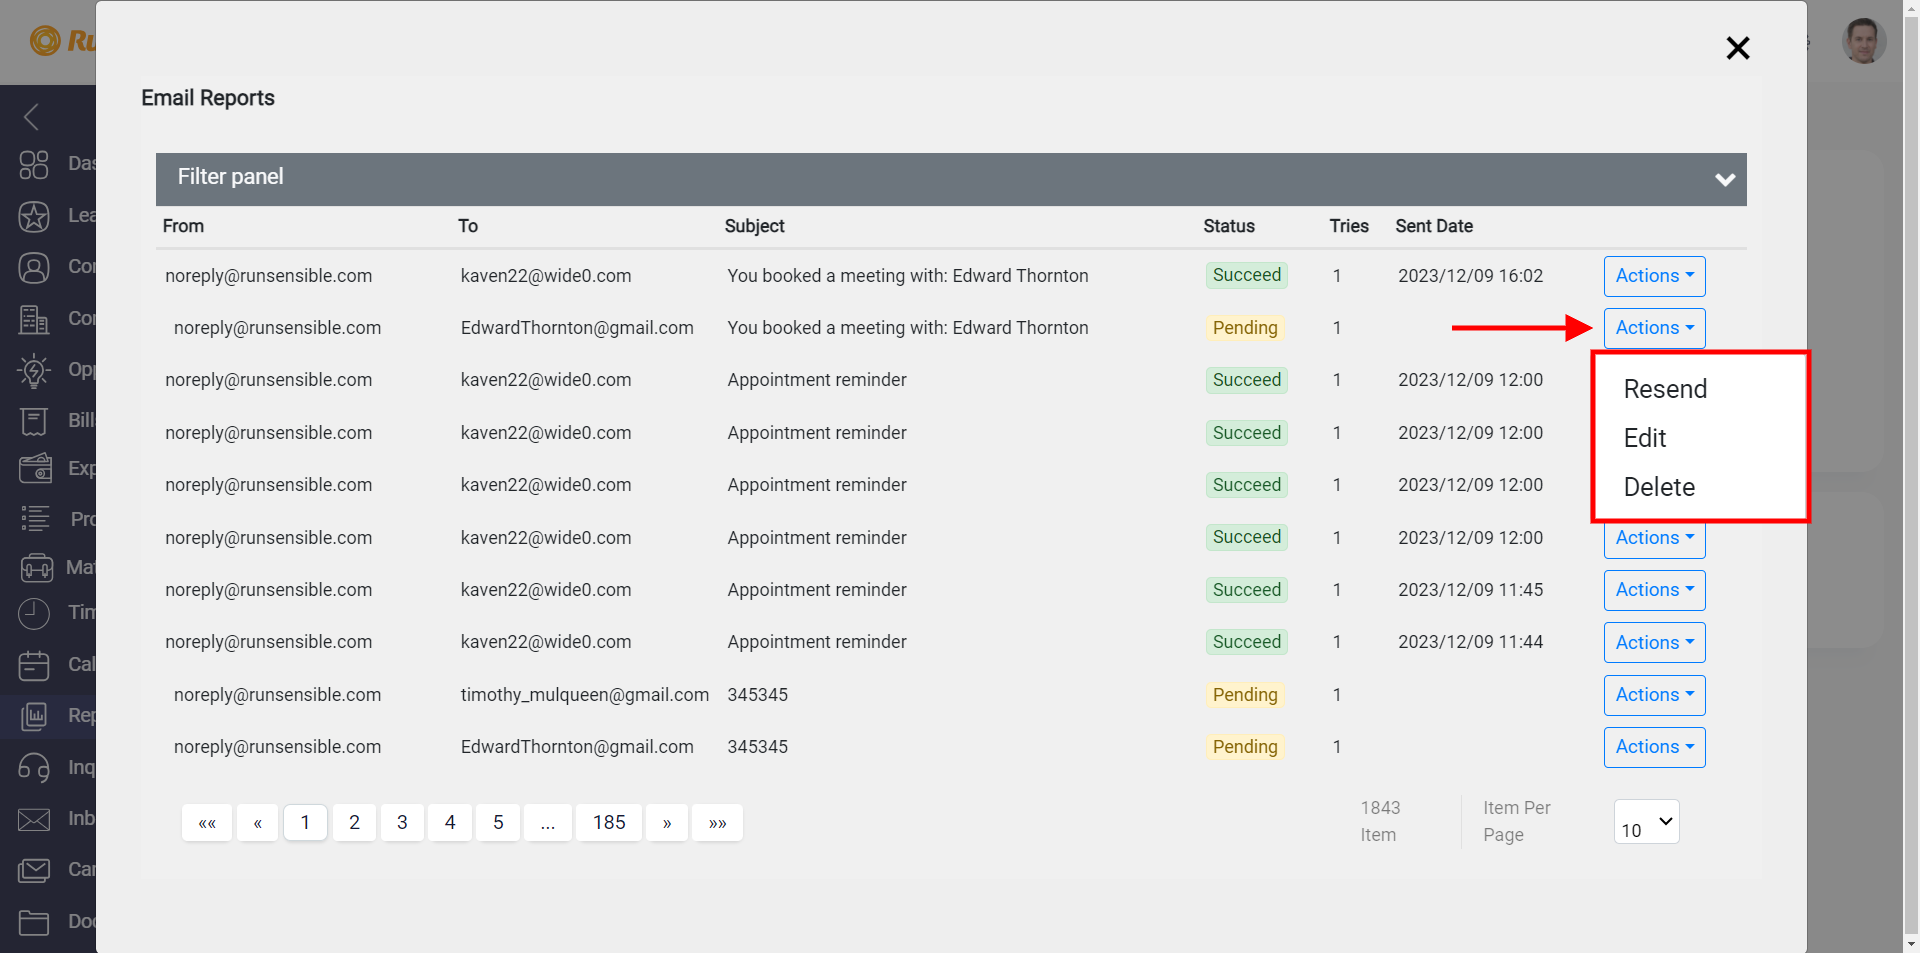
There’s an action button on the right side of the email details list. this button provides three options: Resend, Edit, and Delete the email. the Edit option is only available for emails with a Pending or Error status.
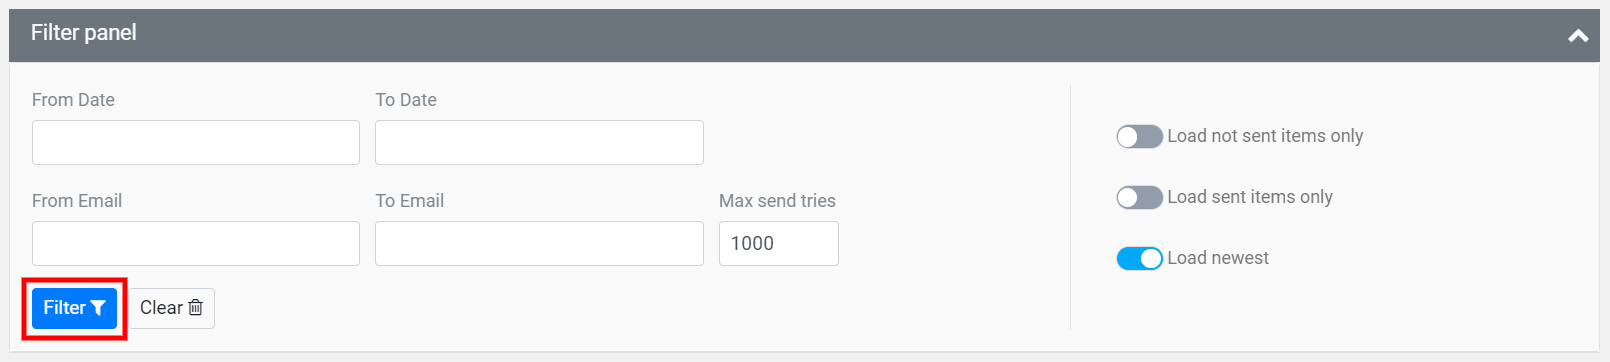
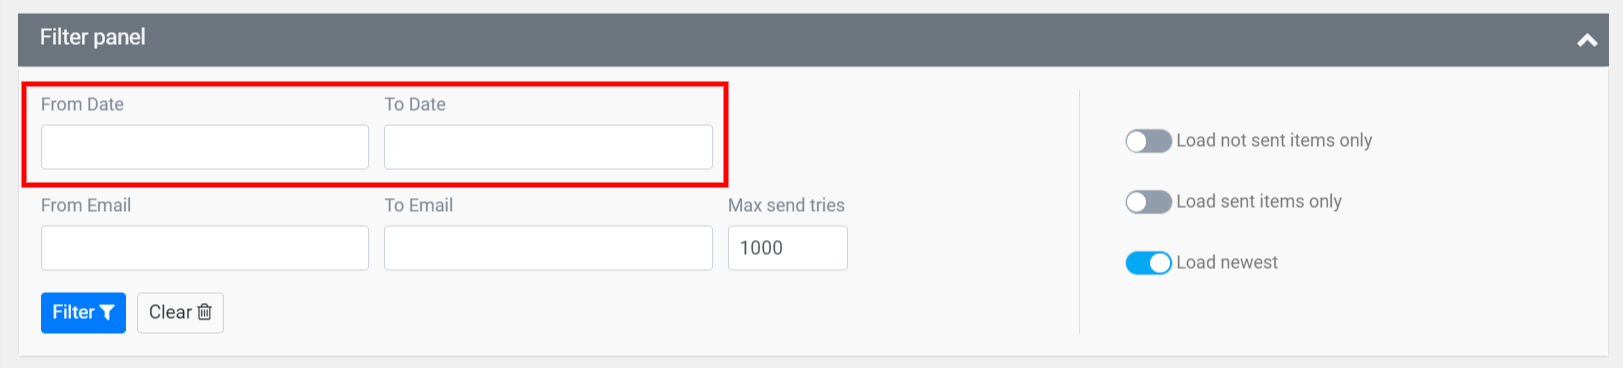
To access filtering options, click on the grey Filter Panel ribbon at the top of the email list.

Once you’re there, you can narrow down your email list using various criteria.
You can filter emails by their sent dates. This means you can pick a certain date range, and RunSensible will display only the emails sent within that time. To do so, just put the start date in the ‘From Date‘ box and the end date in the ‘To Date‘ box. Once you’ve set these dates, the system will show you a list of emails sent during that time.
If you want the emails that have been sent on a certain date, just input that date in the From Date box.
Moreover, you can filter emails by sender and receiver email addresses. enter the sender’s email in the ‘From Email‘ box and the receiver’s email in the ‘To Email‘ box. You can fill both boxes to view emails exchanged between two specific email addresses. Alternatively, fill just one box to see all emails sent from a particular address or all emails received by a specific address.
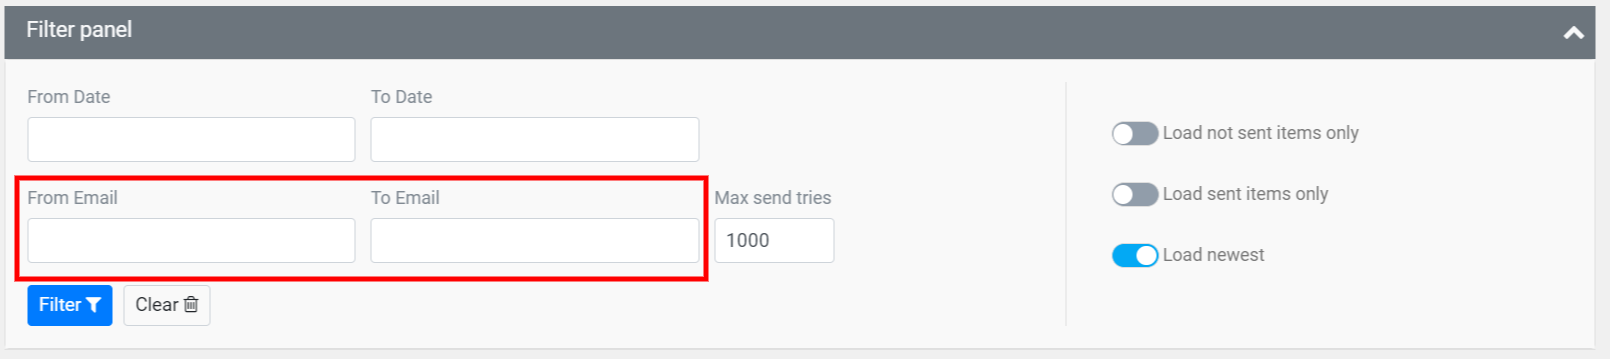
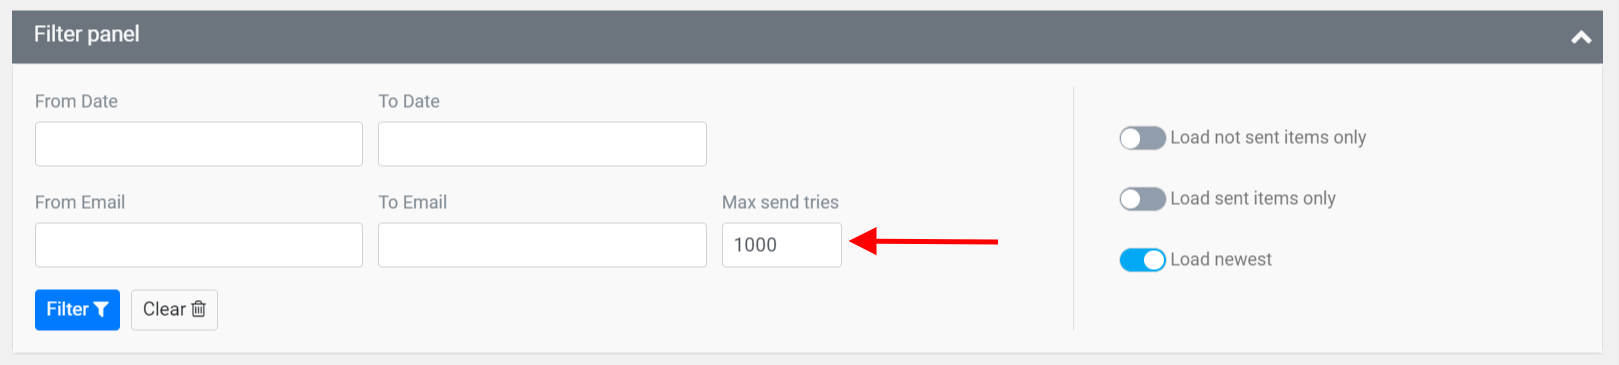
By entering a number in the ‘Max Send Tries’ box, you can filter emails based on the number of times you’ve attempted to send them, regardless of whether the attempts were successful. This feature allows you to see emails that you’ve tried to send less than the specified number of times.
On the right side of the filter panel, you can see three on-and-off filter buttons that you can use as well.
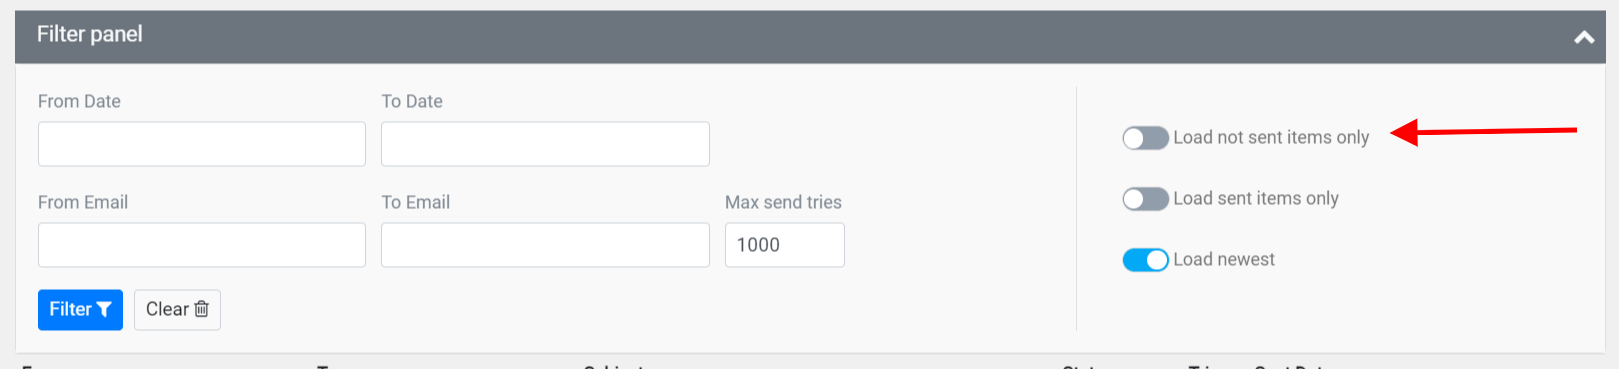
To focus on emails that haven’t been sent, click the “Load not sent items only” button. This button shows messages with a Pending or Error status, making it easy to find and fix any issues.
To see emails that have been sent successfully, simply click the “Load sent items only” button.

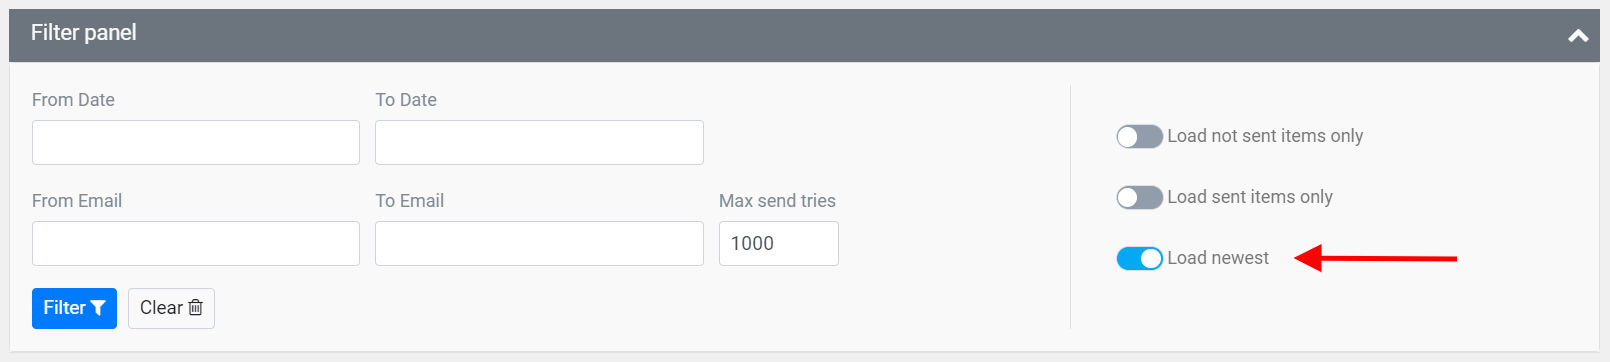
For the latest sent emails, click “Load newest,” regardless of their status. This helps you access recent messages quickly.
After setting the desired filters, click the “Filter” button located at the bottom left of the filter panel to apply them.