How To Configure Your Appointments
- Go to Settings > Appointment> Appointment Configuration.
- Click on “New Configuration”.
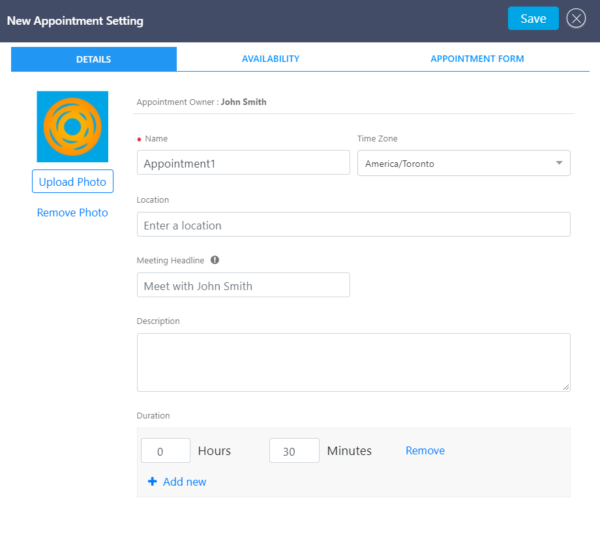
- There are three tabs to each new configuration; details, availability, and appointment form. First, fill in the “Details” section.
- Next, click on `the“Availability” tab where you can set a buffer time, start time increments, availability, and block off time.
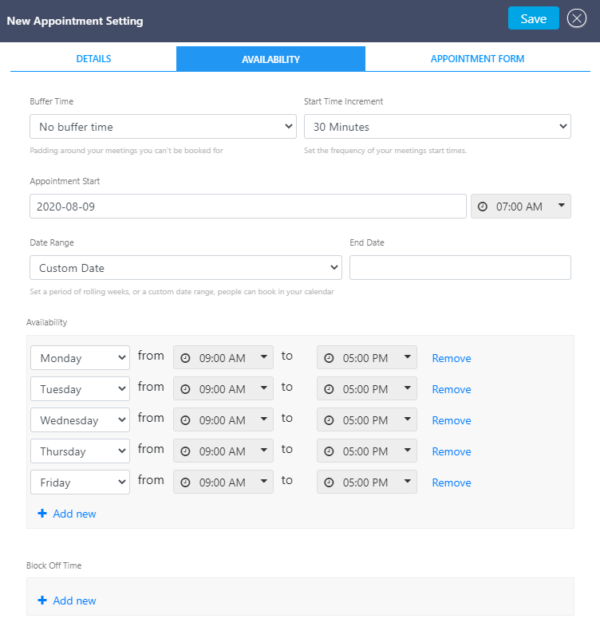
- Buffer Time: Click the drop-down menu to select the amount of buffer time between your meetings. The buffer time prevents meetings from being booked too closely together. For example, if you have a meeting from 2:00 – 3:30 pm and have a buffer time of 30 minutes, the next available meeting time would be 4:00 pm.
- Start Time Increment: set the frequency of your meeting start times. For example, if you are available between 08:00 am and 12:00 pm for a 60-minute meeting and your start time increment is 15 minutes, a client can book 60 minutes with you at 8:00 am, 8:15 am, 8:30 am, and so on.
- Availability: Set the days and hours at which you are available for meetings/appointments.
- Block Time Off: If there are times or days you are not available, you can block out that time directly on your linked calendar. Use the drop-down menus to block off time specific times/days.
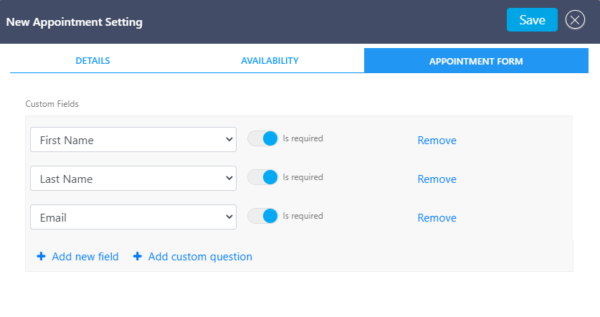
- Next, click on the “Appointment Form” tab. Here you can create a form for your client to fill out when booking an appointment/meeting. By default, the first name, last name, and email are required. You may remove the requirements or the questions altogether. You may also add a new field and select from the drop-down menu, or create a custom question.
Was this post helpful?
Let us know if you liked the post. That’s the only way we can improve.