Job Information
Each Job has a profile that represents every bit of information about the job, plus all sorts of activities associated with that specific job.
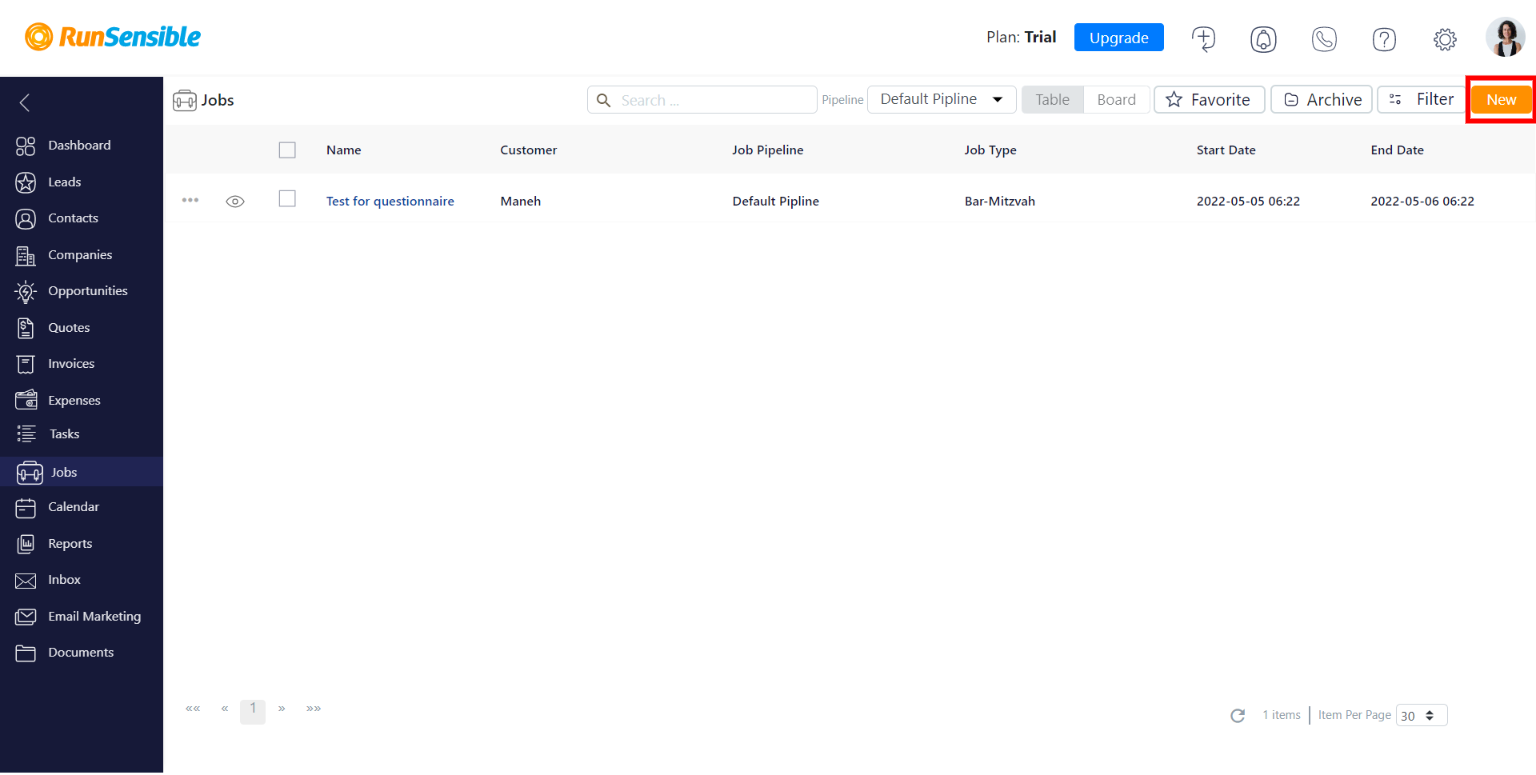
To see a job profile, click on Jobs from your dashboard.
From the list, click on a job to enter its profile.
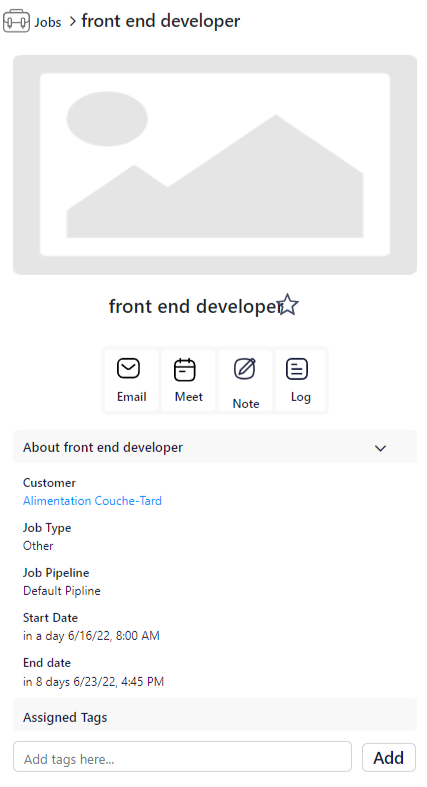
On the left panel, you can add a photo and see some information about the job. You also have a quick access panel to send emails, make phone calls, make an appointment, and write notes.
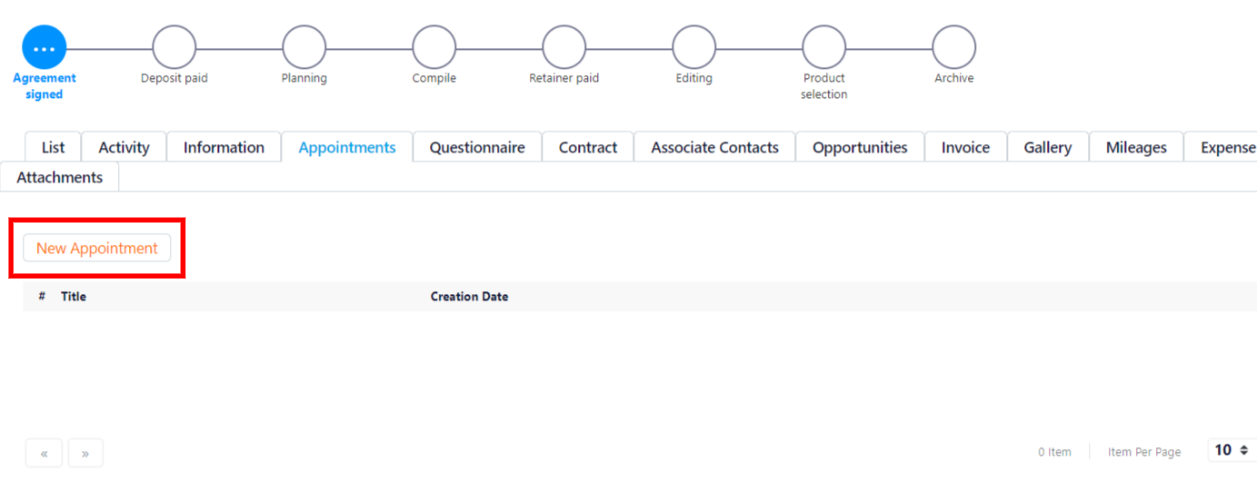
On the right side, you have the job pipeline. Every time you make progress on the job, you can update the pipeline status here.

You also have a detailed view of everything happening on the job. The List tab breaks down all the job pipeline activities associated with this job.
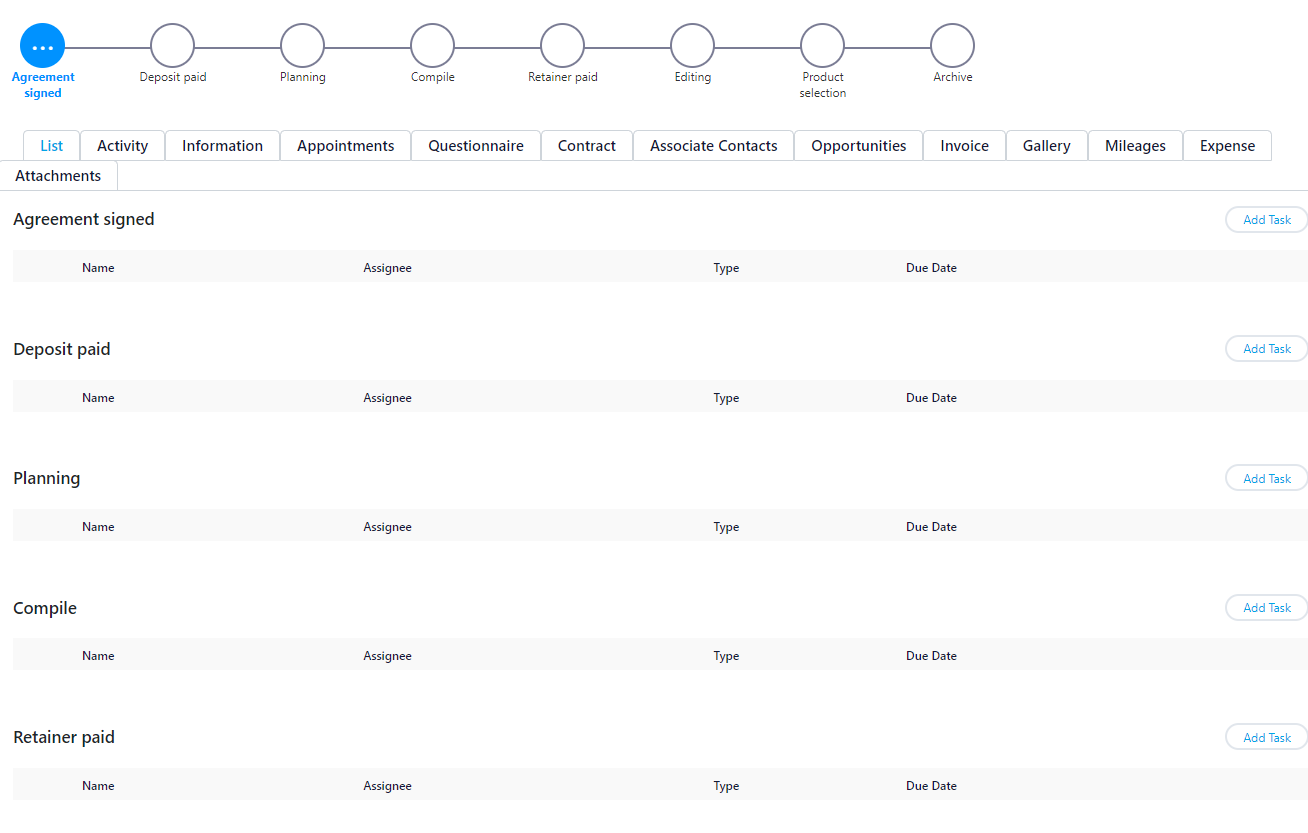
The Activity tab shows all tasks, emails, appointments, etc.

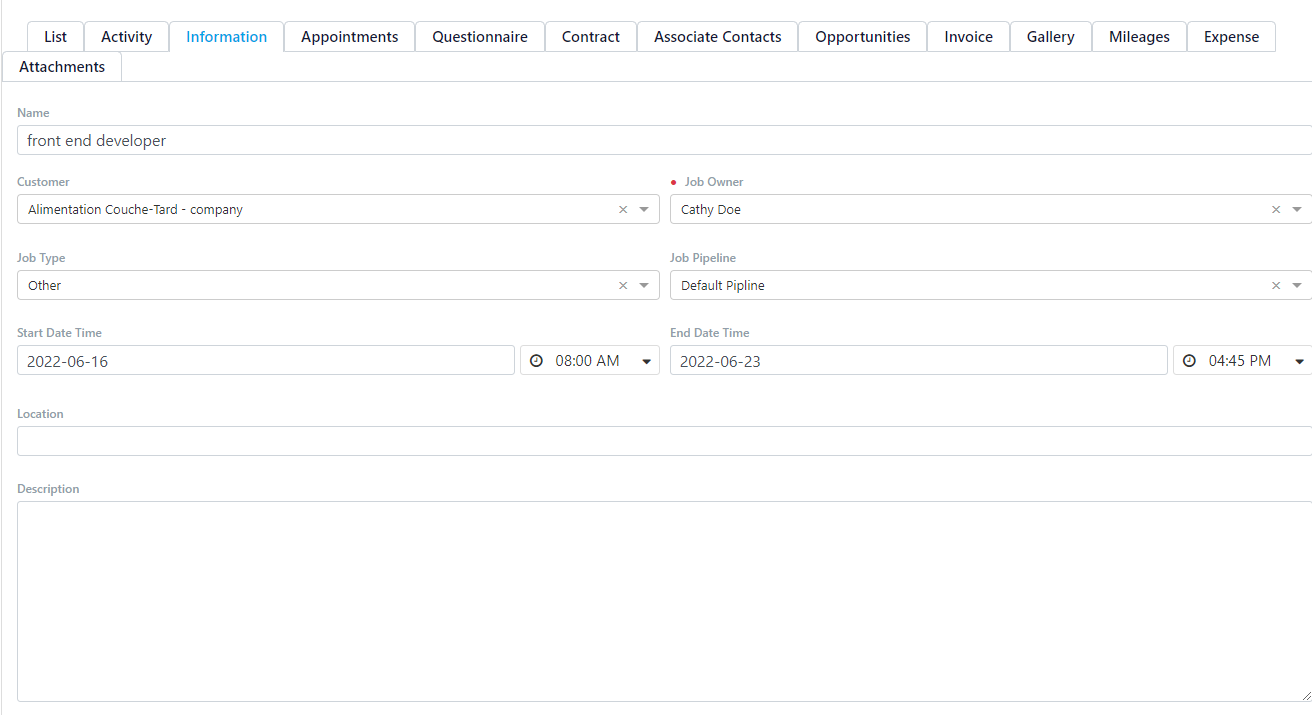
The Information tab shows all the details about the job. You can also edit the information about your job on this tab.
The Appointments tab lists all the meetings and appointments you have with clients and people associated with this job. You can also set a new meeting/appointment directly from this panel by clicking on New Appointment.
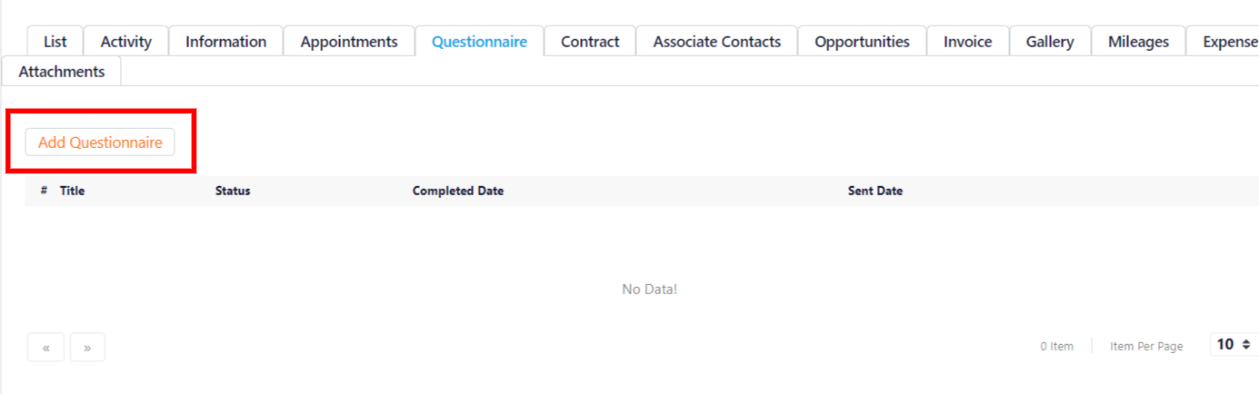
The Questionnaire tab shows all the questionnaire forms you have sent to your client. You can send a questionnaire from this menu by clicking on Add Questionnaire.
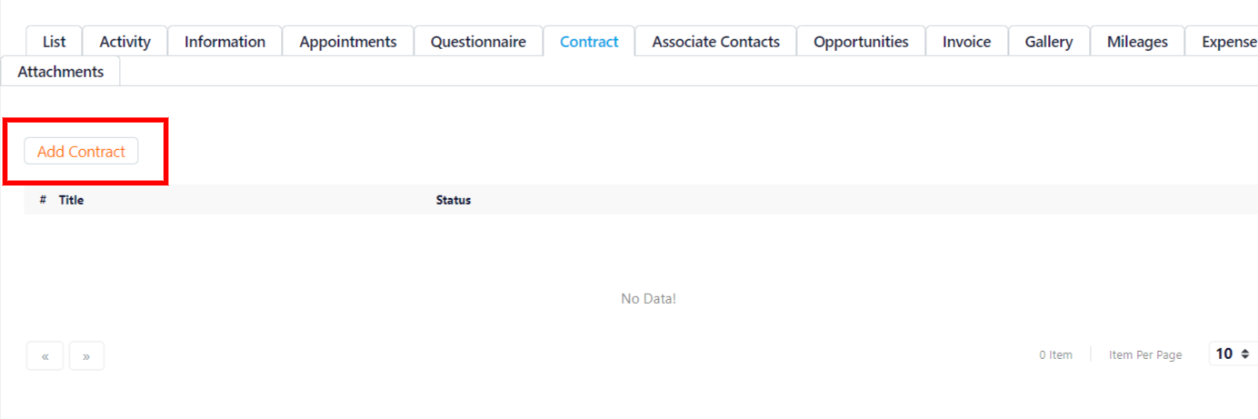
The Contract tab is a list of contracts associated with this job. You can send a new contract by clicking on Add Contract.
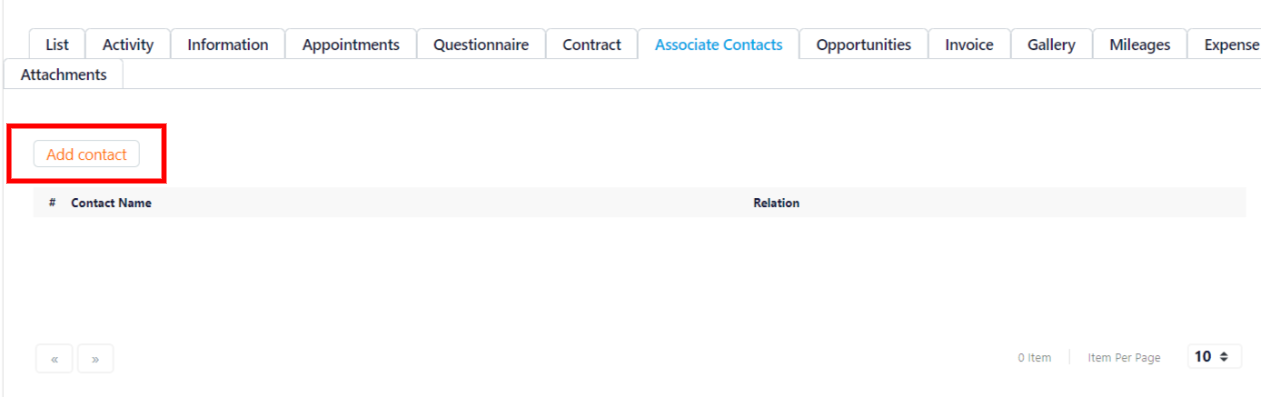
The Associate Contacts tab comes in handy when you need to communicate with a contact (e.g., suppliers) associated with your job. Click on Add Contact to add an associate contact to your list.
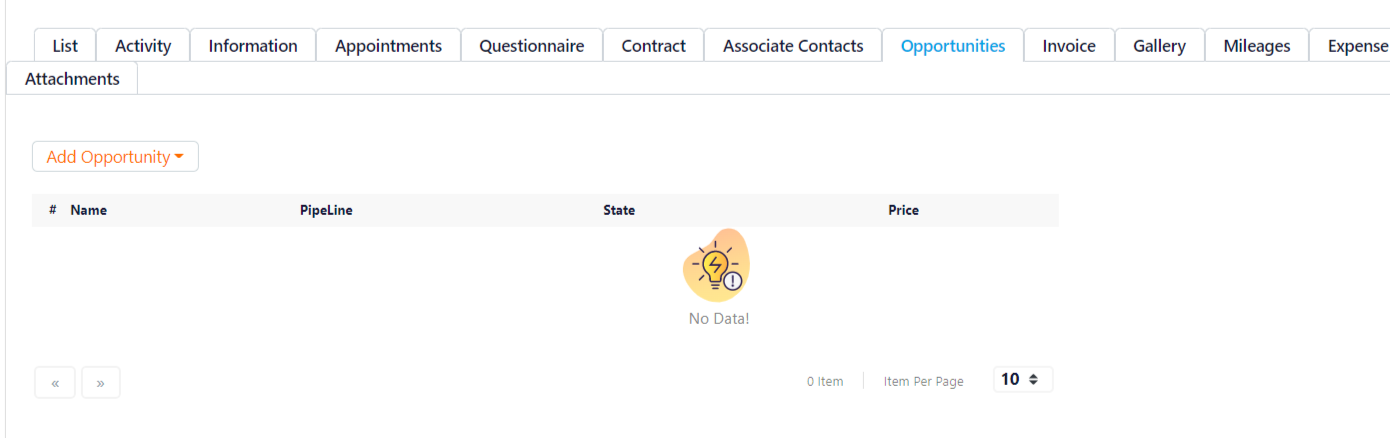
The Opportunities tab works when you need to assign this job to an opportunity campaign. To do so, click on Add Opportunity and then choose if this is a new opportunity or an existing one.
The Invoices tab allows you to send an invoice to the client and track invoices and payments directly from your job profile. Simply click on New Invoice to issue a new invoice.

The Gallery tab is where all the visuals associated with your job go. For example, if you need to send a picture of your product to the client, here is where you do so.
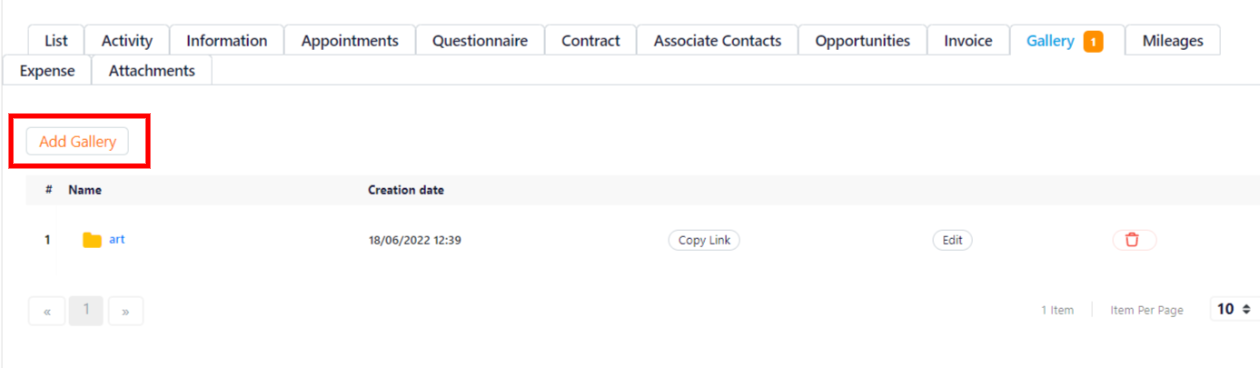
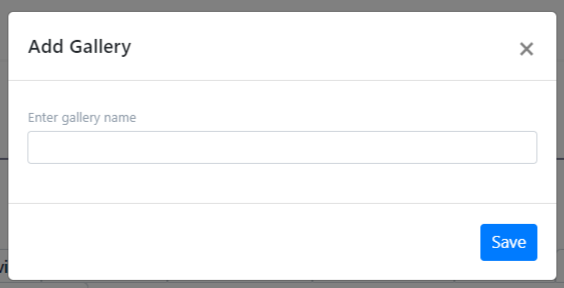
Click on Add Gallery. Give the gallery a name and click on Save.
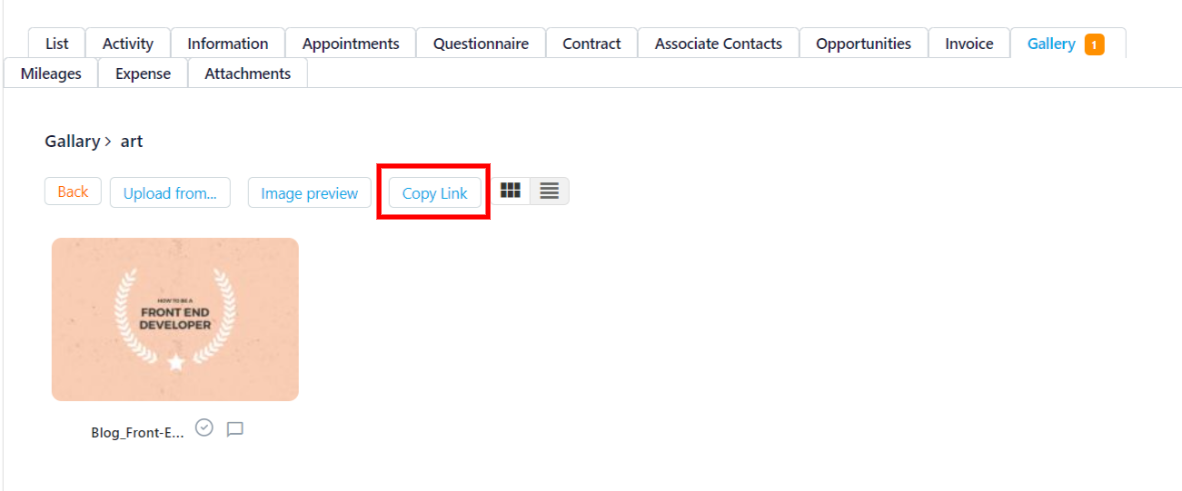
You can see that a folder has been added to your list. Click on the folder. Click on Upload from: to upload images to the folder.

Click on Copy Link. The folder link is now copied to your clipboard. If you send this link to your client, they will have access to the shared folder.
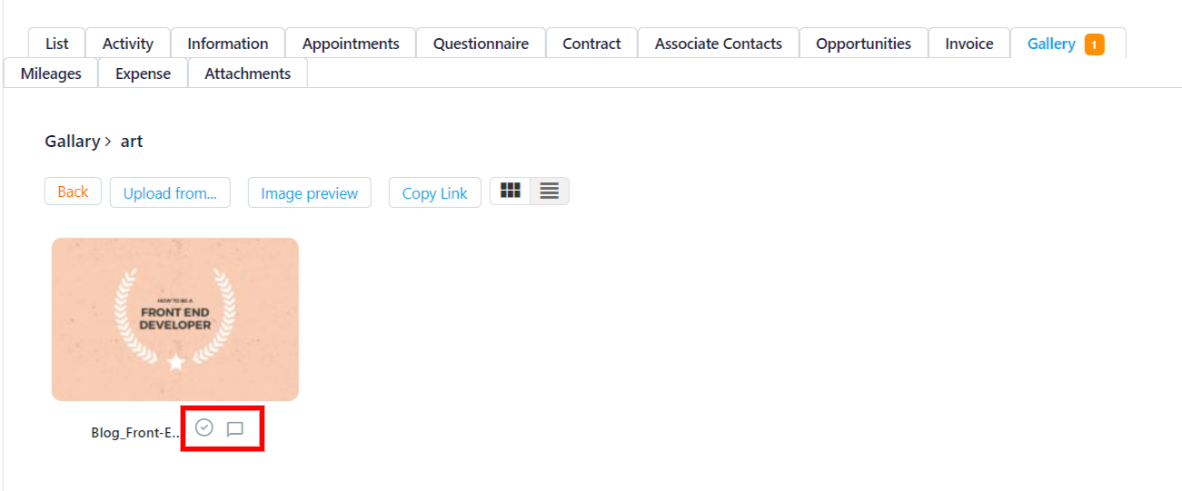
The client can like or leave a comment directly on the images in your folder. When they do so, you will be notified and be able to see the likes/comments on the job profile
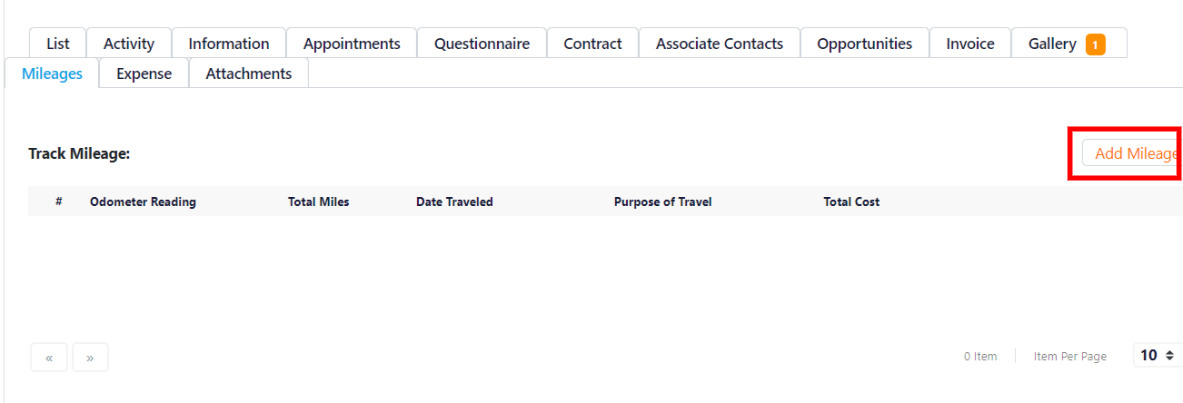
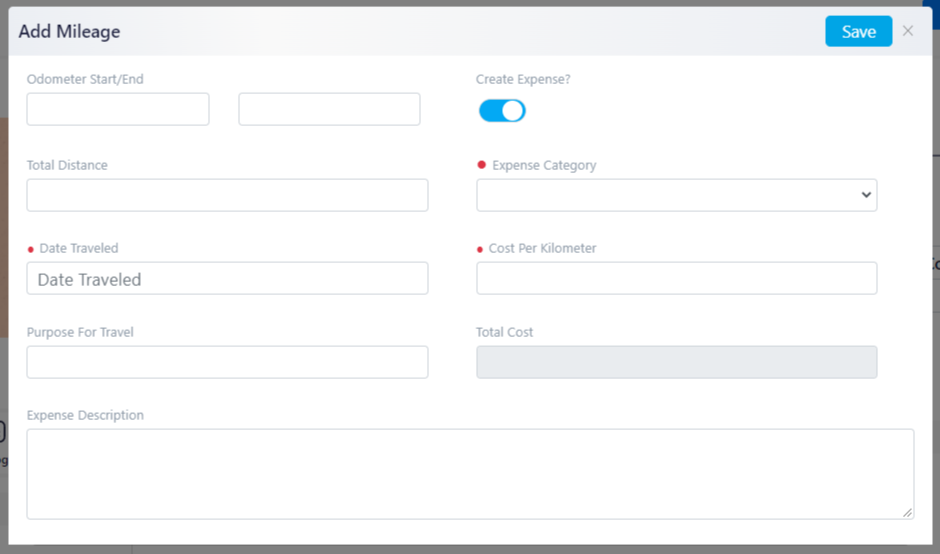
The Mileage tab lets you track all the transportation and travels you made during the job. Click on Add Mileage when you need to document a trip.
Fill out the form. Remember the travel date is a mandatory field to be filled.
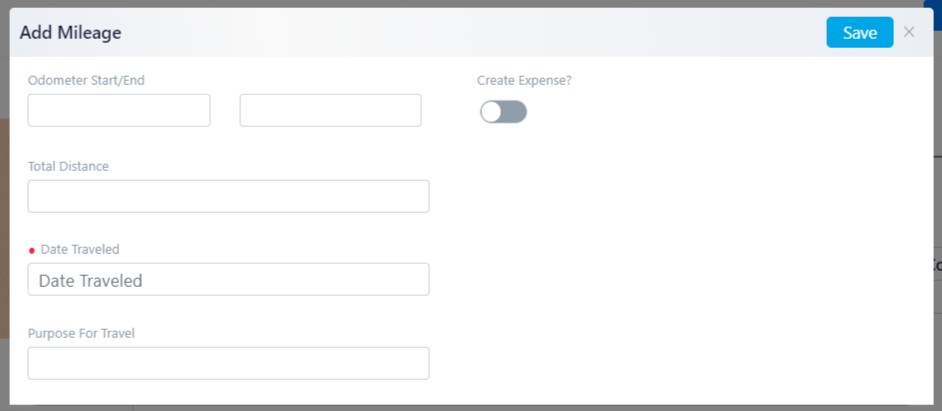
If your client is supplying your transportation, switch Create Expense on to include this transportation fee in the final invoice. When you switch Create Expense on, you will be asked to fill more fields.
From the Expense Category, choose Travel.
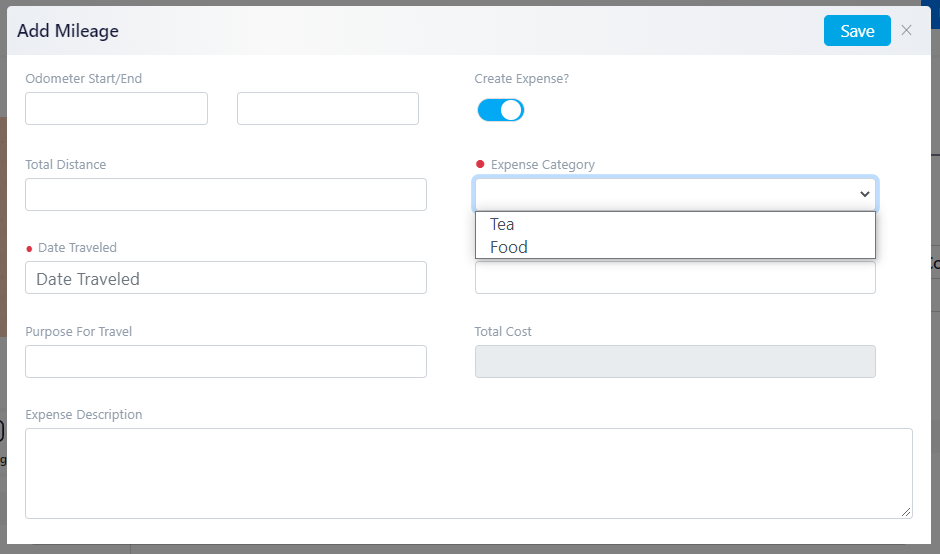
Then, enter Cost Per Kilometer. And the tool will calculate the total cost.
When you’re done, click on Save, and the mileage will be added to your list.
And at last, the Expenses tab lists all the expenses made for this job. For example, if you add a mileage cost in the Mileage tab, it will be shown here. You can also add expenses on your own by clicking on Add Expense.