Job Pipeline
A job pipeline is the workflow of a job, from the first contact with your client, until product/service delivery. For example, if you are a freelance digital artist, your job pipeline starts with a customer contacting you to order a piece of art. Then, it’s followed by you asking your client for their color preferences and other questions you need to ask to design a custom piece. Then, you calculate how much it will cost and send them a quote. After the client accepts the quote, you start your work and send them pictures of the initial design. After finalizing the design with the client, you finish the piece and send them an invoice. All these are examples of how a job pipeline works.
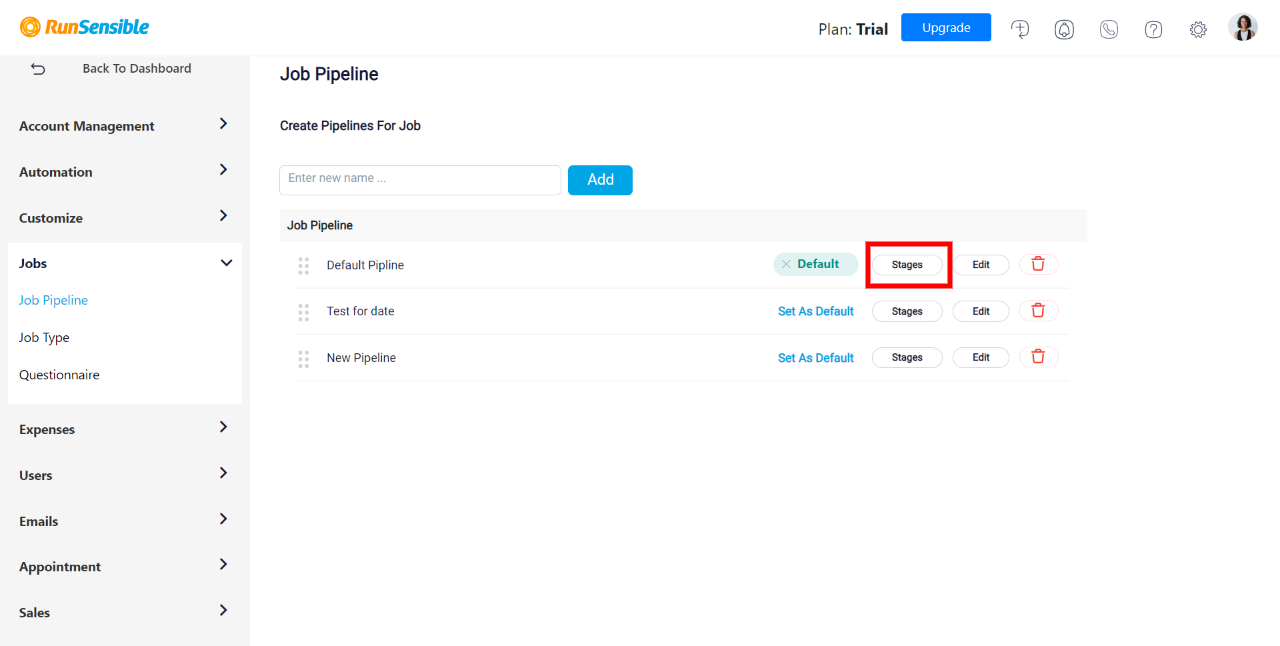
To define a job pipeline, click on Settings on the top right side of your screen.
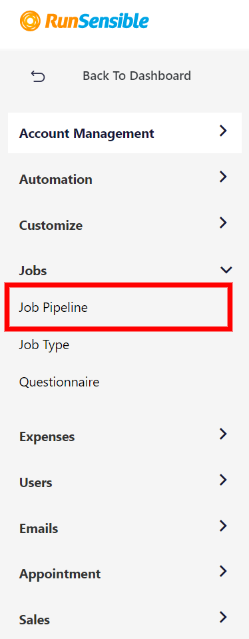
On the left sidebar, click on Jobs and then Job Pipeline.
You can define different job pipelines for different products and services. They will all be listed here.
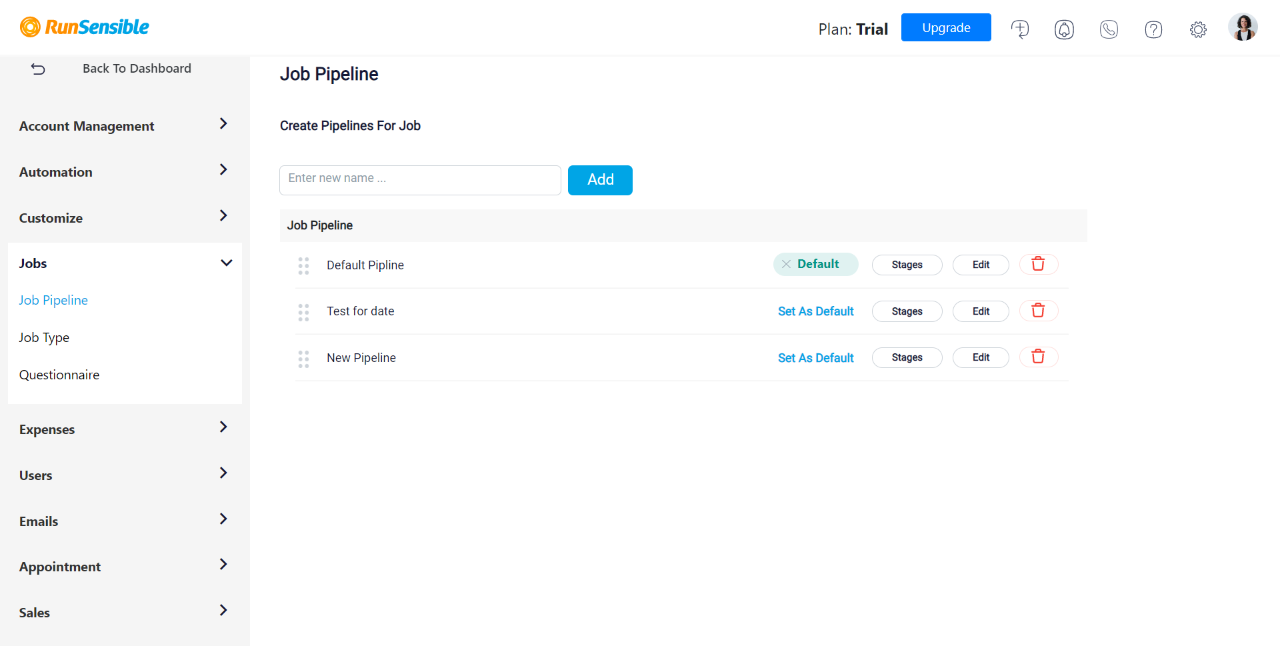
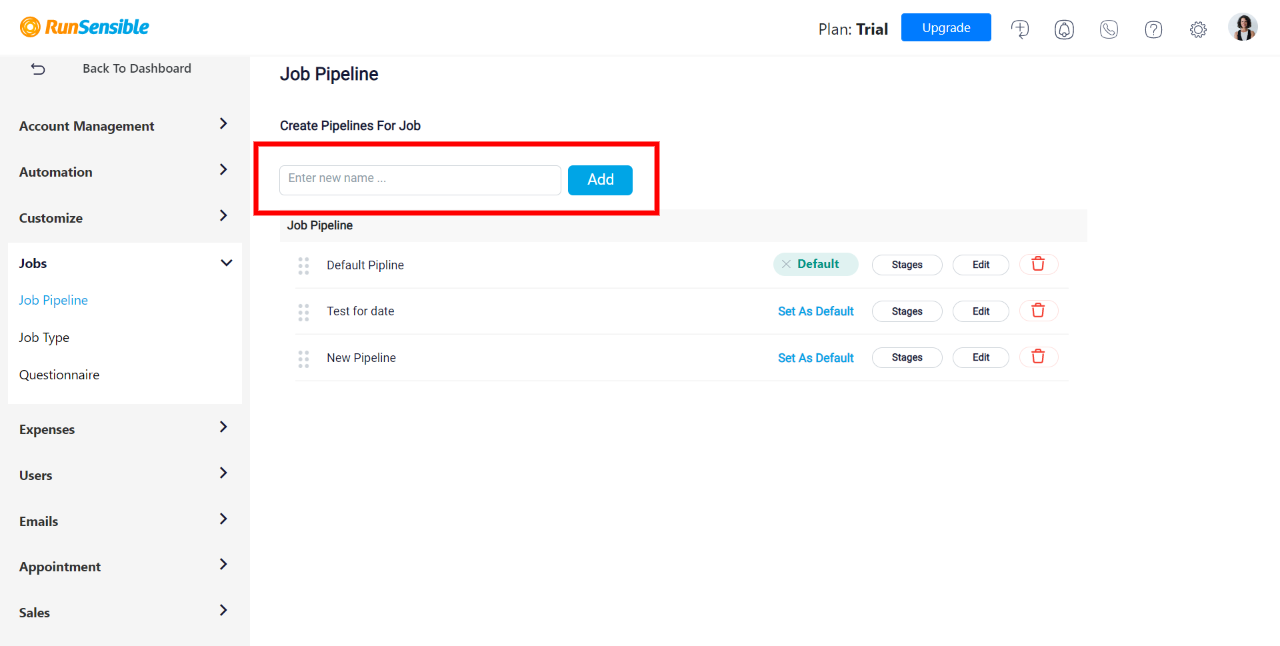
To create a new pipeline, give it a name in the blank box and click on Add.
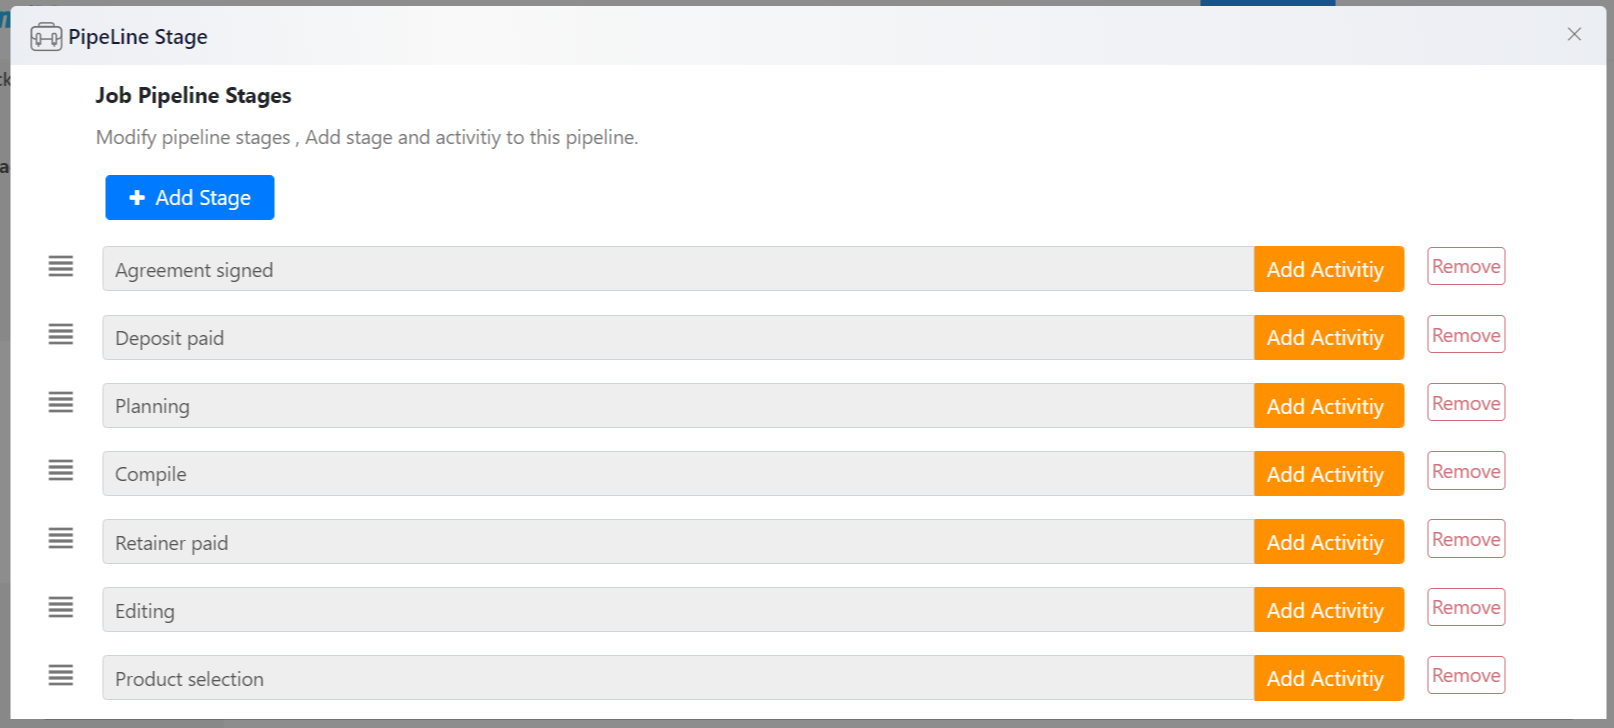
A new pipeline will be added to your list. Now, click on Stages to define the workflow.
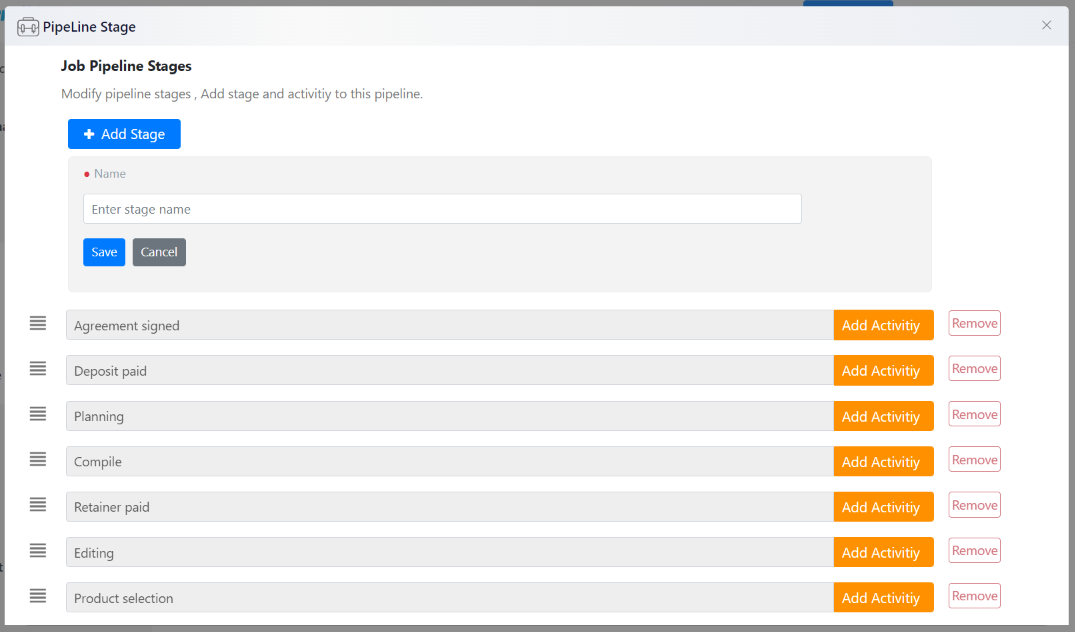
There are three default stages in a job pipeline. Click on Add Stage if you need more steps in your workflow.
All you have to do is give the stage a name and click on Save
After adding all your desired stages, Click and drag the icon on the left side of each stage to create your pipeline’s flow. When all stages are in the right place, click on Add Activity on each of them. You can add activities from Activity Types to your stages, for example, emailing or calling the client.
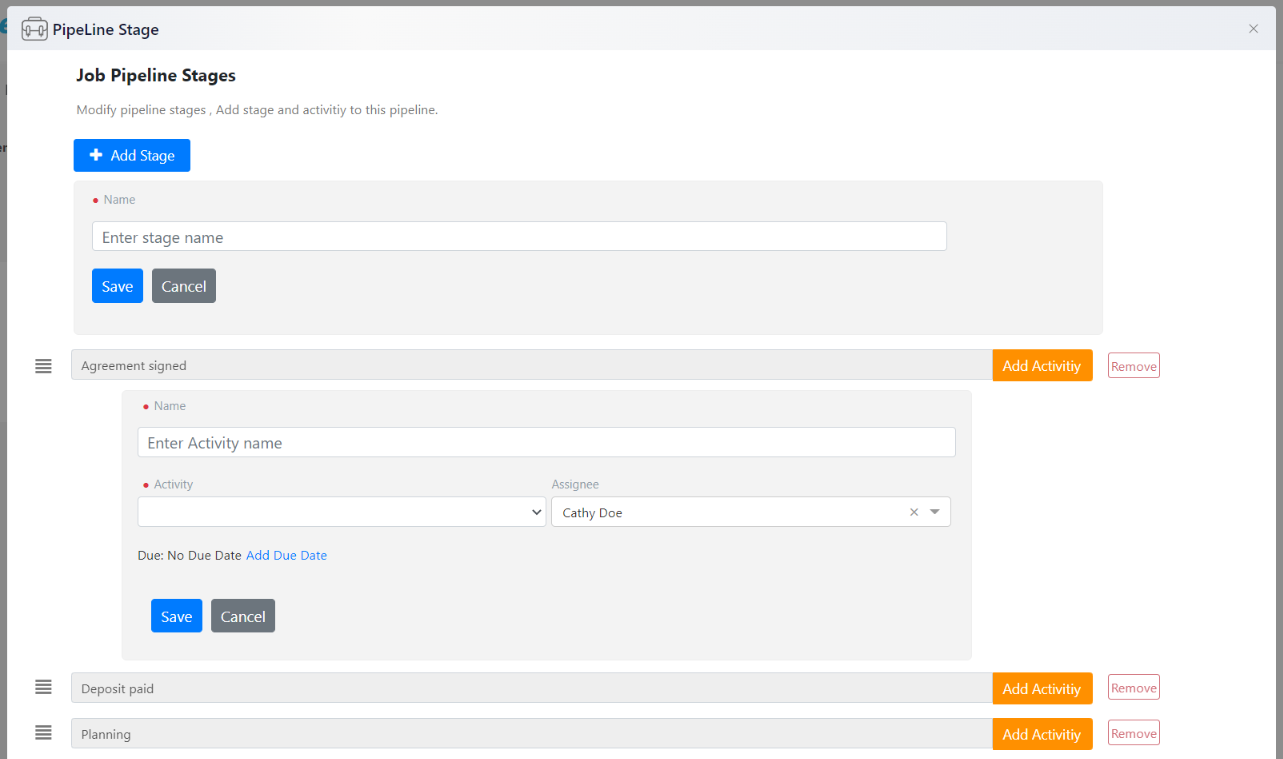
Give your activity a name and choose the Activity from the drop-down menu.
Assign the activity to yourself or your team members. When you’re done, click on Save.