Pro.RunSensible
Pro.RunSensible is a platform designed to assist individuals in finding the most suitable lawyer by granting access to their profiles and crucial details, including their location. Lawyers can create a professional resume on this platform, showcasing their skills, experience, and qualifications. This boosts their visibility, making it easier for potential clients to find them. Whether or not you are a member of RunSensible, you can use the platform to create and share your profile with potential clients.
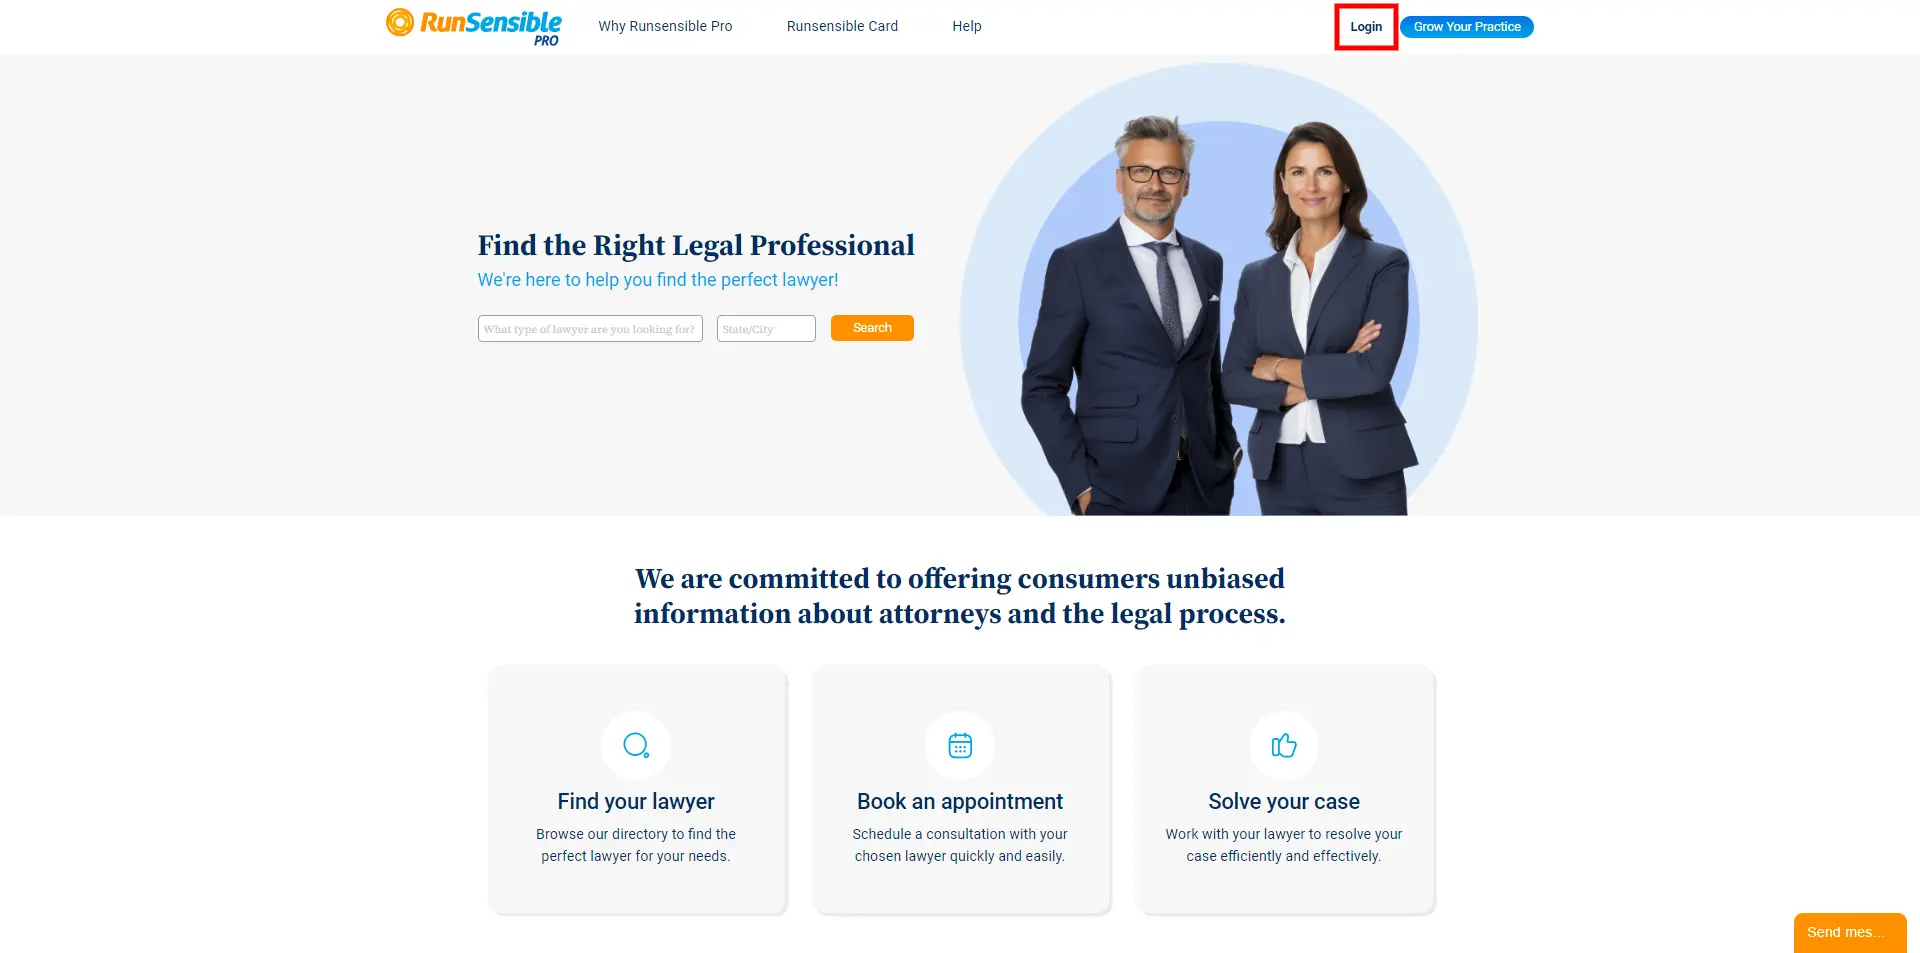
Head over to pro.runsensible.com, to get started. If you already have a RunSensible account, click on the Login button at the top of the page.
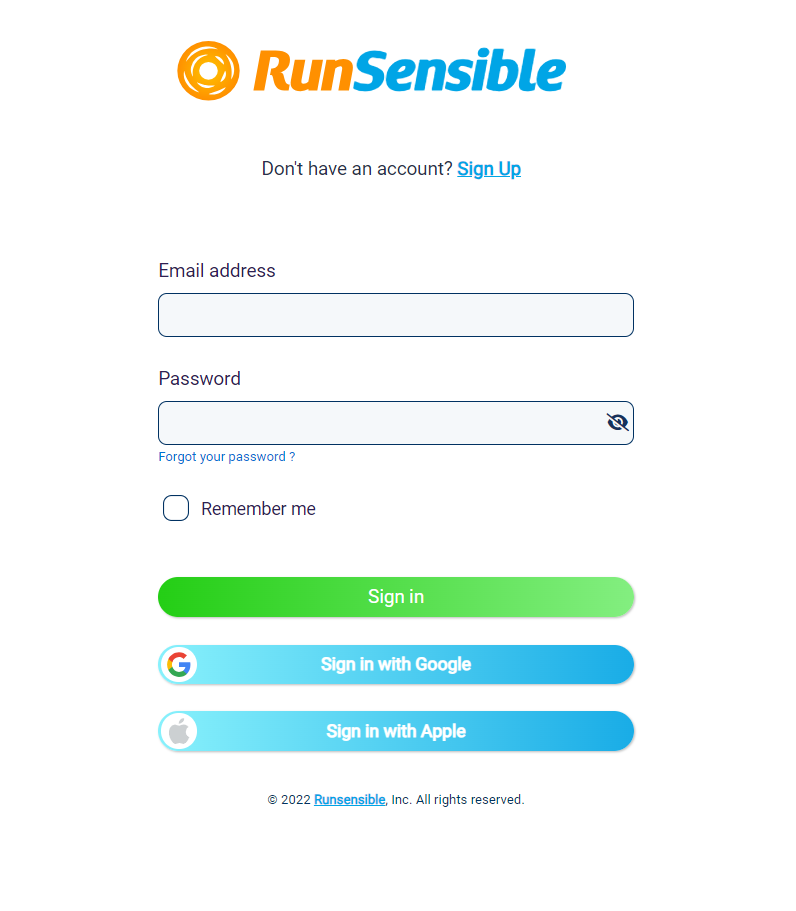
This will open RunSensible’s login panel, where you can enter the email address associated with your account and your password.
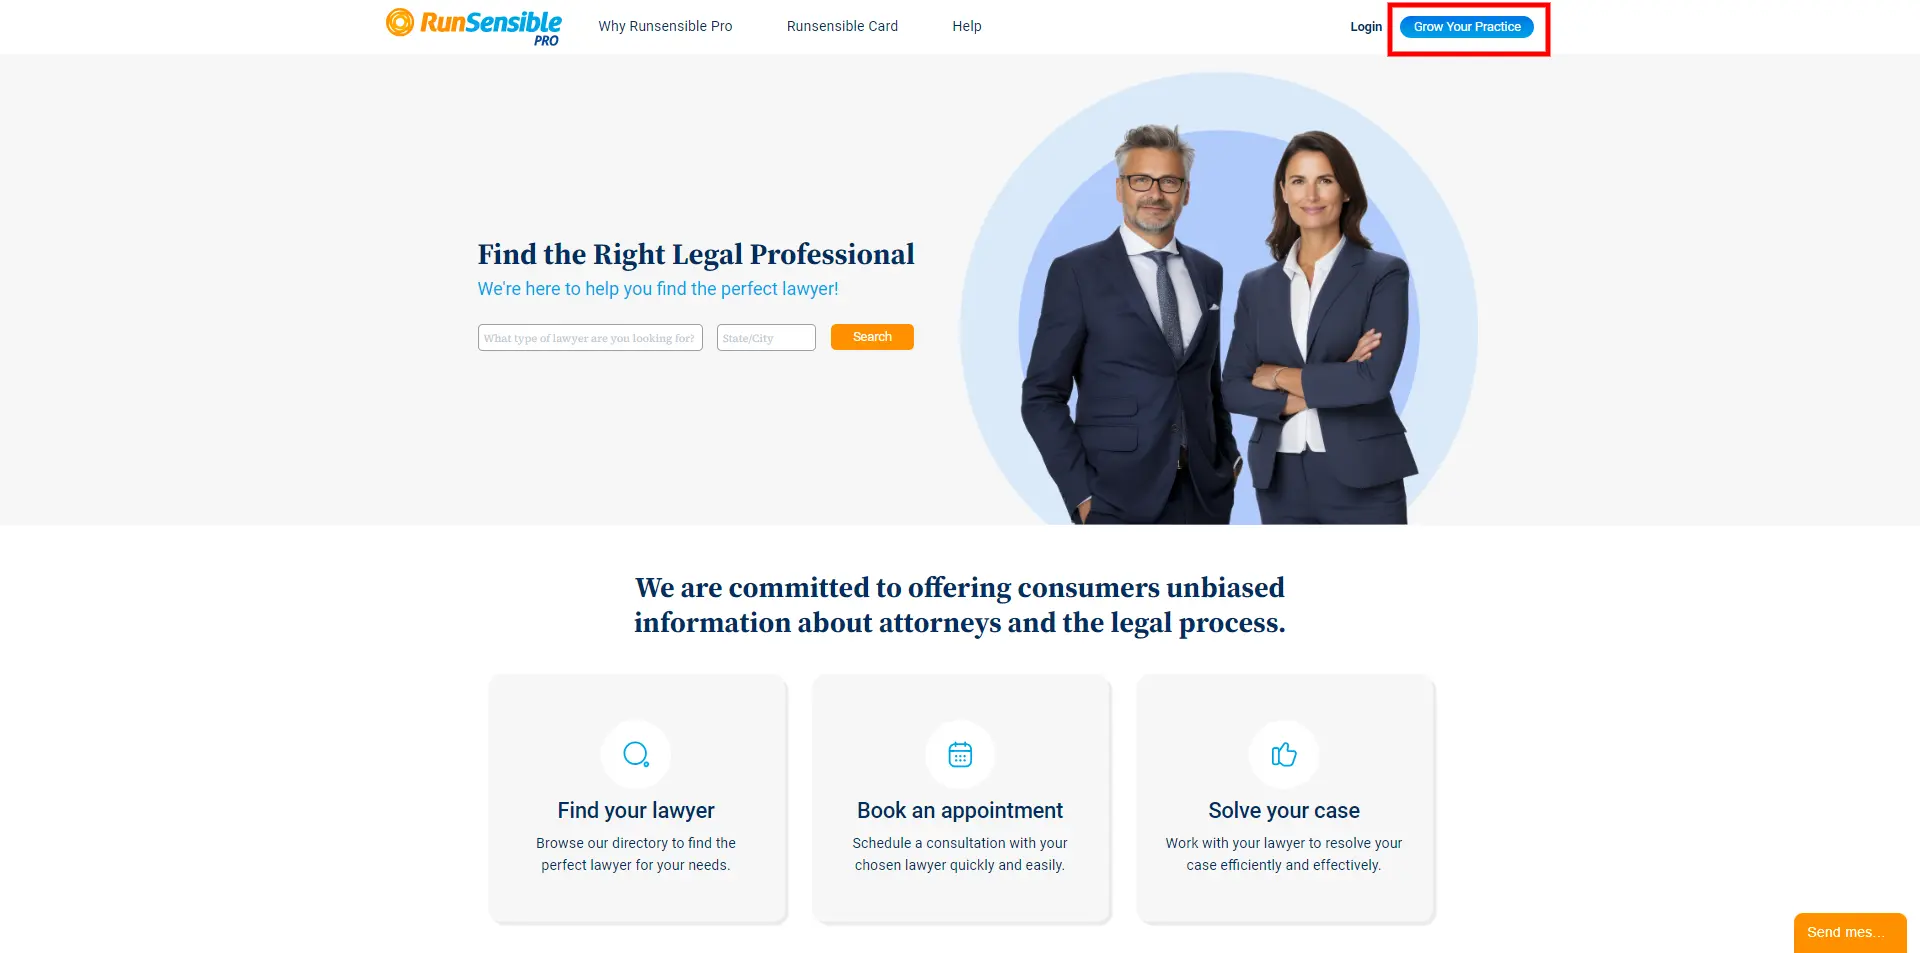
If you don’t have a RunSensible account, click on the Grow Your Practice button. This will take you to the sign-up interface where you can sign up.
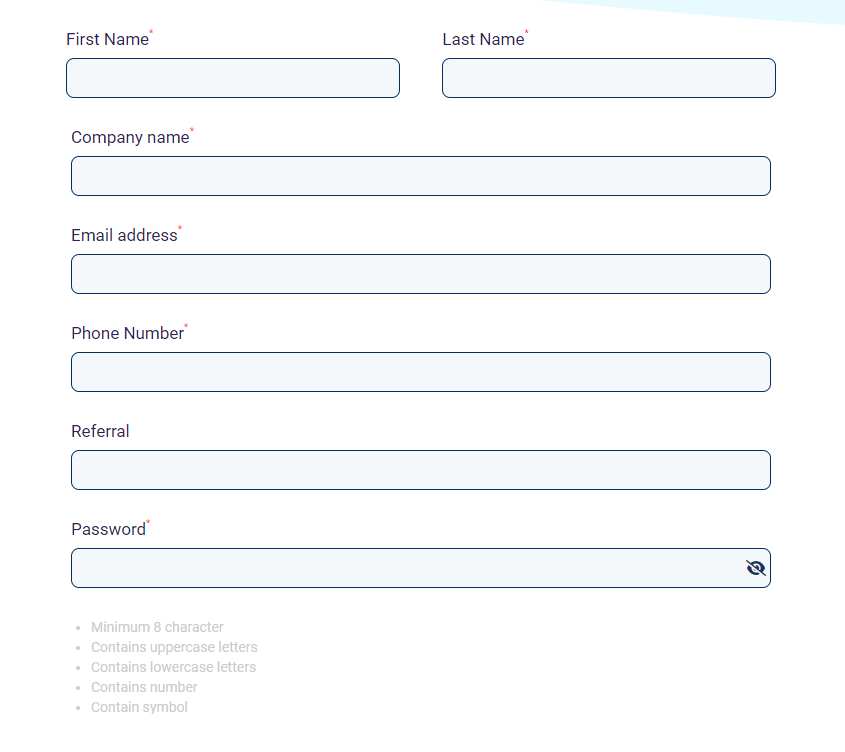
Then click Sign Up. You will then receive an email to verify your address. Open the email and click on the verification link to be directed to RunSensible’s login page.
By creating a RunSensible account, you’ll receive a 14-day free trial of our CRM platform. Feel free to explore all the features during this trial. After the trial ends, you can subscribe to keep full access to the CRM. If you choose not to subscribe, you will still have access to the Pro.RunSensible features.
From this point on, the steps are the same whether you already have an account or just created one.
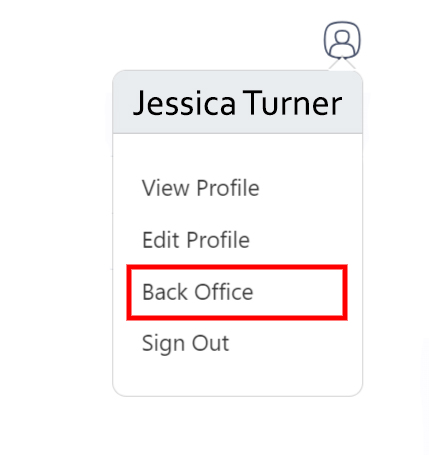
To access RunSensible’s CRM platform click on the Back Office button.
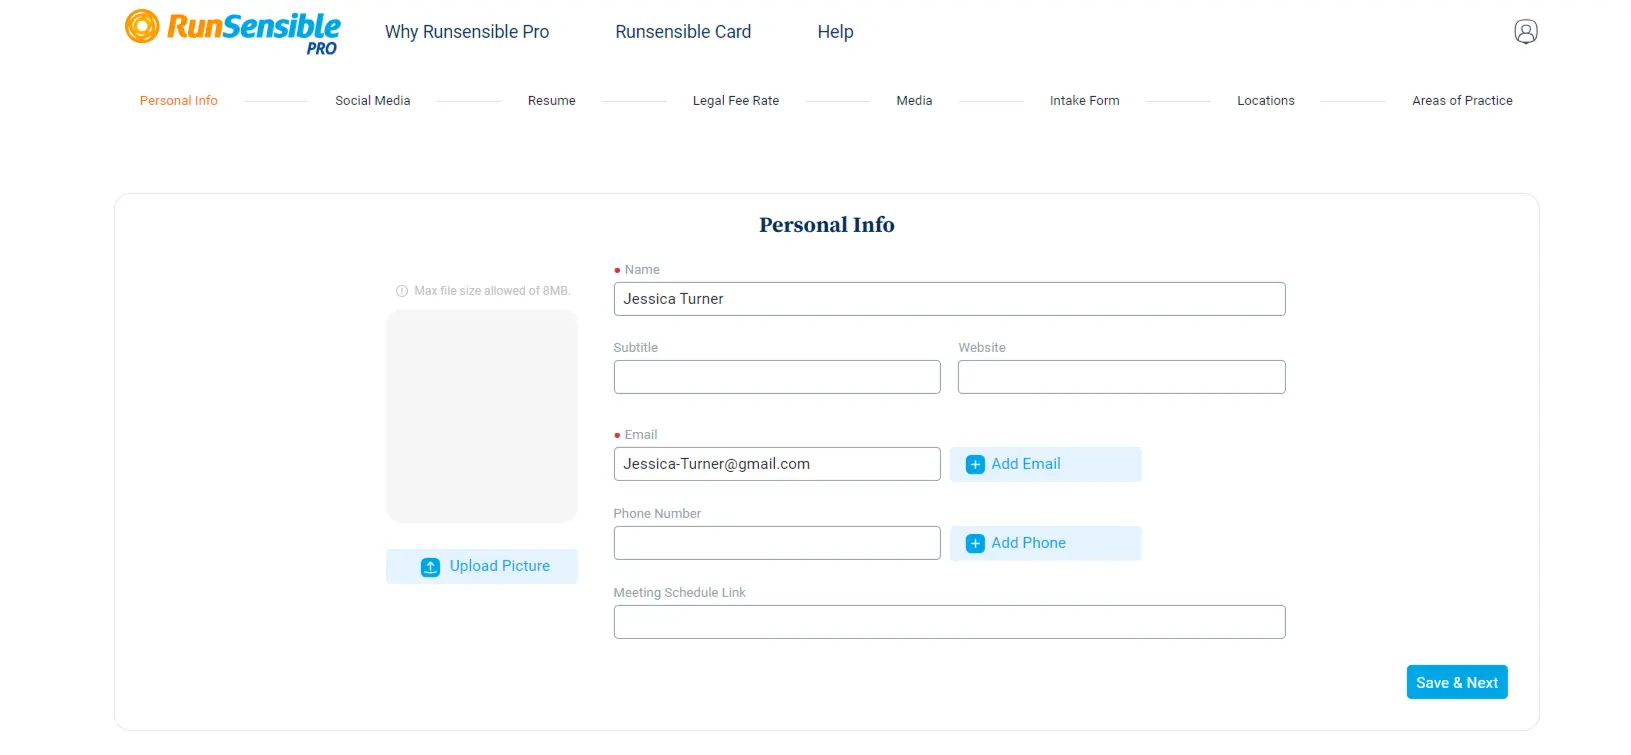
Once you have logged in, you will reach the Personal Info interface. Here, you can enter all the personal information you want your clients to have. Enter your name, subtitle, and your website. To upload a picture of yourself, click on the Upload Picture button on the left side of the page. Then, enter your email address and phone number. If you have multiple email addresses or phone numbers, you can add them by clicking on the Add Email or Add Phone button on the right side of the respective boxes. This allows you to provide more than one contact option for your clients.
You can also enter your calendar’s link in the Meeting Schedule Link field so that clients can schedule meetings with you according to your free time. After entering all your information, click on the Save & Next button located at the bottom left side of the page.
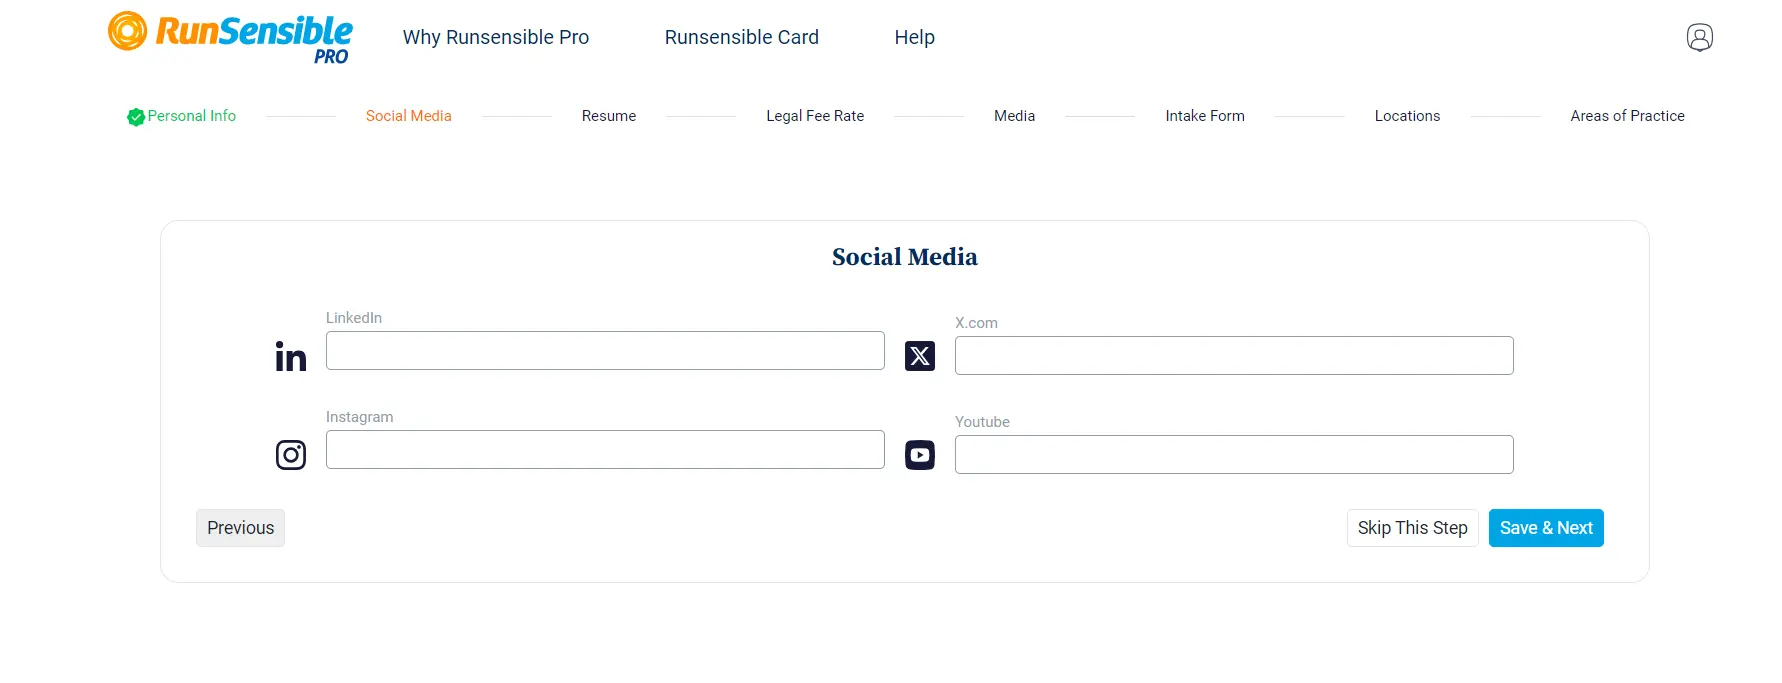
The next step involves entering your social media information into your profile. Enter your different social media addresses into the relevant boxes provided. Once you have entered all the desired social media details, click on the Save & Next button. if you prefer not to share your social media profiles with your clients, you can use the Skip This Step button to proceed without entering your social media information.
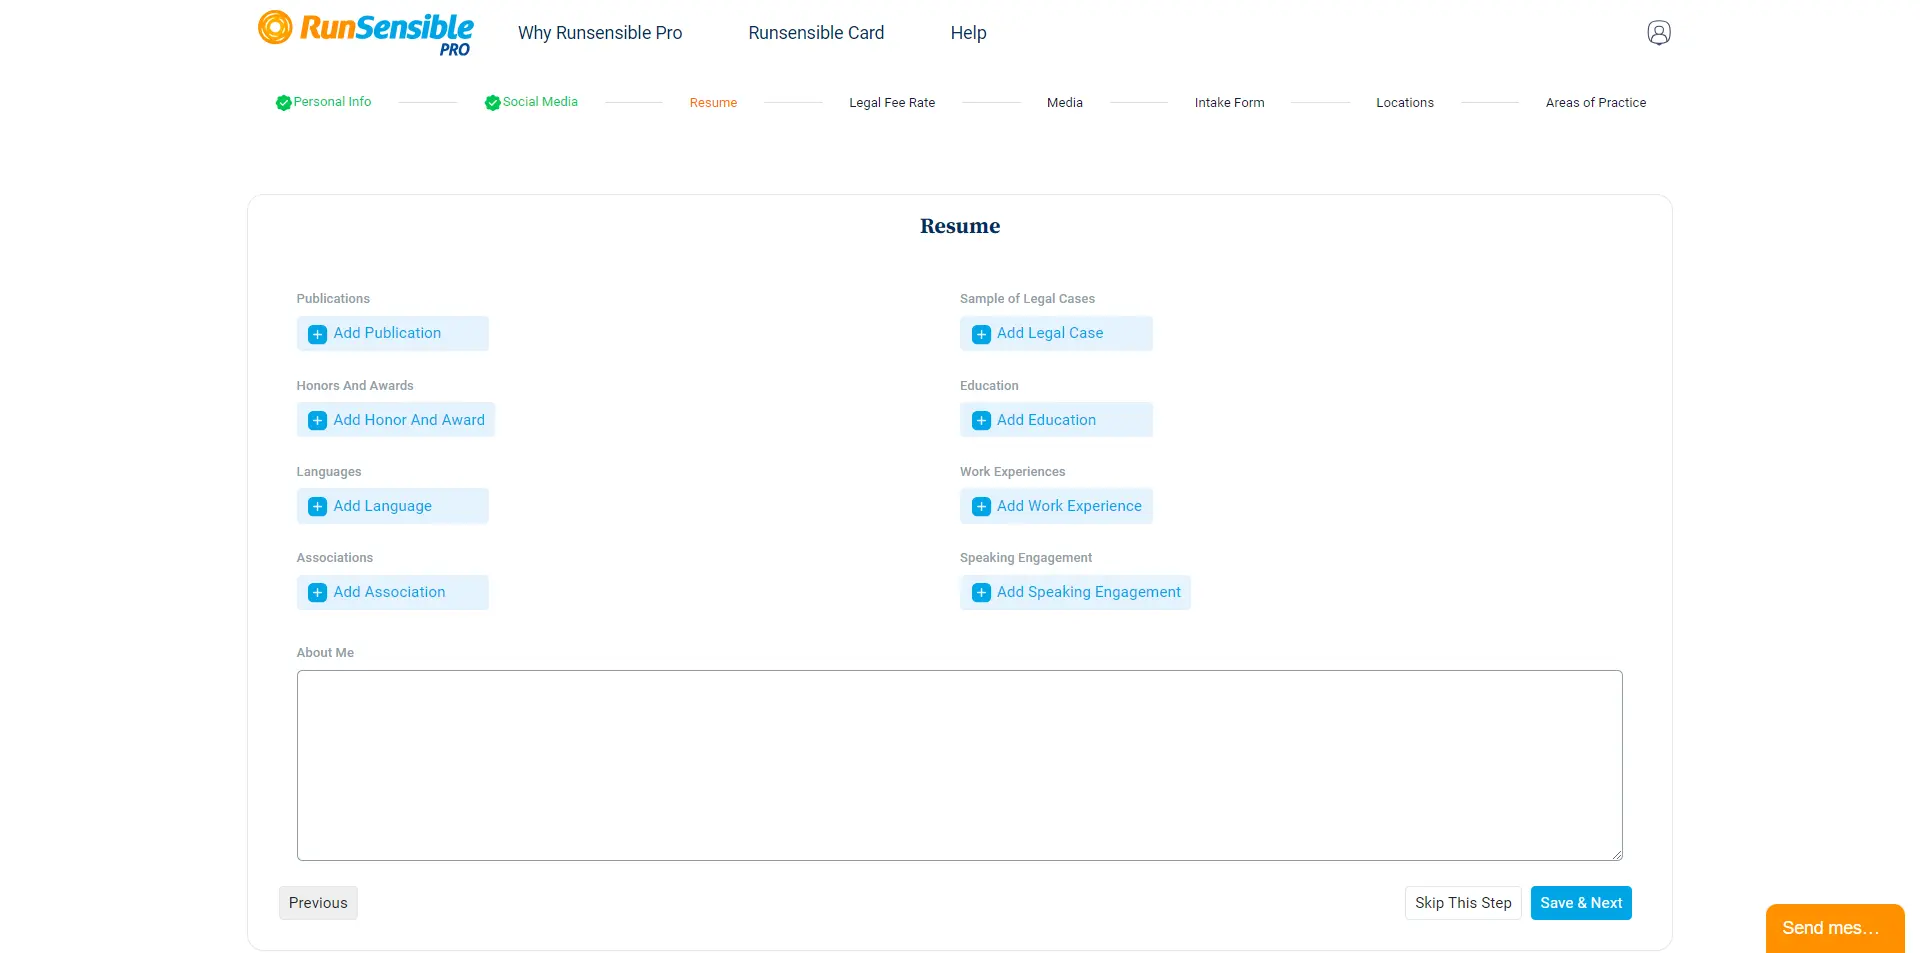
In the following step, you’ll be entering your resume details. This encompasses various aspects such as articles you’ve written, examples of legal cases you’ve handled, your educational background, and other relevant career-related information. To input this data, click on the Plus button positioned at the bottom of the relevant fields. This action will trigger the opening of a text box, allowing you to input specific details according to your preference. For instance, when adding your education, you can include details such as the name of the institution, your field of study, the level of education attained, and the year of graduation.
At the bottom of the page, there is a text box where you can write about yourself and your abilities. This section serves as an opportunity to showcase your skills and expertise, effectively encouraging clients to choose you over other lawyers. After entering all the necessary information, click on the Save & Next button.
The next step involves determining your legal fee rates. To do so, click on the Add Legal Fee Rate button.
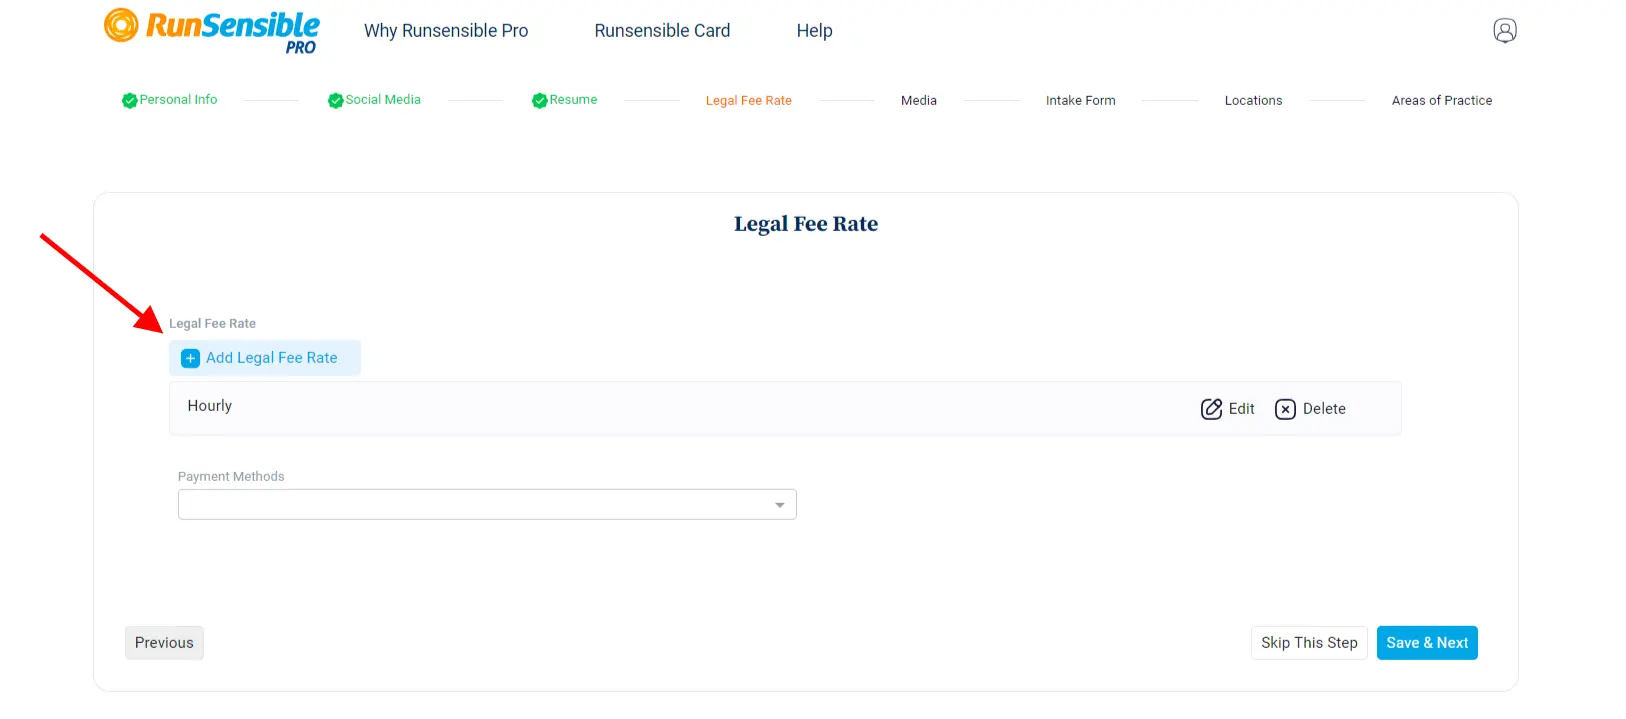
This action will allow you to add your rates for various legal services to your profile.
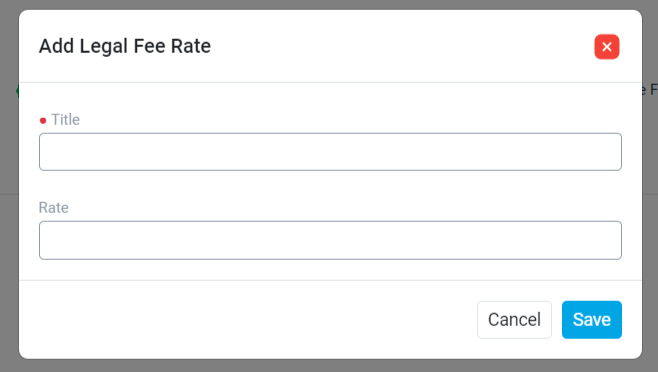
There are two boxes in this interface: One is for the title and the other is for the rate.
In the Title box, enter the type of legal work or service for which you’re specifying the rate.
Next, in the Rate box, enter the amount you charge for that particular service. You can repeat this process as many times as necessary to include all your rates for different legal services on your profile.
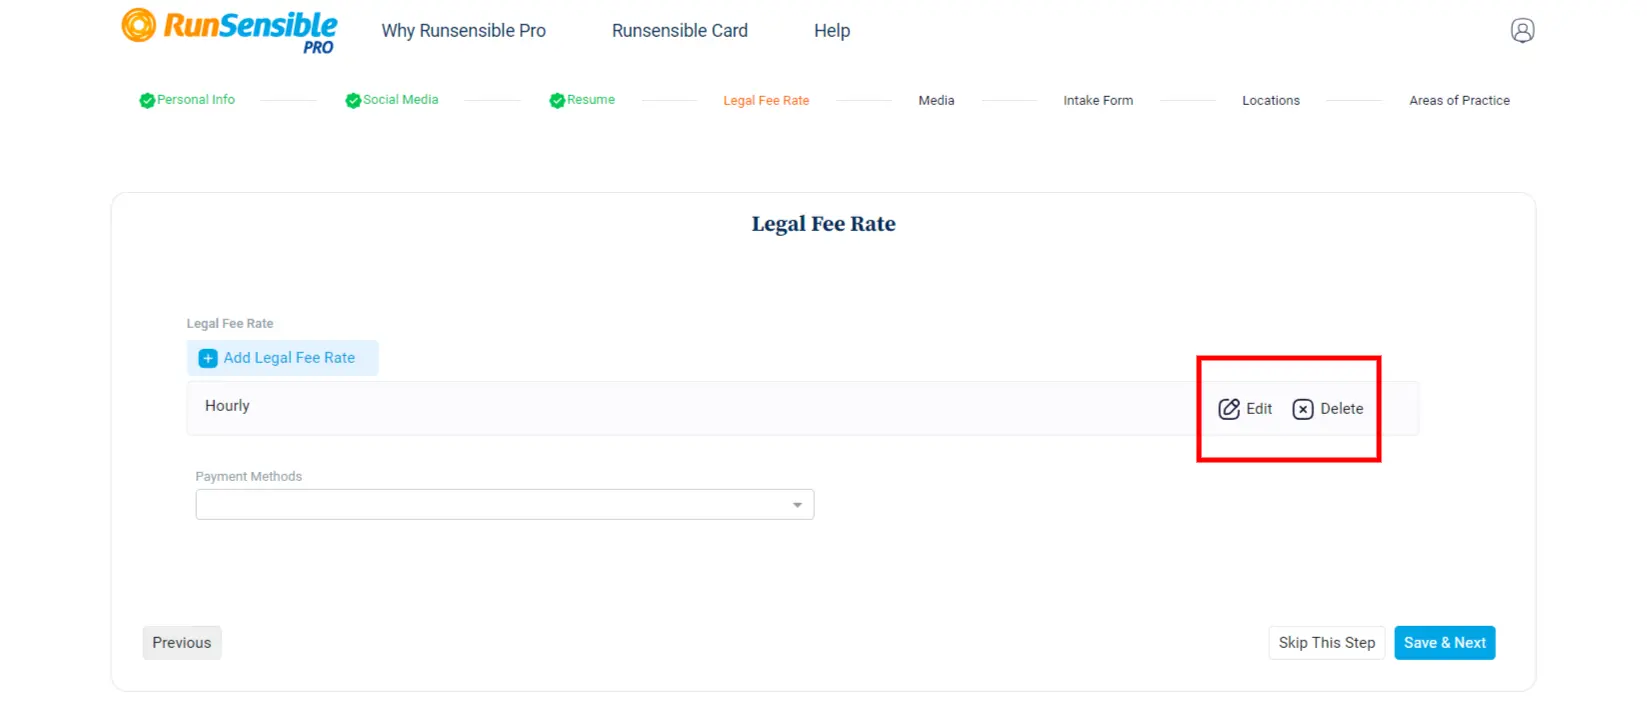
After you’ve finished adding your rates, you can utilize the Edit and Delete buttons to make changes or remove any rates as needed.
Next, navigate to the Payment Method dropdown menu. Here, you can select the method through which you prefer to receive payments from your clients.
Once you’ve selected your preferred payment method, click the Save & Next button.

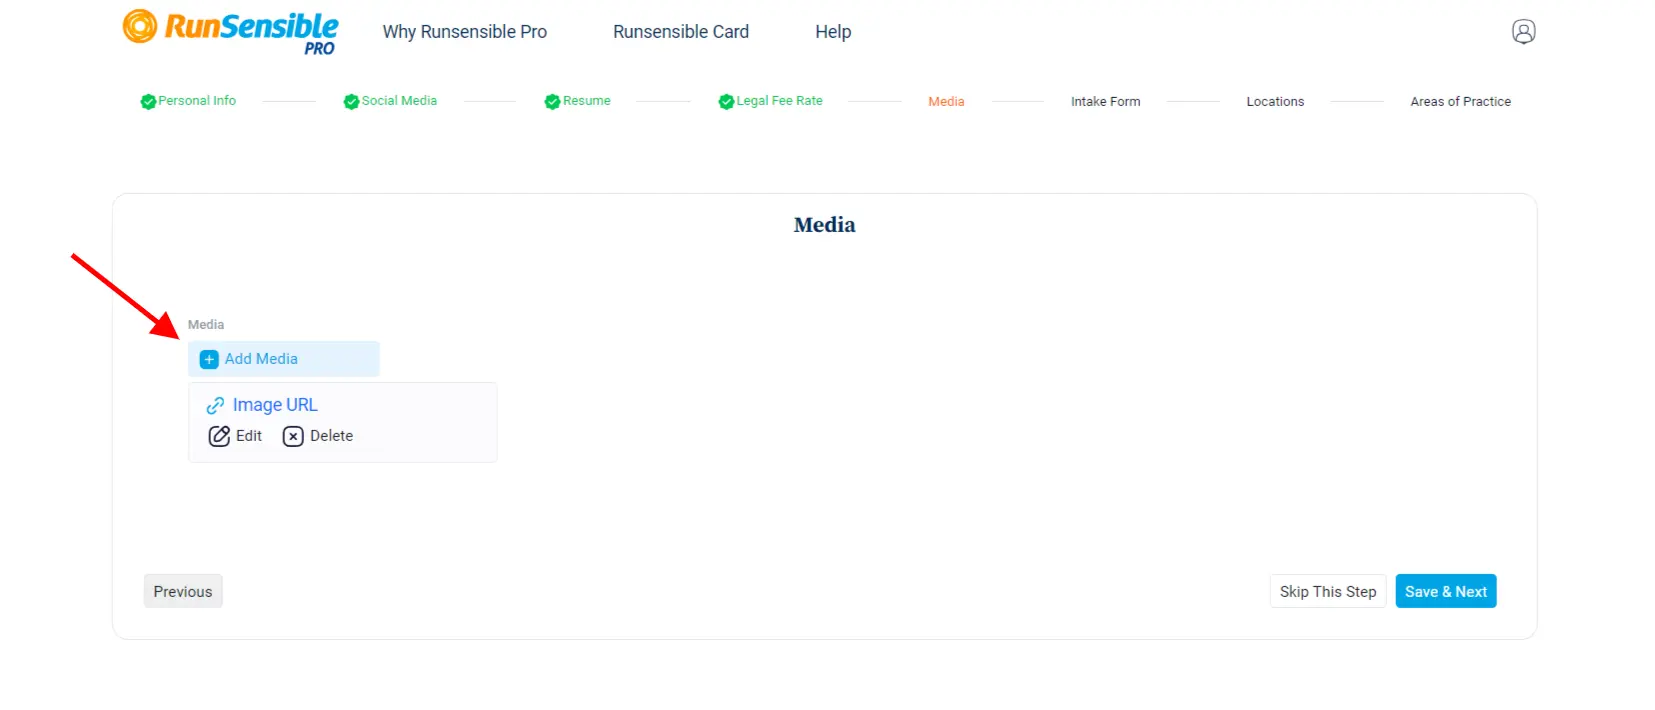
In this step, you can improve your profile by adding either a picture or a YouTube video. Click on the Add Media button. Then, a box will pop up asking for the URL link of the YouTube video or image you want to add. Paste the link there.
After pasting the URL, you’ll need to specify the type of media you’re adding by selecting either an Image or YouTube video from the Type dropdown menu.
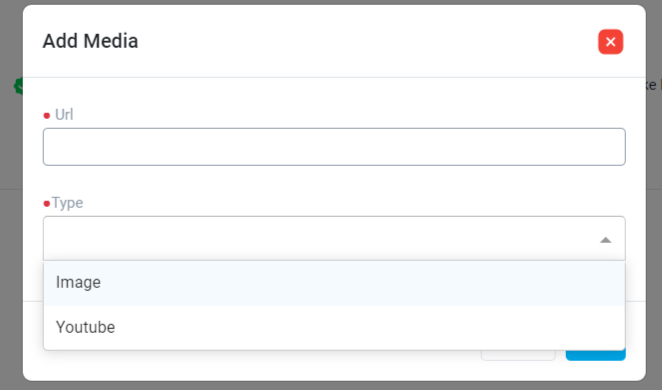
Once you’ve entered the URL and selected the media type, click on the Save button located at the bottom left side of the page. You can add as many images or videos to your profile as you desire by repeating this process.
After adding your chosen media content, click the Save & Next button.
In the next step, you have the opportunity to add online intake forms to your profile. These forms enable you to collect essential information from clients who view your profile and fill out the intake form.
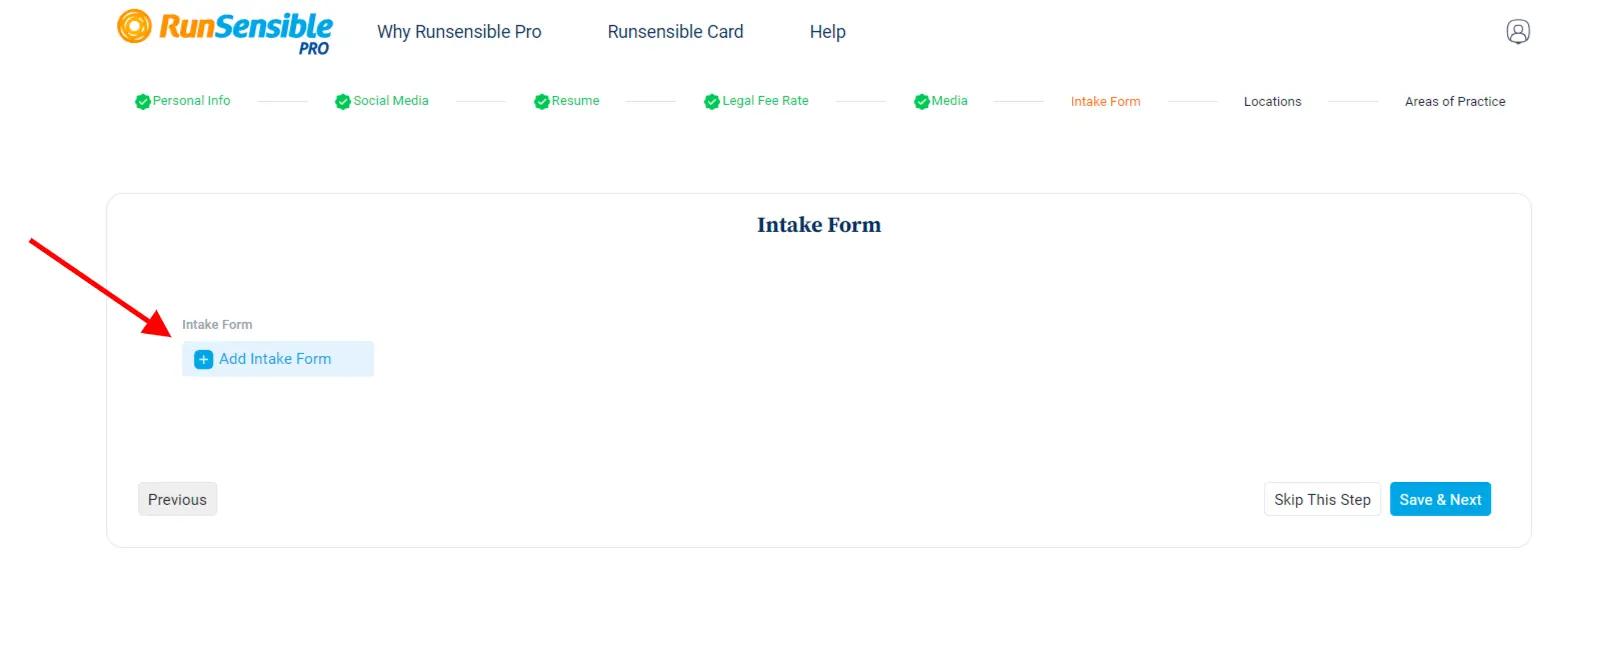
Click on the Add Intake Form button. This will open a box where you can paste the URL link of your intake form. Then, write a description of the intake form in the Description box.
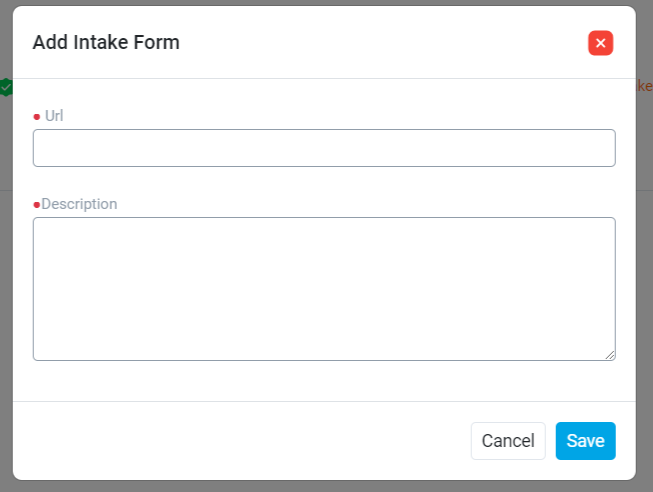
After entering the intake form URL and description, click on the Save button. You can create multiple intake forms for your profile by following these steps again.
Once you’ve added your intake forms, click on the Save & Next button.
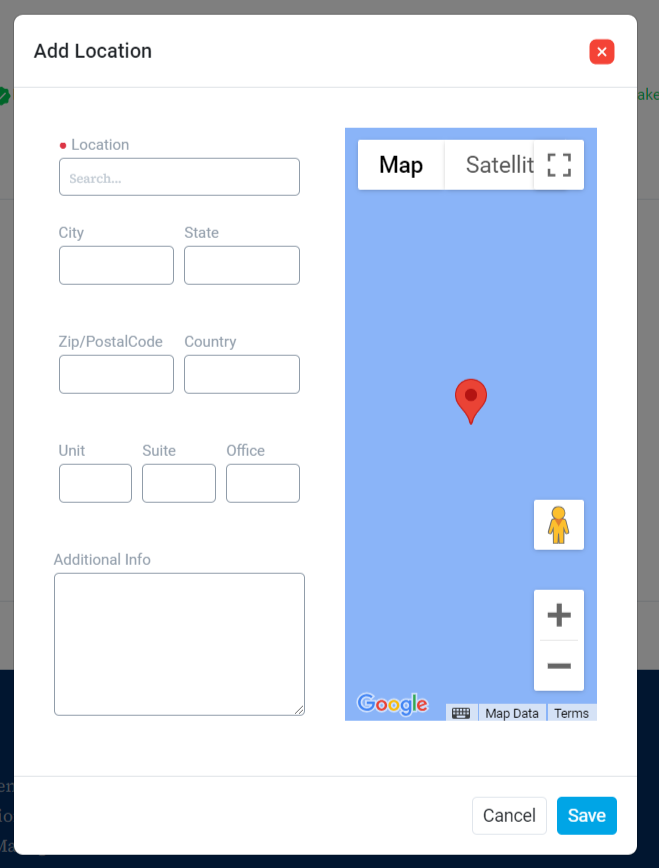
In the next step, you can add the location where you practice law to your profile. This is essential for potential clients seeking legal assistance in specific areas so that they can find the right lawyer. To add a location, click on the Add Location button.
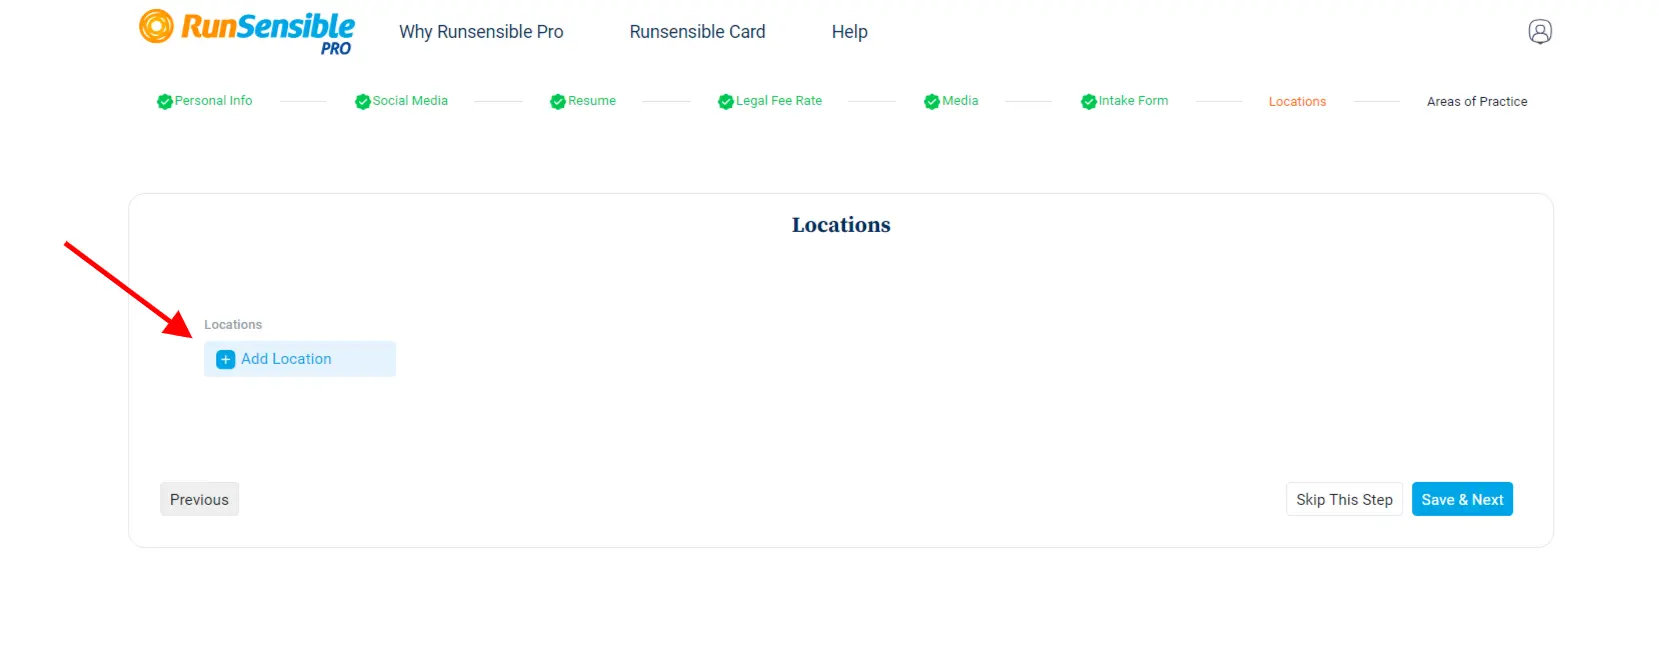
Once clicked, a location box will appear where you can either manually search for your location or select it from the map displayed on the right side. You’ll need to enter your City, State, Postal Code, and Country in the respective fields within the location box.
After inputting the necessary location details, click on the Save button. You can add multiple locations to your profile if you practice law in different areas.
After completing your location information, click on the Save & Next button.
The next step is where you specify your practice area. This helps potential clients find lawyers specializing in specific types of law.
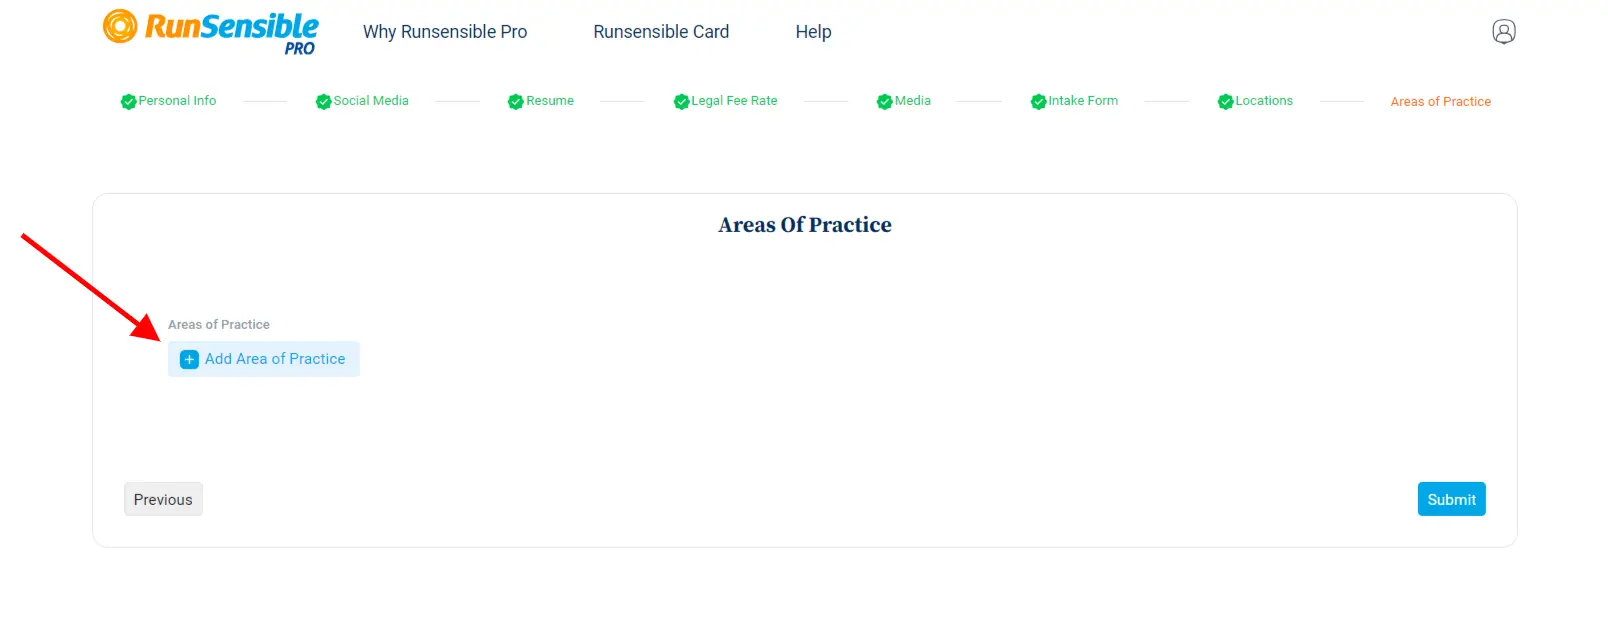
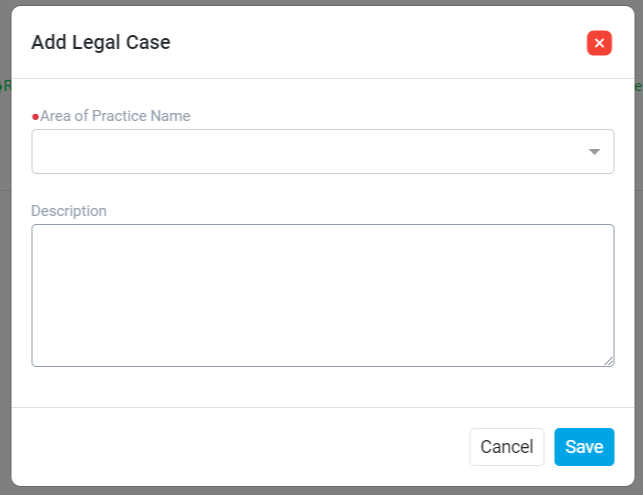
Click on the Add Area of Practice button and choose your practice area form the dropdown menu.
You can provide further explanation about your practice area in the Description box. This allows you to elaborate on your expertise and the services you offer within that particular area of law.
Once you’ve completed the necessary information, click the Save button. You can add multiple practice areas if you specialize in more than one area of law.
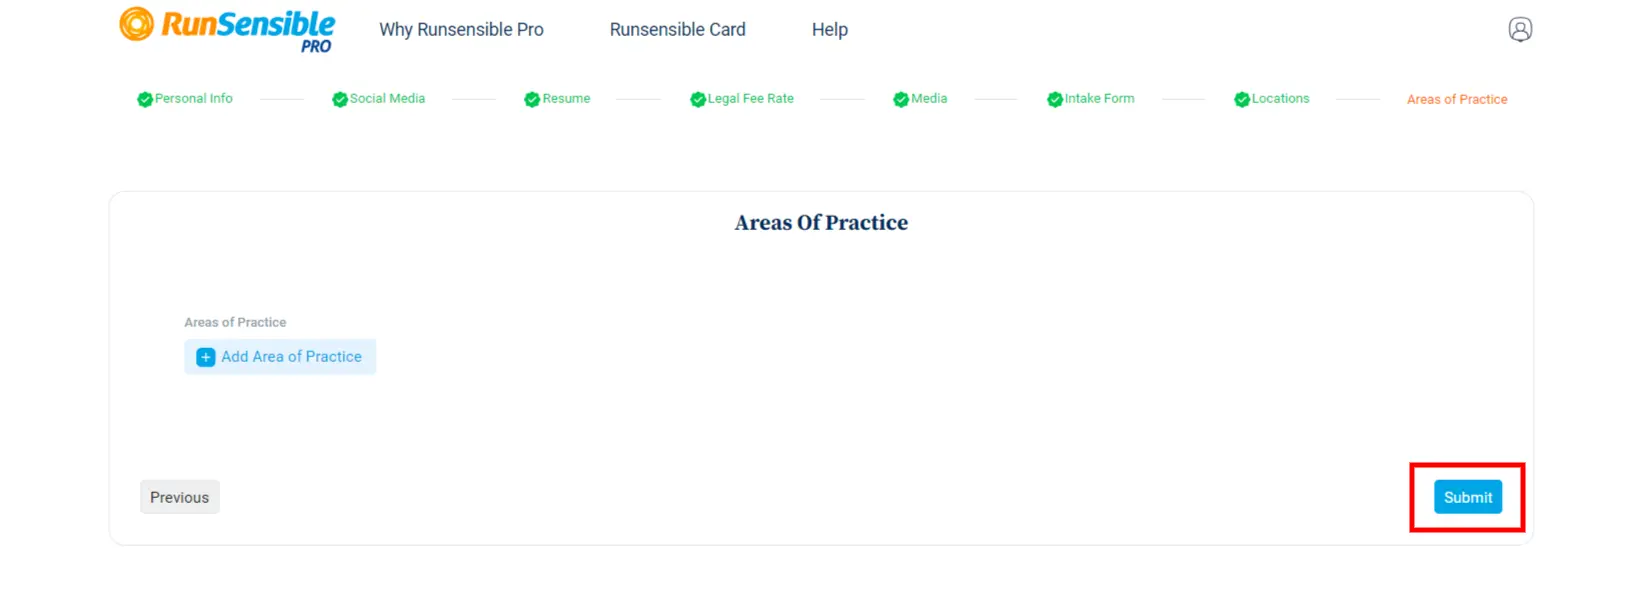
Once you’ve completed all the necessary steps, click on the Submit button to make your profile available to potential clients. This action ensures that your profile is visible and accessible to anyone seeking legal assistance.
Once you click submit, you will get an overview of the profile you just created.
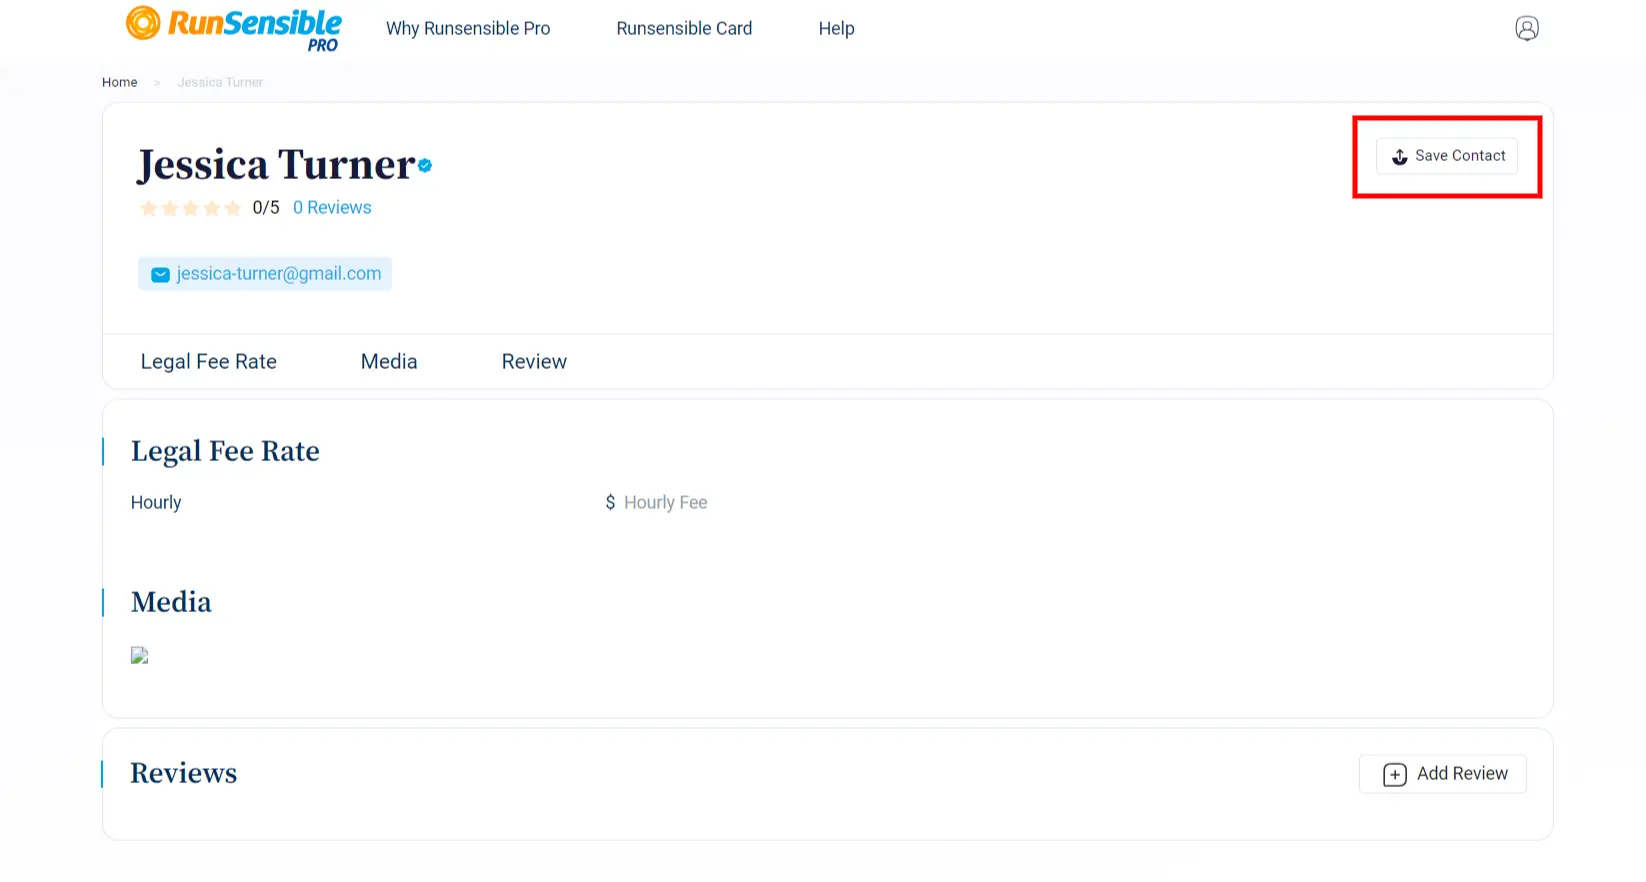
Clicking the Profile button, allows you to view, edit, and sign out of your profile if needed. You can also access your back office using this button.
Once you are done completing your profile, you can export your profile data by clicking Export VCF. This action downloads and exports your profile so that you can utilize it in other platforms.