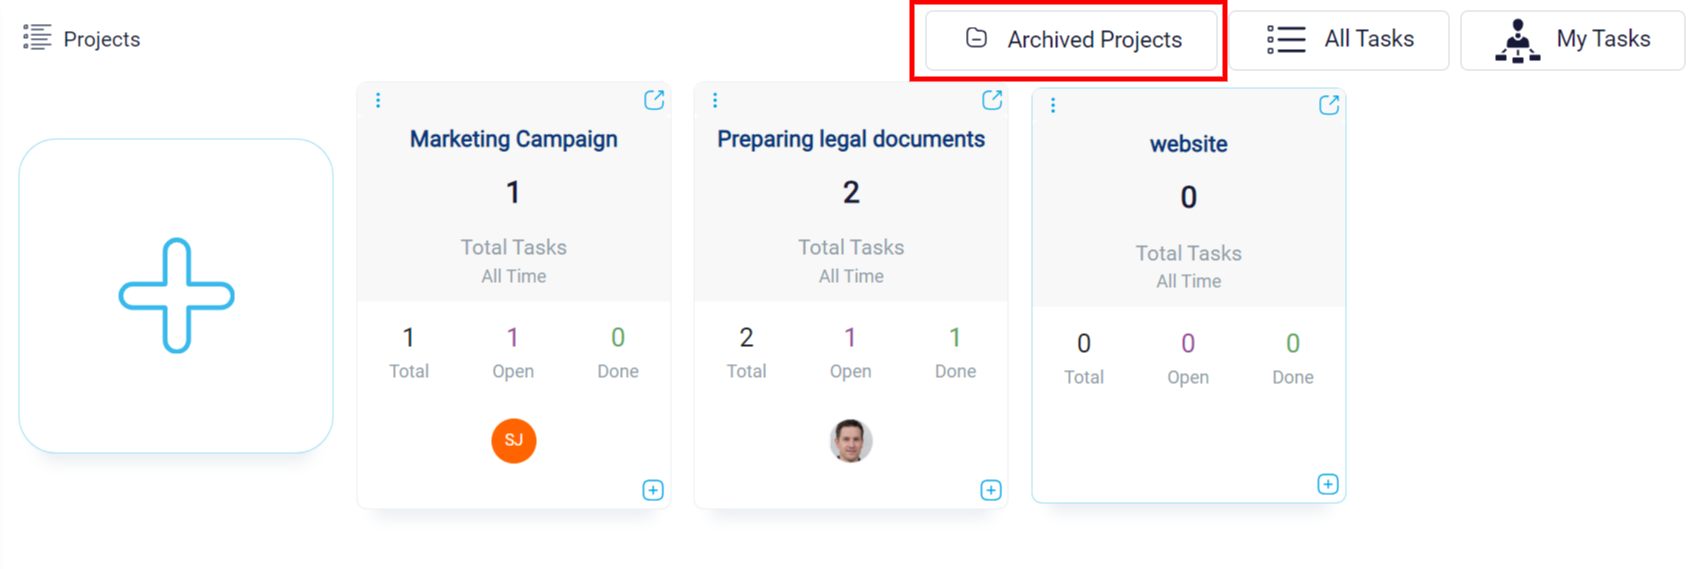
Projects Overview
With RunSensible, you can create projects and include their associated tasks. Afterward, assign various tasks to different people in your firm and monitor them through the appropriate pipeline. This way, you can easily see the stages each task is in.
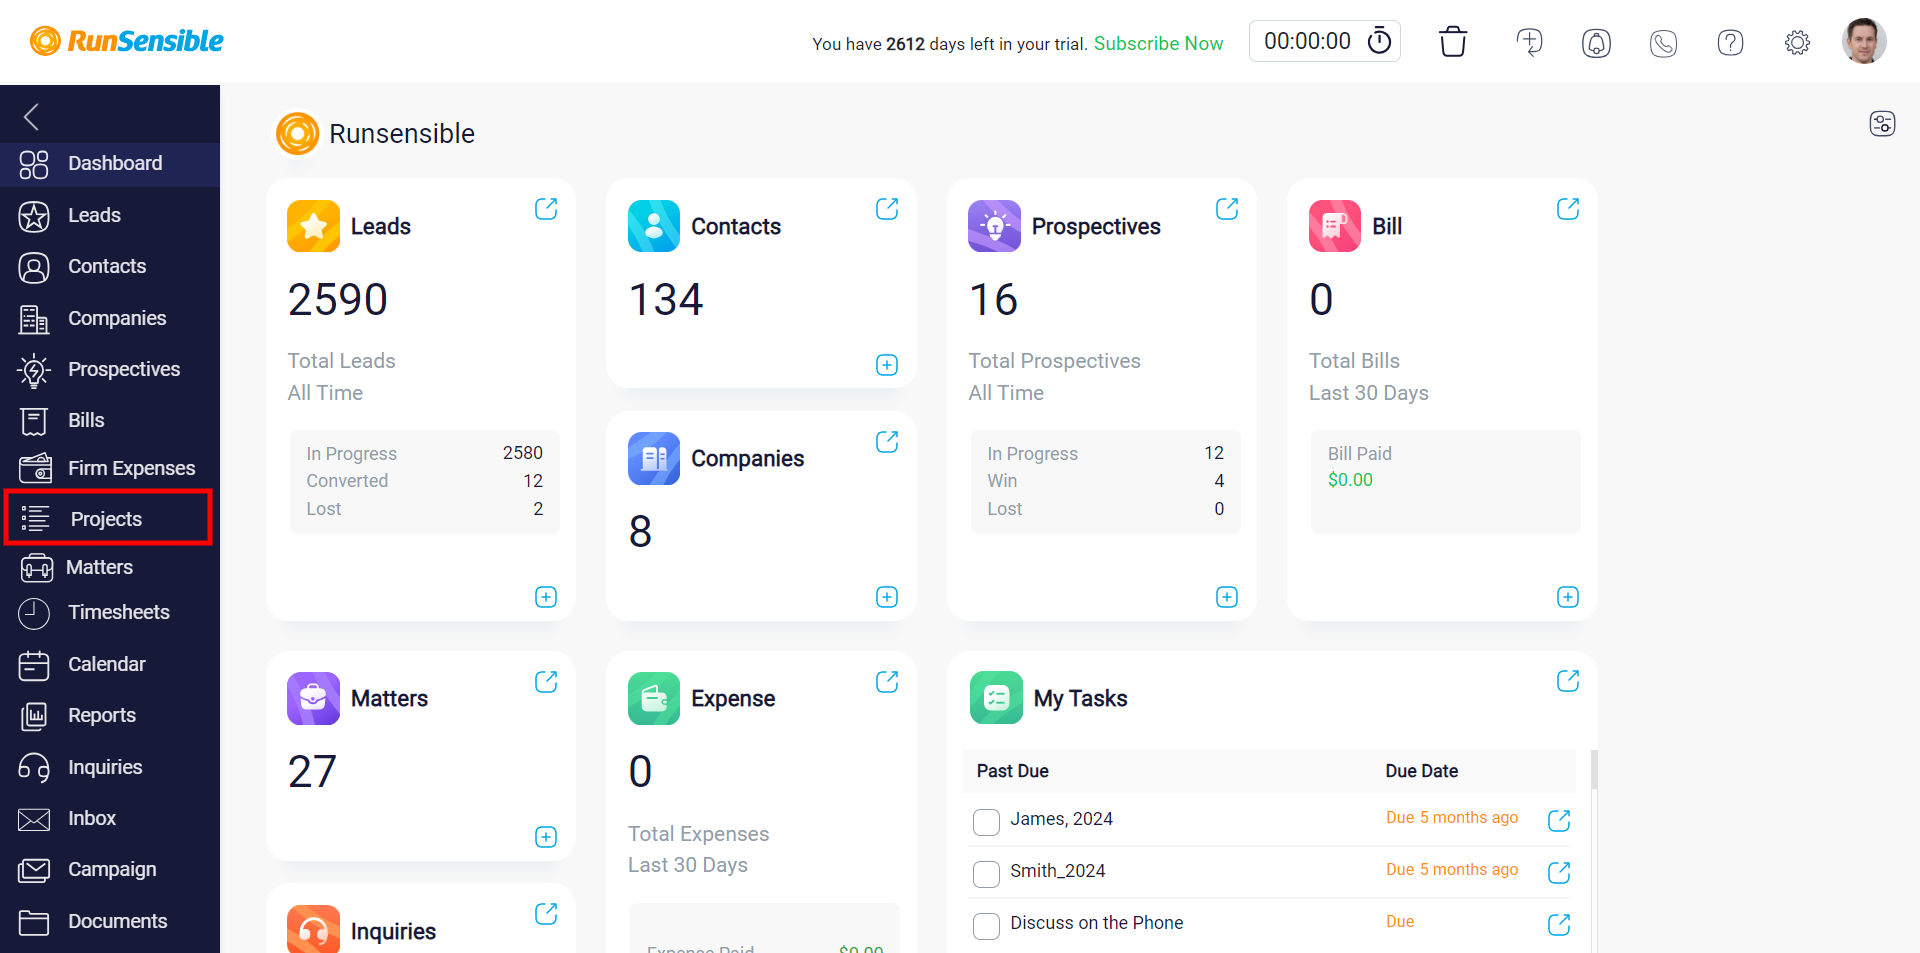
To start a project, go to the left sidebar and click on Projects.
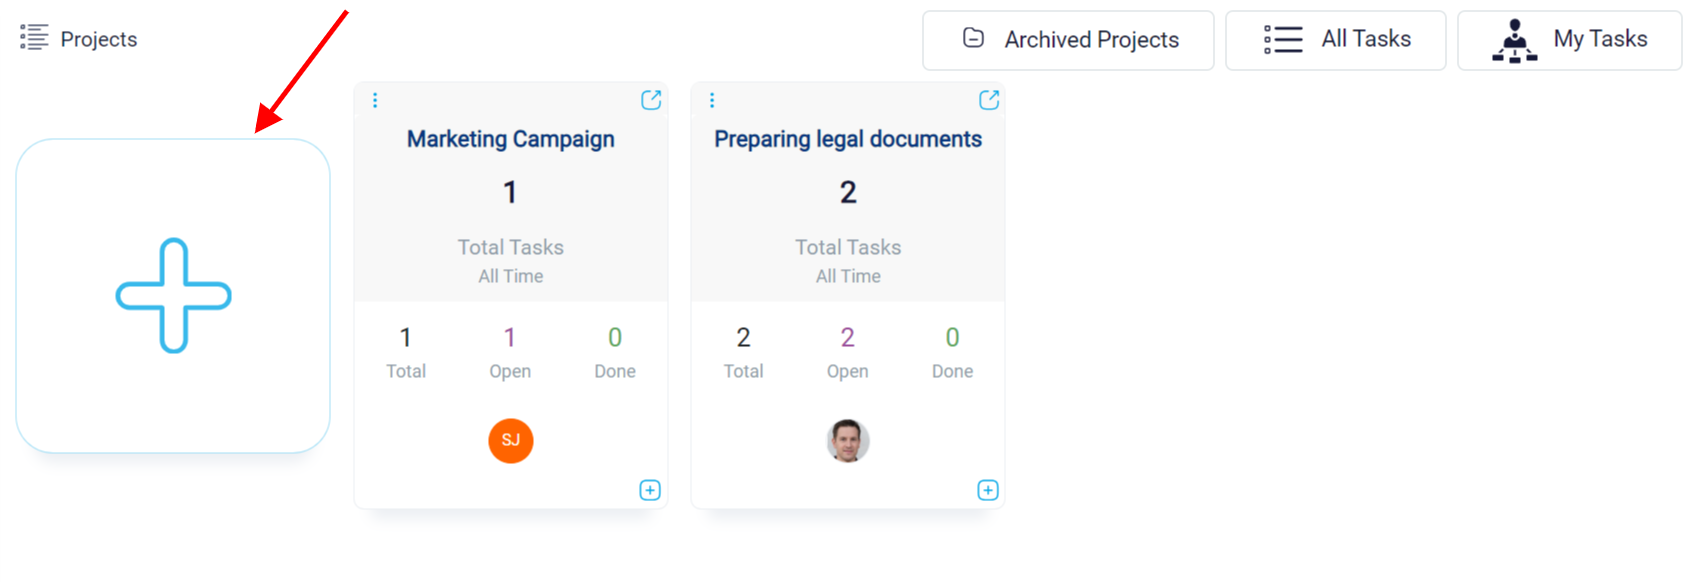
Then, find the big Plus button on the left, click it.
and type your project name in the Project Name box to begin creating the project.
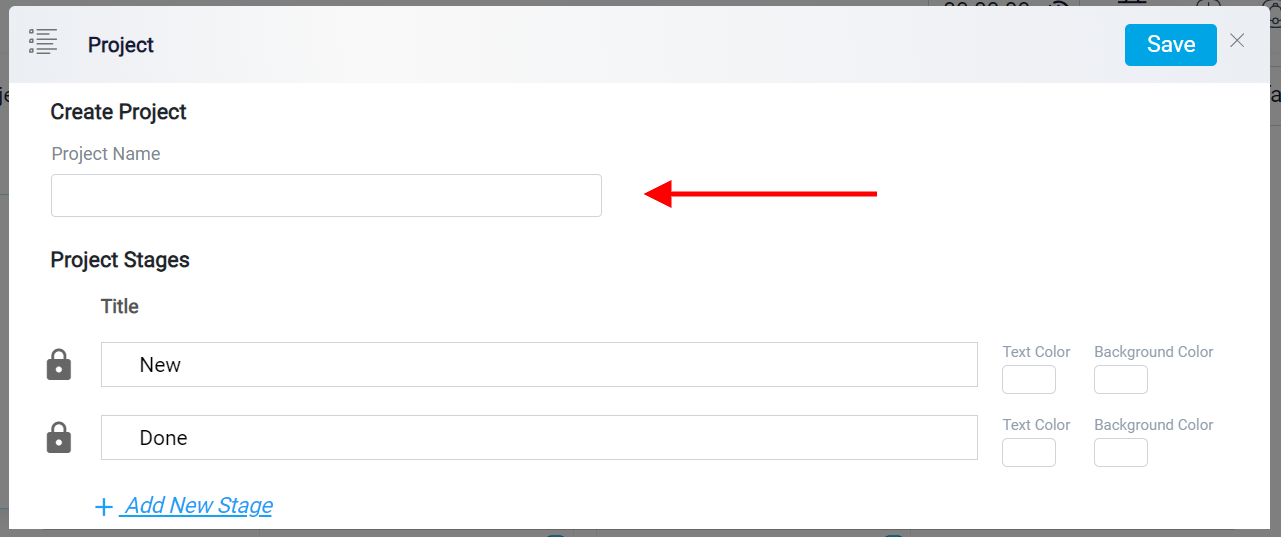
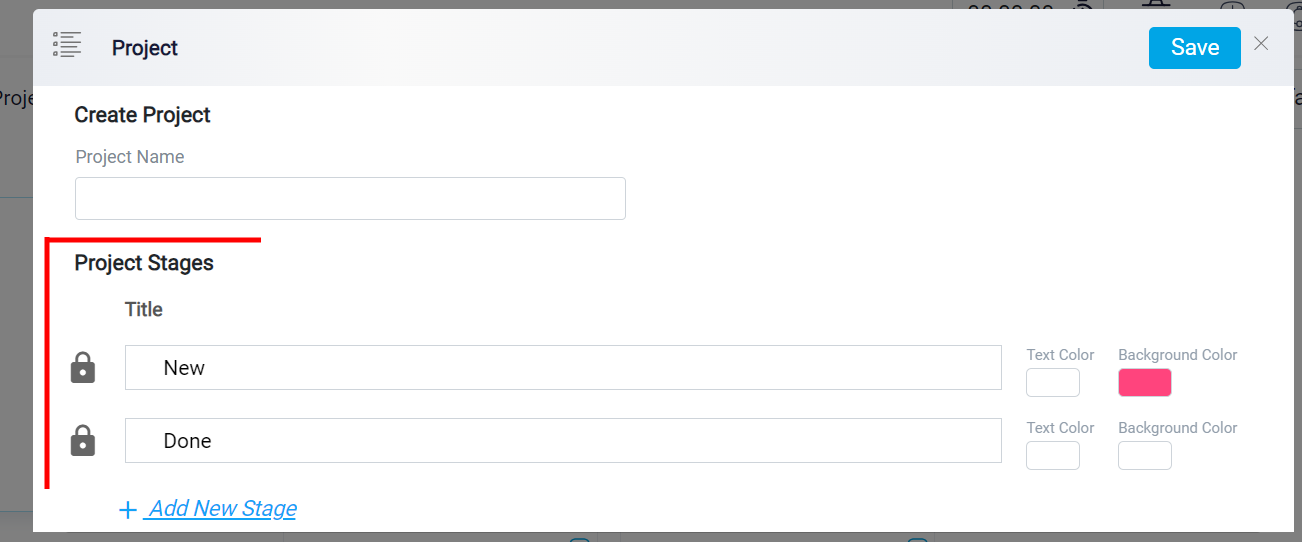
At the bottom, you’ll find the Project Stages. Utilize this feature to outline the different phases of your project by creating a pipeline. By default, two stages, namely New and Done, are provided for each project. While it’s mandatory to have these two stages, you have the flexibility to rename them according to your preferences. click on the stage Name itself to make any desired changes.
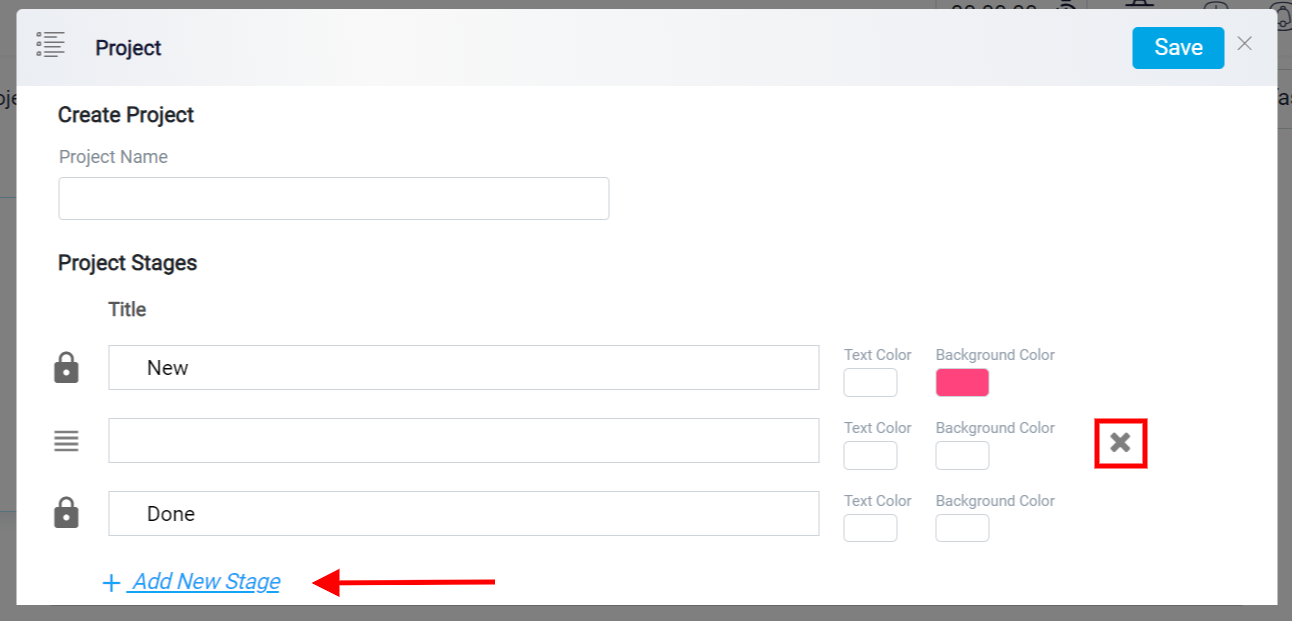
To add more stages between the default stages, click on the blue Add New Stages link. After doing this, a blank stage, initially without a name, will appear between the mandatory stages. Click on the blank area to give the stage a name. If you ever need to remove a stage, click on the X button on the right side of the added stage.
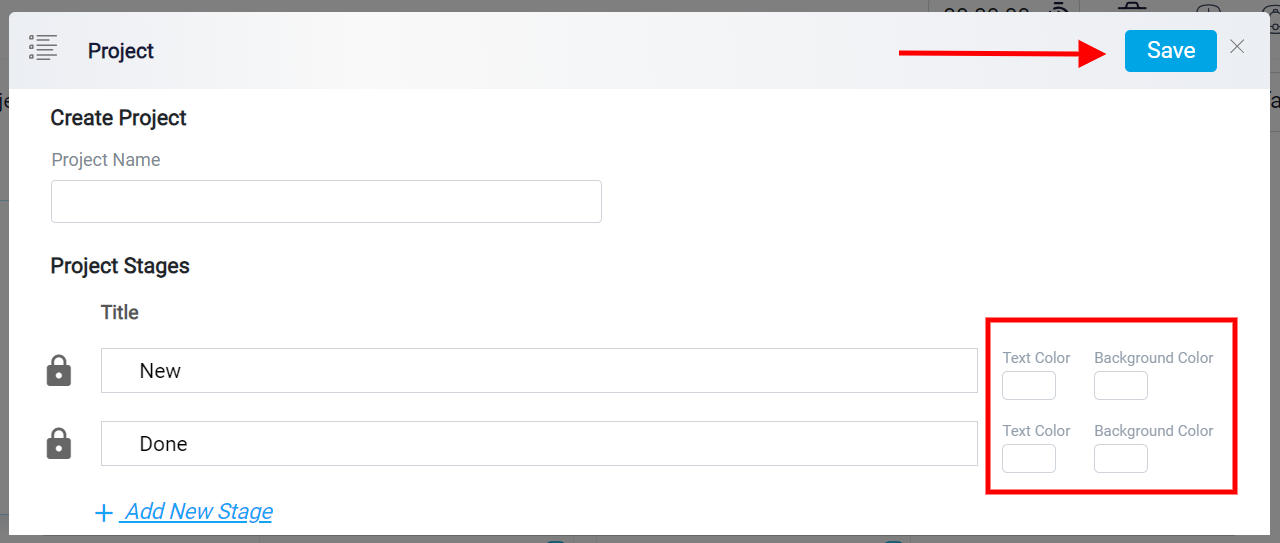
Customize each stage by selecting the Text Color for the stage name and choosing the background color using the Background Color box. These colors will be seen in the Board View, displaying both the project’s name and the background color of the stage.
Once you’ve made these adjustments, click on the Save button located on the top right side of the screen.
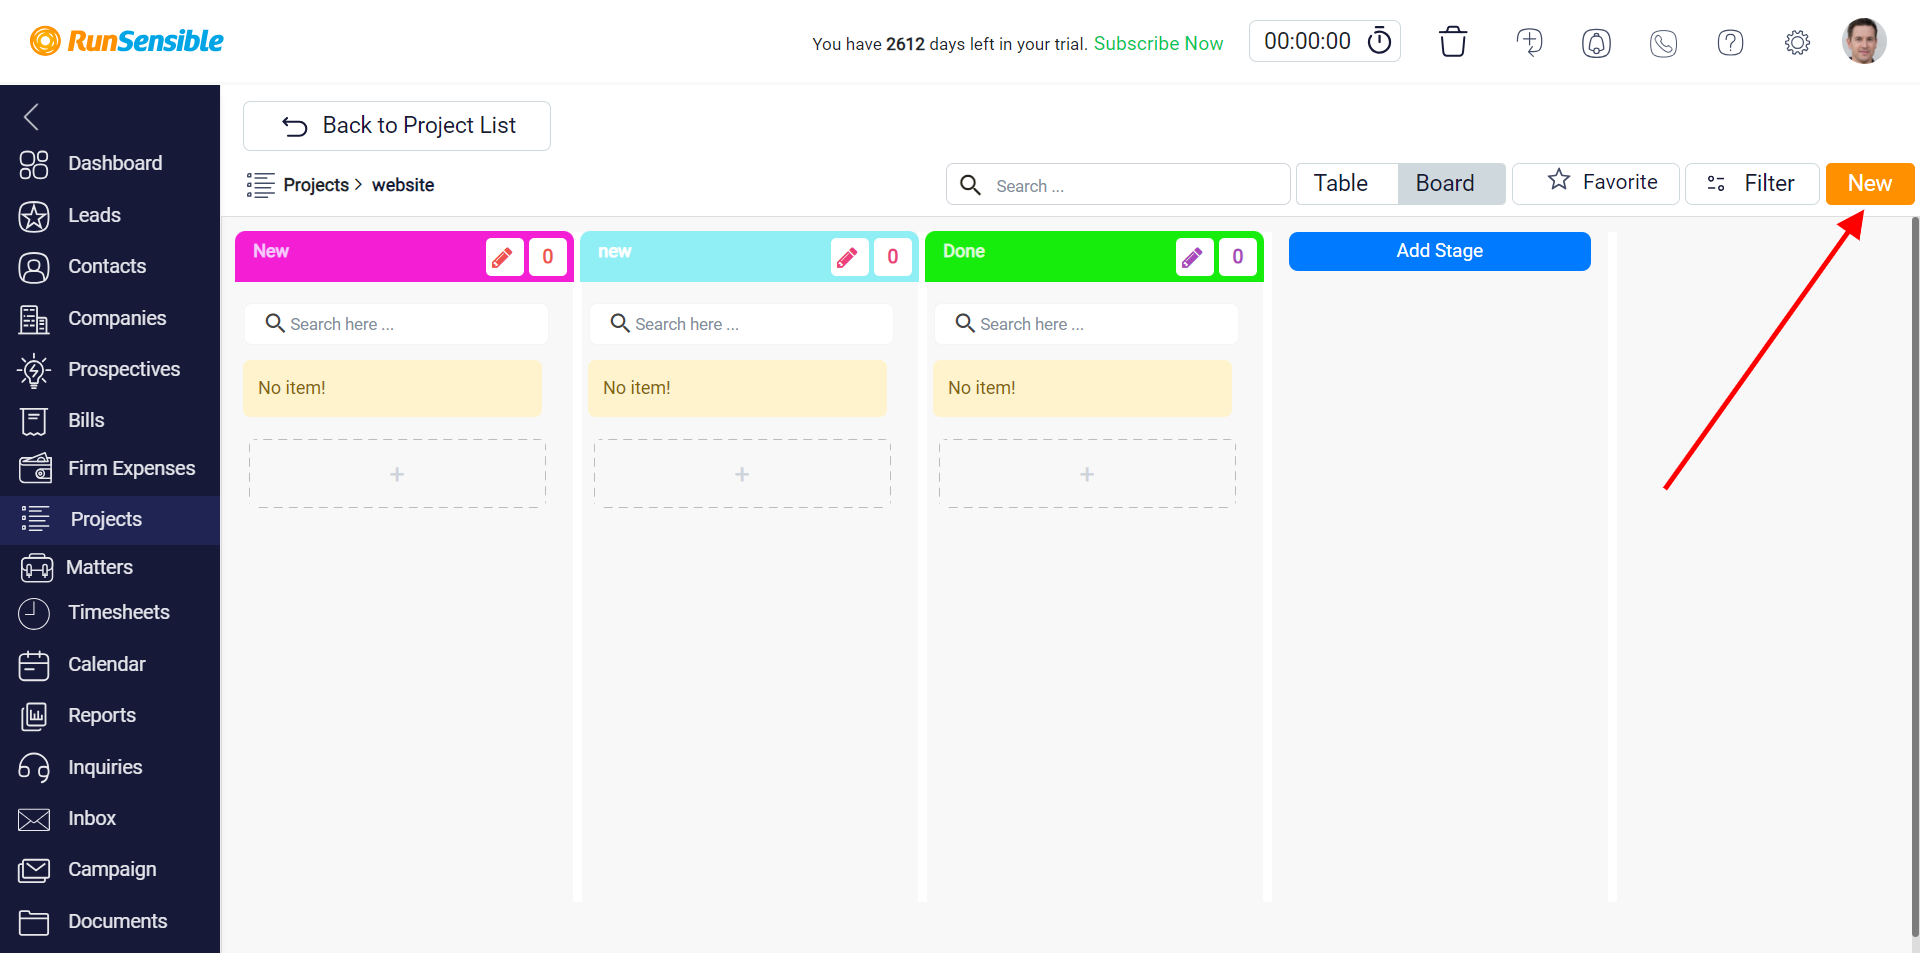
After making your project, click on it.
Addin a New Task
To add tasks, click on the New button on the top right.
To sort your tasks in a project, select the Filter button on the top right. This opens a filter tasks panel where you can choose from eight criteria to organize your tasks.
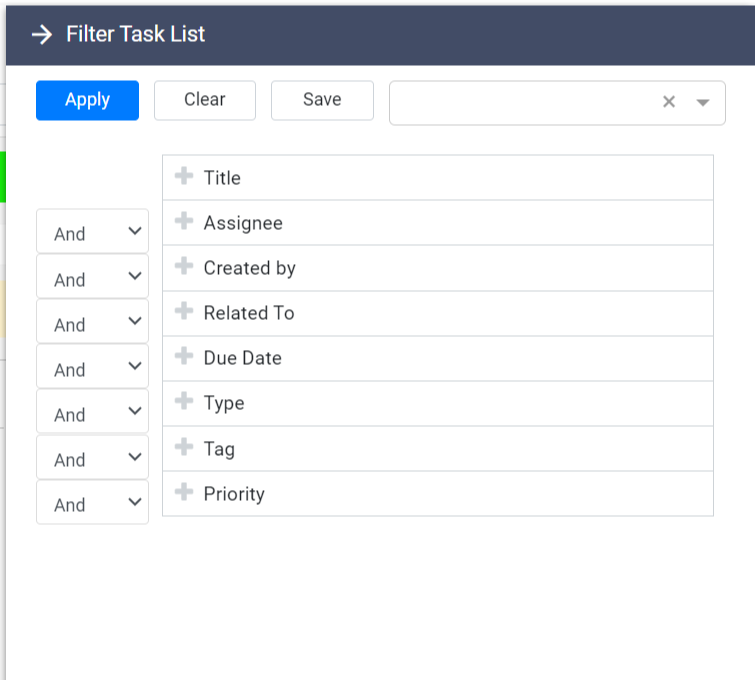
Pick the criteria you’d like to use for filtering and click the Plus button on its left side. In the search box, choose your filter. For example, if you want to sort tasks by the person who created them, click the Plus button next to ‘Created by,’ and enter the name of the person you want to see tasks from.
In the box above the search box, you can control how closely the filter matches your criteria to the actual tasks it displays. For instance, if you’re filtering by Title, you can decide if you want tasks with titles exactly matching what you entered, or if you’re okay with tasks that are just similar.
Click on the more link in blue on the bottom to add multiple filters based on the same criteria.
You can also apply filters based on multiple criteria to further refine your task search. To do this, you need to set the desired filters and determine whether the filtered results should meet all the specified criteria or any one of them.
On the left side of each criterion, you will find a drop-down menu. By default, these drop-down menus are set to And, which means that the filtered results should satisfy all the criteria you have set. In other words, the tasks displayed will have to meet every single filter you applied.

However, if you want the filtered results to include tasks that meet at least one of the specified criteria, you can click on the drop-down menu and change it to Or. This way, the filter results will show tasks that either have all the specified criteria (if using And) or tasks that have at least one of the specified criteria (if using Or).
Once you’ve done creating your filters, click on the Apply button on the top left side to apply it.
To remove filters and see all tasks without any restrictions, click the Clear button at the top of the filter panel.

To keep your filters for future use, click on the Save button at the top of the filter panel. This opens the ‘Save current filter’ panel. Enter the name you want for the filter, then click on the Save button. To use the saved filters later, you can search for them in the Search Box on the top right side of the filter panel.

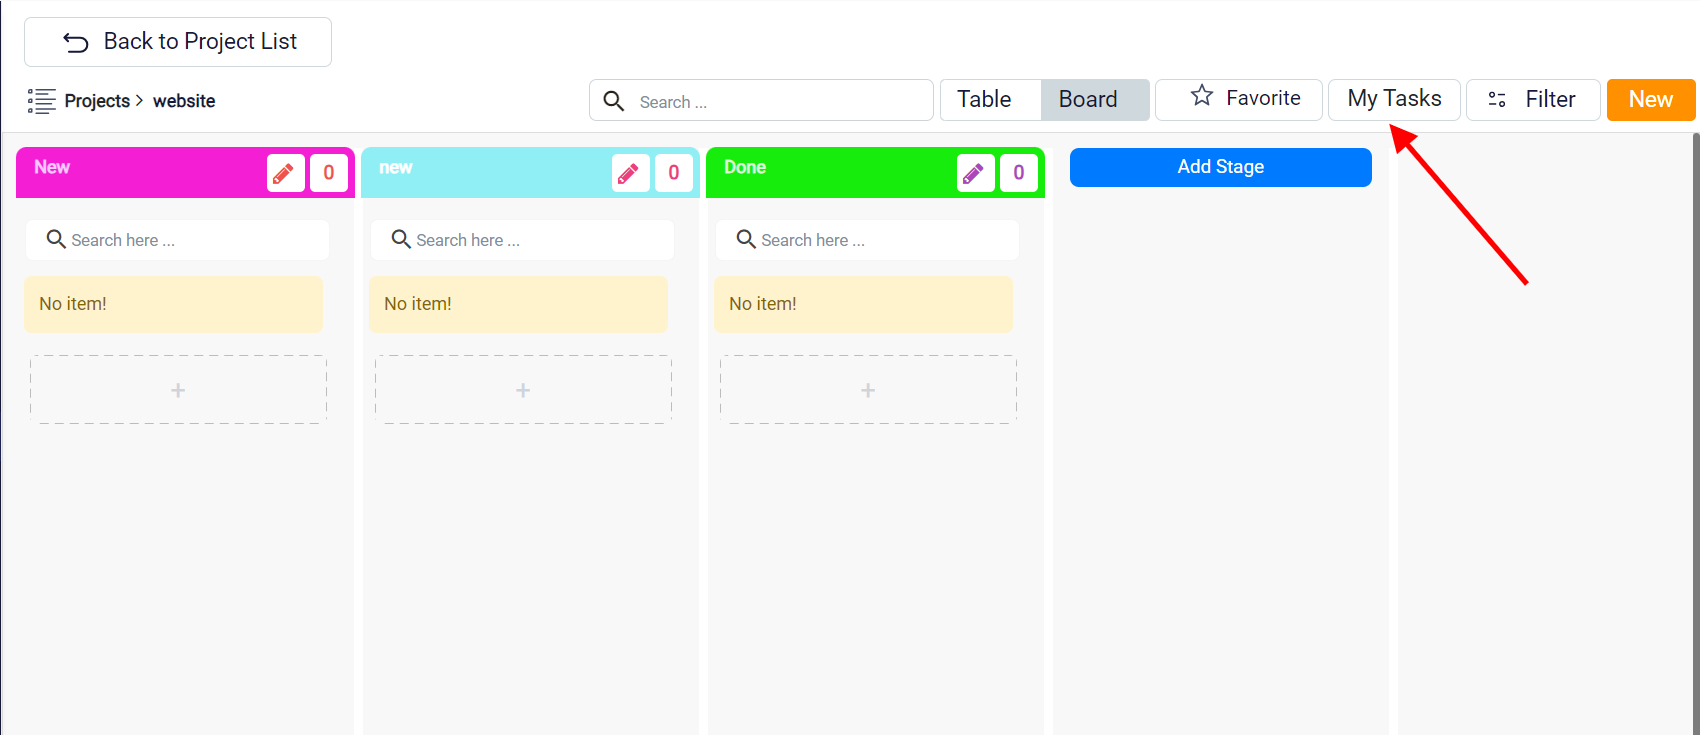
To view tasks assigned to you in the project, click on the ‘My Tasks’ button at the top.
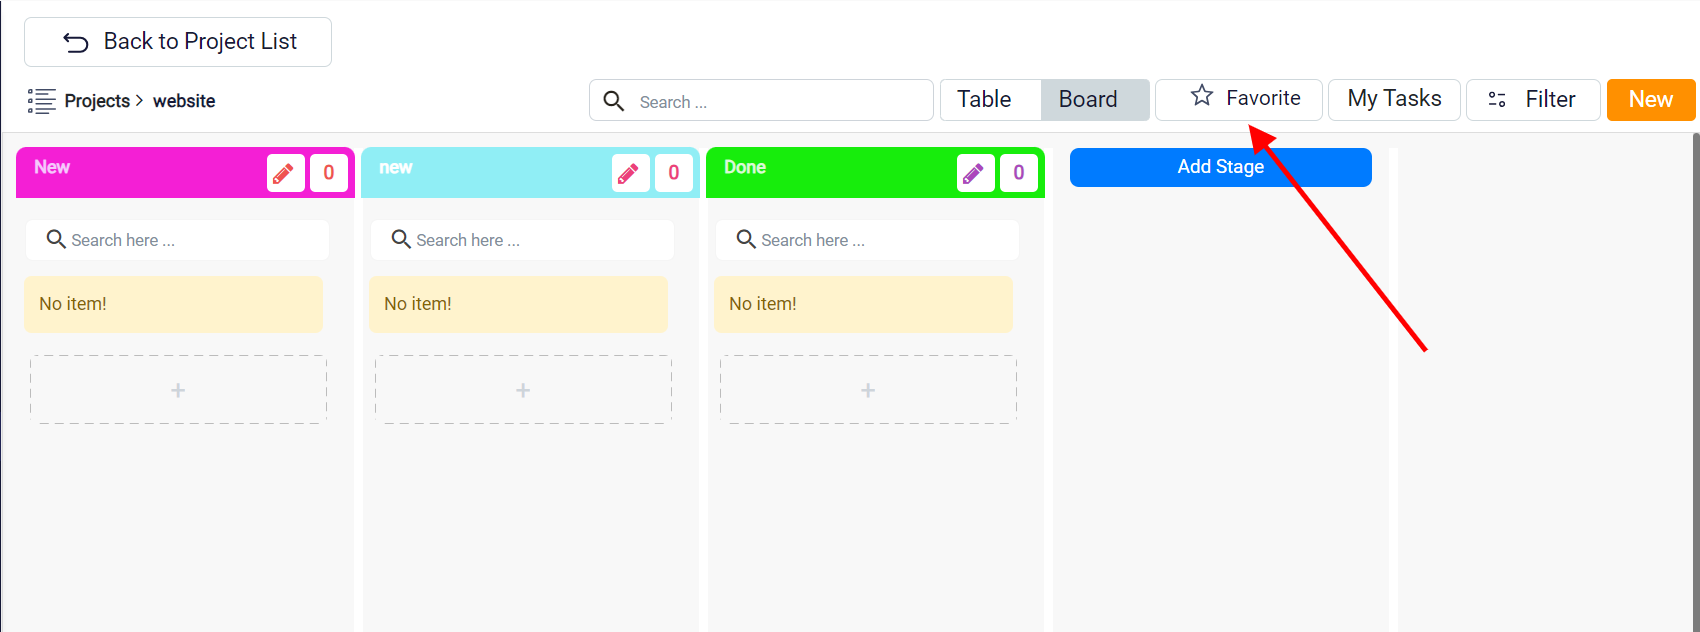
Click on the Favorite button if you want to see the tasks that you’ve marked as favorites before.
To view completed tasks in the project, click on the ‘Close’ button. Afterward, if you want to see all the open tasks again, click on the ‘Open’ button.

In a project, there are two ways to see the tasks. One is the Table view which is the default appearance. In this method, you’ll see the tasks in the list.
You can see your tasks with a board view too. The board view is like Japan’s Kanban system, a visual way to manage projects efficiently. Each task card is placed under a project state, allowing you to easily track the stage of every task. You can use simple drag and drop to move tasks between stages, making it user-friendly.
To switch to the Board view, click on the Board button to change the display to Kanban.
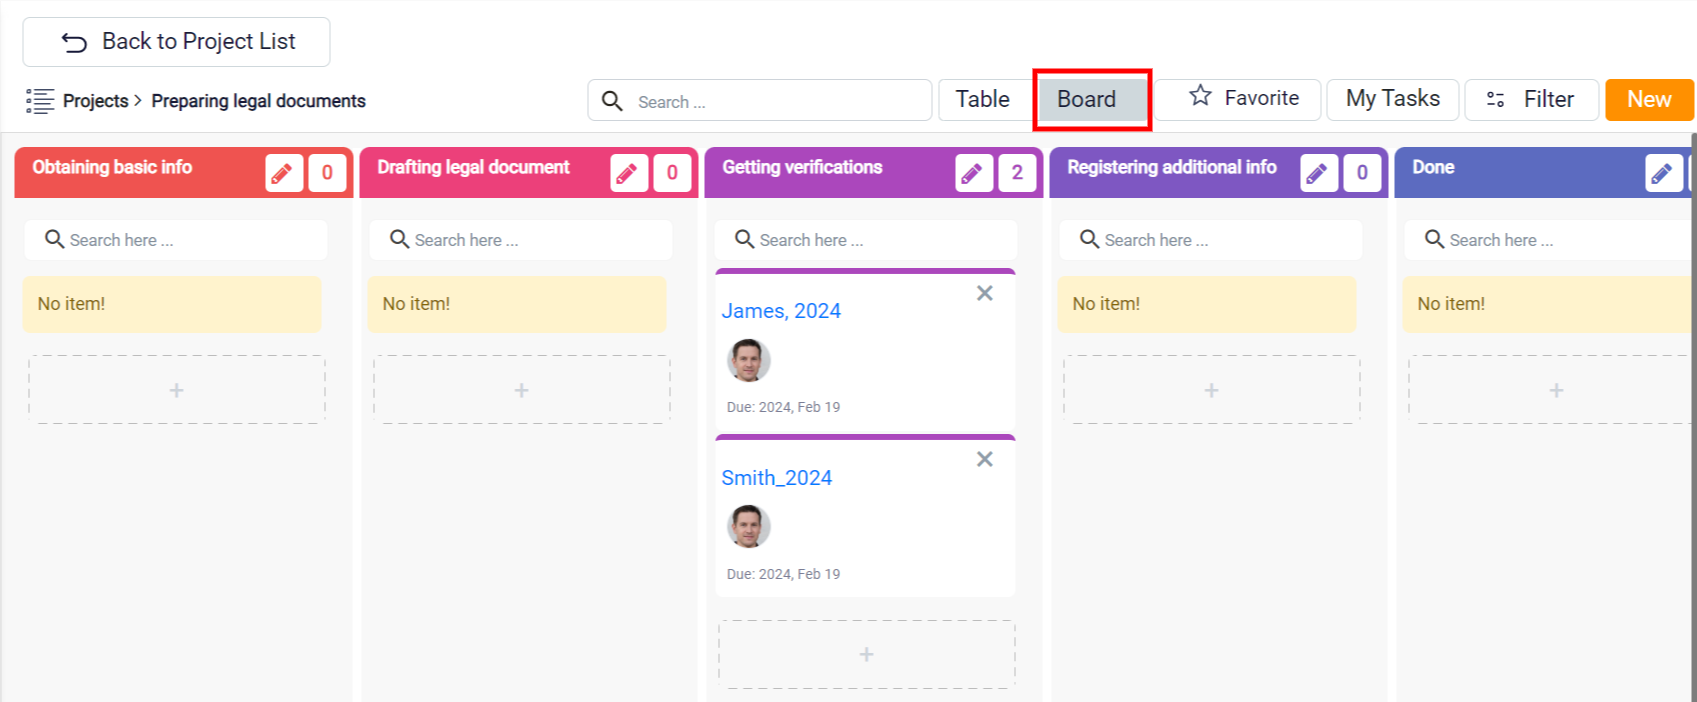
The table view and tasks view present distinct information. In the Table view, you get specifics about the tasks, including the Assignee, Activity Type, Priority, and more. On the other hand, the Board view primarily emphasizes the stage each task is in, providing a visual representation of task progression within the workflow.
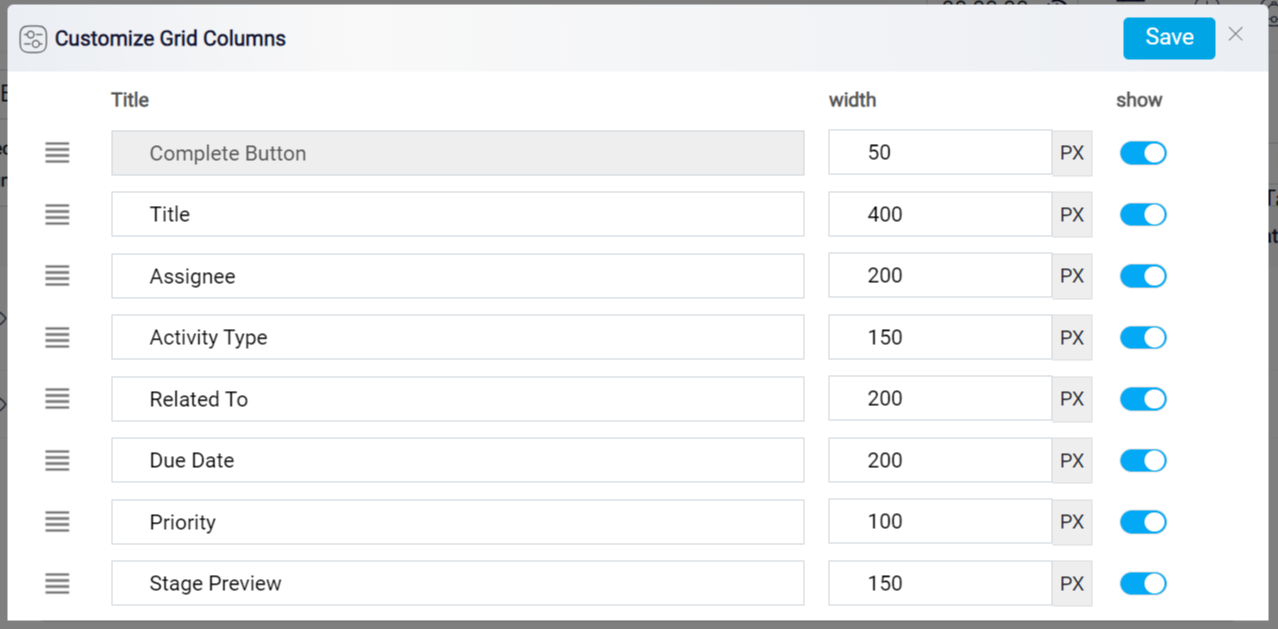
To customize the columns in the Table view, click on the button located on the left side of the table view ribbon.

This opens the Customize Grid Column panel, allowing you to modify the information displayed in the table.

To change the column order, hold down the Replacement button and rearrange as needed. Click on a column’s Name to edit it.
Change the diameter of columns by adjusting the data in the ‘Width’ column.
If you wish to hide a specific column in the table view, use the ‘Show column’, and turn it on or off using the corresponding buttons.
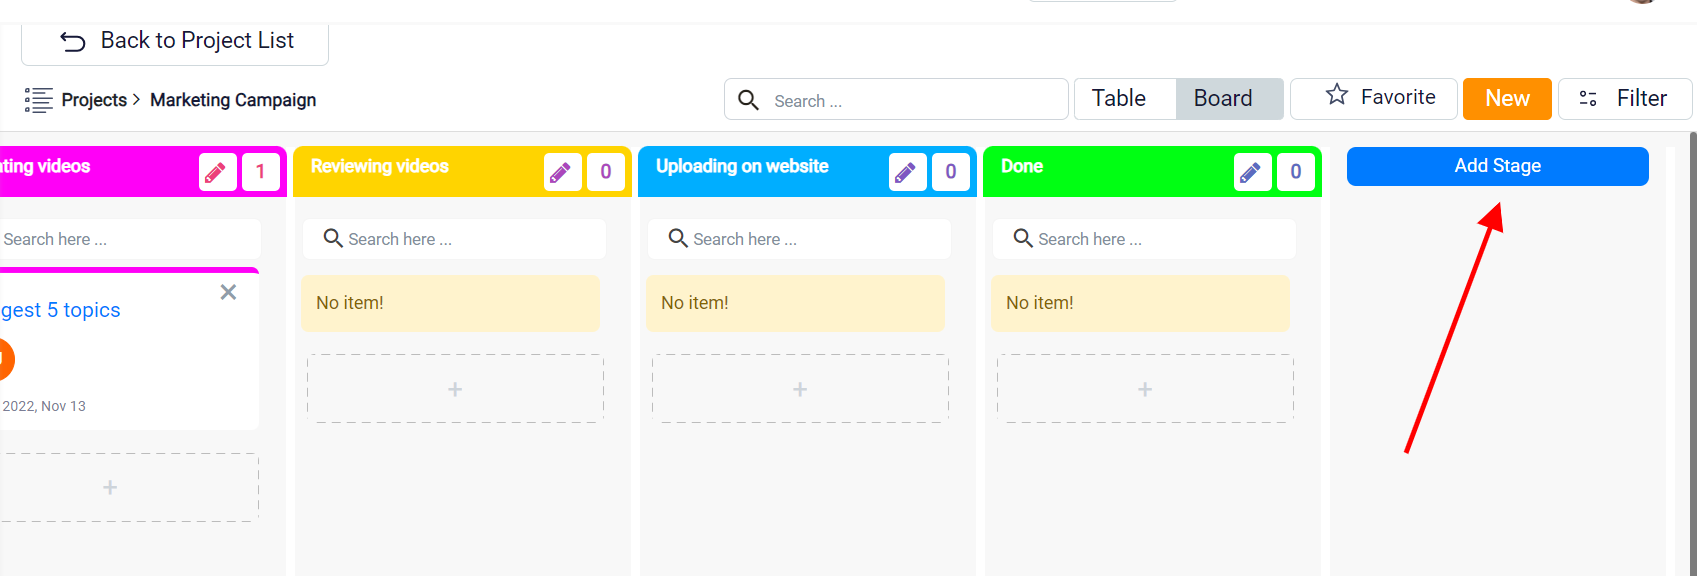
In the board view, click the ‘Add Stage’ button at the end of the stages to create new stages.
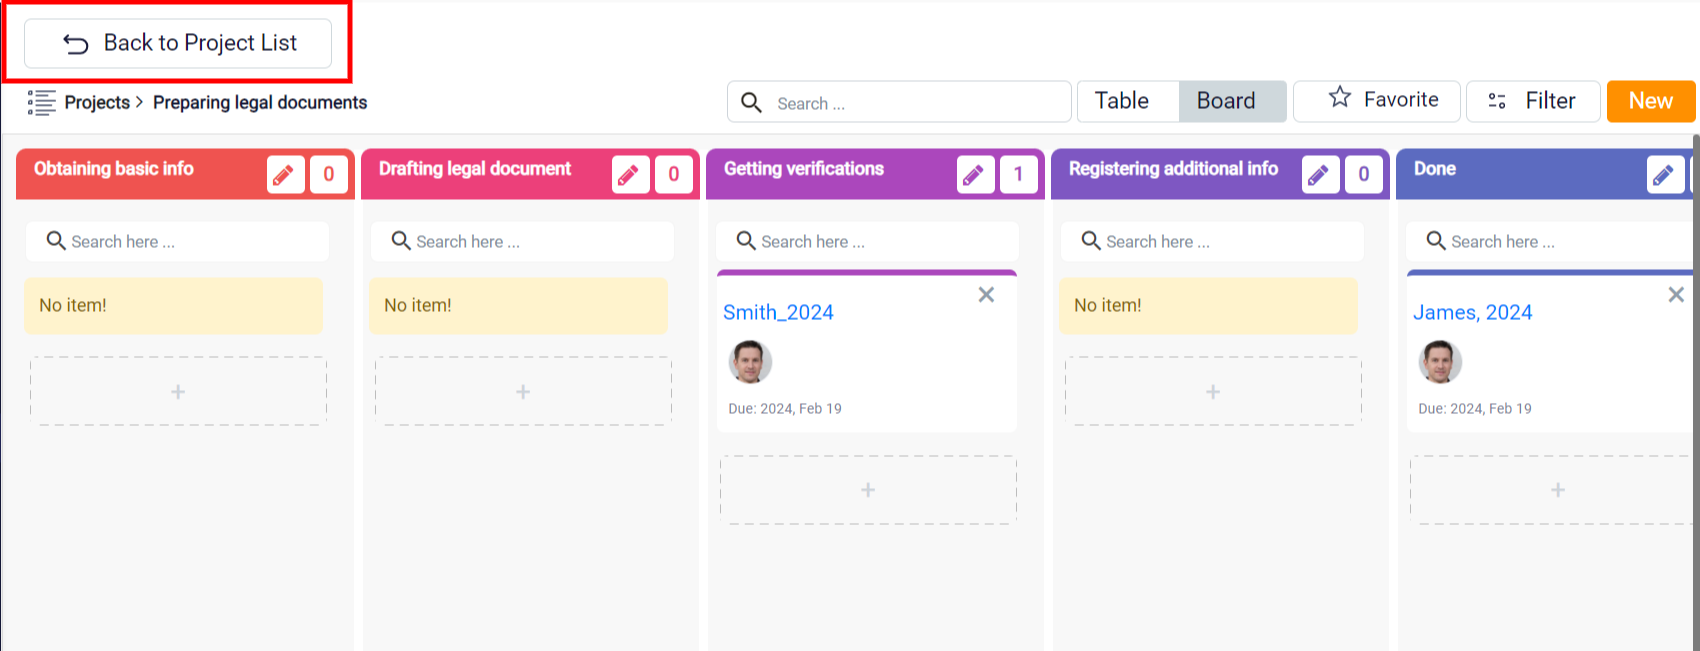
To go back to the projects list and see all your projects again, click the ‘Back to Project List’ button at the top left.
To view tasks assigned to you across all projects, click on the ‘My Tasks’ button at the top right.

To see all tasks from every project, click on ‘All Tasks’.

To view all completed tasks from all projects, click on ‘Archived Tasks’.
