Setting Up Your Account
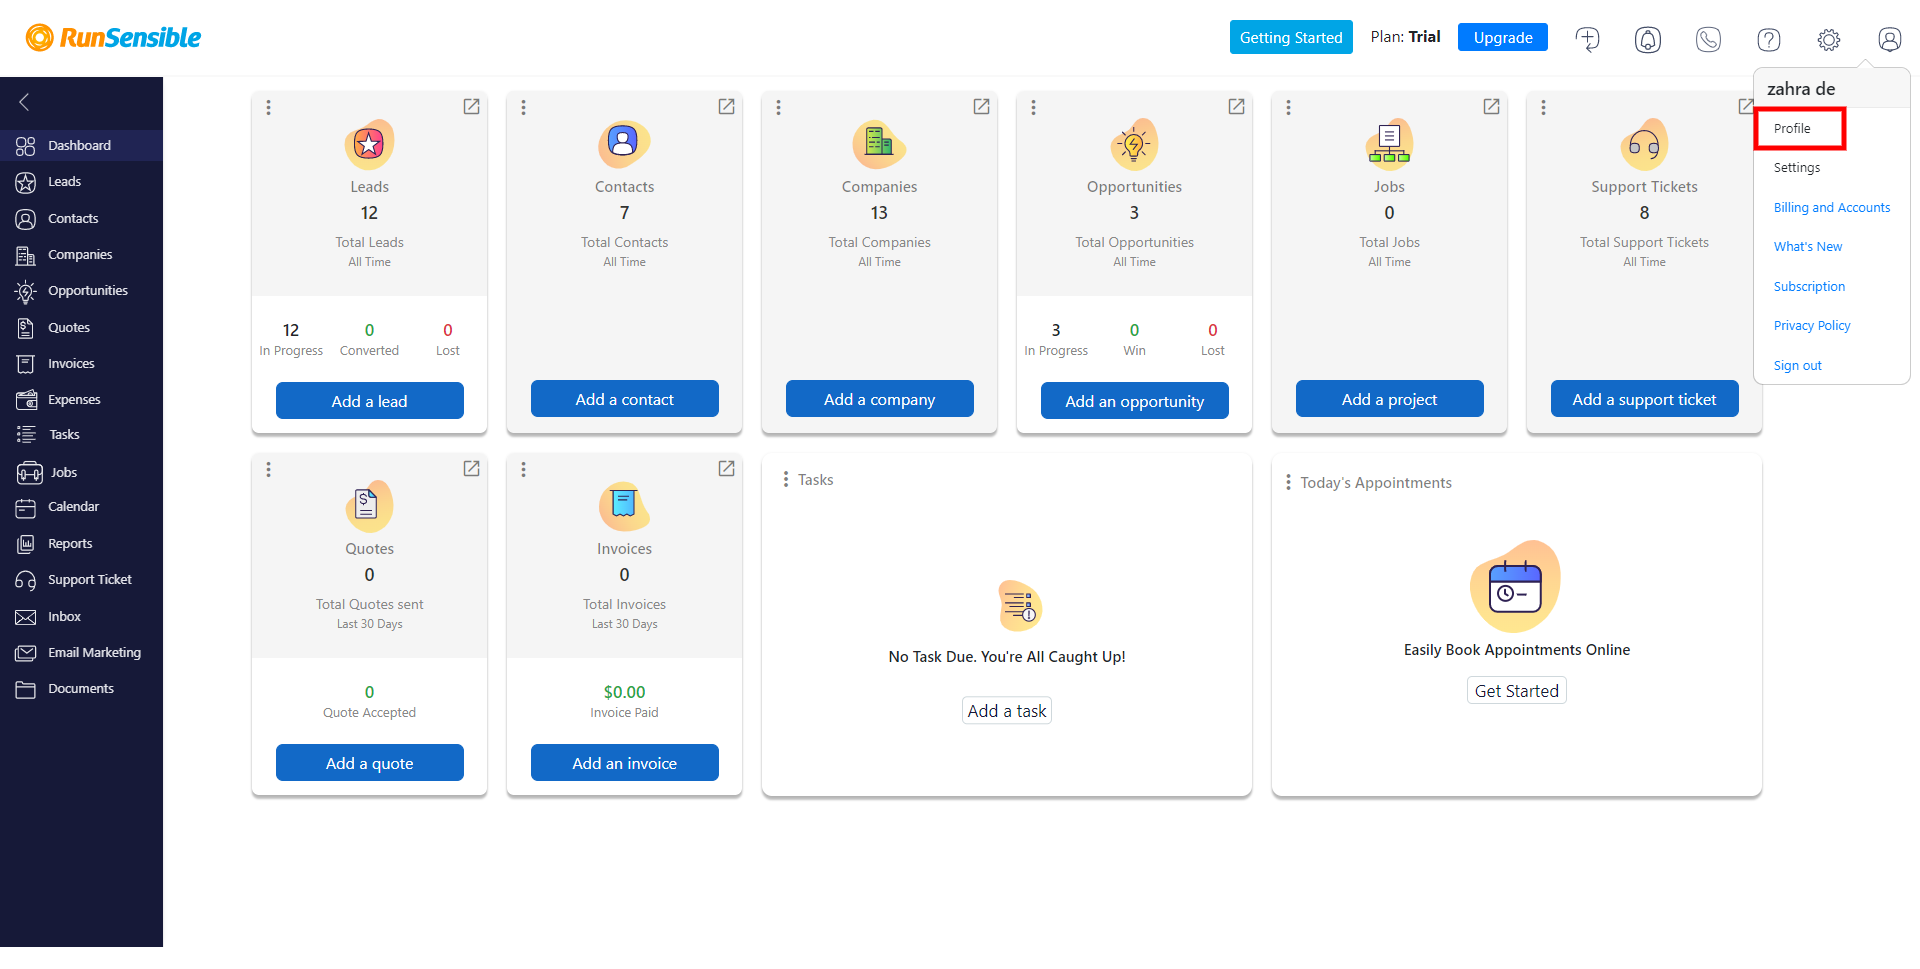
After signing in, you’ll be welcomed to your dashboard. Now, the first thing you need to do is to update your profile and put in your complete information. Let’s head over to the toolbar at the top of your screen. On the right-hand side, you see Shortcut, Notifications, Help, Settings, and profile. Click on Profile, and on the drop-down menu, click on Profile again.
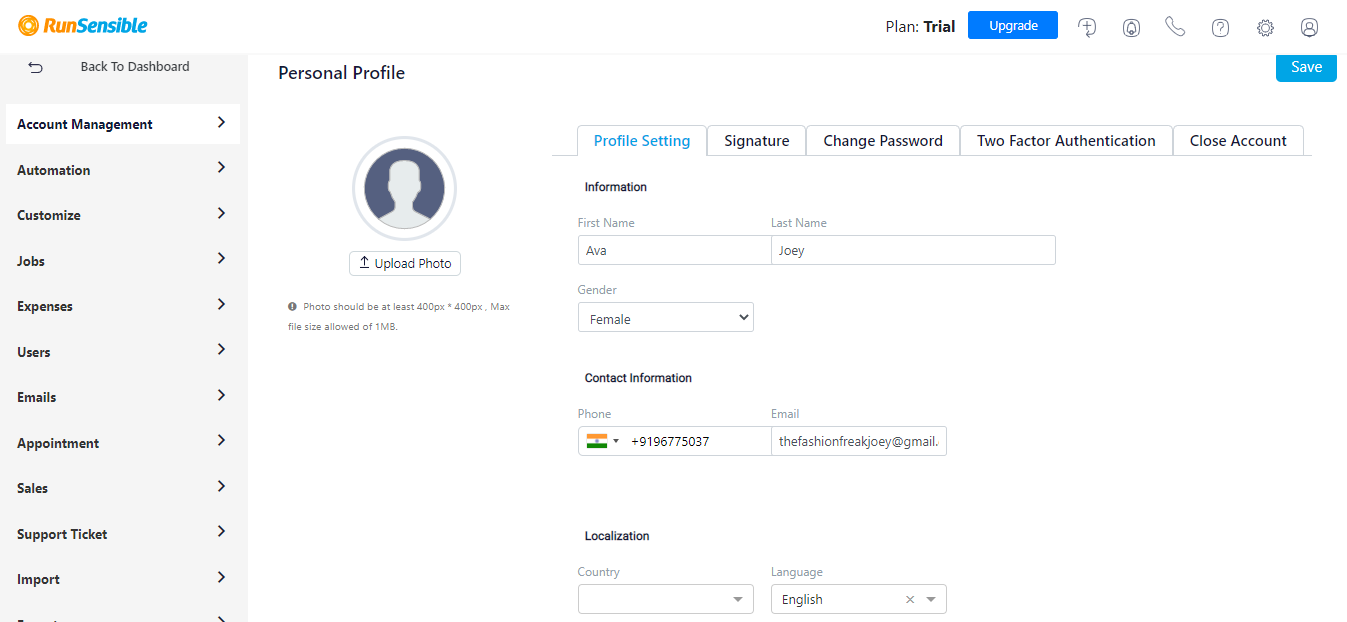
This new window is your profile. You can add in as much information as you want about yourself and upload your photo.
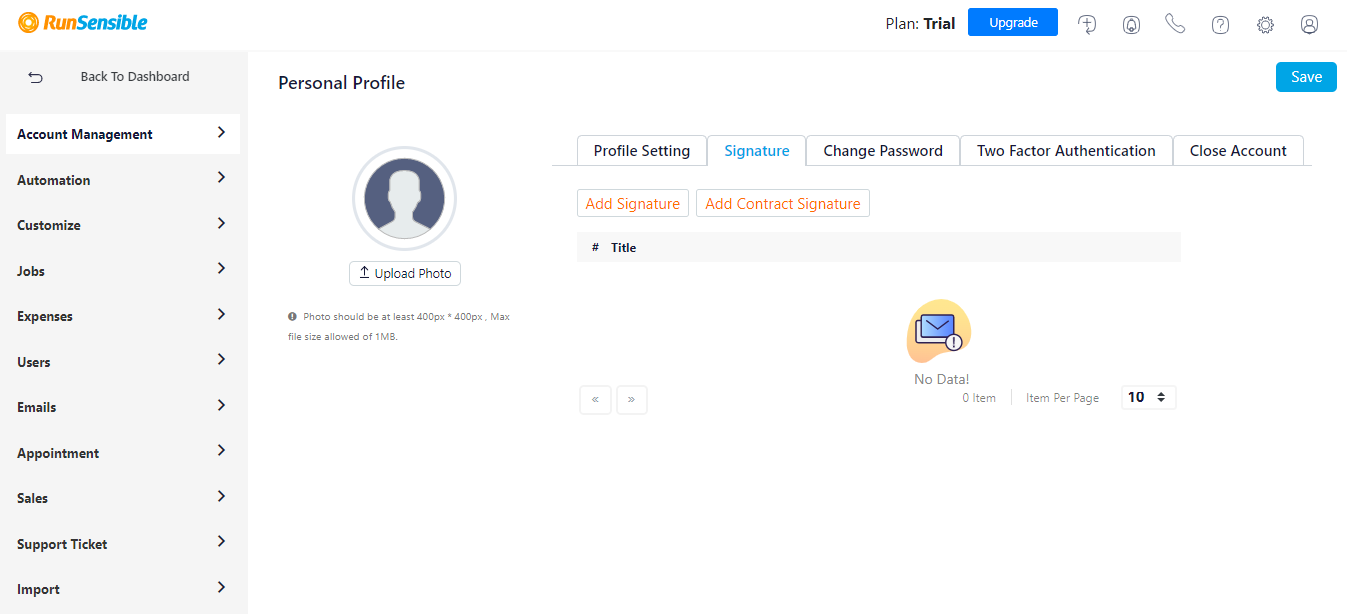
If you click on the Signature tab, you will see the options to add an email signature and a contract signature. Email signatures are short pieces of text that will be automatically added to the emails you send. They can include your contact information and social media links, for example. Your contract signature, on the other hand, is the electronic signature you can use to sign contracts and other documents. Click on each one and add your signature. You can type your name or import a picture of your signature. When you’re done, click on Save, and your signature will be added.
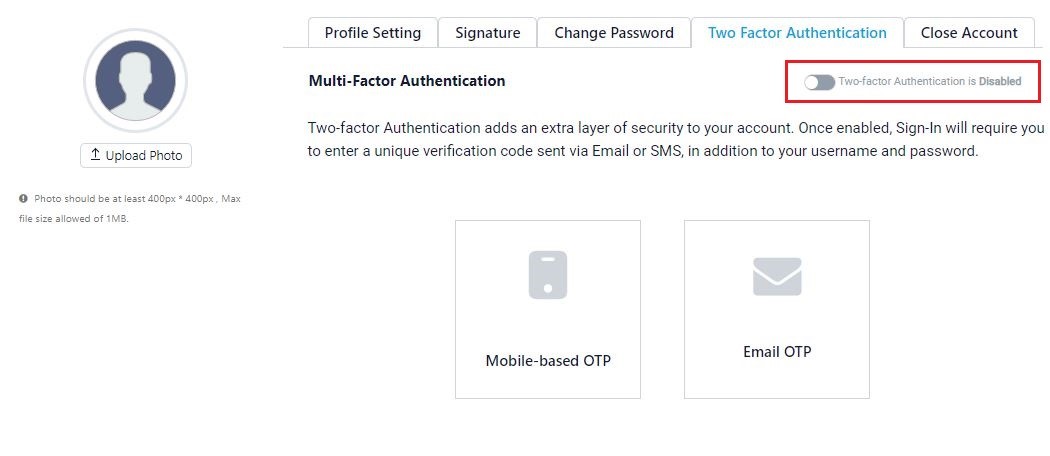
To guarantee your security, RunSensible lets you enable a Two-Factor Authentication. To activate the 2FA option for signing in, head over to the Two Factor Authentication tab.

To enable the two-factor authentication, click on the switch on the top right side of the screen.
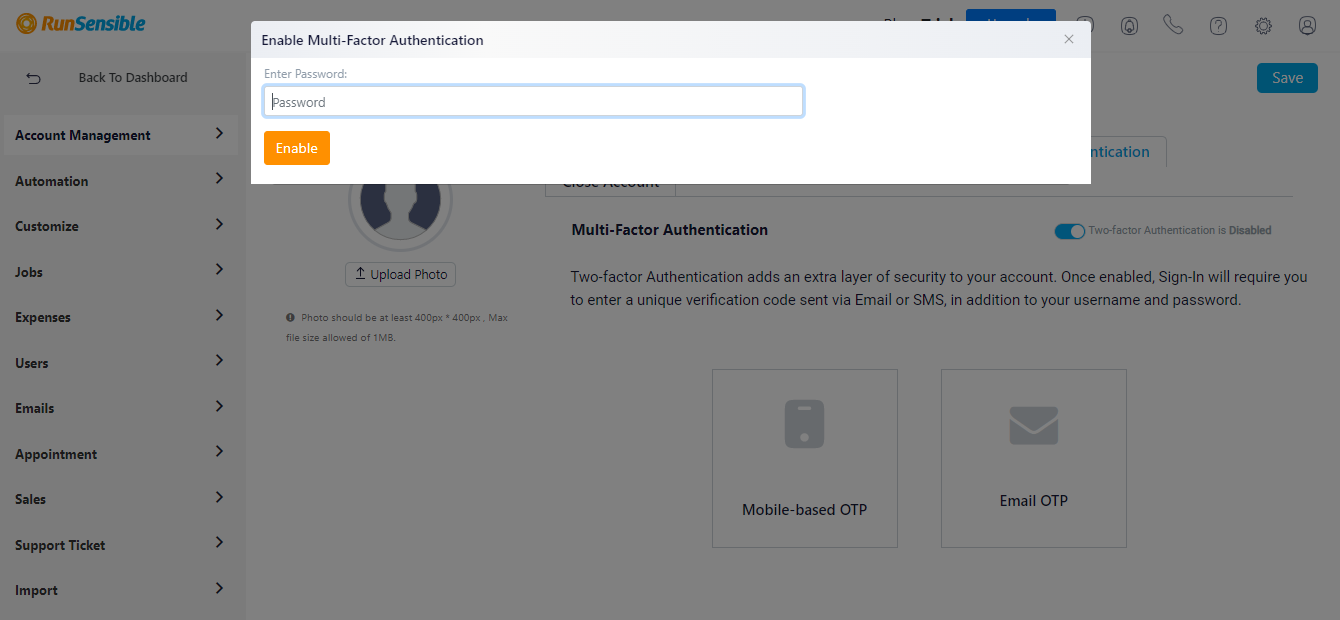
After entering your password, click on Enable.
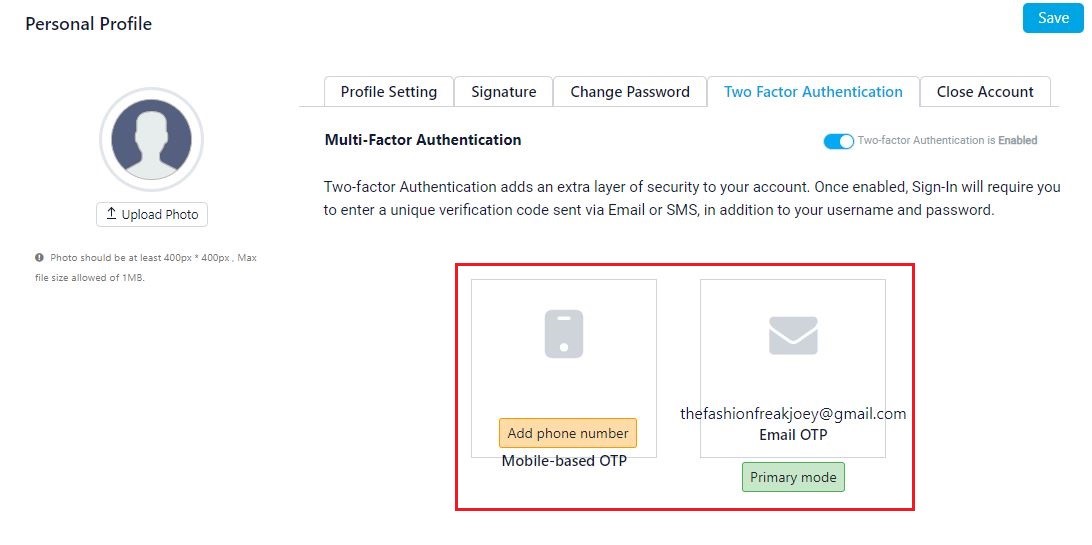
When enabled, you have the option to choose if you want your 2FA code to be sent via text message or email. Choose whatever option works best for you. Now every time you sign in, a code will be sent to either your email or mobile.
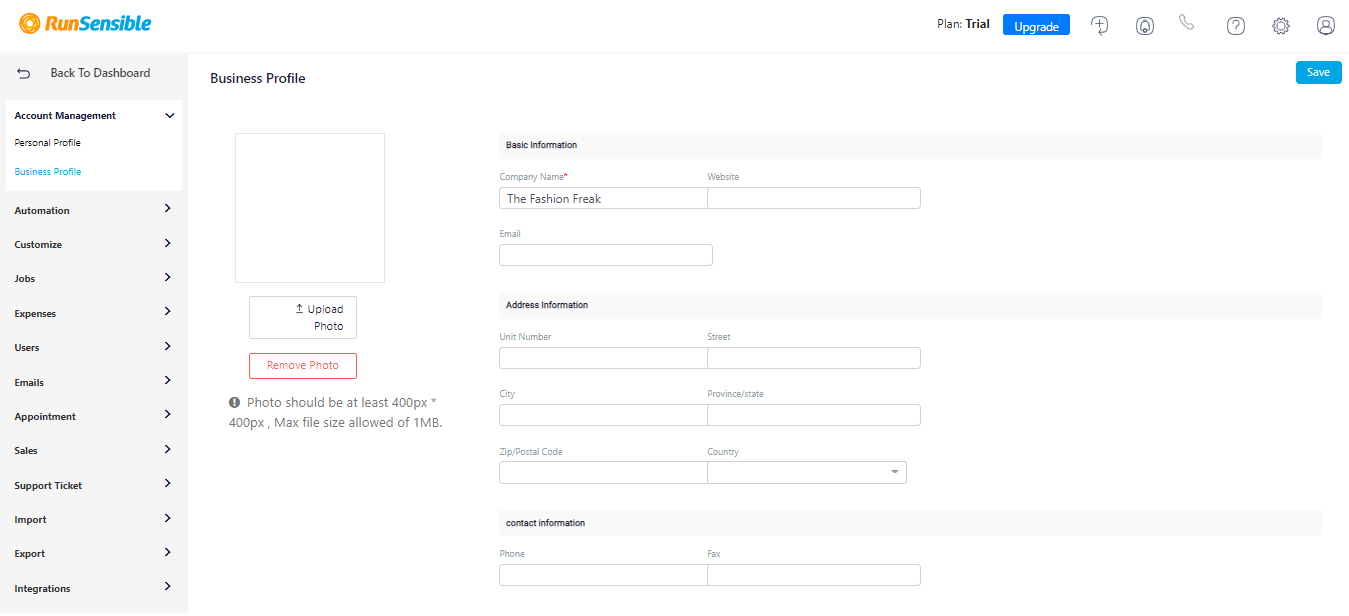
Now, if you look at the sidebar on the left side of your screen, you’ll see that you’re currently on My Profile, under Account Management. Click on the second option to fill in your business information.

In this section, you can add your business logo and basic information.