Custom domain
In RunSensible, each hyperlink generated is automatically assigned to the domain applink.RunSensible.com.
However, users can personalize the domain, allowing them to display their chosen domain name whenever they create a link within the software. This customization feature enables users to showcase their unique branding or preferred domain while utilizing the functionality of RunSensible.
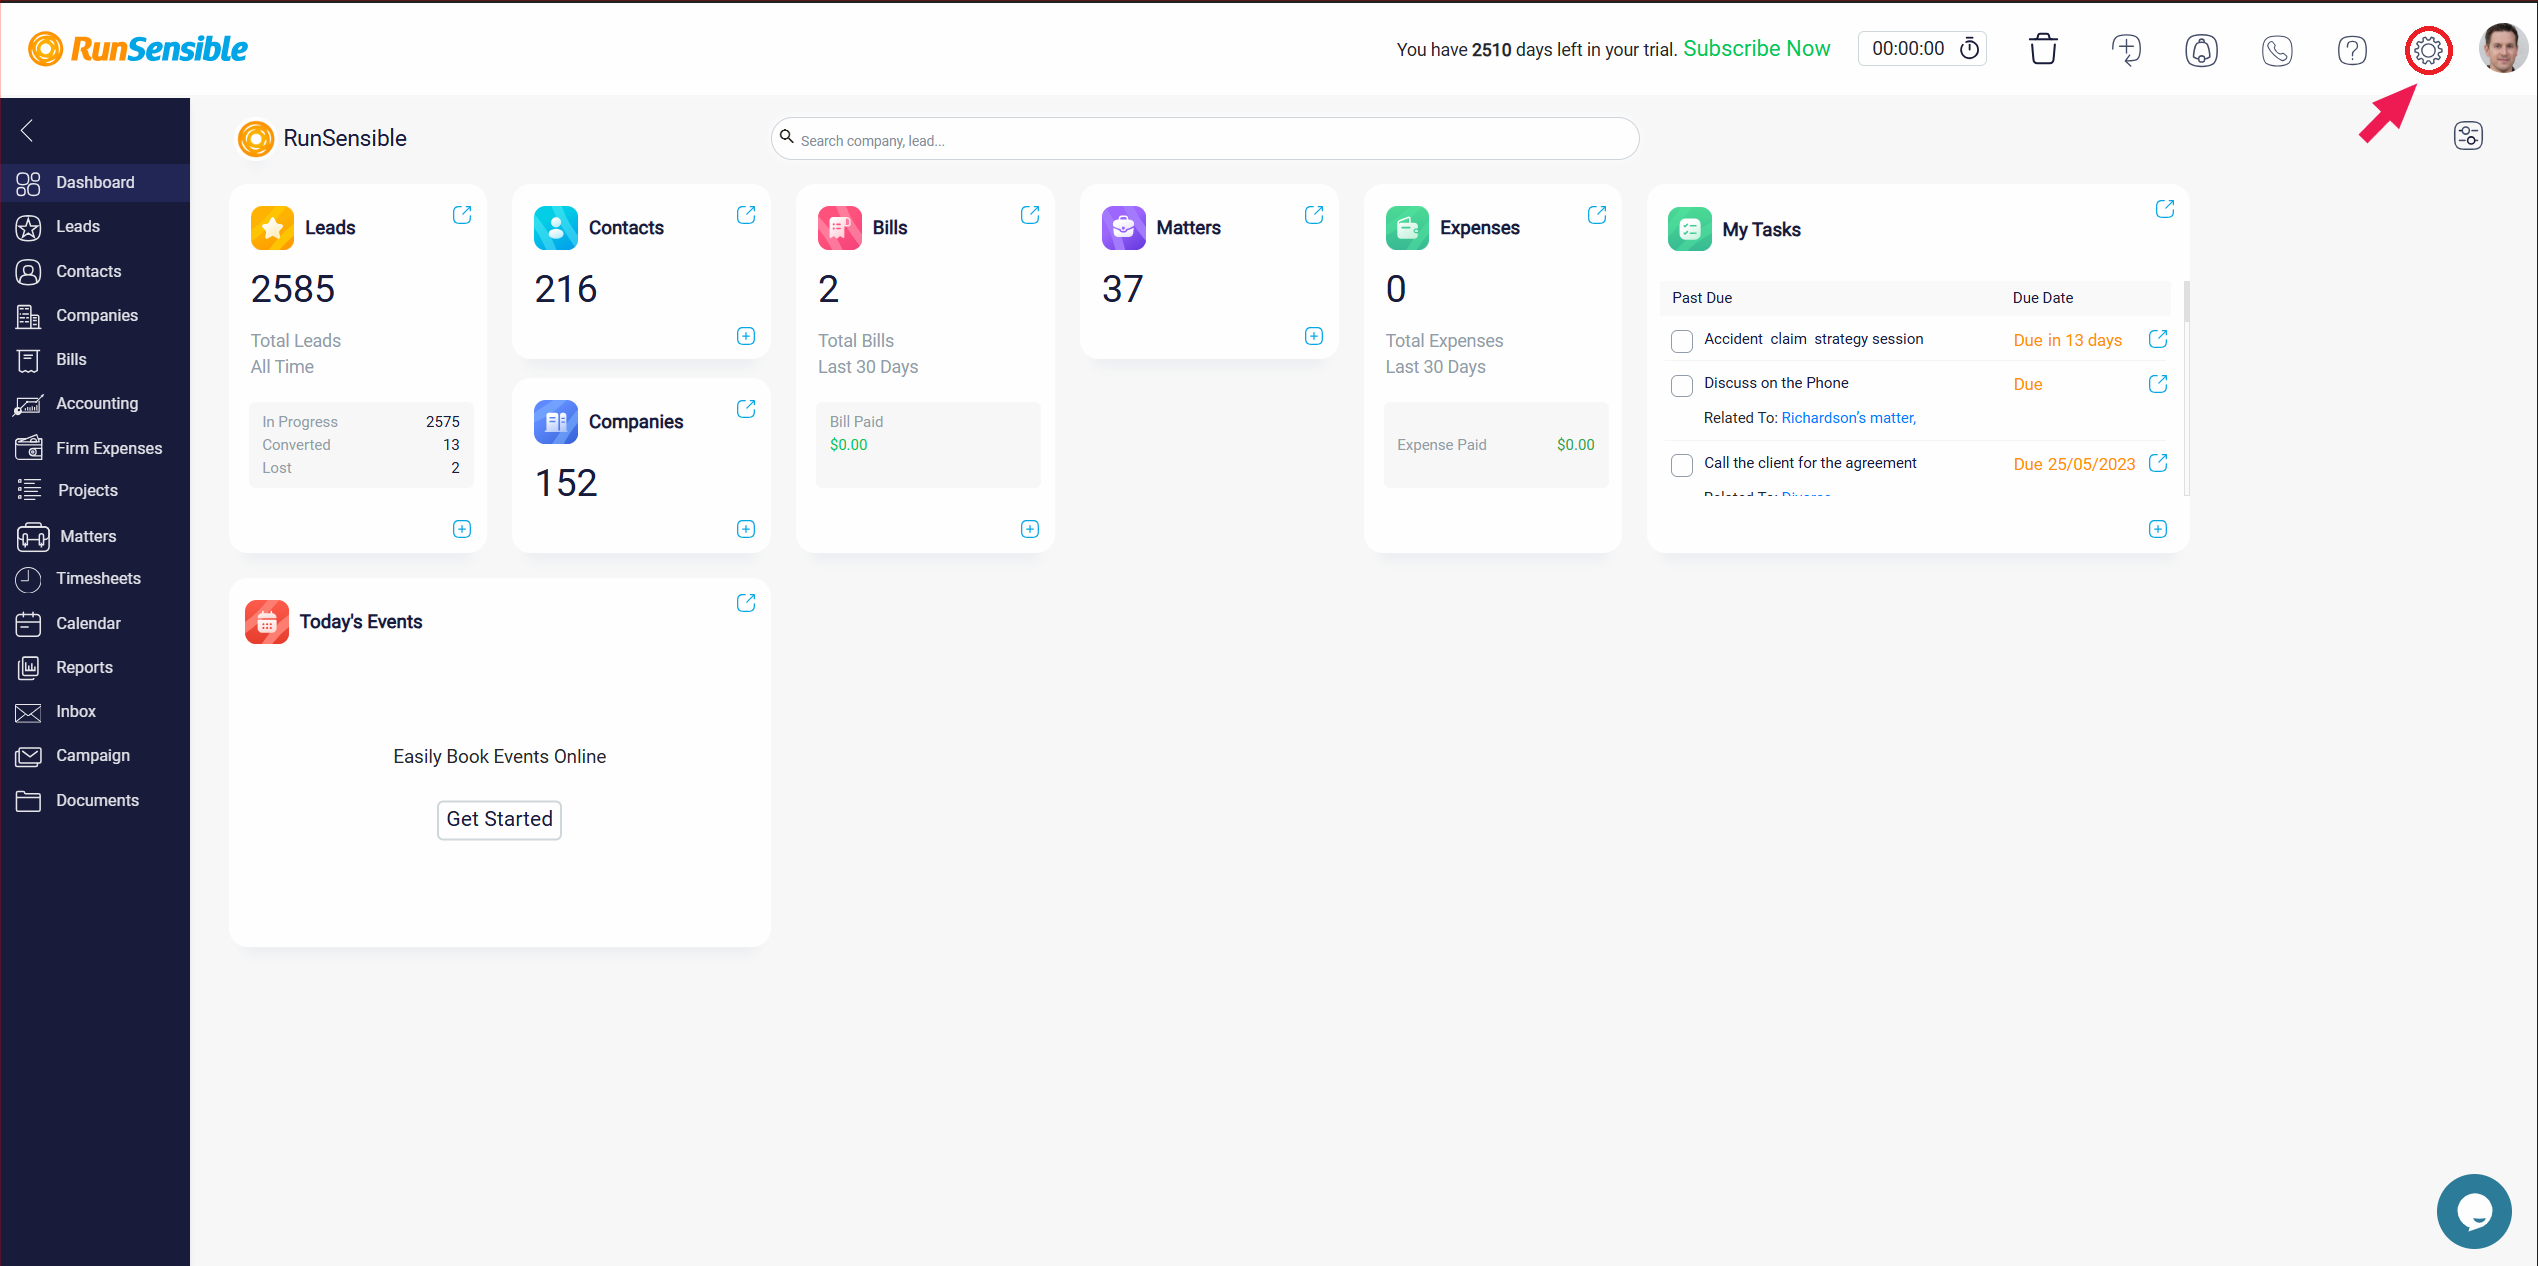
To add your domain in RunSensible, go to the top-right corner of your screen and click on the Settings icon.

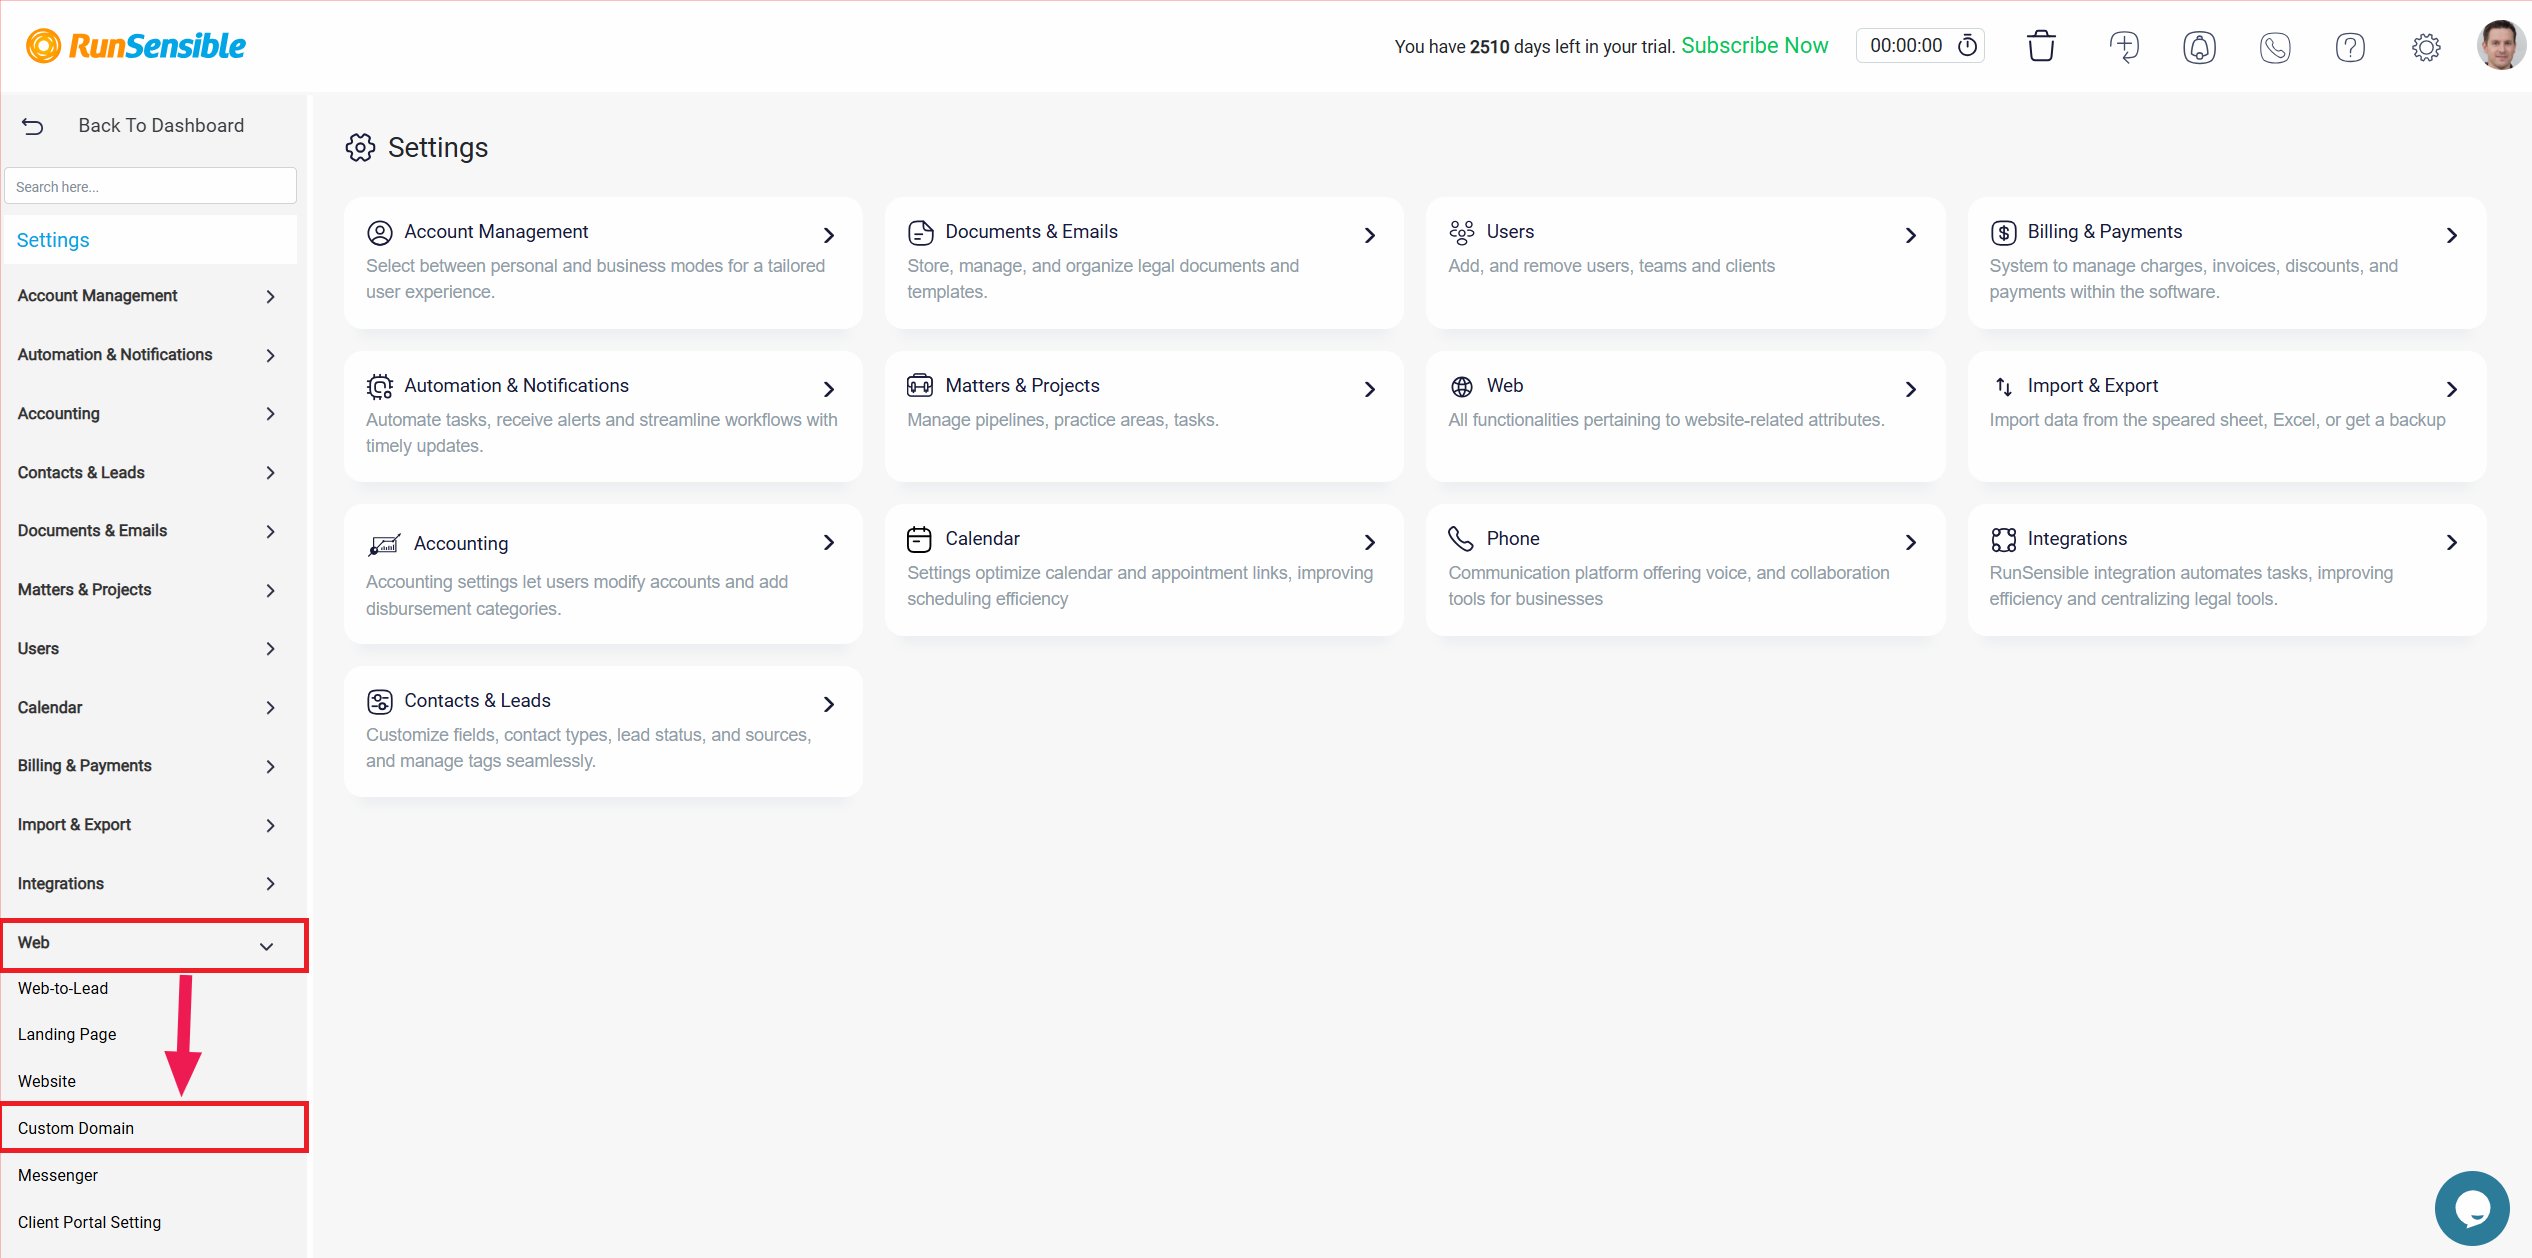
From there, select Web, and then choose Custom Domain.

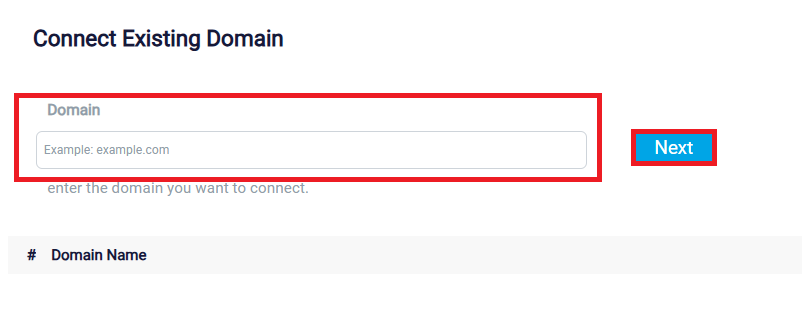
Once you’re in, type your domain into the Domain box and then hit the Next button.

Once done, it’s time to update your DNS settings.
To adjust your DNS settings, start by opening a new tab in your browser and logging in to the control panel provided by your domain registrar or hosting provider, where DNS management takes place.
Once there, locate the section dedicated to DNS settings, often labelled as DNS Management or Name Server Management. In this section, find the option to add a new DNS record and choose ‘CNAME‘ as the record type.
A CNAME record, or Canonical Name Record, allows you to associate an alias name with a canonical domain name, especially useful when multiple domain names point to the same IP address or server.
Now it’s time to enter the record details:
In the Host box, you need to specify the subdomain that you want to alias. For instance, if you want to create an alias for a blog hosted on your main domain (e.g., ‘yourdomain.com’), you should enter ‘blog’ as the host. This means that the alias will be blog.yourdomain.com.
In the Point to box, Indicate the target domain name to which your subdomain will point. For example, if your main domain is ‘yourmaindomain.com,’ this is where you enter ‘yourmaindomain.com.’ Essentially, this establishes the connection between the subdomain and the destination domain.
Once you have done that, save the record.
Keep in mind that changes made to DNS records do not take effect instantly. After adding or modifying records, a period known as DNS propagation is required. During this time, the updated information needs to be distributed across the global network of DNS servers. This process may take some time, typically ranging from a few minutes to 48 hours.
Once done, get back to the first tab where you have the software opened and click on the Verify button. If you’ve successfully added the CNAME record to your DNS, the software will store your domain, and subsequently, your created links within the software will carry your domain name.
If you need further assistance from your domain provider, select your provider’s help page below for specific instructions: