Setting Up Your Email
To fully access RunSensible’s features, you’ll need to integrate and verify your email address. This will enable you to send marketing emails, appointment reminders, and other critical communications directly from the platform. You can manage multiple email accounts within RunSensible and even share an account with your team. For instance, if you have several support agents, they can all access a shared inbox to respond to customer inquiries efficiently.
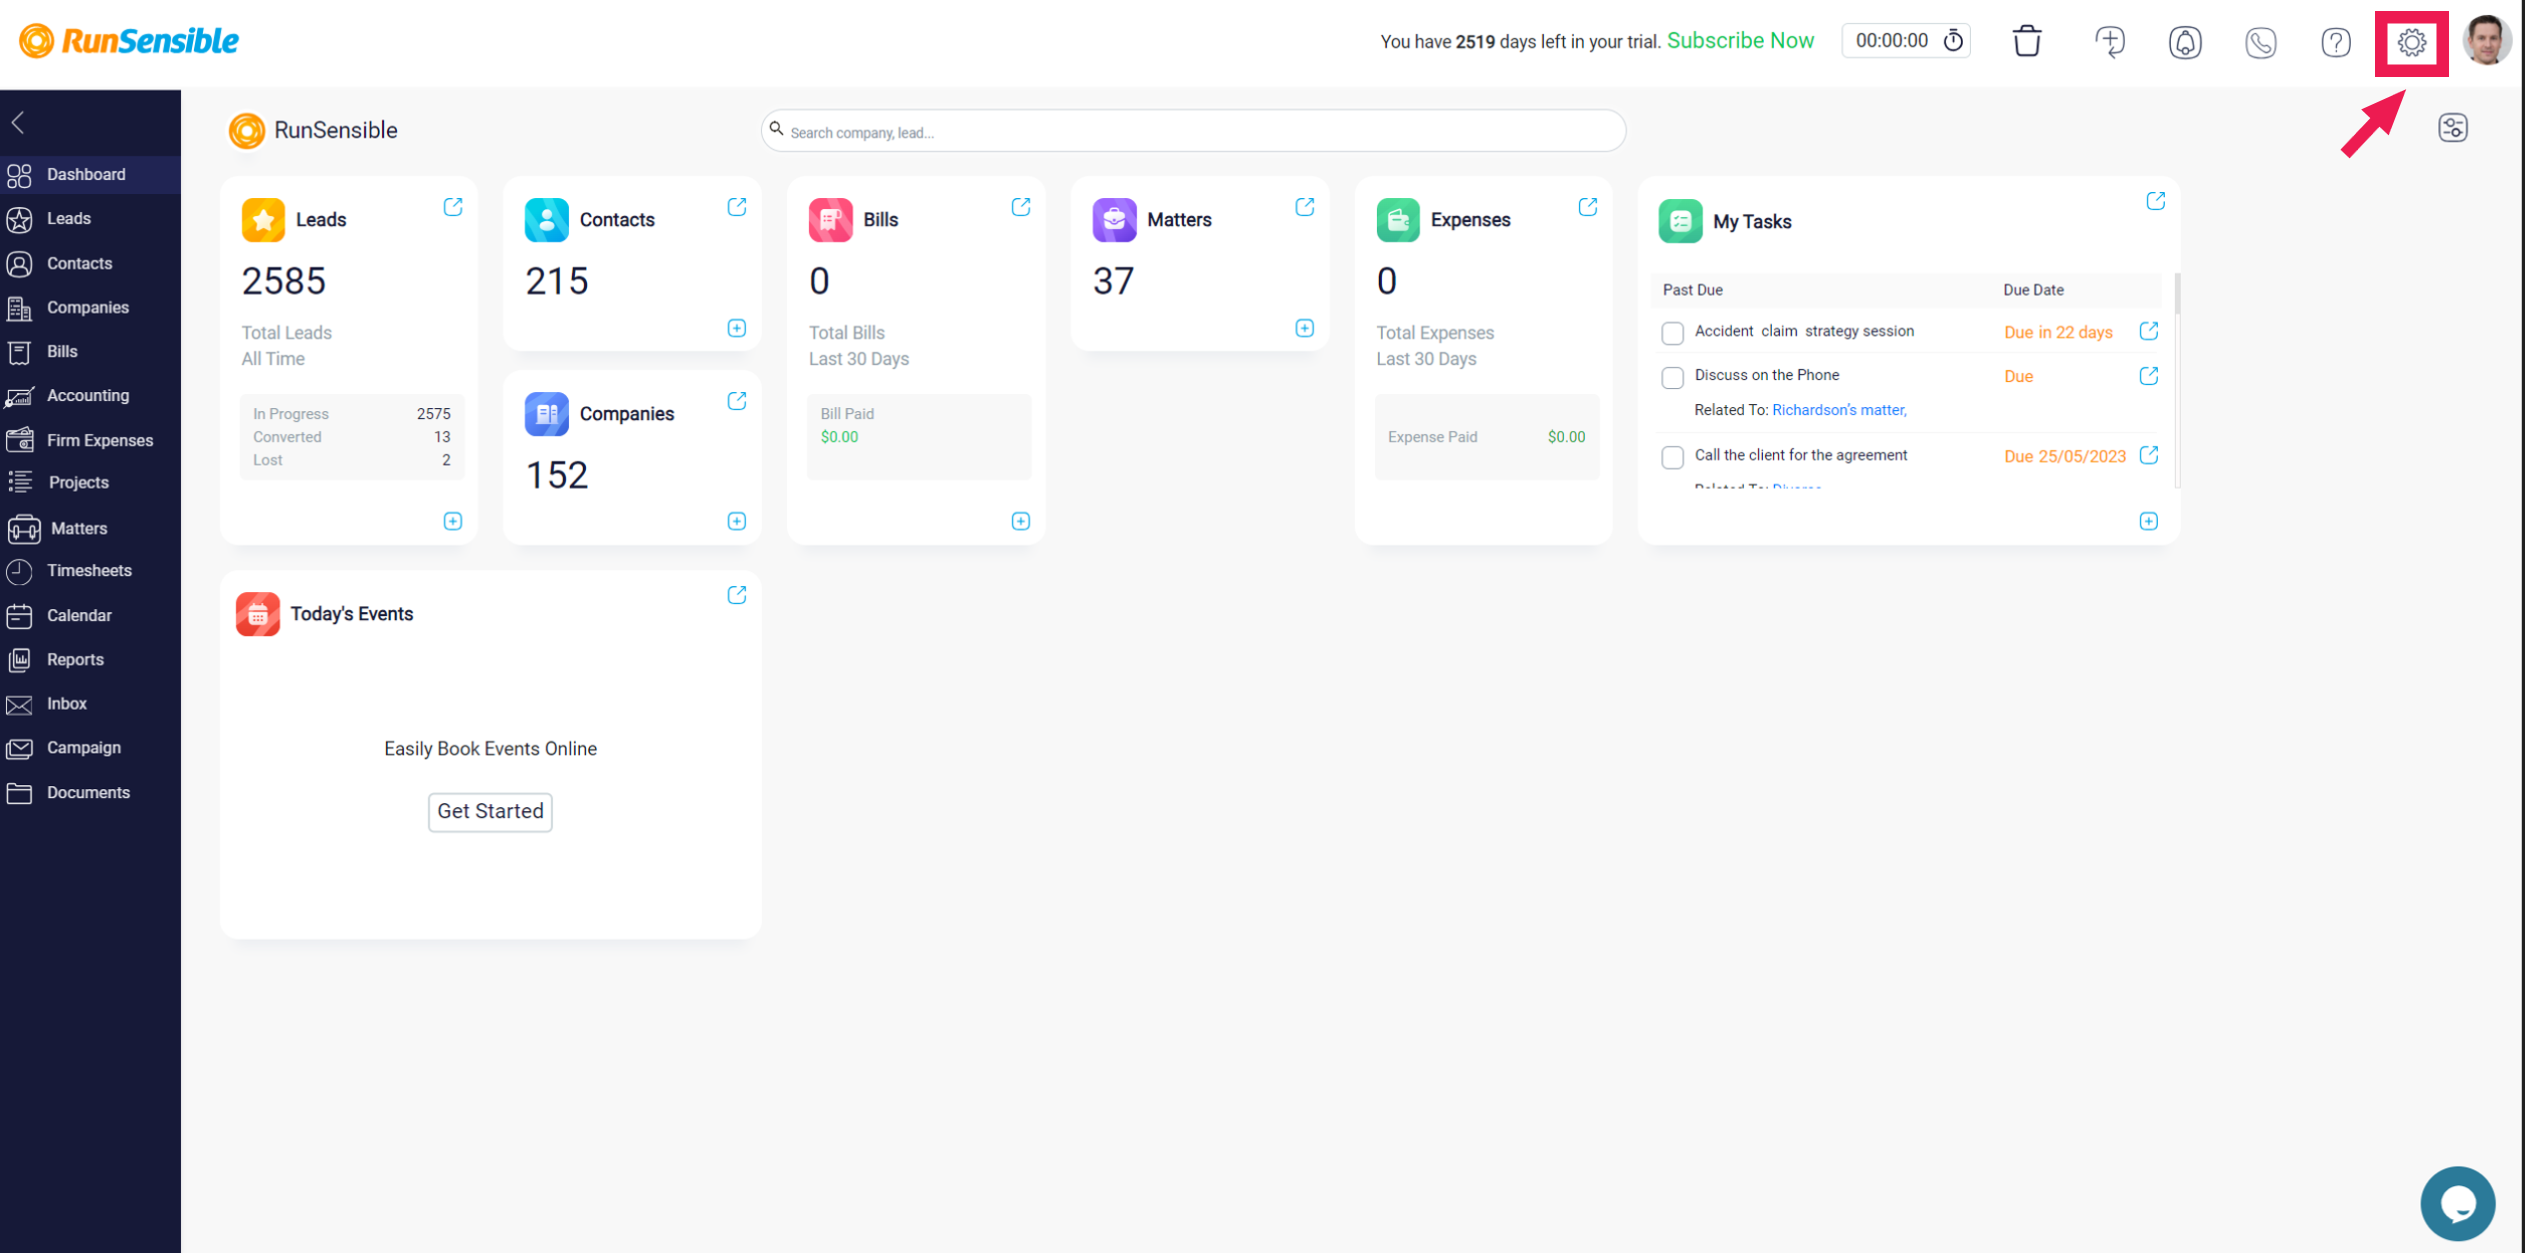
Let’s walk through the setup process. To begin, click on “Settings” in the top-right corner of your screen.
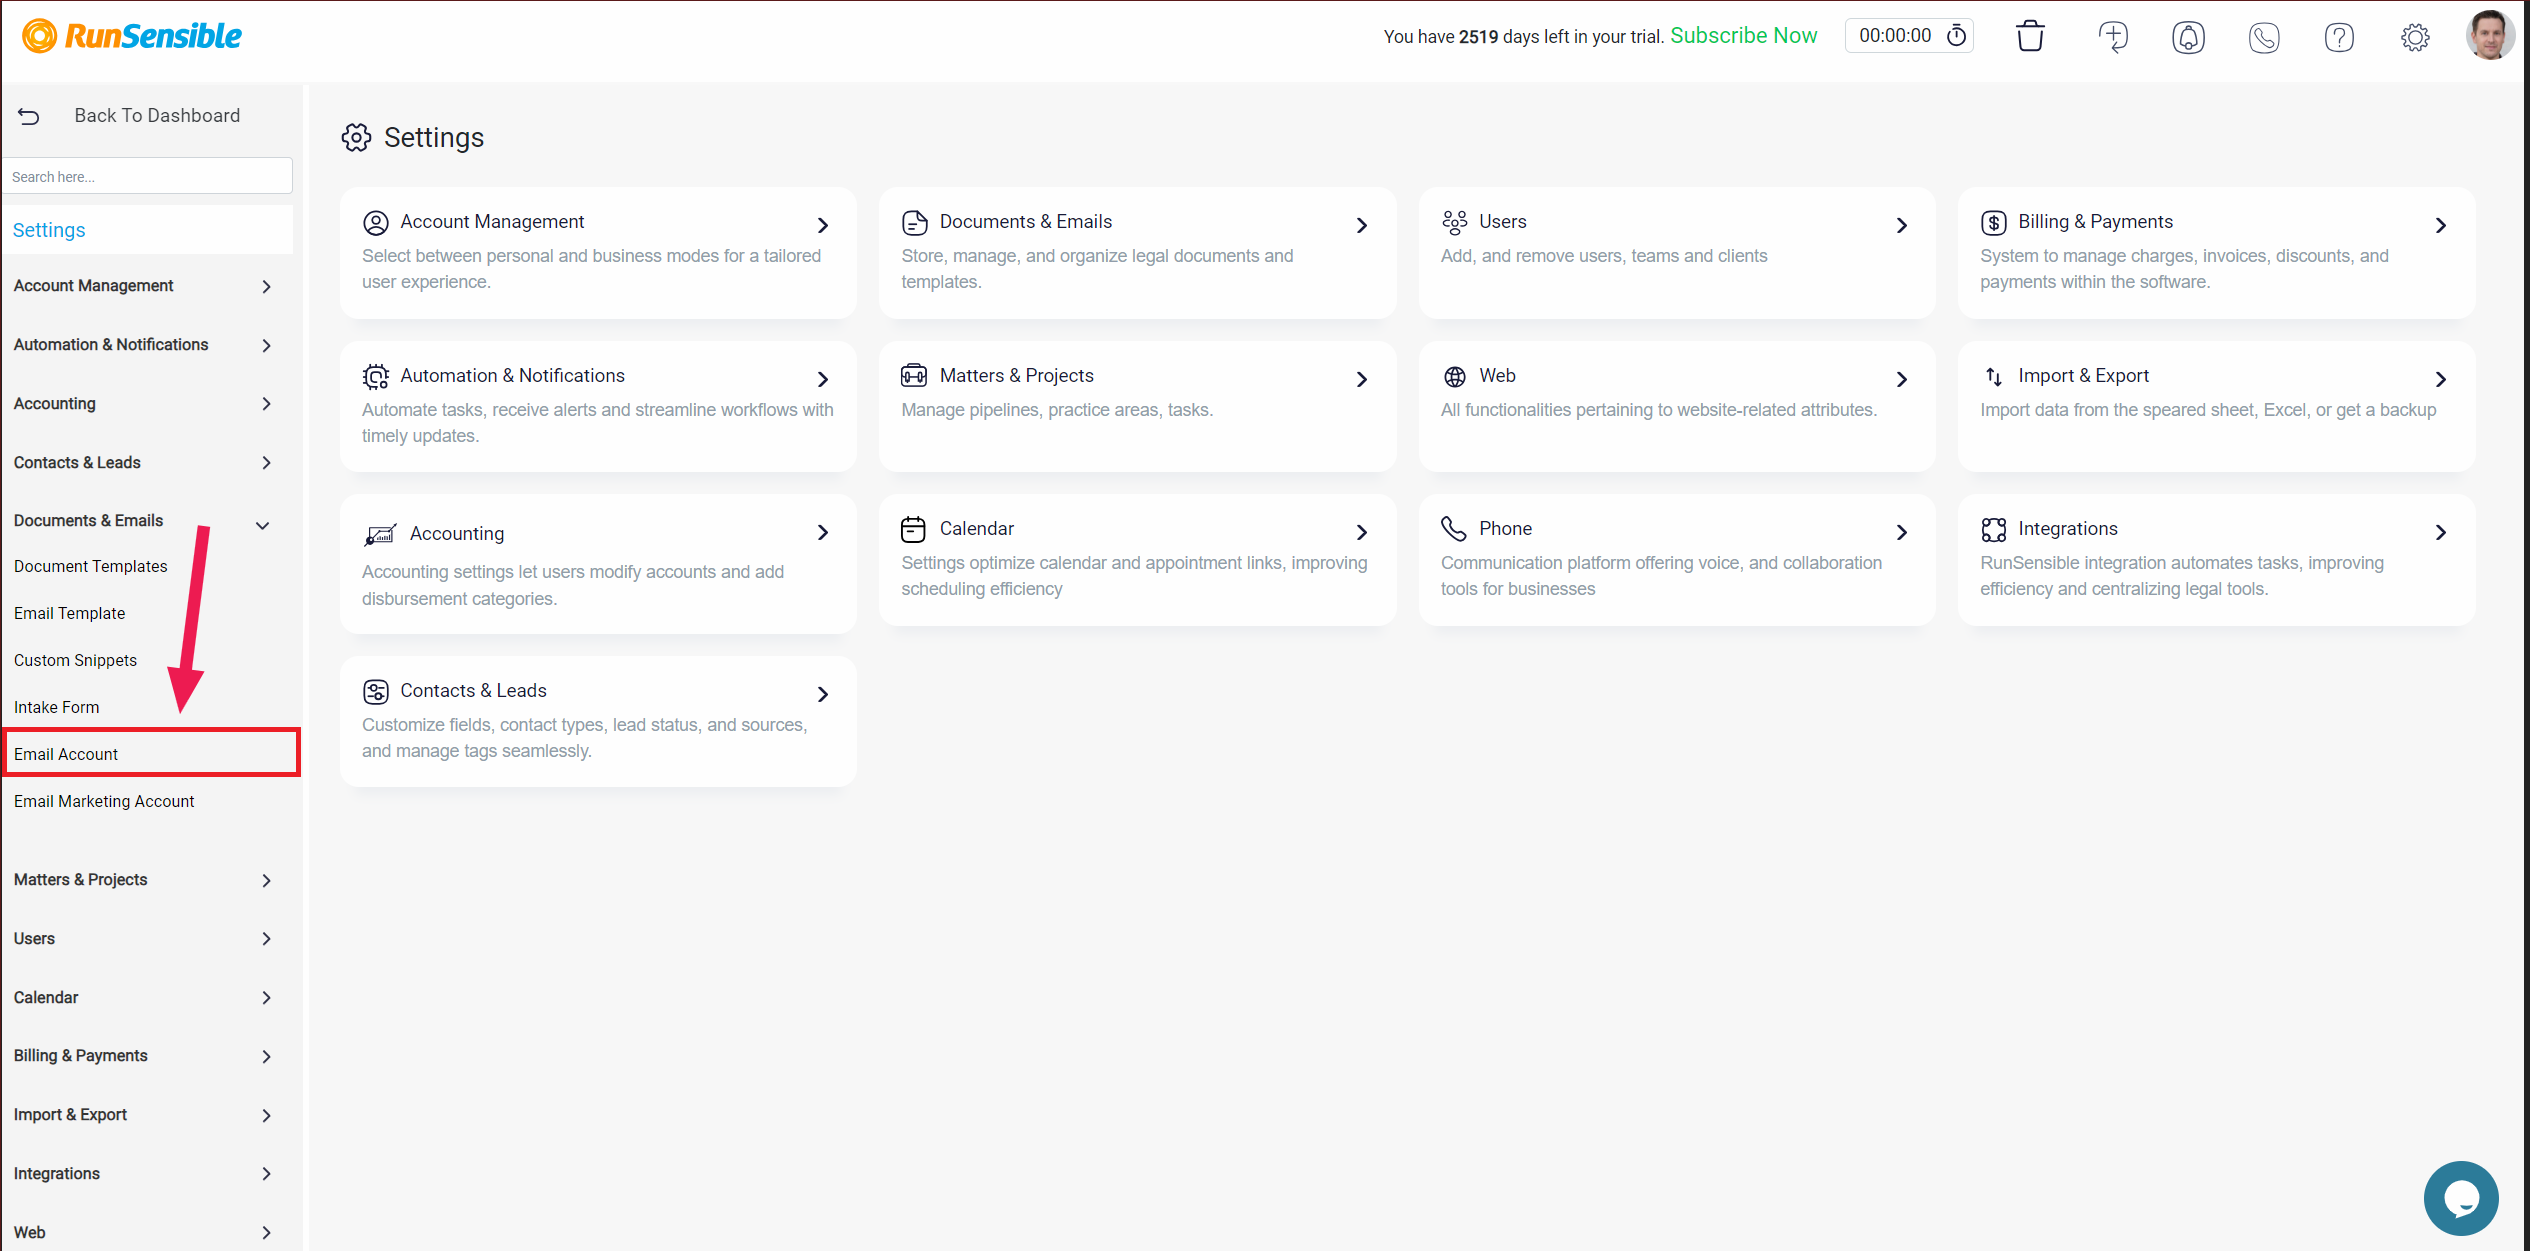
In the left sidebar, select “Documents & Emails,” then click on “Email Account.”
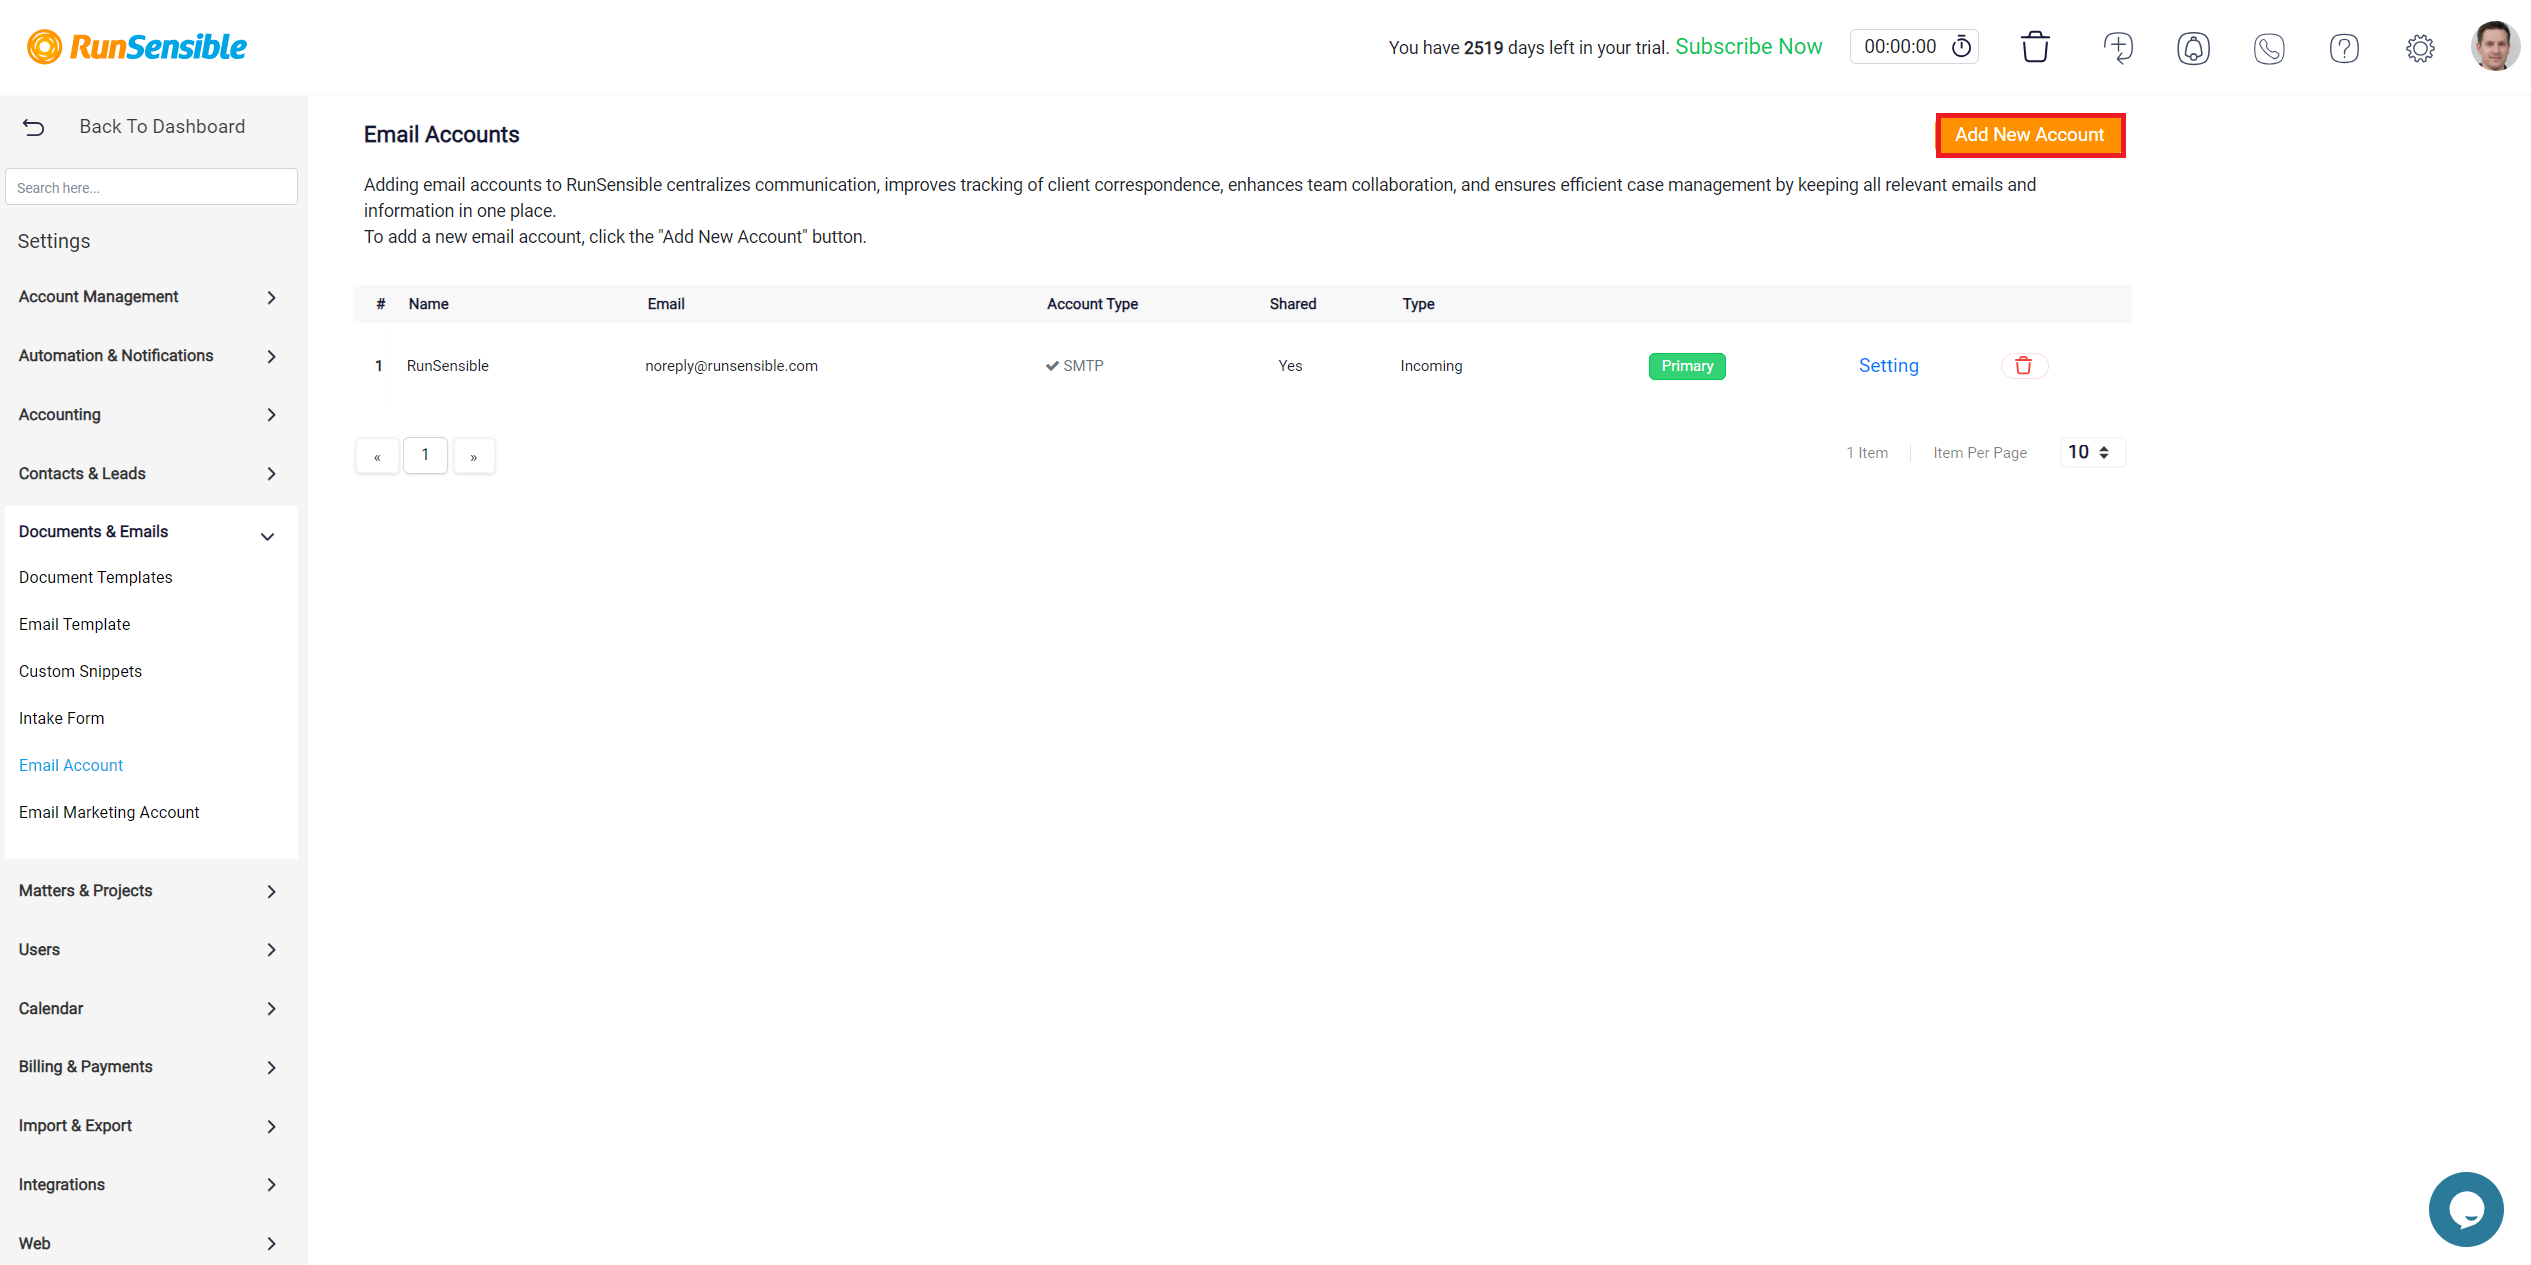
All added email accounts will appear in this list. To add a new account, simply click on “Add New Account.”
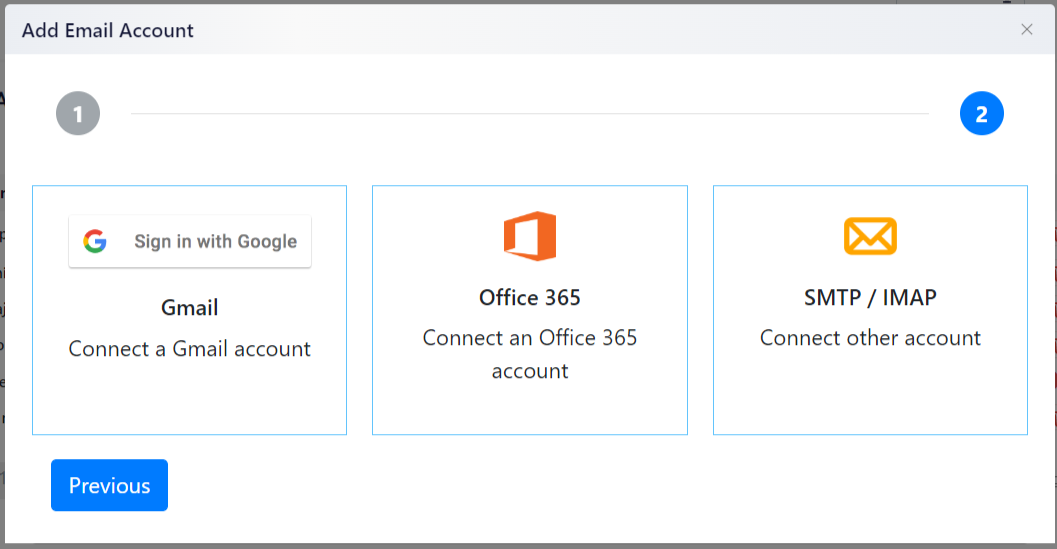
Here, you can select whether the account will be shared or personal. You’ll also need to decide if you want to manage both incoming and outgoing emails, or only outgoing emails.
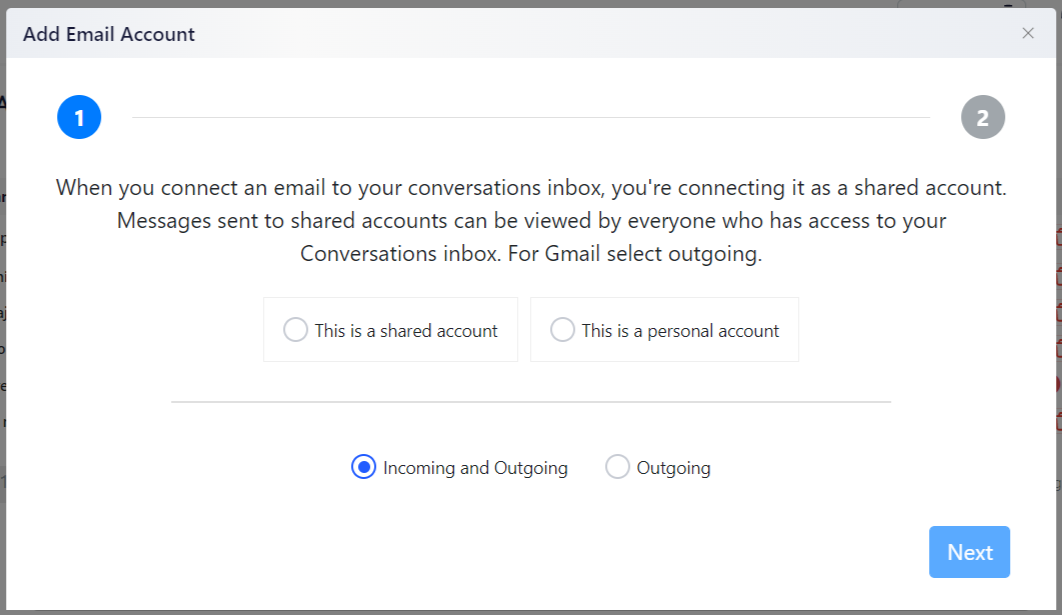
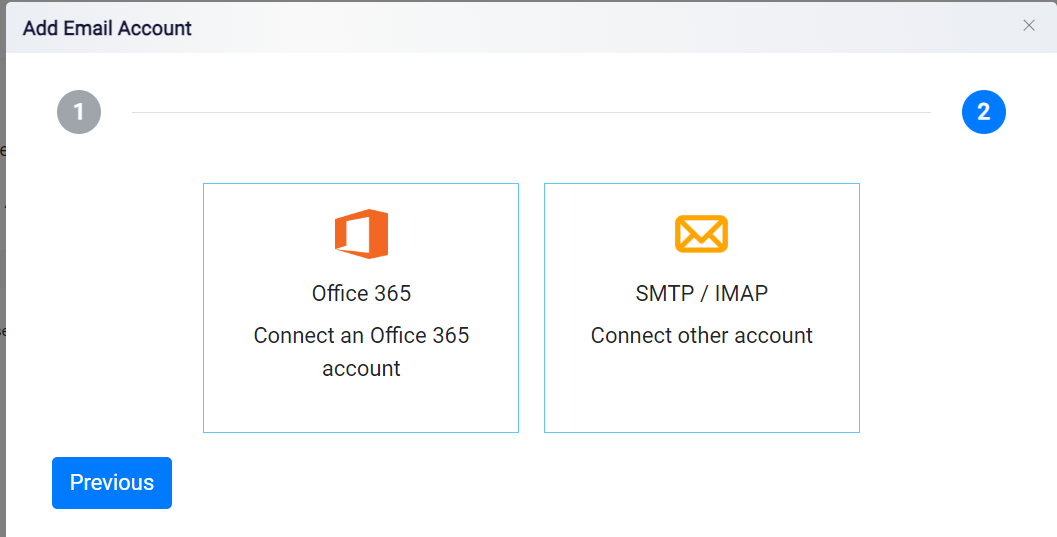
For the outgoing emails option, you can add a Gmail, Office 365, or SMTP/IMAP account. If you choose to manage both incoming and outgoing emails, you can add an Office 365 or SMTP/IMAP account. Select the option that best suits your business needs.
