How to book appointments
Managing appointments is of utmost importance and RunSensible offers a totally user-friendly solution for it! So, we offer two ways to book.
1. Appointment you book by selecting the “meet button” or “New Appointment”.
Select “Calendar” on the “Navigation Menu”. Open a “New Appointment” form, either by clicking on the “New Appointment” button or, by selecting any time/date spot on the calendar.
2. Appointment through “Invite to Meet” button where client sets time/date.
Additionally, RunSensible makes it possible for you to invite the clients to choose the time and date of an appointment you seek to book for them if so desired.
Accordingly, it is necessary to go to Settings, > Appointment > select “Appointment Configuration” click on New Configuration, and fill in the three forms.
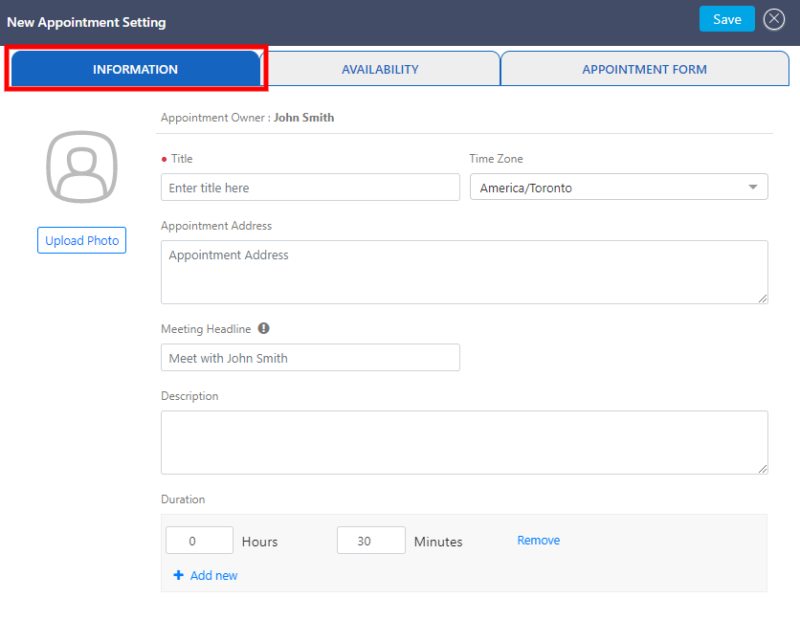
– Under INFORMATION, define the title of appointment under Title, whether it is a consultation, negotiation, etc., and save.
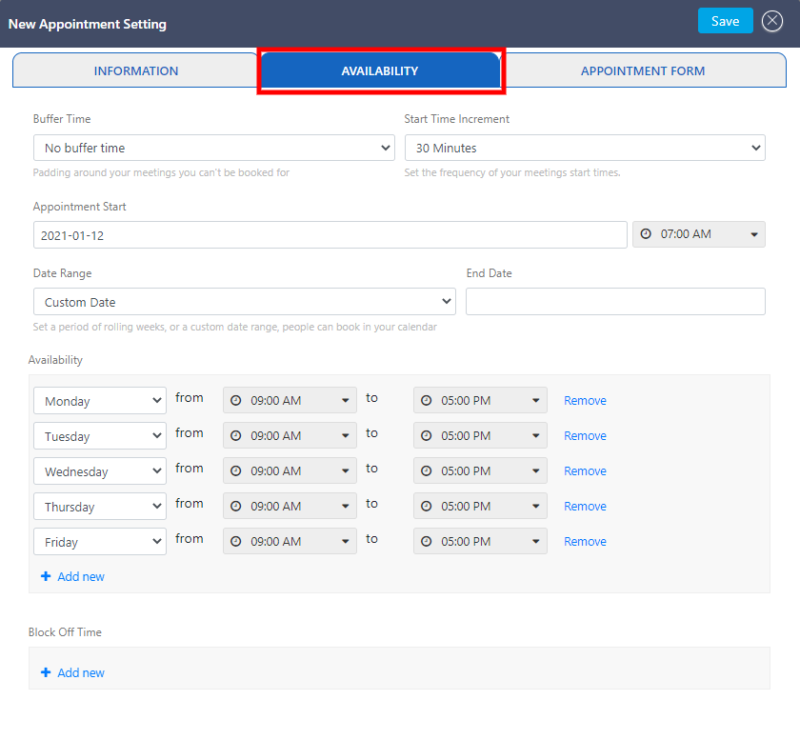
– Under AVAILABILITY, configure the days and hours you will be available for your client to meet you. Your client will select the time and date for your appointments with them.
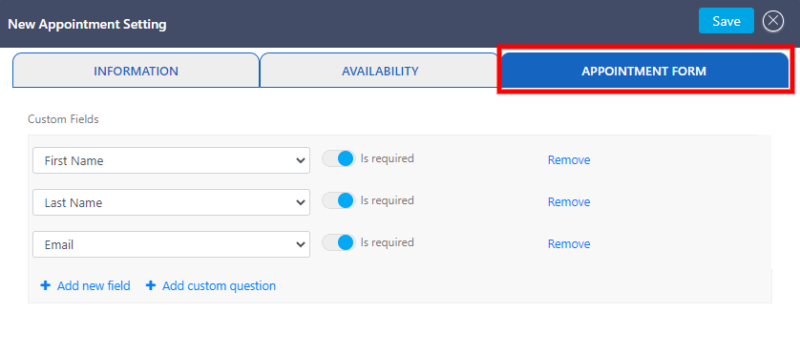
– Under APPOINTMENT FORM, your client will provide you with the information you need from them.
Upon completion of the above steps, you could get your clients to set the time and date of the appointments you want to have with them.
Simply click on the “Invite to Meet” button on Lead or Contact profile pages to open the form “Send Appointment Invitation”. Select the respective appointment link and hit the “send” button.
Related Articles:
How To Configure Your Appointments
How To Share Appointment Links