Importing and Managing Data
RunSensible offers a streamlined solution for importing data, allowing you to create or update records for leads, contacts, and institutions effortlessly. This functionality enables you to consolidate all your data into a centralized platform, reducing the need to make manual changes one by one. With the import and export features, you can modify specific information fields for multiple records simultaneously. Supported file formats include Excel and CSV, and you can also directly import contacts from your Gmail account.
Preparing Your File for Import
To ensure a smooth and efficient import process in RunSensible, it is essential to properly prepare your data file before uploading it. The file must be structured so that each column has a clear and descriptive header that accurately identifies the type of data it contains. For example, a column listing names should have the header labeled Name, while a column containing email addresses should be labeled Email. These headers are crucial for the system to recognize and correctly map the data to the appropriate fields in RunSensible. Additionally, while the system allows you to map columns manually during the import process, using clearly labeled headers in advance will help you easily identify the type of information each column contains. This preparatory step reduces the chances of errors and ensures that all data is correctly assigned.
Navigating the Import Process
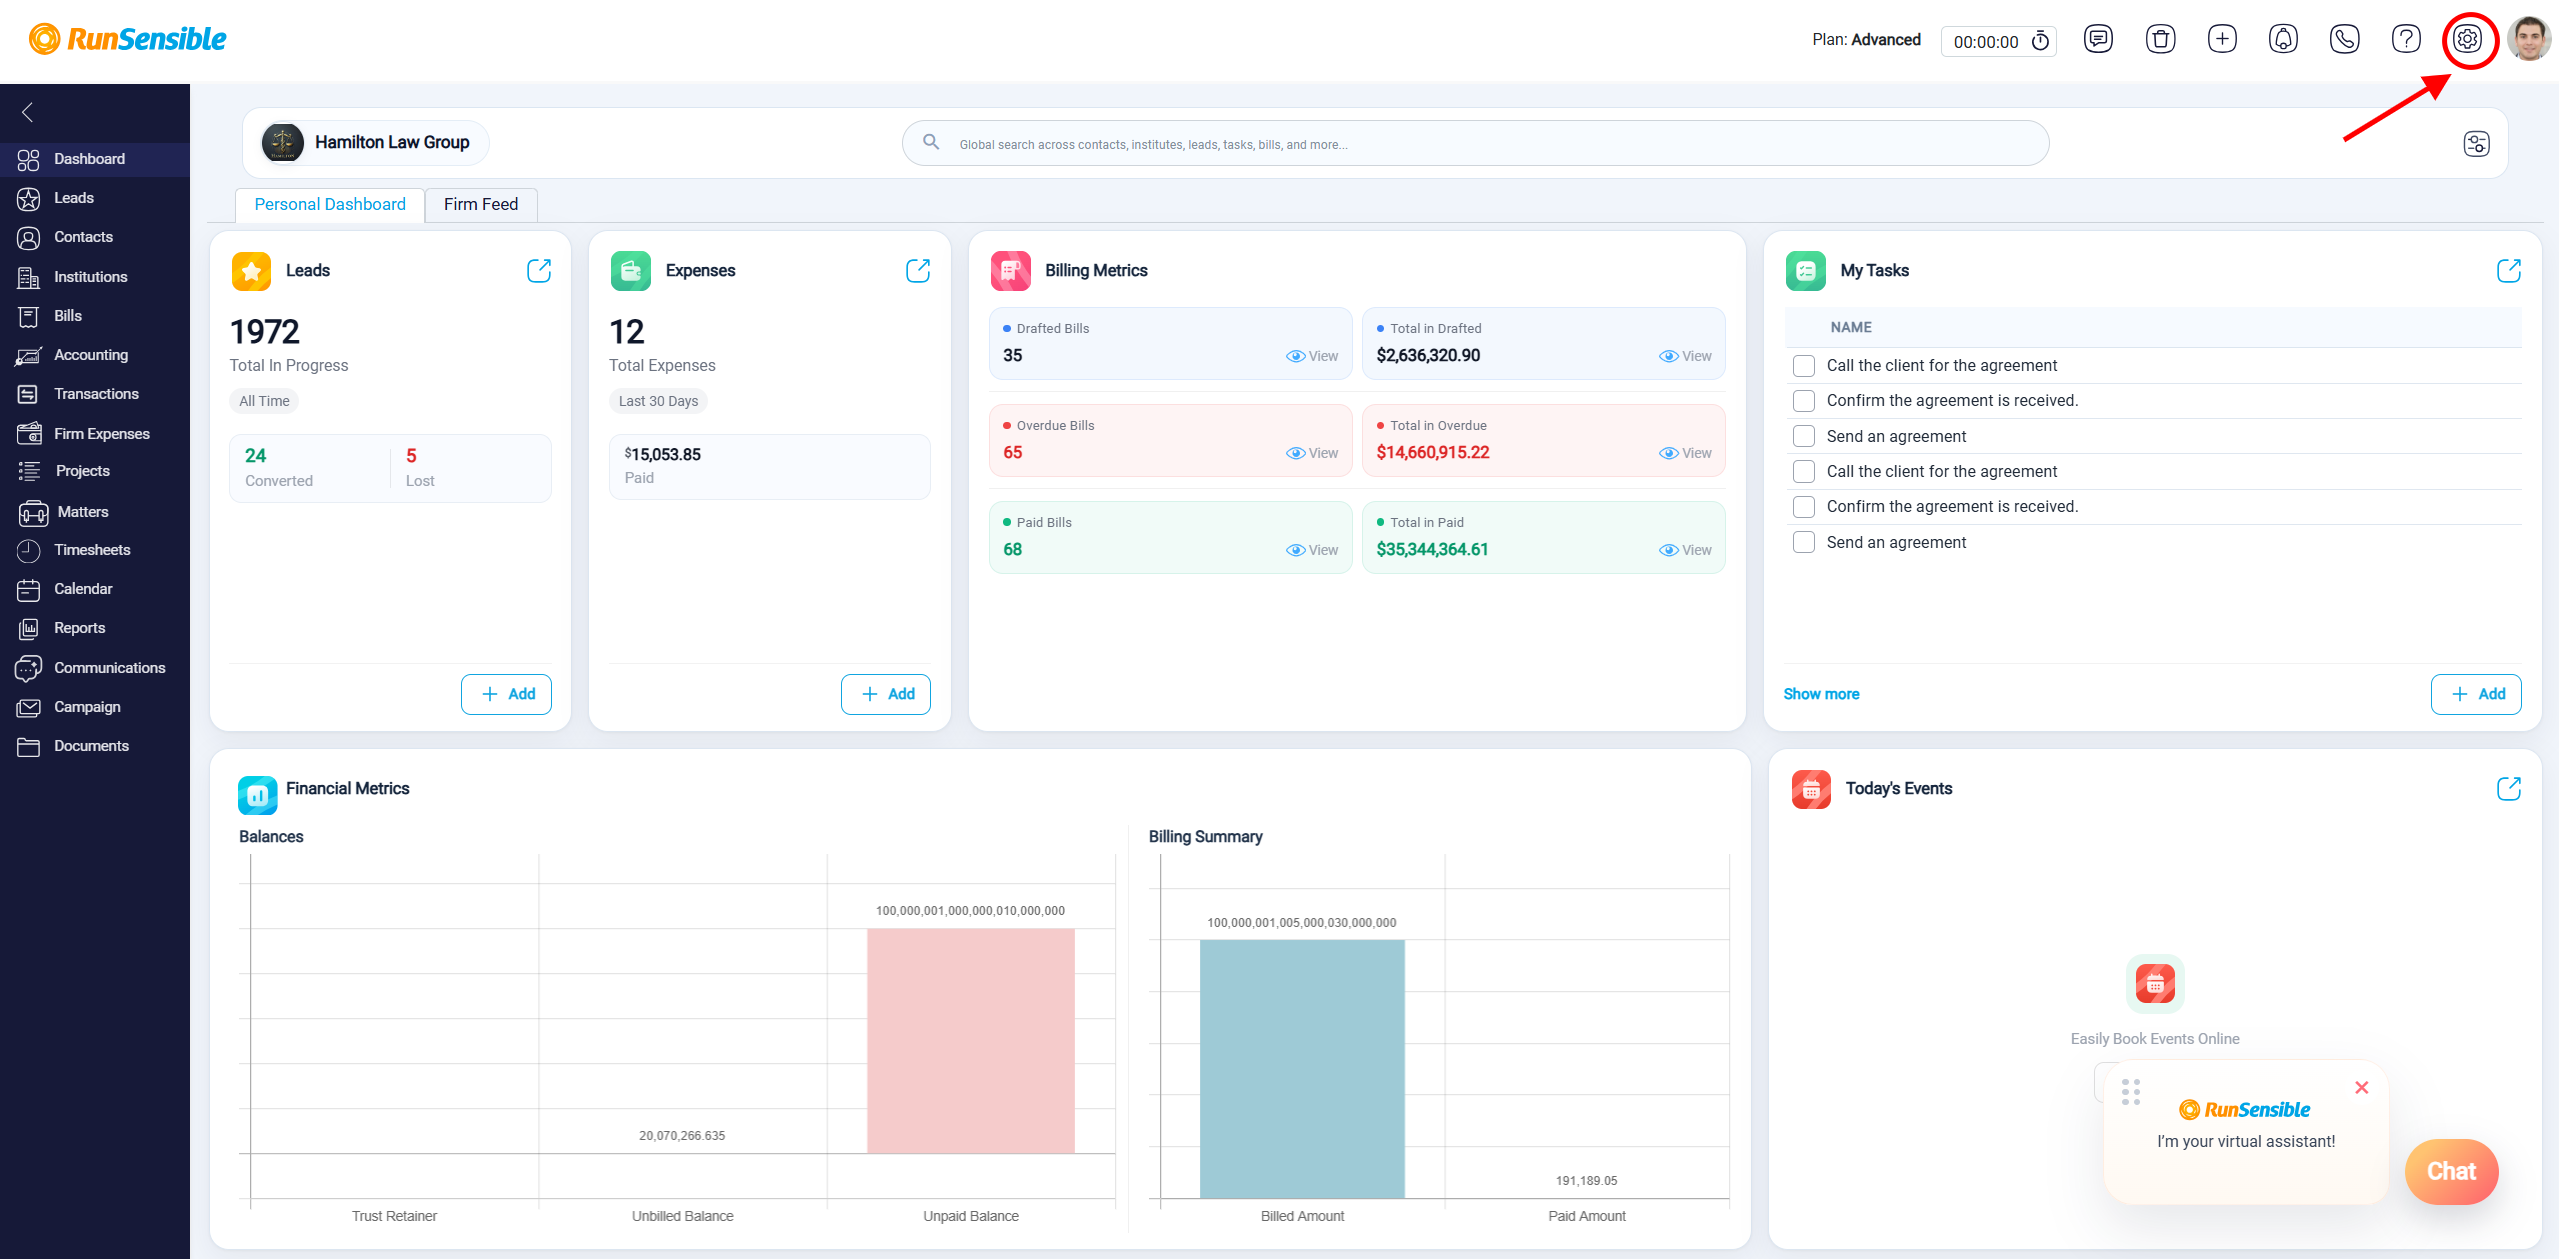
To import data into RunSensible, start by accessing the Settings menu. This menu can be found by clicking the Settings button located in the top-right corner of the dashboard.
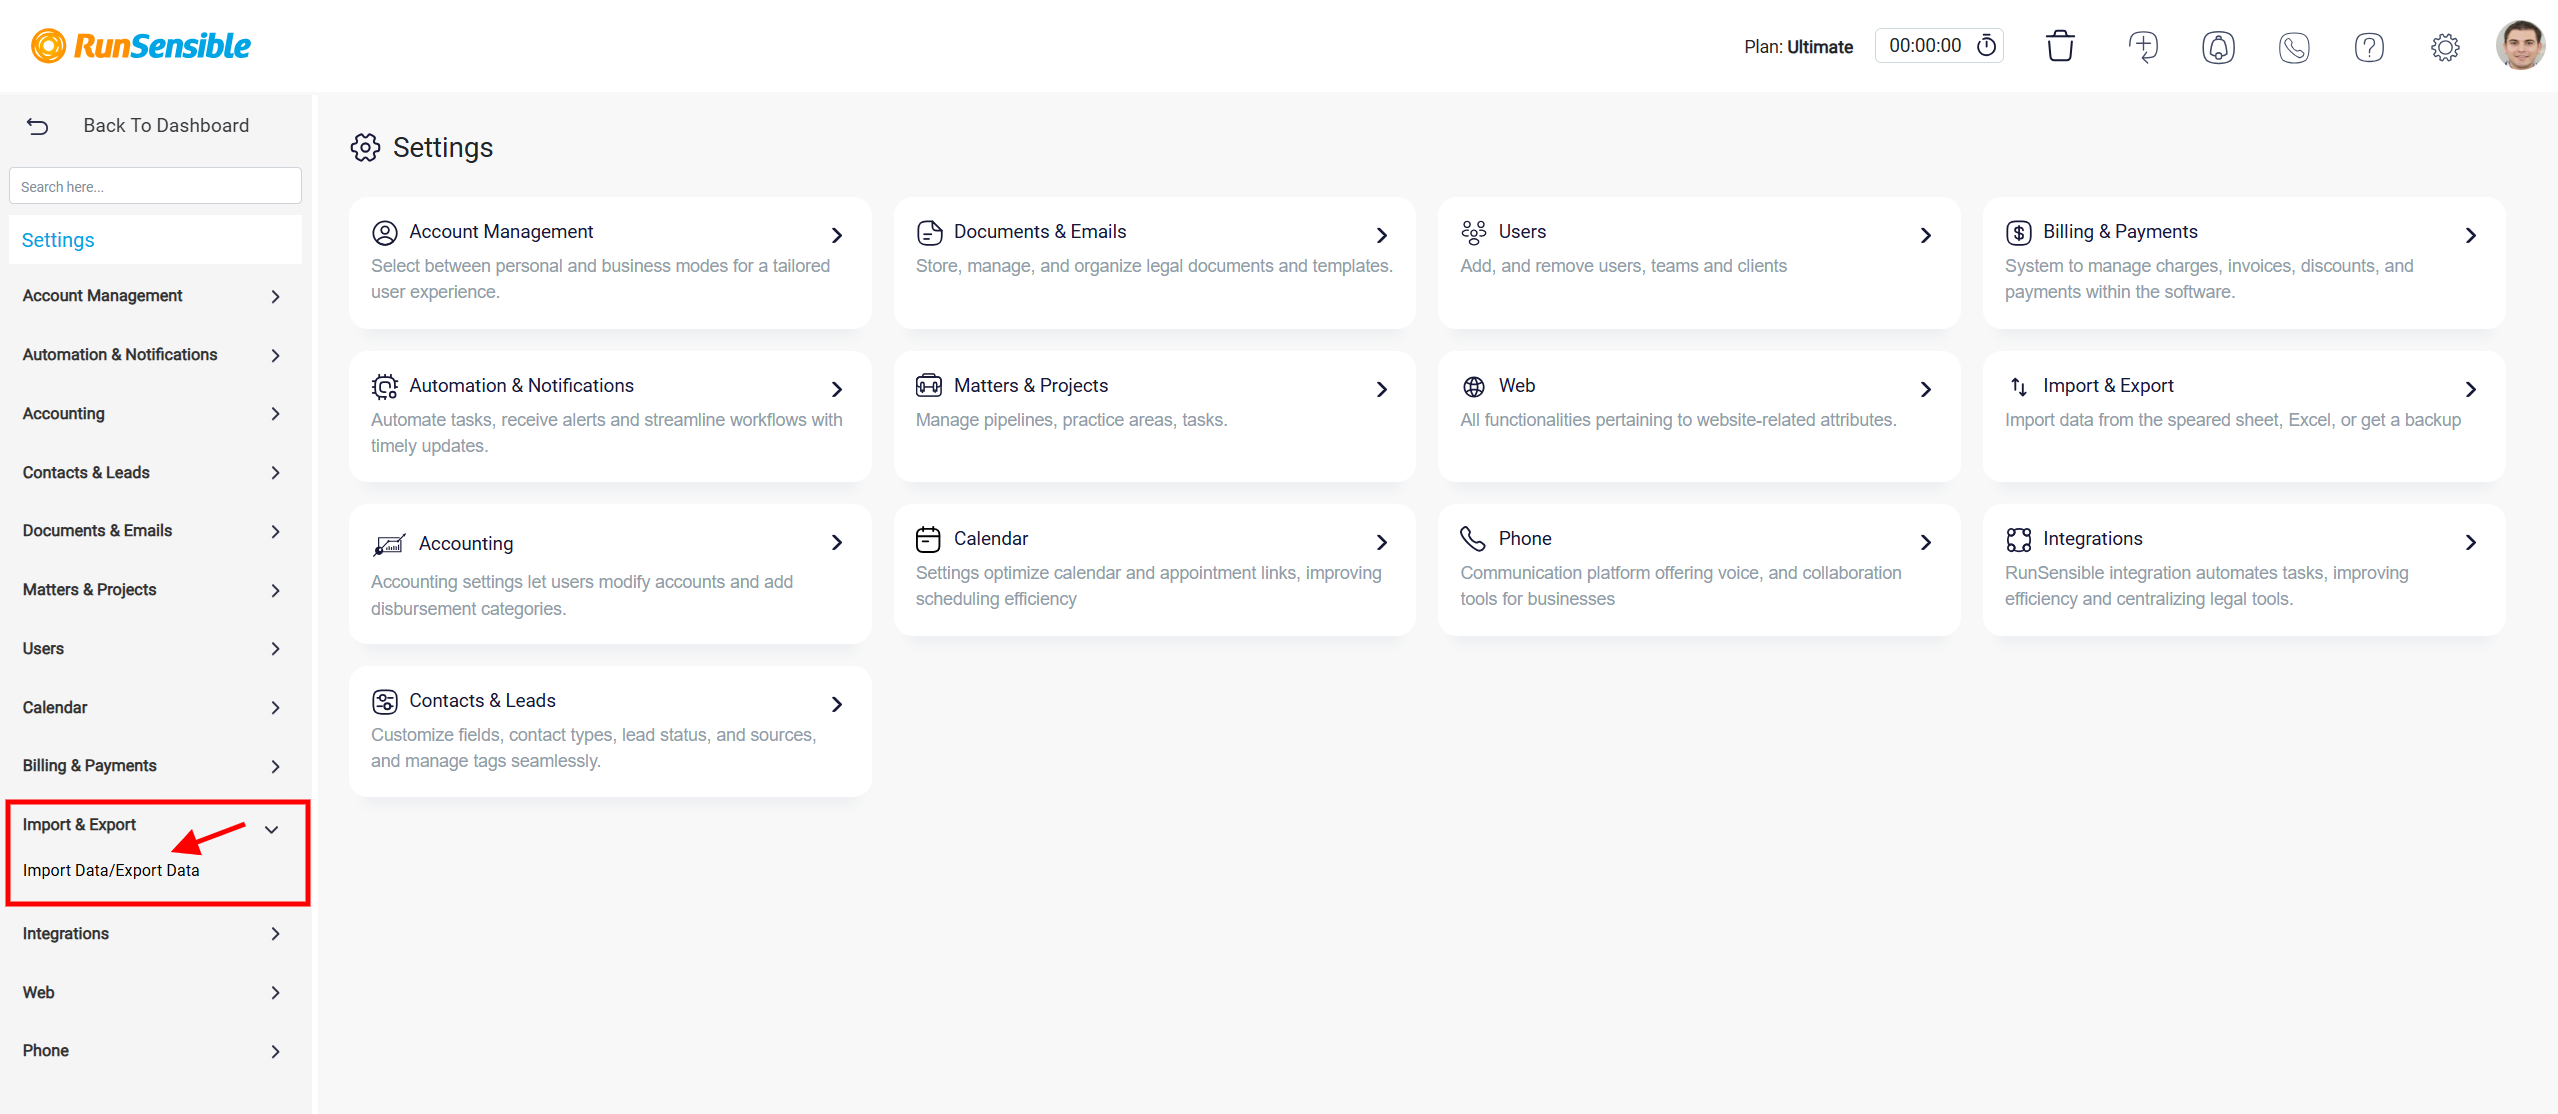
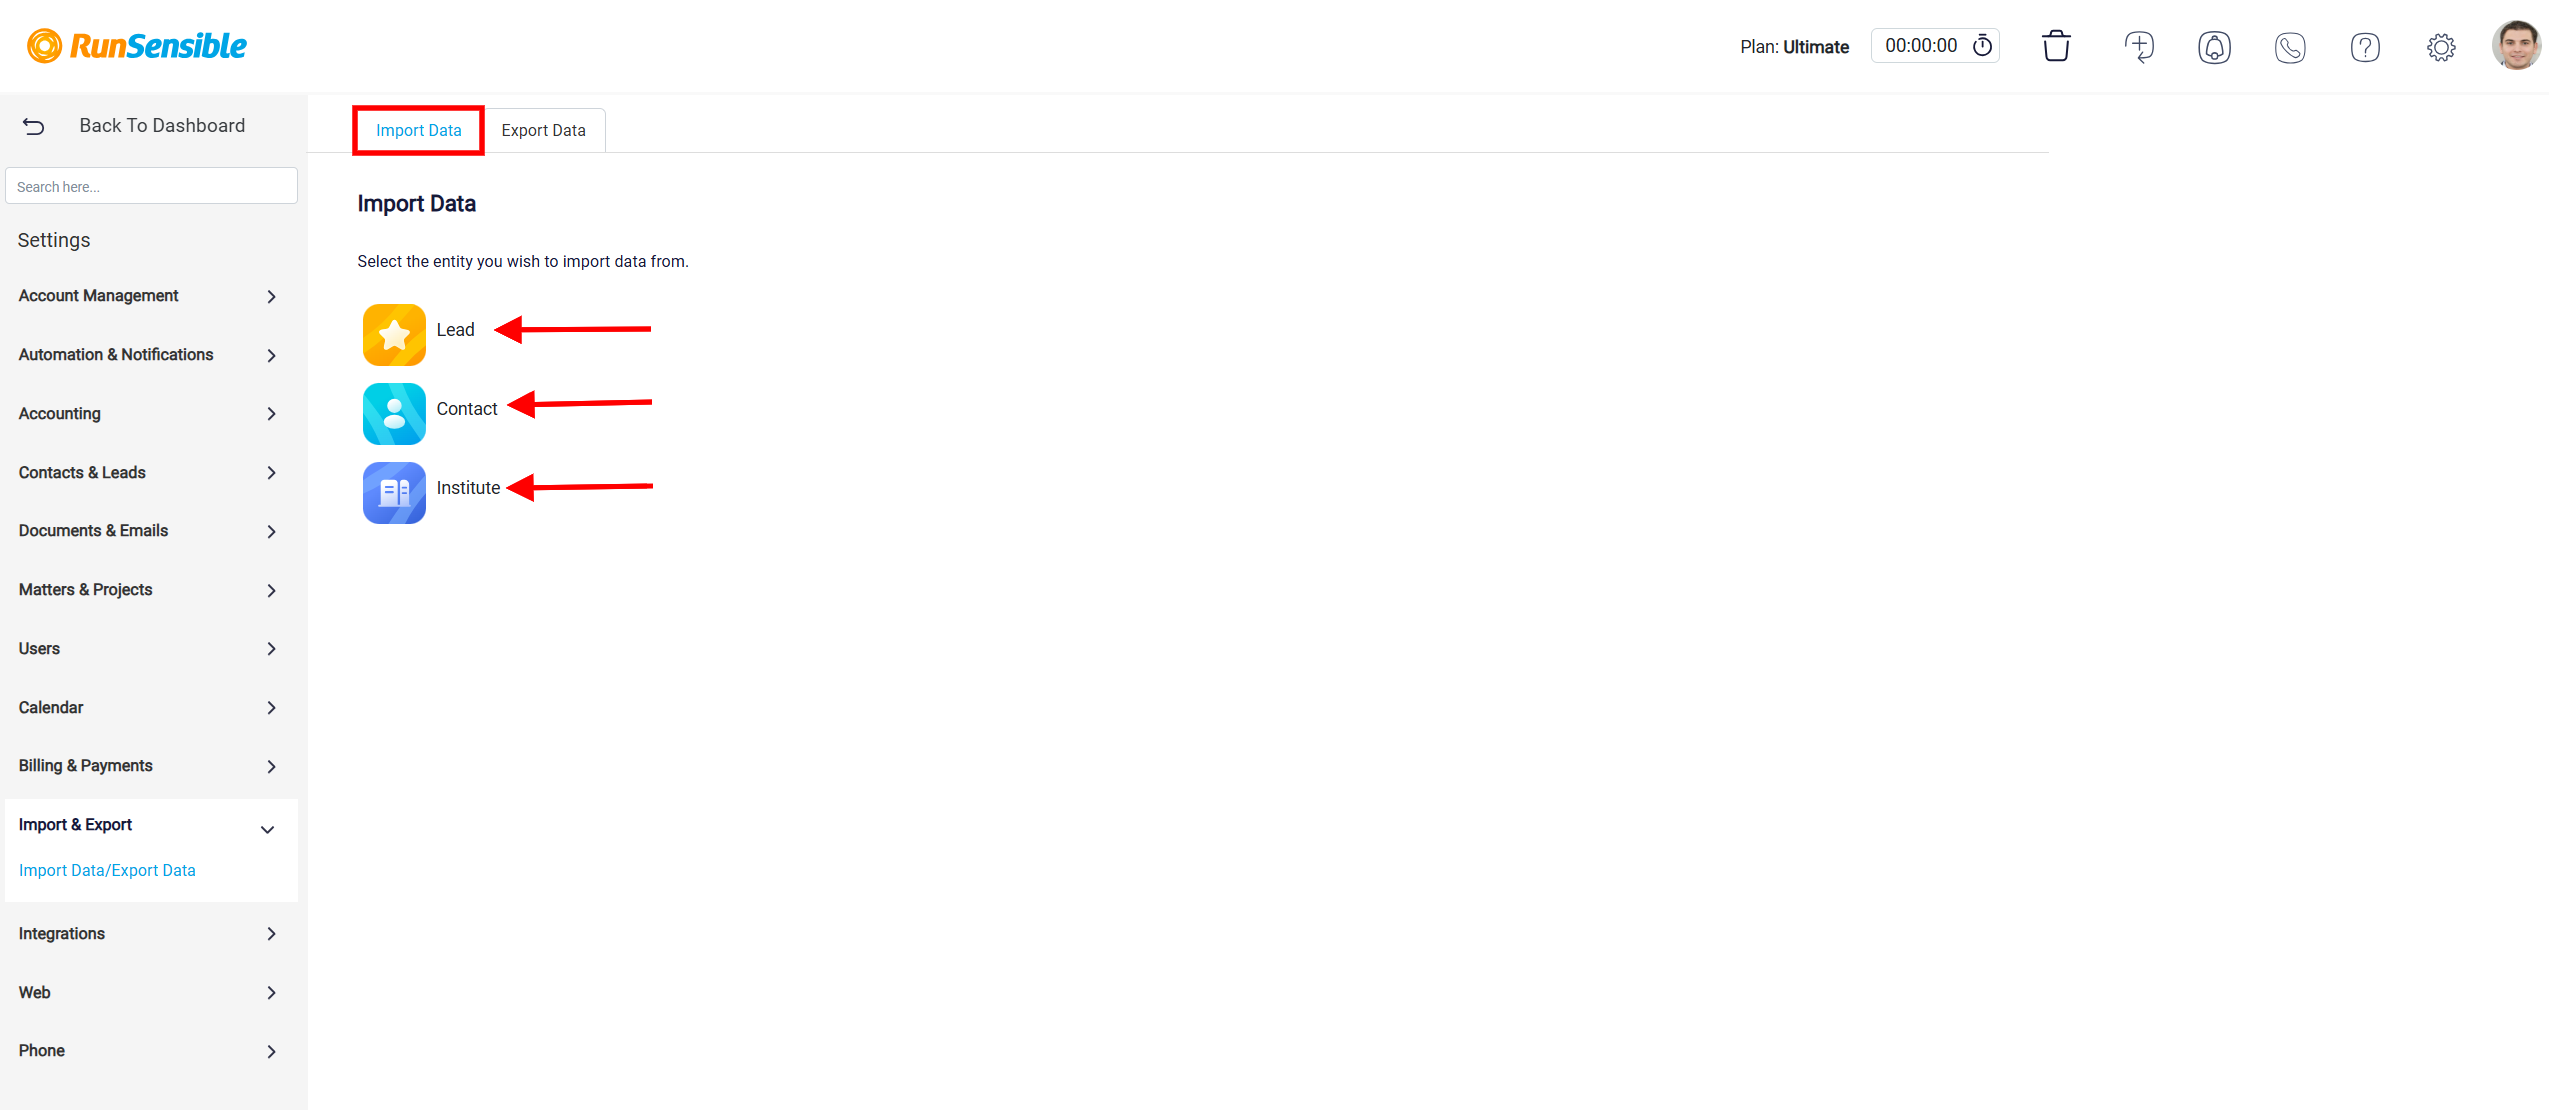
Within the settings menu, locate and select the Import & Export. From here, proceed by selecting Import Data/Export Data, which will guide you to the next step.
Alternatively, you can access Import Data/Export Data by using the Search box or selecting Import & Export directly from the Settings page.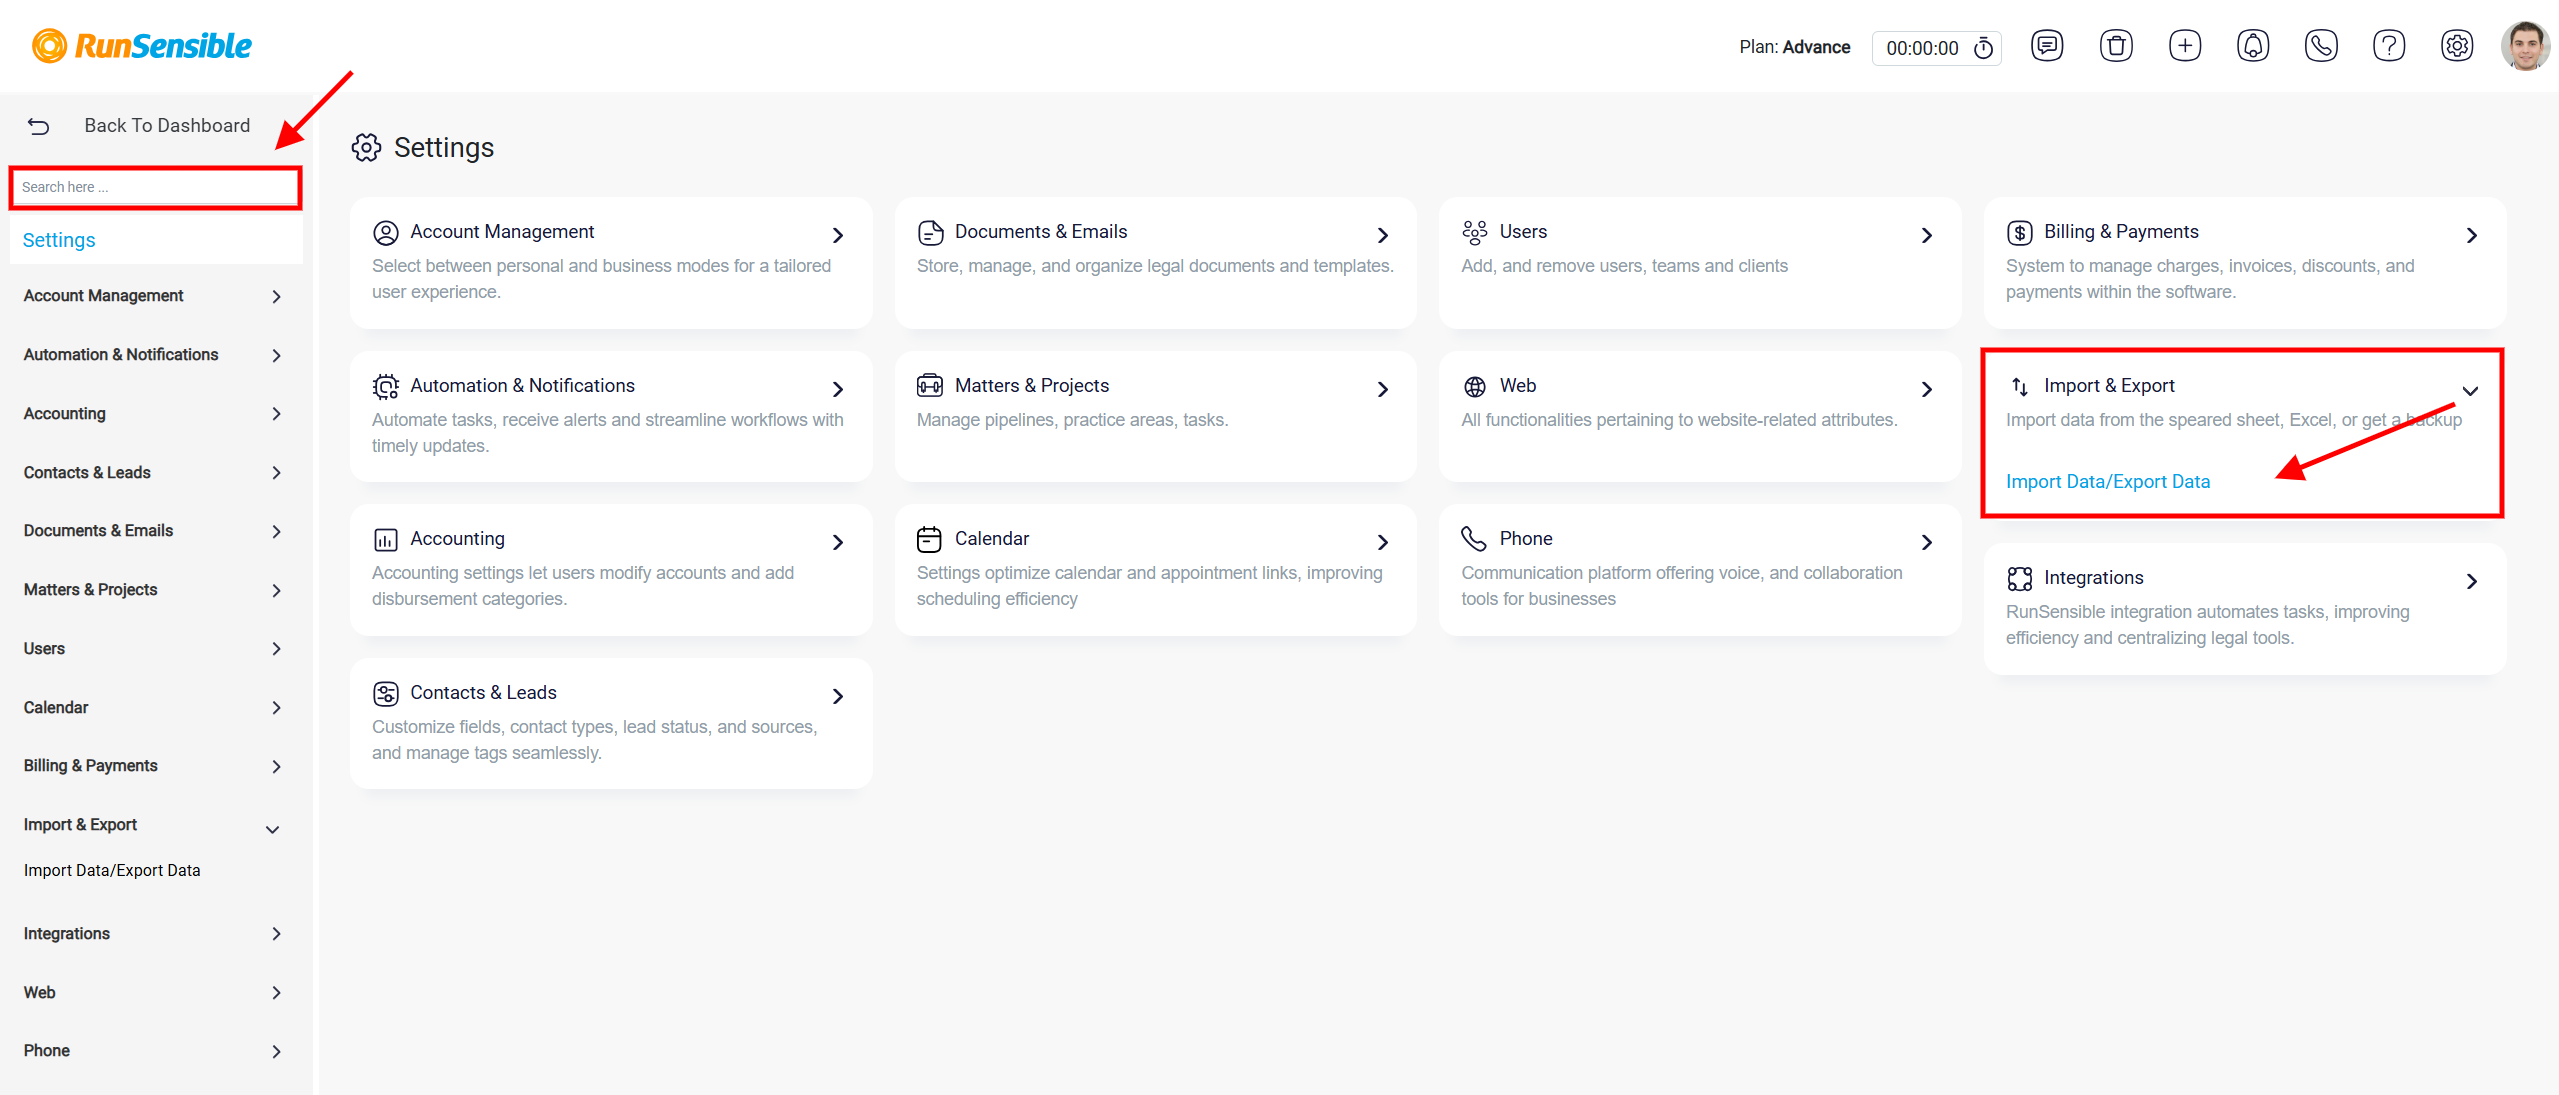
At this stage, you need to specify the type of entity you want to create or update. The system supports three types of entities: Lead, Contact, and Institute.
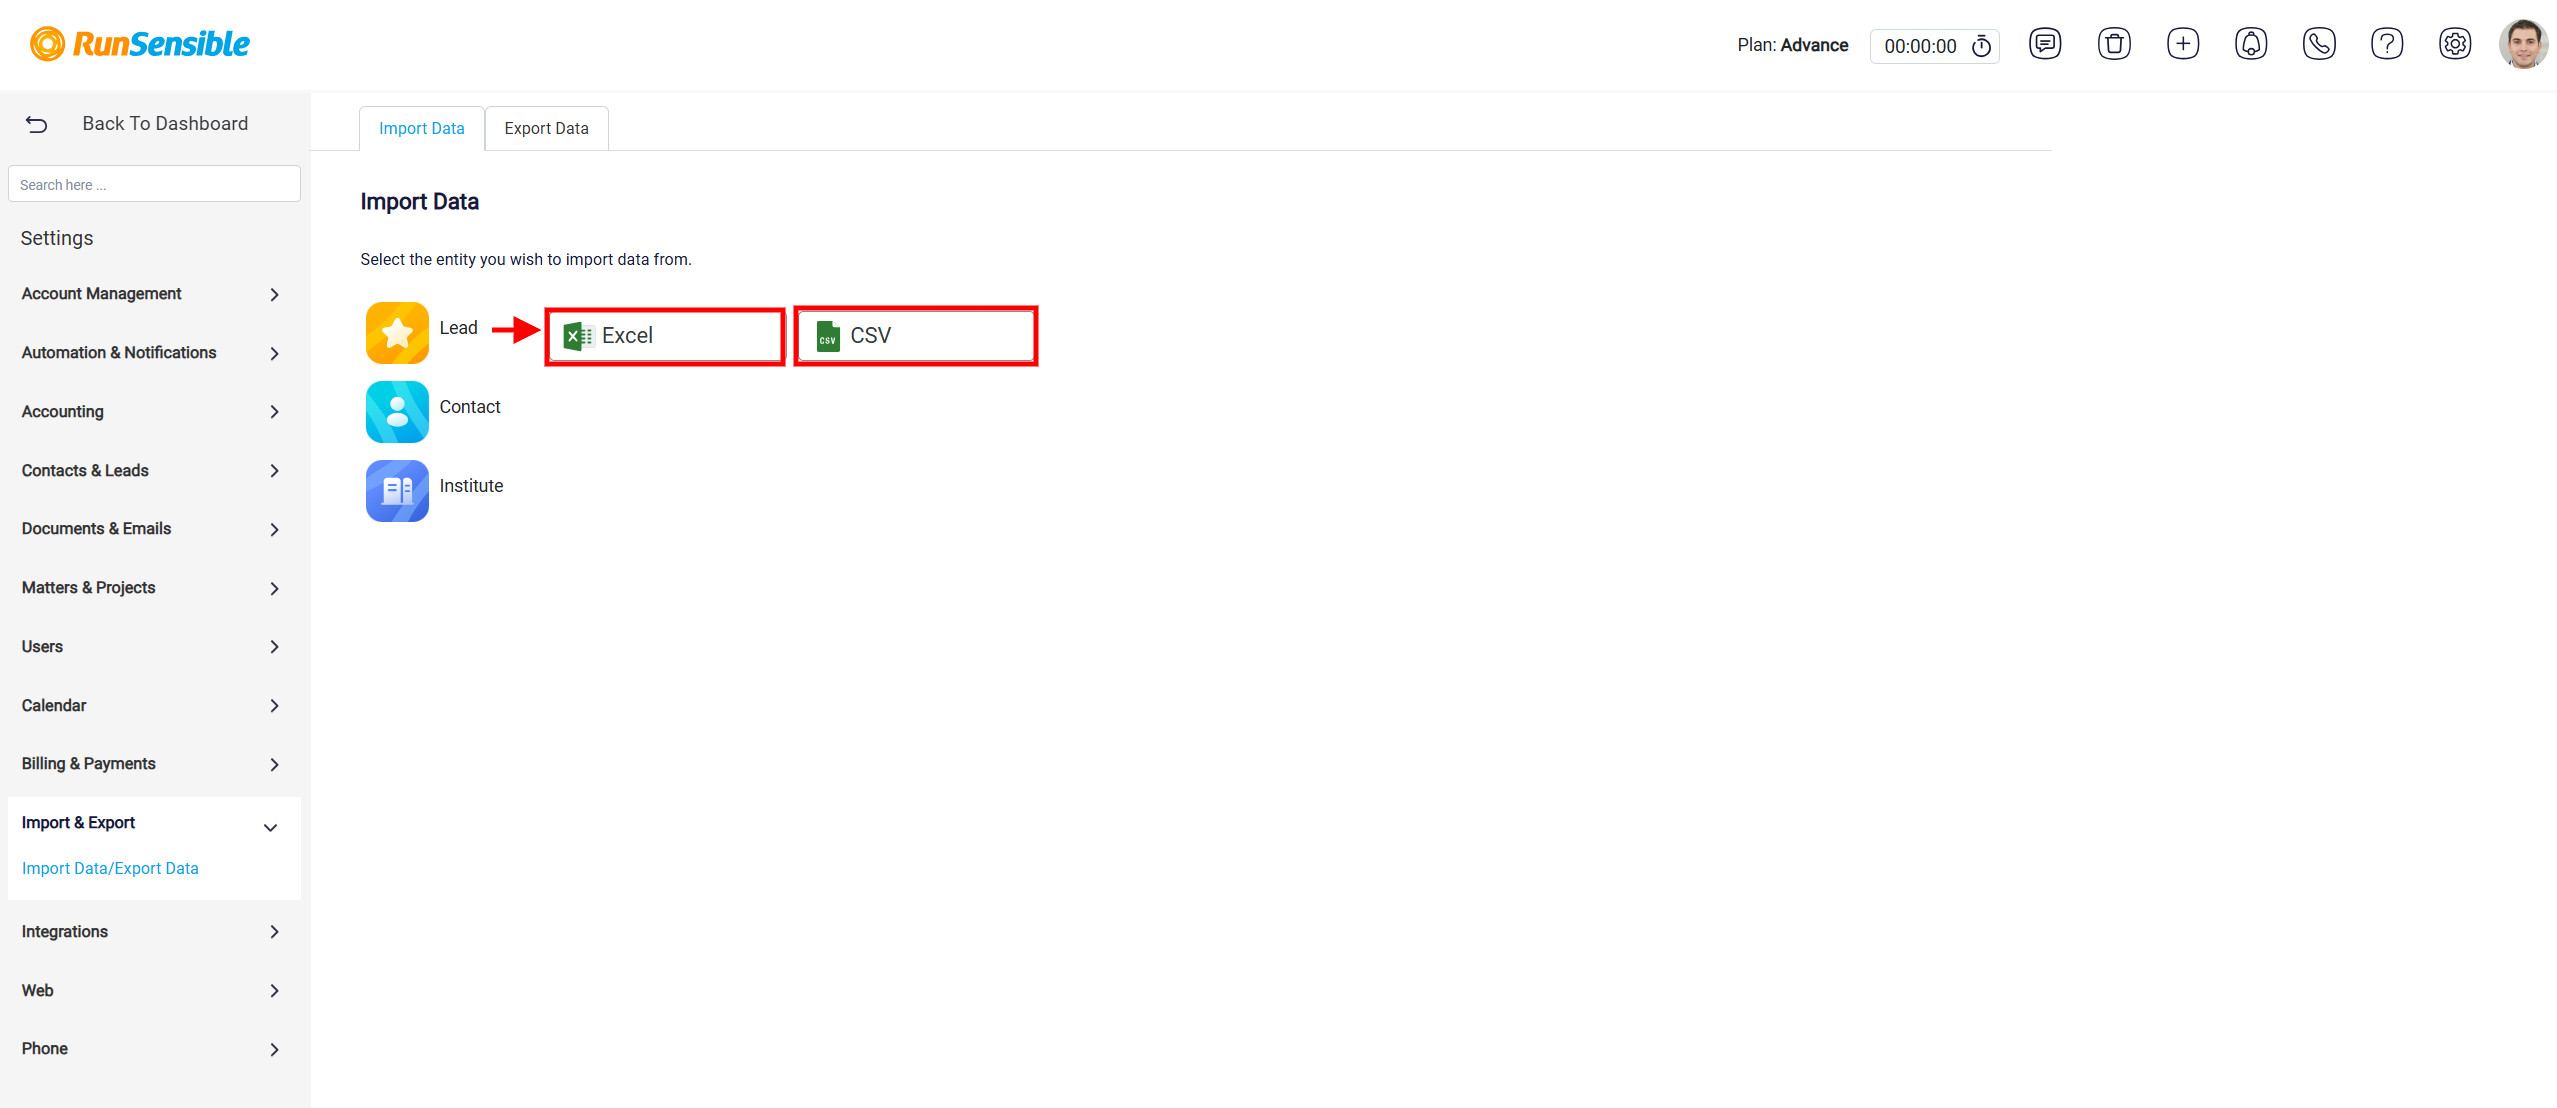
Once you choose the desired entity, you will be presented with two options for importing data: Excel, and CSV. Select the format that matches your data file to proceed.
Uploading and Reviewing Files
Once you make your selection, a new panel will appear and guide you through the remaining steps of the upload process. Within this panel, there is a designated area labeled Click to Upload or Drag and Drop File here.
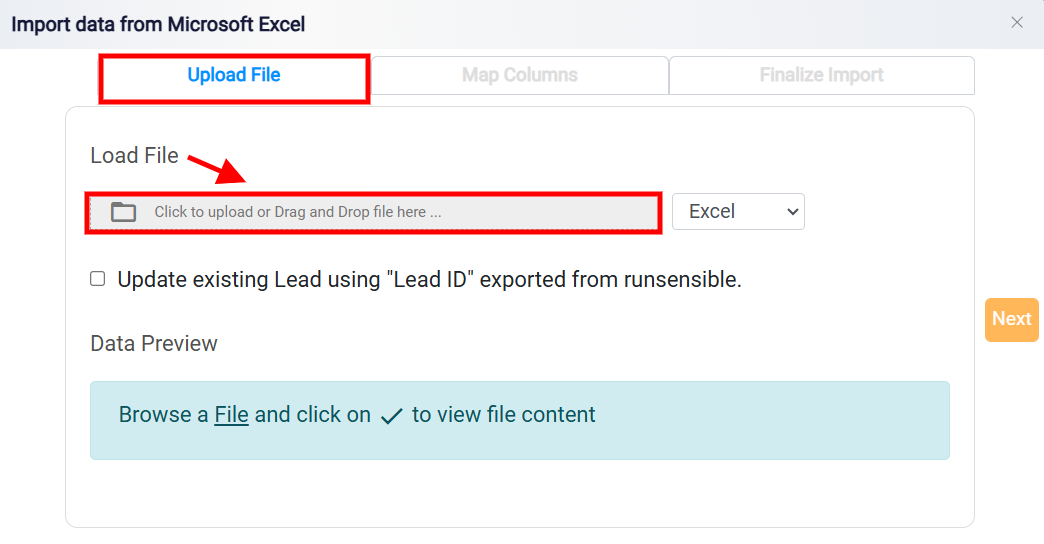
You can upload your file by clicking on this area, which opens a file browser for selecting the desired file, or by dragging and dropping the file directly into the upload box. Once your file is uploaded, the system will automatically process the data and display a preview of its contents within the same panel.
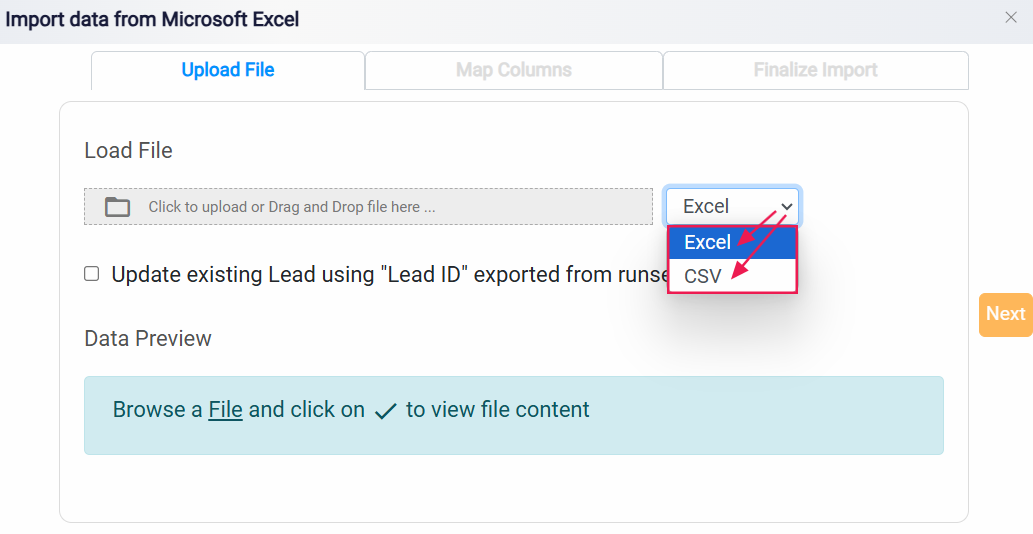
Next to this, you also have the option to convert the file to a CSV format.
The Data Preview feature is an essential step, as it allows you to verify that the uploaded data is properly formatted before proceeding further. The preview provides a detailed overview of your data, ensuring that everything is in order and aligned with the system’s requirements.
The preview panel highlights the header row of your file in blue. This header row serves as a reference for identifying and mapping each column to its corresponding data field in RunSensible but is not used to create records. This step ensures the data is accurately mapped, maintaining consistency throughout the import process.
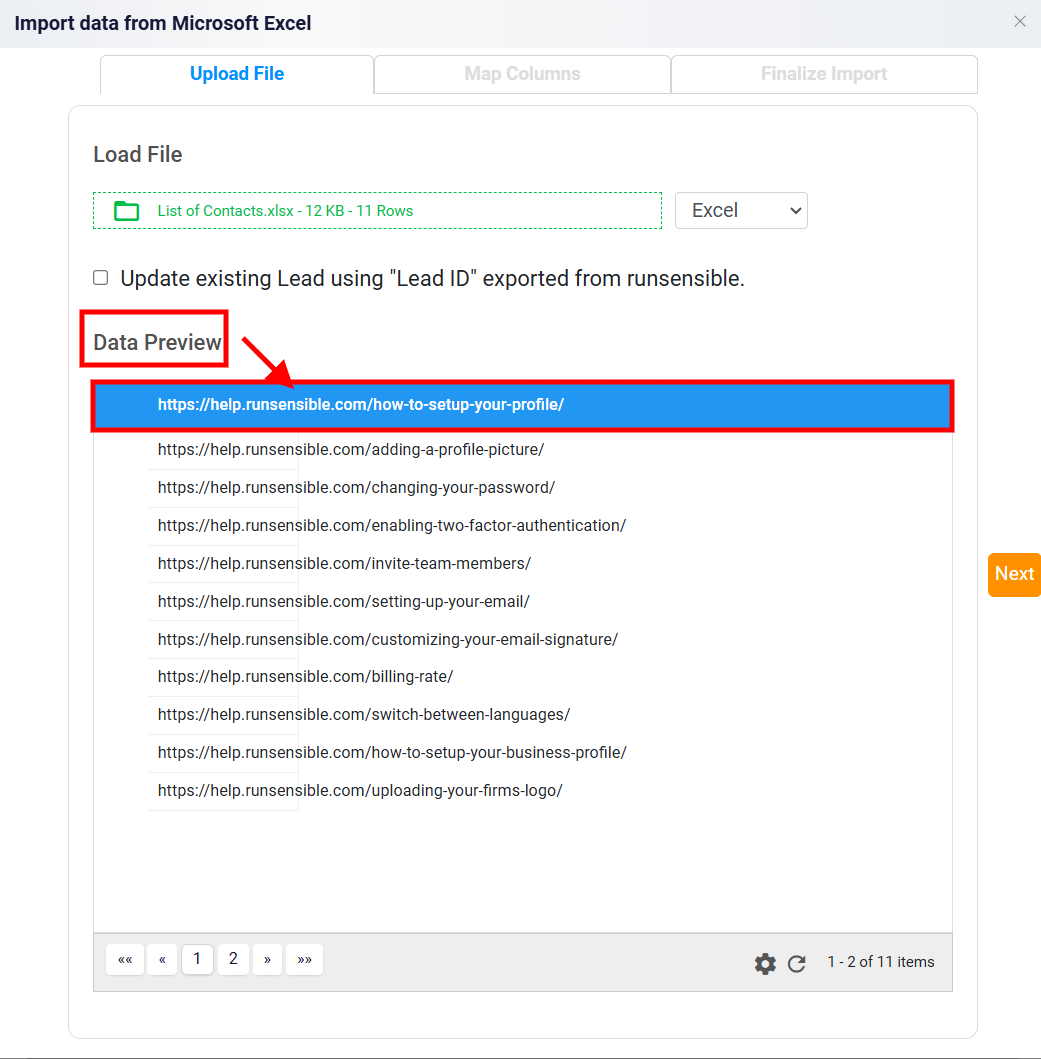
The preview also allows for additional functionalities, such as sorting data within any column. By clicking on a column name, you can sort its contents in descending order. Clicking the column name again will reverse the sort to ascending order. These sorting capabilities enable you to organize and verify the data for clarity during the mapping process.
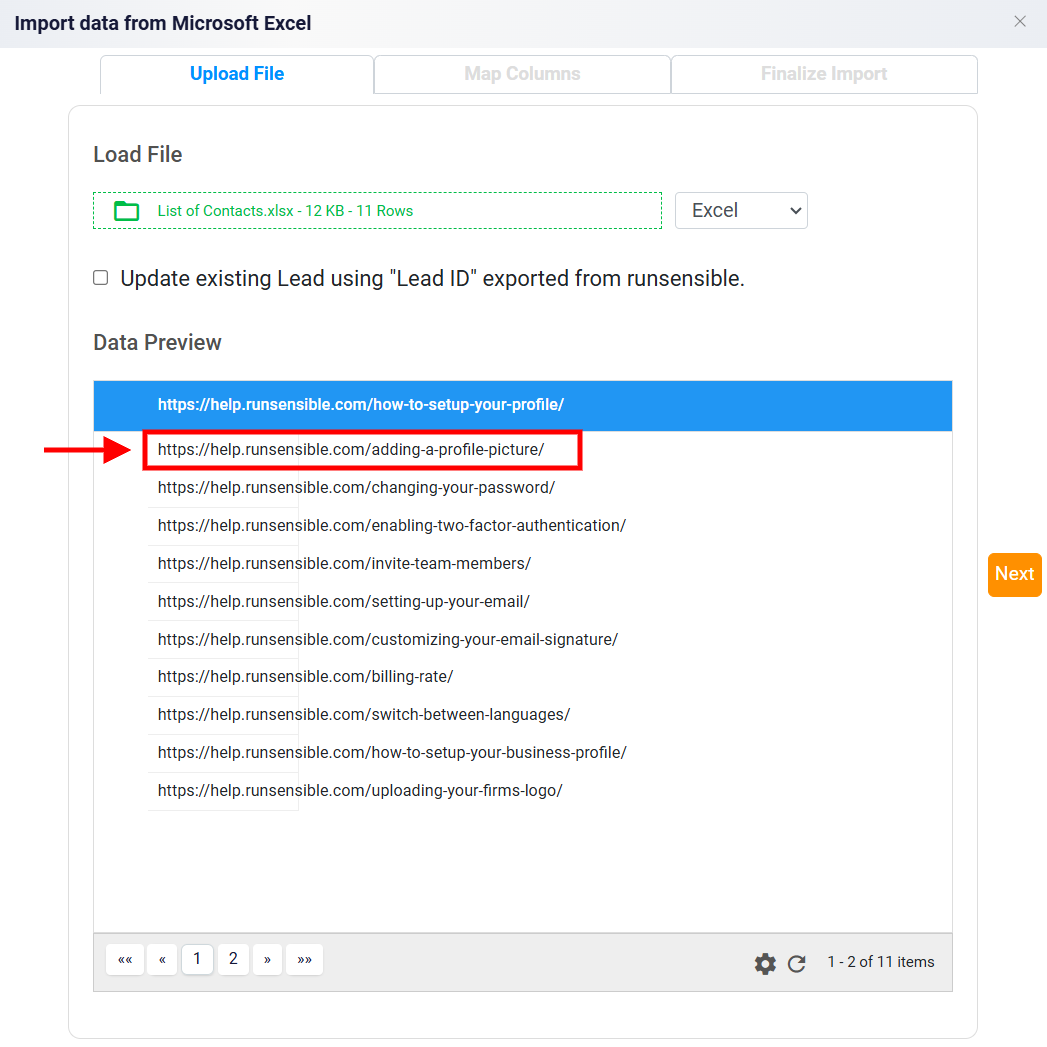
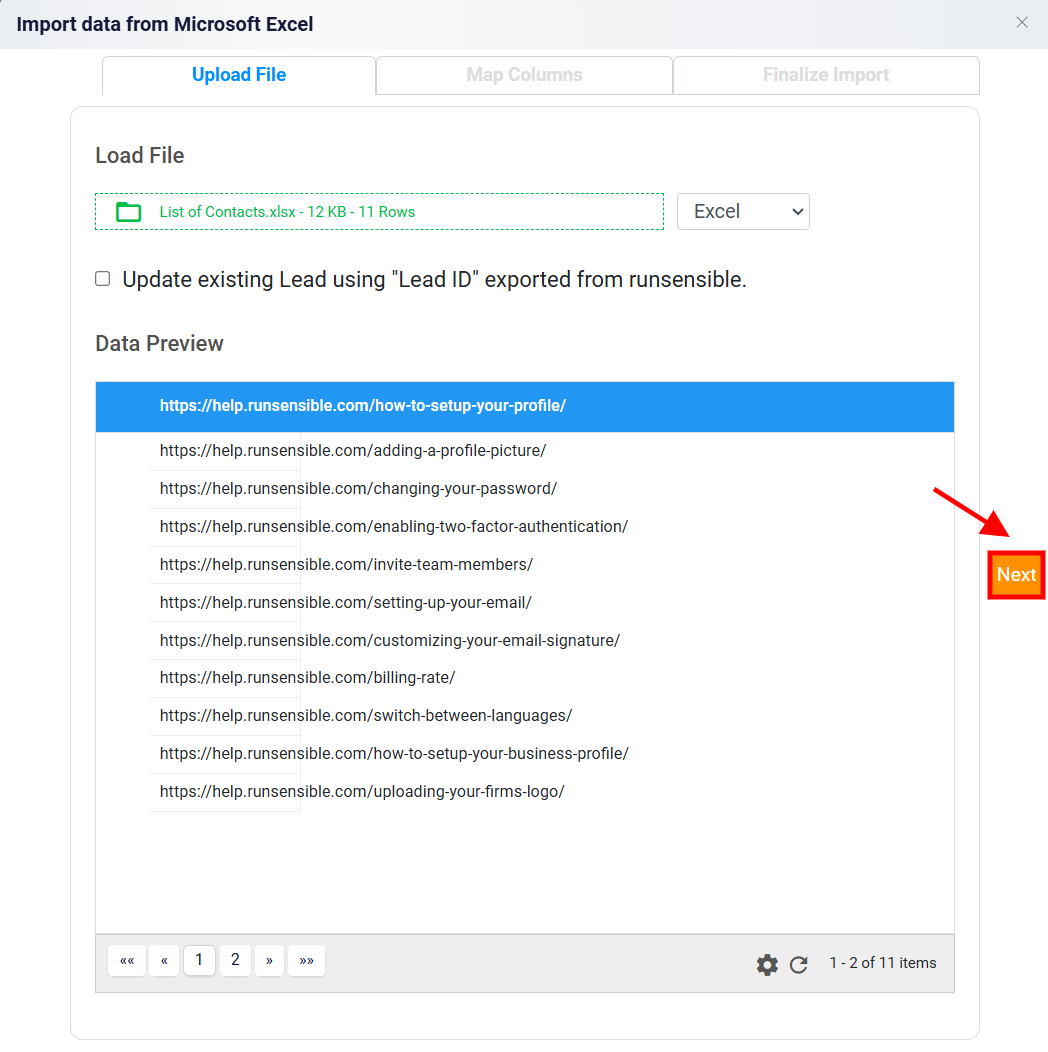
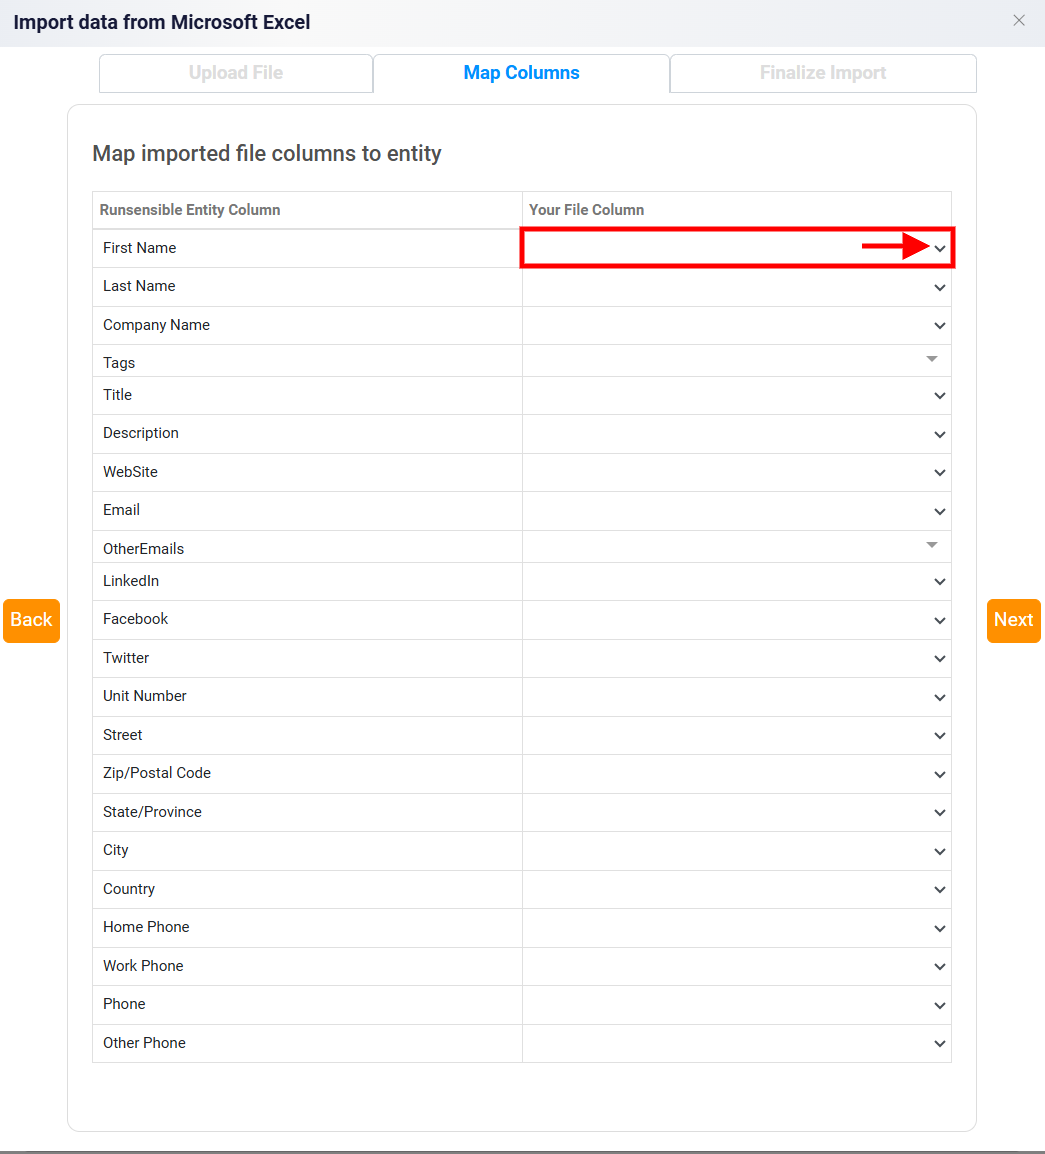
Once you have verified your data in the preview panel, click the Next button to proceed to the Map Columns tab. This step is crucial for ensuring that the data in your file is correctly assigned to the corresponding information fields in the system.
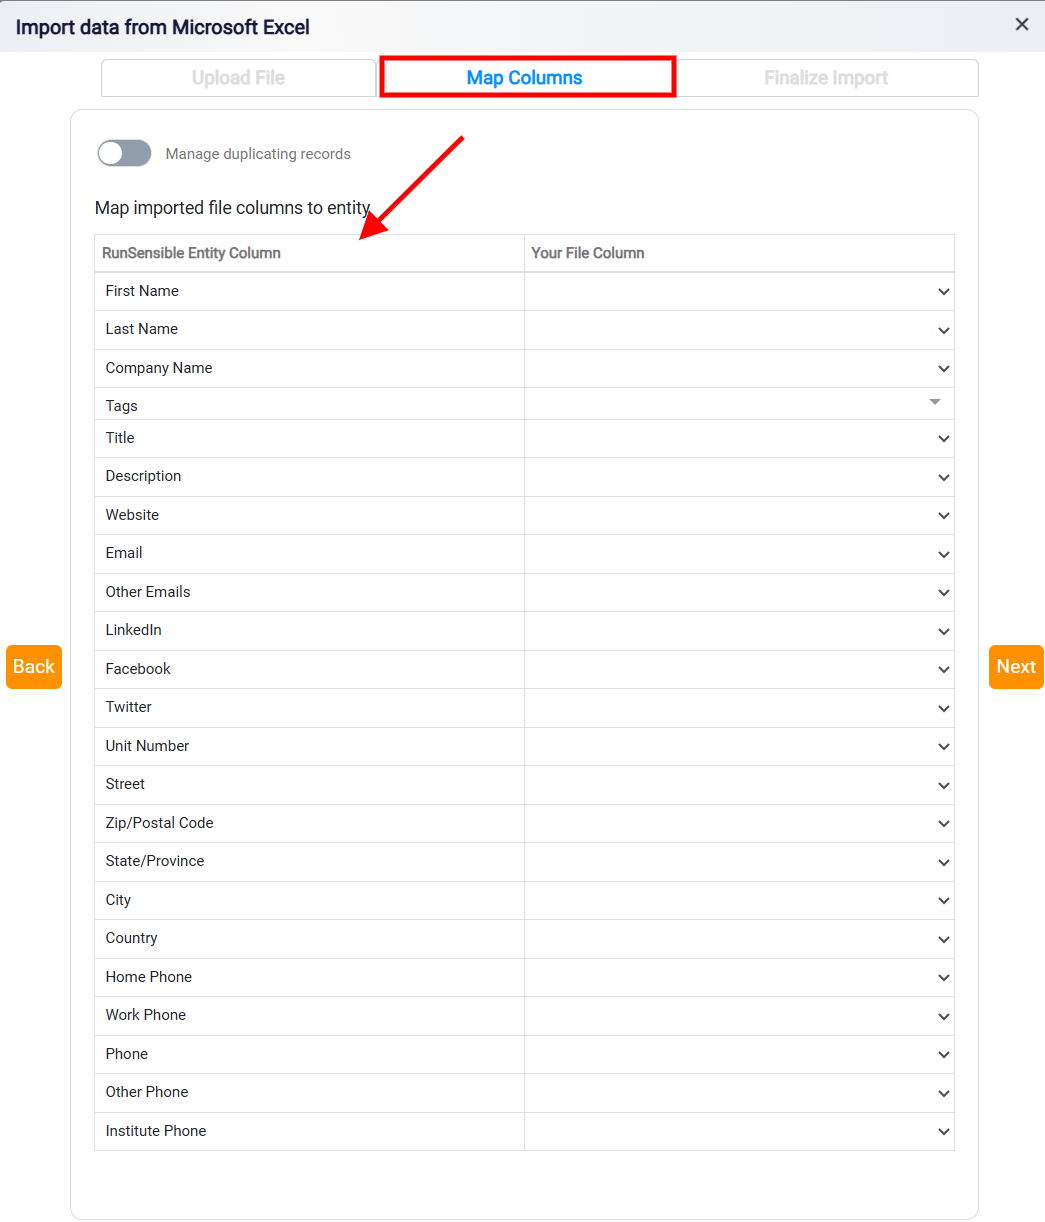
Each column in your file represents a specific type of data, such as names, email addresses, or phone numbers. These columns must be accurately mapped to their appropriate fields within the system to ensure that the imported data populates the correct sections of your records.
Additionally, a dropdown menu on the right side of the panel provides the option to change the file type if an incorrect format was selected initially. This flexibility eliminates the need to restart the entire process, saving time.
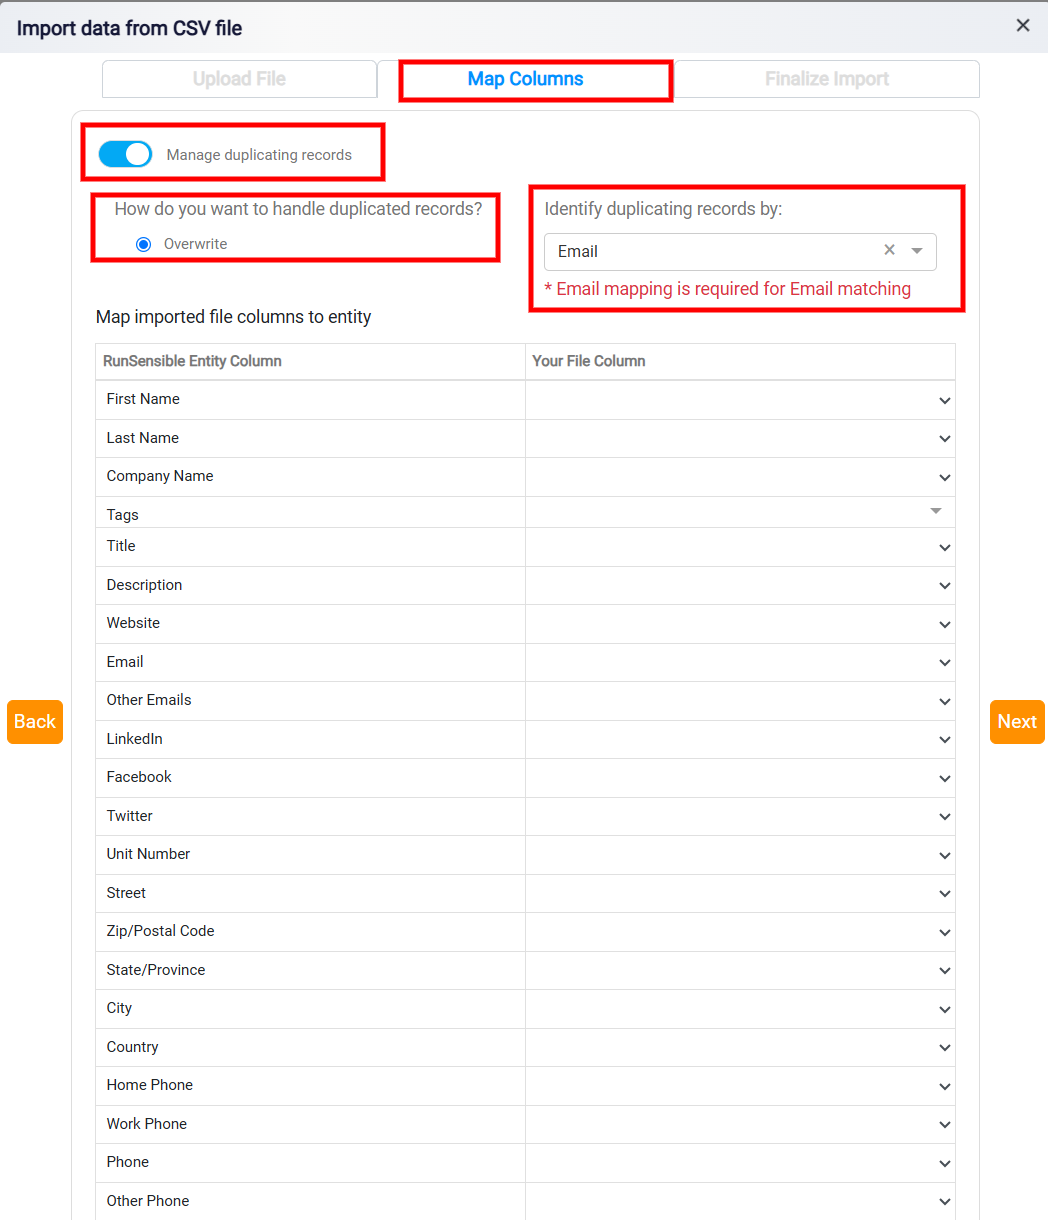
If you want RunSensible to identify and handle duplicate records during the import, turn on the Manage duplicating records toggle. You can then choose how duplicate records should be handled. Selecting Overwrite will update an existing matching record with the information from your imported file.
Under Identify duplicating records by, select the field RunSensible should use to determine whether a record already exists. For example, if you select Email, RunSensible will compare records based on their email addresses. Make sure the corresponding Email field is also mapped to an email column in your CSV file; otherwise, the system will ask you to complete the required mapping.
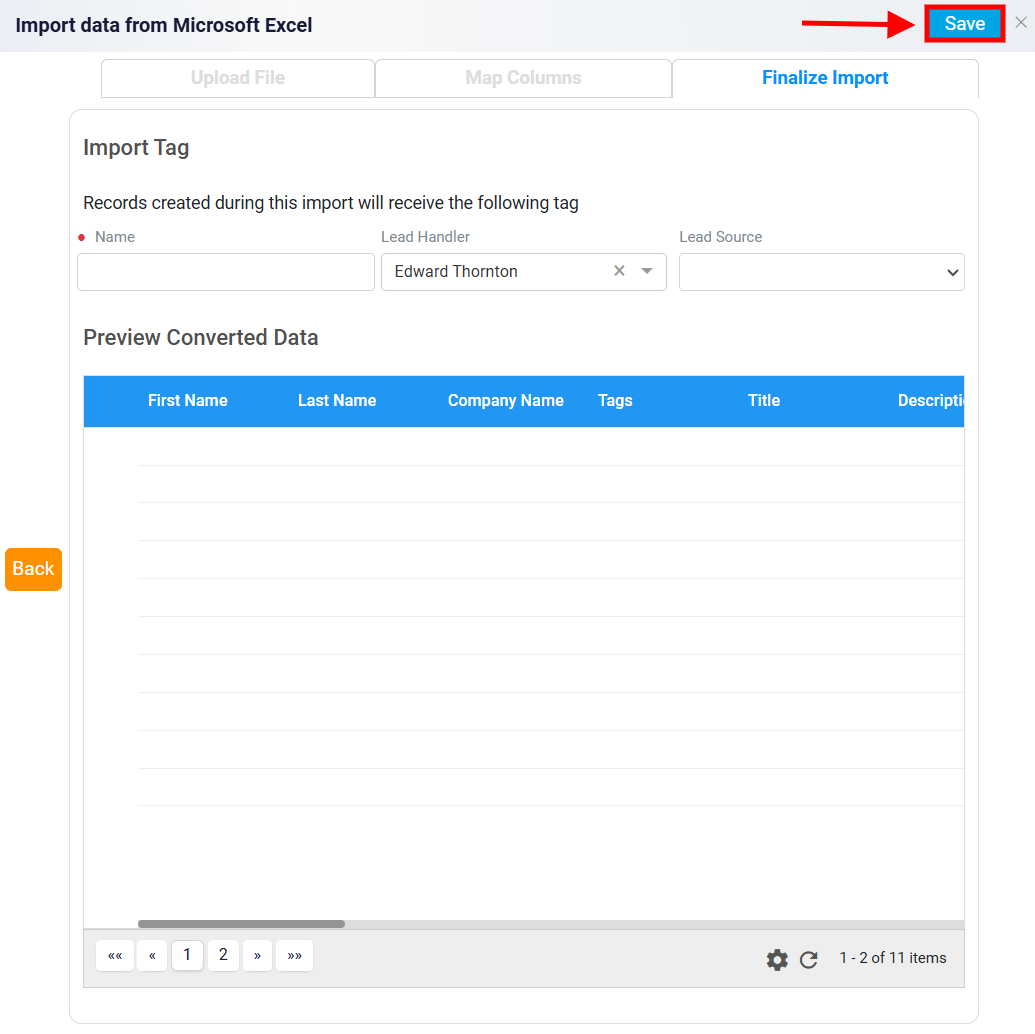
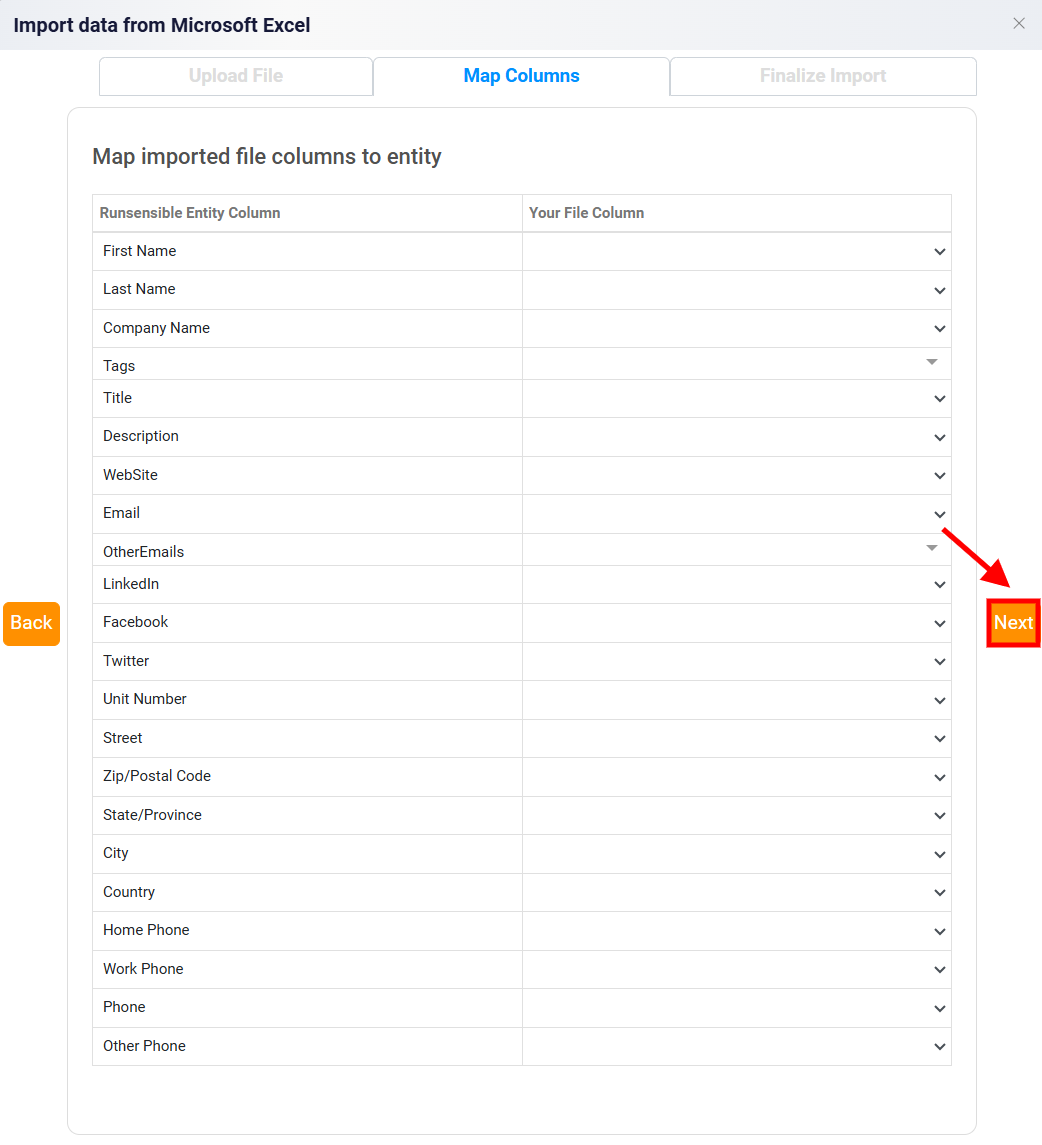
Once the column mapping is complete, click the Next button to move to the Finalize Import tab.
In this section, you will assign a tag Name to the records being created or updated during the import process. Enter a meaningful tag name in the provided text box. Tags serve as identifiers for the imported records, making it easier to locate and organize them within the system.
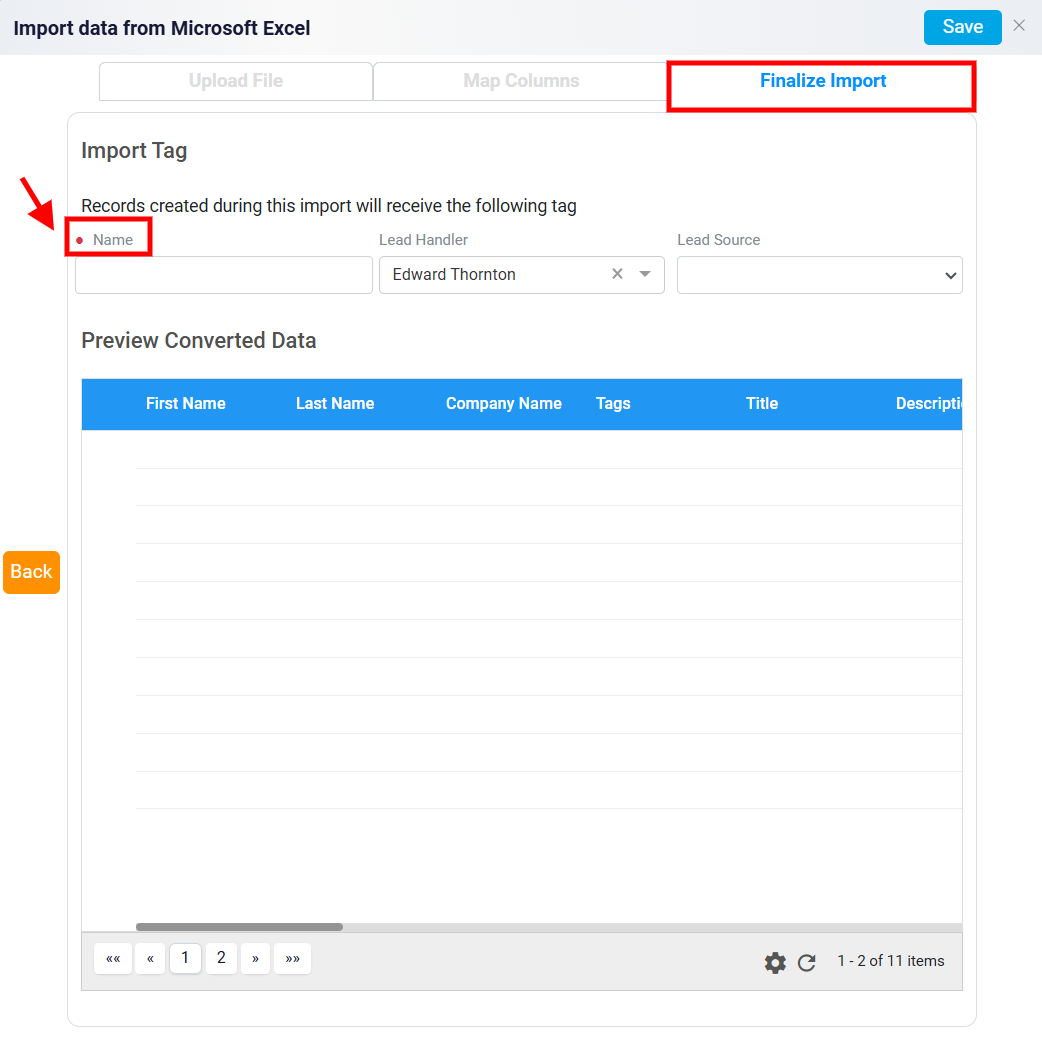
After entering the tag name and reviewing all the details, click the Save button, which is located in the top-right corner of the screen. This action completes the import process, and the system creates or updates the selected records based on the data in your file.