Create a Word document template
In RunSensible, you can upload document templates that you’ve created in Microsoft Word directly into the system for future use. While you won’t be able to edit the content within the template once it’s uploaded, you can add specific roles or placeholders before uploading it. These roles are crucial, as they define where the system will automatically populate information in the template. You can add these roles manually in your Word document, or for greater convenience, you can use the Microsoft Add-in tool we’ve developed. This tool allows you to create your template and insert the necessary roles effortlessly. Once uploaded, the system will recognize these roles and automatically fill in the relevant information, streamlining your workflow and minimizing the risk of errors.
For more details on the Microsoft Add-In, refer to the How to Create Word Templates with RunSensible Microsoft Add-In help file.
Before uploading your Word template to the software, it’s important to set it up correctly in Microsoft Word. This means making sure that placeholders for recipient information are properly formatted so the system can recognize and fill in the right details. Doing this ensures that when the template is used, the correct information is automatically inserted in the right places.
To add placeholders for recipient information, a specific method must be followed. Each placeholder is enclosed in curly braces {} to signal to the software that this field is meant to be filled in. Inside these curly braces, there are two key components: the role of the recipient and the specific type of information required.
The first part of the placeholder, located before the hyphen, identifies the role or category of the person whose information is needed, such as a lawyer, client, or involved party.
The second part, found after the hyphen, specifies the exact details to be inserted, such as the individual’s first name, last name, or full name. For example, the placeholder {Client-FullName} would instruct the software to insert the full name of the client in that spot.
Once you have created your template, you can upload it to the software.
To upload a Word template to your documents, begin by clicking on the Settings icon at the screen’s top right corner.

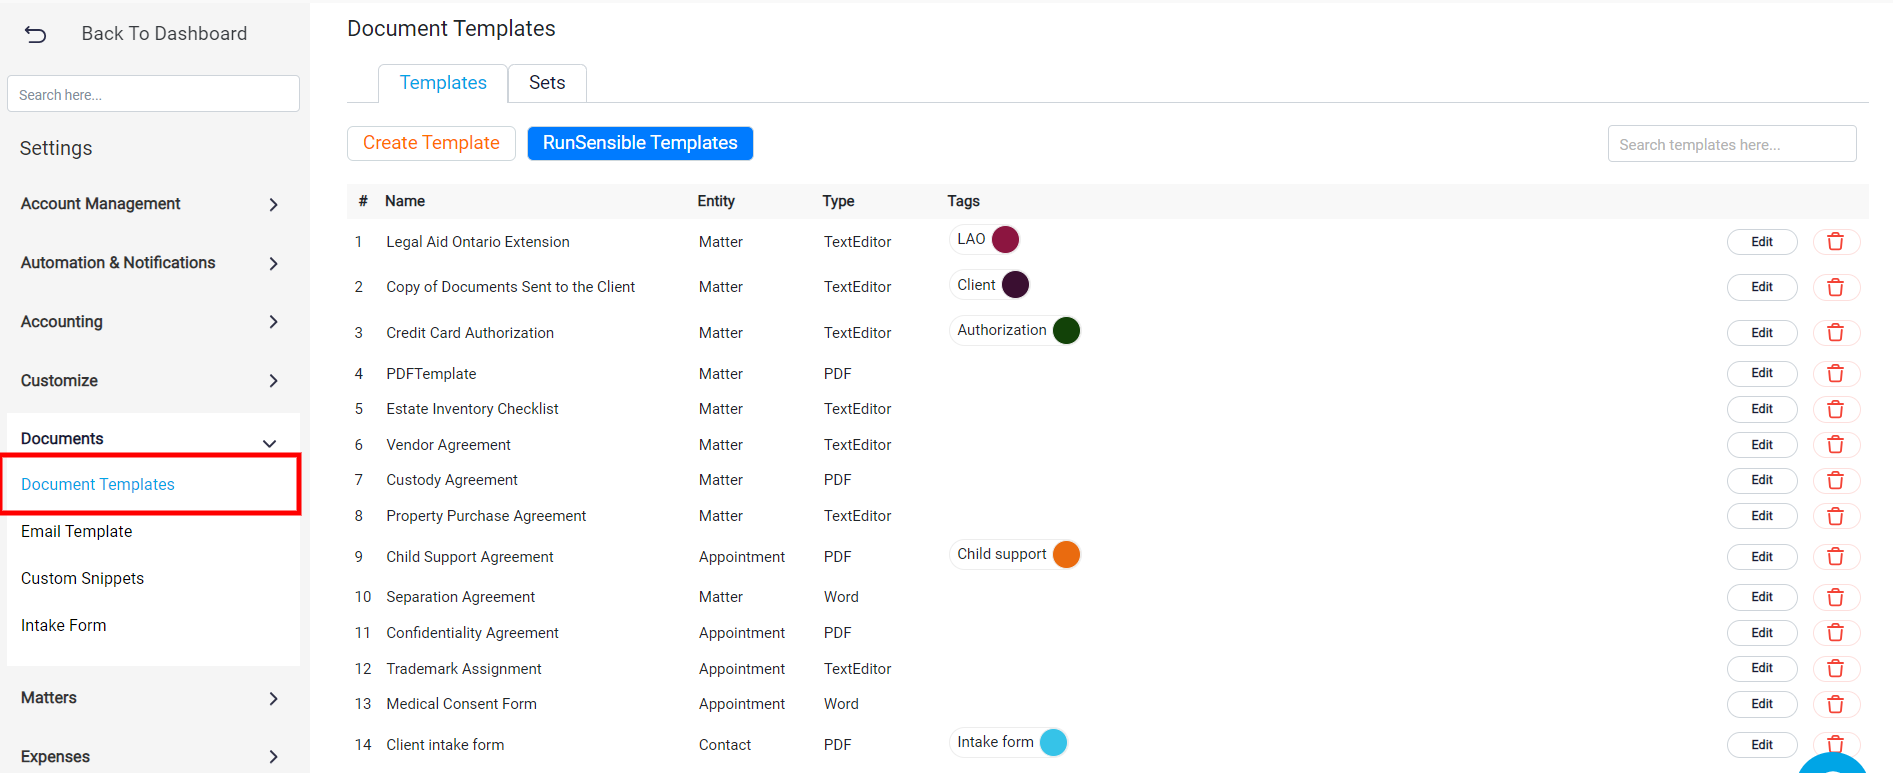
After accessing the settings. go to Documents and select Document Template. This will bring you to the area where you can manage your Document templates.
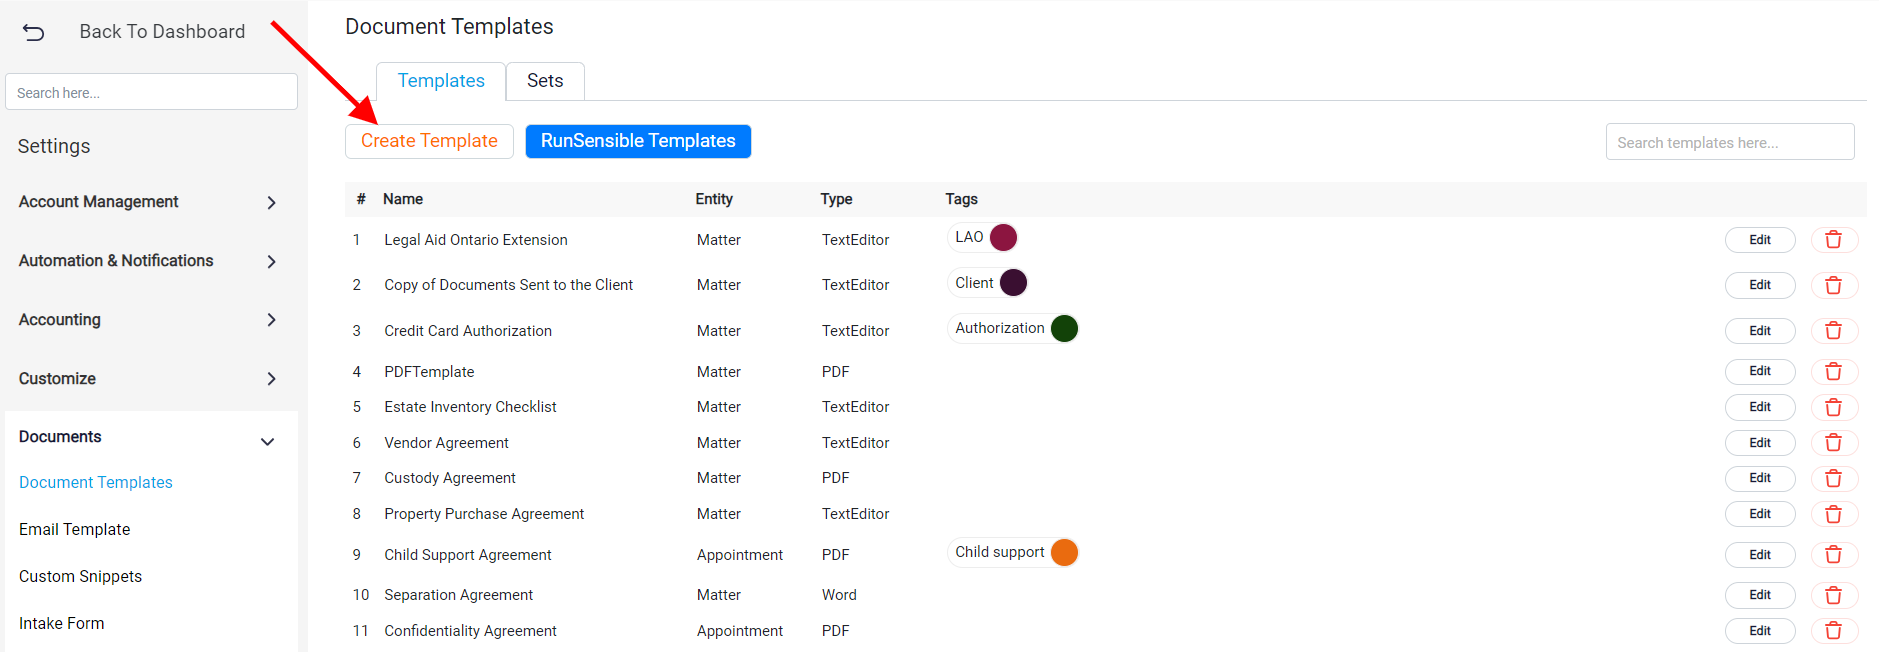
Here, you’ll need to provide details about the template you’re uploading. Start by entering the name you want the template to be saved under in the Name box. This will be the identifier for your template within the system.

Next, determine whether this template will be used for Matters, Contacts, or Events by selecting the appropriate option.
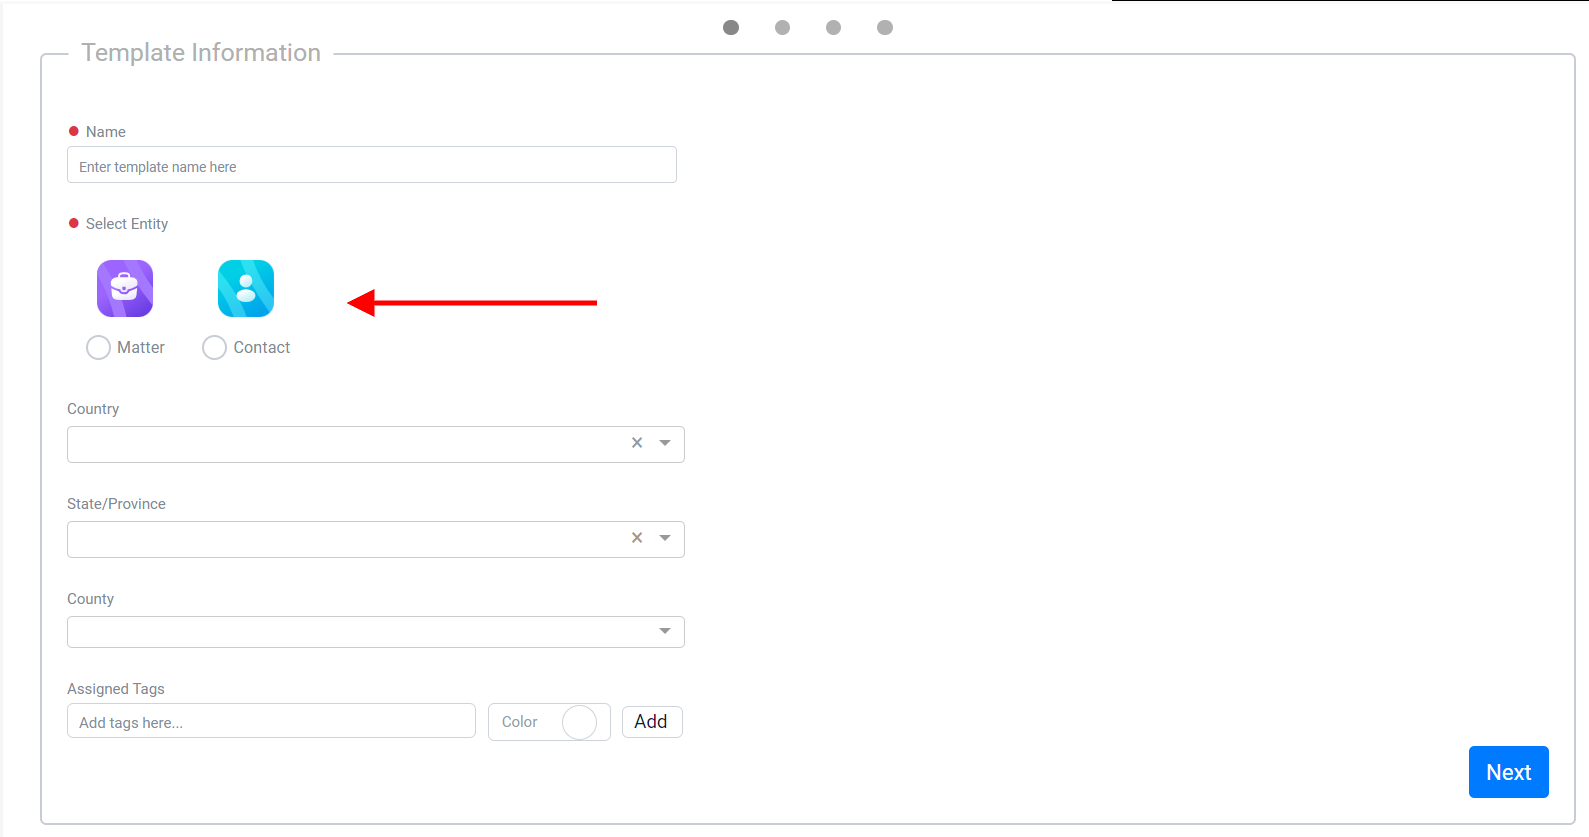
You’ll then need to specify the Country and State/Province where the template will be applicable, particularly for cases or situations relevant to that region. This ensures the template is used in the appropriate legal or geographic context.
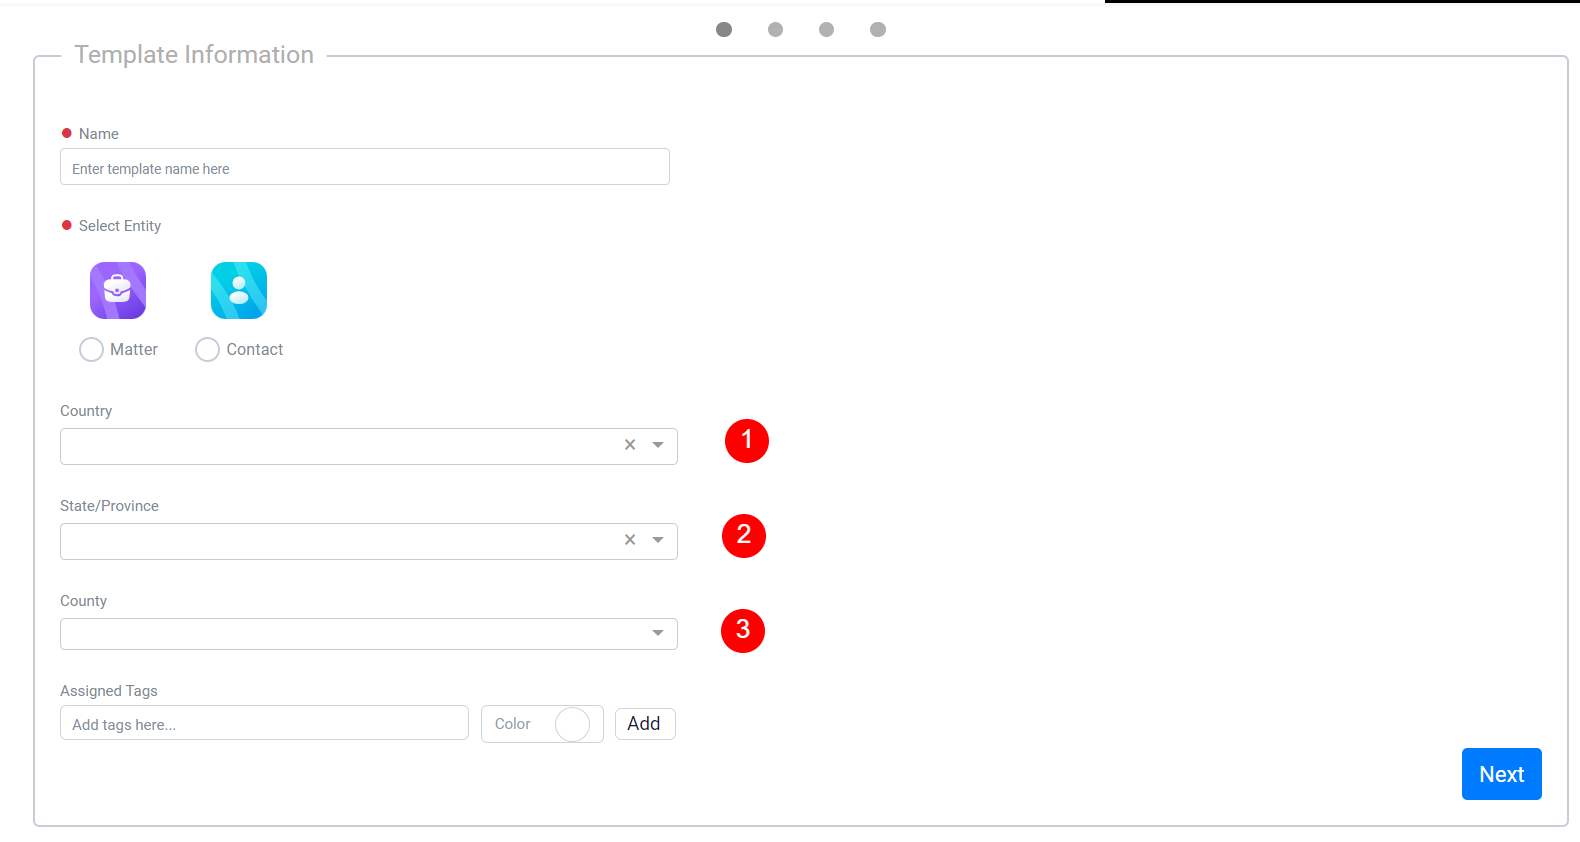
At the bottom of your template, you can add tags that will help with both organization and easy retrieval.
To do this, start by typing the name of the tag you want to use into the Assigned Tag box. You can then select a color for the tag by clicking on the white circle button located on the right side of the box. If you want to reuse an existing tag, enter its name, and it will appear as a selectable option. This allows you to apply the same tag to multiple templates, making them easier to find and categorize.
Once you’ve entered the tag name and chosen a color, click the Add button to attach the tag to your template. You can repeat this process to add multiple tags, ensuring that your templates are well-organized and easily accessible when needed.

Once you’ve completed the initial steps, click on the Next button located at the bottom left side of the screen.

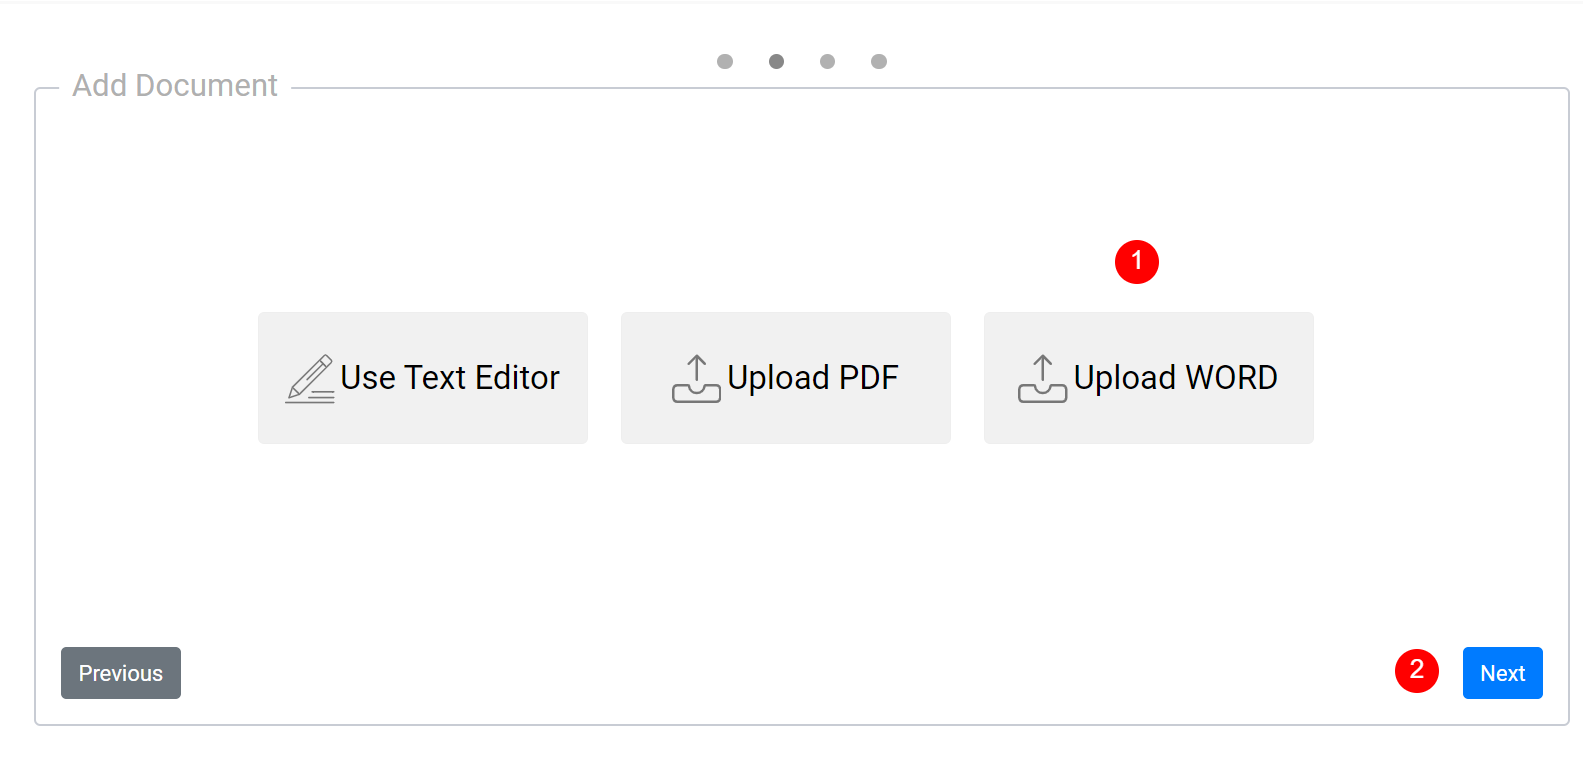
In the next step, you’ll need to specify the type of document you are working with. Since you’re uploading a Word document template, select the Upload Word option. Upon selecting this option, an upload panel will appear, allowing you to choose and upload the file you want. After selecting and uploading the desired file, click the Next button again, located at the bottom left of the screen.
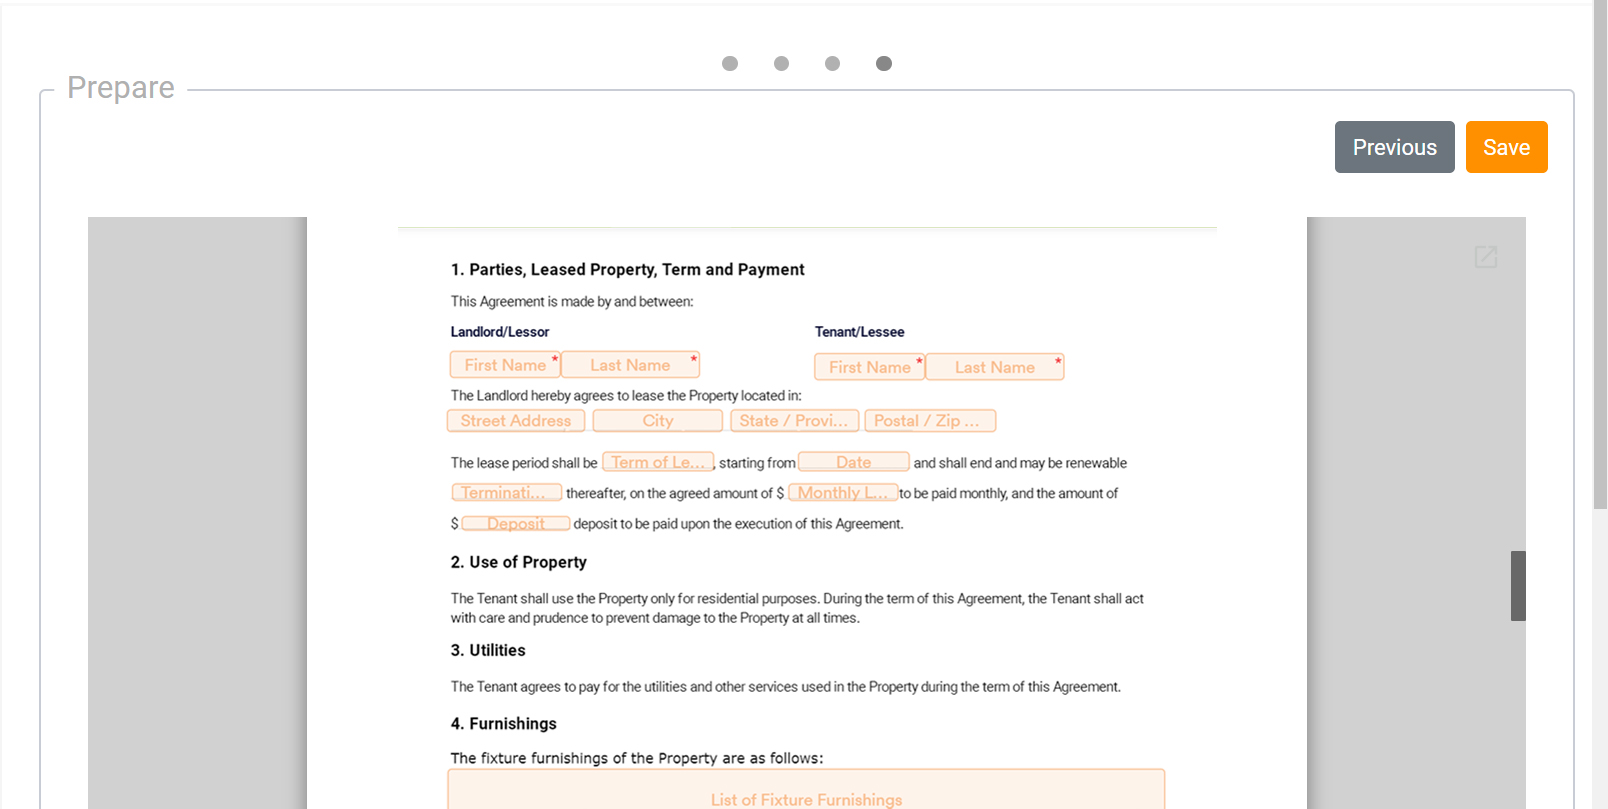
After uploading, you will be directed to a review page where you can double-check the template you’ve uploaded to ensure it’s the correct one. This step helps you confirm that the right document has been selected. Once you’re satisfied with the template, click the Save button located at the top right of the screen to finalize and save your document alongside your other templates.
