Communications
The Communications in RunSensible consolidates all communication channels, including emails, SMS, Messenger, and calls, into a unified interface. This allows you to manage client correspondence efficiently without switching between different platforms.
Accessing the Communications
Select Communications from the menu on the left side. This will open the communications interface where you can view all messages from different communication channels.
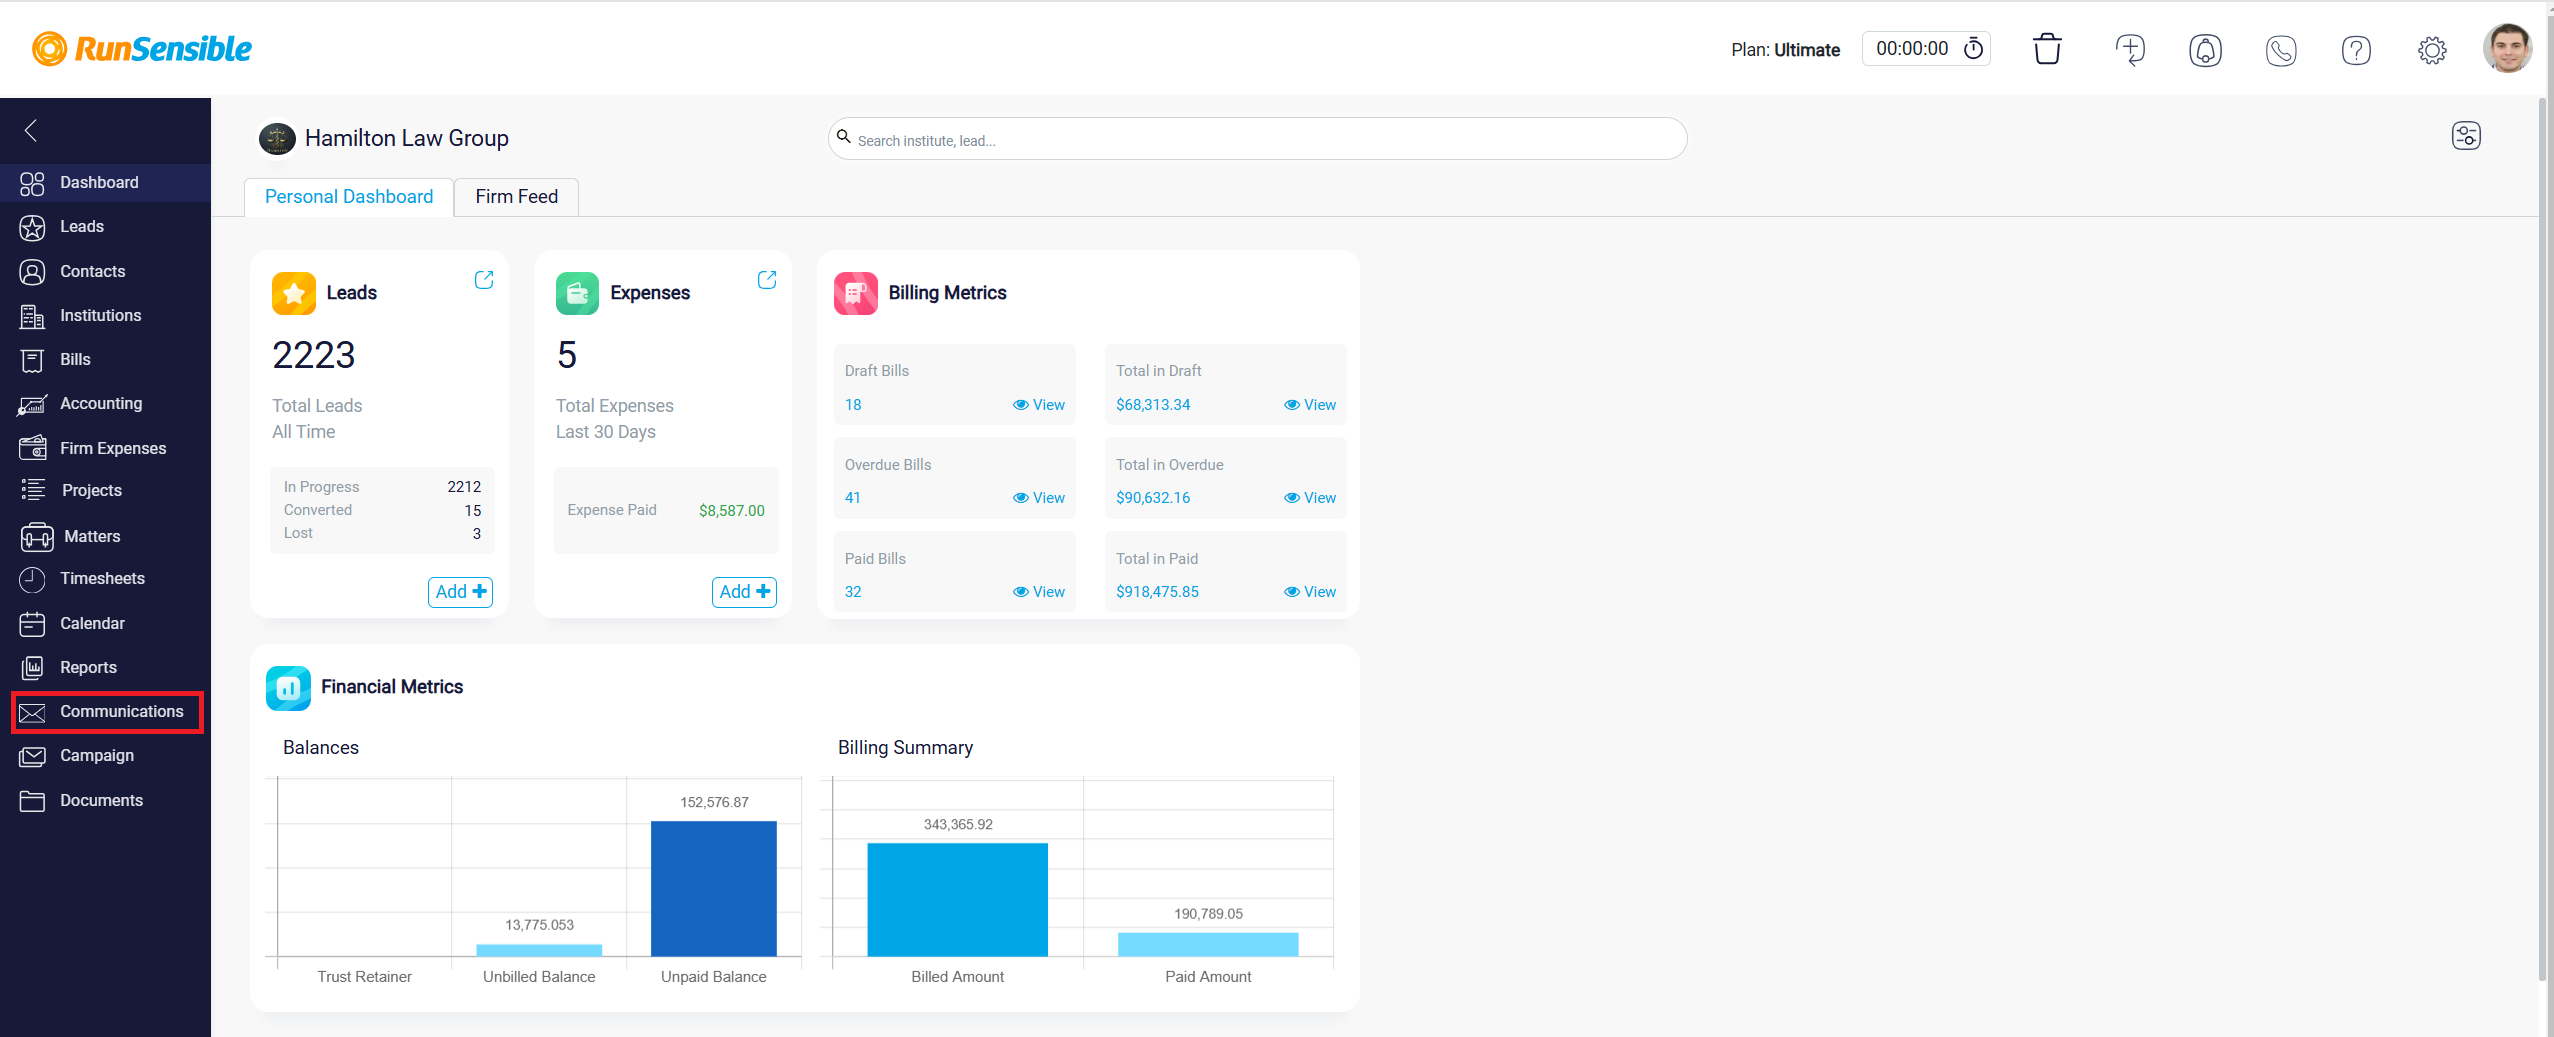
Accessing the Email Inbox
The Email Inbox tab is the default tab that appears first on your Communications page.
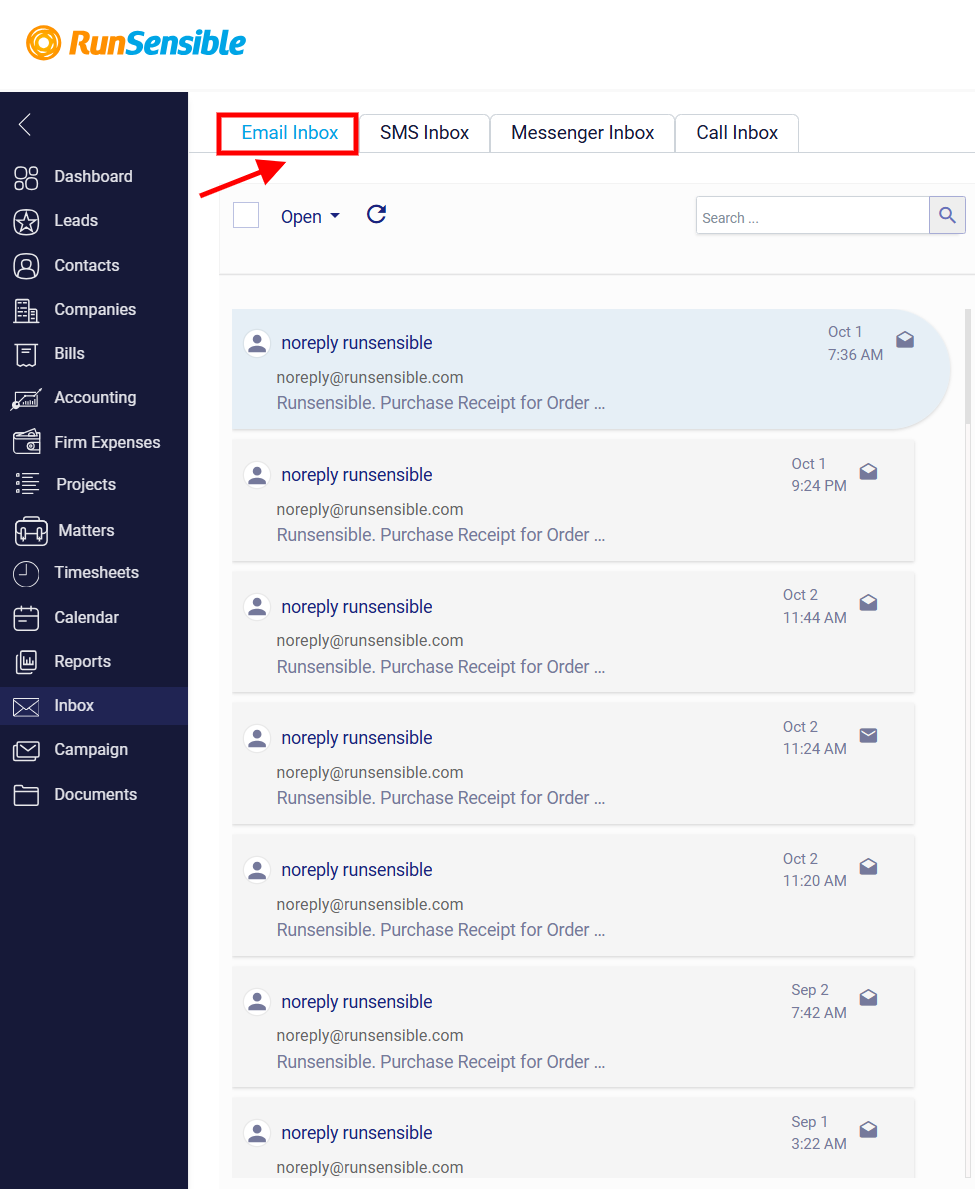
The Email Inbox interface is divided into three main sections. On the left side, you will find the Email List Panel, where all your received emails are listed. Each email entry displays the sender’s name or email address, the subject line summarizing the content, and the timestamp showing when the email was received. Unread emails are highlighted, making it easy to identify new messages. To view an email’s full content, simply click on it in the list.
At the top of the Email List Panel, there is a search bar that helps you locate specific emails by entering keywords, the sender’s name, or the subject line. You can also apply filters to show only unread emails or emails linked to specific contacts or matters.
On the right side of the interface, the Message Detail Panel displays the complete content of the selected email. This includes details about the sender, the subject line, and the full message text.
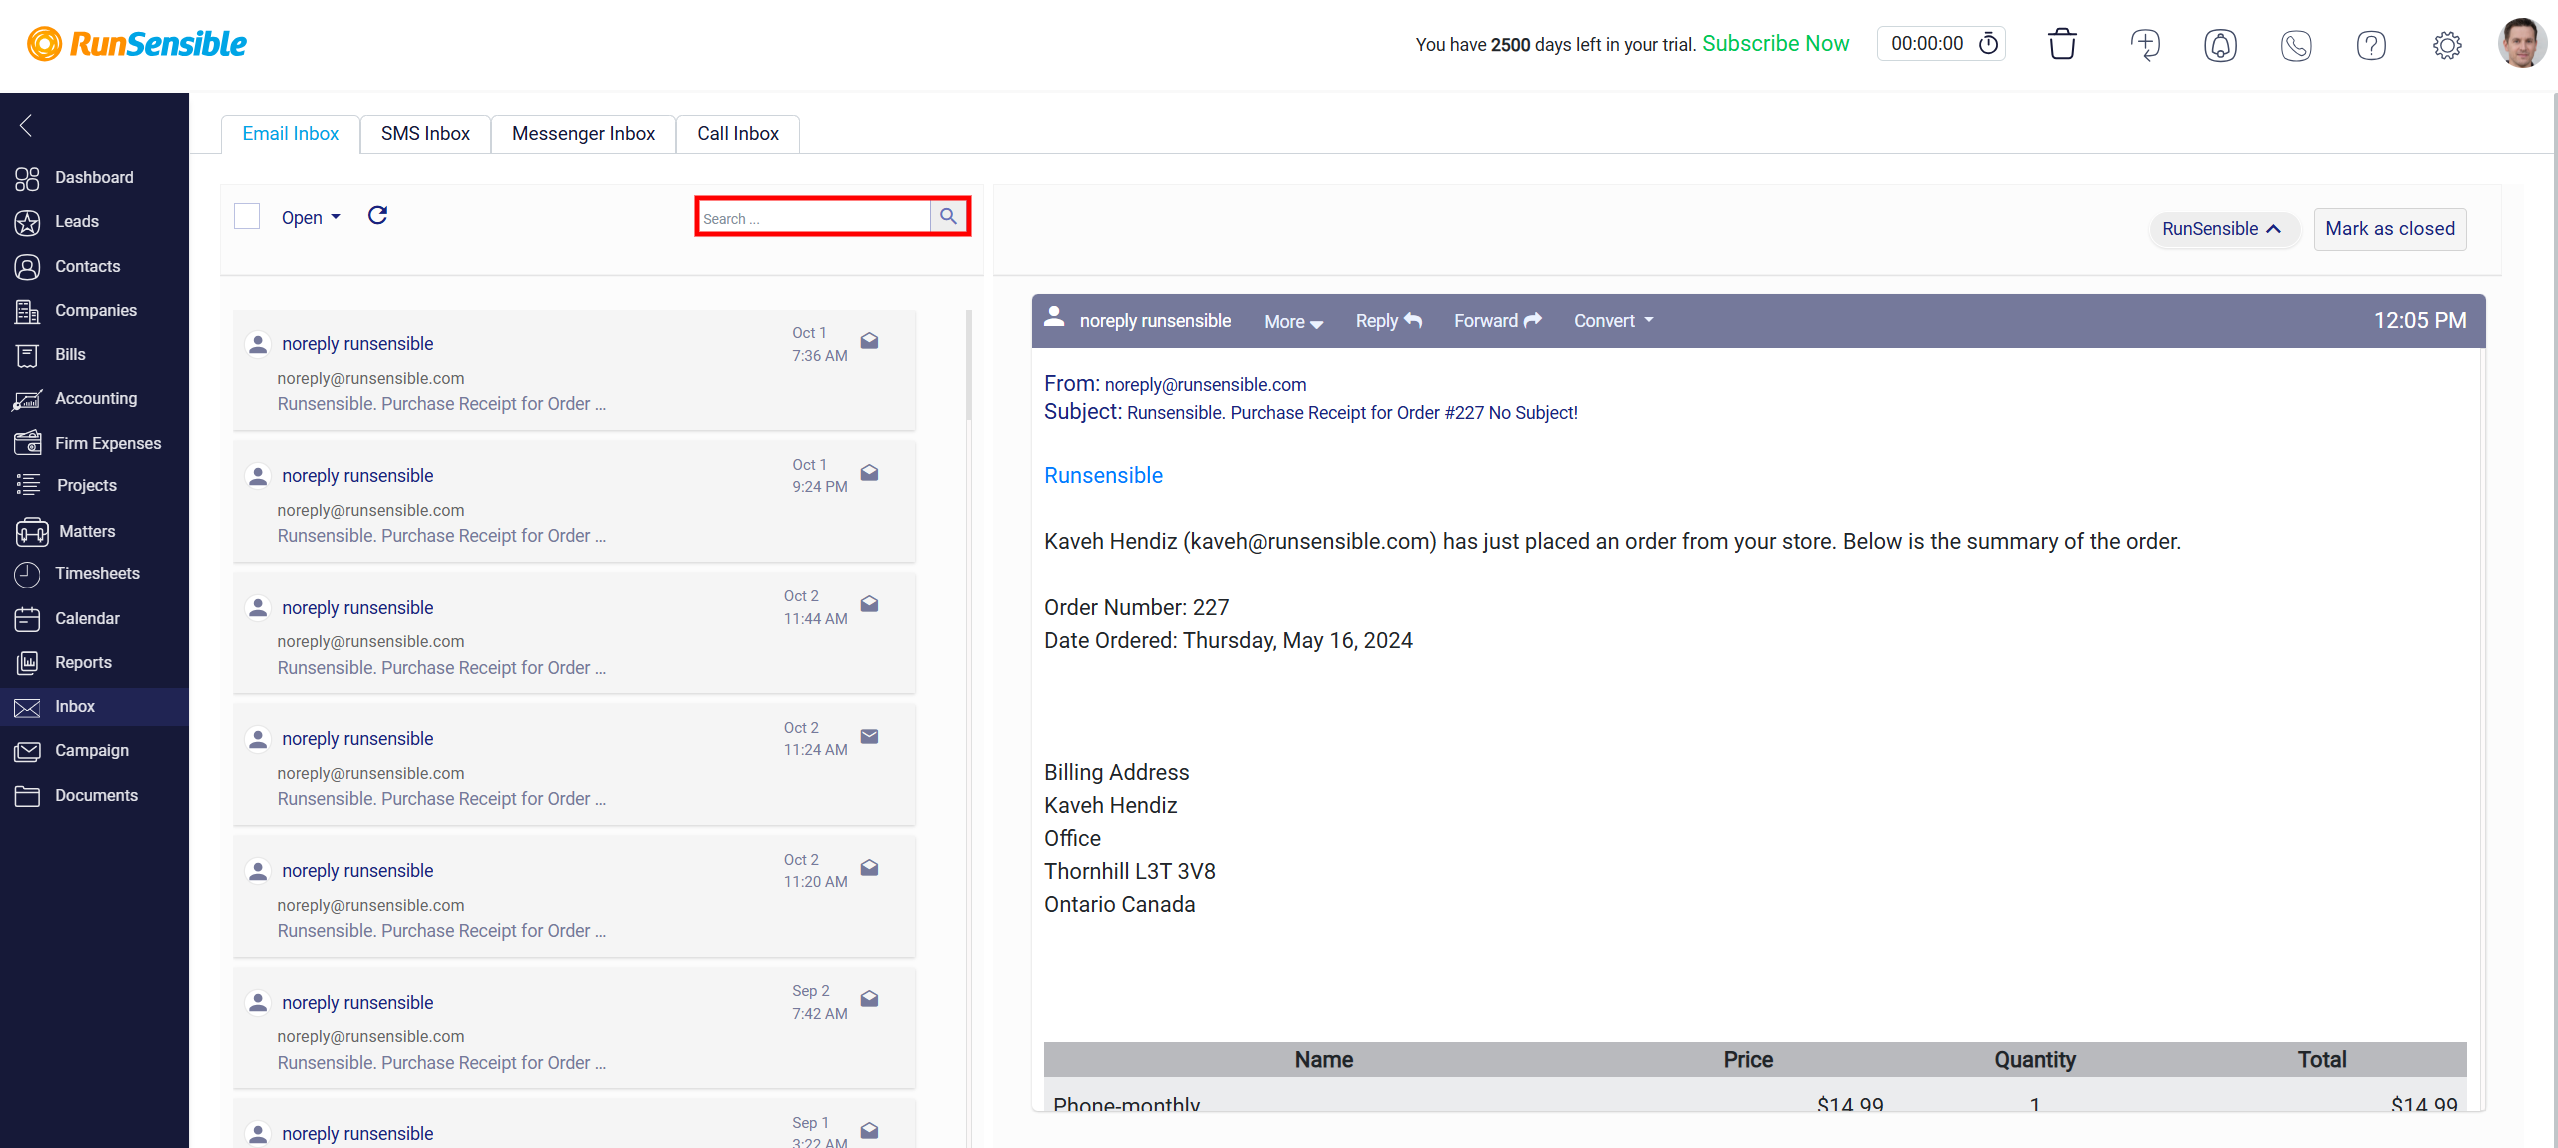
You can take several actions directly from the Email Inbox tab. To reply to an email, click the Reply button and type your response in the provided text box.
If you need to send the email to another person, use the Forward option and include any additional notes if necessary.
You can also convert the email into a lead, contact, or institute by selecting the Convert button. Once you have addressed an email, you can mark it as closed using the ‘Mark as Closed’ option.
Accessing the SMS
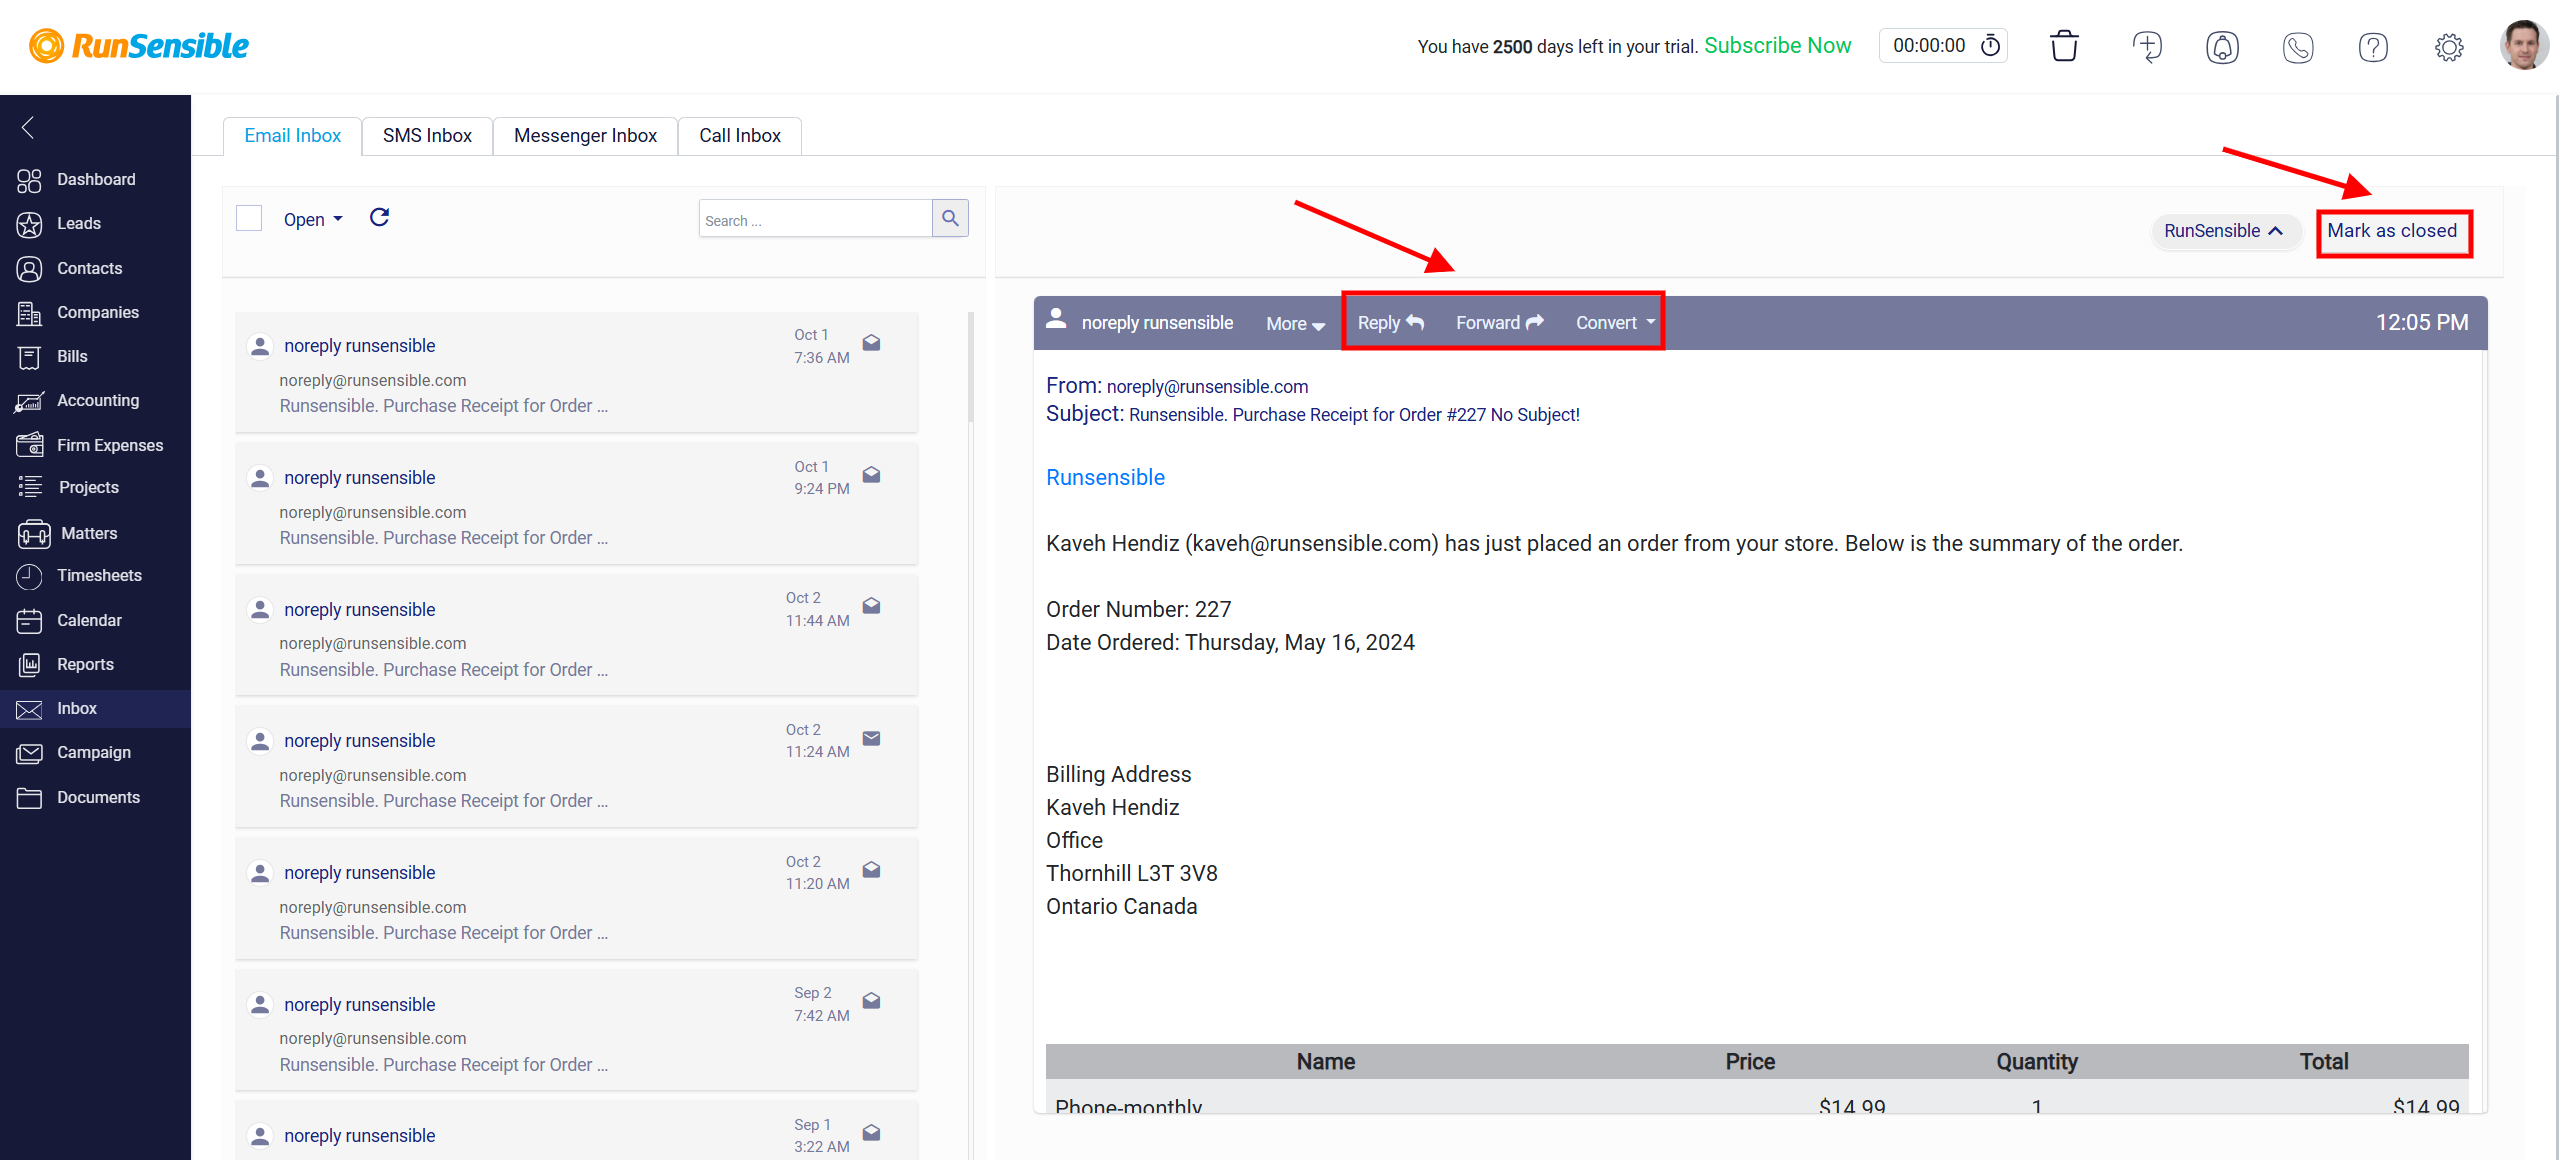
To access the SMS, select the SMS tab at the top of the screen. This will display all your received and sent text messages, including the sender’s information, the content of the message, and the timestamp.

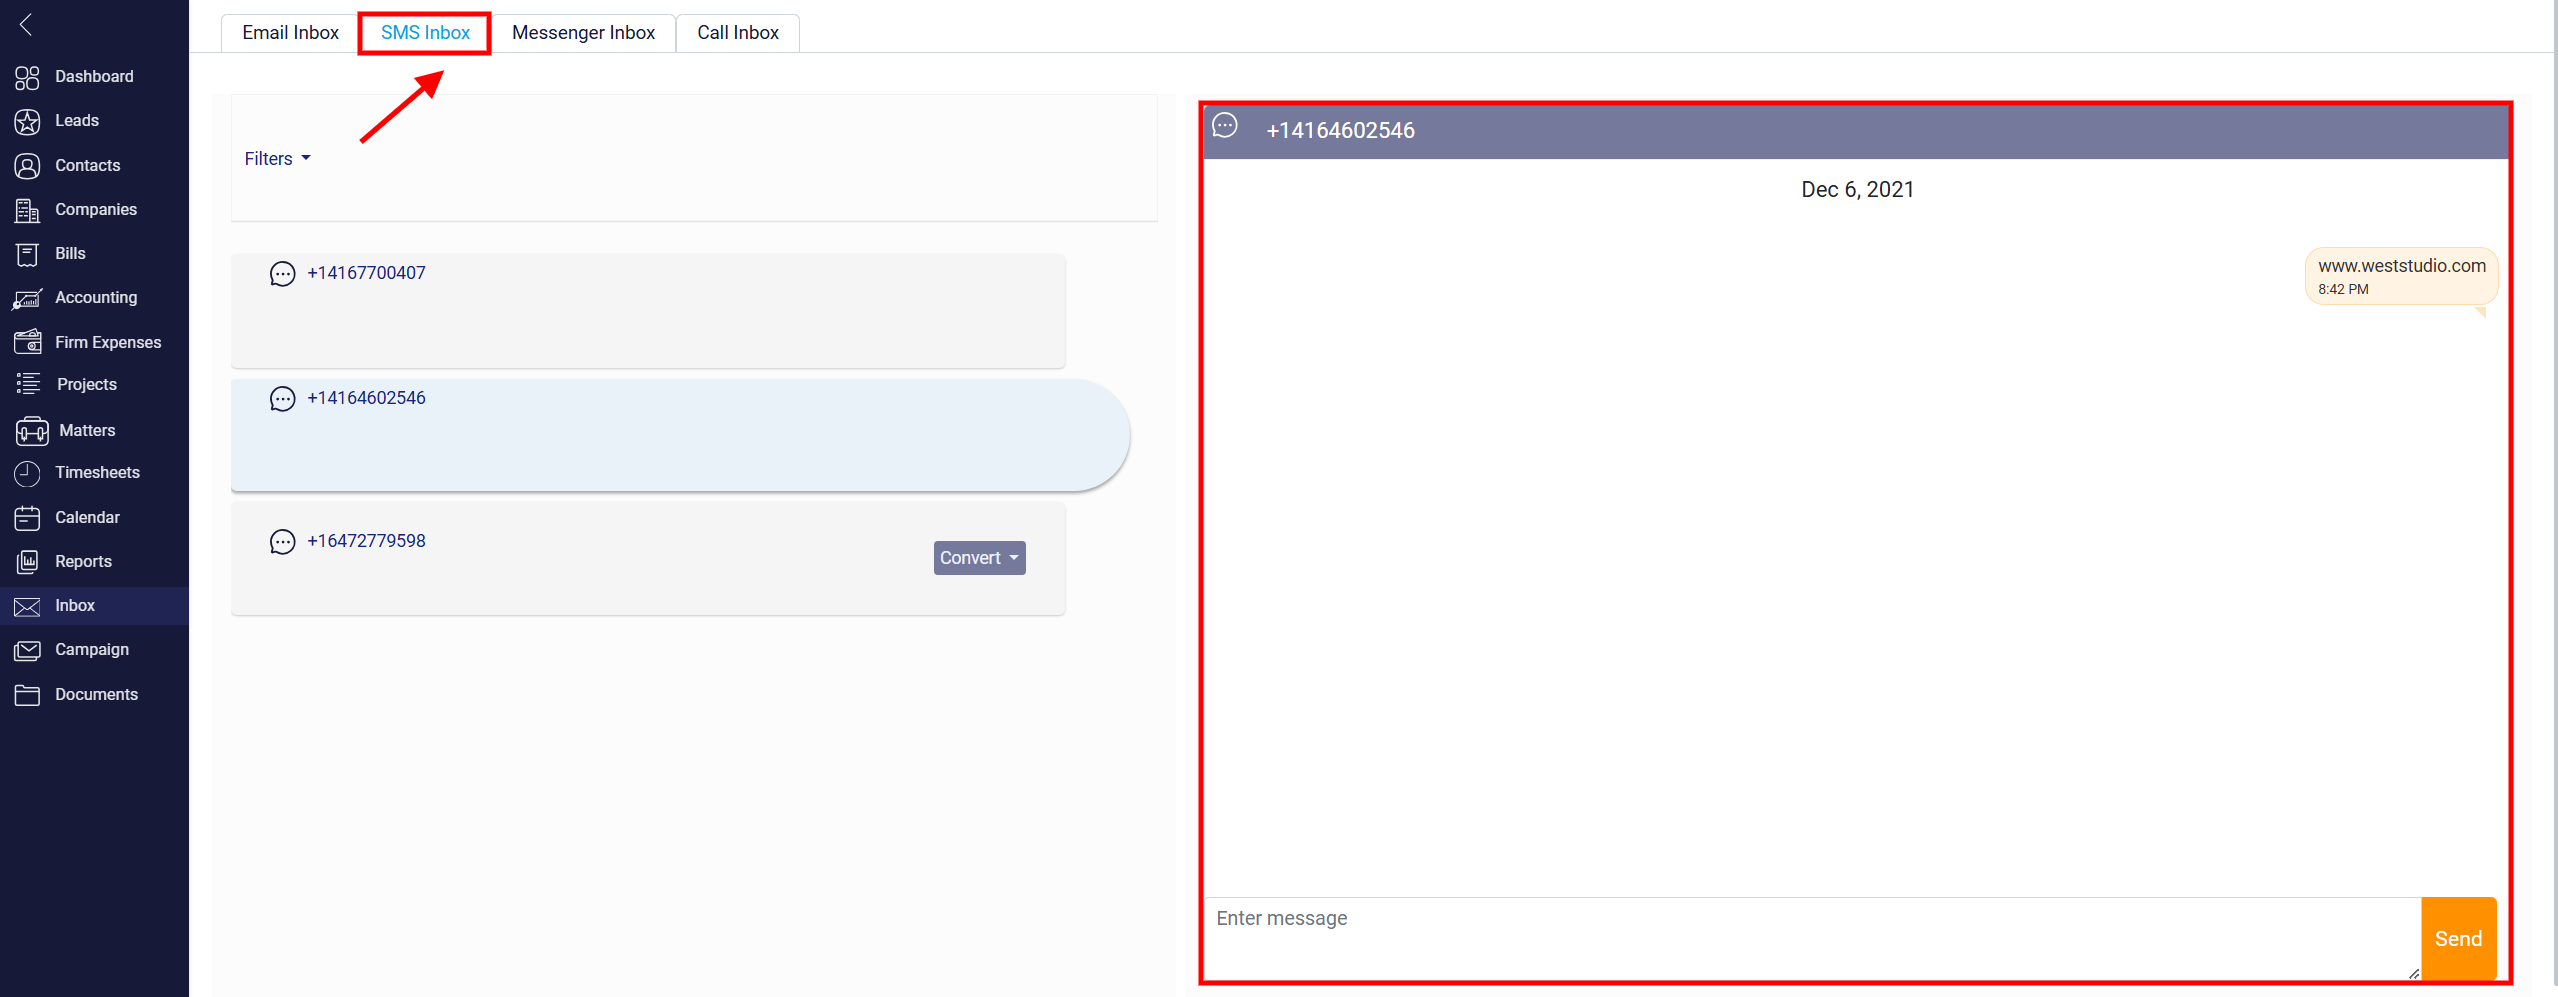
On the left side, the Message List Panel shows a list of all text message conversations. Each entry includes the client’s phone number or contact name, a preview of the message content, and the timestamp indicating when the message was sent or received. Unread messages are highlighted, allowing you to easily identify new conversations. Clicking on a message from the list opens the full conversation thread in the Message Detail Panel.
At the top of the Message List Panel, there is a Filters button to show only unread messages or messages associated with a specific contact.
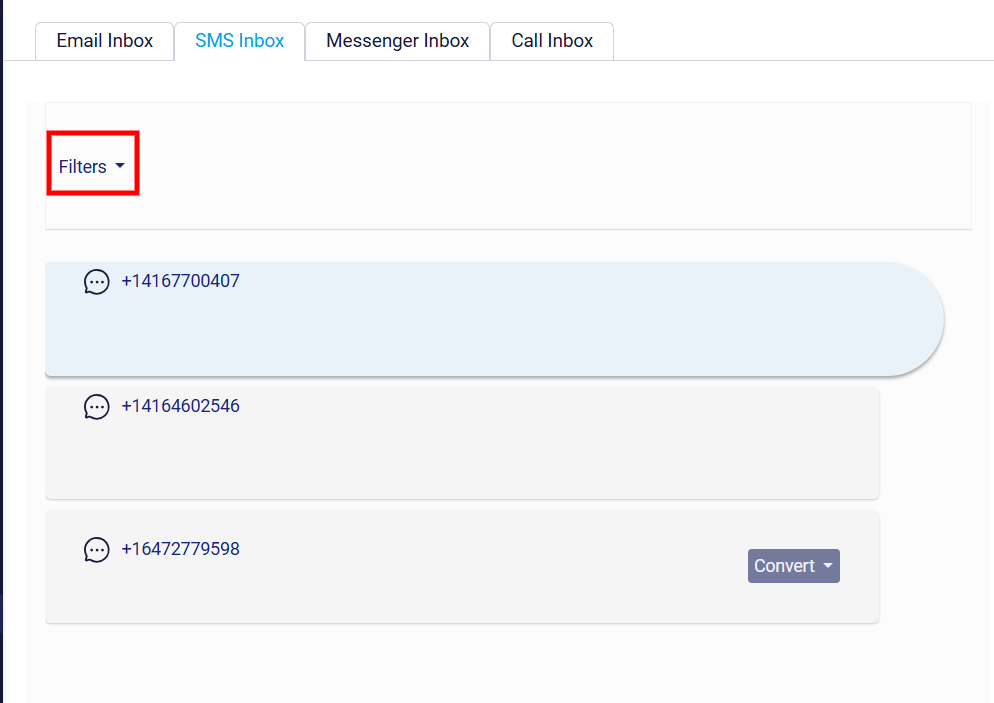
If you click on this button a new panel will appear.
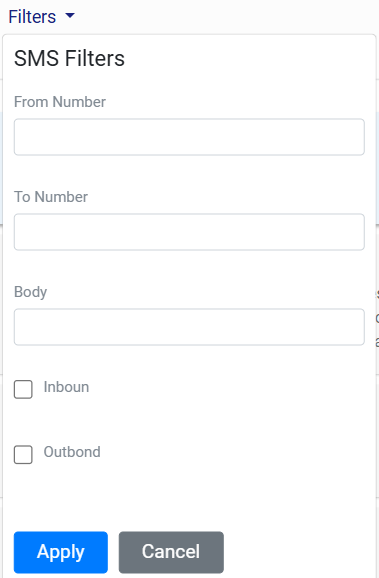
The From Number field lets you filter SMS messages by specifying the sender’s phone number, while the To Number field allows you to filter messages based on the recipient’s phone number. The Body field enables filtering by specific keywords or phrases found within the SMS content. The Inbound checkbox filters incoming SMS messages (received by the system or user), whereas the Outbound checkbox filters outgoing SMS messages (sent from the system or user).
To apply the selected filters and refine the SMS list, click Apply. If you want to discard the filters without making any changes, click Cancel to close the filter panel. This feature streamlines the process of searching, tracking, and managing SMS messages, making it especially valuable for business operations and customer support.
The Message Detail Panel on the right displays the full text message conversation thread with the selected contact. This panel shows the entire history of sent and received messages, allowing you to see the context of the conversation. You can scroll through the thread to review past messages and see any replies from the client in real-time.
Accessing the Messenger
To open the Website Messenger, select the Messenger tab at the top of the communications page.
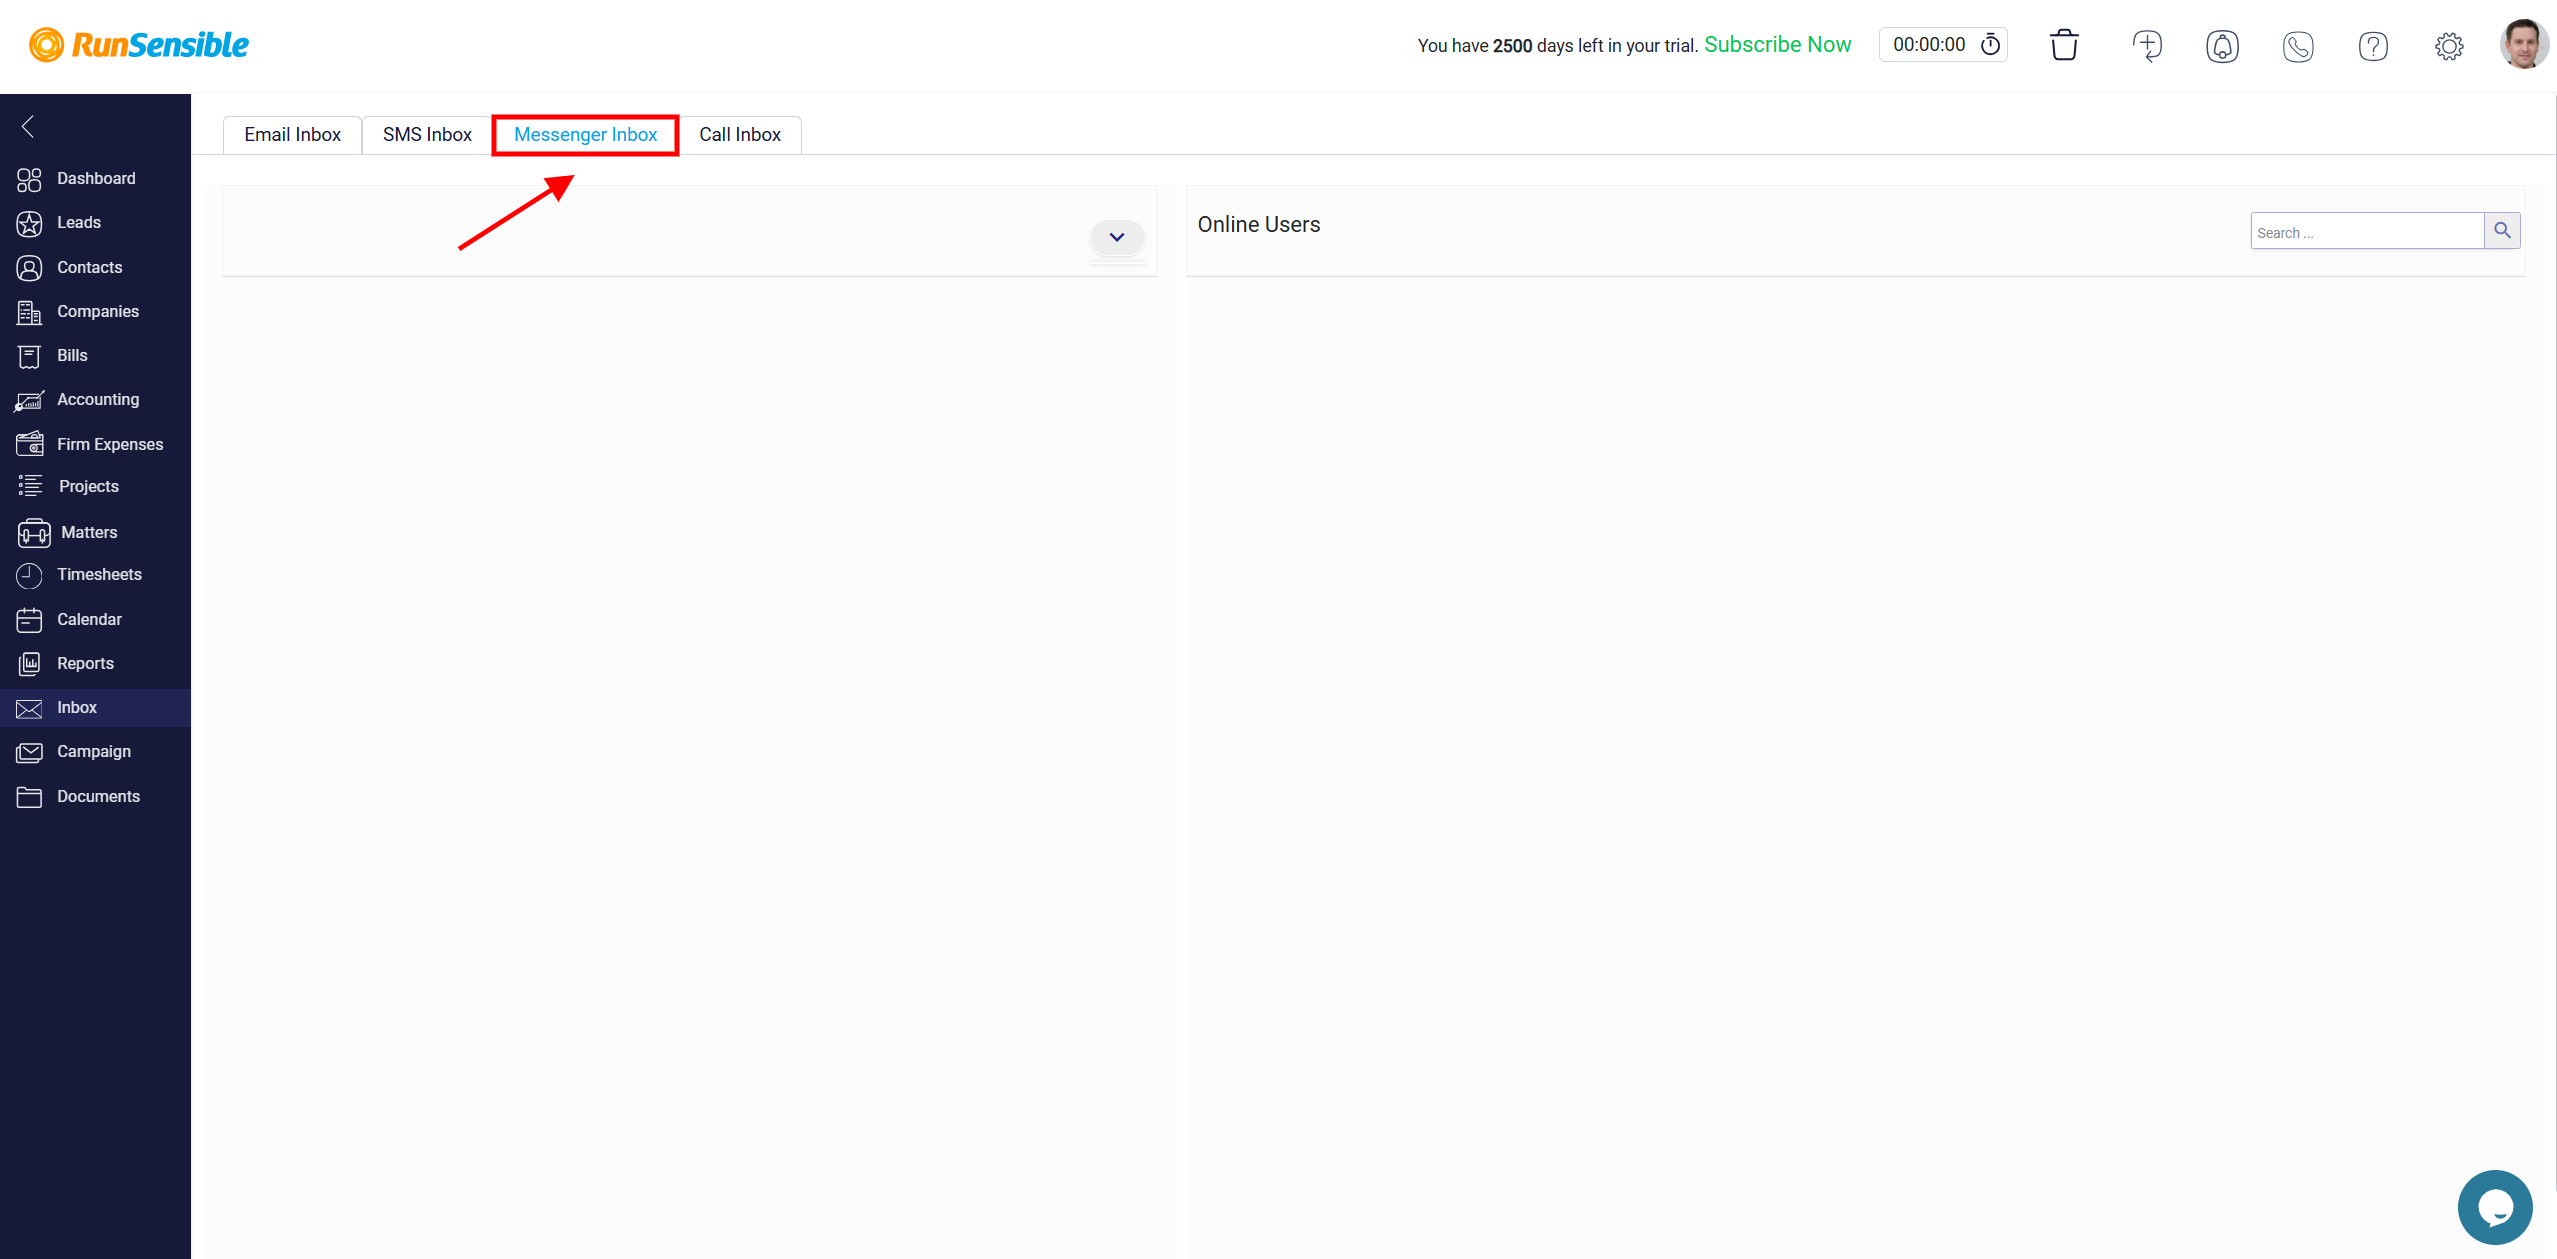
The Website Messenger consists of two main sections: The Chat List Panel on the left and the Chat Detail Panel on the right.
The Chat List Panel displays a list of all active and recent chat conversations initiated by website visitors. Each entry includes the visitor’s information (such as their name, if provided, or the IP address), a preview of the most recent message, and the timestamp of the last interaction. Unread messages are highlighted to help you easily spot new inquiries. Clicking on a chat from the list opens the full conversation thread in the Chat Detail Panel.
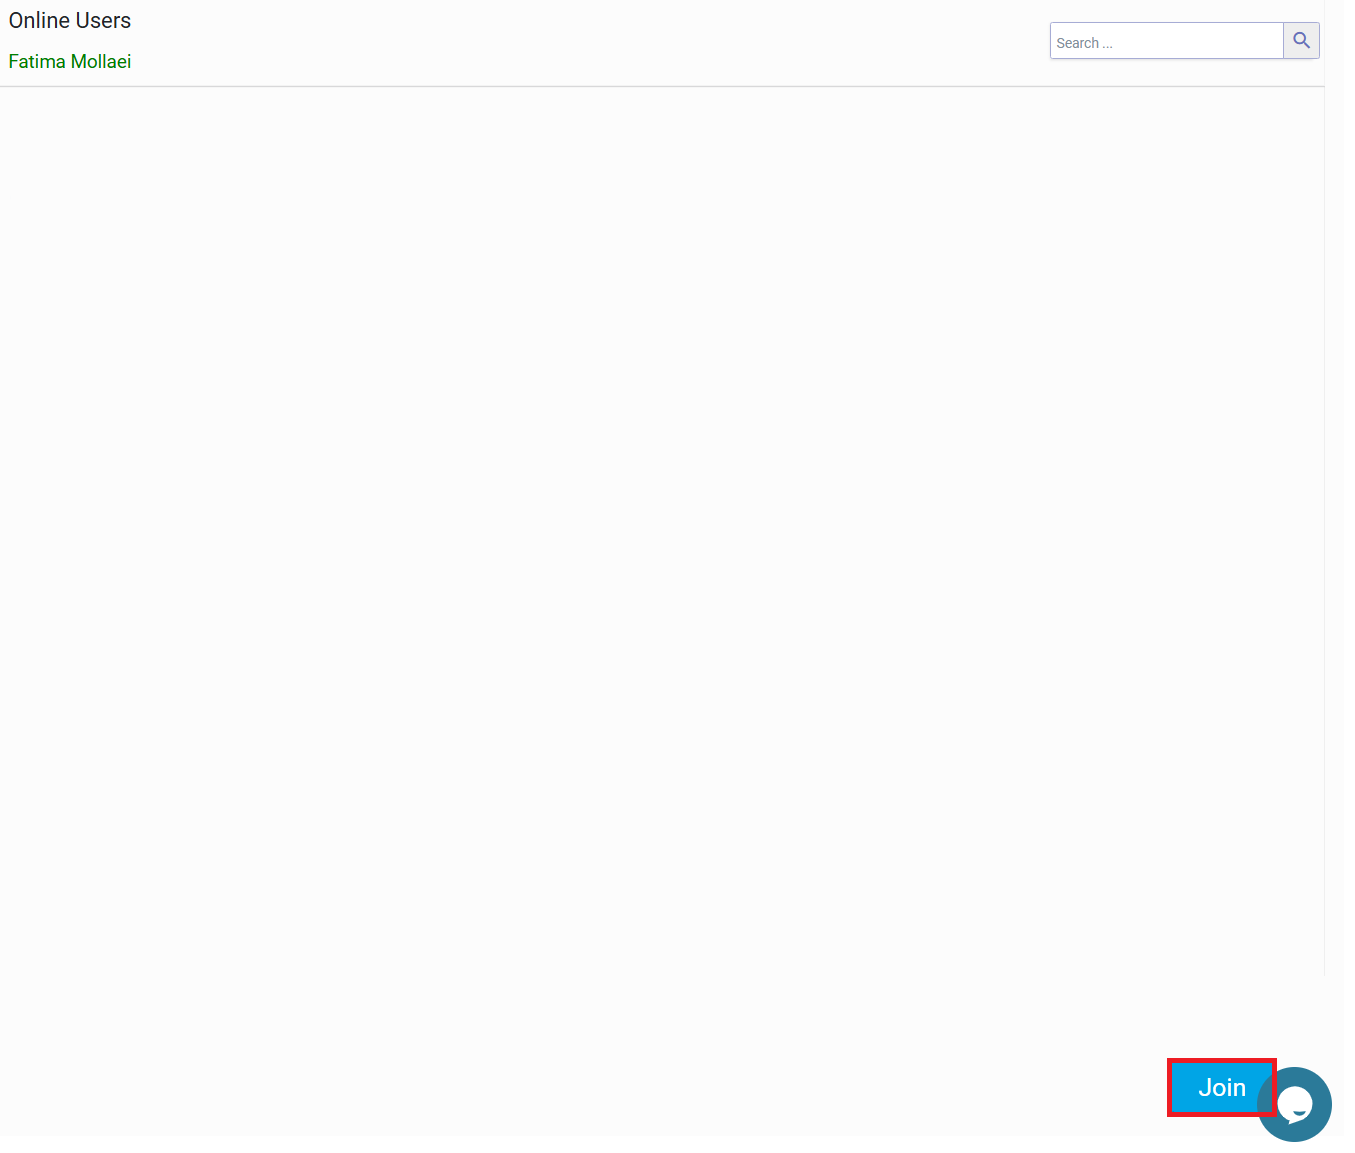
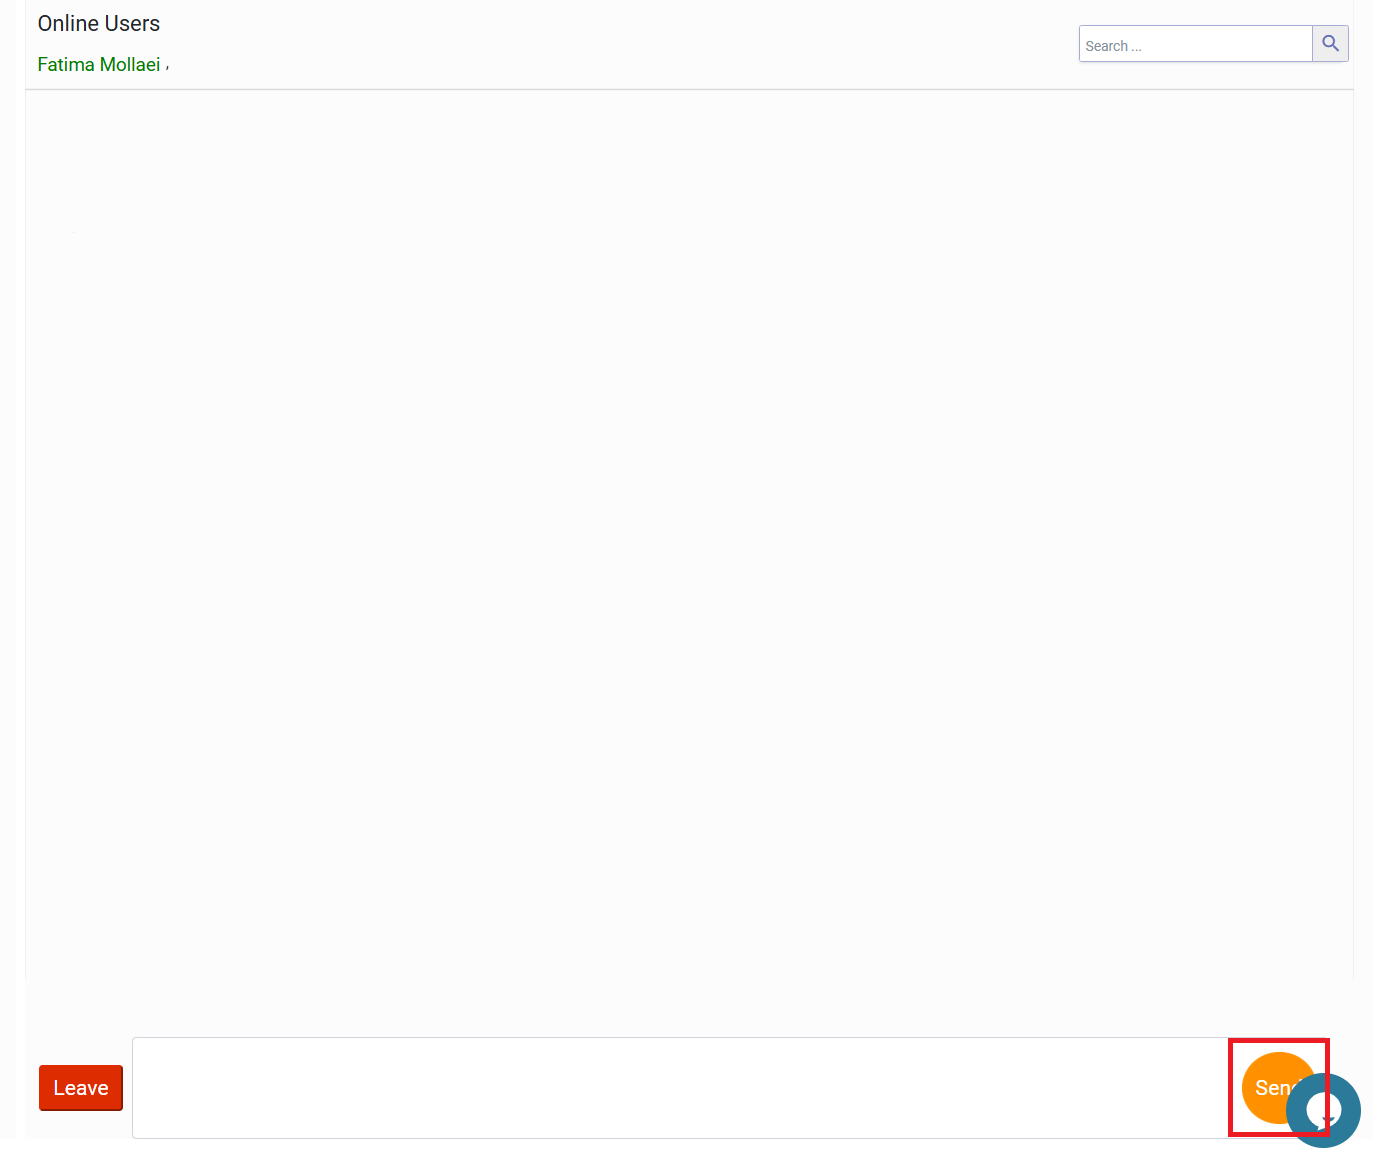
The Chat Detail Panel on the right side shows the complete chat history with the selected visitor. It displays the entire conversation thread, allowing you to see all messages exchanged in real-time. To reply to a visitor, click on the Join button at the bottom of the panel, type your message in the text box and then click Send. The panel also updates automatically as new messages come in, so you can respond promptly.
Accessing the Call
To access the Call, select the Call tab at the top of the communications page.
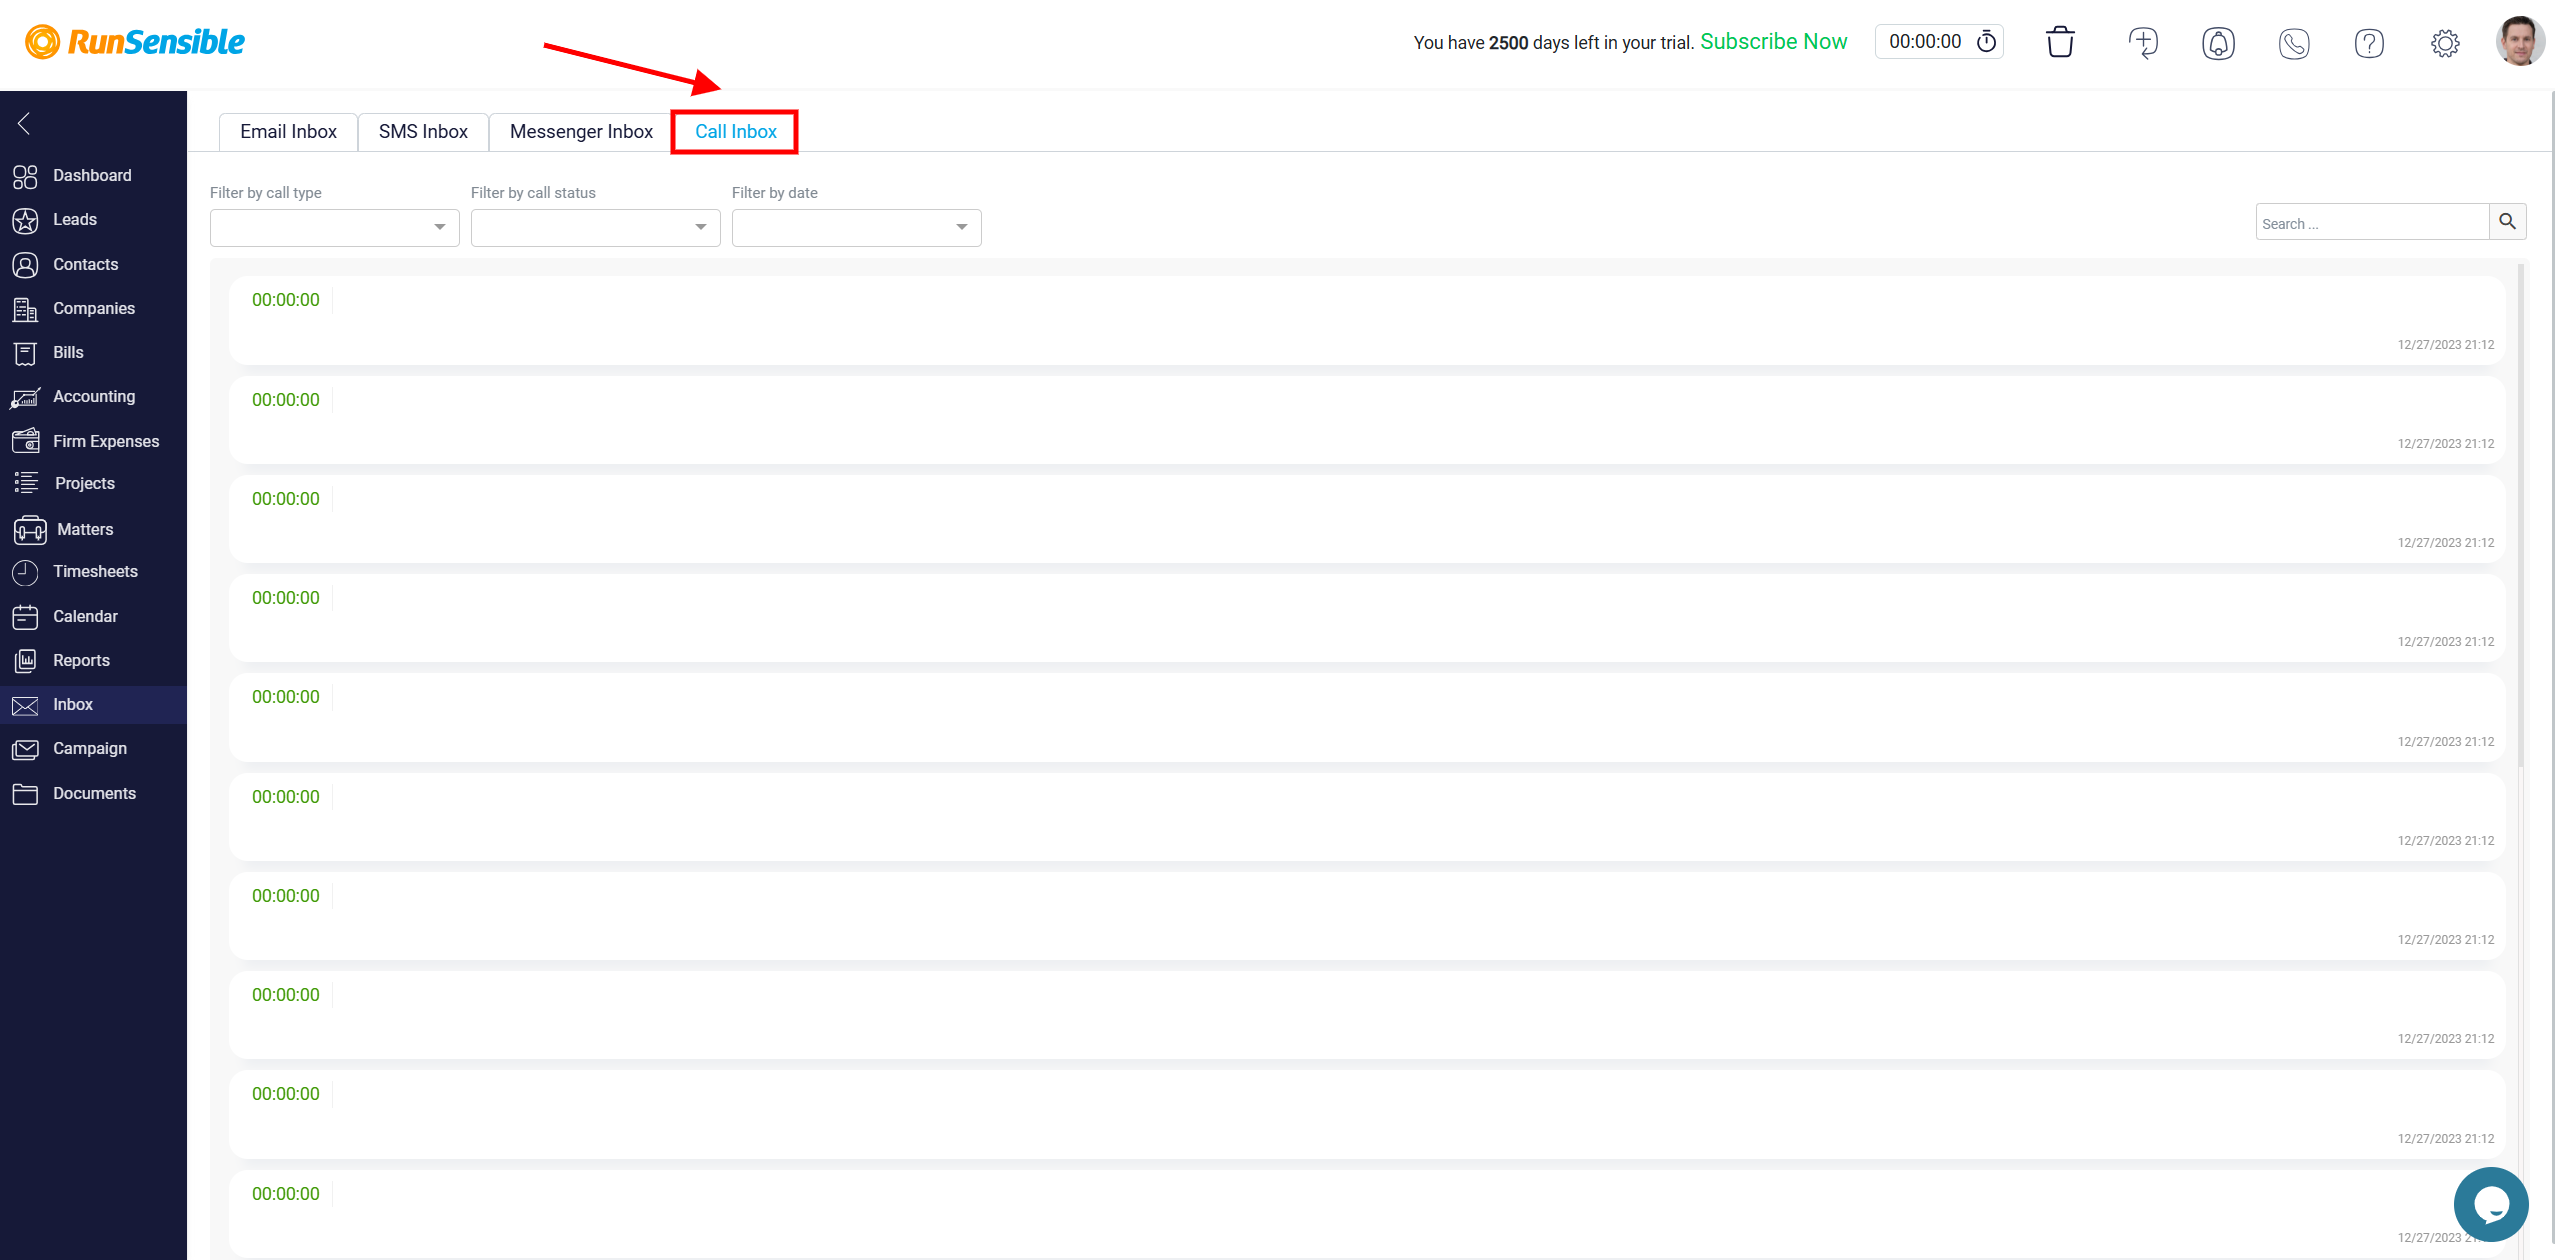
The Call interface consists of a call log list and several filters to help you manage and search through call records.
On the left side, the call log displays a list of all calls with essential details, such as call duration, caller information, and the call status. Each call entry includes the following:
Duration: The length of the call, displayed in minutes and seconds.
Caller and Recipient Details: Information about the phone numbers involved in the call. The “From” field shows the caller’s number, while the “To” field displays the recipient’s number. If the call is linked to a specific contact, their name is shown as well.
Playback Options: Click on Play Record Audio to listen to the recorded call directly from RunSensible. This helps you review the conversation for important details or quality assurance.
Display Text Option: If the call has been transcribed, click on Display Text to read the text version of the conversation. This feature is useful for quickly scanning the call content without listening to the entire recording.

Using Filters and Search
At the top of the Call, you will find filter options to help you organize and find specific call records. You can filter calls based on:
Call Type: Use this filter to display only inbound, outbound, or missed calls.
Call Status: Filter by call status, such as completed, missed, or busy, to focus on specific types of calls.
Date: Select a date range to view calls within a specific time period.
There is also a search bar located at the top right corner of the interface. Enter keywords, phone numbers, or contact names to quickly locate specific call records.
