Document Management
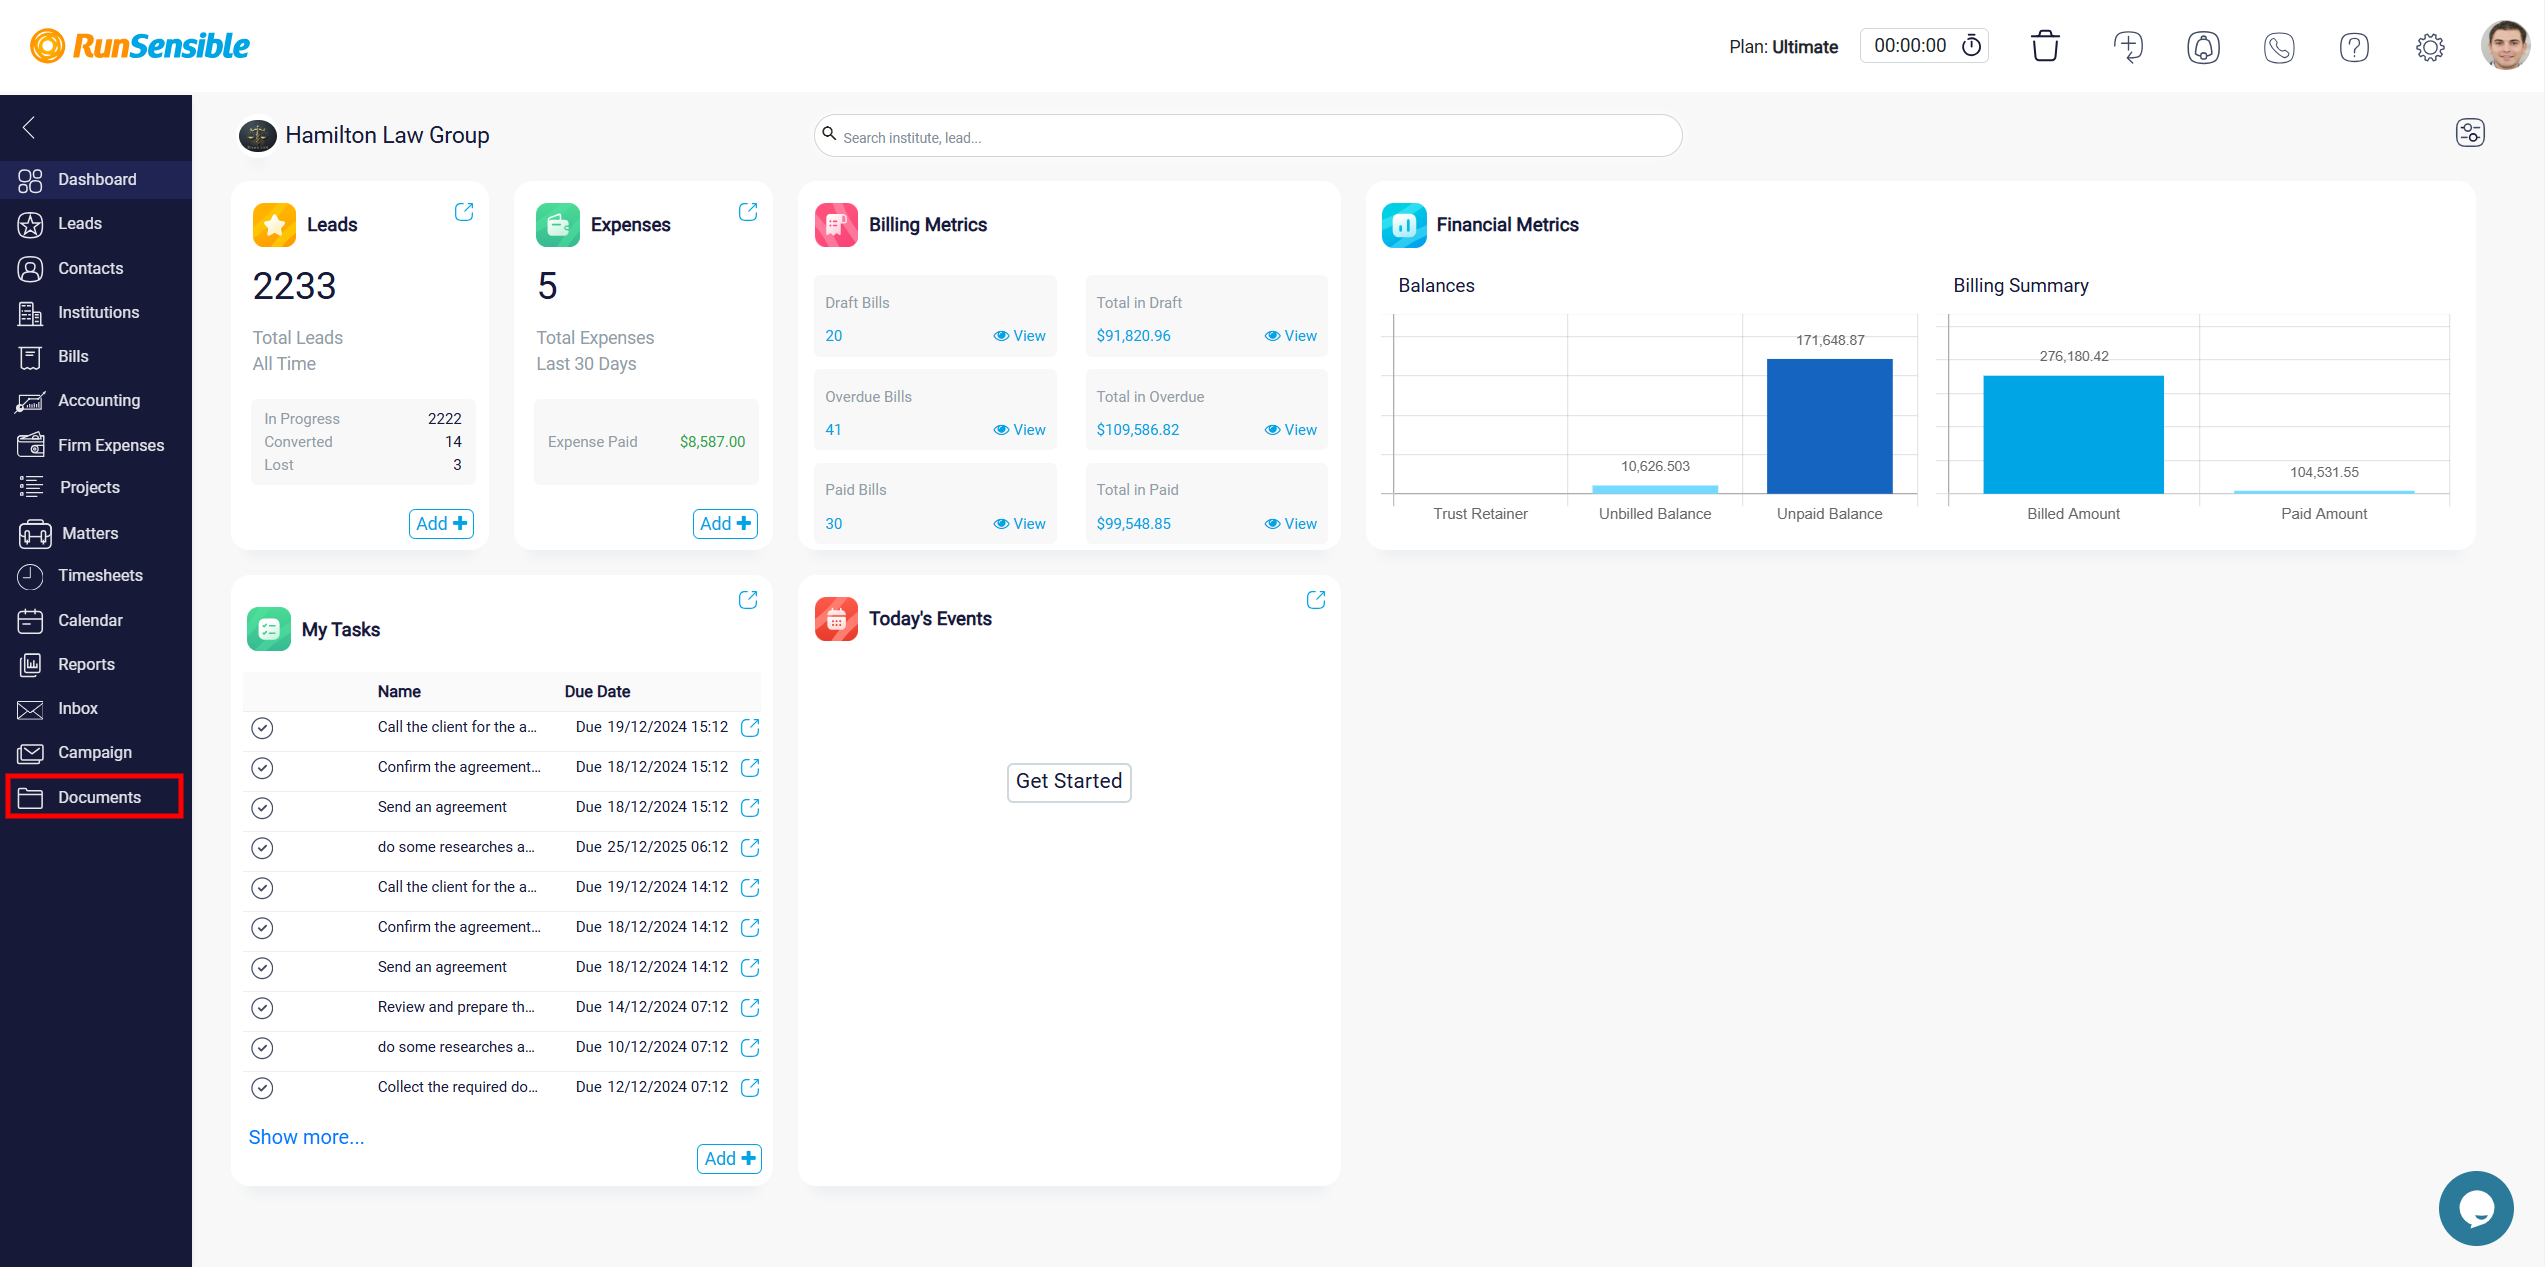
To access documents in RunSensible, head over to the left-hand side bar menu and click on Documents.
Upon accessing the documents section, you will see a Search bar at the top where you can type keywords to search for specific documents or folders. This makes it easy to find what you need quickly.

Next to the search bar, you will find view options that allow you to toggle between Title View and Grid View for displaying your documents. Choose the view that best suits your preference for navigating through your files.
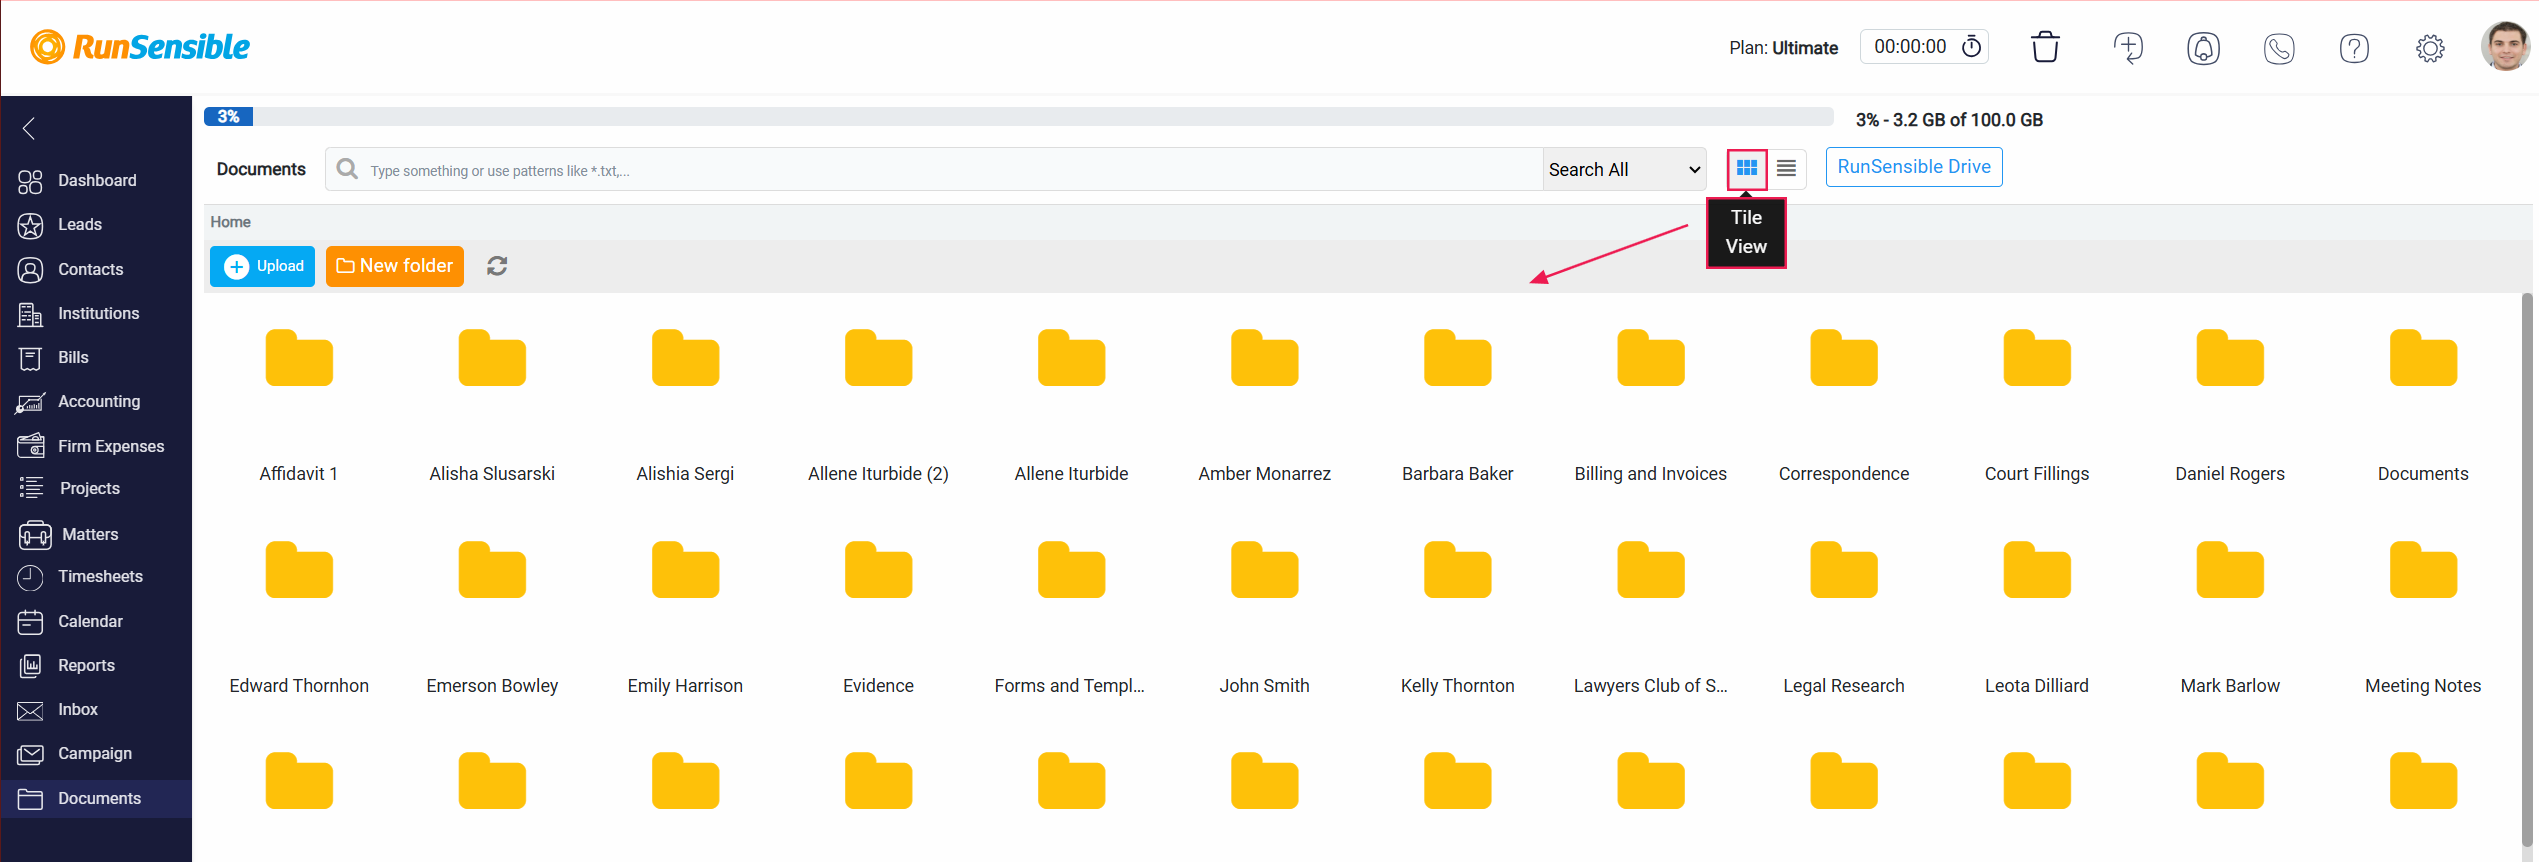

If you would like to have RunSensible on your desktop, click on RunSensible Drive button. This allows you to find, open, and organize your files and folders directly from your desktop, with changes automatically synced back to RunSensible.

To the left of the search bar, there are two essential buttons: the Upload button and the New Folder button.

Clicking the Upload button allows you to select and upload new documents from your computer.

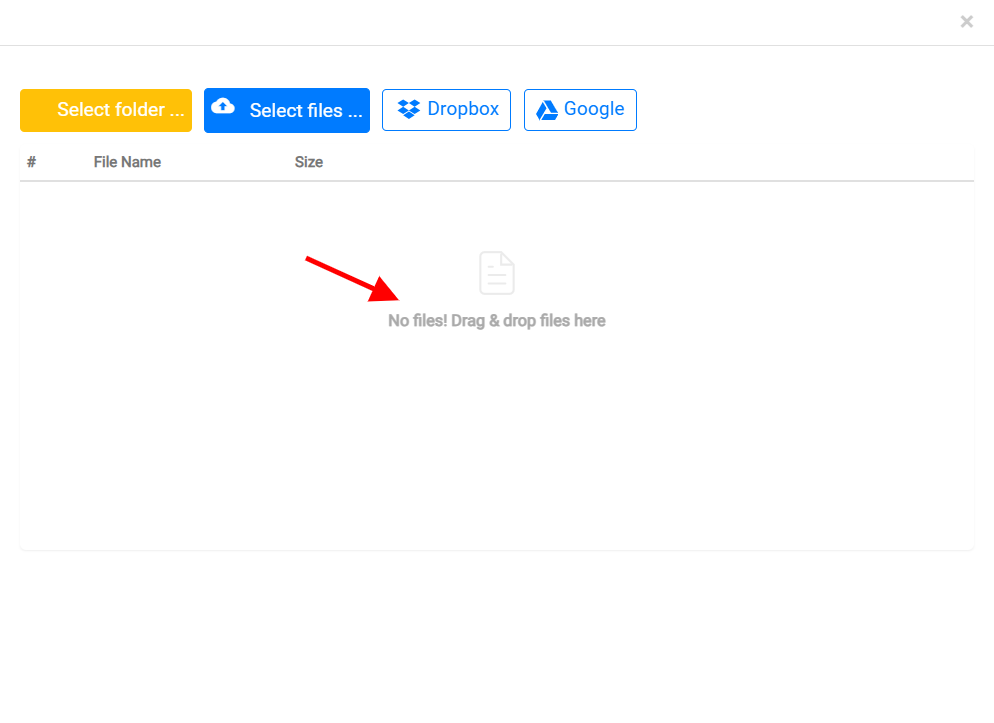
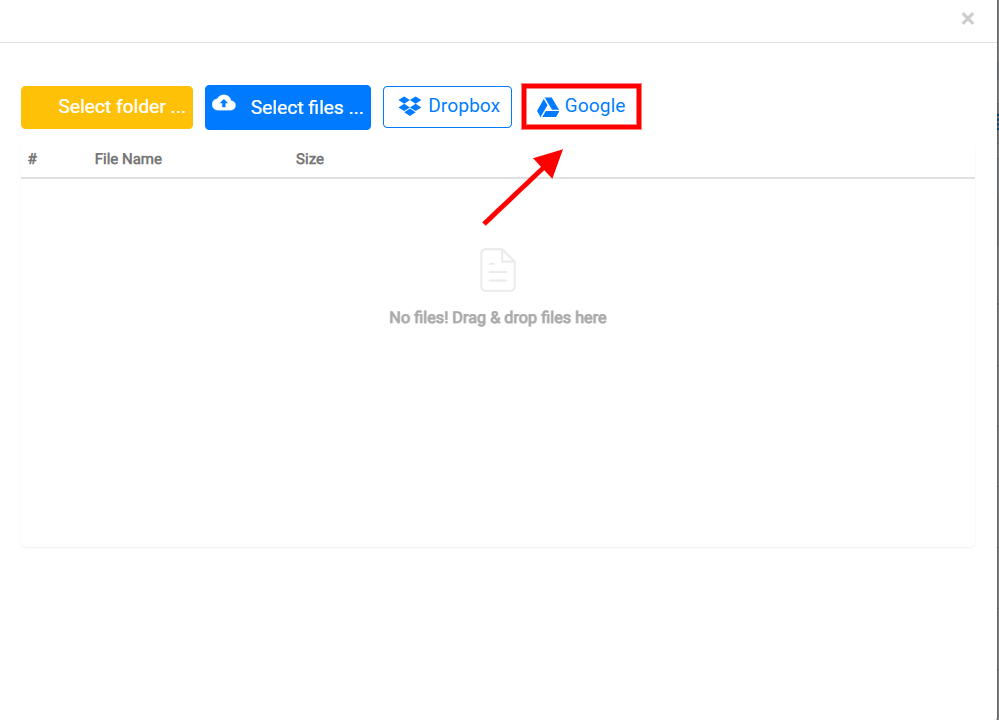
You can select an entire folder from your local device using the Select folder button or upload individual files by clicking the Select files button.

Alternatively, you can also drag and drop files directly into the upload area. This intuitive method allows you to quickly move files or folders from your computer into the designated zone with minimal effort.
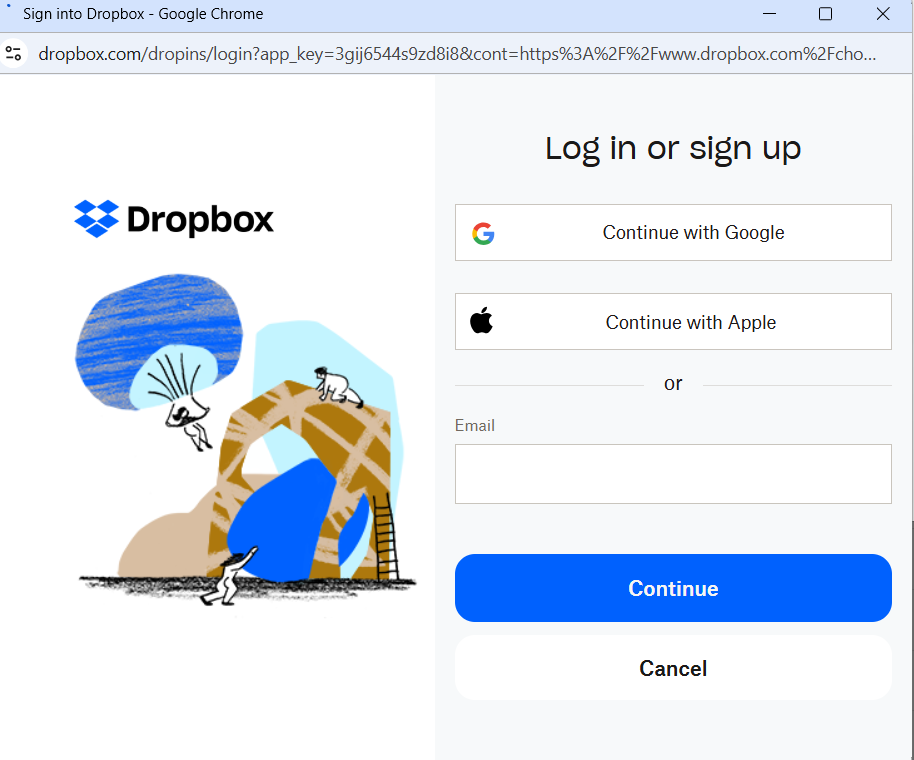
You can seamlessly select files or folders from your Dropbox account by clicking the Dropbox icon. This integration simplifies file management, allowing users to directly access and upload files stored in their Dropbox cloud storage without manual downloads or transfers.
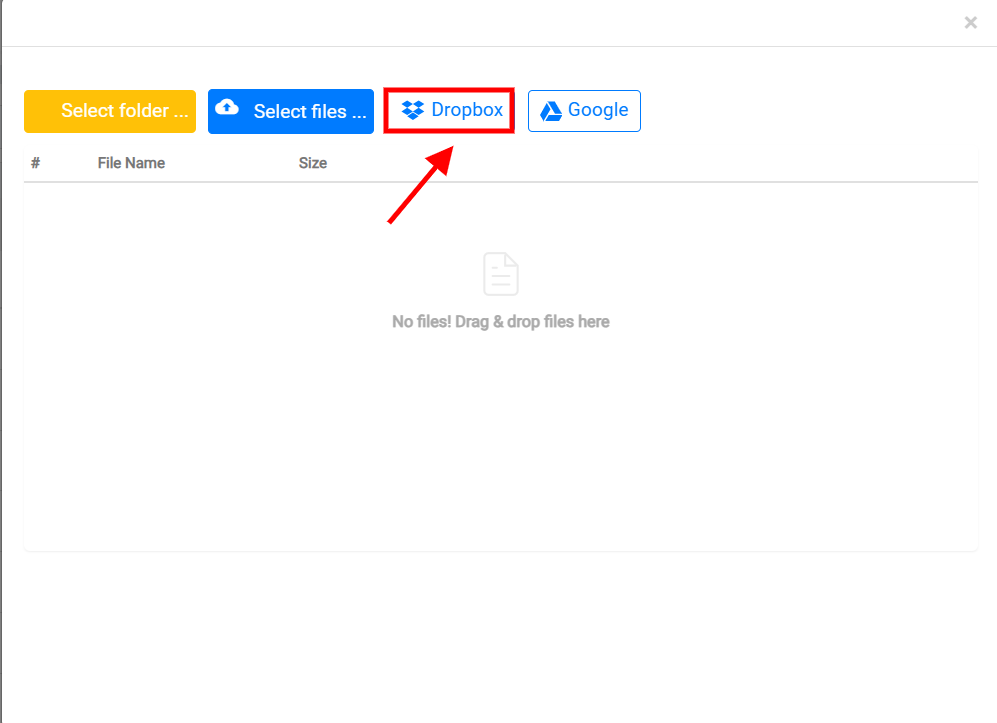
When you click on the Dropbox icon, a sign-in page is prompted. You can log in to Dropbox using their Google, Apple, or email credentials. Once logged in, they can securely browse and select files from your Dropbox account for upload or sharing. This process ensures ease of use and data security, enabling efficient workflows.
By selecting the Google button you opt to integrate Google Drive with RunSensible. This enables you to import files directly from your Google Drive account into RunSensible for streamlined document management.
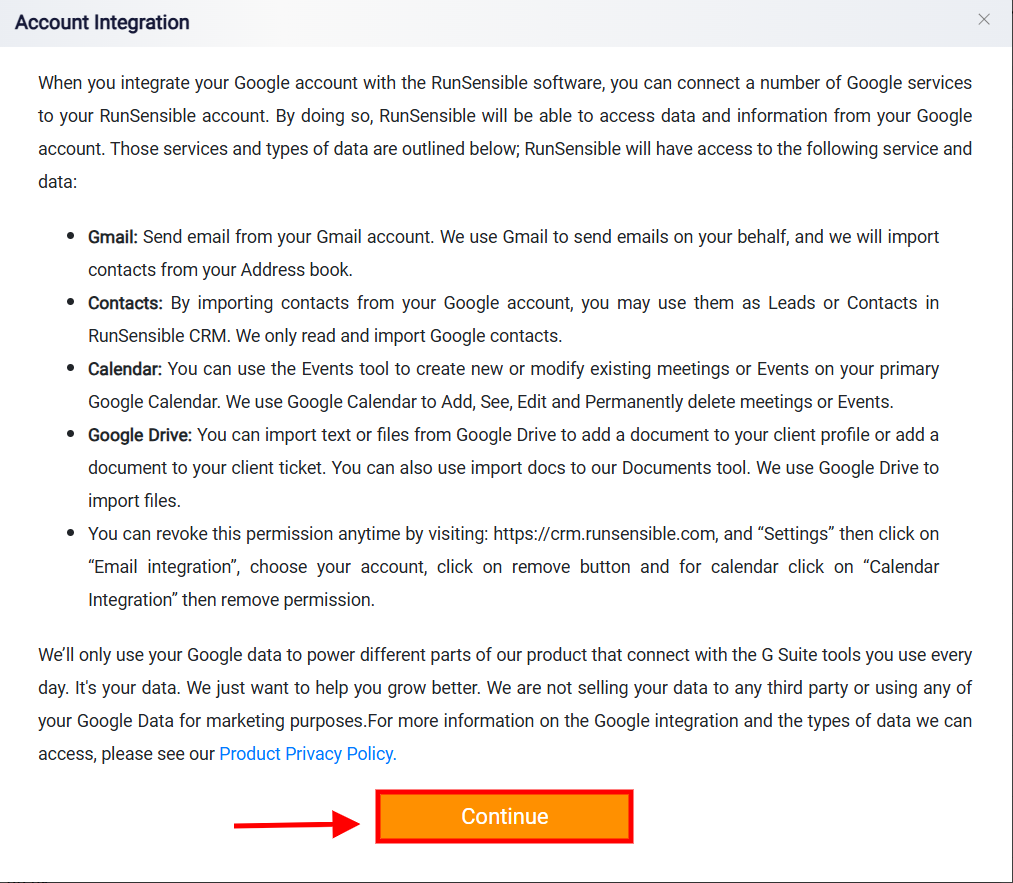
Once the Google option is selected, the next step involves granting permissions. Clicking on the Continue button moves the process forward.
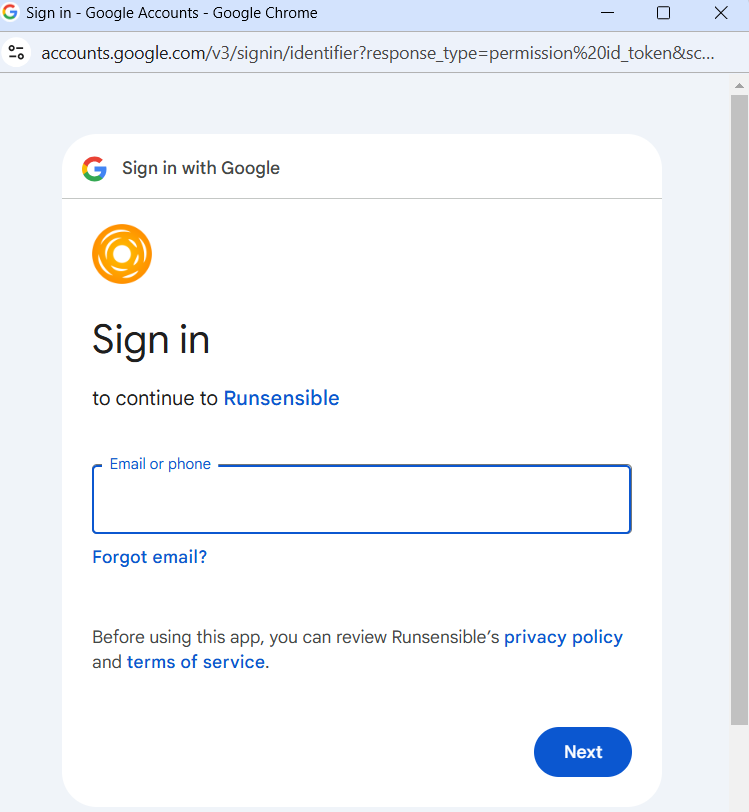
The final step takes you to the Google Account login page. Here, users need to enter their Google email or phone number to securely sign in and link their account with RunSensible.
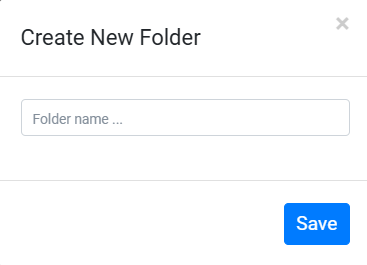
The New Folder button enables you to create new folders, helping you to keep your documents organized.

The main area of the panel displays a list of your documents and folders. Each entry shows the name of the folder or document, its size, the last modified date, and, if applicable, additional columns for descriptions and confirmation case references. This detailed information helps you keep track of your files and their contents.

Managing Documents
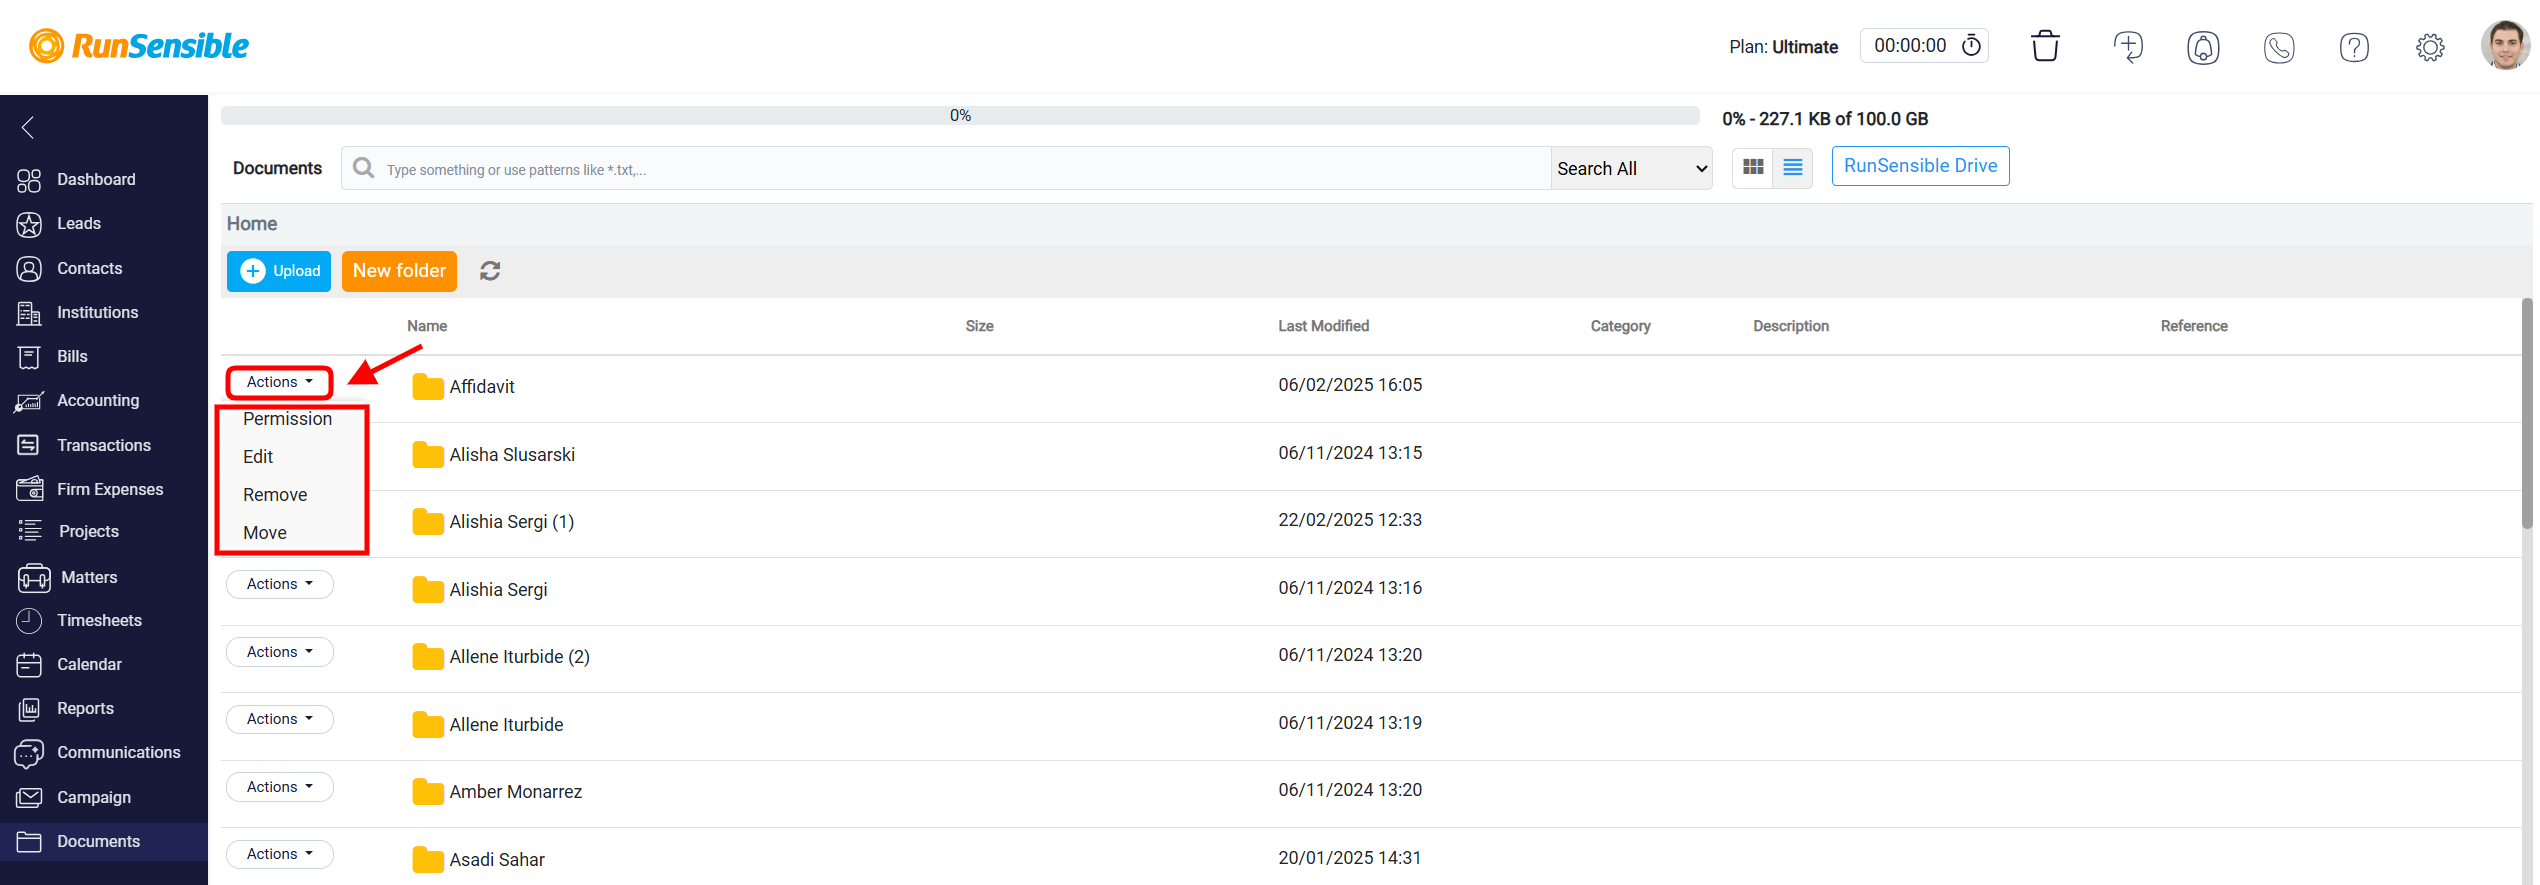
Next to each folder or document, you’ll find an Actions button offering additional options. Clicking on a folder lets you Setup Permission, Edit, Remove, or Move the selected item, giving you complete control over document management.
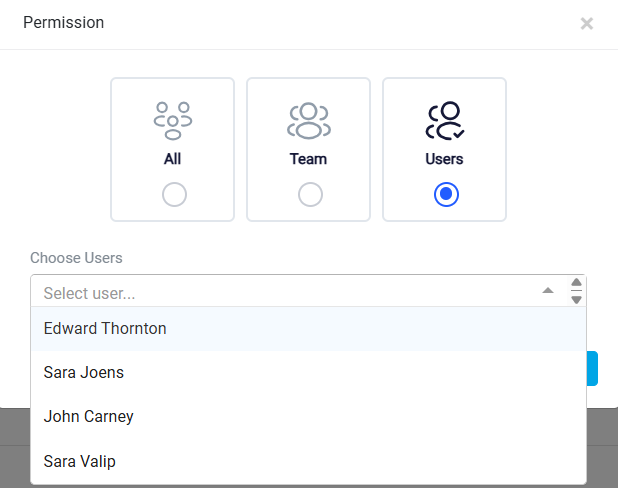
To set up permissions, click the Permission button. A new window will appear, allowing you to grant access to all users, create a team, or select specific users who should have access to the secured documents.
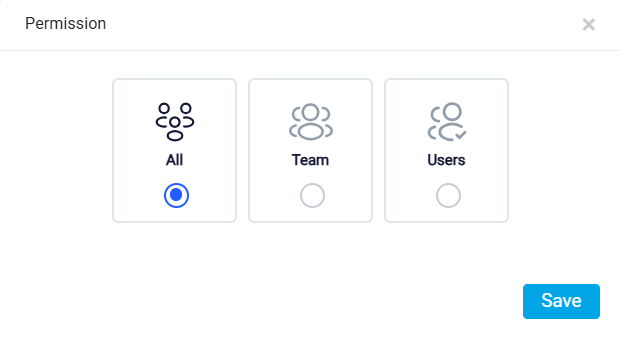
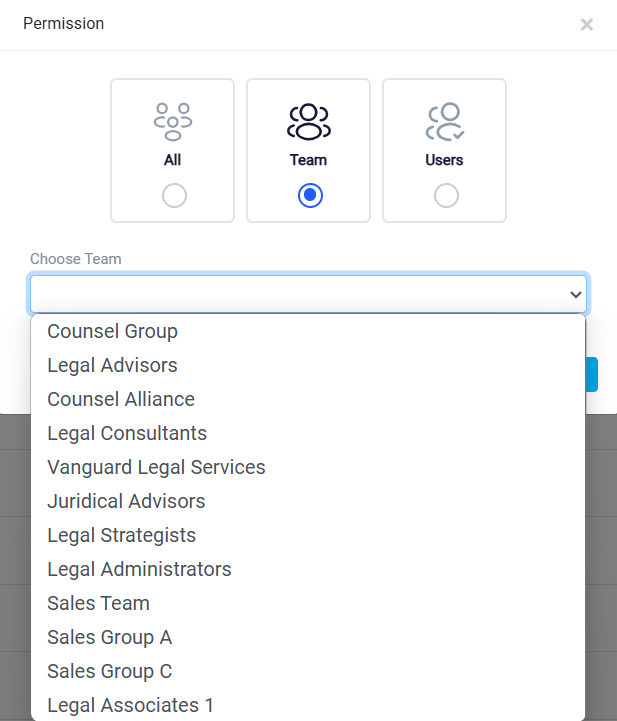
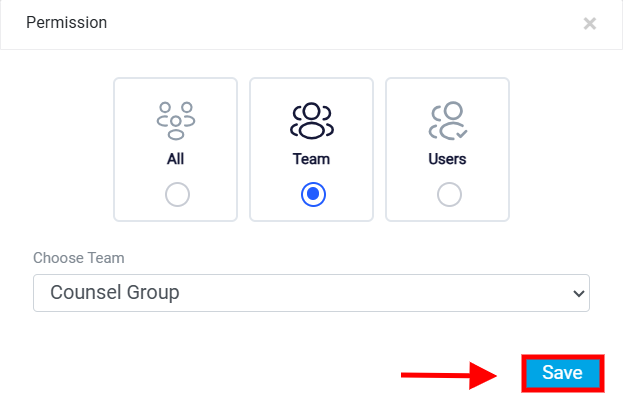
By default, the permission setting is set to All, which means every user in your system can see this document. However, if you want to restrict access, you have several options. Another option is to set the permission to Team, which restricts access to a specific team within your organization. When you choose this option, a drop-down menu will appear, showing all the teams you have created in your system. Select the appropriate team from the list to ensure that only members of that team can view and manage the document.
Alternatively, you can set the permission to User, which restricts visibility to a specific individual within your organization. When you choose this option, a drop-down menu will appear, displaying a list of all users in your system. From this list, you can select the specific user who should have exclusive access to view and manage the document.
Once you have completed all the steps, click the Save button located at the top right corner of the screen.
At the top of this page, you will see the Storage Usage Bar, which indicates the percentage of storage used and the total storage available. This helps you monitor your storage space and manage your documents accordingly.

When you click on a document, the Actions on the left side of the selected document provides a dropdown menu of additional options for managing the selected file including Preview, Download, Send Email, Edit, Remove, and Move.
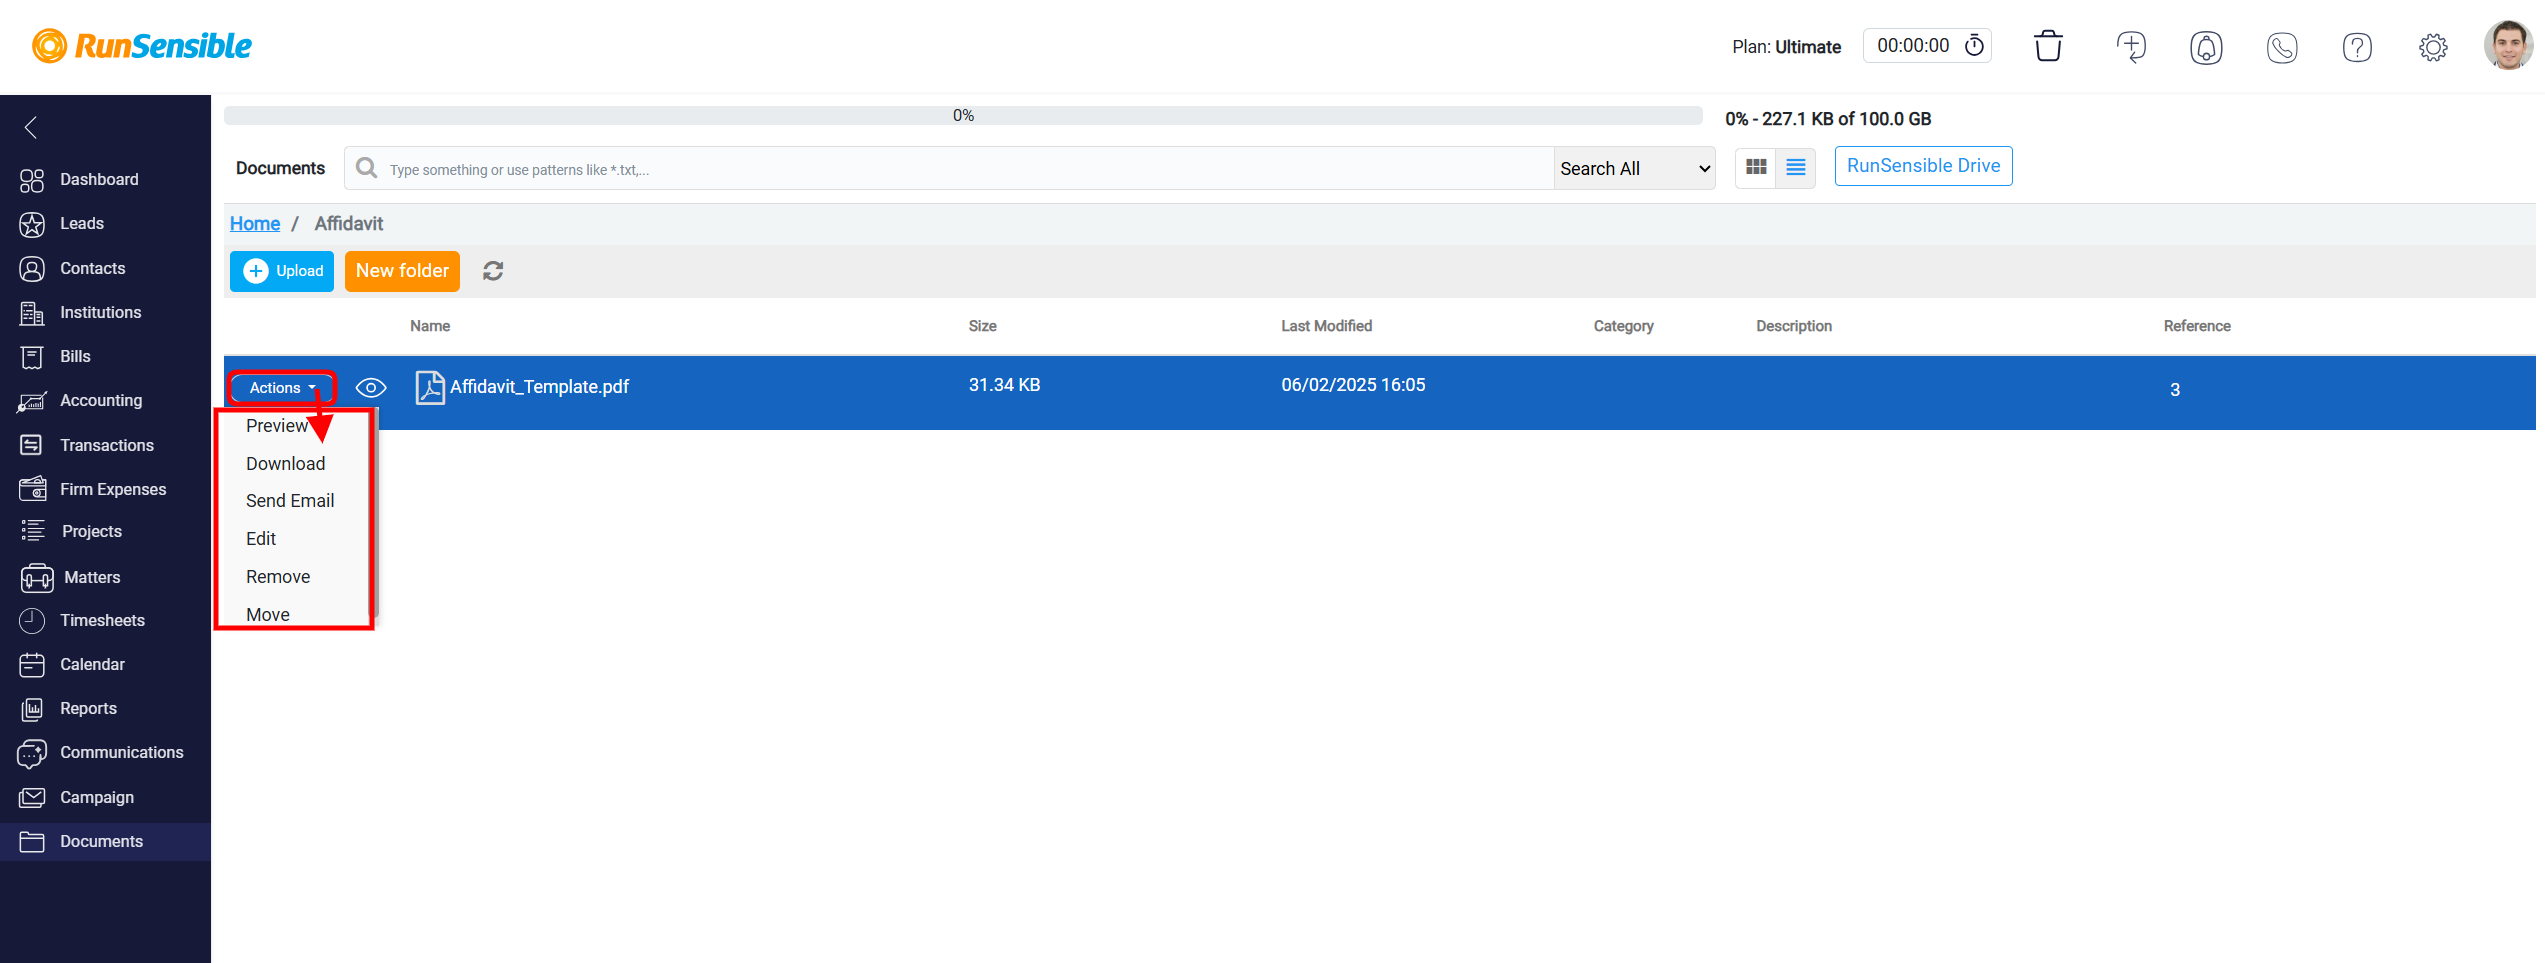
Let’s review how each button works:
Preview: Open a quick view of the document without downloading it.
Download: Save the document to your local device.
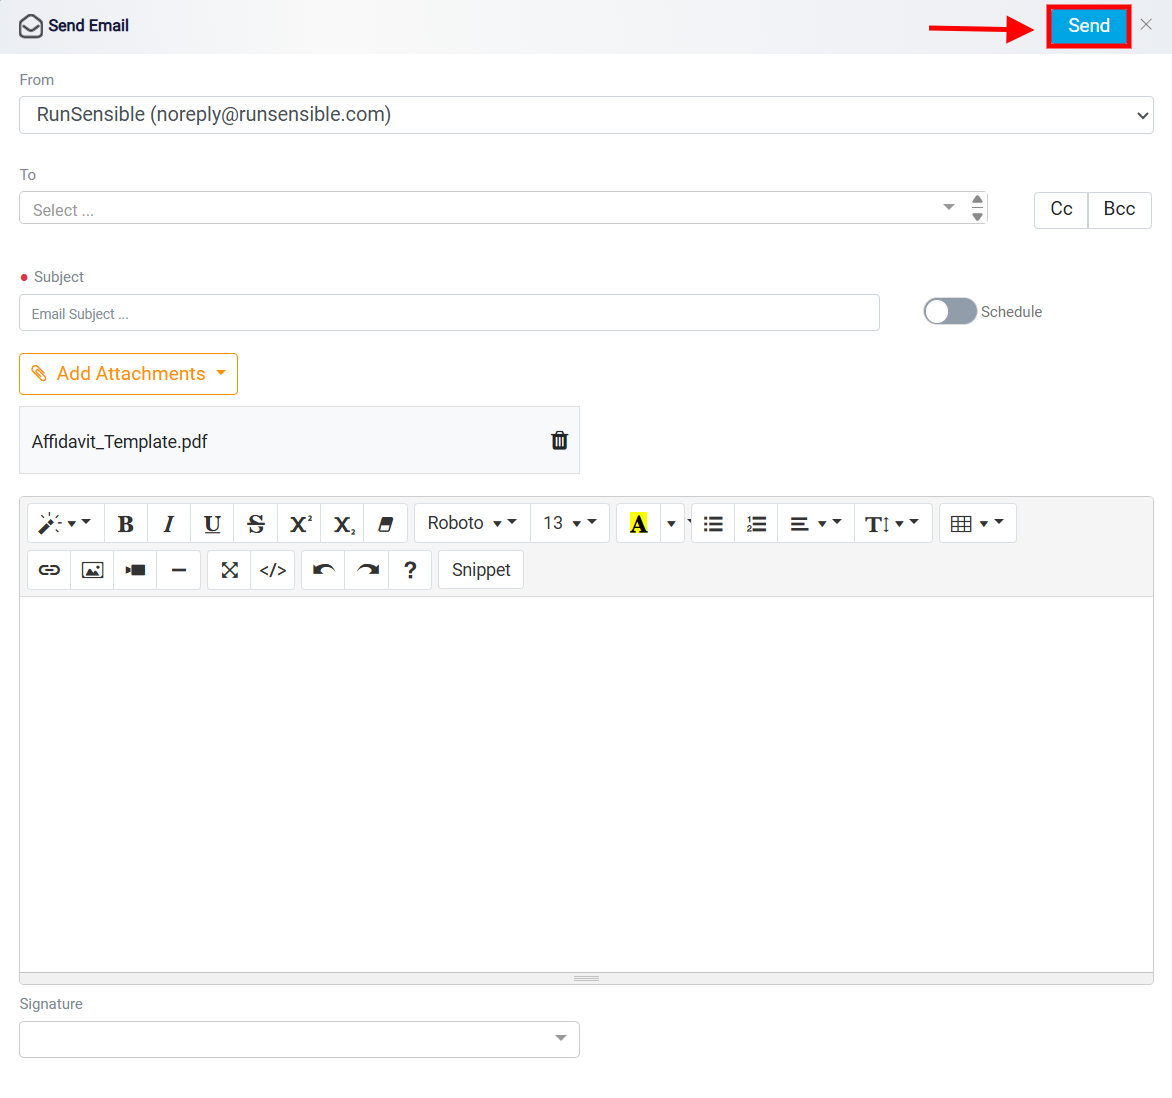
Send Email: Make it easy to share files via email directly from the panel. Clicking this button allows you to compose an email. The sender’s email address indicates that it is an automated or standardized account, specifically configured for use within the platform.
 The recipient’s email field allows the sender to input one or more recipient addresses. There are also options for adding CC (carbon copy) or BCC (blind carbon copy) recipients.

A mandatory Subject line field is included, prompting the sender to specify the topic of the email.
 The Schedule toggle allows you to schedule an email to be sent at a future date and time, instead of sending it immediately.

When the Schedule toggle is enabled, additional scheduling fields become visible, giving you greater control over email timing and delivery. You can specify the Delivery Date and Time for the email to be sent. This includes entering the hour (HH) and minute (MM) along with selecting AM or PM. This feature ensures that your email reaches the recipient at the most appropriate time. The Interval option allows you to set the frequency of repeated email deliveries. For instance, you can configure the email to be sent hourly, daily, weekly, or at another interval that suits your needs. This is particularly helpful for sending recurring updates or reminders.
The Repeat Count determines how many times the email will be sent after the first scheduled delivery. Setting the count to 0 ensures that the email is sent only once, while any other value corresponds to the number of repetitions.

There’s also an option to Add Attachments or delete the current one.


The email body has a rich-text editor where the sender can type the message. The toolbar above the text area includes formatting options like changing fonts, adjusting alignment, adding bullet points, and inserting links or tables. This makes it easy to create visually structured and professional emails.

A dropdown field is available for adding a pre-configured Signature, providing consistency in professional communication.

To add a new signature, click Add Signature. 
This will redirect you to Settings > Account Management > Personal Profile. Under the Signature section, click the Add Signature button to create a new one.

Enter a Title and the body of your email, then click Save. Once saved, the new signature will appear in the list of available signatures.

You can easily manage your signatures with options to Edit or Remove them, accessible via the buttons next to each entry.

When you setup the email then click the Send button located on the top right corner.
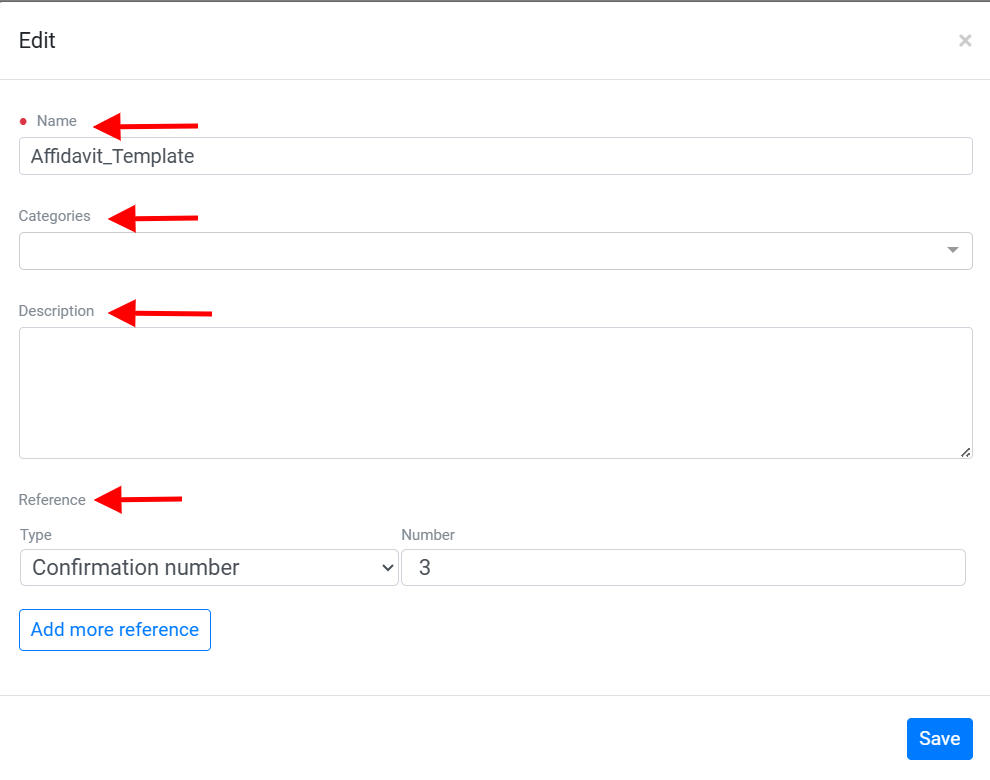
Edit: Enables users to easily edit the document for better identification and organization. They can modify the Name, select Categories from a dropdown menu, add a Description, and manage Reference entries.
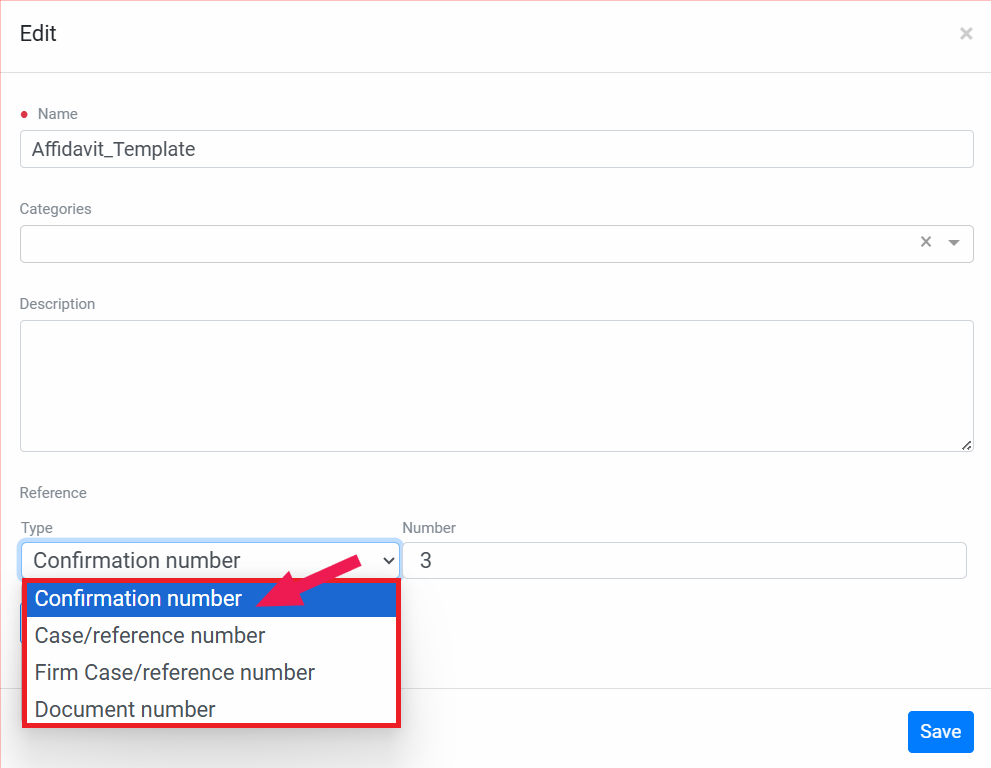
The Type field displays a dropdown menu that allows users to select the type of reference they wish to add.
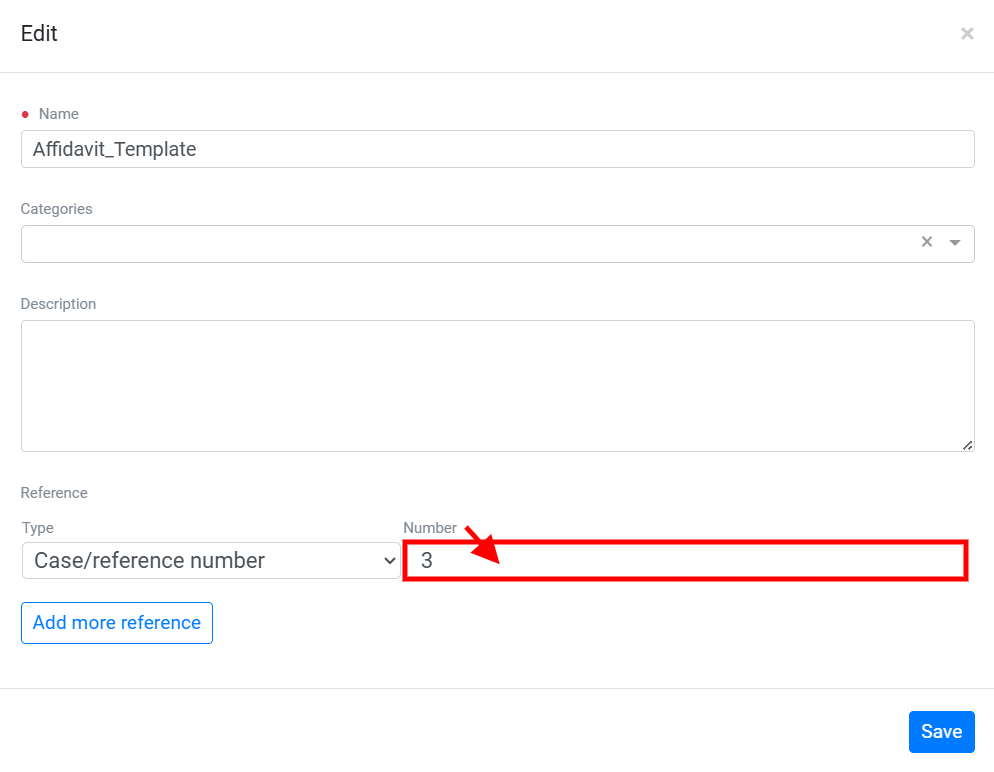
Next to the Type field is the Number field, a text input box where users can manually enter the specific number associated with the selected reference type. This feature streamlines the process of linking each reference type to its corresponding record.
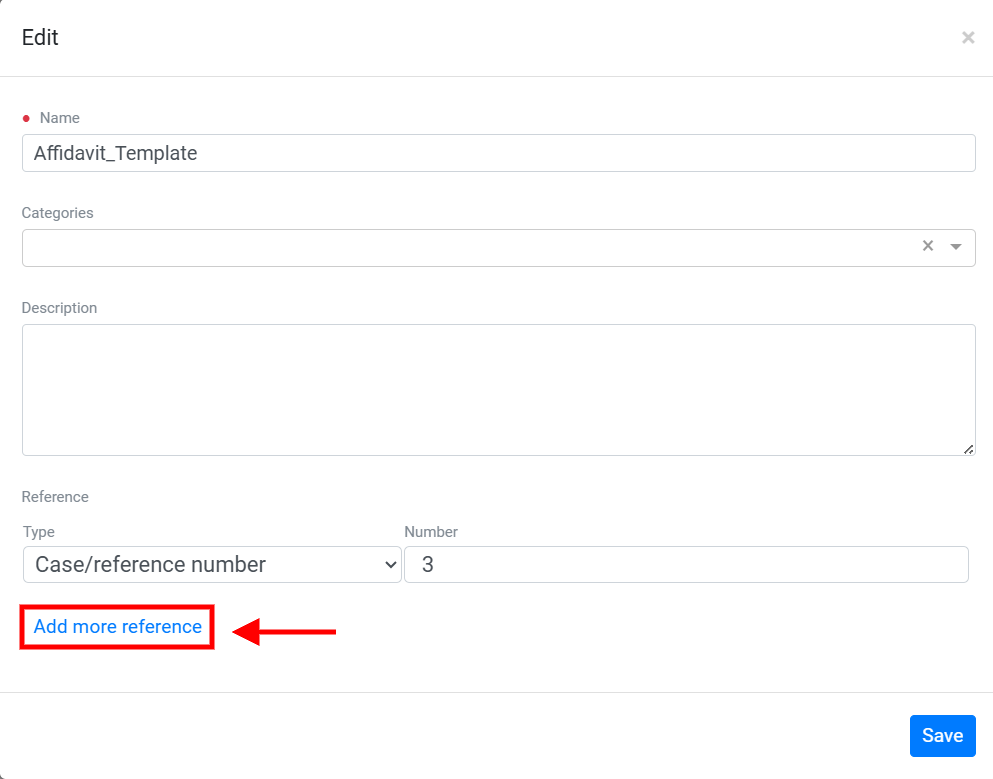
Below these fields, you’ll notice an Add more reference button which is especially useful when multiple references need to be included in a single document or form, as it enables users to easily add additional entries.
To the right of the entry fields, a Delete icon, represented by a trash can, allows users to remove unnecessary or mistakenly added reference entries. This functionality helps maintain accuracy and prevents clutter in the reference list.
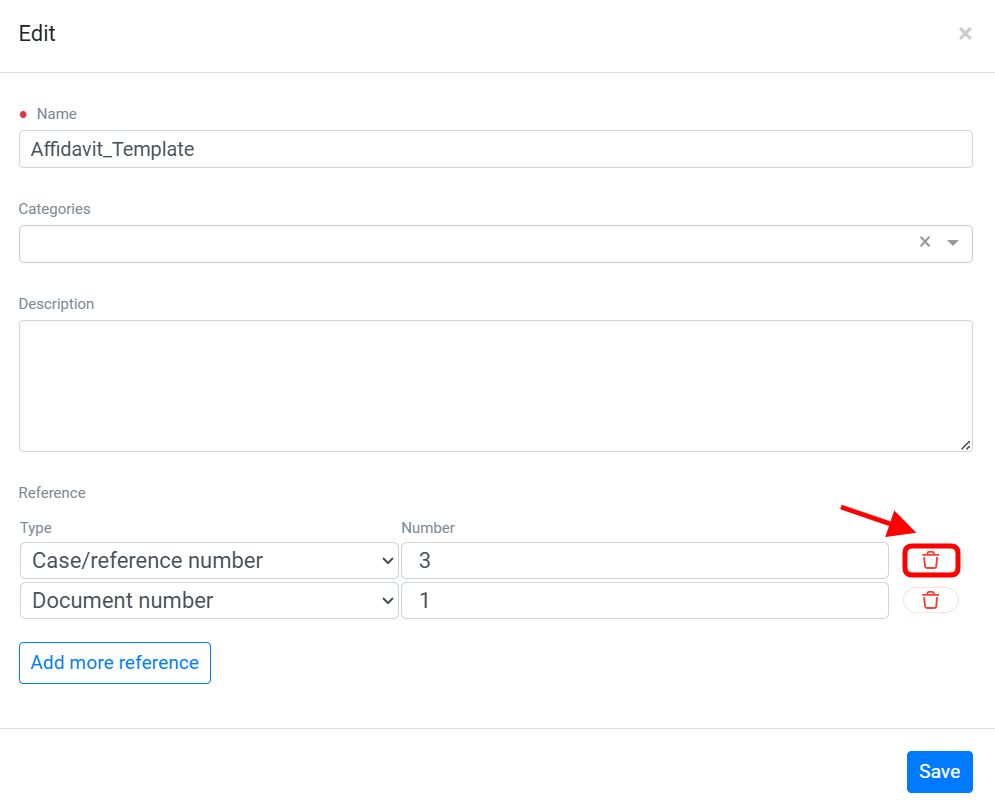
At the bottom of the interface, a Save button finalizes the process. Clicking this button ensures that all entered reference data is securely stored, preventing any loss of information. Together, these features provide a seamless and efficient way to manage references.

Remove: Allow users to delete the selected file from the document management system.
Move: Relocate the document to a different folder or directory within the document management system.