How to create a text editor document template
The text editor in RunSensible allows you to create a document entirely from scratch within the system. If you prefer to start fresh, rather than using an existing template or document, our editor makes it easy to write your content. Additionally, you can define all the roles you have within the system and insert them wherever needed in the document.
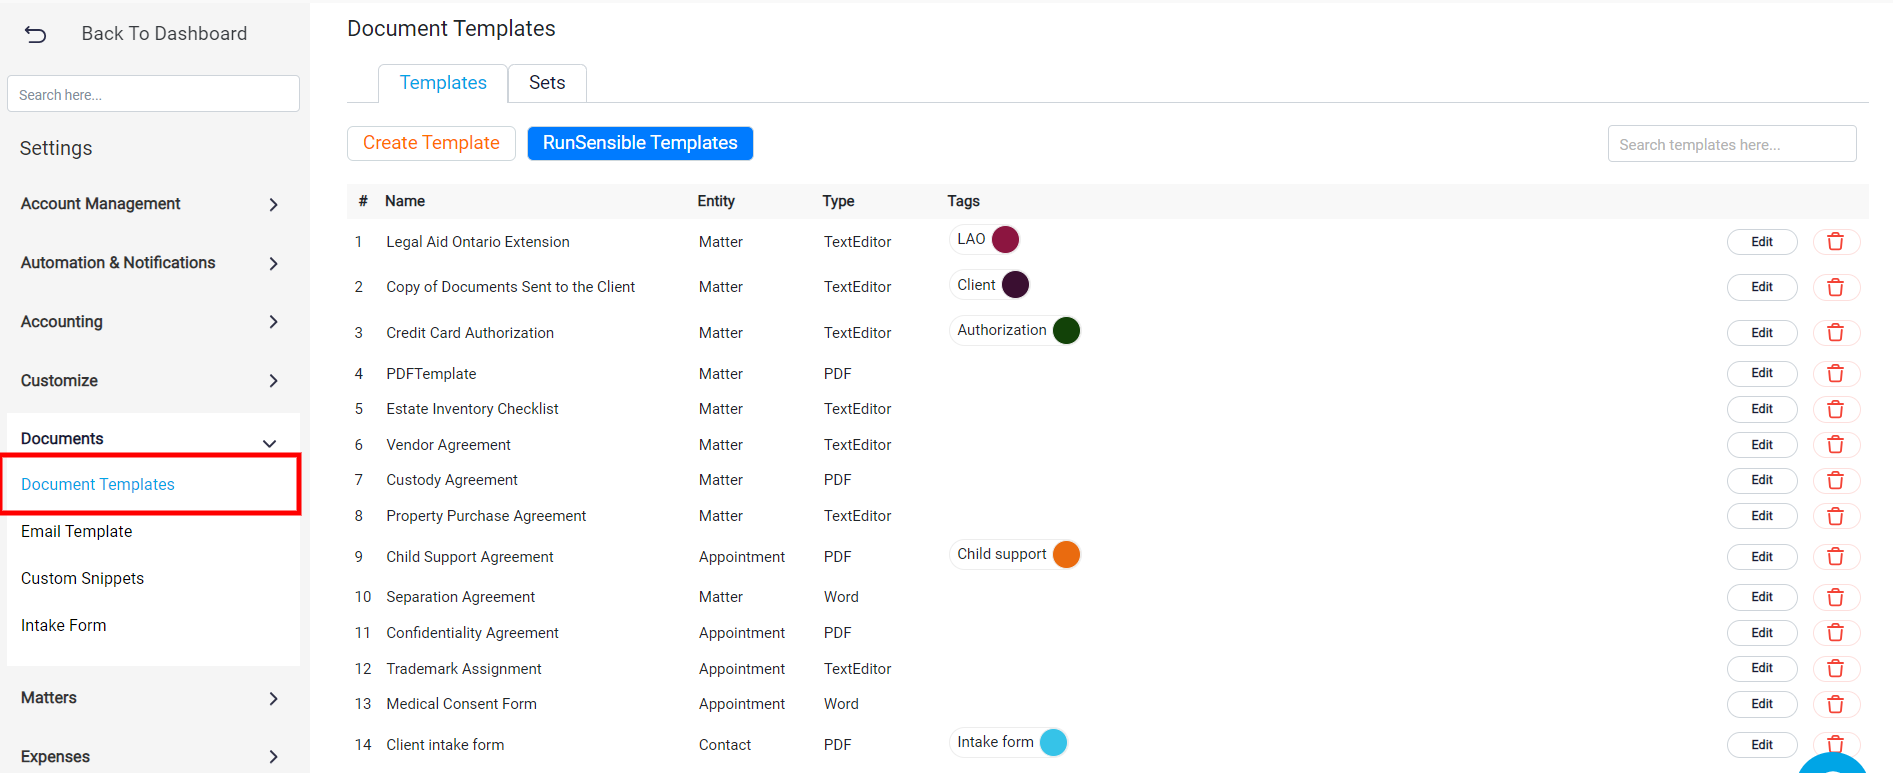
Begin by navigating to Settings located in the upper right corner of your screen.

Next, click on “Documents” and select Document Templates.
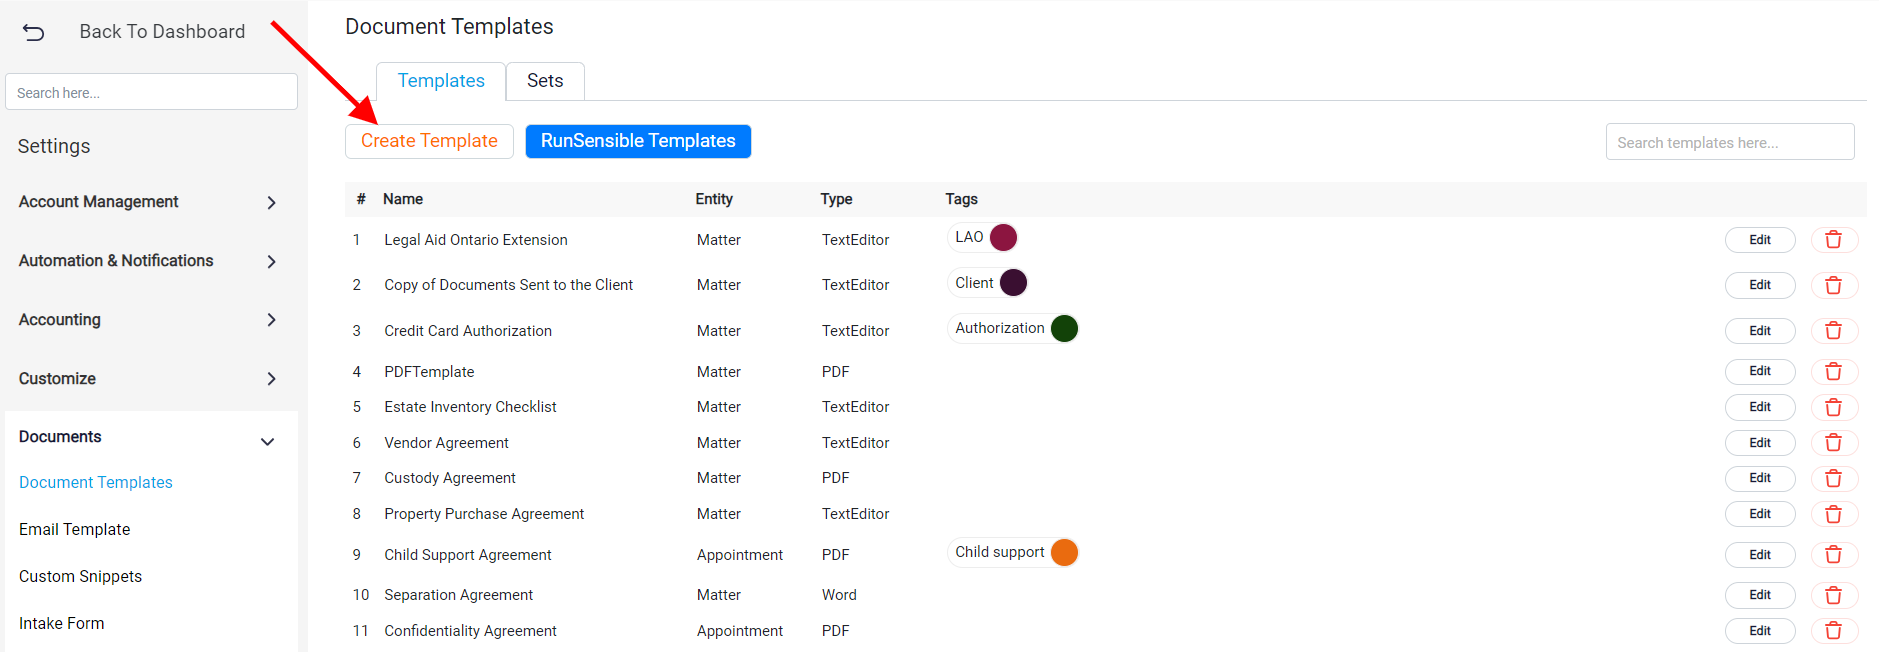
Afterwards, click on the Create template button.
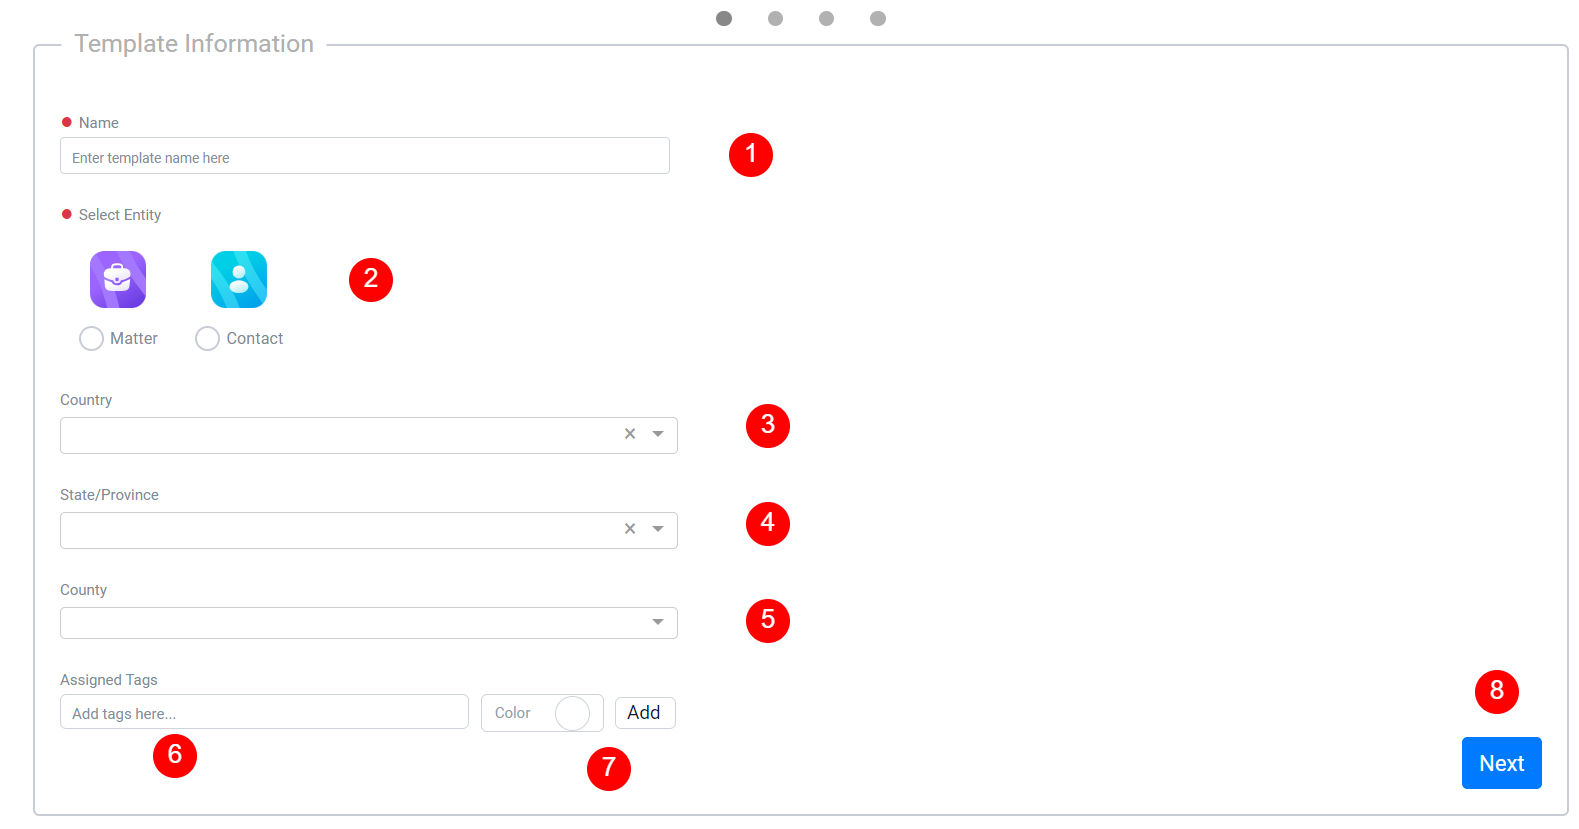
In the provided field, input the name you prefer for your template, and underneath that, select the relevant entity associated with this template.
Indicate the country and state for which this document is intended. This simplifies the process of finding the relevant legal document for a specific region when needed.
You can assign tags to your document by entering a tag name in the Add tags box. Additionally, you can choose a color for your tag by clicking on the white circle button next to the tag name. Once you’ve finished tagging your document, click the Add button. If you want to add multiple tags to a single document, repeat the same process for each tag.
This will enable you to conveniently search for documents using specific tags when the need arises.
Once you’re done, move forward by clicking the Next button.
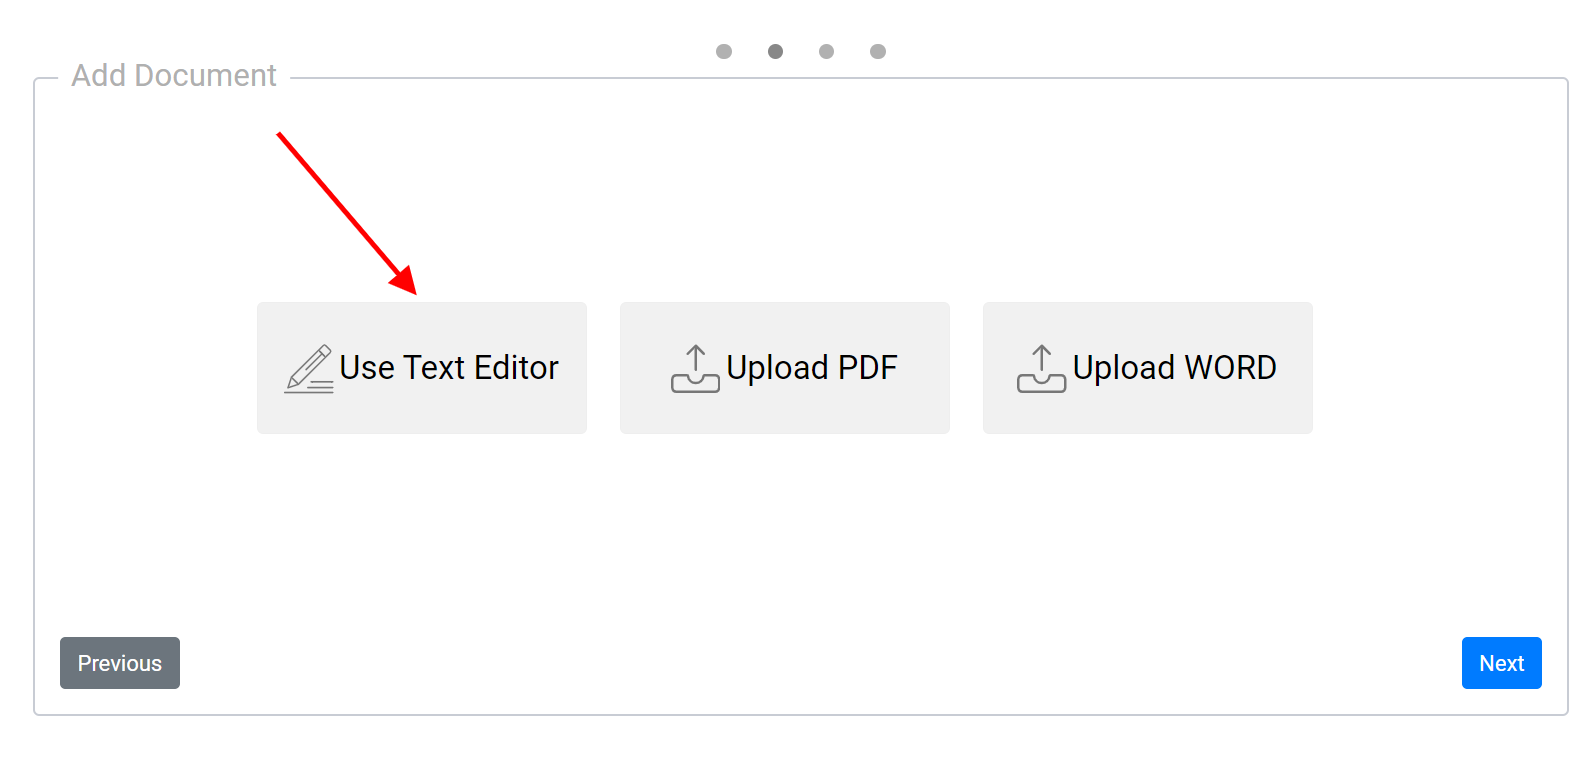
Choose the Text editor at this point. Then, in the following step, specify your role within the document.
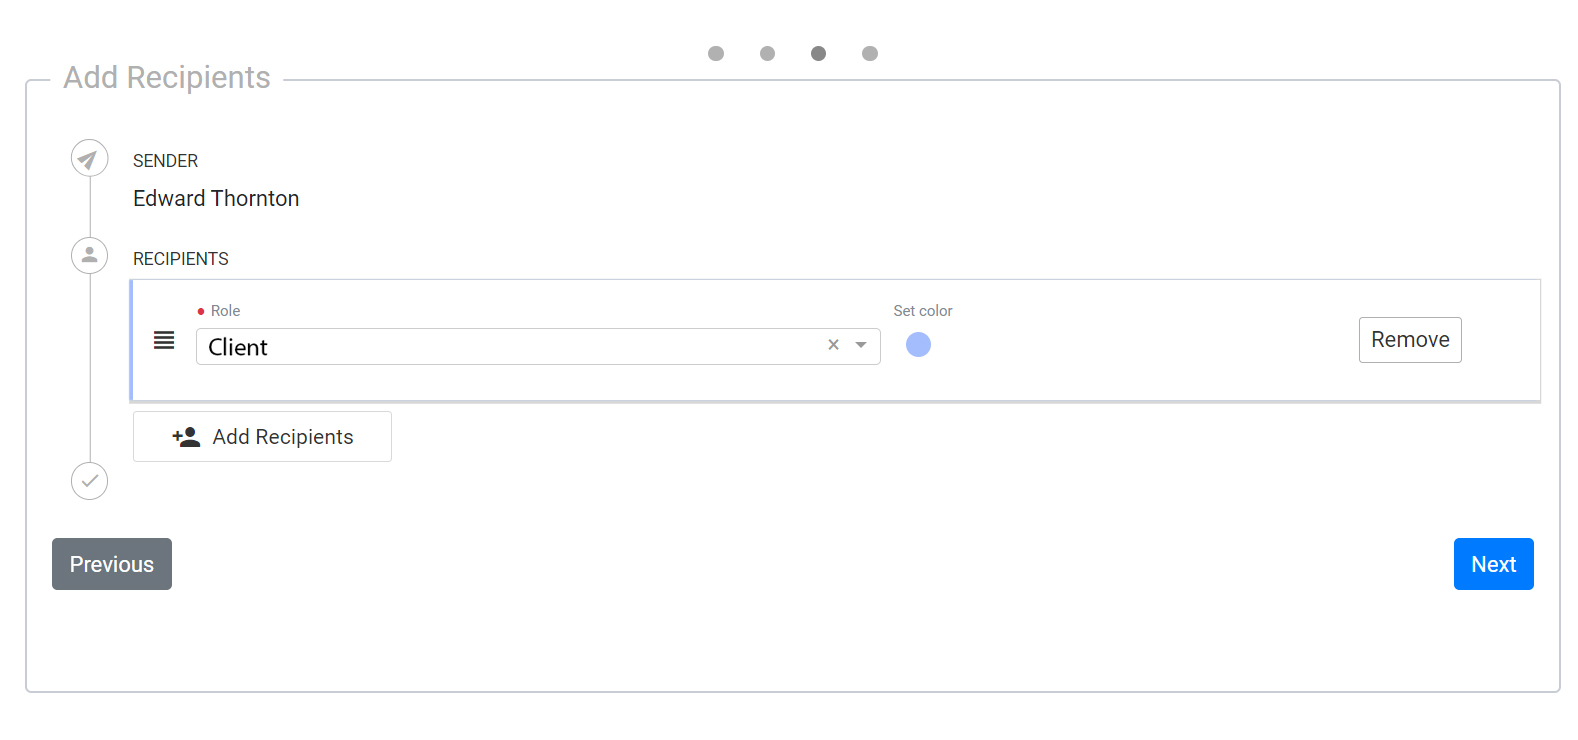
To define your role, click on the designated Role box and choose the role that suits your needs. If the role you’re looking for isn’t listed, you can click on the blue Add Role link to create the specific role you require. Just enter the role name and click on the Save button to save it in your roles list.
You can enhance document clarity by assigning specific colors to each role. click the Set Color button on the right side of each role and choose a color that represents it, making roles easily distinguishable.
If you need to assign multiple roles in your document, click the Add Recipient button. This action will create additional role boxes, allowing you to set multiple roles for your document.
After you’ve finalized this step, click on the Next button.
You can now enter the text of your document into the designated text box.
At the top of the text box, you’ll find a toolbar. This toolbar offers a variety of valuable tools that are purpose-built to help you improve your text. You can use these tools to make your writing better and adjust it to meet your specific preferences.
To insert variables into your document, navigate to the top of your screen and click on the Document Template Fields drop-down. When you want certain parts of your document to be fillable either by the system or another person, use this drop-down menu to select and insert the appropriate field into your document.

To save your document, click the Save button situated at the upper right corner of your screen.