How to create pdf document template
With RunSensible, you can easily create PDF templates that seamlessly incorporate data from various sources.
This empowers you to fill in your PDF templates with information that already exists in your system, manually input missing data, or even delegate the task to the person who possesses the relevant information.
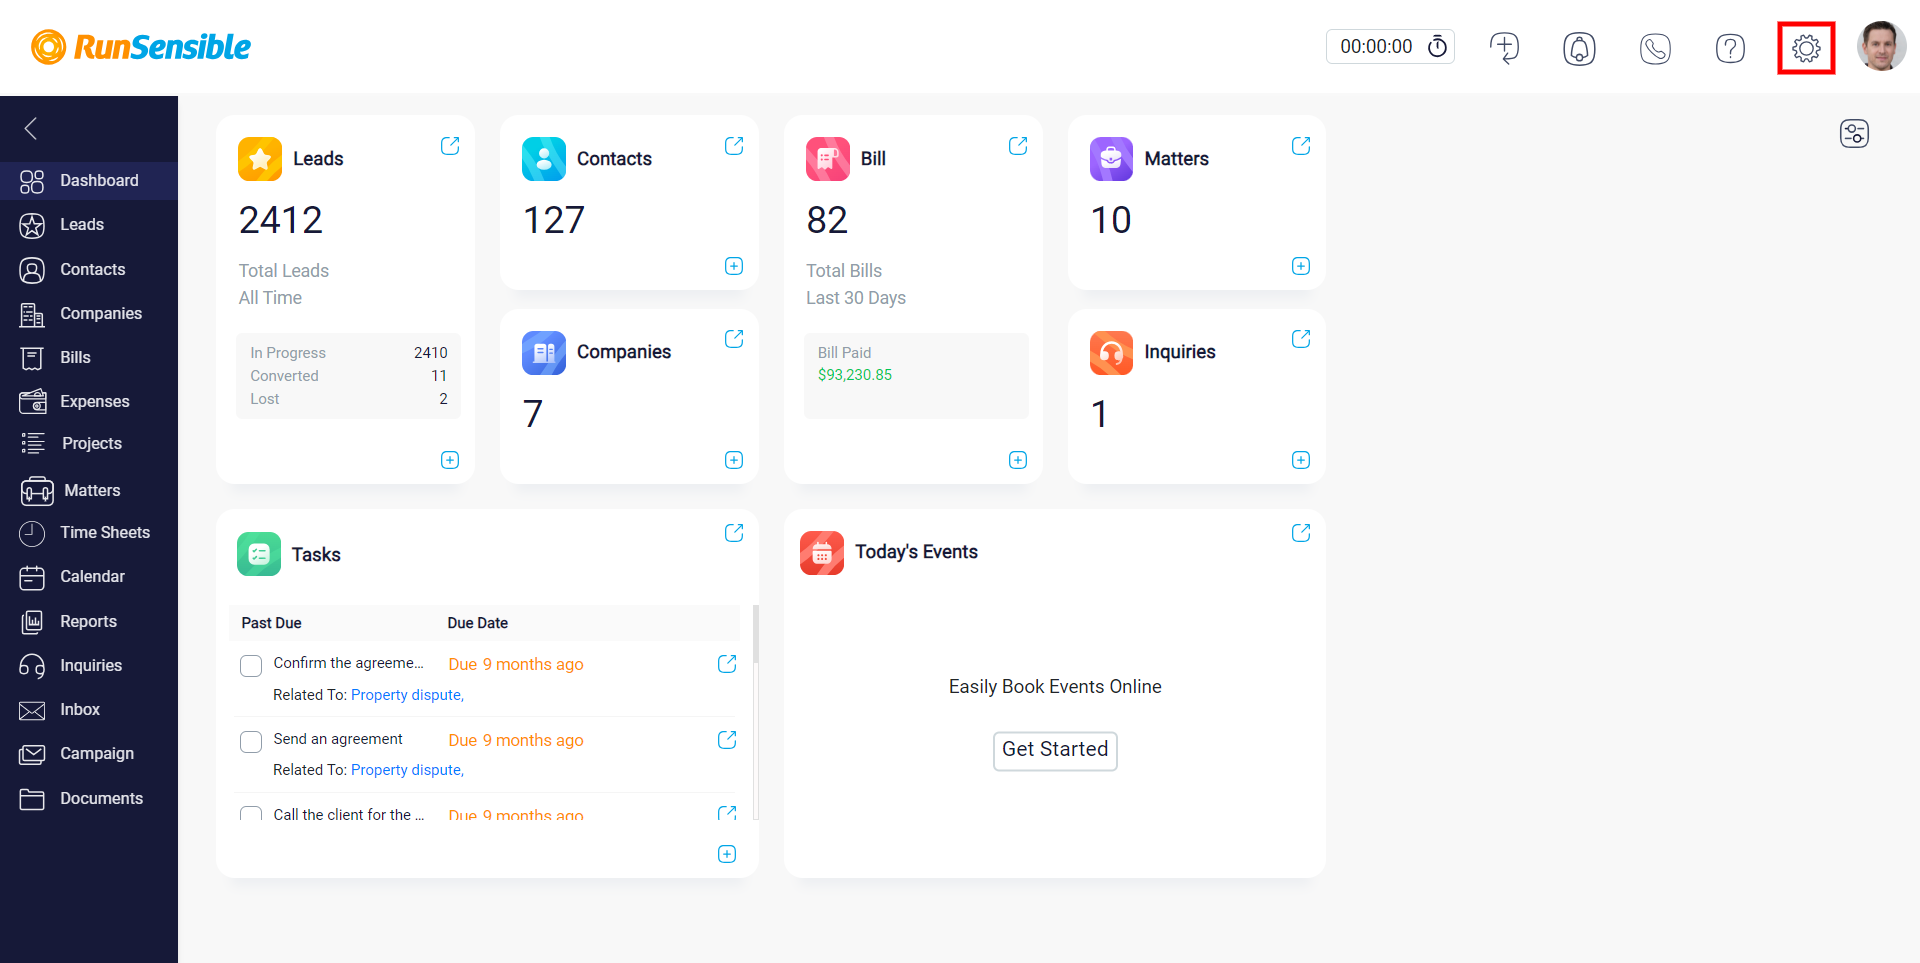
To create a document PDF template, navigate to Settings.
Click on Documents, and select Document template within that tab.
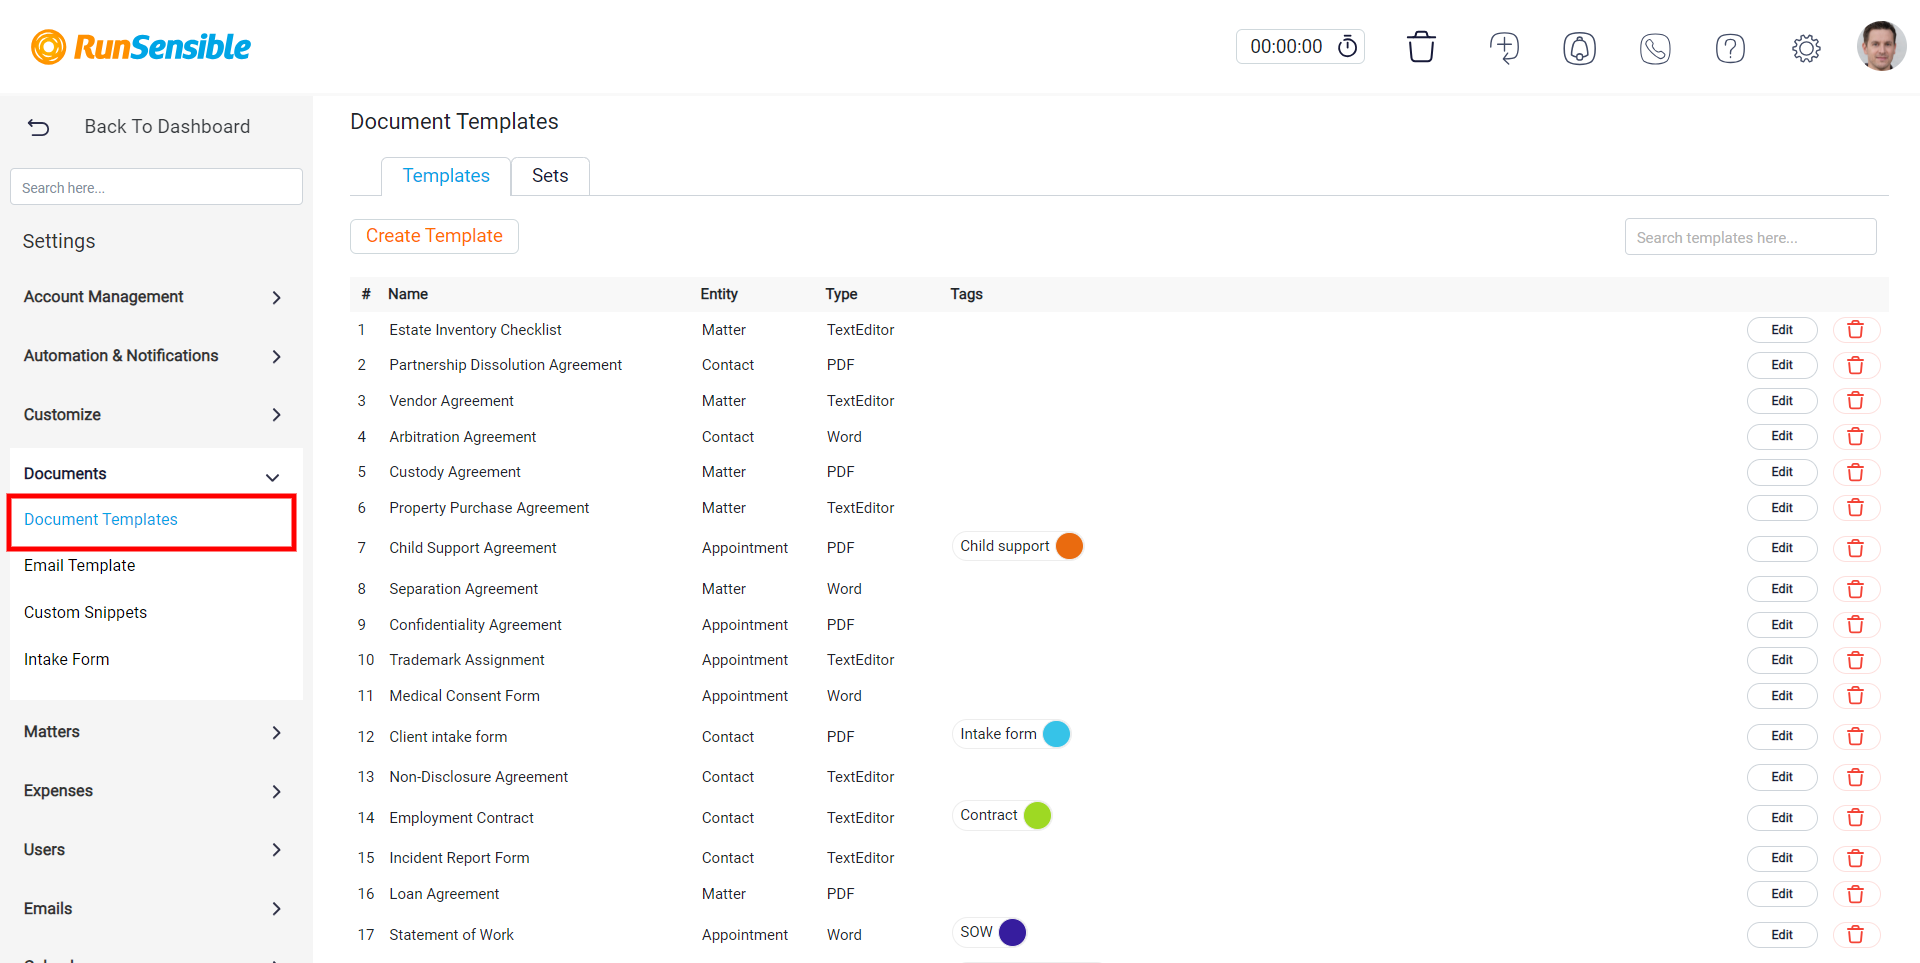
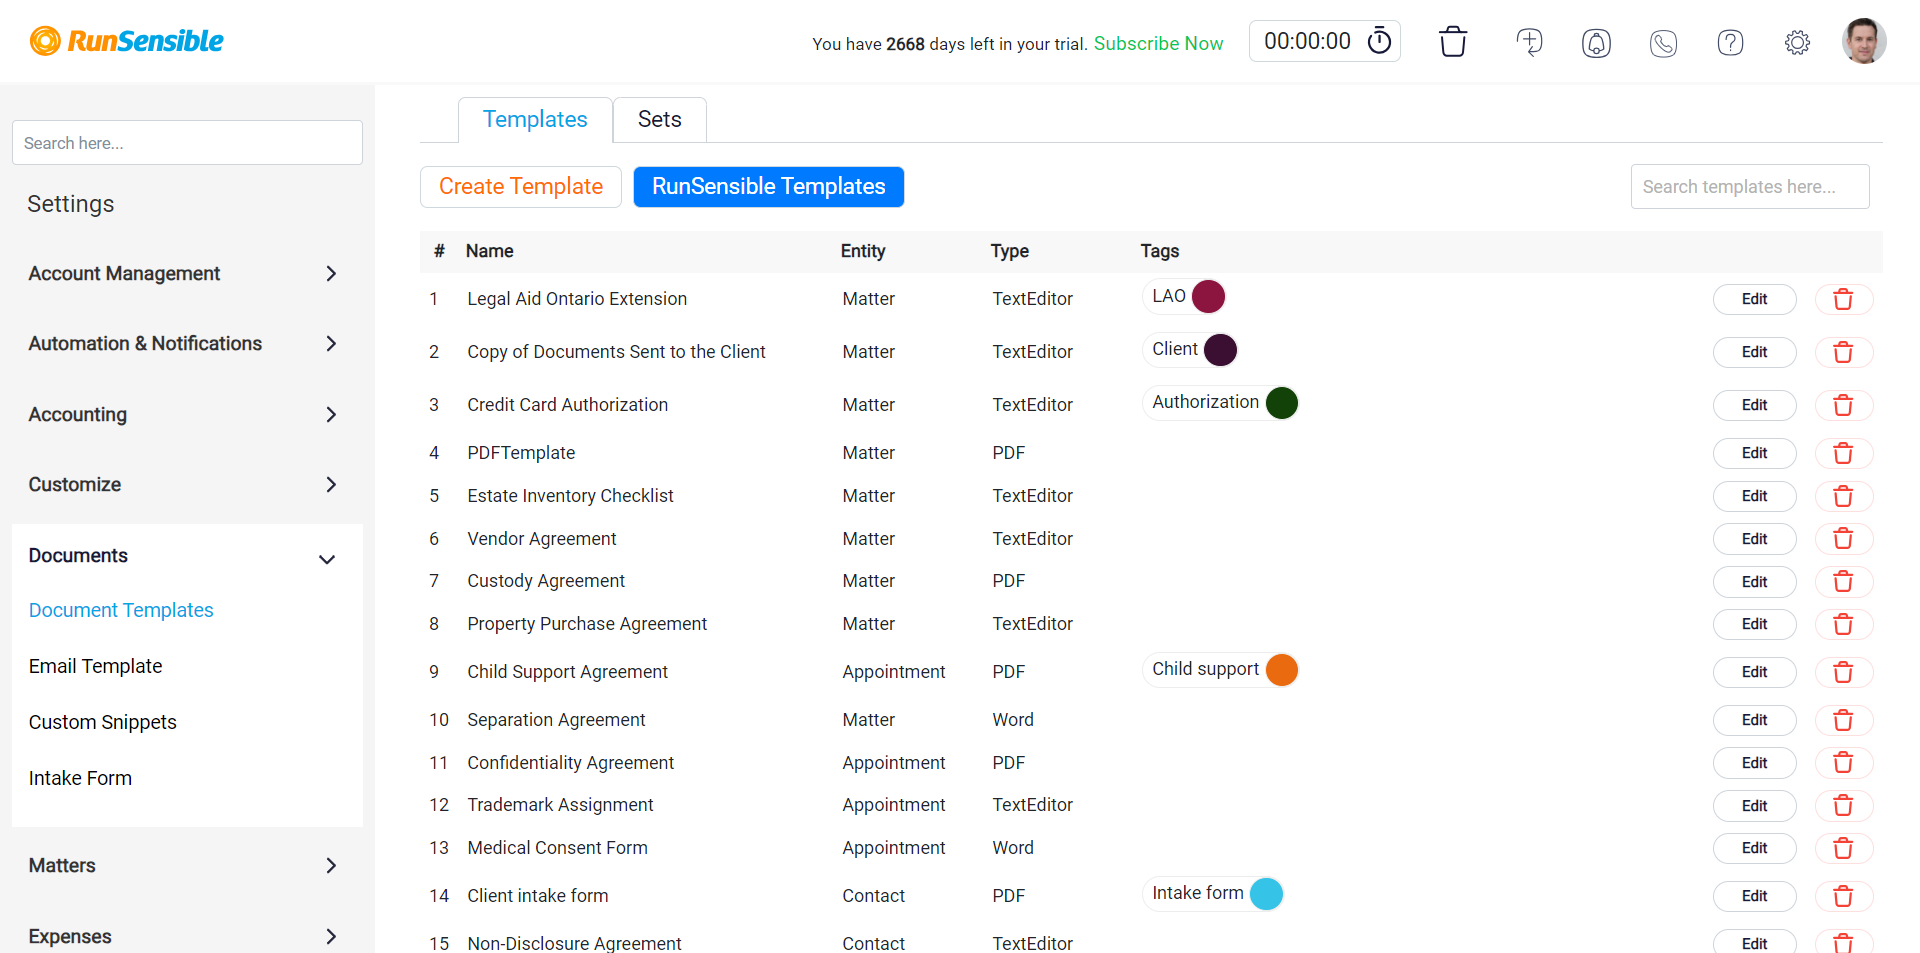
Here, you will find a comprehensive list of all the document templates you have previously created.
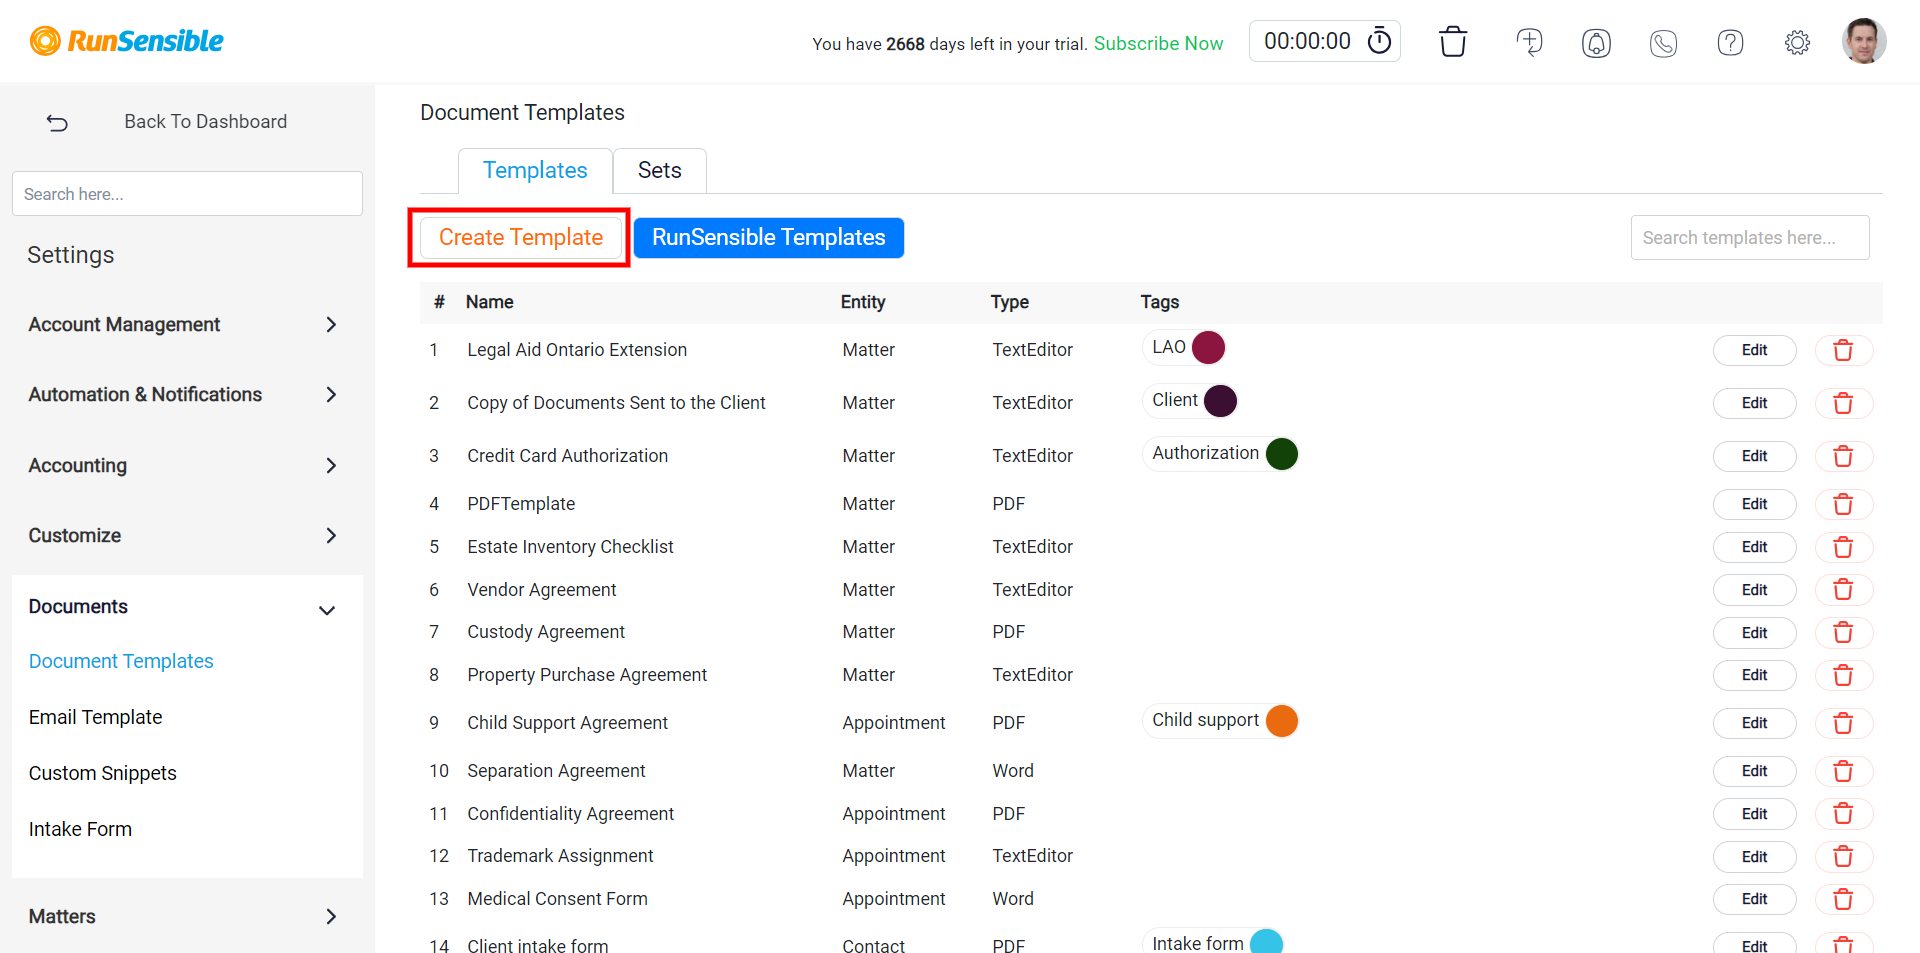
Click on the Create Template button to initiate creating your document template.
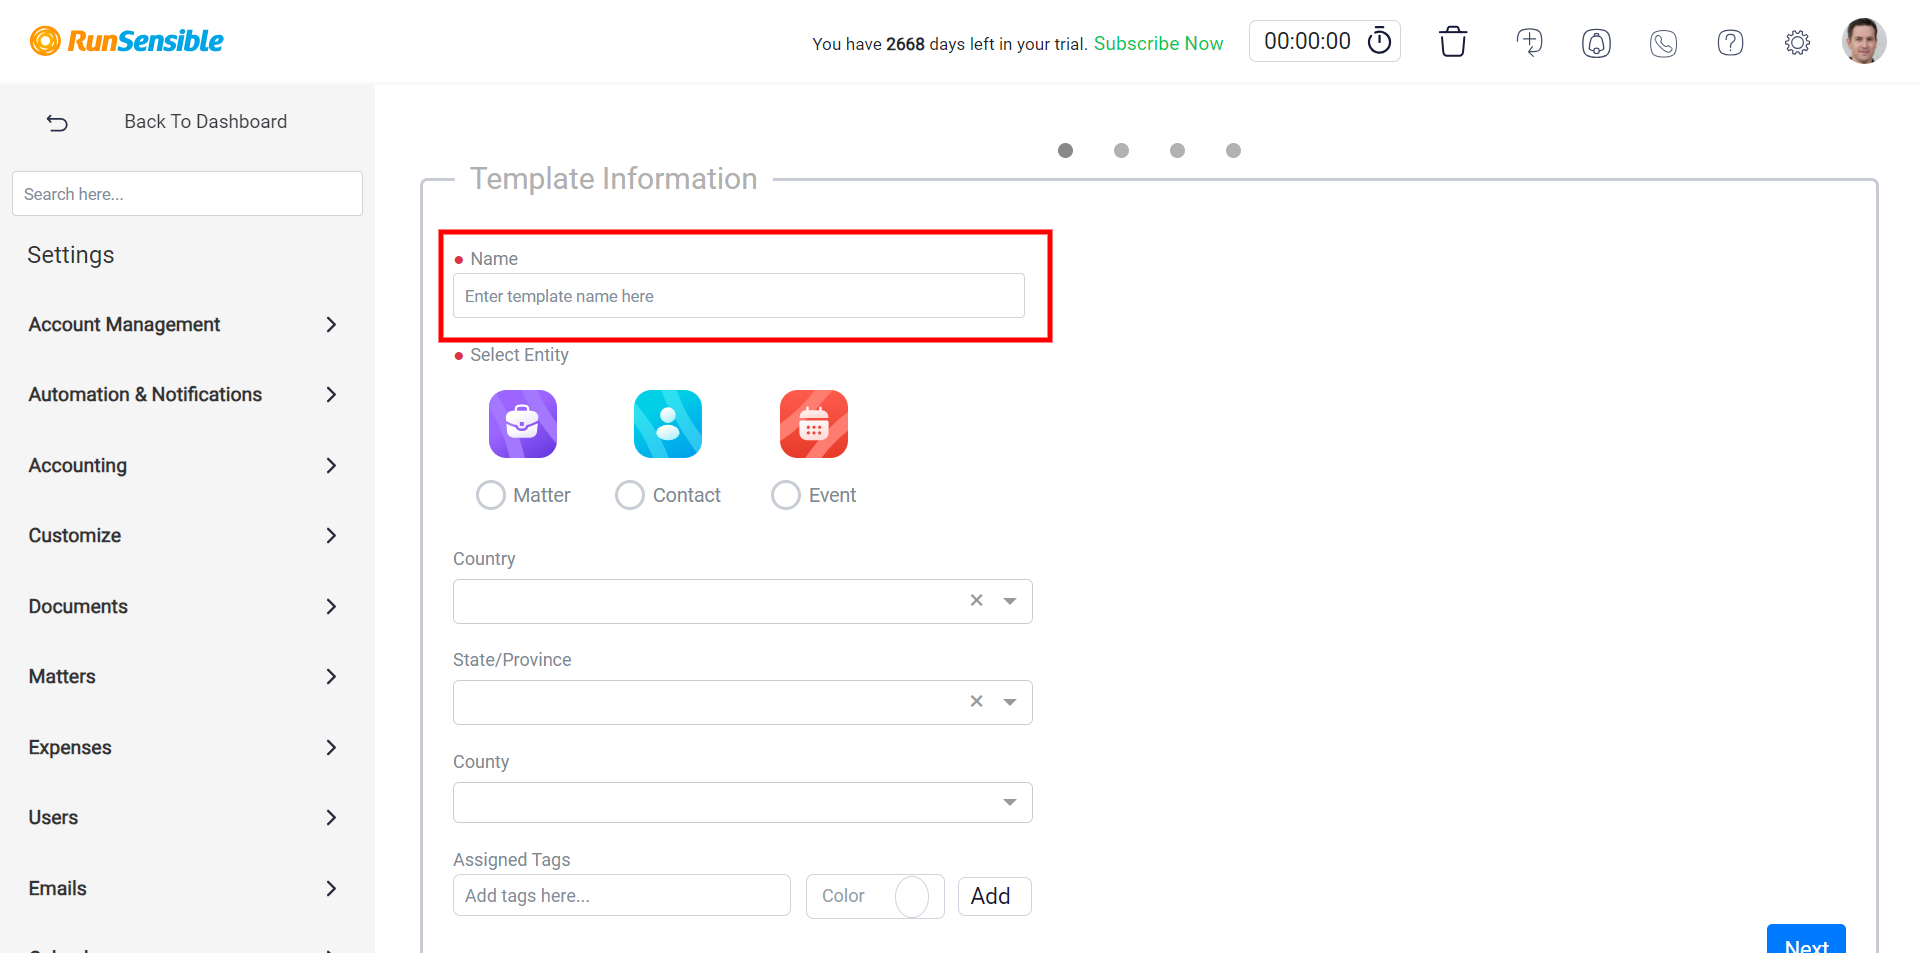
To start, enter a name for your template in the designated Name box and specify the entity of your template.
Next, specify the country in which you intend to use the document. This step is crucial as it helps you quickly locate the correct contract when you are searching for one that is specifically tailored for a particular region or country.
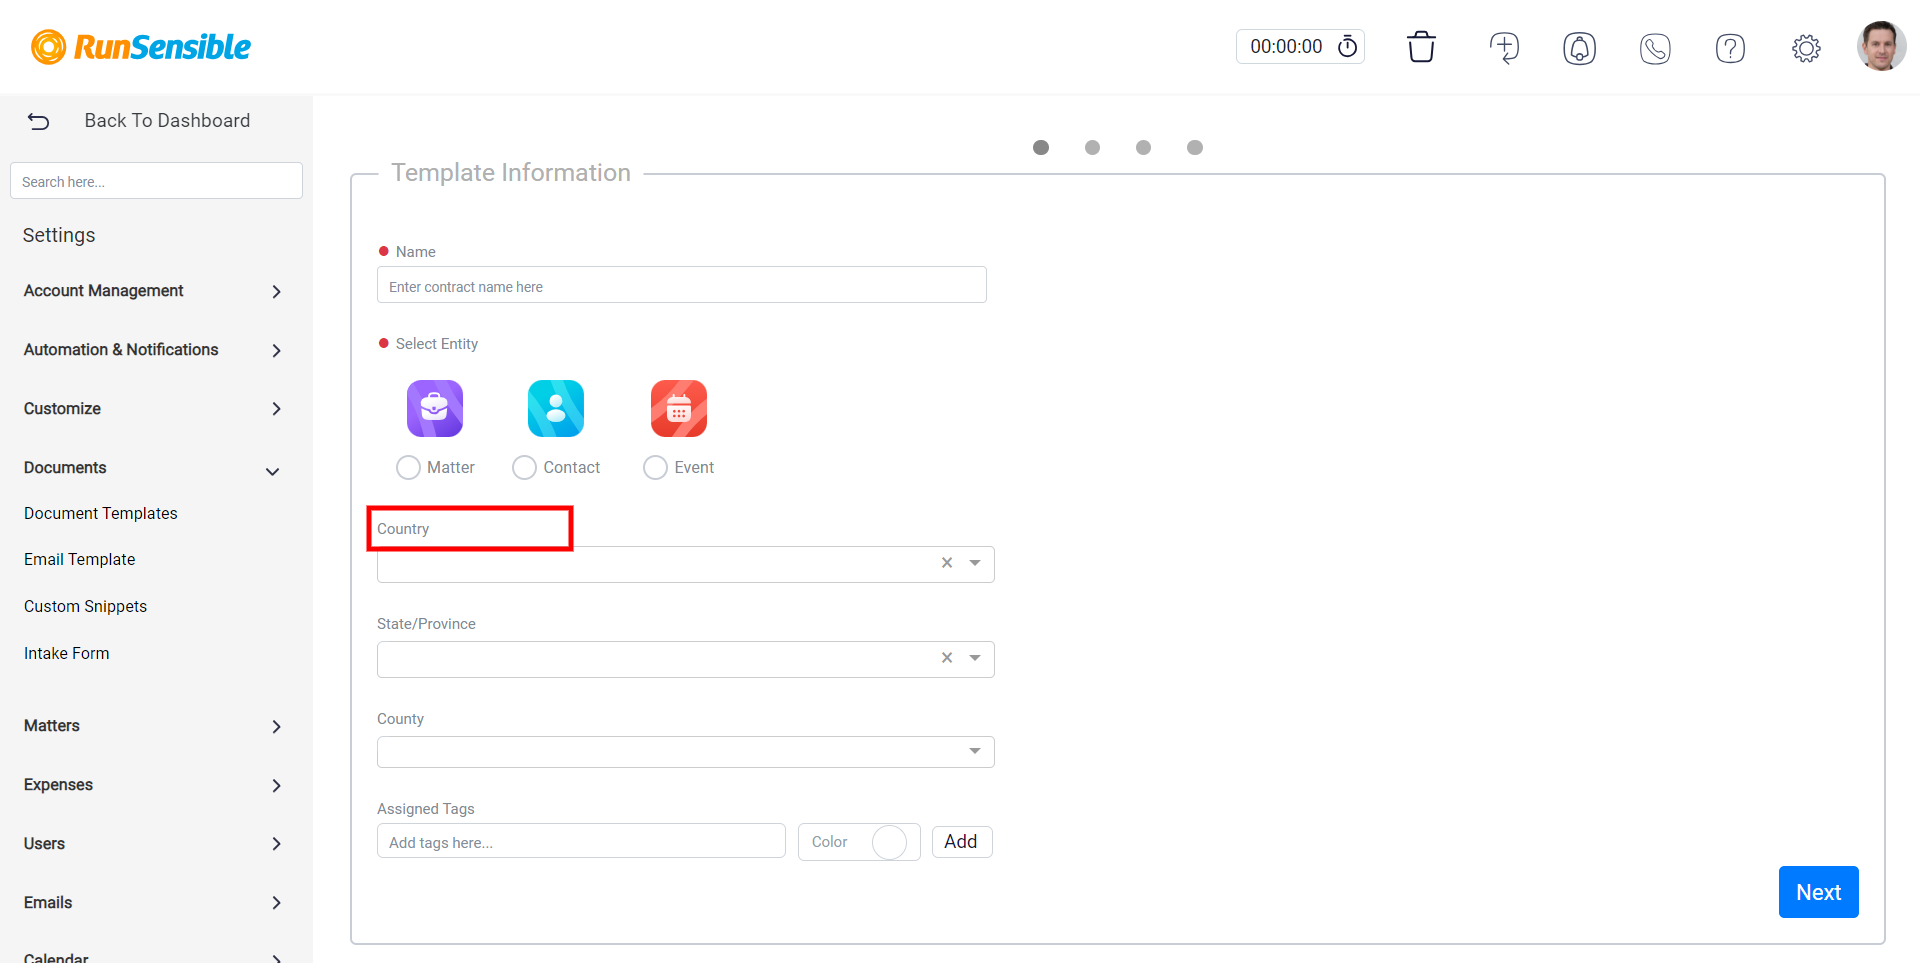
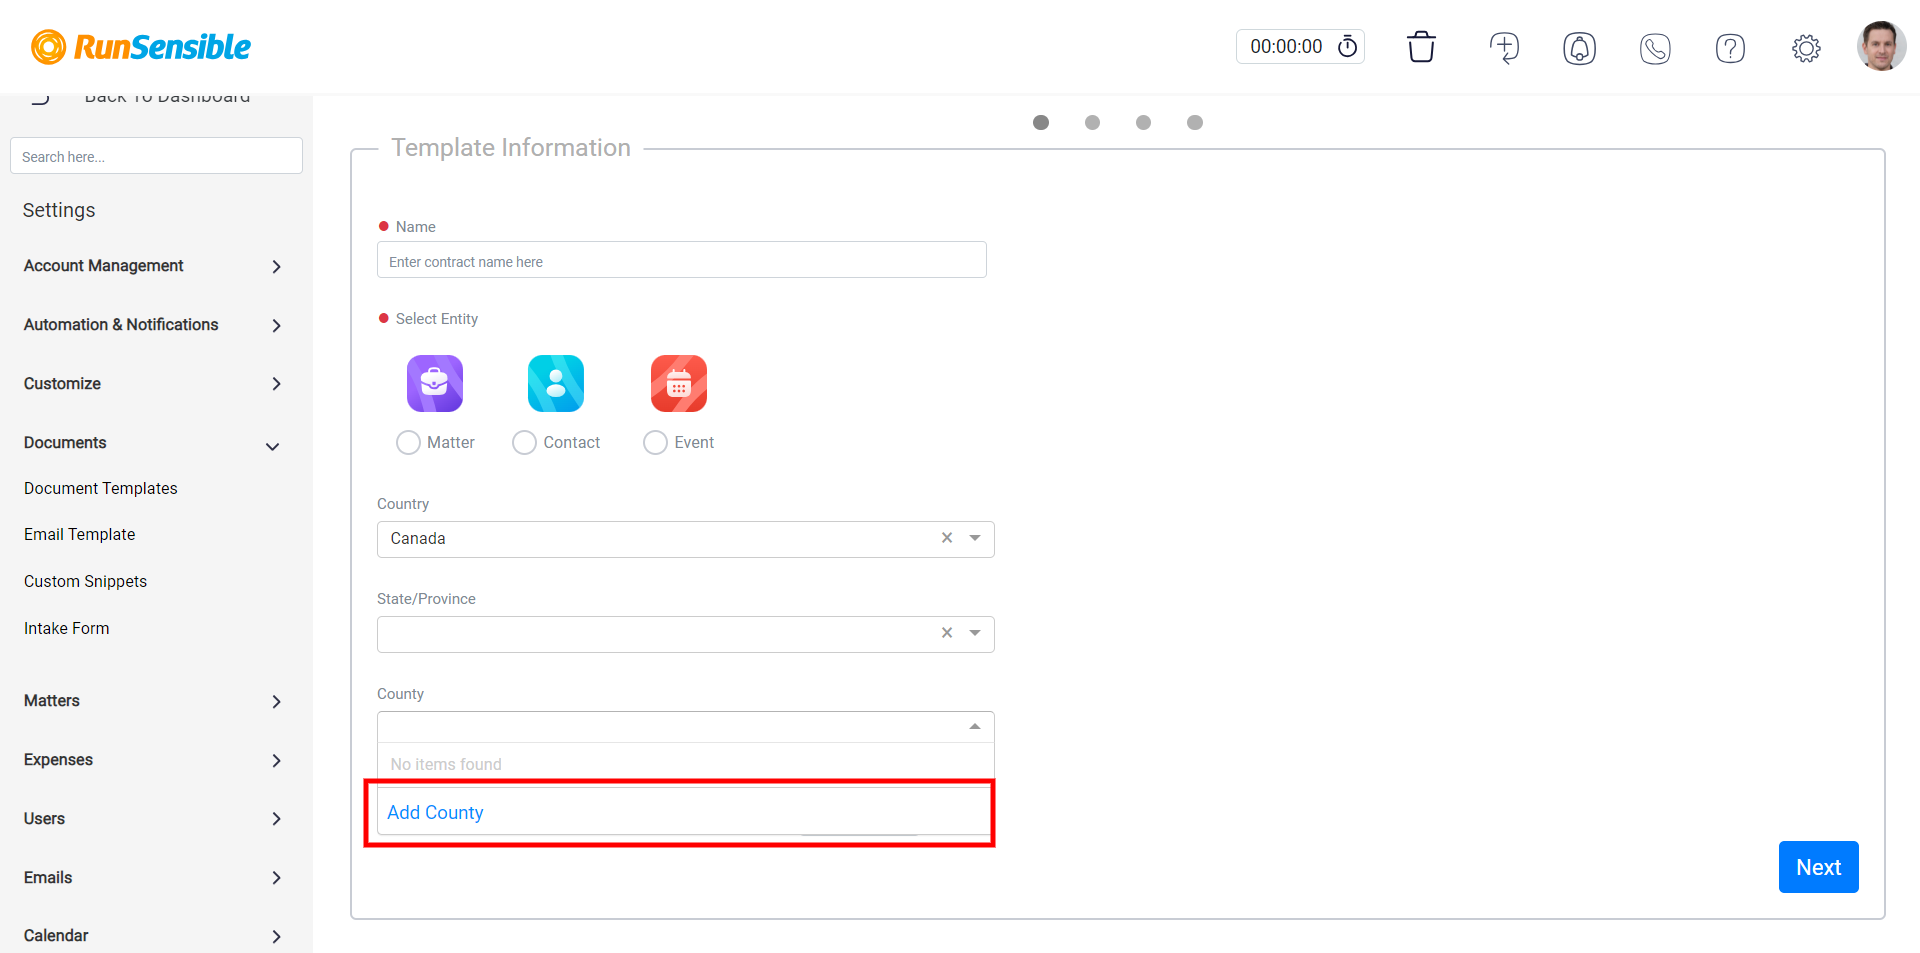
To choose a country, click on the Country drop-down menu. You will see a list of countries that have been added previously. In case the country you are looking for is not included in the existing list, you can click on the Add Country link in blue to include the specific country you want.
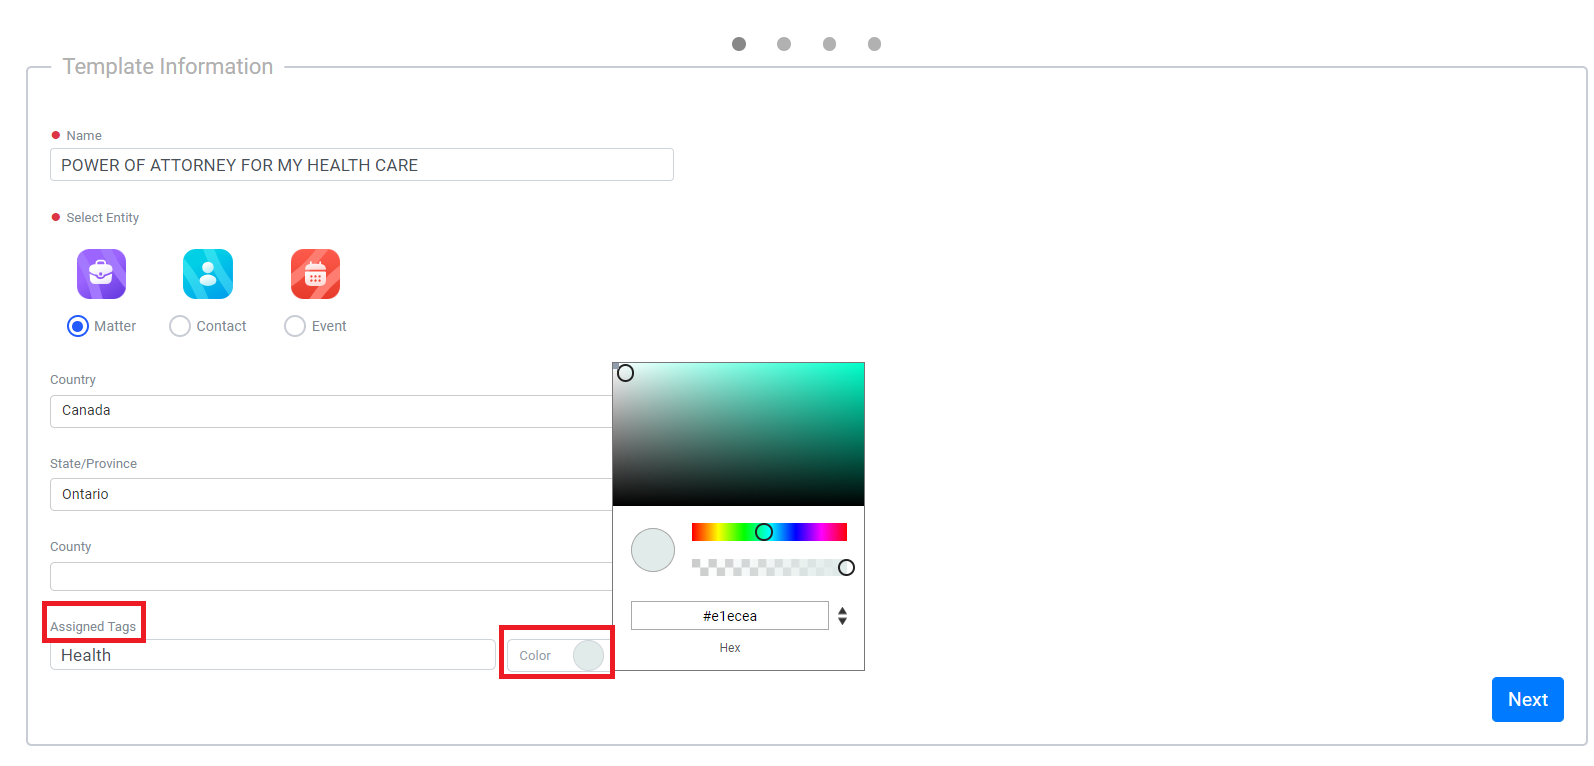
To streamline the search process in the future, you can add tags and tag colors to your template. To accomplish this, enter the desired tag name in the Assigned Tags box and choose the color by clicking on the white circle in the color box. Once you have entered the tag name and selected the color, click on Add to assign the tag to your template. This way, you can easily categorize and identify your templates for quick and efficient retrieval when needed.
After entering the template information, click Next.
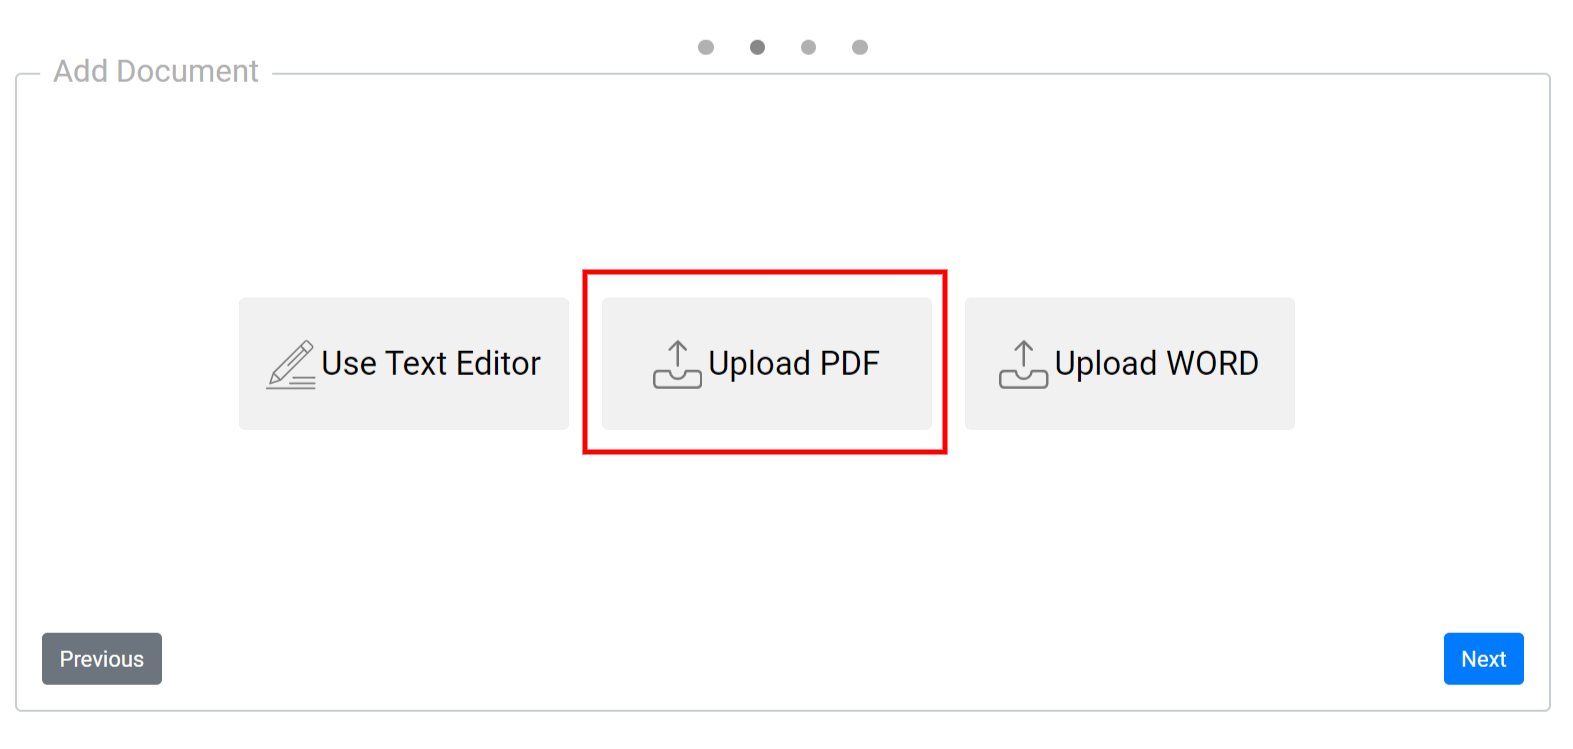
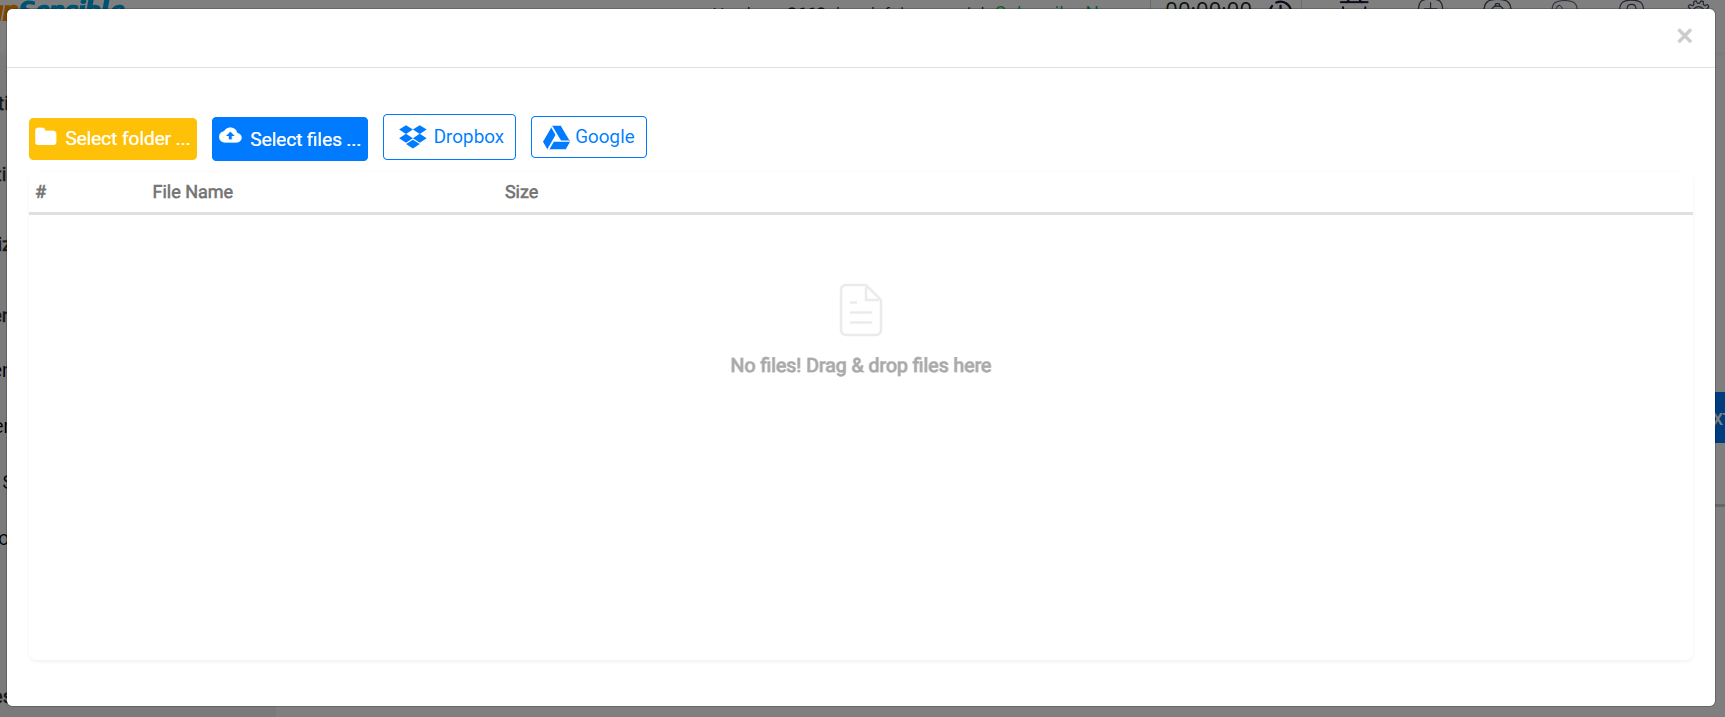
Now you need to upload the template PDF you want. To upload your template PDF from your desktop, click on the Upload PDF button and then select your template file by clicking on the Select Files button located at the top left corner of your screen.
Now you have chosen the file, click the Open button to upload the file.
However, if you would like to upload a file from Dropbox or Google Cloud services, you can click on the corresponding button to access your cloud services, and from there, select and upload your desired file.
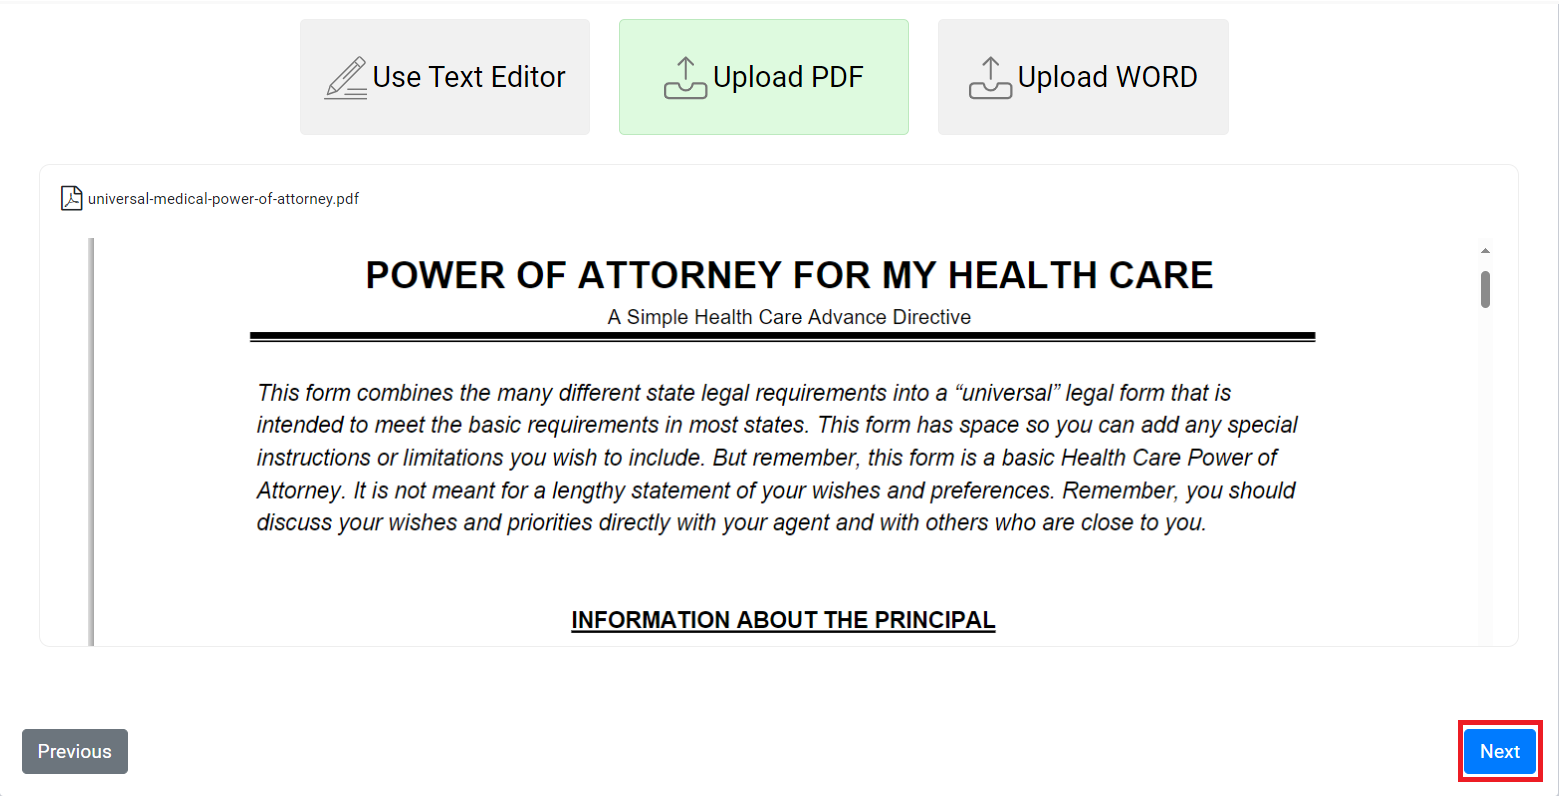
After uploading your desired file, click Next .
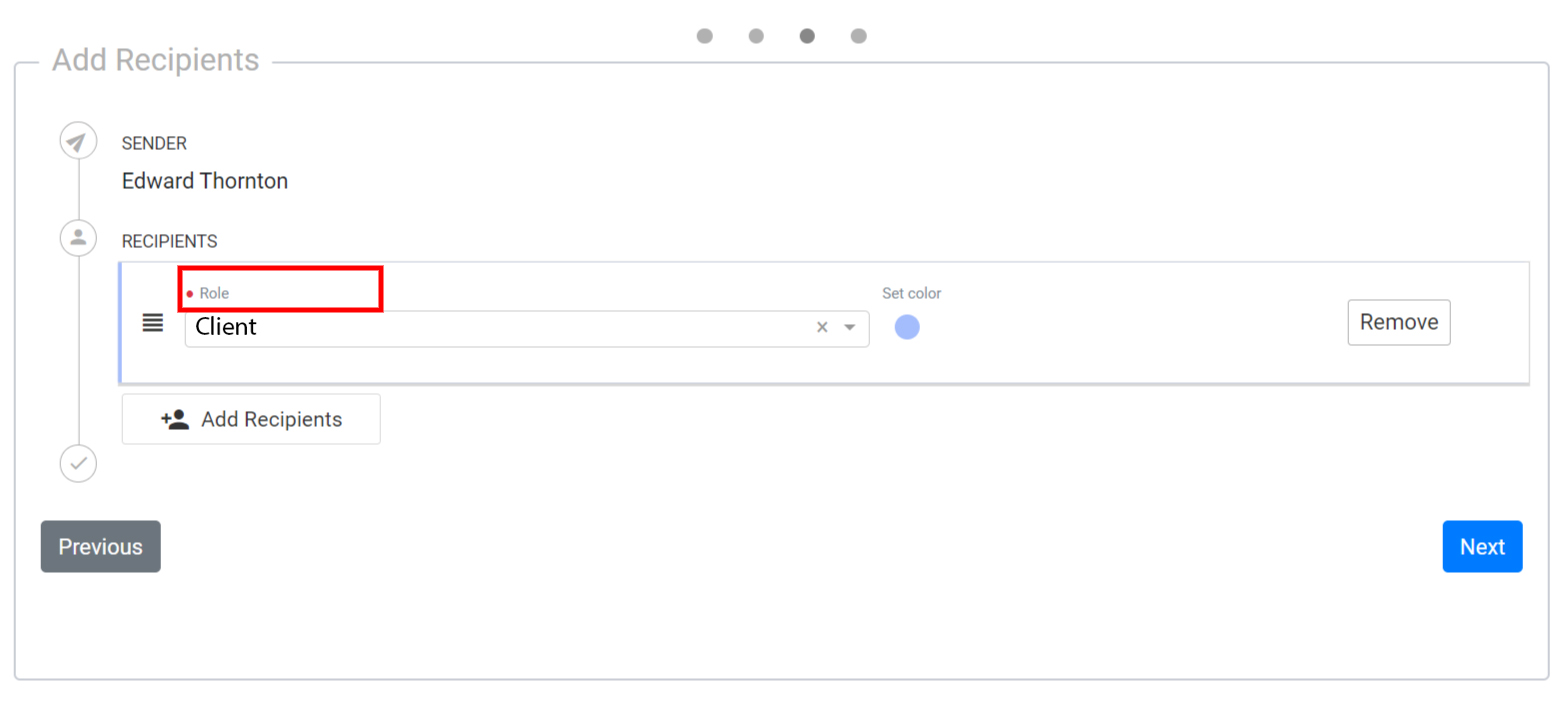
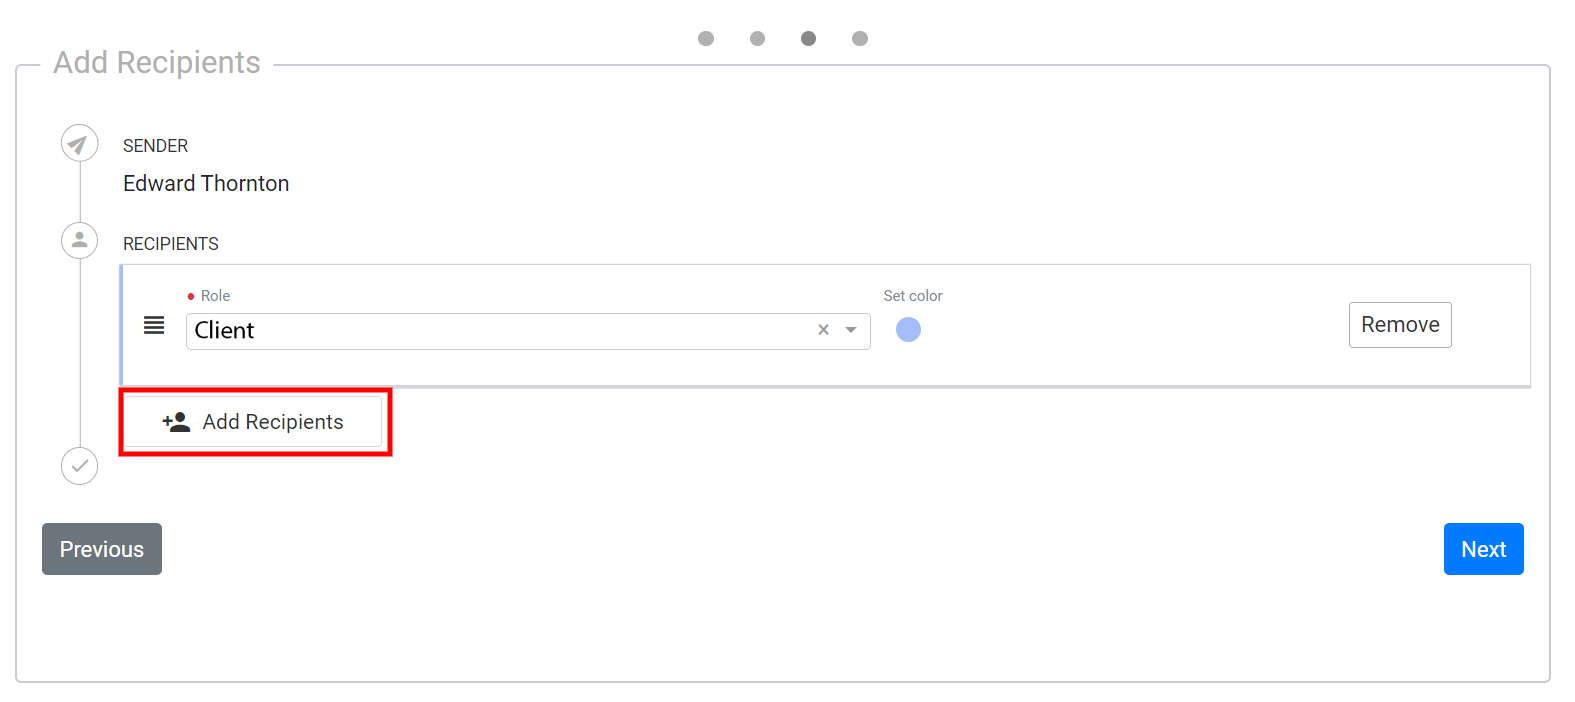
In this step, you will need to specify the role of the individuals who will be completing the form. By default, the initial role assigned is a lawyer.
To view all the default roles available in the system, click on the Role drop-down. This will open a list where you can select from a list of predefined roles to assign to the person filling out the form.
From this menu, you can select the role you need if the lawyer role is not appropriate for you. You can also add the role you want to this list by clicking on the Add role link in blue if the role you need is not among the existing roles.

By clicking on the Add Recipient button, you can include additional roles to your template.
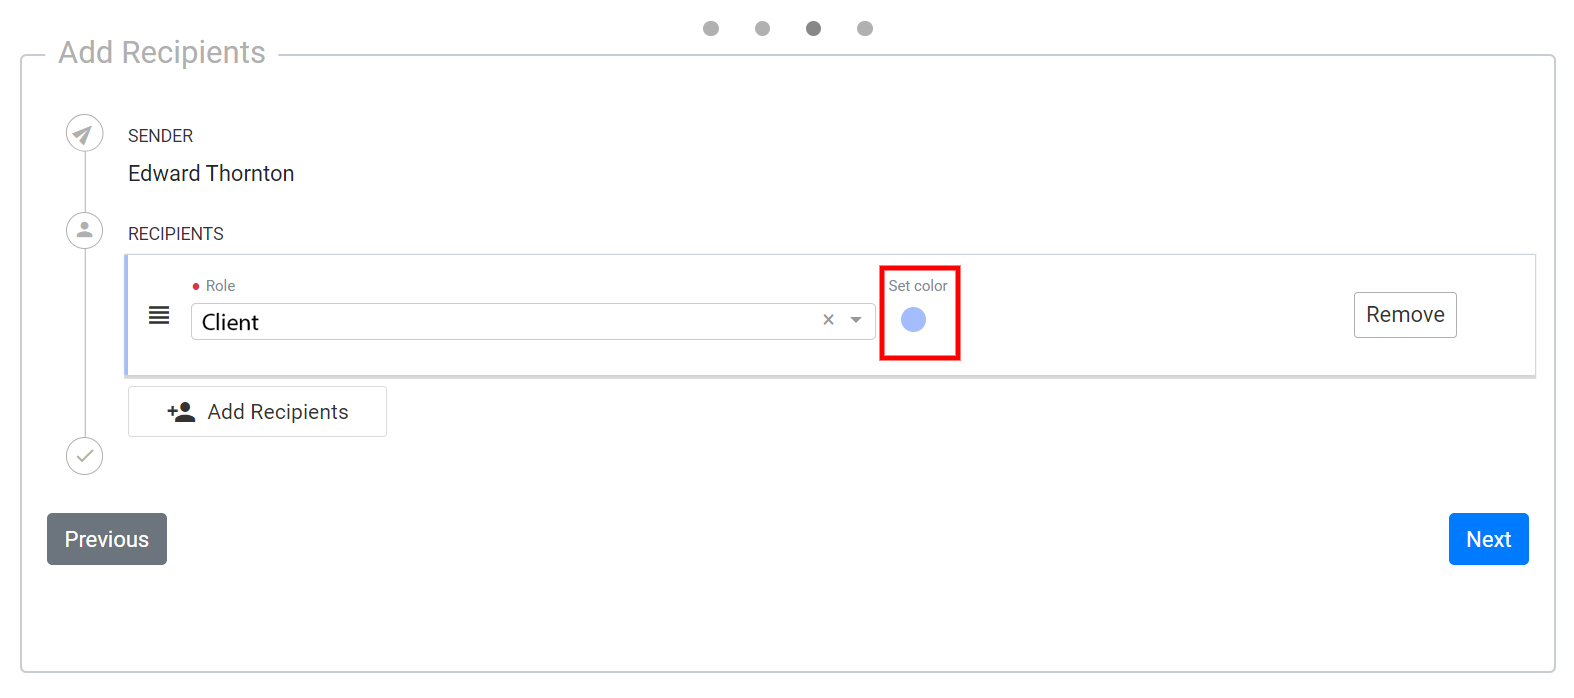
On the right side of each role, you will notice a colored circle. These colored circles can be used to assign different colors to each role, making it easier to distinguish between them.
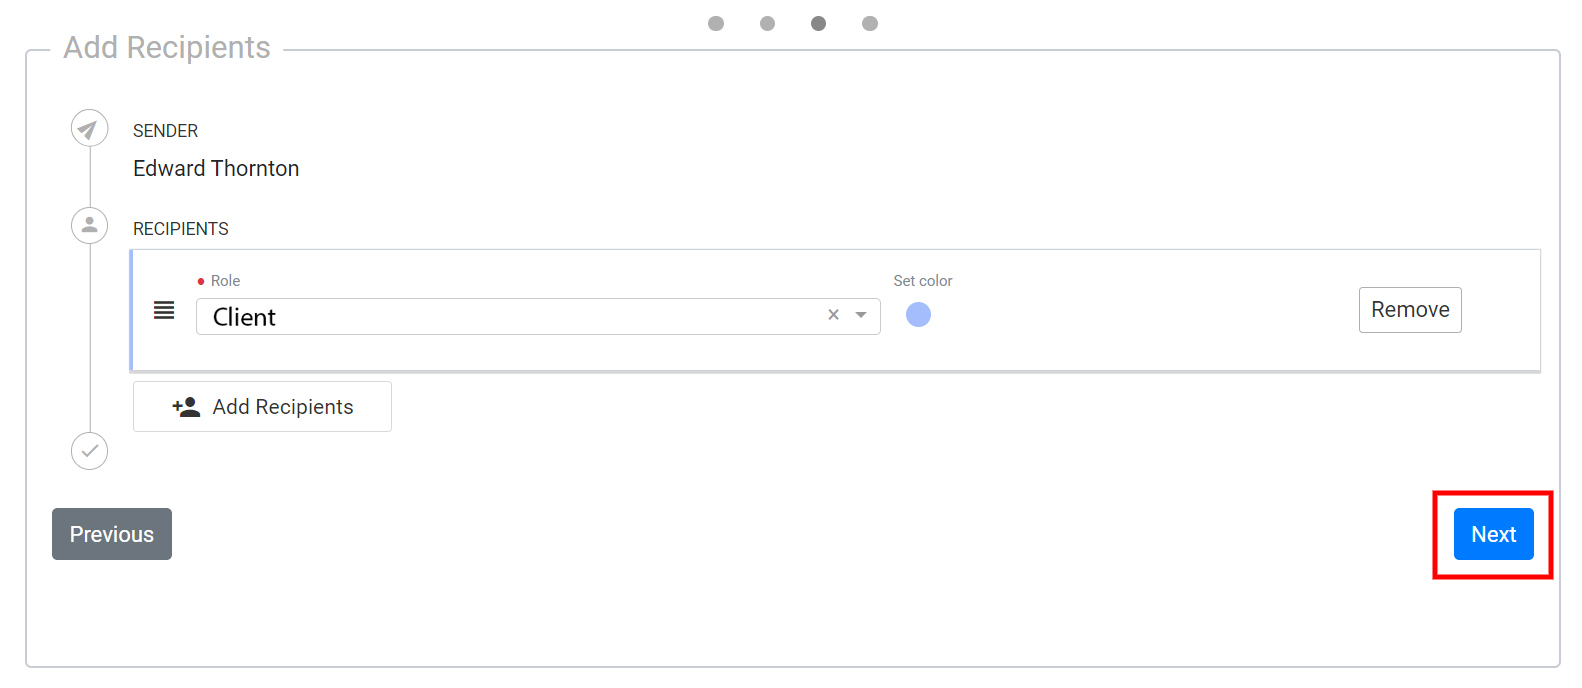
After completing the previous step, click on the Next.
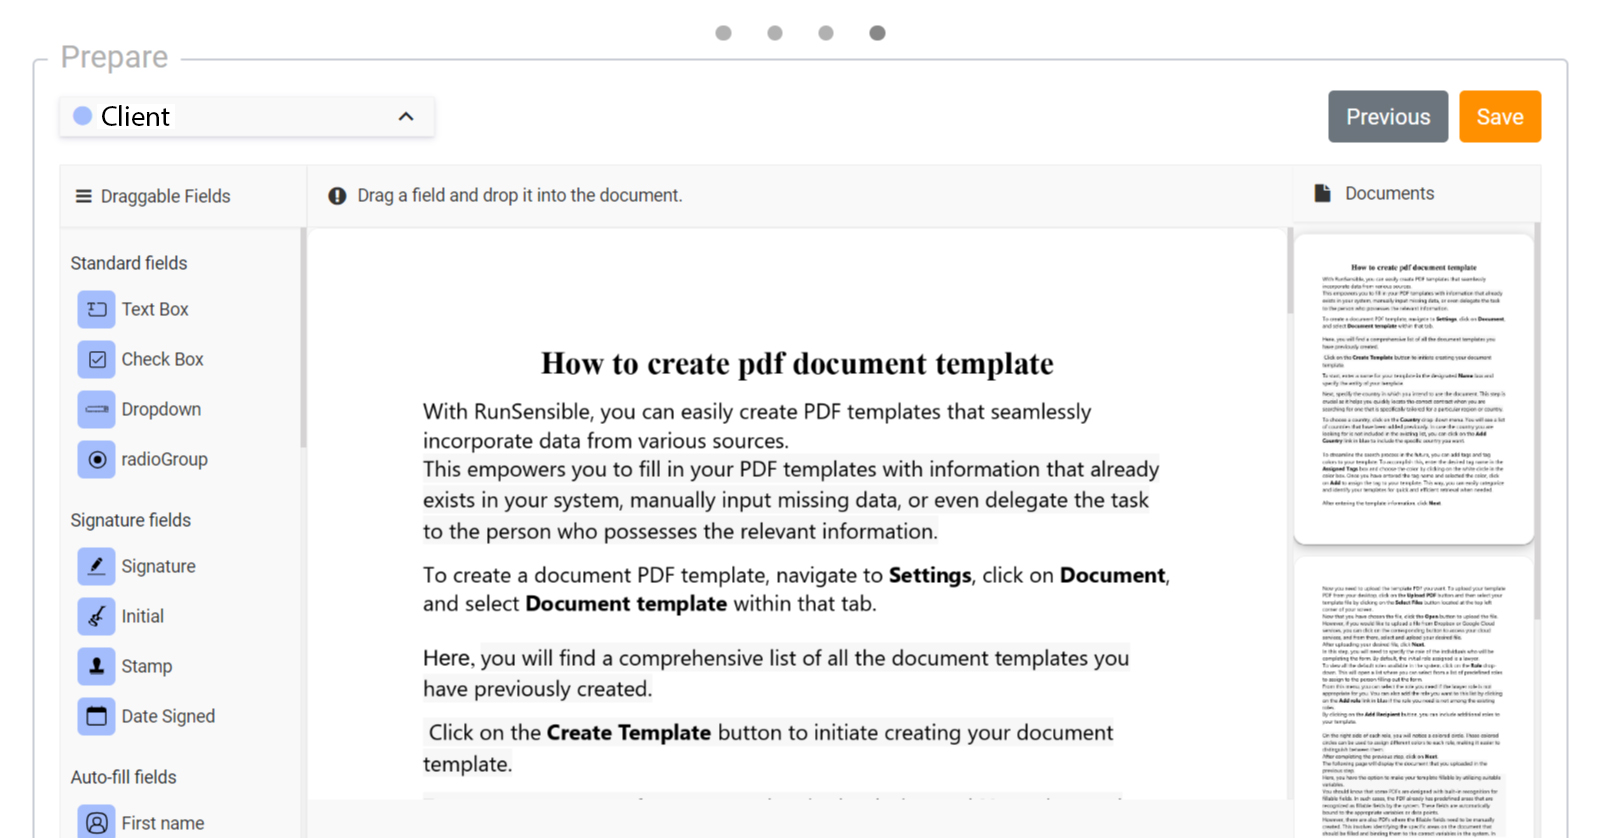
The following page will display the document that you uploaded in the previous step.
Here, you have the option to make your template fillable by utilizing suitable variables.
You should know that some PDFs are designed with built-in recognition for fillable fields. In such cases, the PDF already has predefined areas that are recognized as fillable fields by the system. These fields are automatically bound to the appropriate variables or data points.
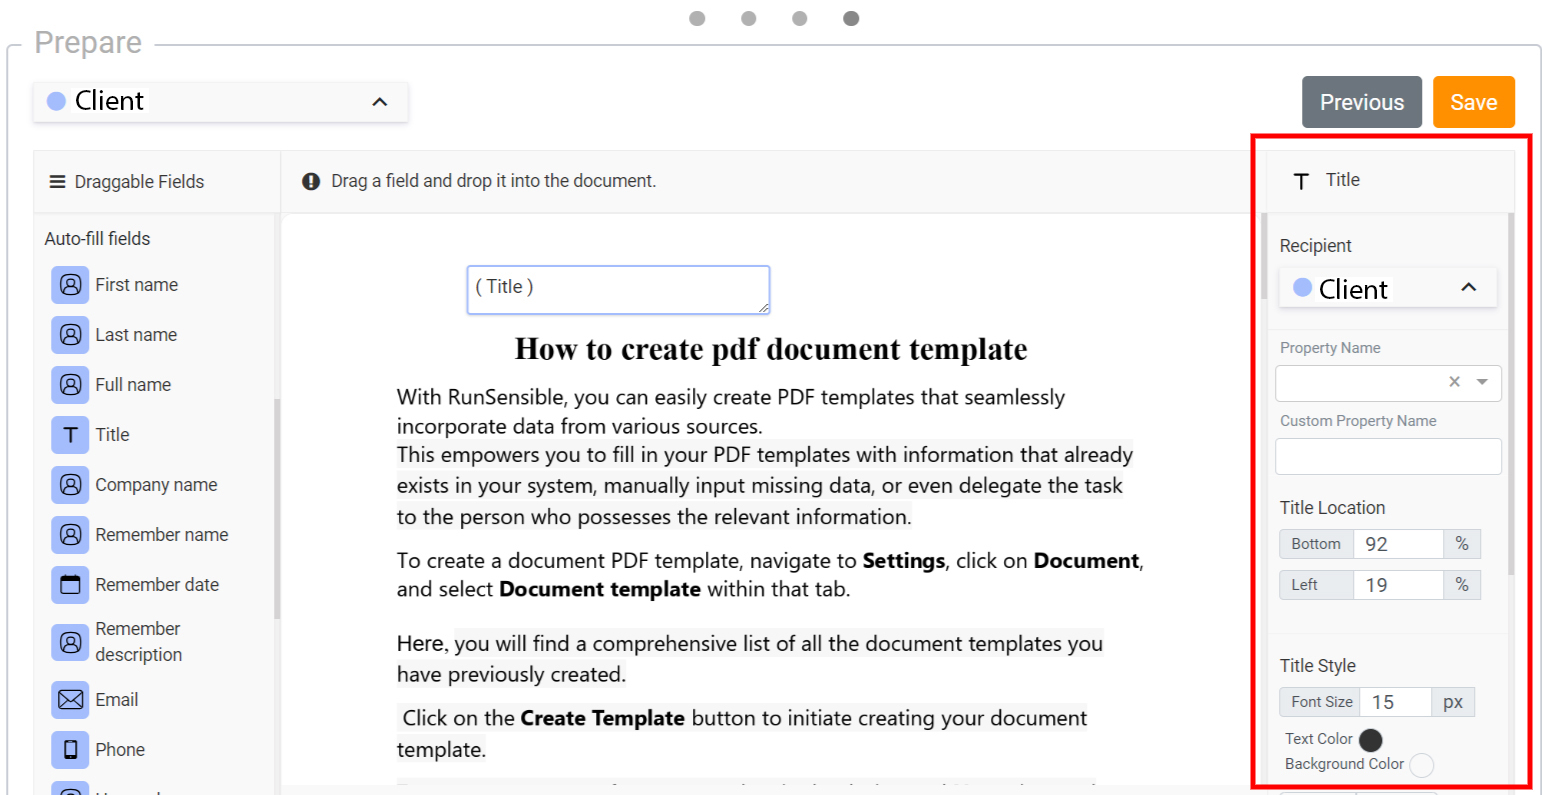
However, there are also PDFs where the fillable fields need to be manually created. This involves identifying the specific areas on the document that should be filled and binding them to the correct variables in the system. In other words, you need to manually designate the regions where the user can input information and drop the corresponding variable in the right region from the left side panel.
After placing the appropriate variables in their respective positions, the next step is to determine which variable corresponds to each role.
To assign variables to their respective roles, first, click on the desired Variable within the document. Then, click on the Recipient drop-down in the right sidebar menu, where you will find a list of all the roles you have defined. From the list, select the role that corresponds to the variable.
Additionally, If your PDF lacks built-in recognition for fillable fields and requires manual setup, there is a convenient way to streamline the process. You can start by dropping the field for the first role you want to assign. Then, change the role from the Role drop-down menu located at the top left corner of your screen to the second role. By doing so, you can drop the fields specific to the second role without needing to manually set the role for each variable.
The next step is to determine the property of the variable to determine the property of the variable, click on the Property name drop-down. This drop-down menu provides a list of different properties or characteristics that can be associated with the variable. Select the specific property that best describes the attribute or behavior you want for the variable.
After completing the necessary steps to create and set up the fillable fields in your PDF template, click on the Save button to save your template.