Managing Files and Folders in the Document Tab
The Document Tab in Documents section provides a centralized space for storing, organizing, and managing your files and folders. From this tab, you can upload documents, create folders, search for files, manage access permissions, and perform various actions such as previewing, downloading, editing, moving, or removing documents. It helps keep your files organized and easily accessible whenever you need them.
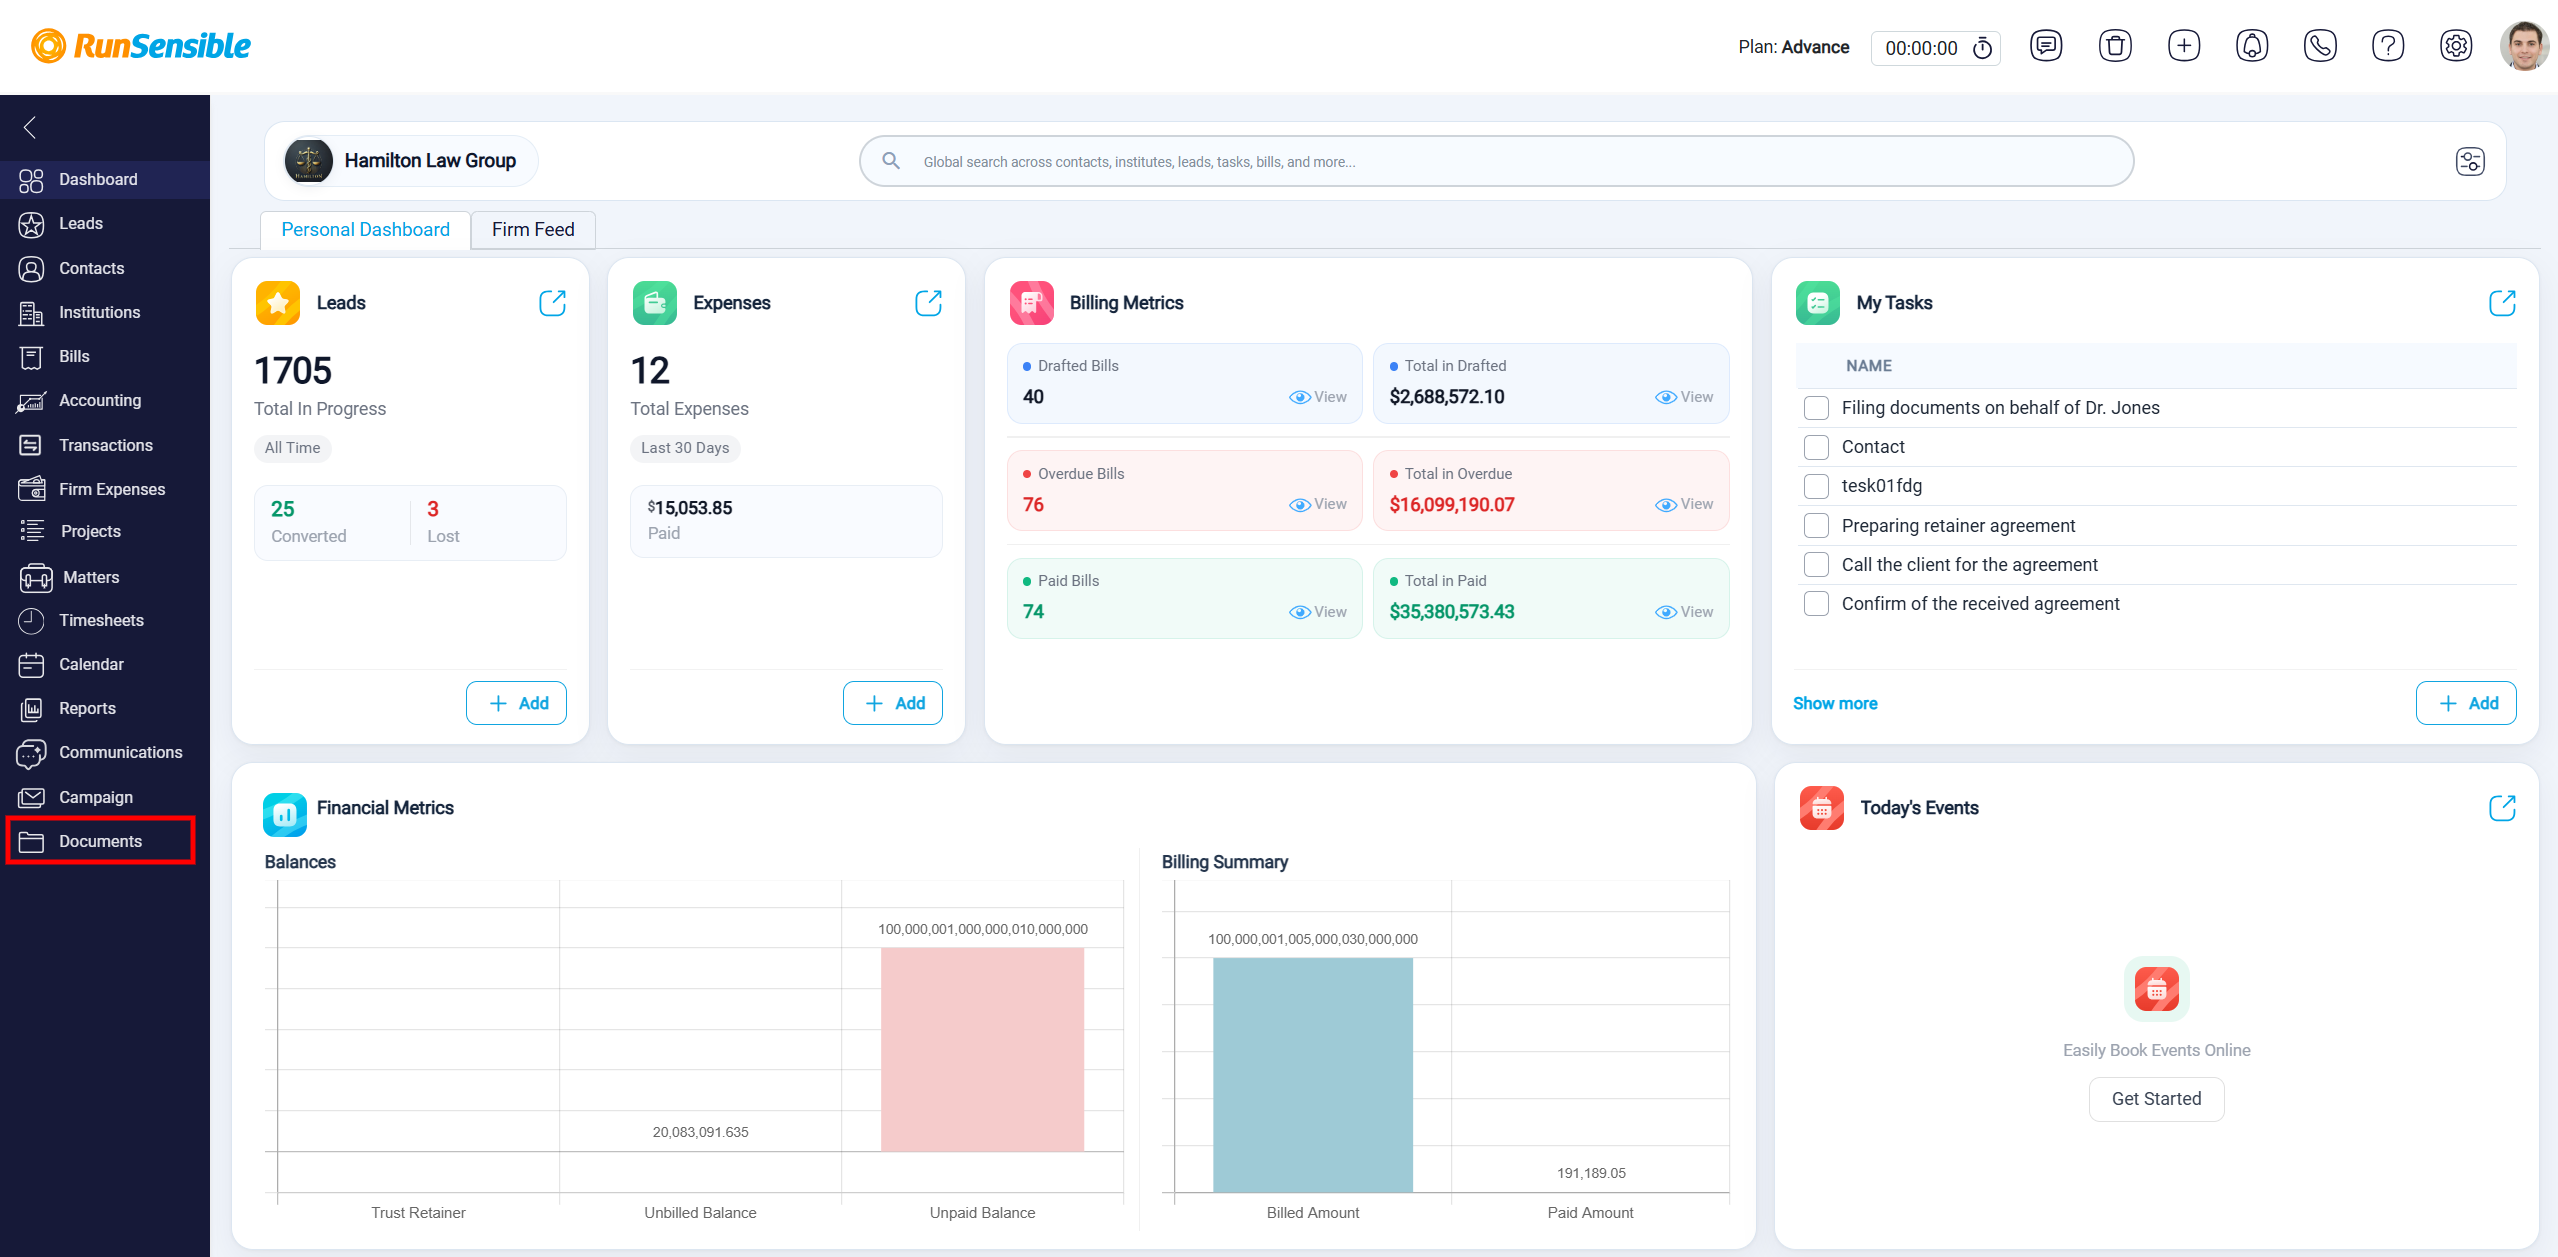
To access the Documents section in RunSensible, select Documents from the left-hand sidebar menu.
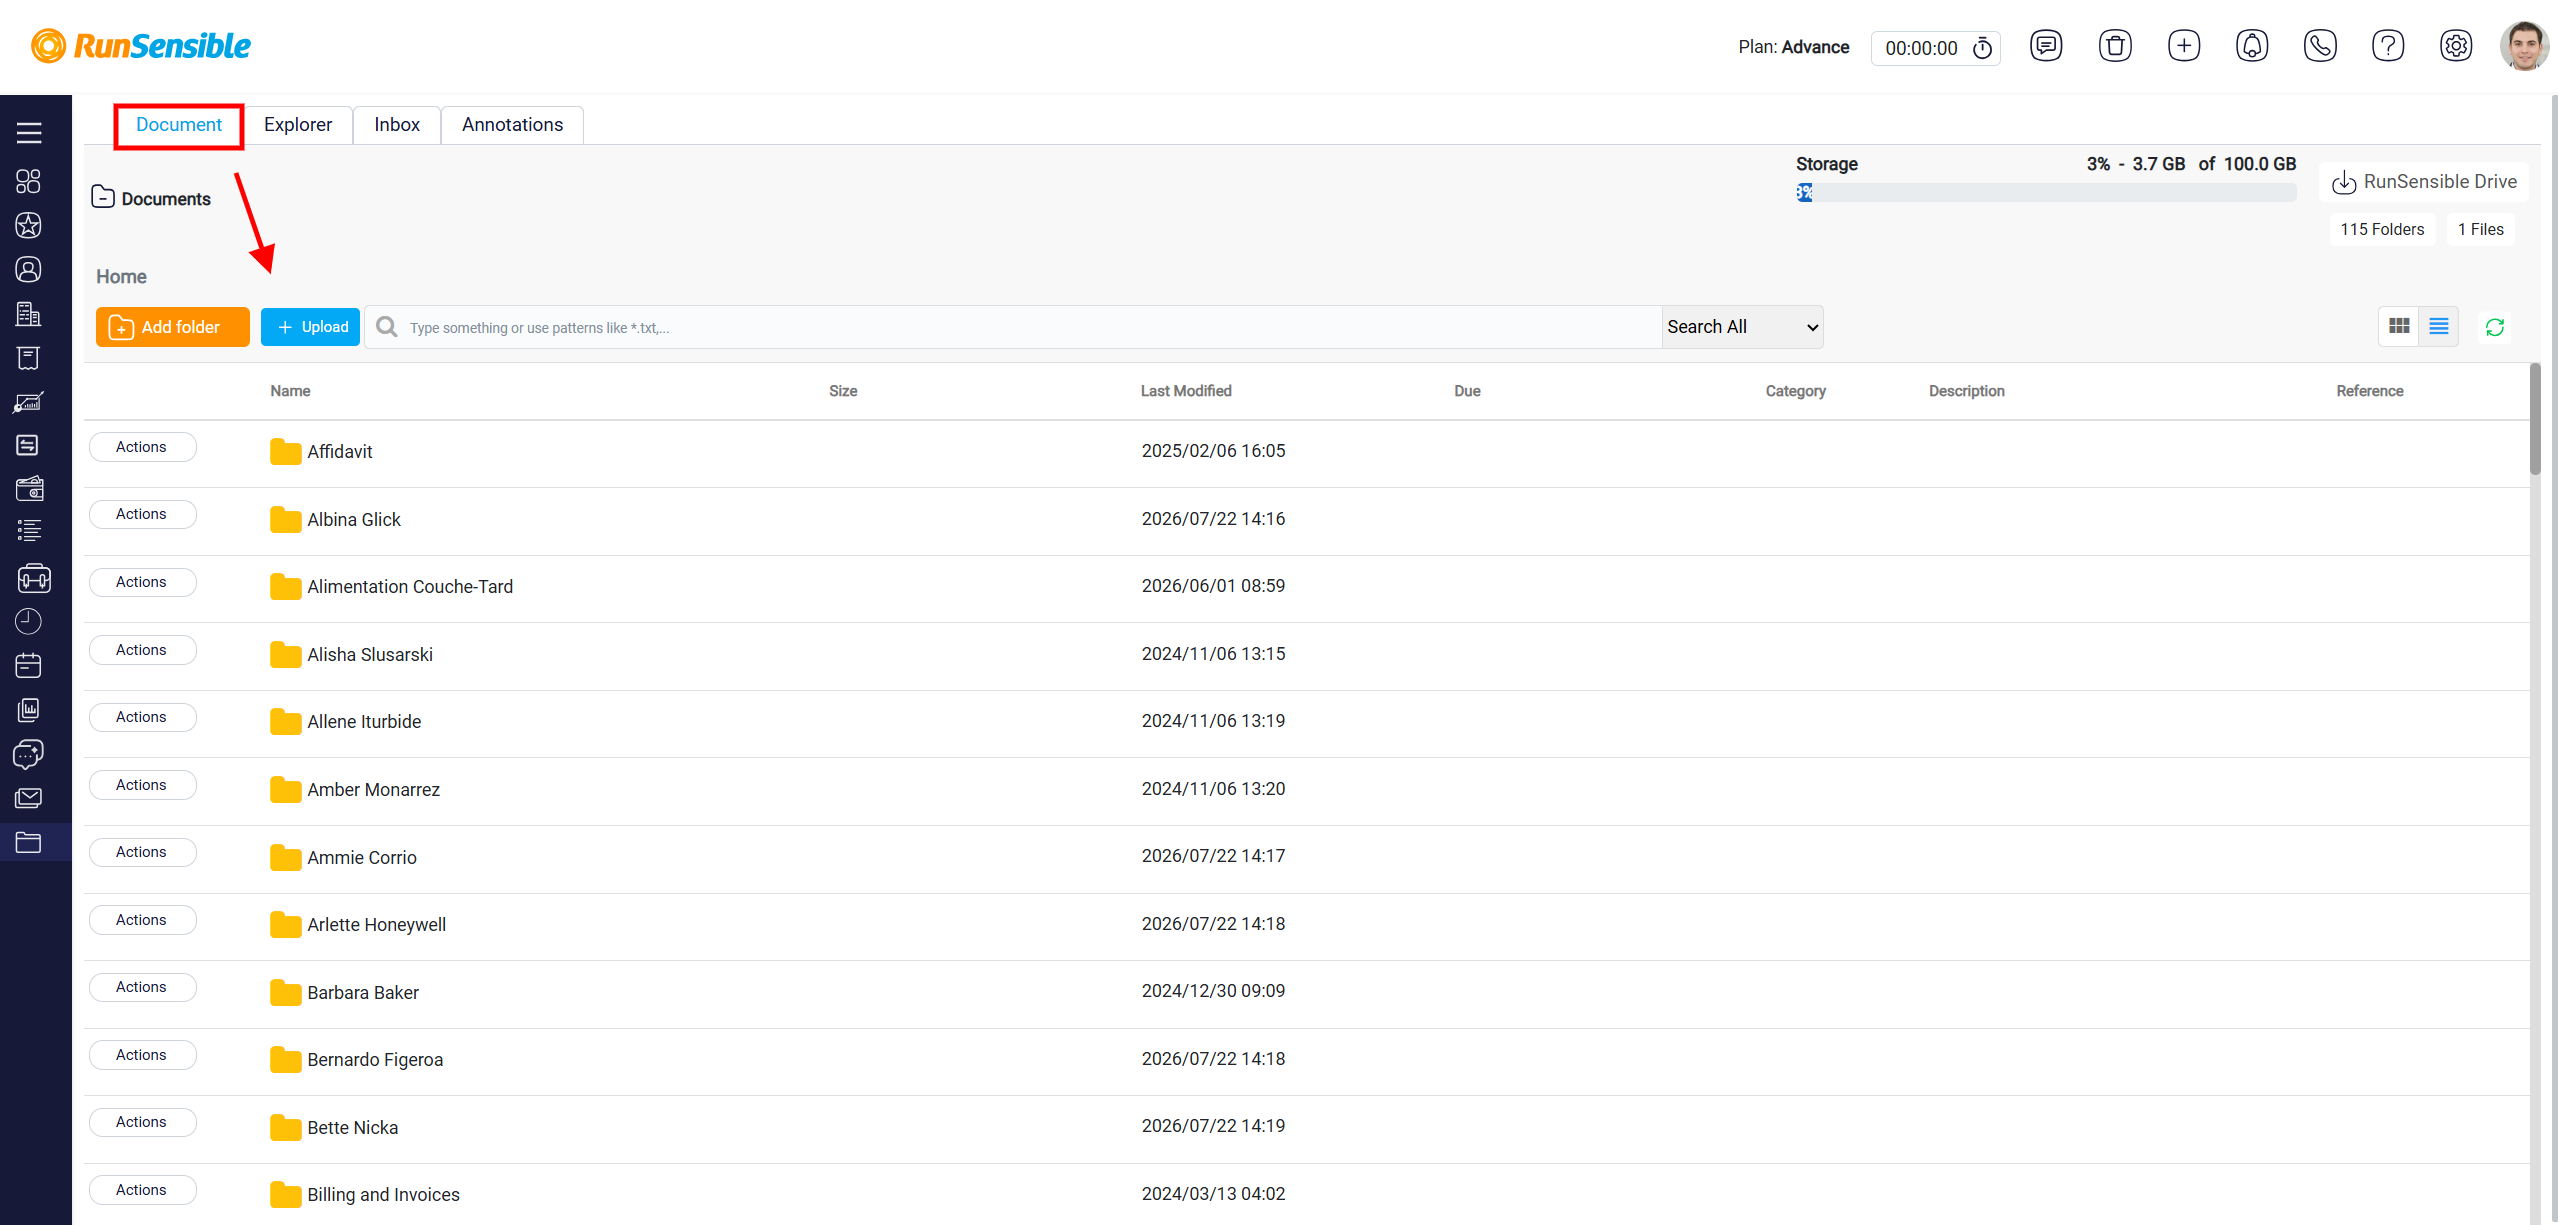
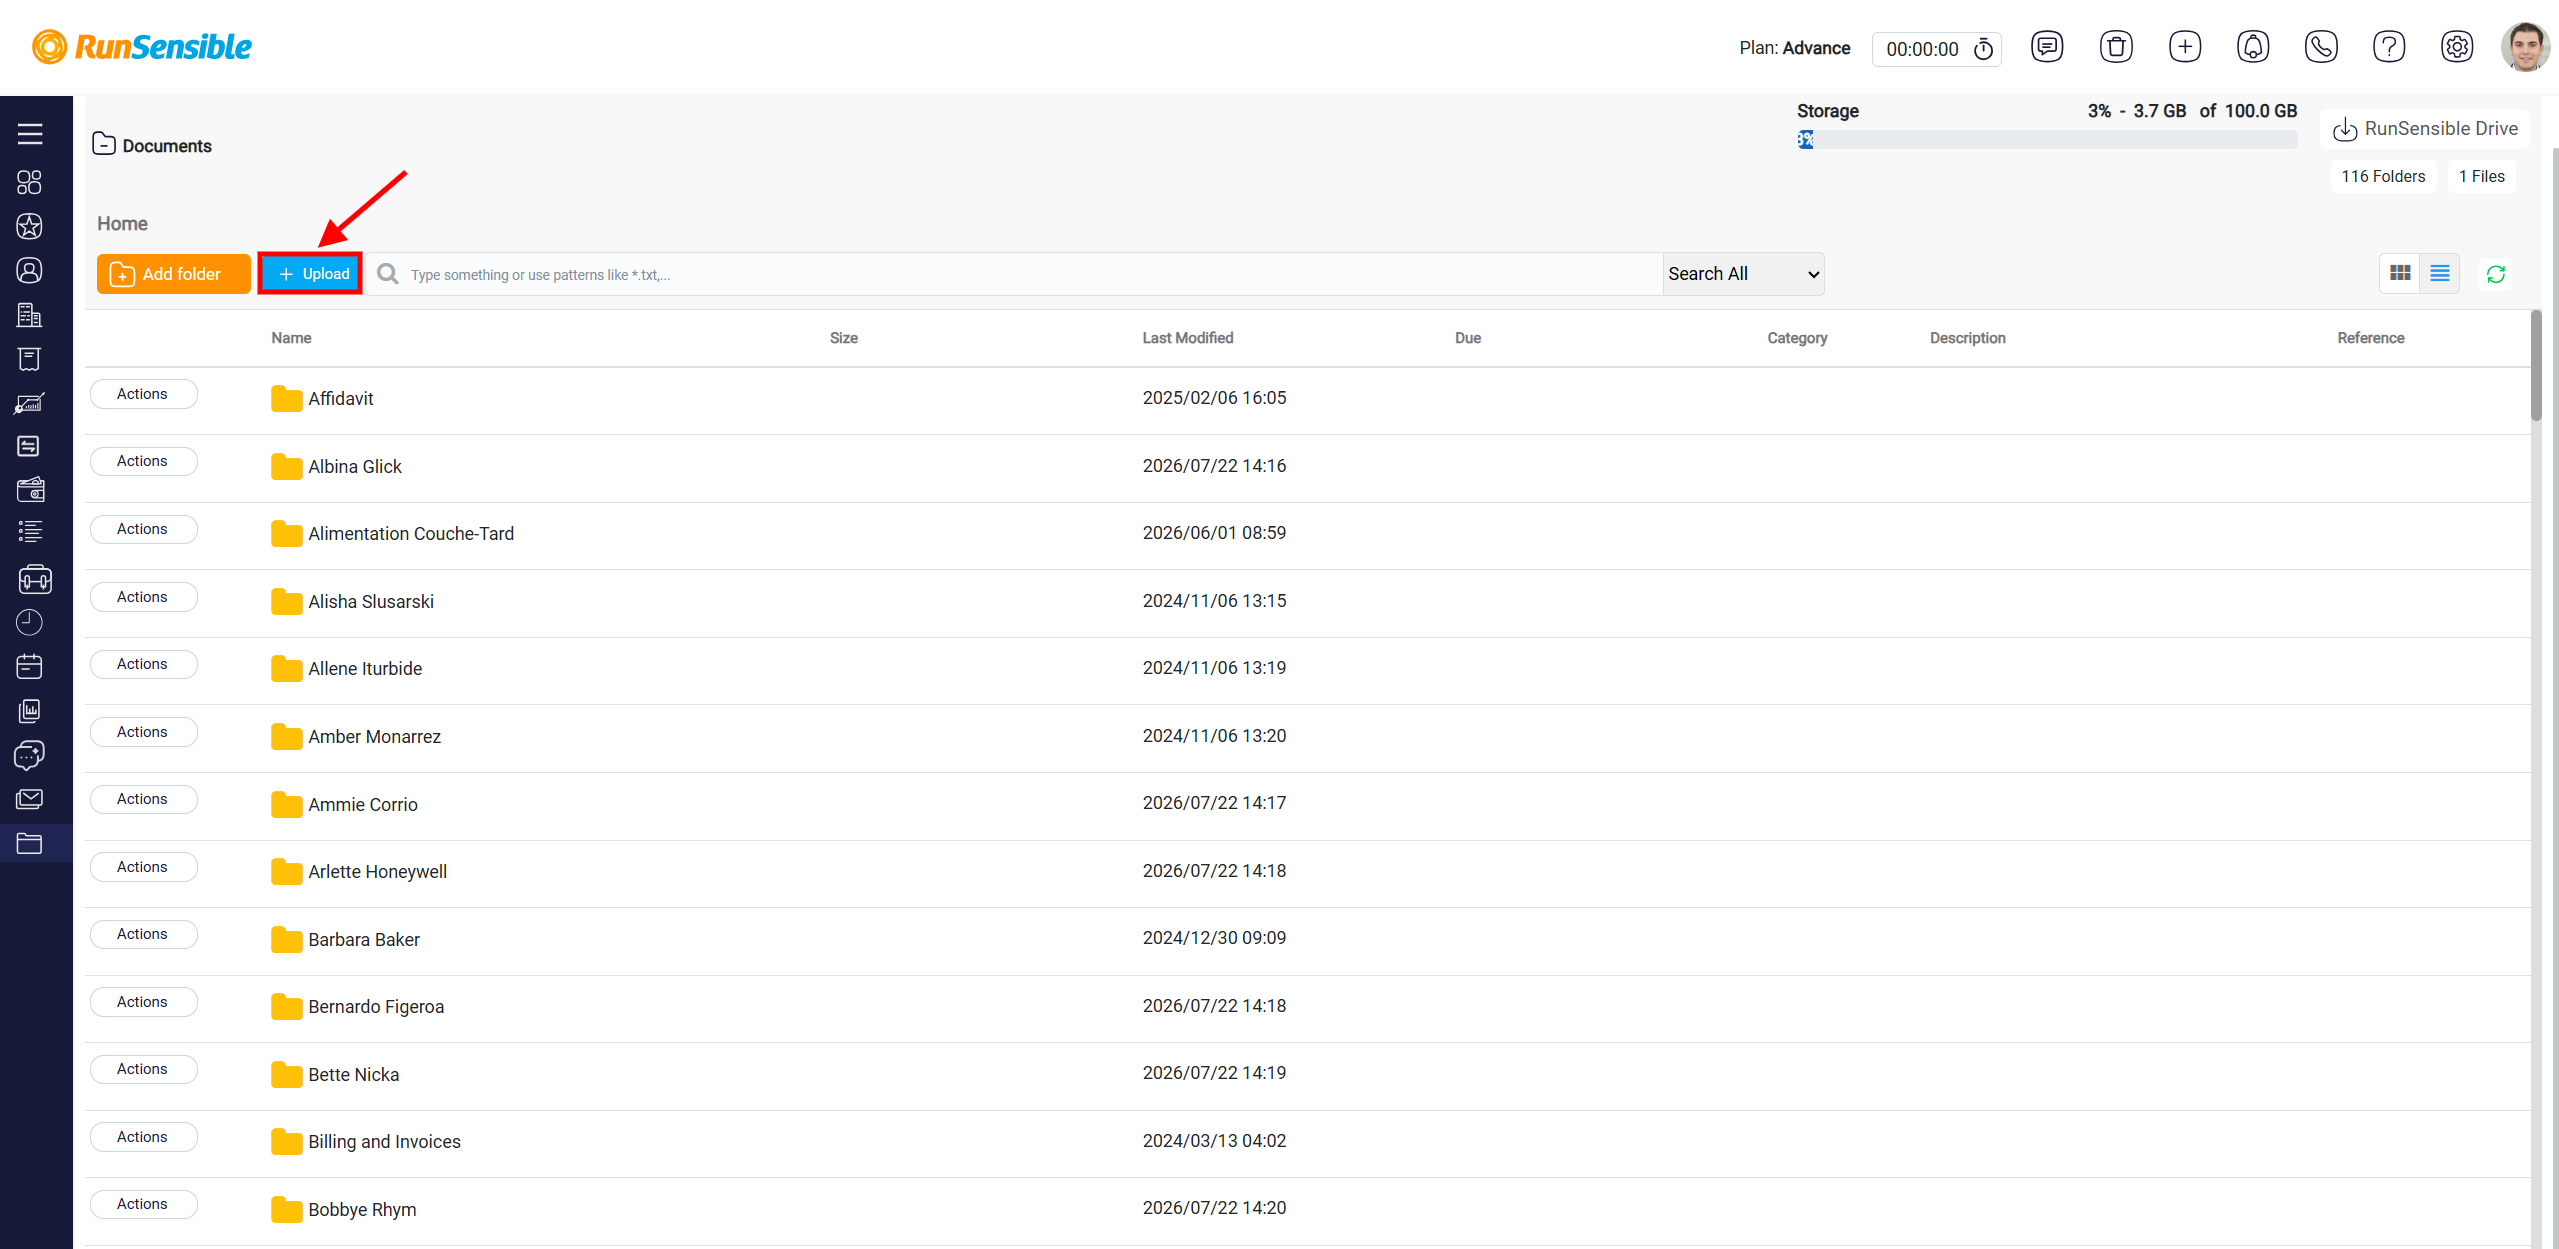
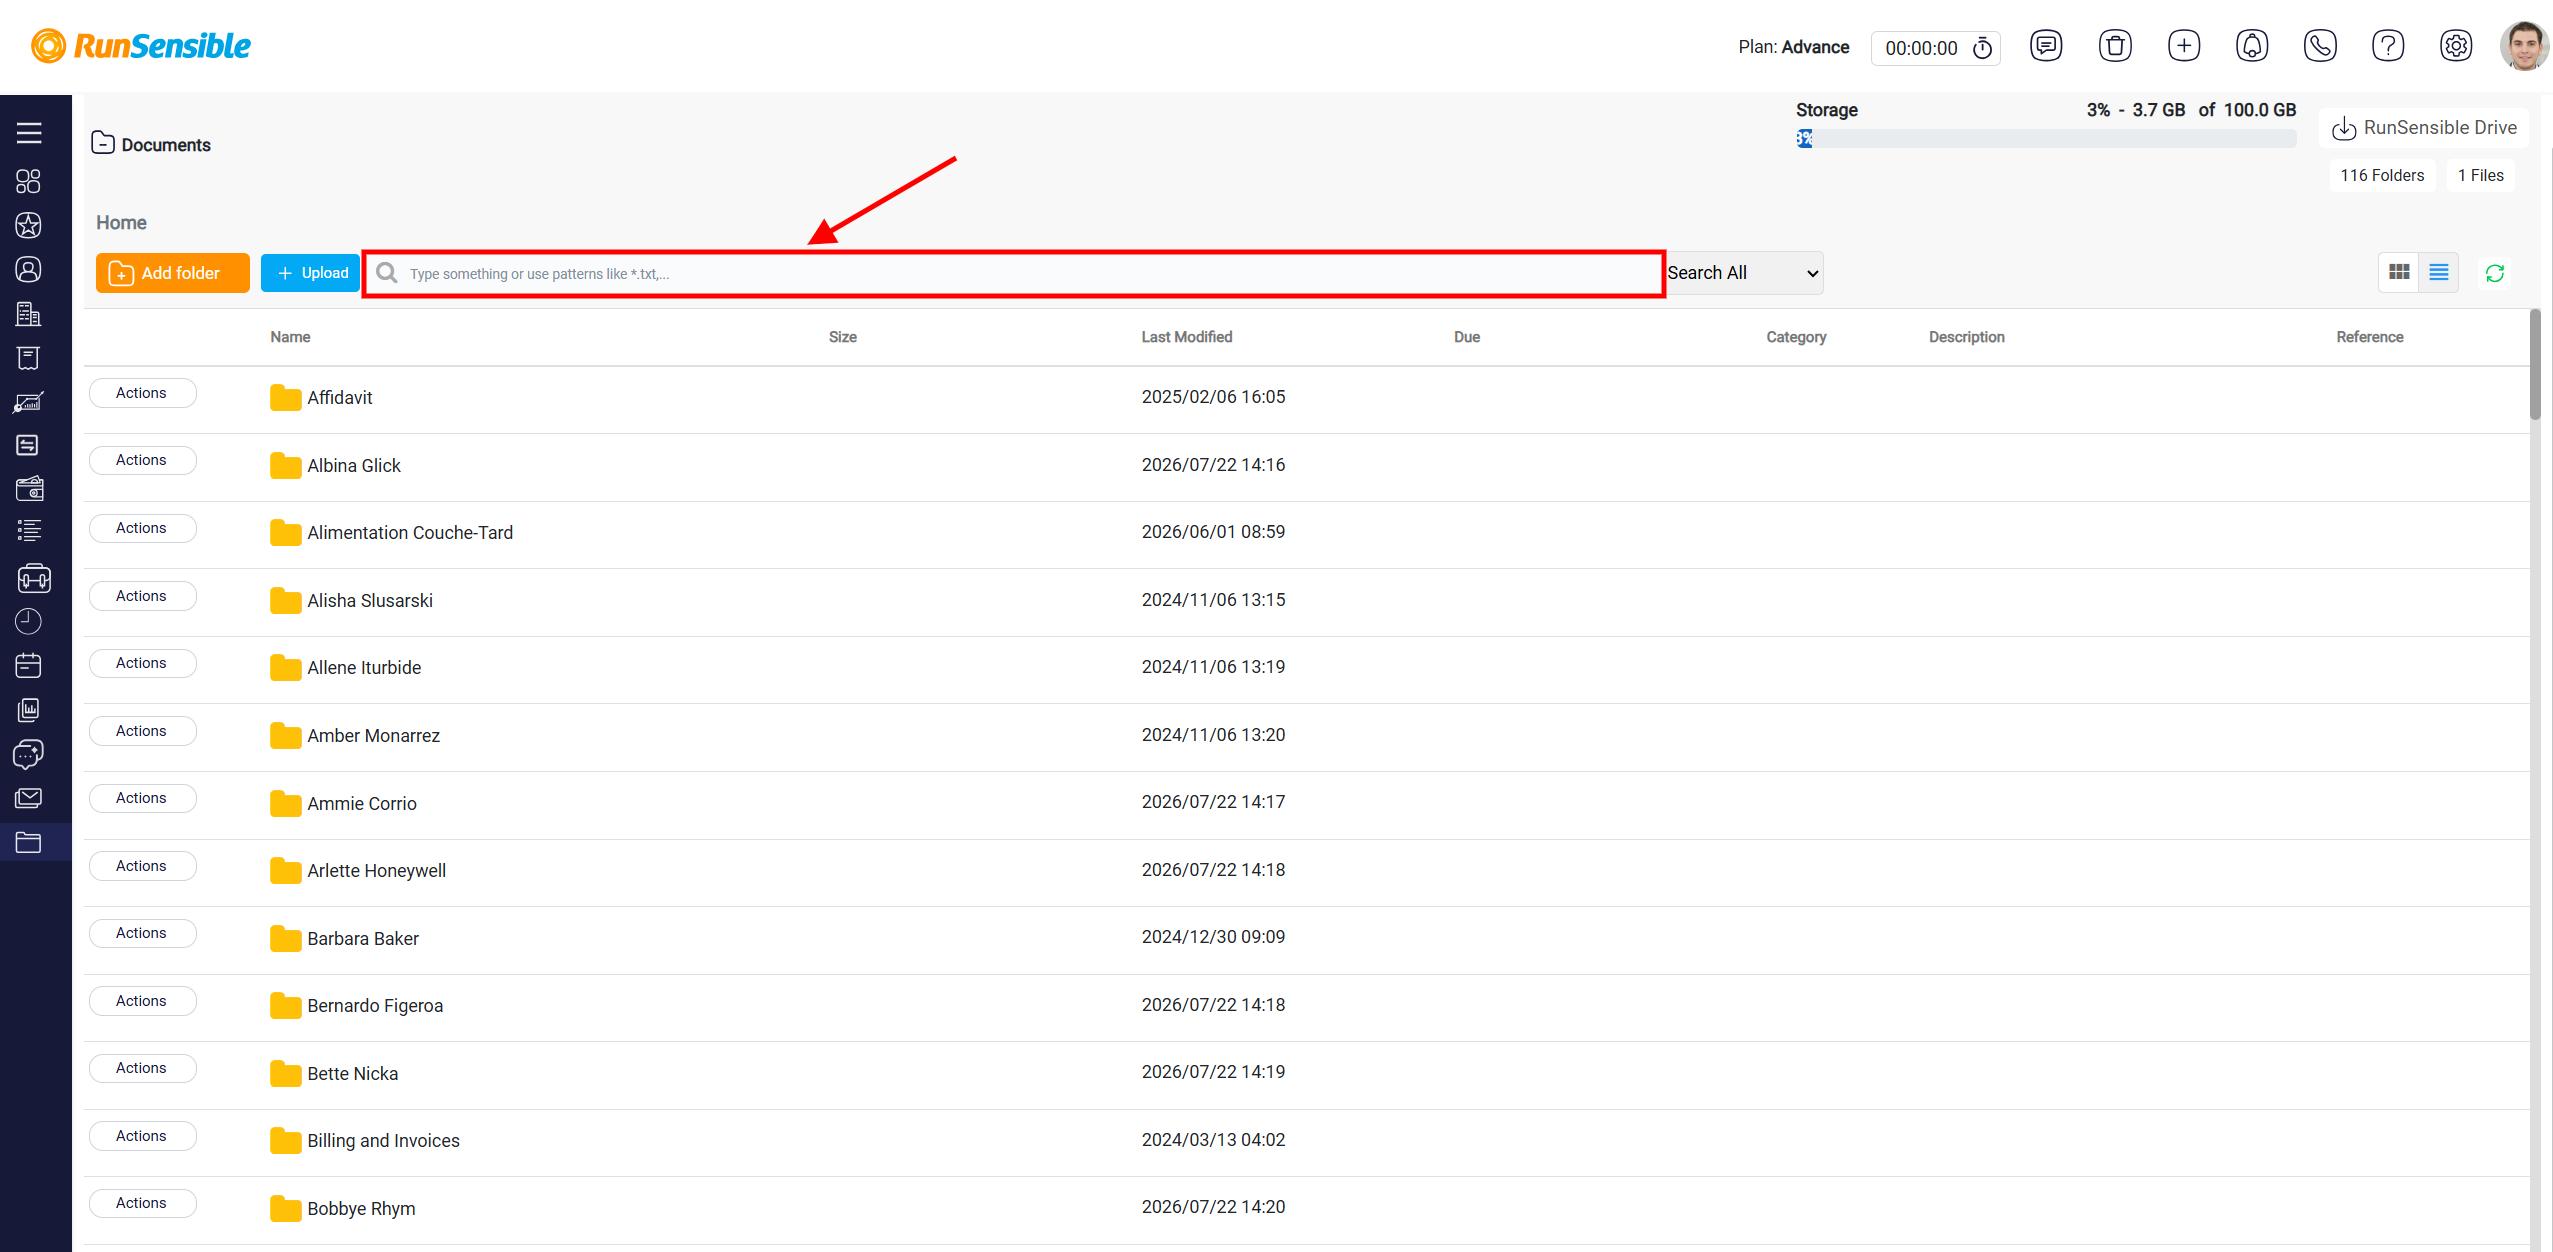
The first tab is Documents, where you can manage and organize your files and folders. Here, you can view a complete list of the documents and folders currently stored in your system. The document list also displays useful information about each file, such as its Name, Size, Last Modified date, Due date, Category, Description, and Reference, when applicable.
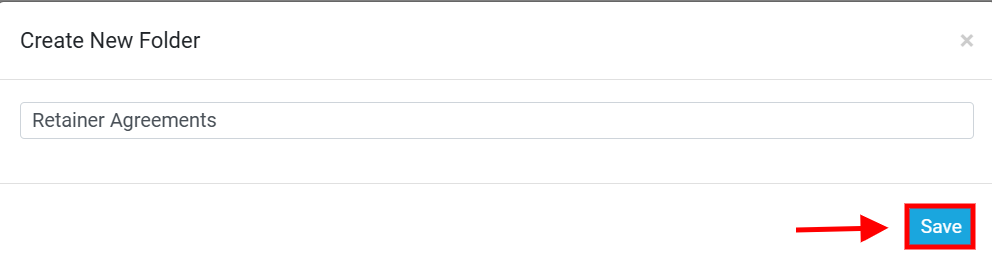
To create a new folder in the Documents tab, click the Add Folder button at the top of the page. Creating folders allows you to organize your documents in a structured way, making it easier to keep related files together and quickly find them when needed.
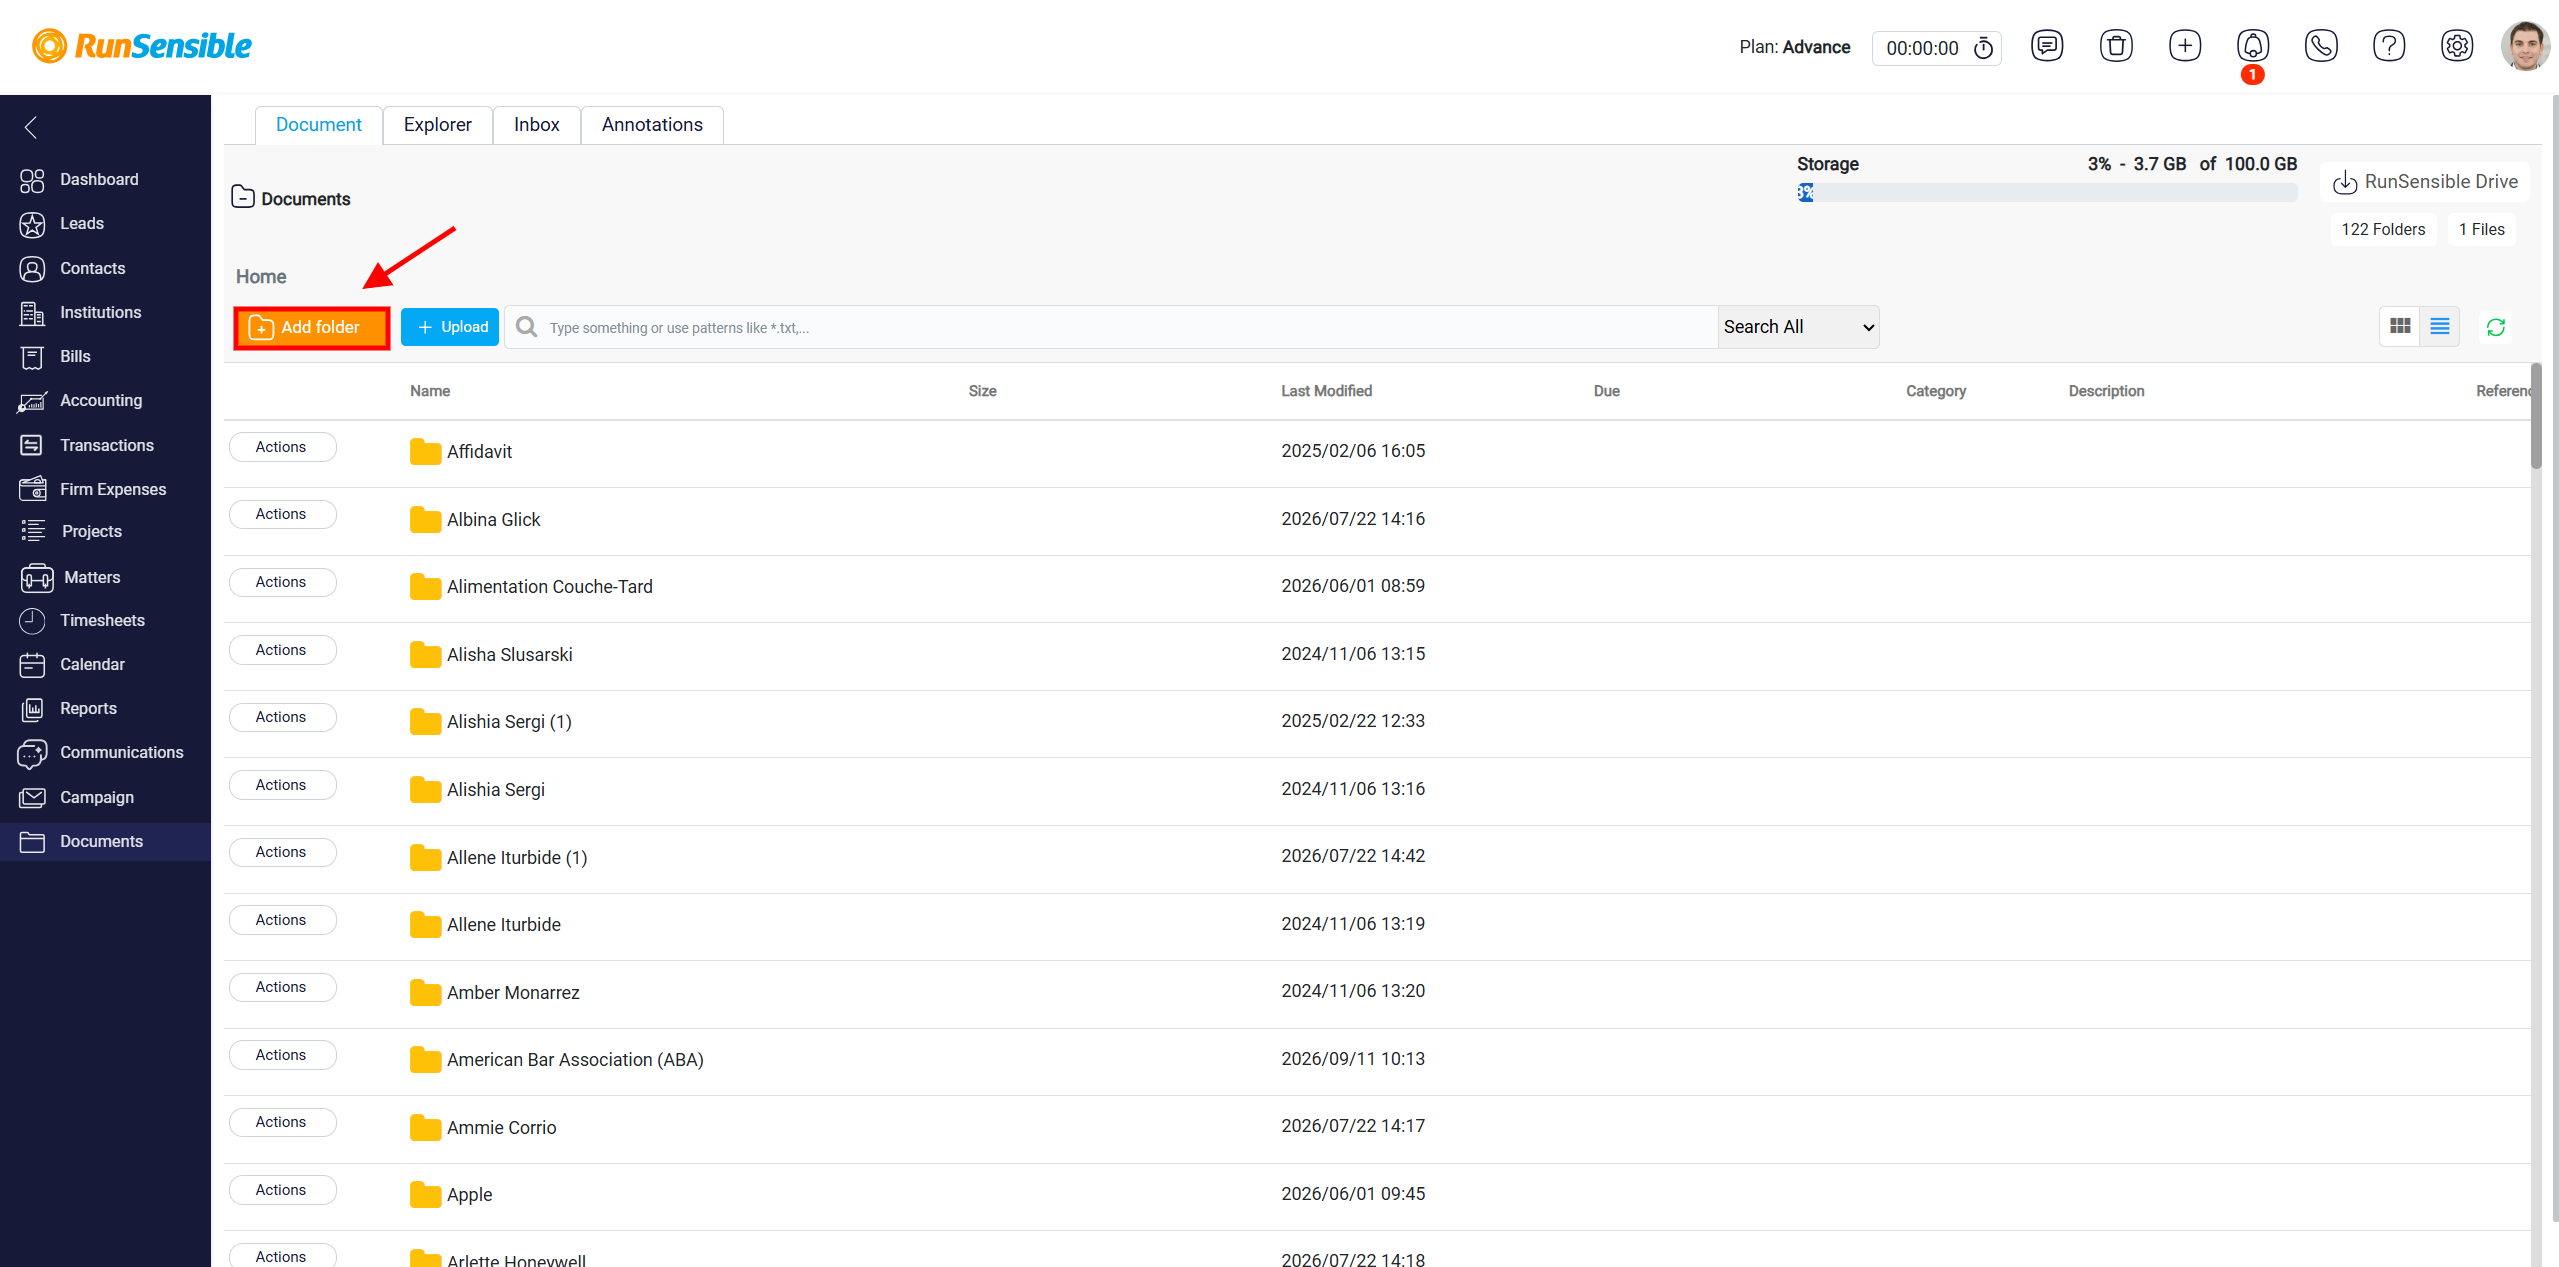
After clicking Add Folder, you can enter a name for the new folder and provide any required information. Once the folder is created, it will appear in your document list, where you can open it and add or manage files within the folder.
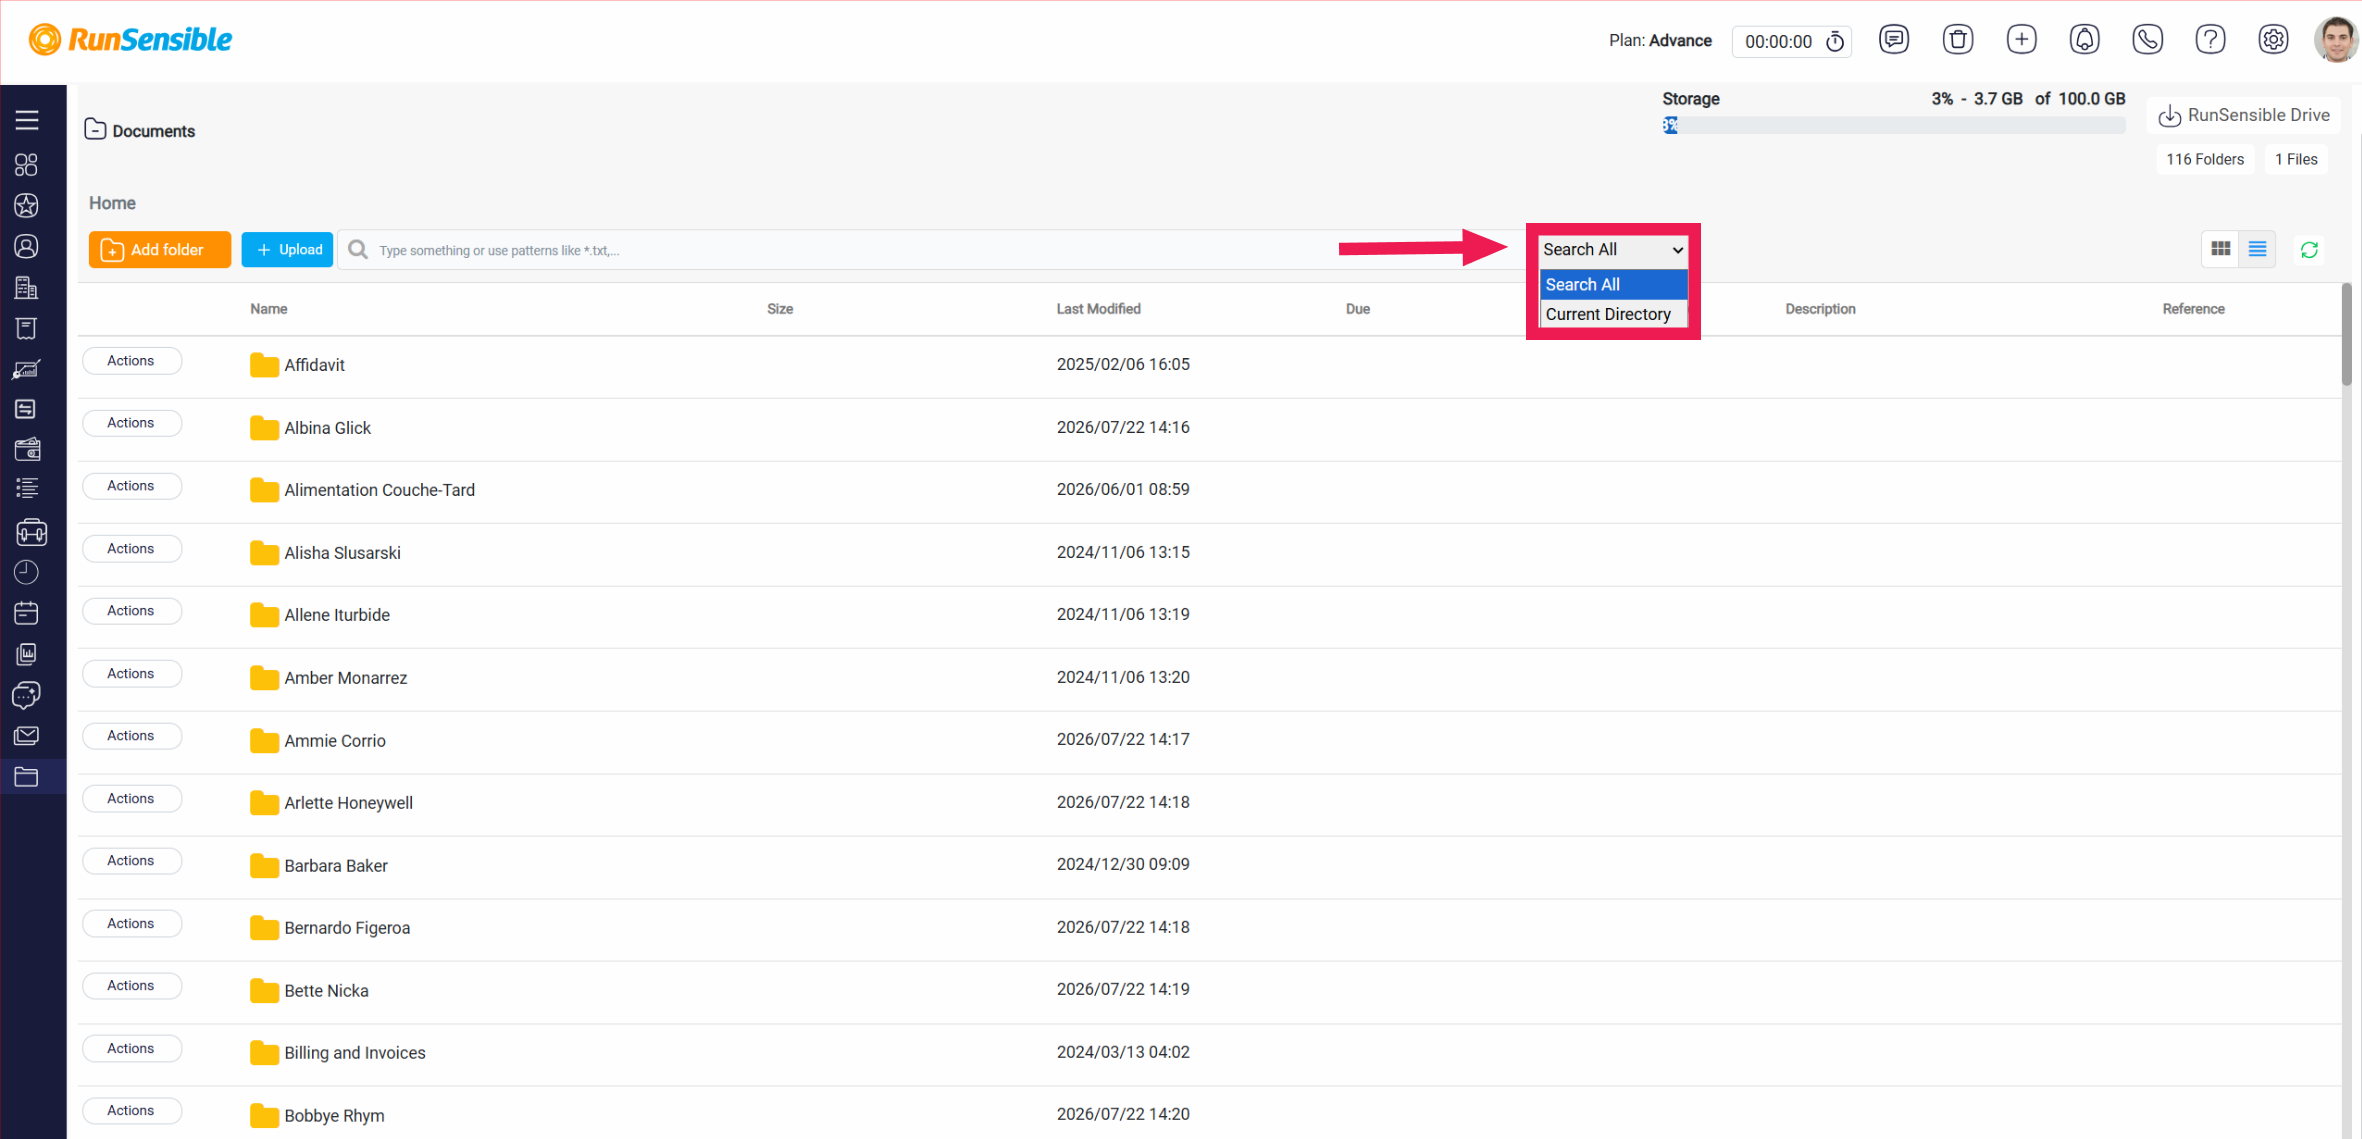
You can change how your documents and folders are displayed by using the view options in the upper-right corner of the Documents page. Click the Title View icon to display your files and folders as icons, making it easier to visually browse through your document library.
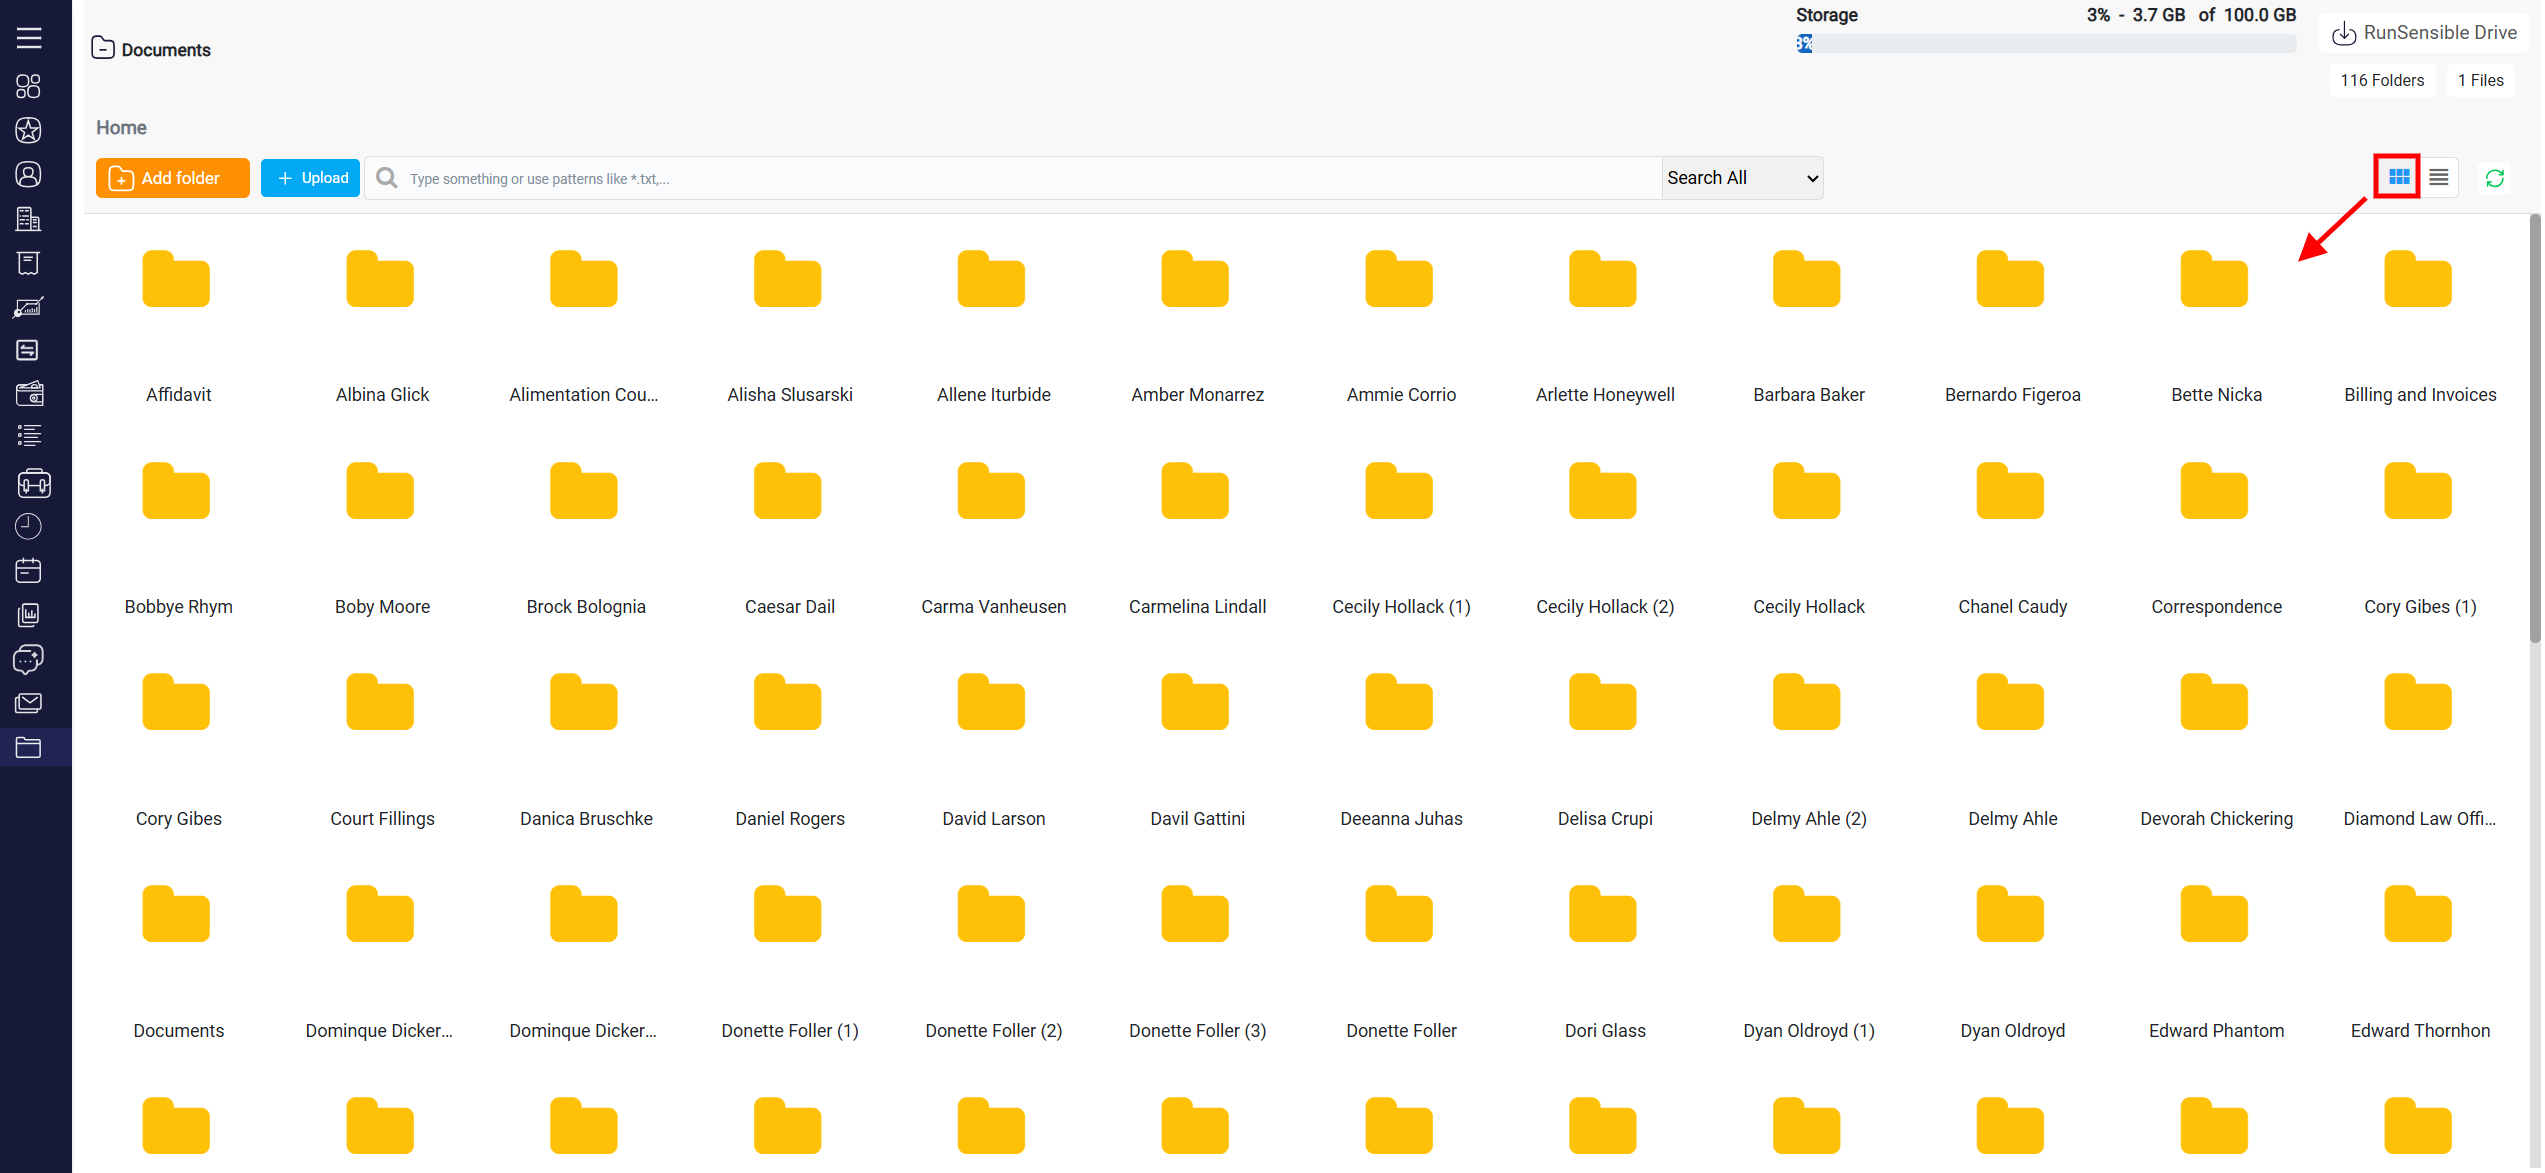
You can switch between Grid View and Title View at any time, depending on which layout is more convenient for you. In Grid View, your files and folders are organized into rows, making it easier to review their details. The available columns include Name, Size, Last Modified Date, Due Date, Category, Description, and Reference.
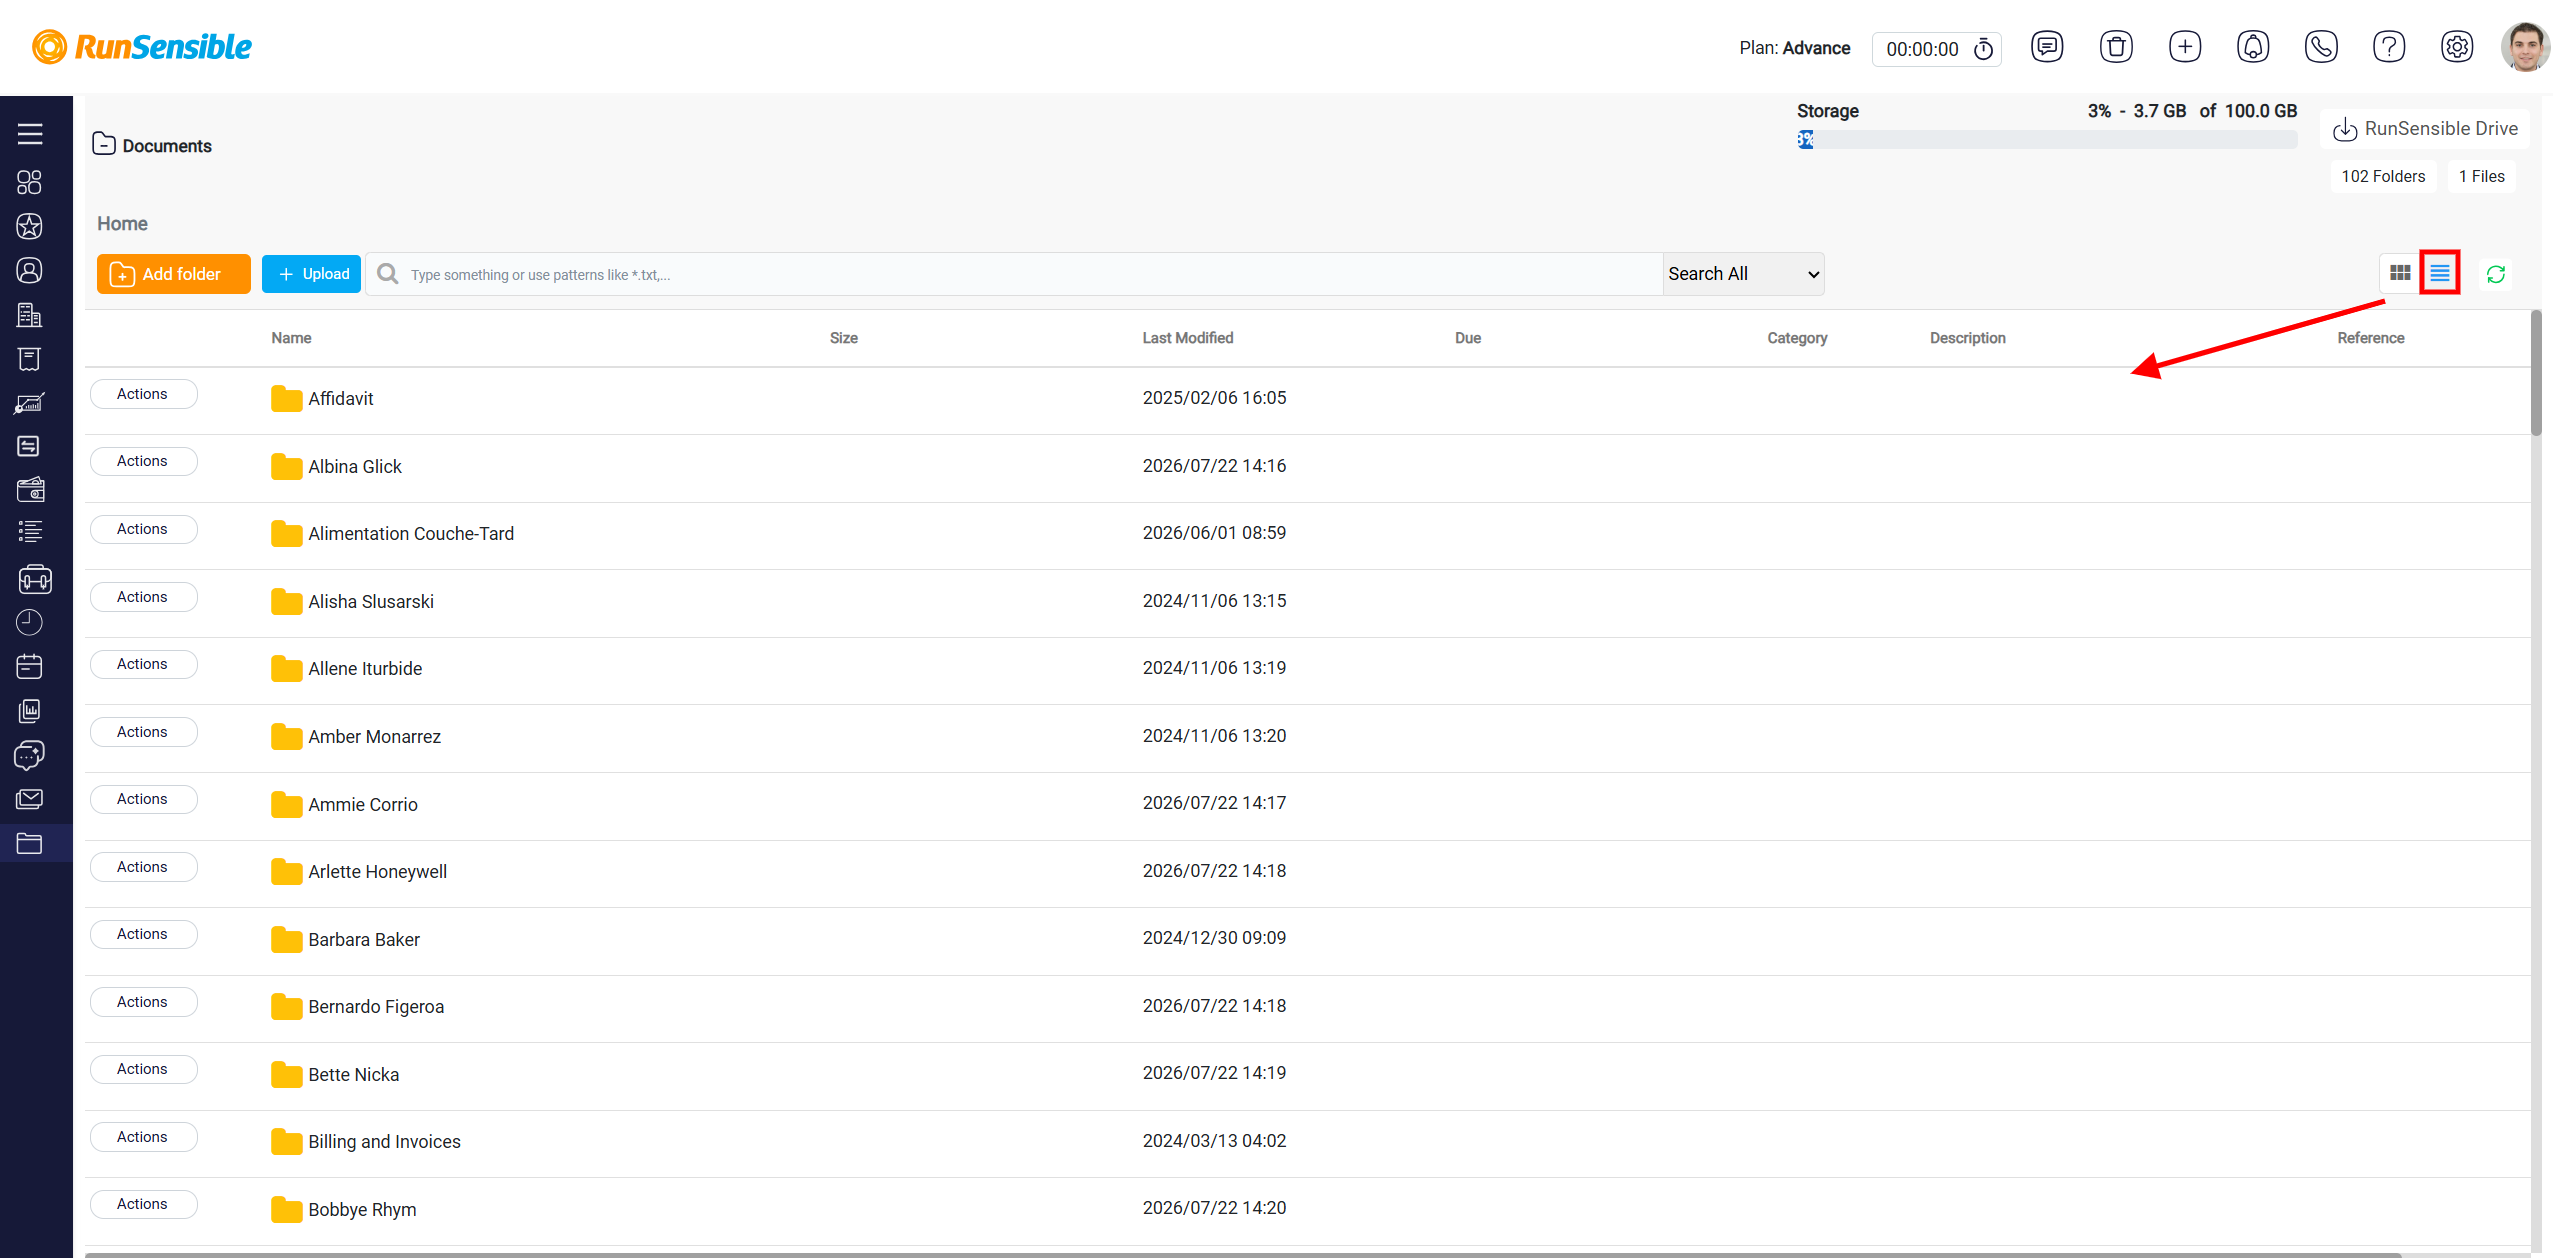
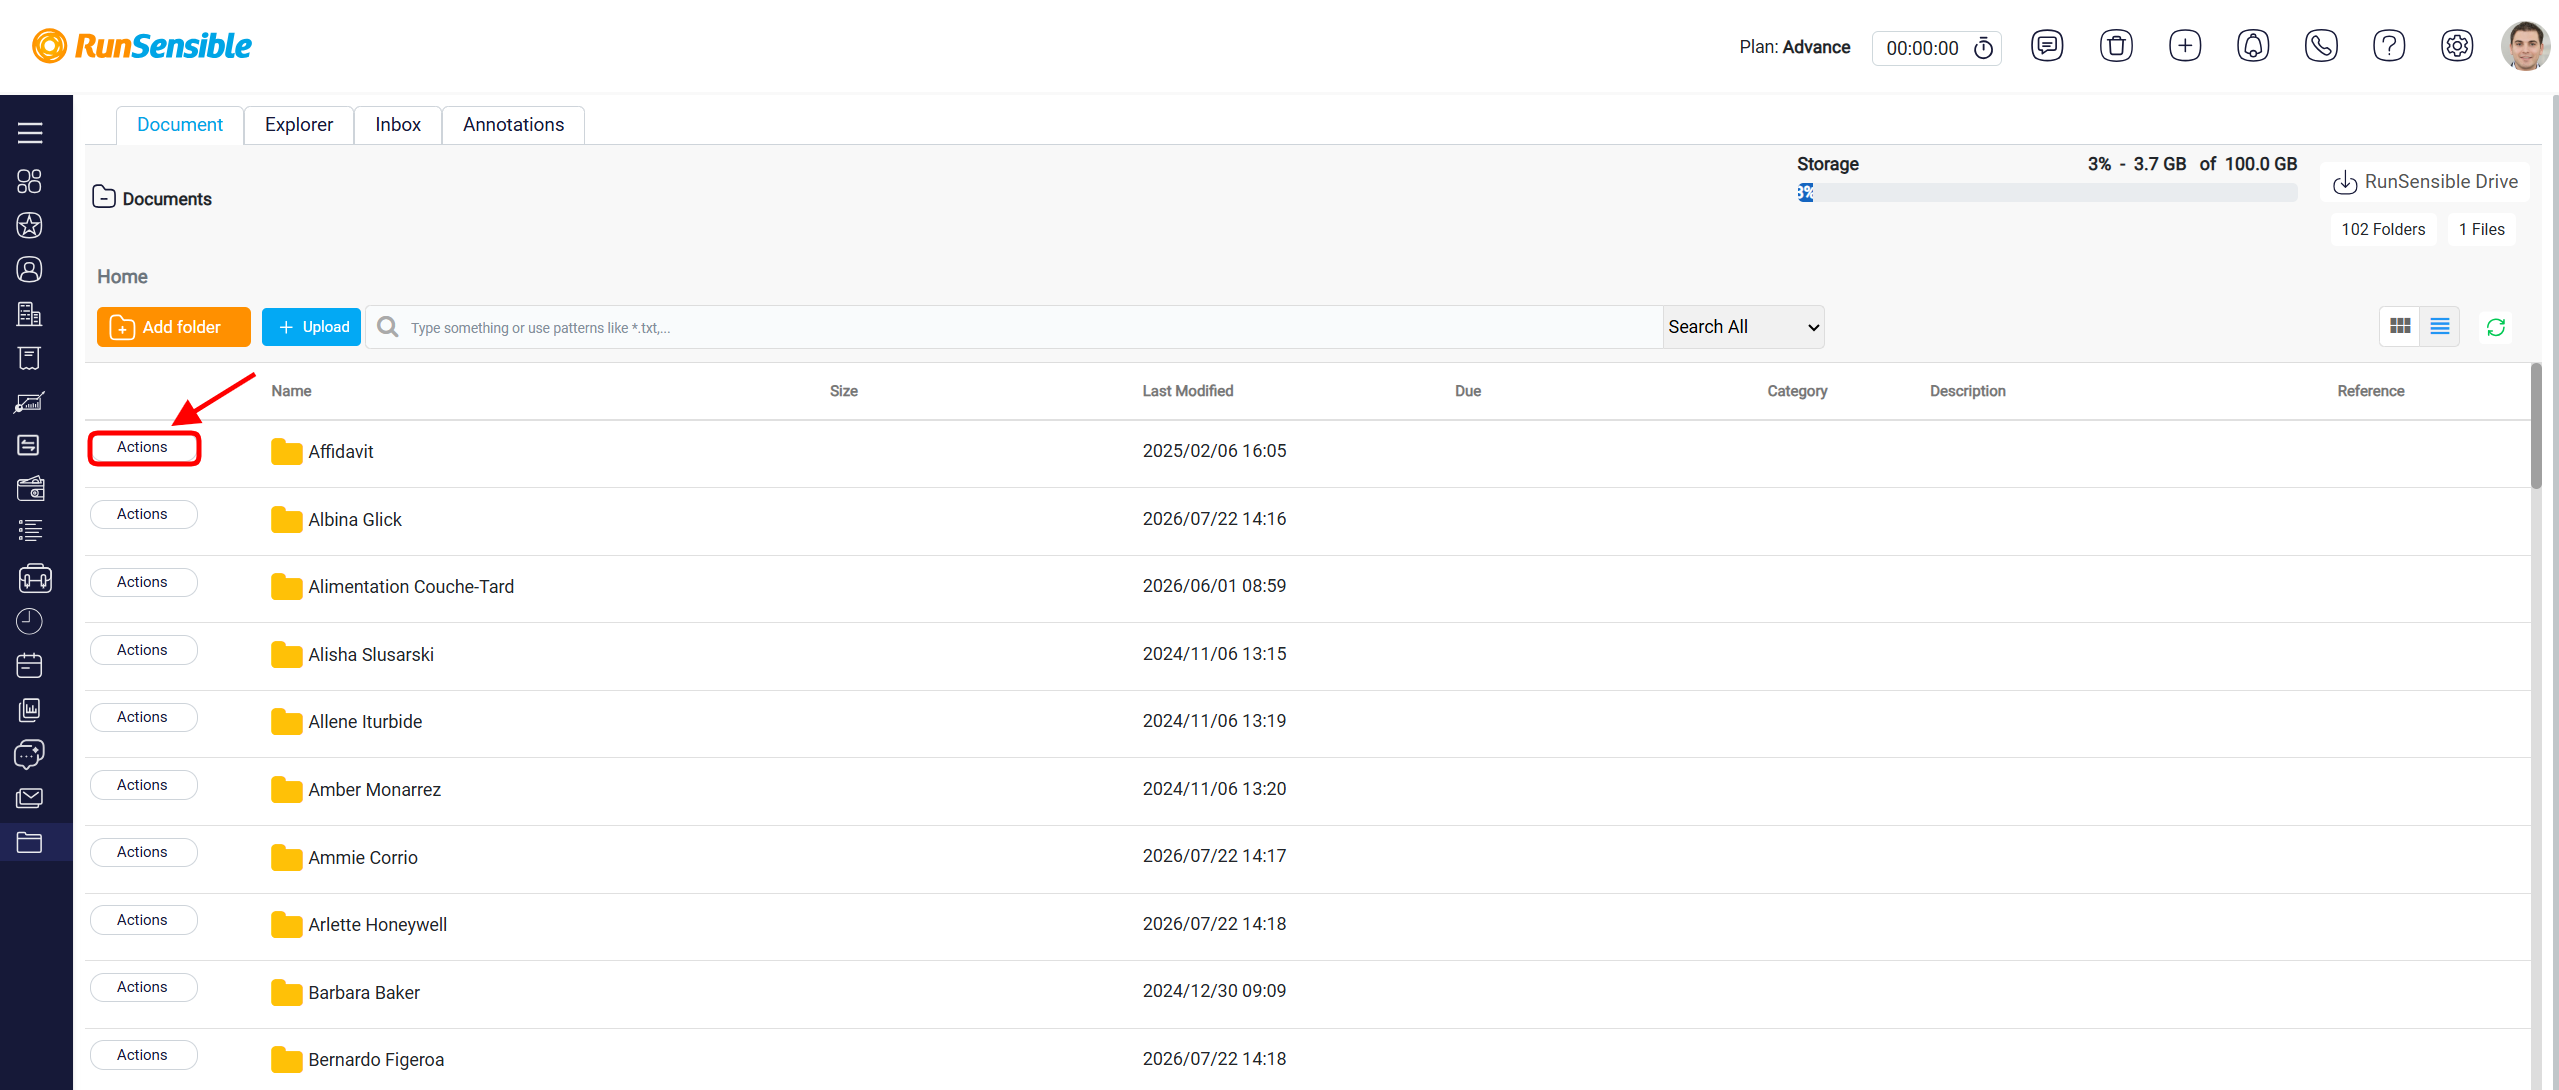
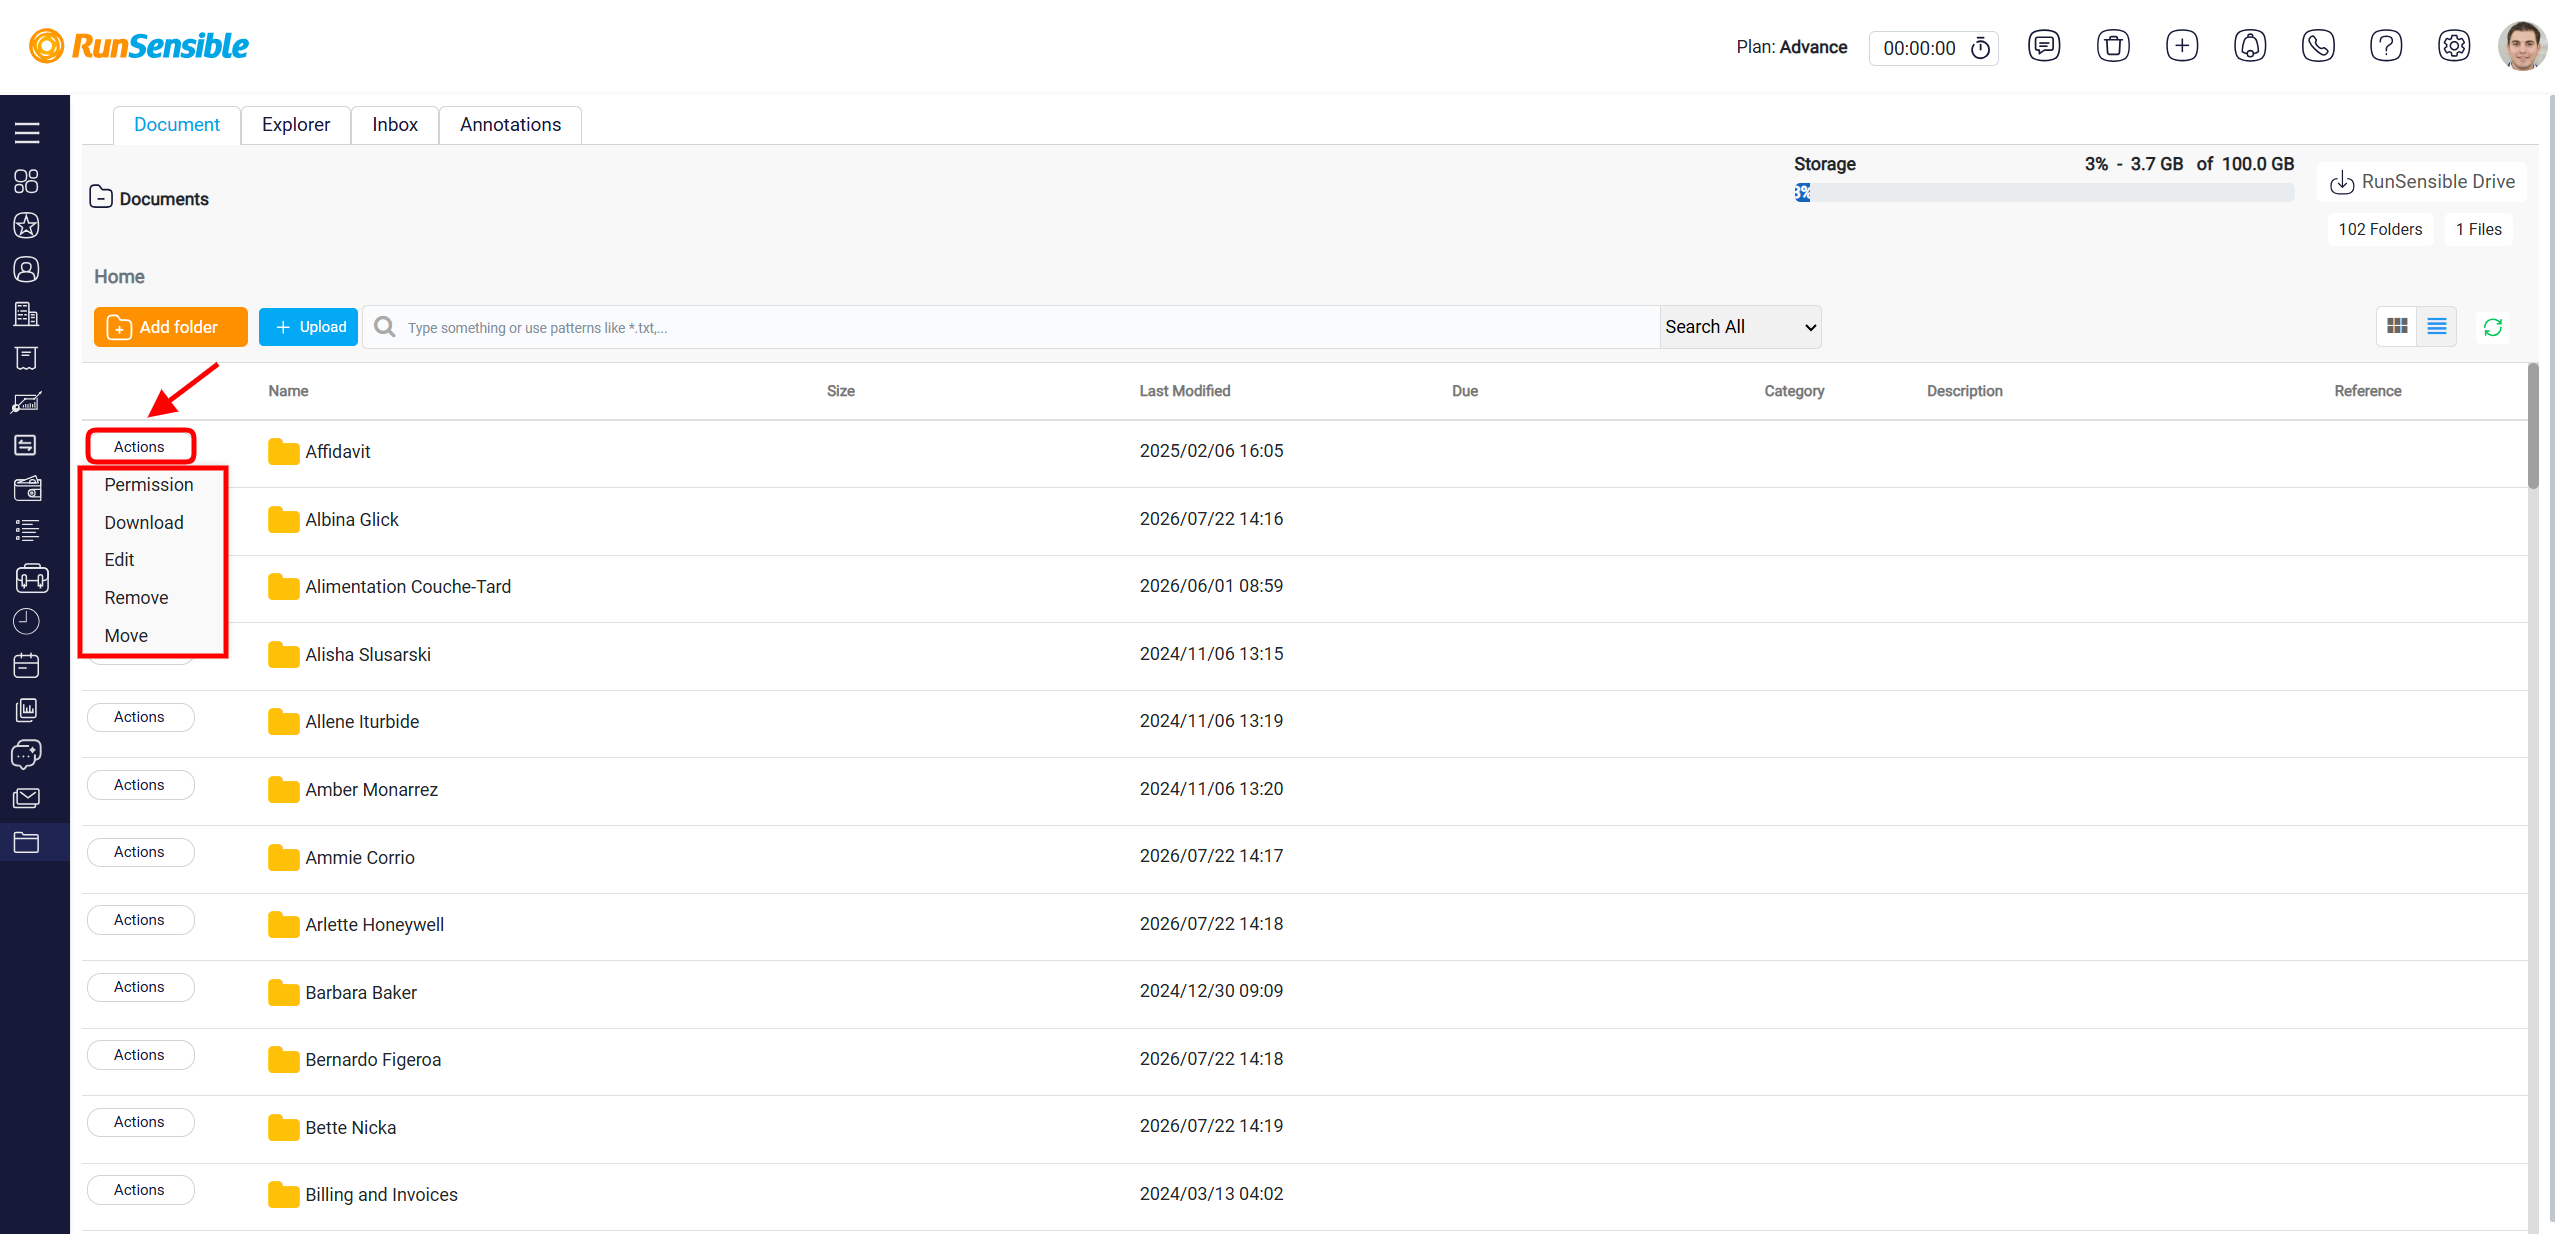
Each item also includes an Actions button, which provides additional options for managing the selected file or folder.
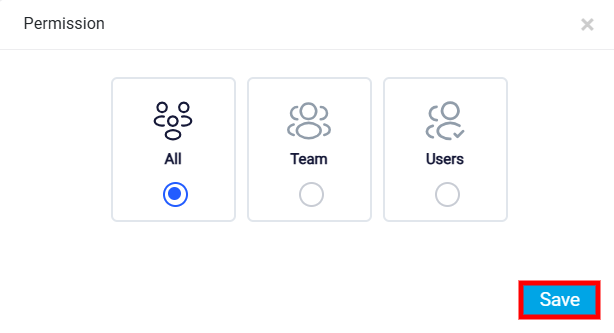
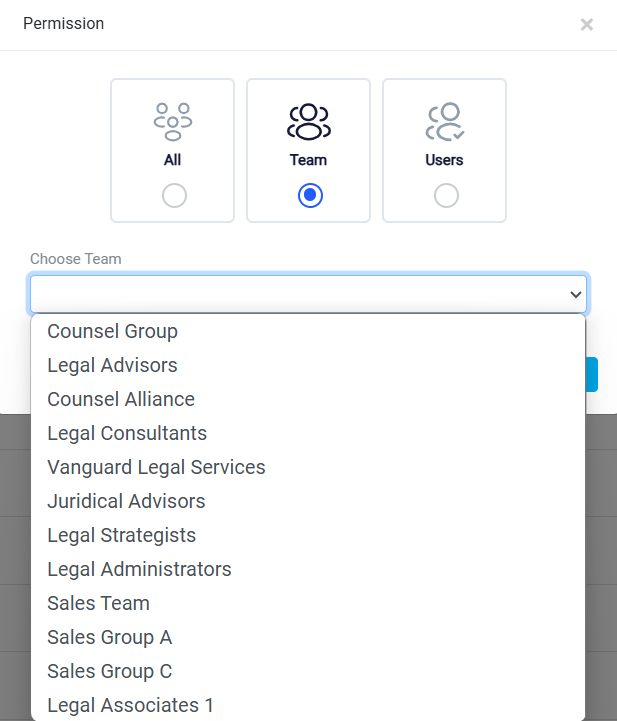
For more information about the teams, refer to the Team Management help file.
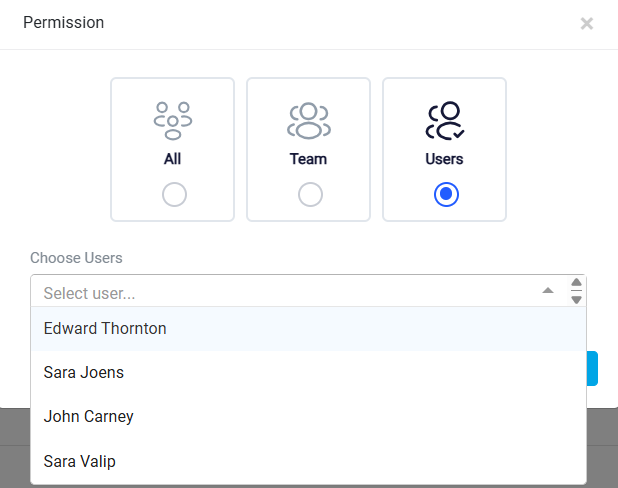
If access should be limited to a specific user, select Users. After choosing this option, a dropdown menu appears where you can select the individual user who should have access. This option is useful when only one specific person, other than or in addition to the responsible attorney, should be able to view or manage the matter.
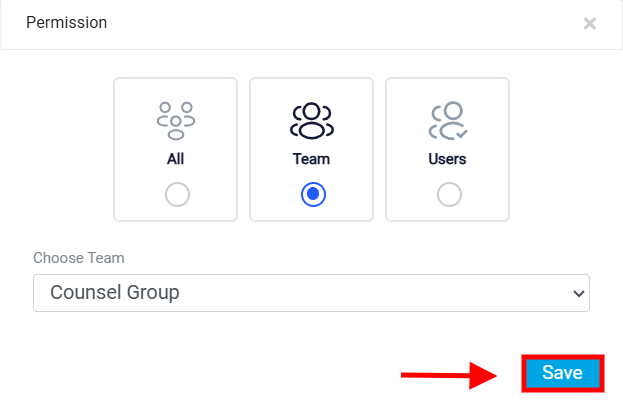
Once all the necessary fields are filled out accurately, click the Save button, also located in the top right corner, to add the new case to your matters list.
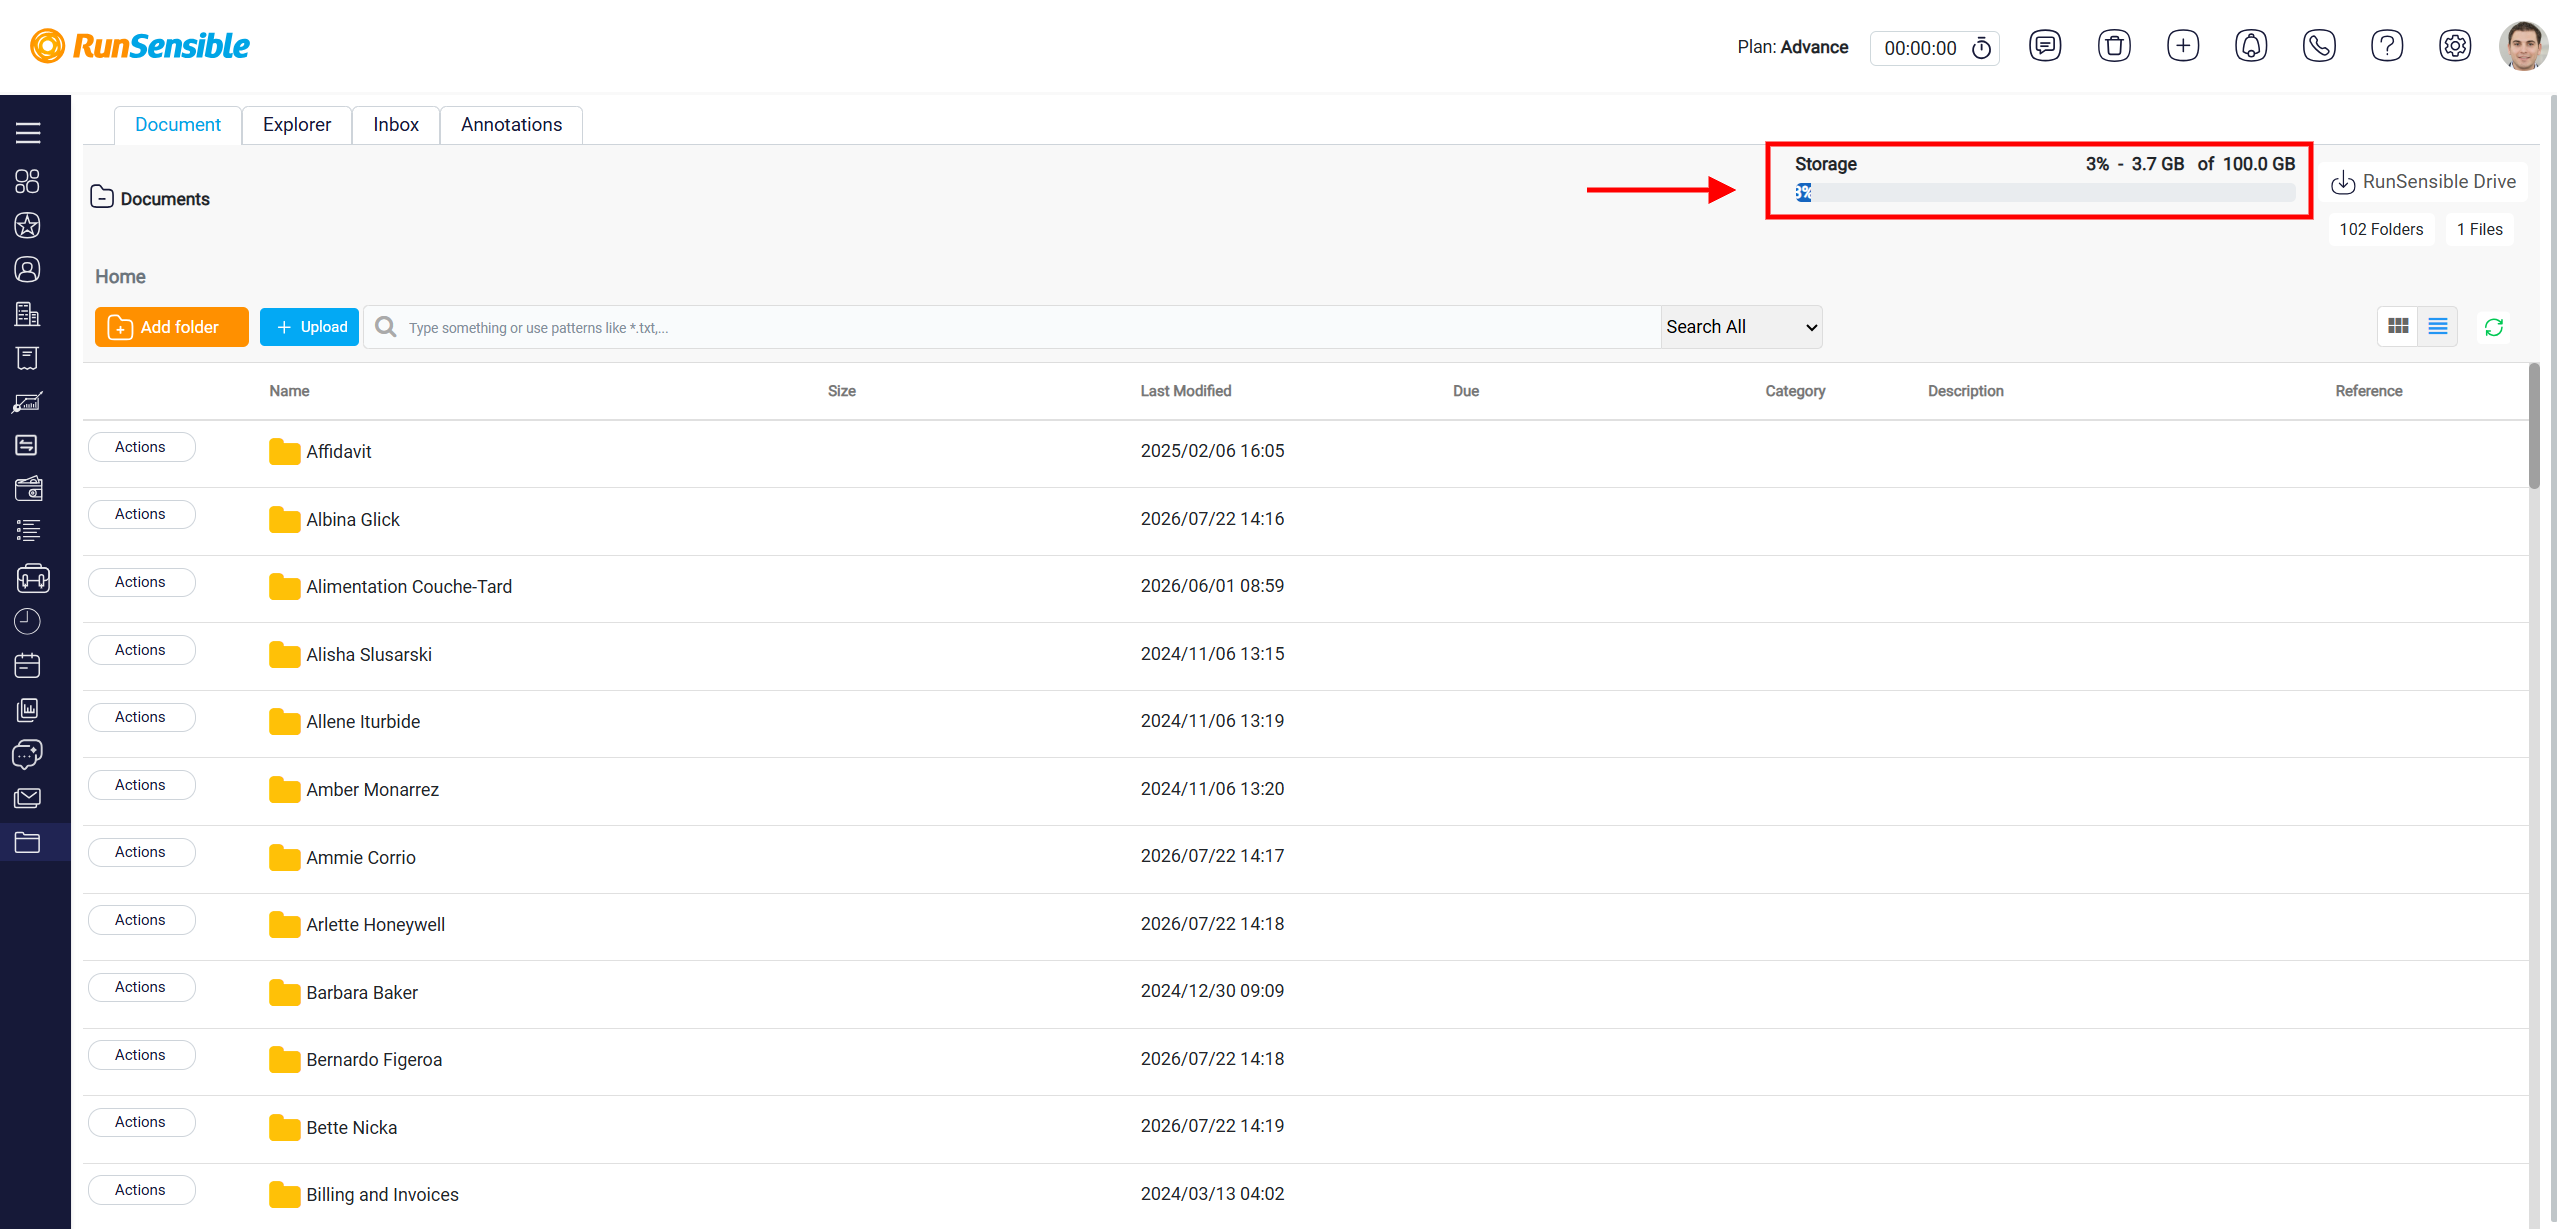
At the top of this page, you will see the Storage Usage Bar, which indicates the percentage of storage used and the total storage available. This helps you monitor your storage space and manage your documents accordingly.