Creating and Adding Information to a New Firm Expense
With RunSensible, you can effortlessly manage all your business finances in one place. Track expenses and view detailed reports on each team member’s spending, giving you a clearer picture of your operational costs and budget needs.
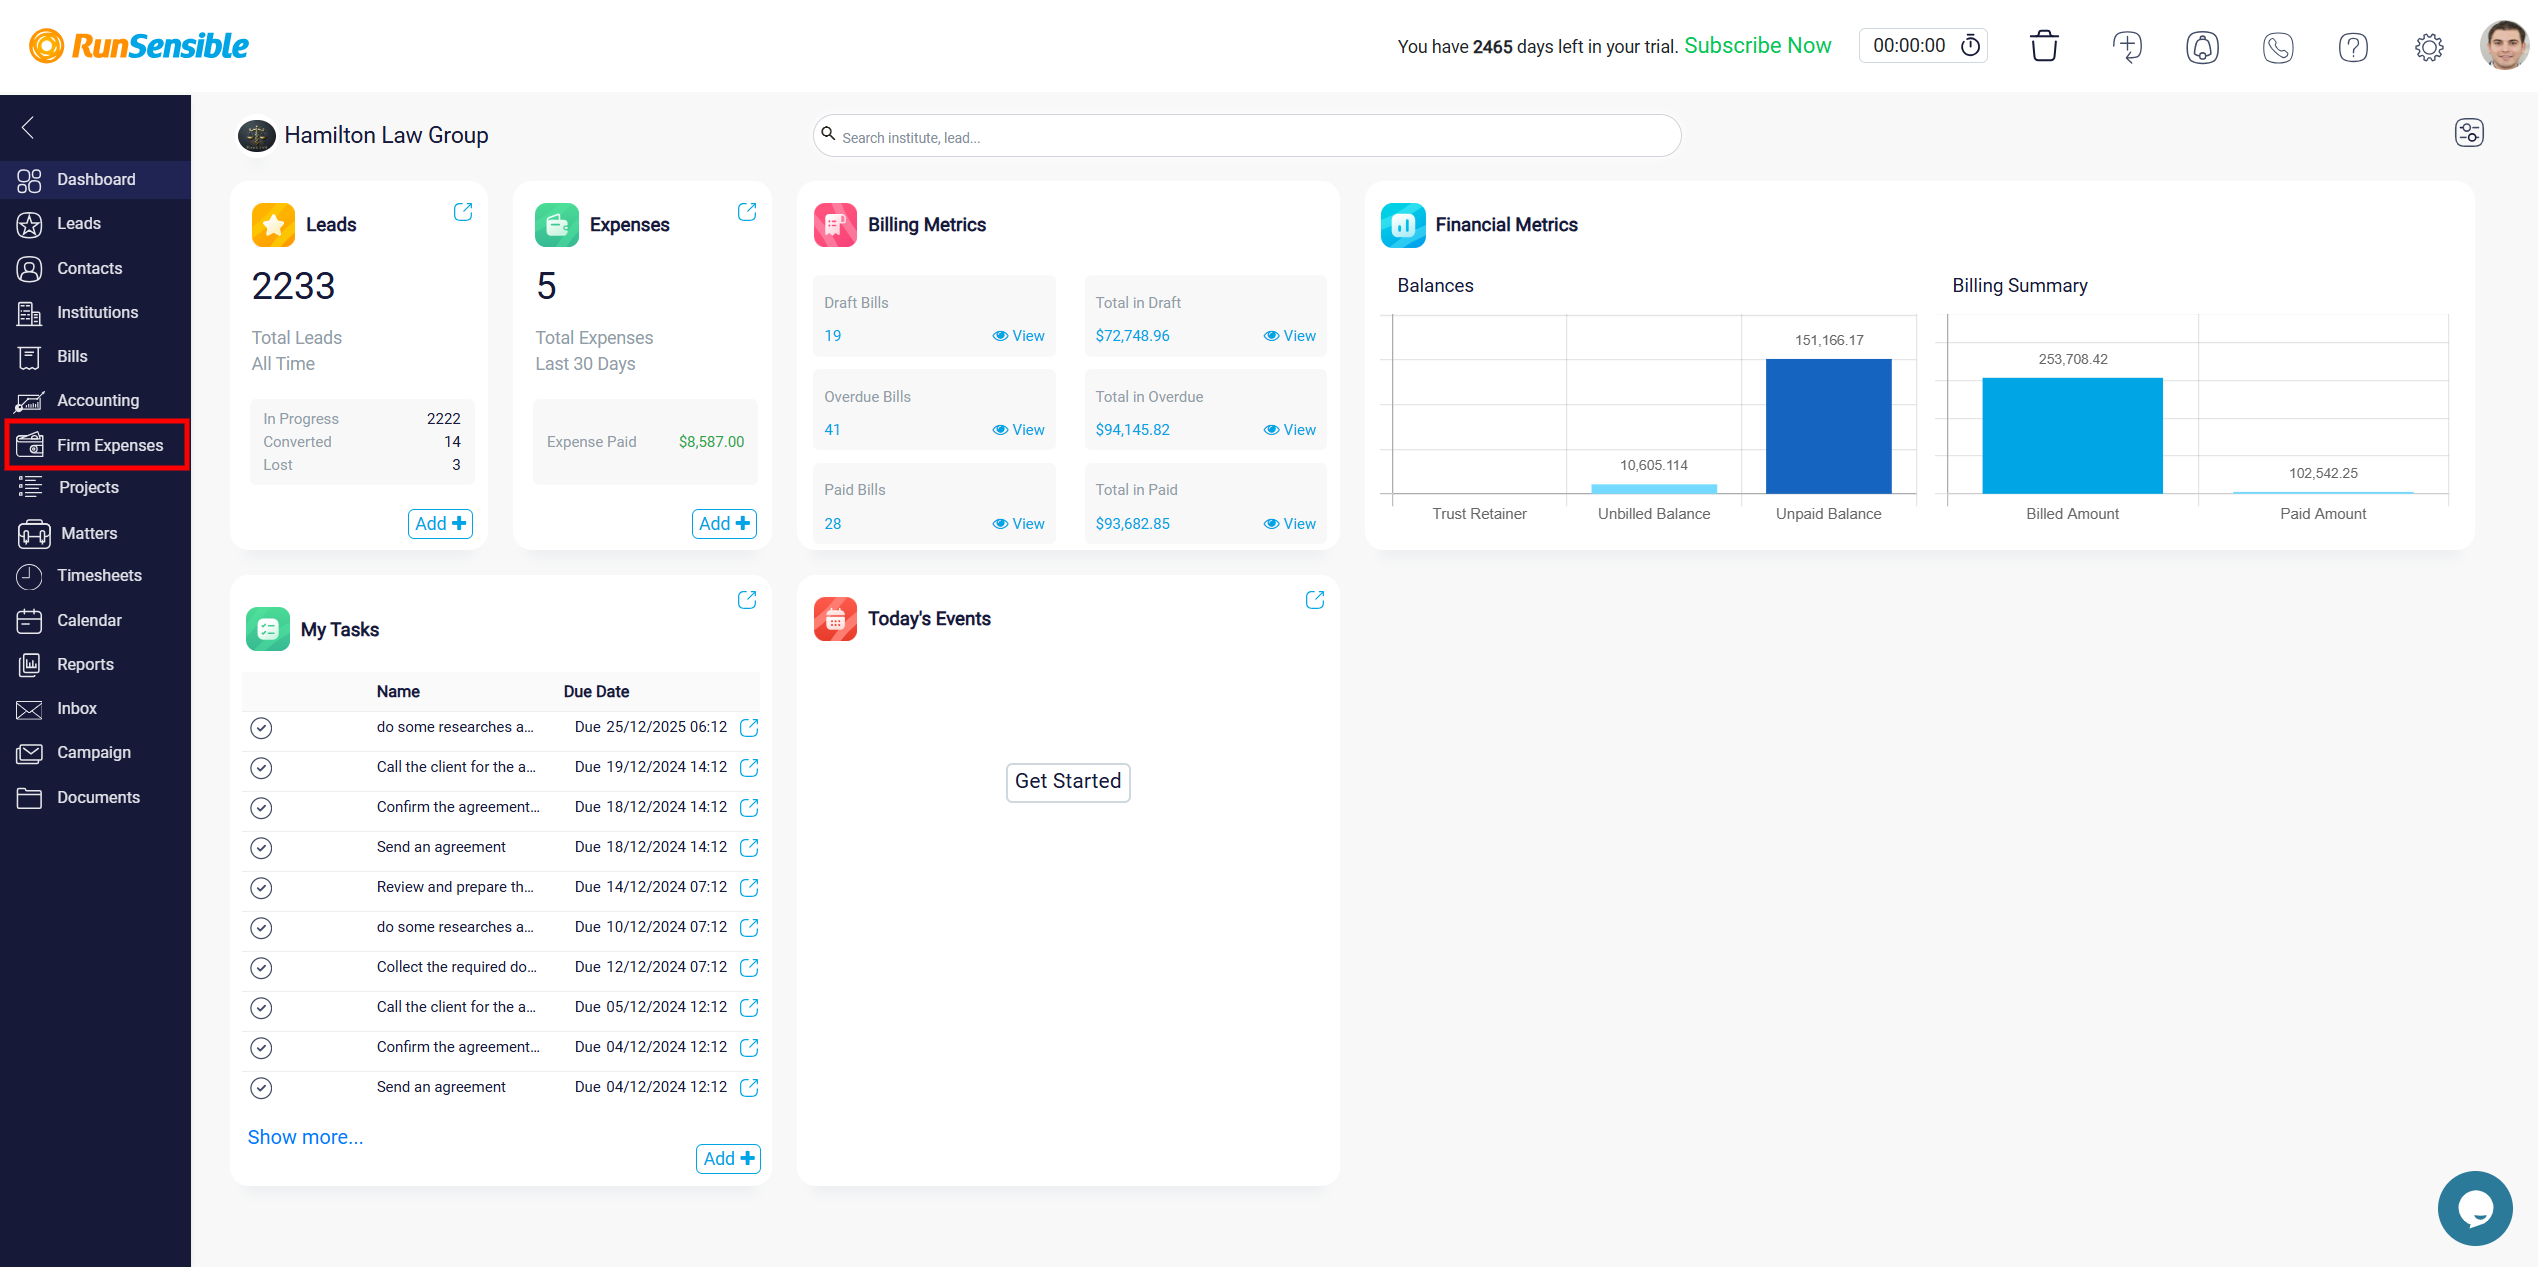
Let’s create an expenses report. Go to your dashboard and select Firm Expenses. Here, you’ll find a list of all expenses recorded by you and your team members.
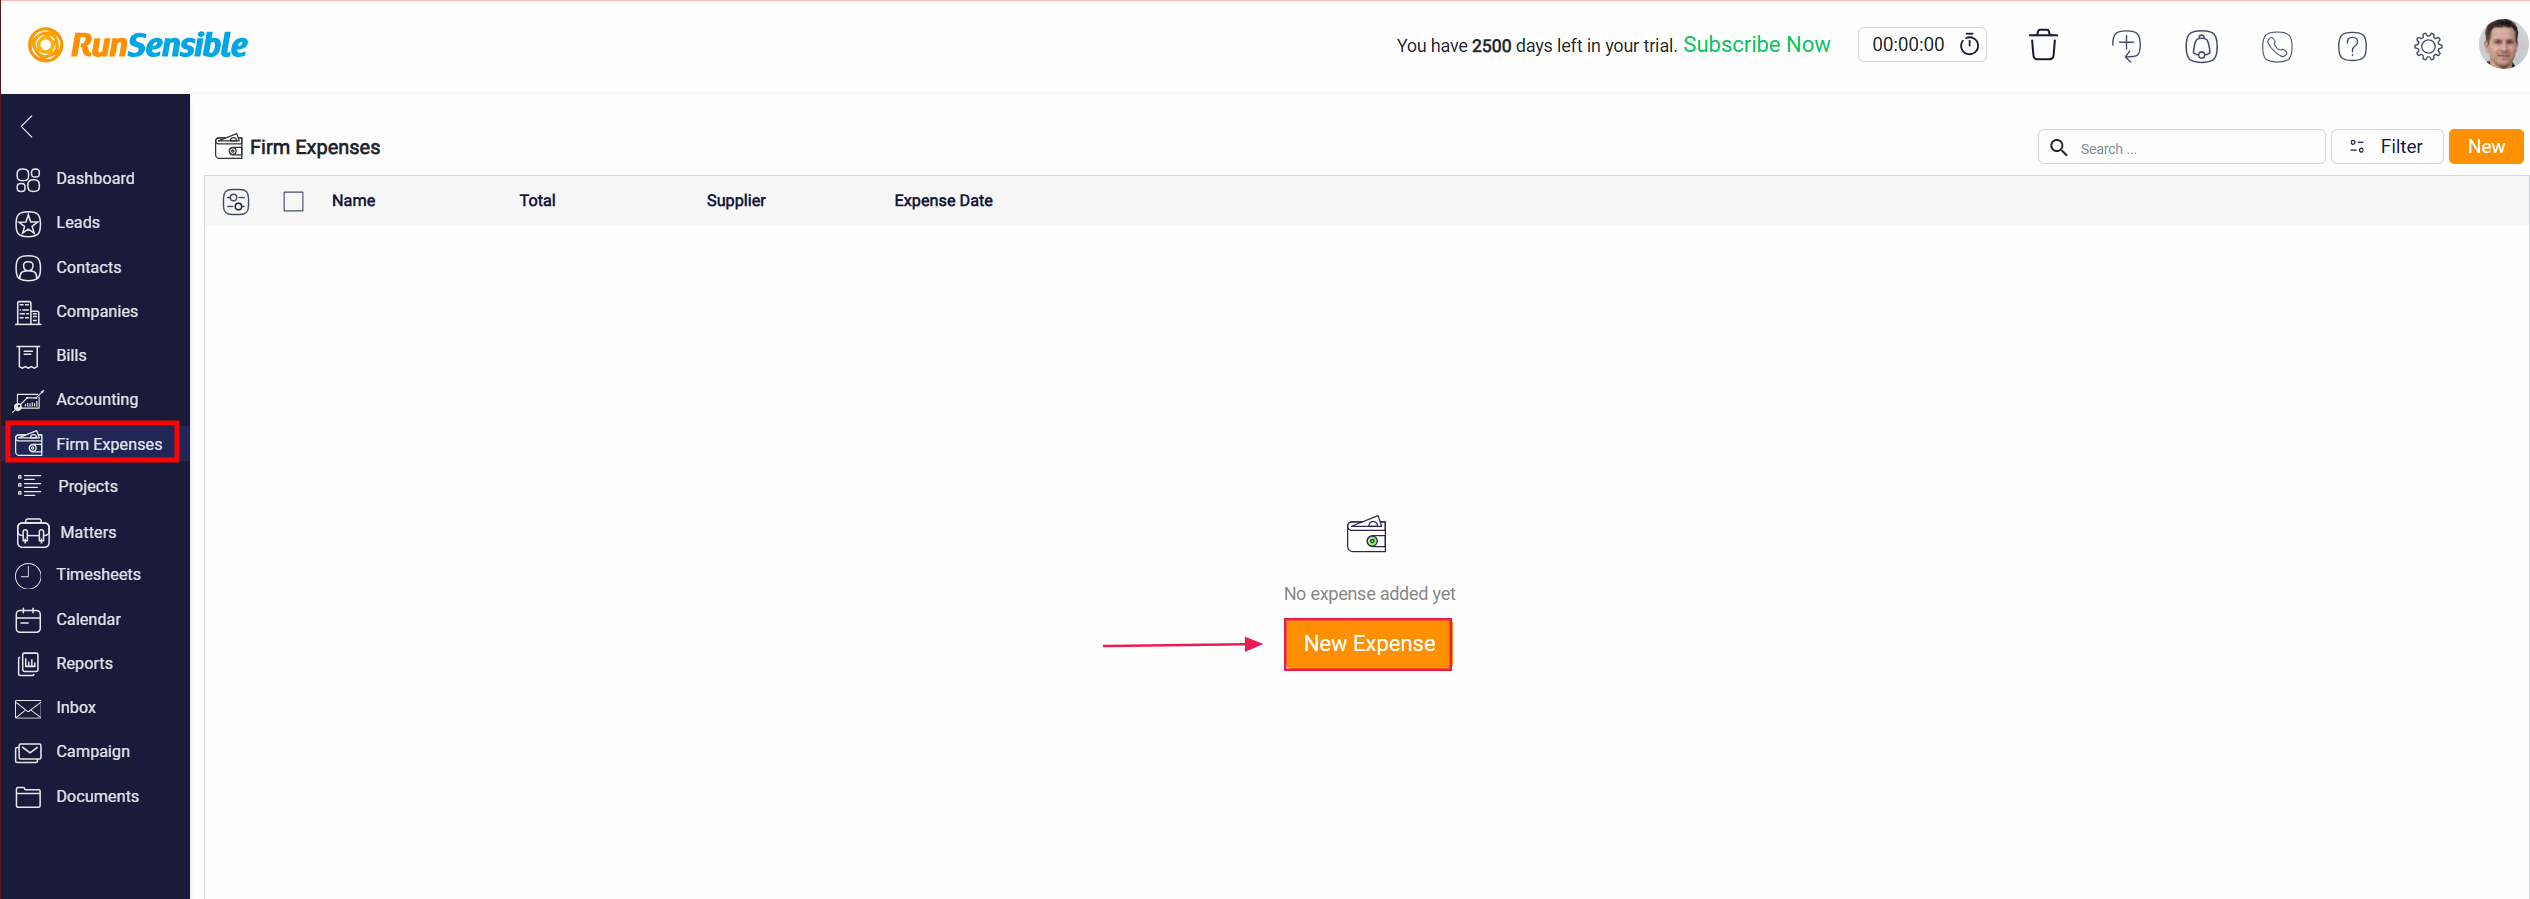
To create a new expense report, click the New button located at the top right of the page.

Alternatively, you can add an individual expense by selecting the New Expense button.
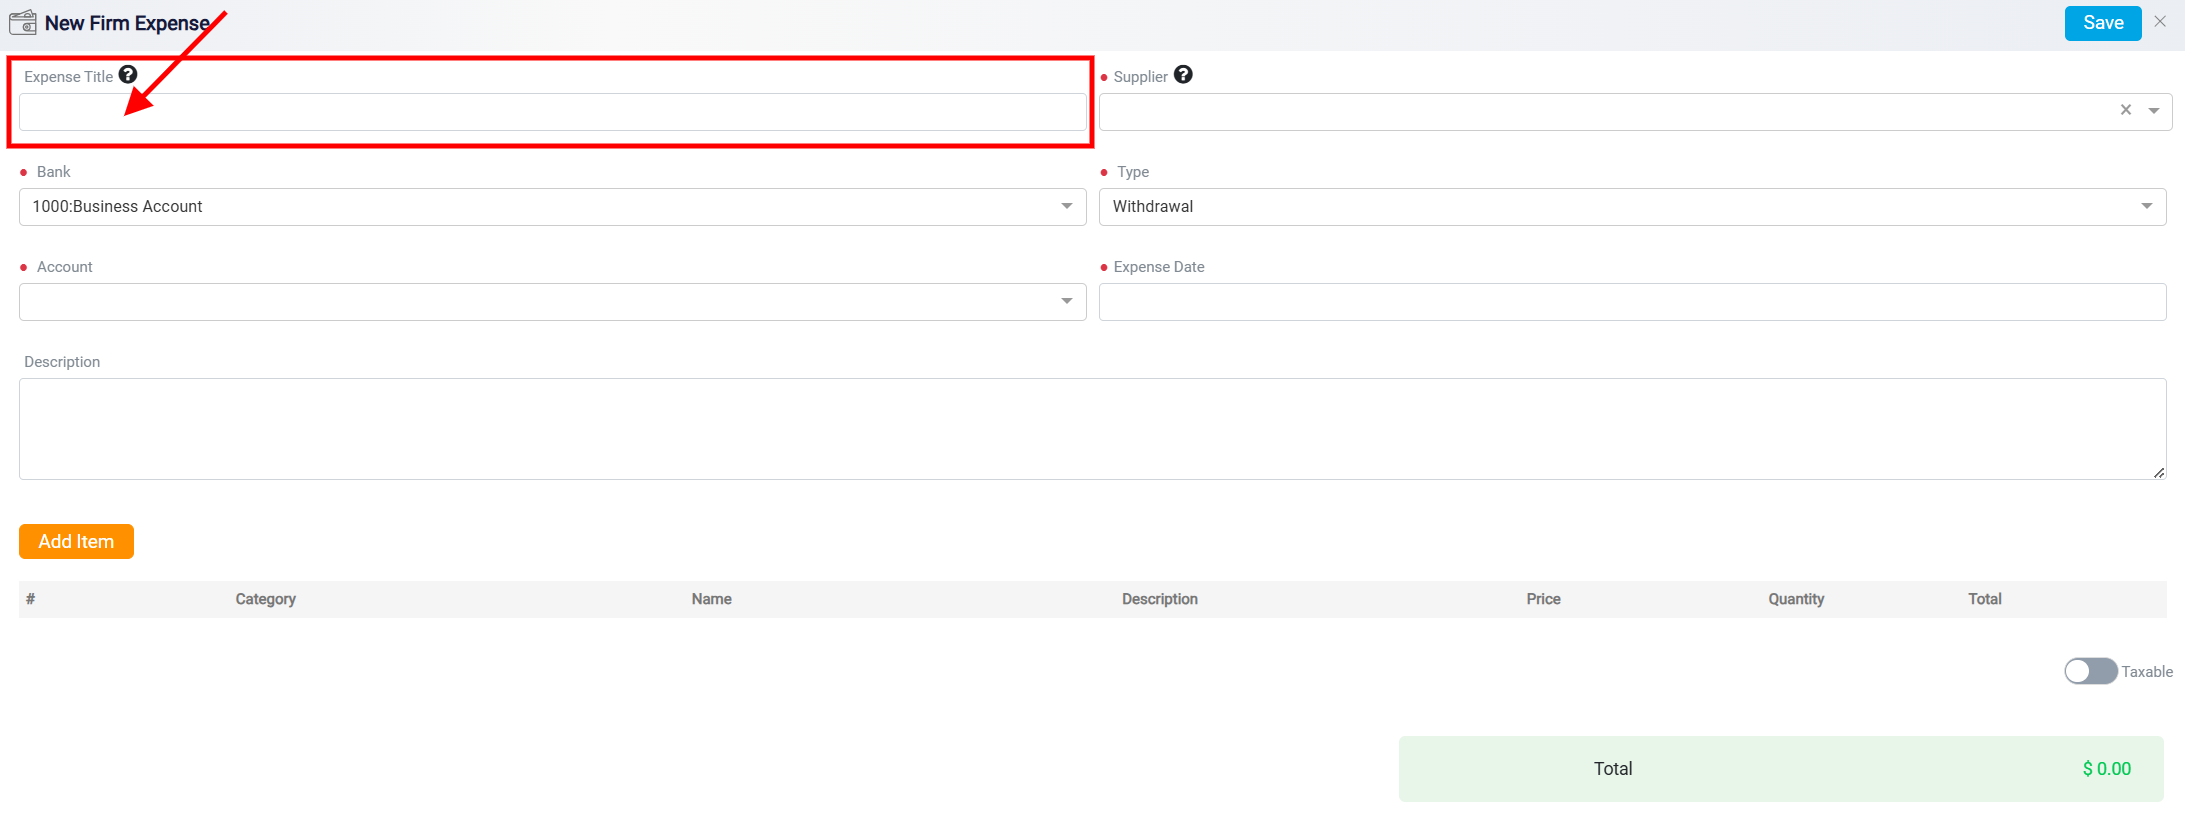
A New Firm Expense form appears which is used to create and record details of a new expense. It contains several fields and sections to ensure accurate and comprehensive expense tracking. In this form, there are fields to input key details about the expense.
The Expense Title field is located at the top left of the form under New Firm Expense which allows you to name or describe the expense. The title should clearly describe the nature of the expense for easy identification and record-keeping purposes.
Next to the Expense Title, is the Supplier field provides a streamlined way to manage supplier information. It includes a dropdown list where previously added suppliers are displayed as selectable options. This ensures that users can quickly and easily select an existing supplier without needing to re-enter their details.
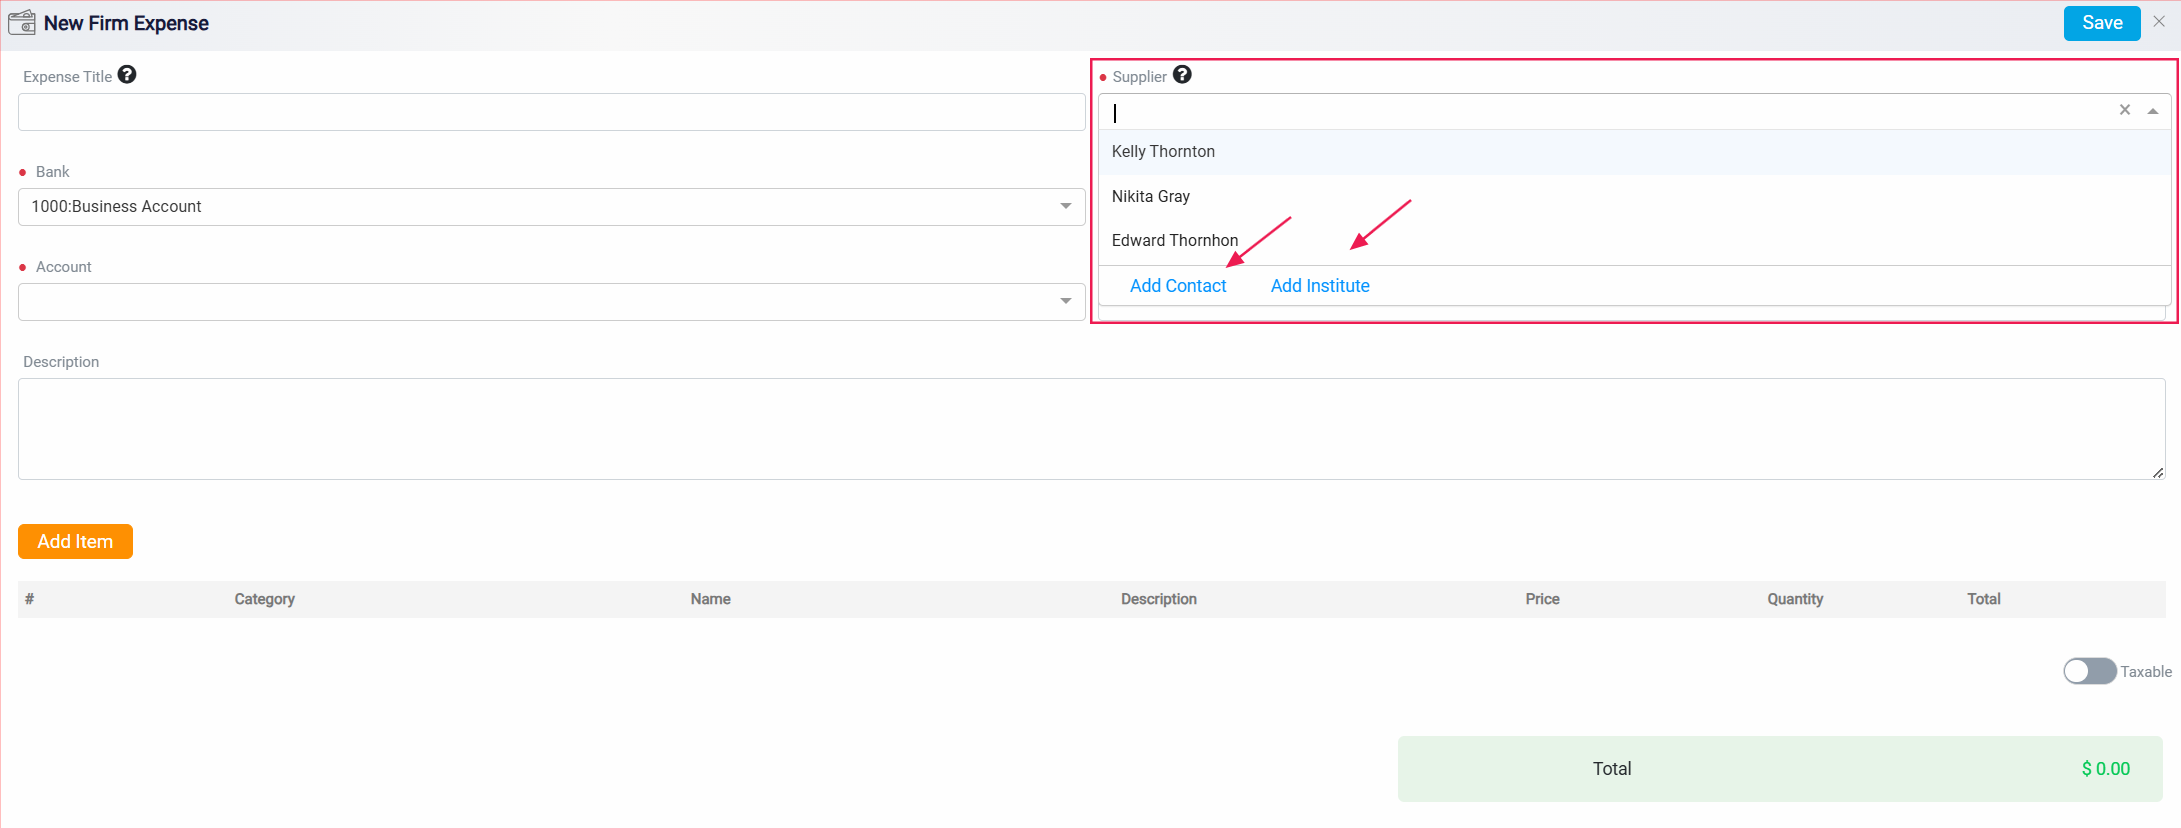
If a supplier is not already in the system, the form offers two additional options for adding new suppliers. The Add Contact option allows users to add an individual as a supplier. Clicking on this button opens a new form to manage the New Contact information.

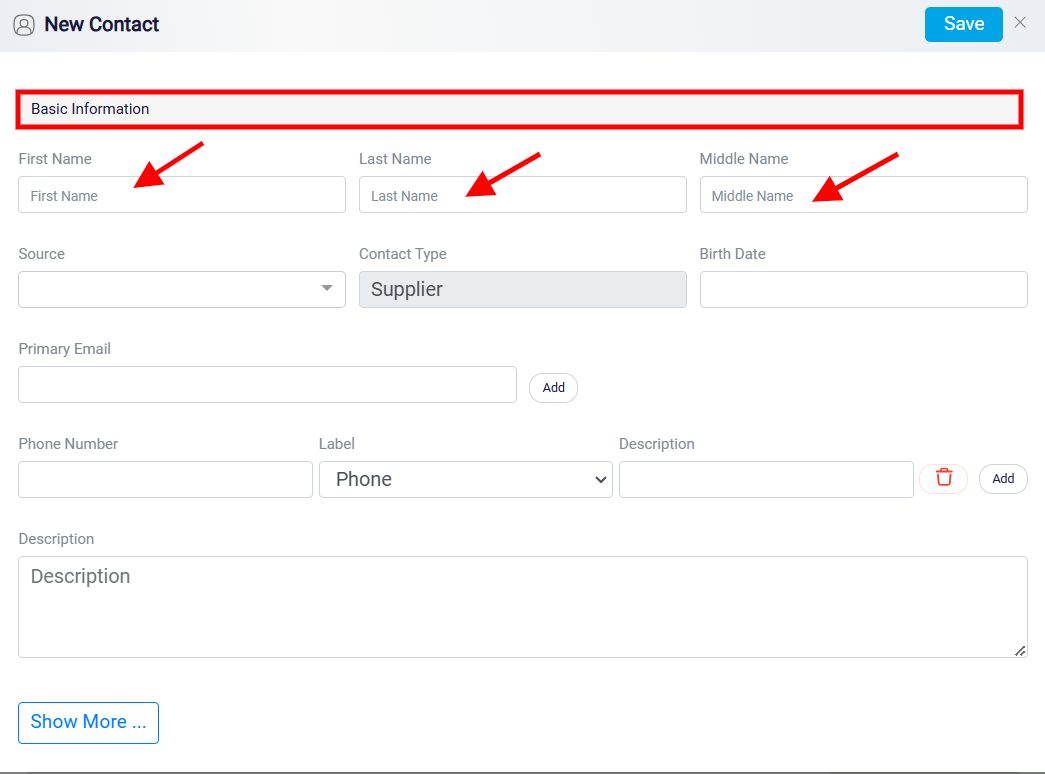
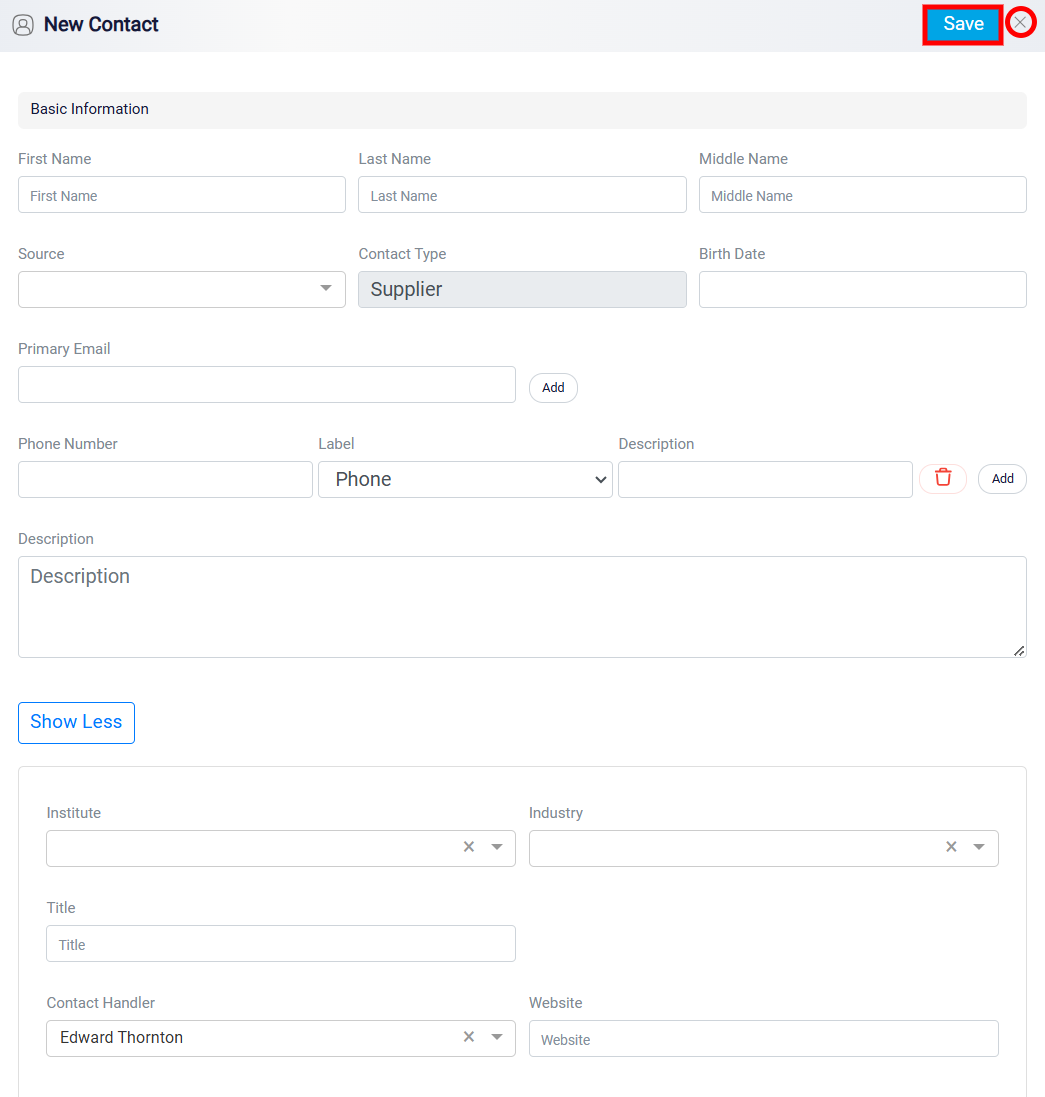
At the top, there are fields to input the contact’s basic information such as First Name, Last Name, and Middle Name, allowing for full name details.
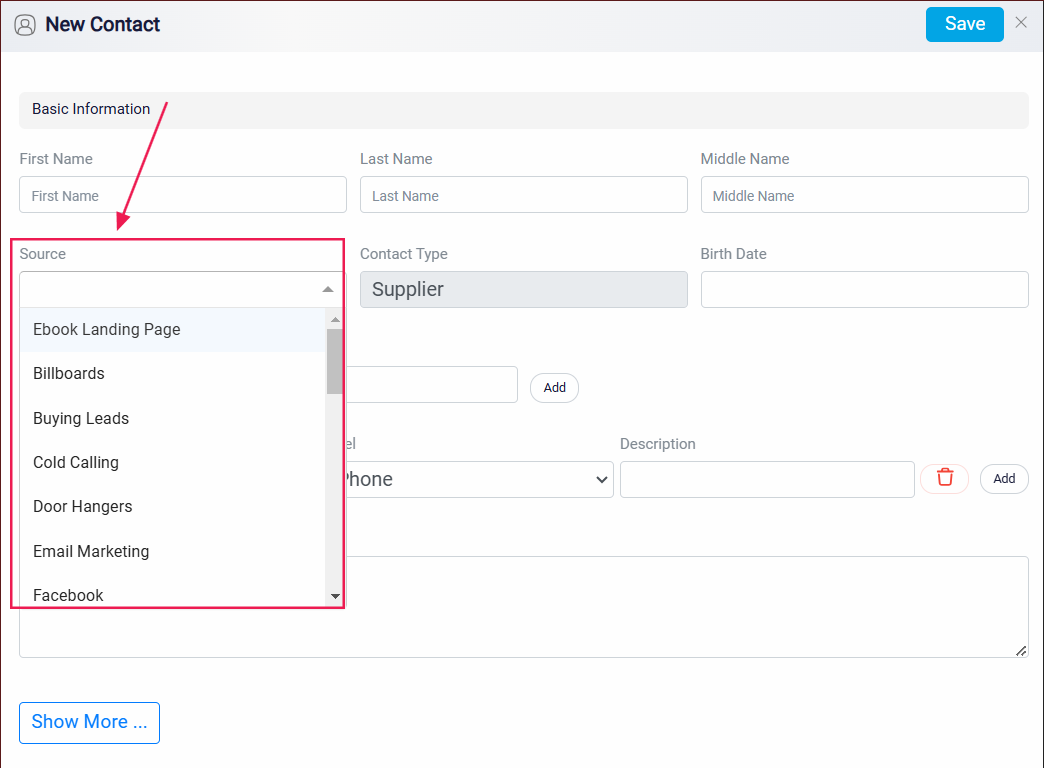
Adjacent to under these fields is a dropdown menu labeled Source allows you to indicate how the contact originated. This helps categorize or track the expense origin for operational purposes.
The Contact Type specifies the nature or role of the contact being created. This field is set to Supplier, a type of contact representing the vendor or service provider associated with an expense for goods or services. By default, adding a supplier automatically adds the contact or company to the contact or company list.
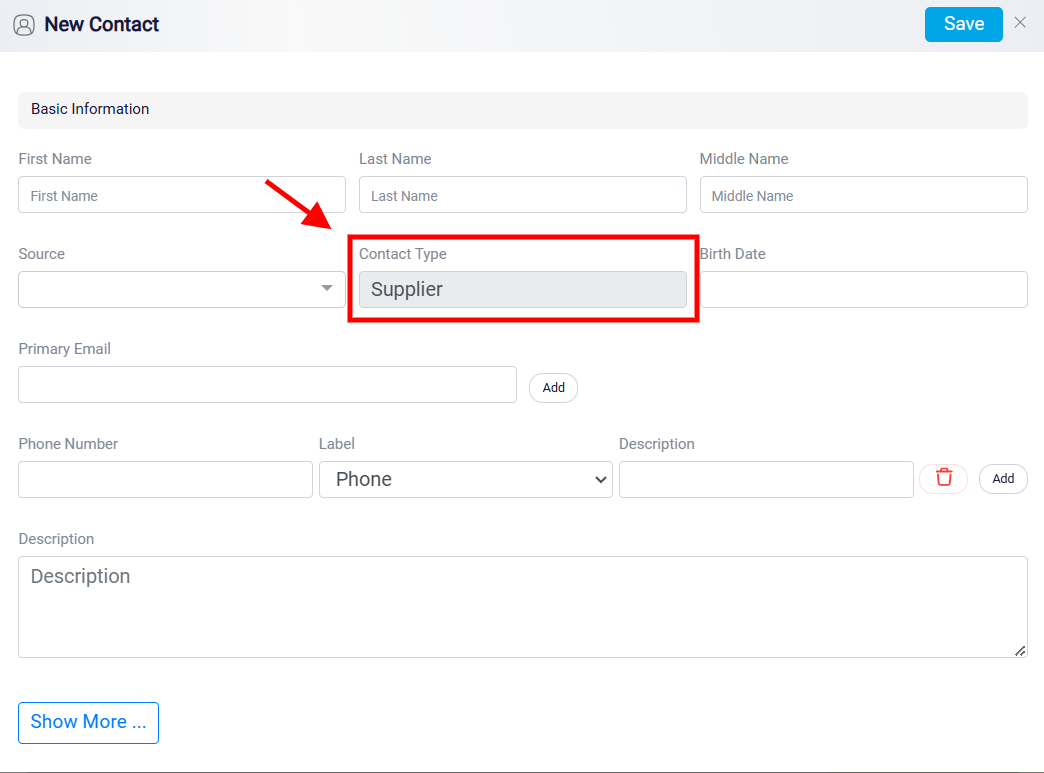
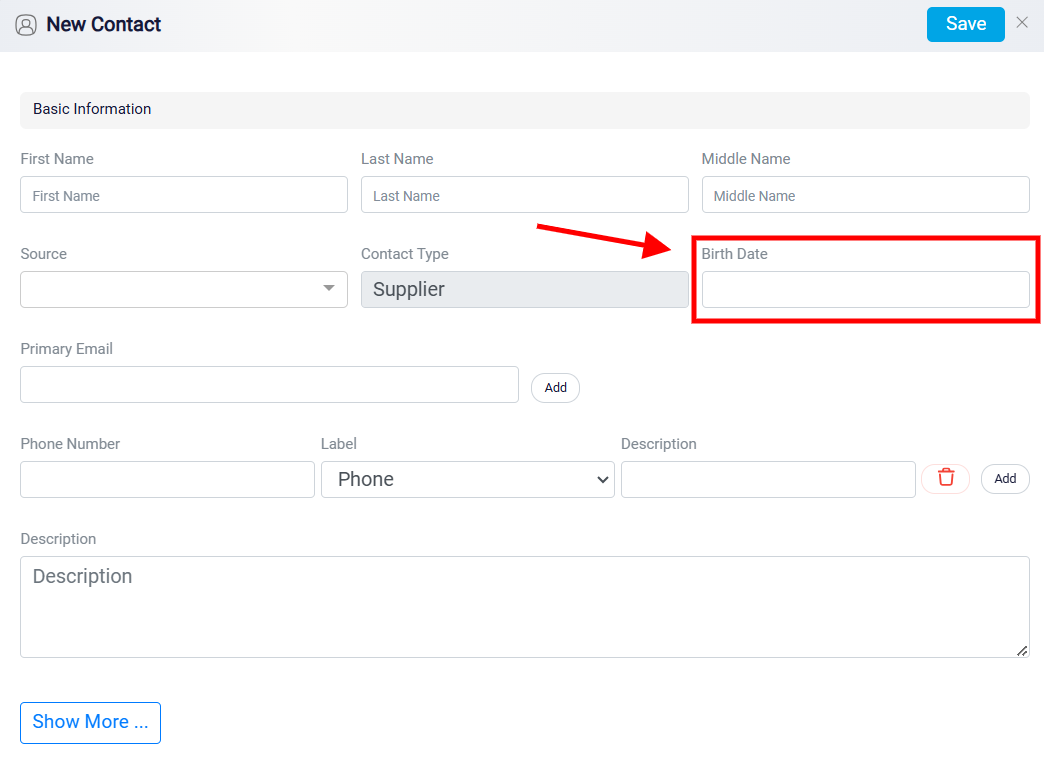
To the right of the Contact Type, there is a space for entering the Birth Date.
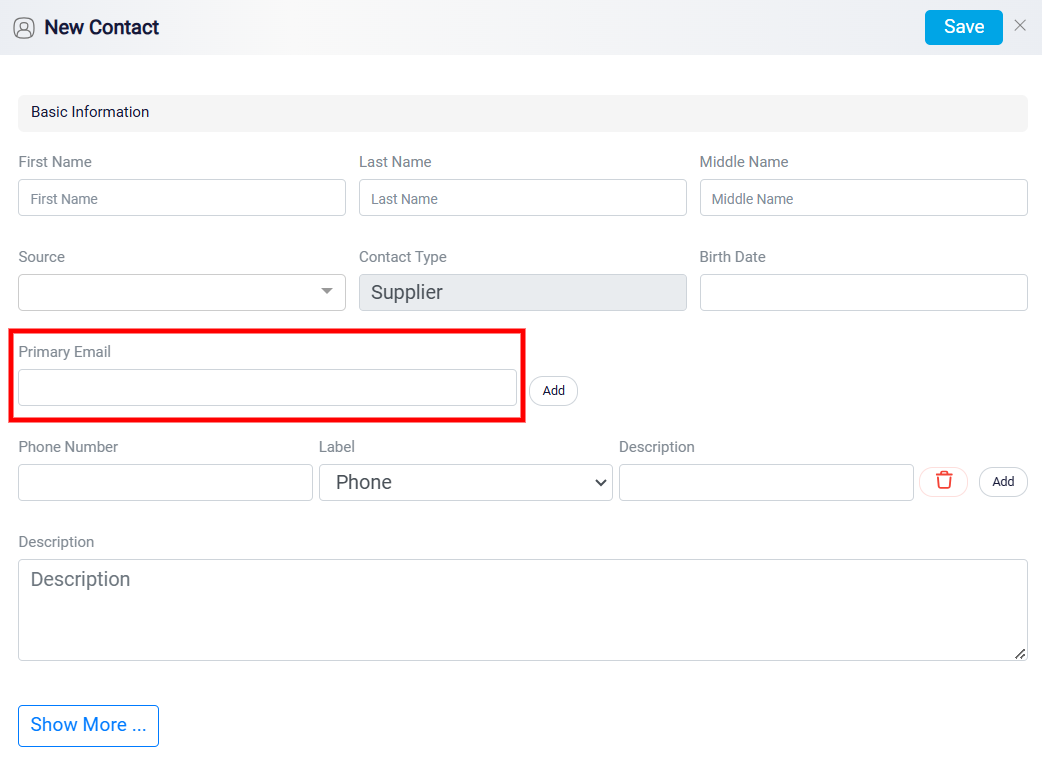
Moving to the middle section of the form, there is a field for Primary Email allows you to specify the main email for communication with the contact.
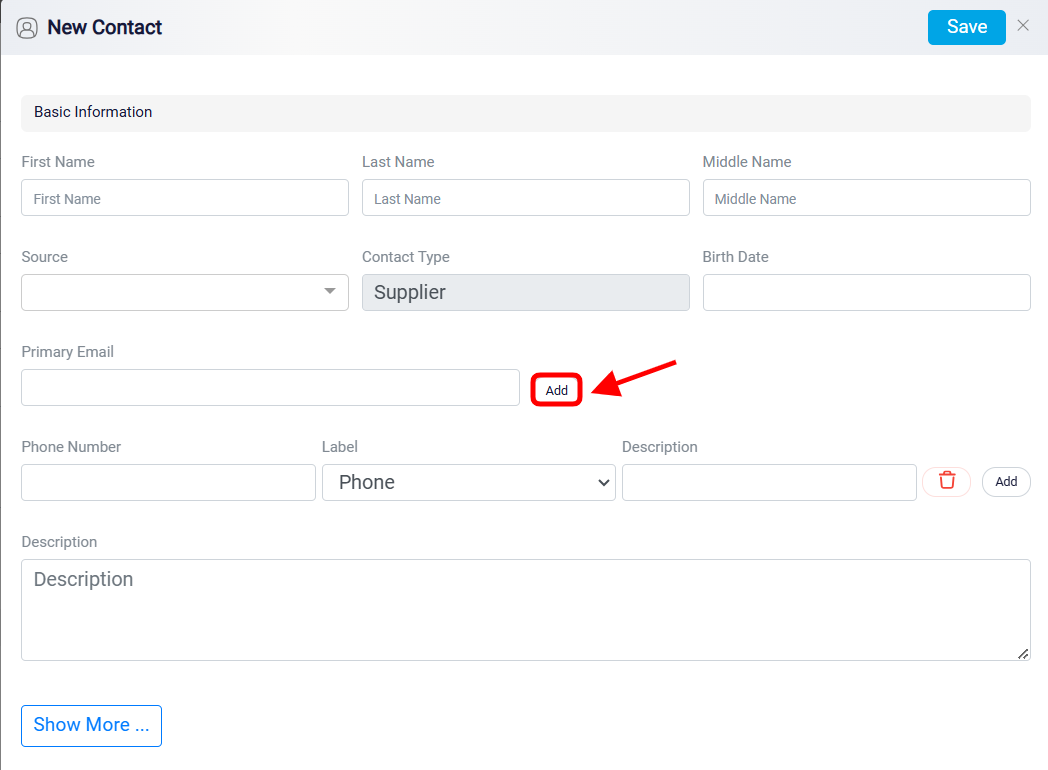
You can click the Add button to include additional emails.
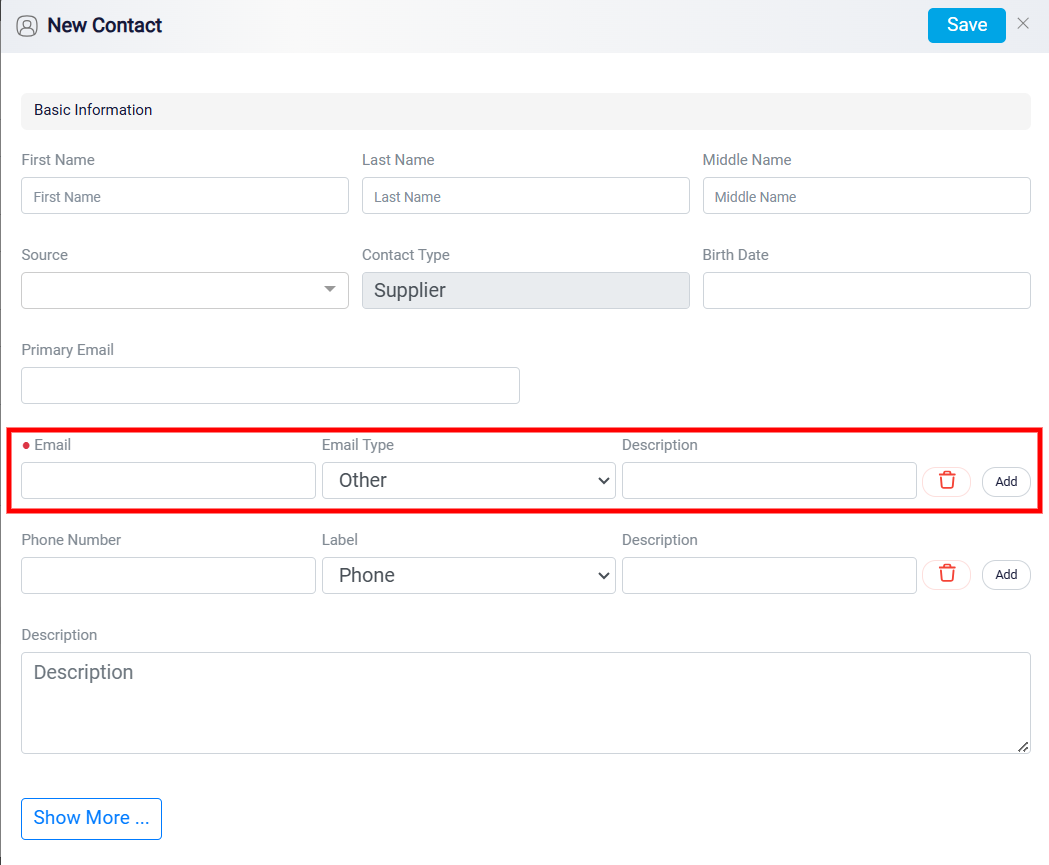
The Email section includes fields and options for managing email input for a contact. It begins with a blank text input field where the user can enter an email address. Next to it is a dropdown menu, pre-set to Other, which allows users to categorize the email type, such as Personal or Work. Adjacent to the dropdown is a description field where additional details or notes about the email can be added. On the far right, there is a Trash bin icon for deleting the entry and an Add button to include another email row. This section ensures users can efficiently input, categorize, and manage email-related information for contacts.
The Phone Number section allows you to input and manage phone details efficiently. It features a text field for entering the phone number and a Label dropdown menu, which lets you select the phone type, such as Work, Home, or Mobile, with Phone set as the default option. Additionally, there is an optional Description field for adding relevant notes or details. To the right, there is a Trash can icon for deleting the current entry.
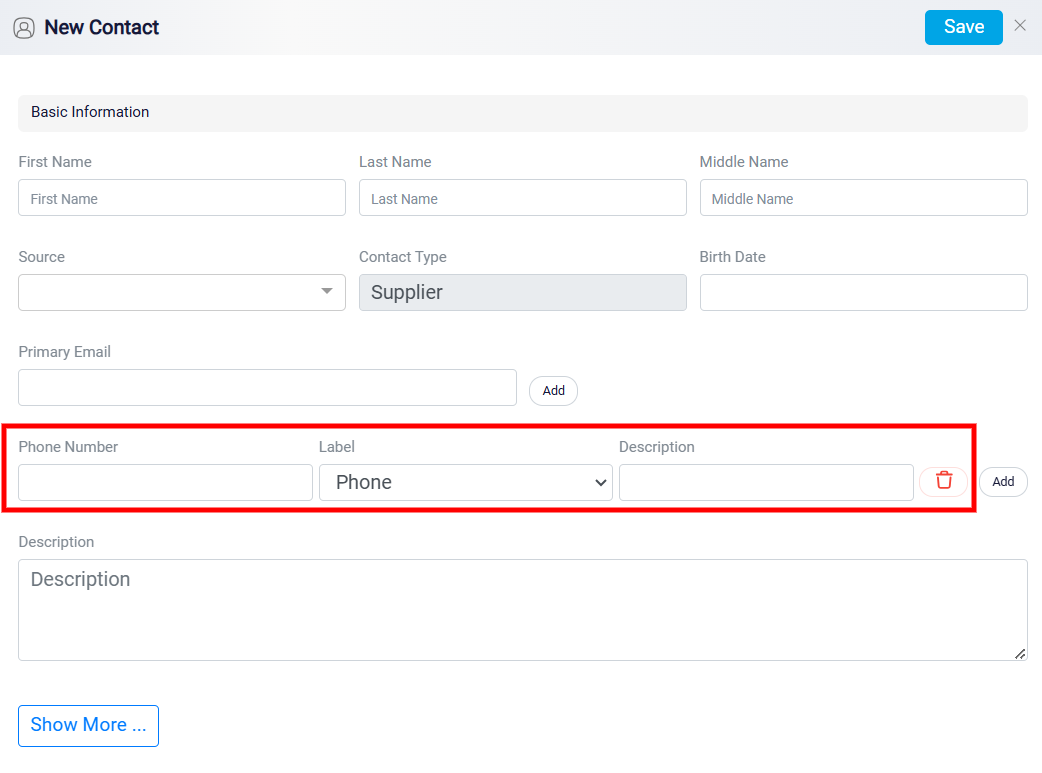
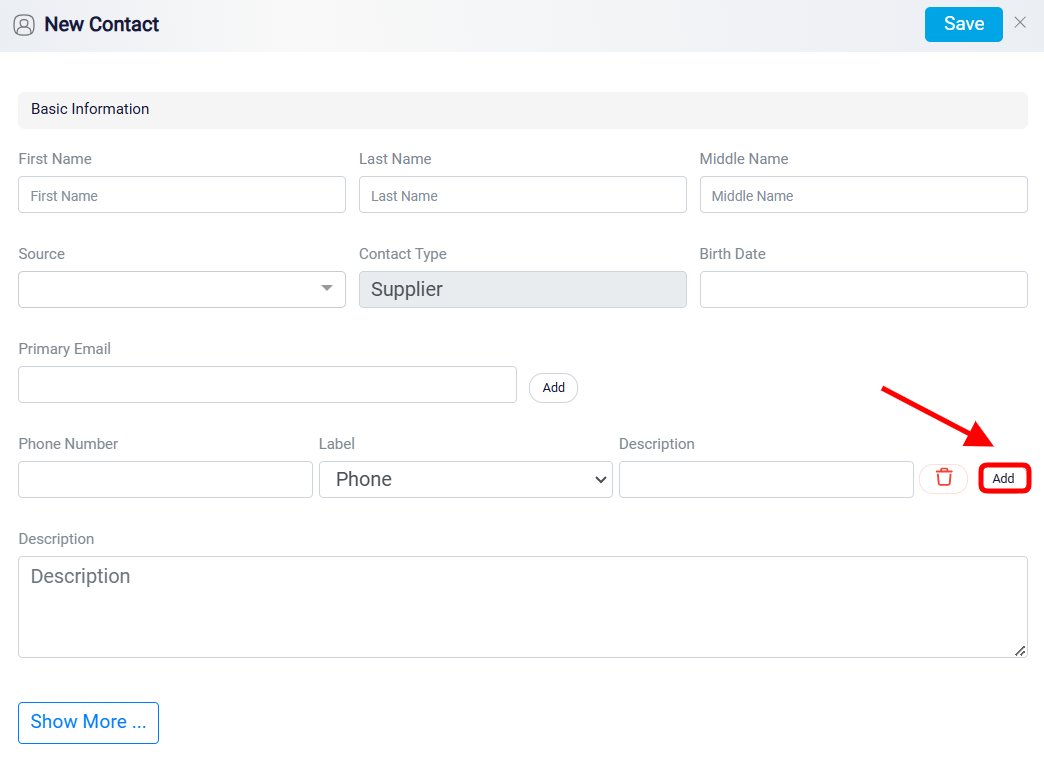
Add button enables you to include additional phone number fields as needed. This setup provides flexibility for organizing multiple phone numbers with clear labels and descriptions.
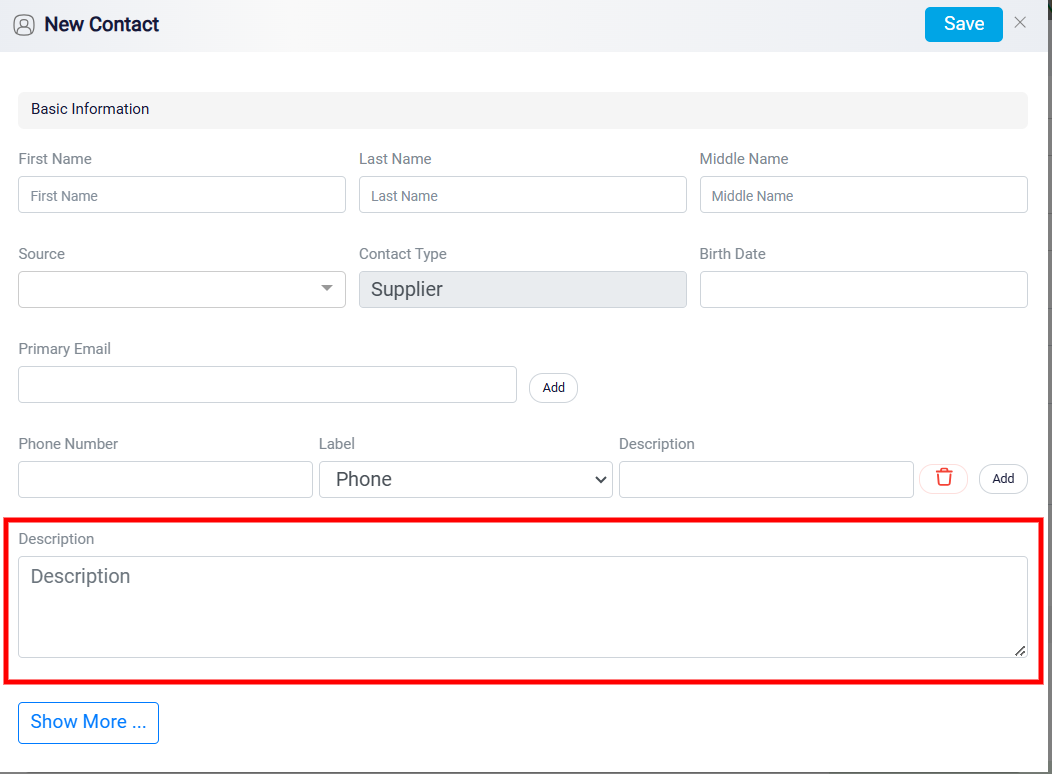
Additionally, there is a Description text box that offers a larger area for entering detailed notes or comments about the contact.
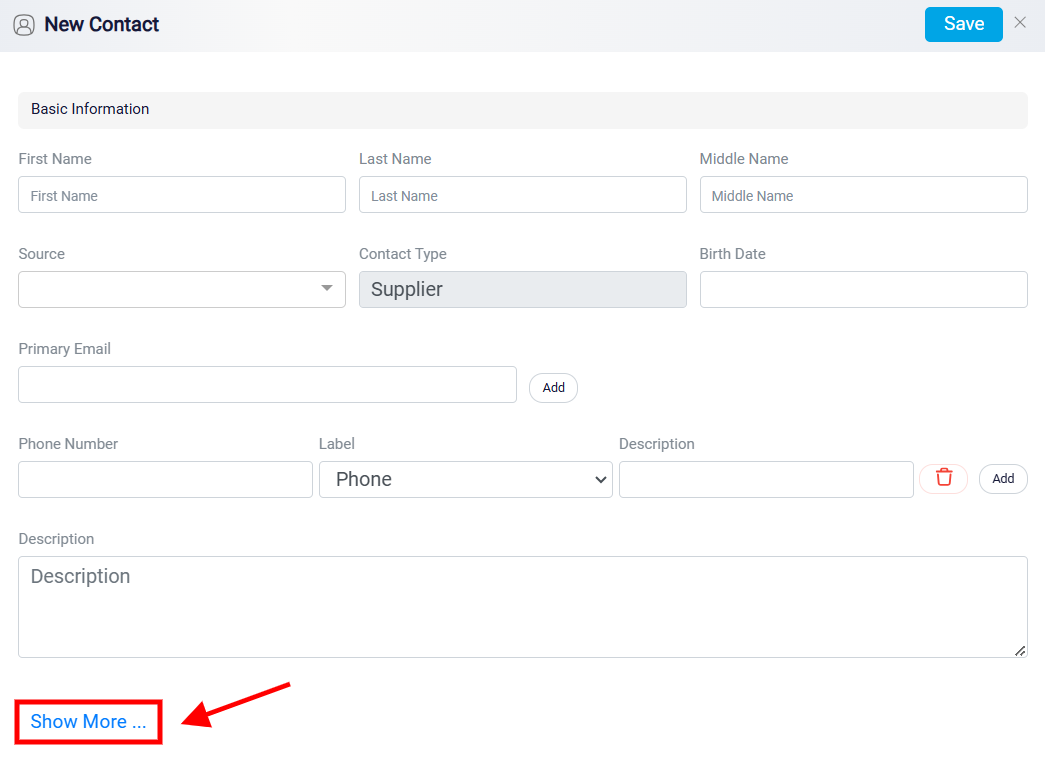
Further down, the form includes an expandable section with the Show More button, indicating that the current view is expanded.
After clicking the Show More button, it changes to Show Less, revealing additional fields for enhanced contact details. This section includes dropdown fields for Institute and Industry, allowing for relevant selections. There is also a Title field for specifying the contact’s job title and a Contact Handler field that displays the assigned handler, likely selected from a dropdown menu. Lastly, a Website input field is provided for entering the contact’s associated URL.
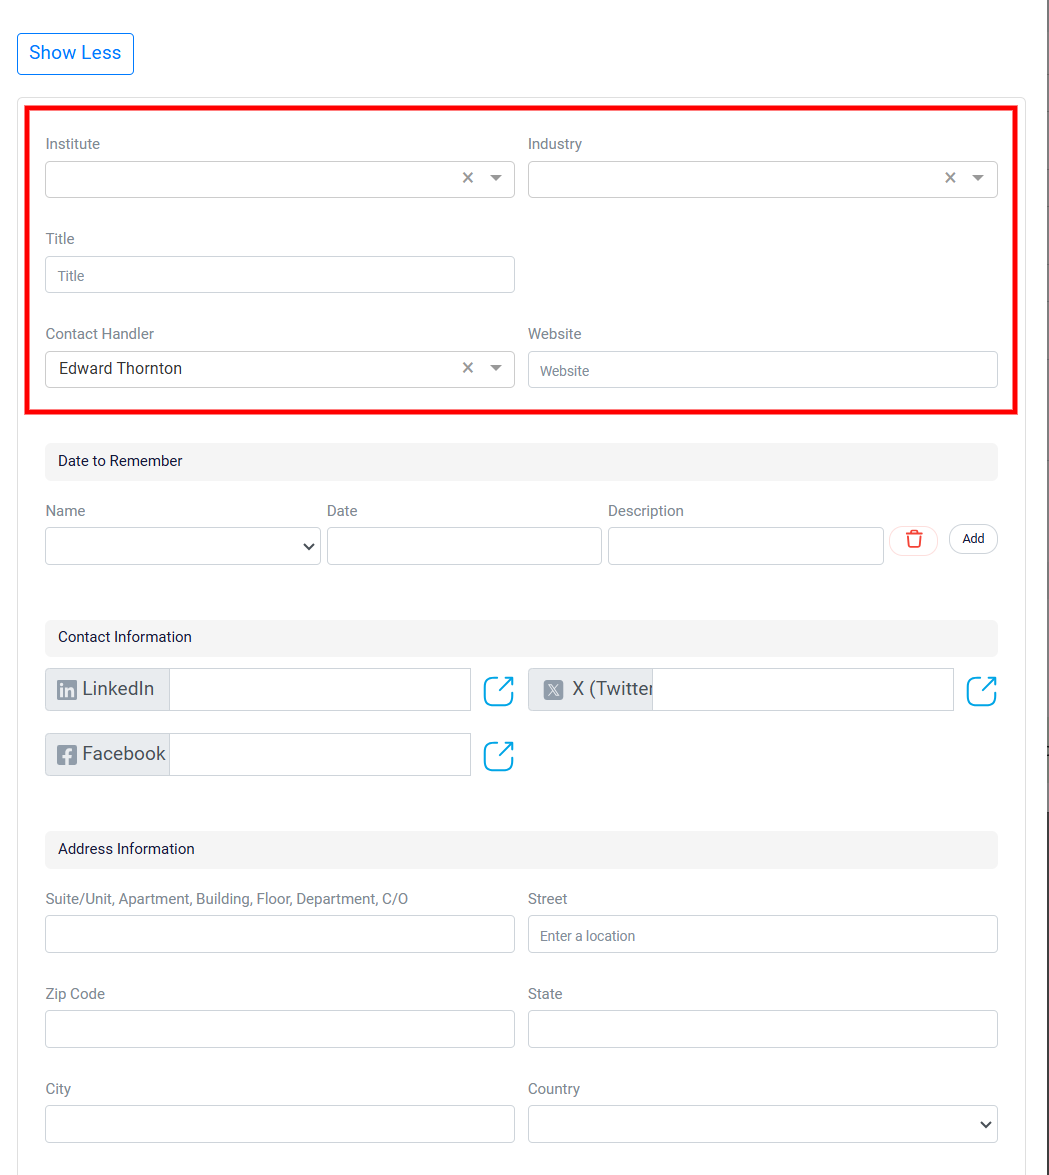
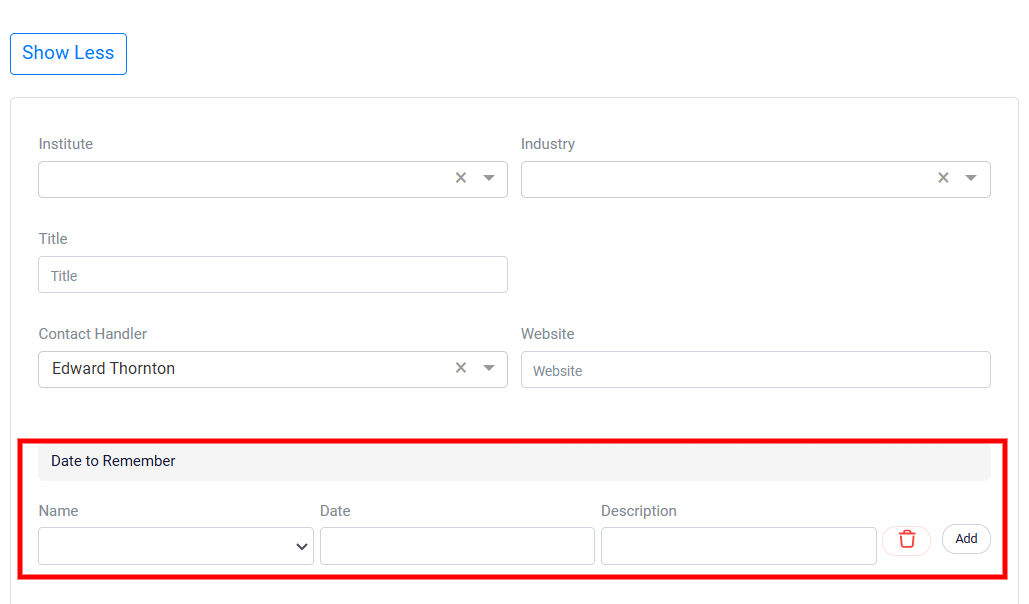
The Date to Remember section allows users to manage important dates related to the lead. This includes fields to name the date and select the specific date from a calendar input and add a description for additional context. These options aim to provide a well-rounded view of the lead and facilitate efficient management and follow-up. You also have the option to Add additional dates as needed or remove them at any time if they are no longer relevant.
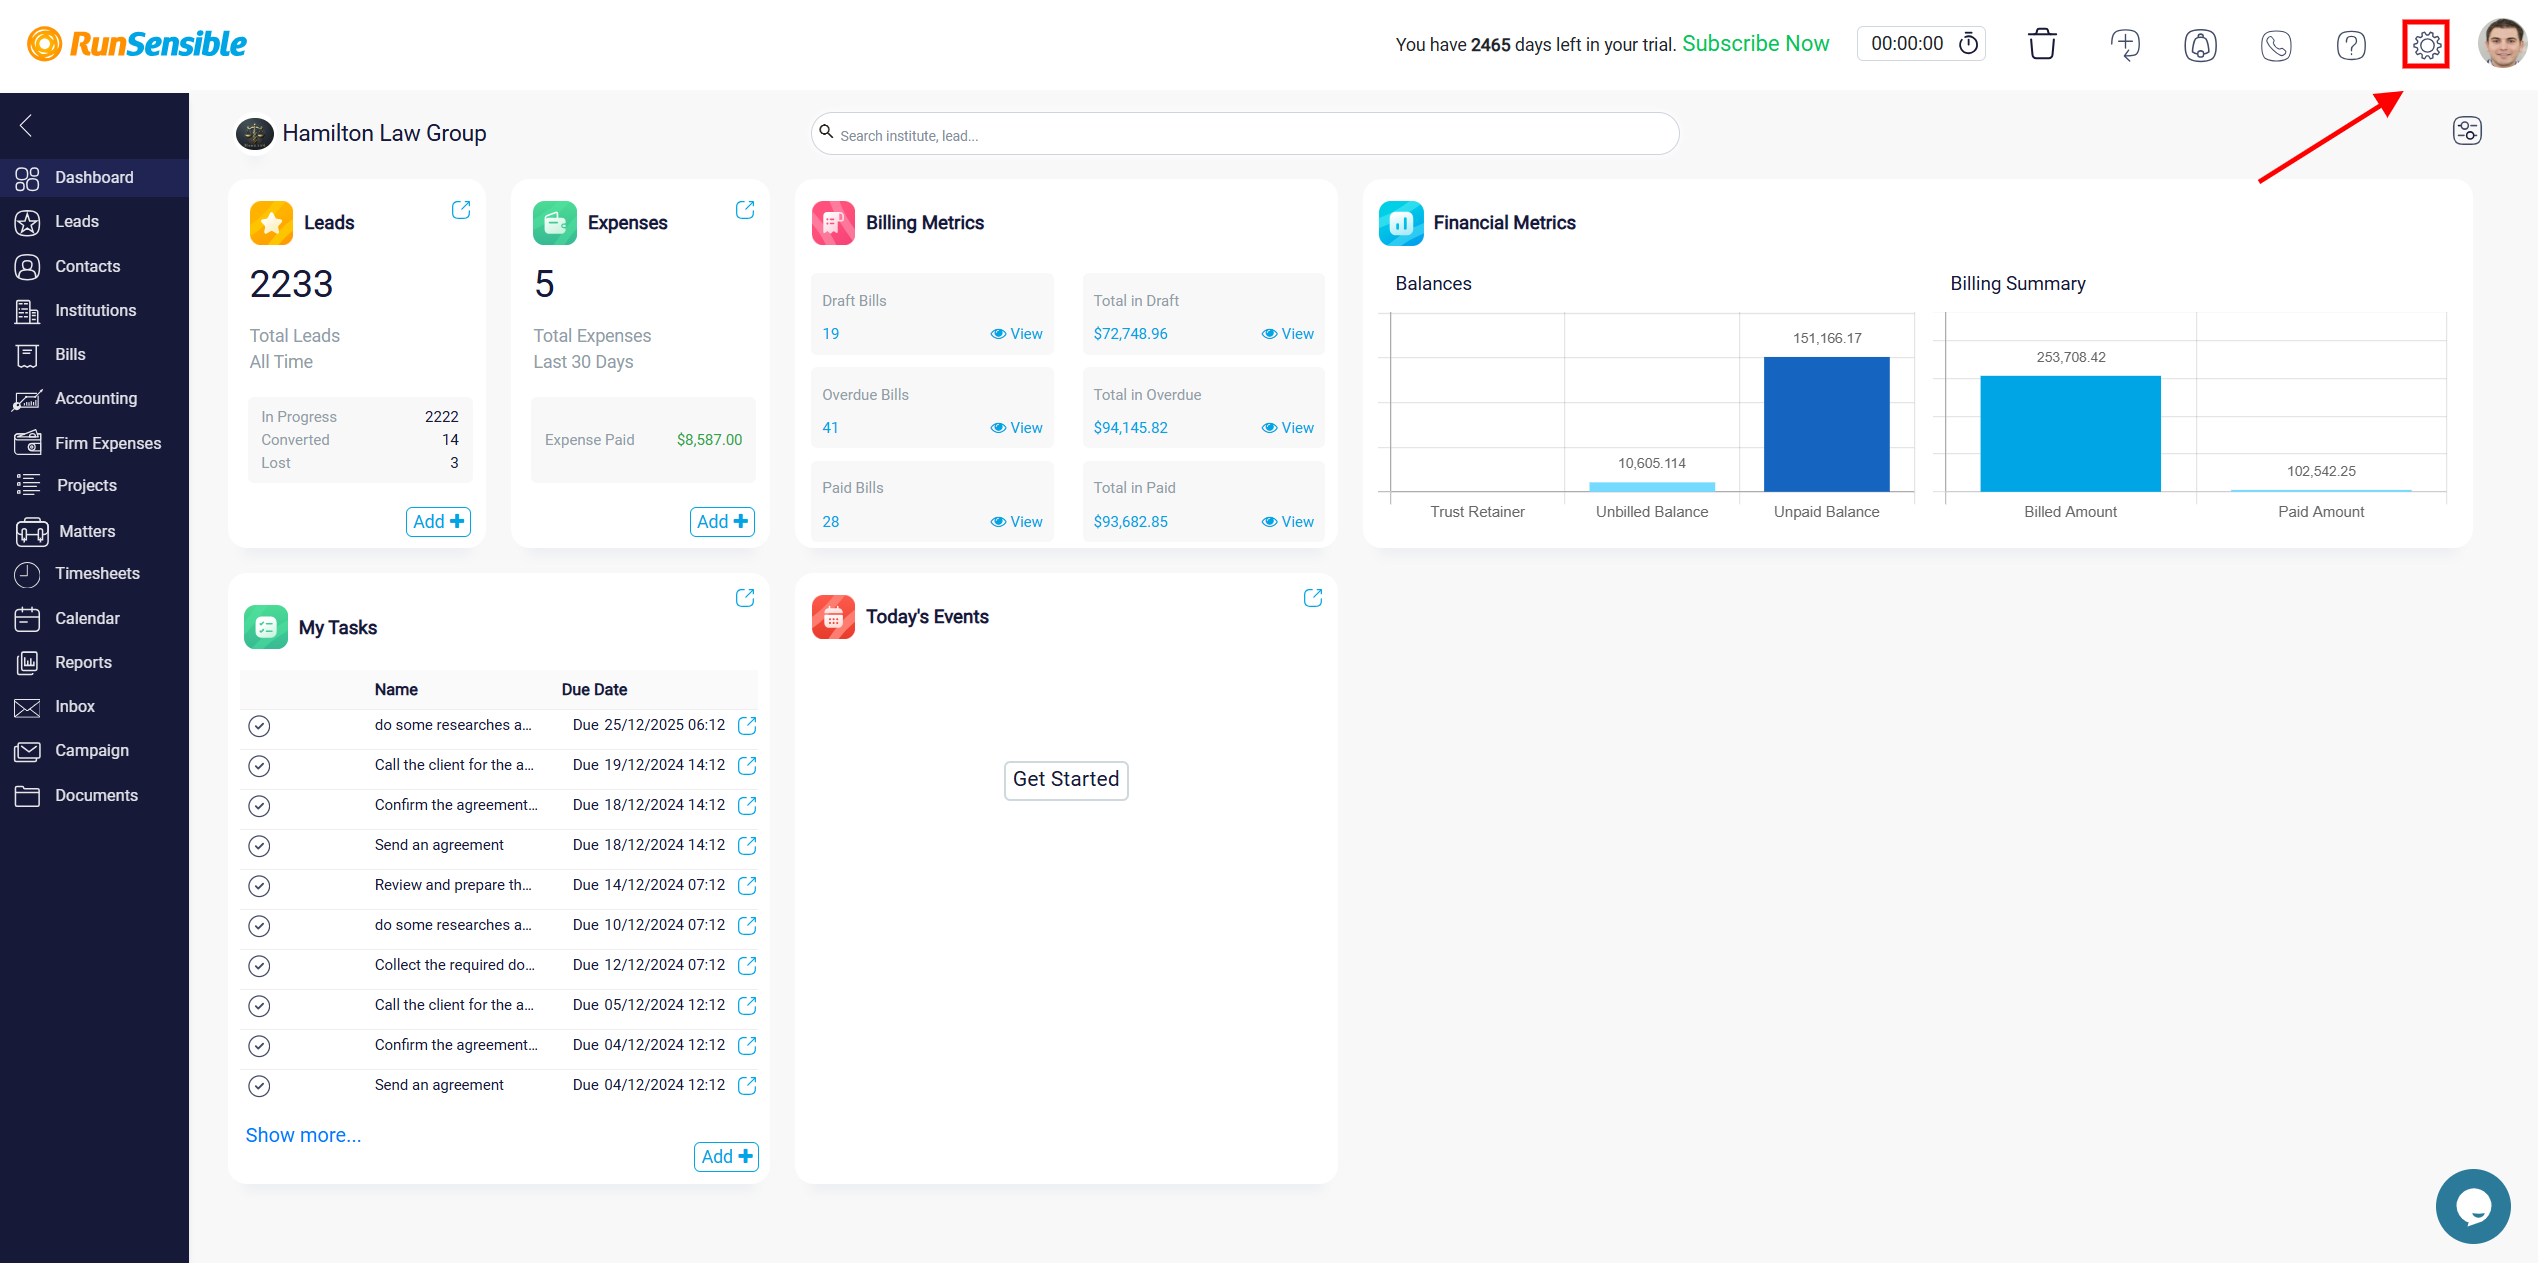
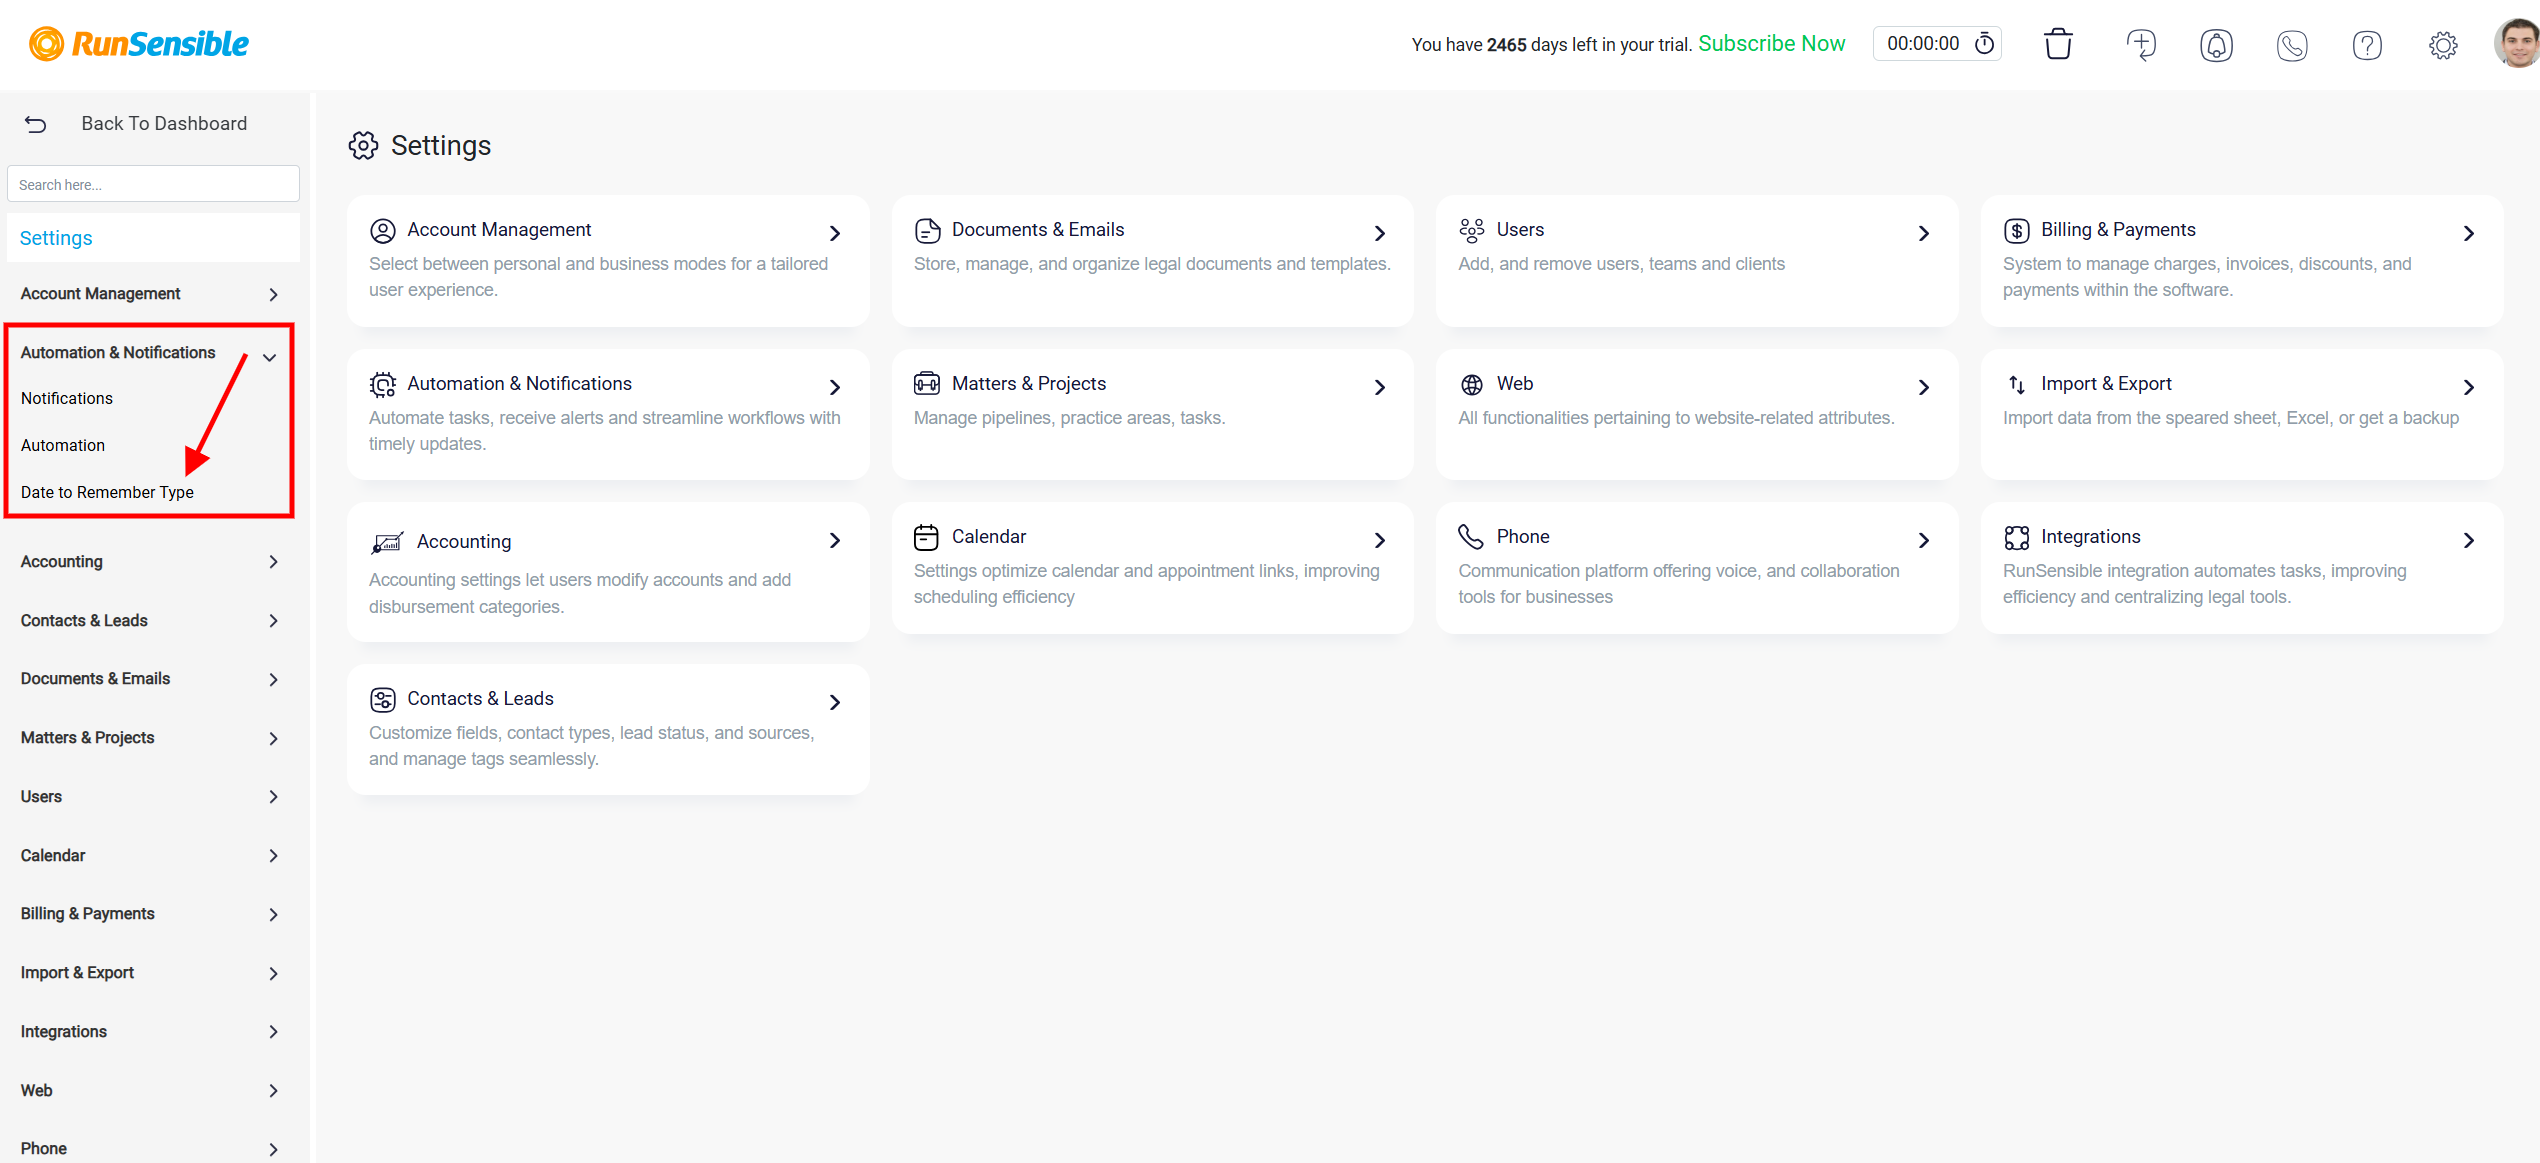
To modify Date to Remember you must navigate to Settings, and click Automation & Notification and choose Date to Remember Type.
To add a new Date to Remember, start by clicking in the text box with the placeholder text Enter new name… and type the name of the date you wish to add. Once the desired name is entered, click the Add button next to the input field. The new date type will automatically appear in the list alongside existing entries. This feature enables you to create custom date triggers for automations and reminders within the system, ensuring important dates are easily managed.
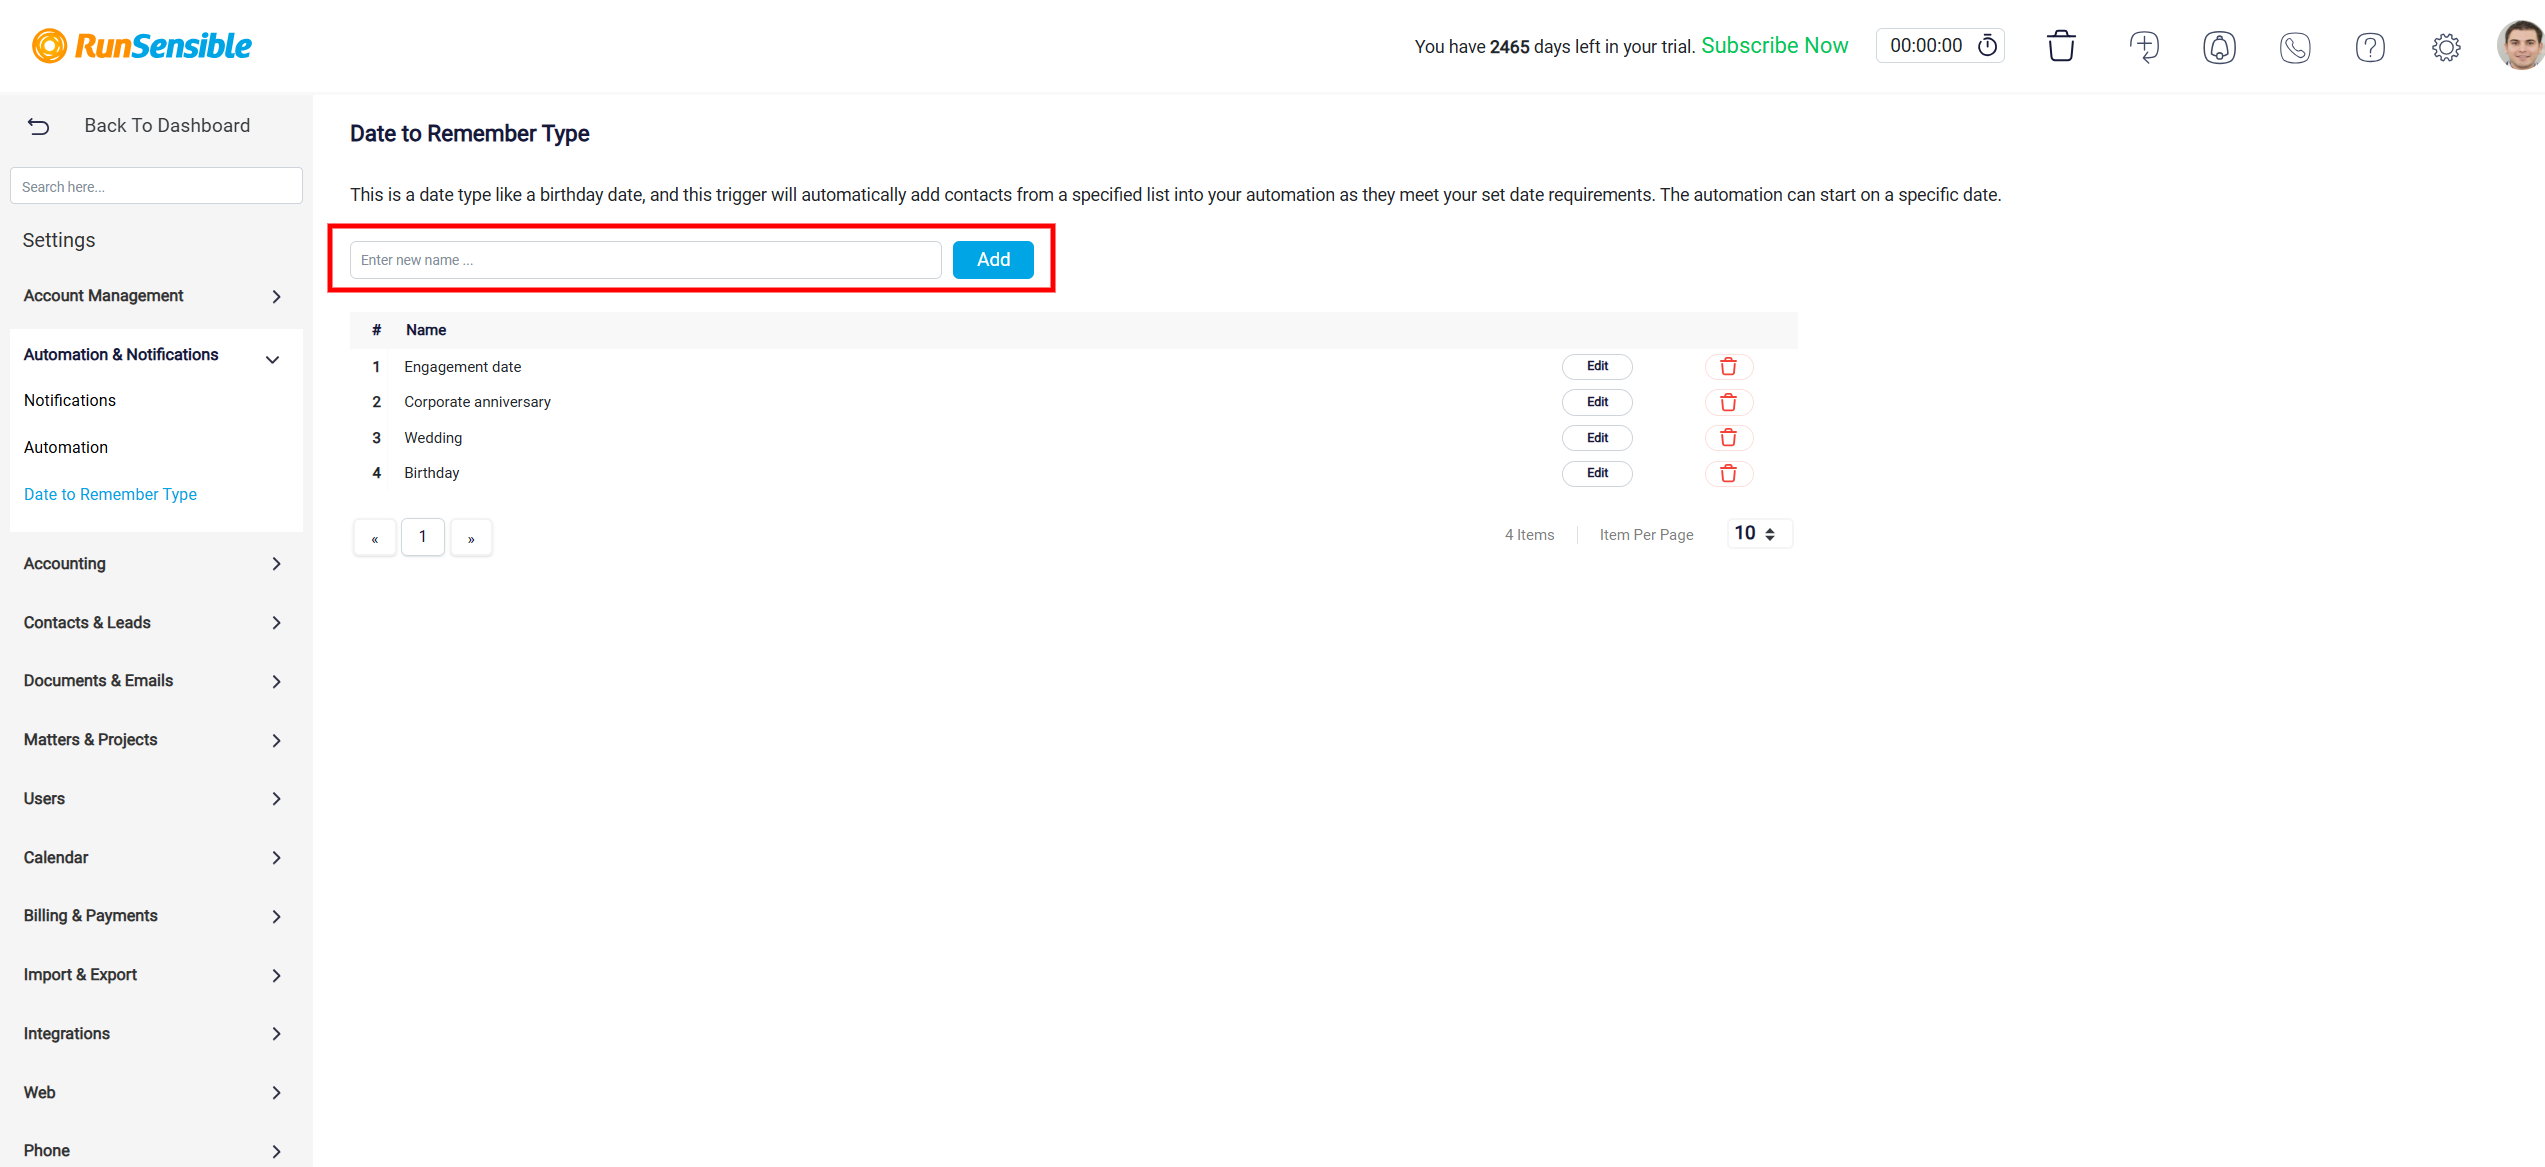
You have further option to modify the existing entries. By clicking the Edit button, you can update the name or details of the specific date type.
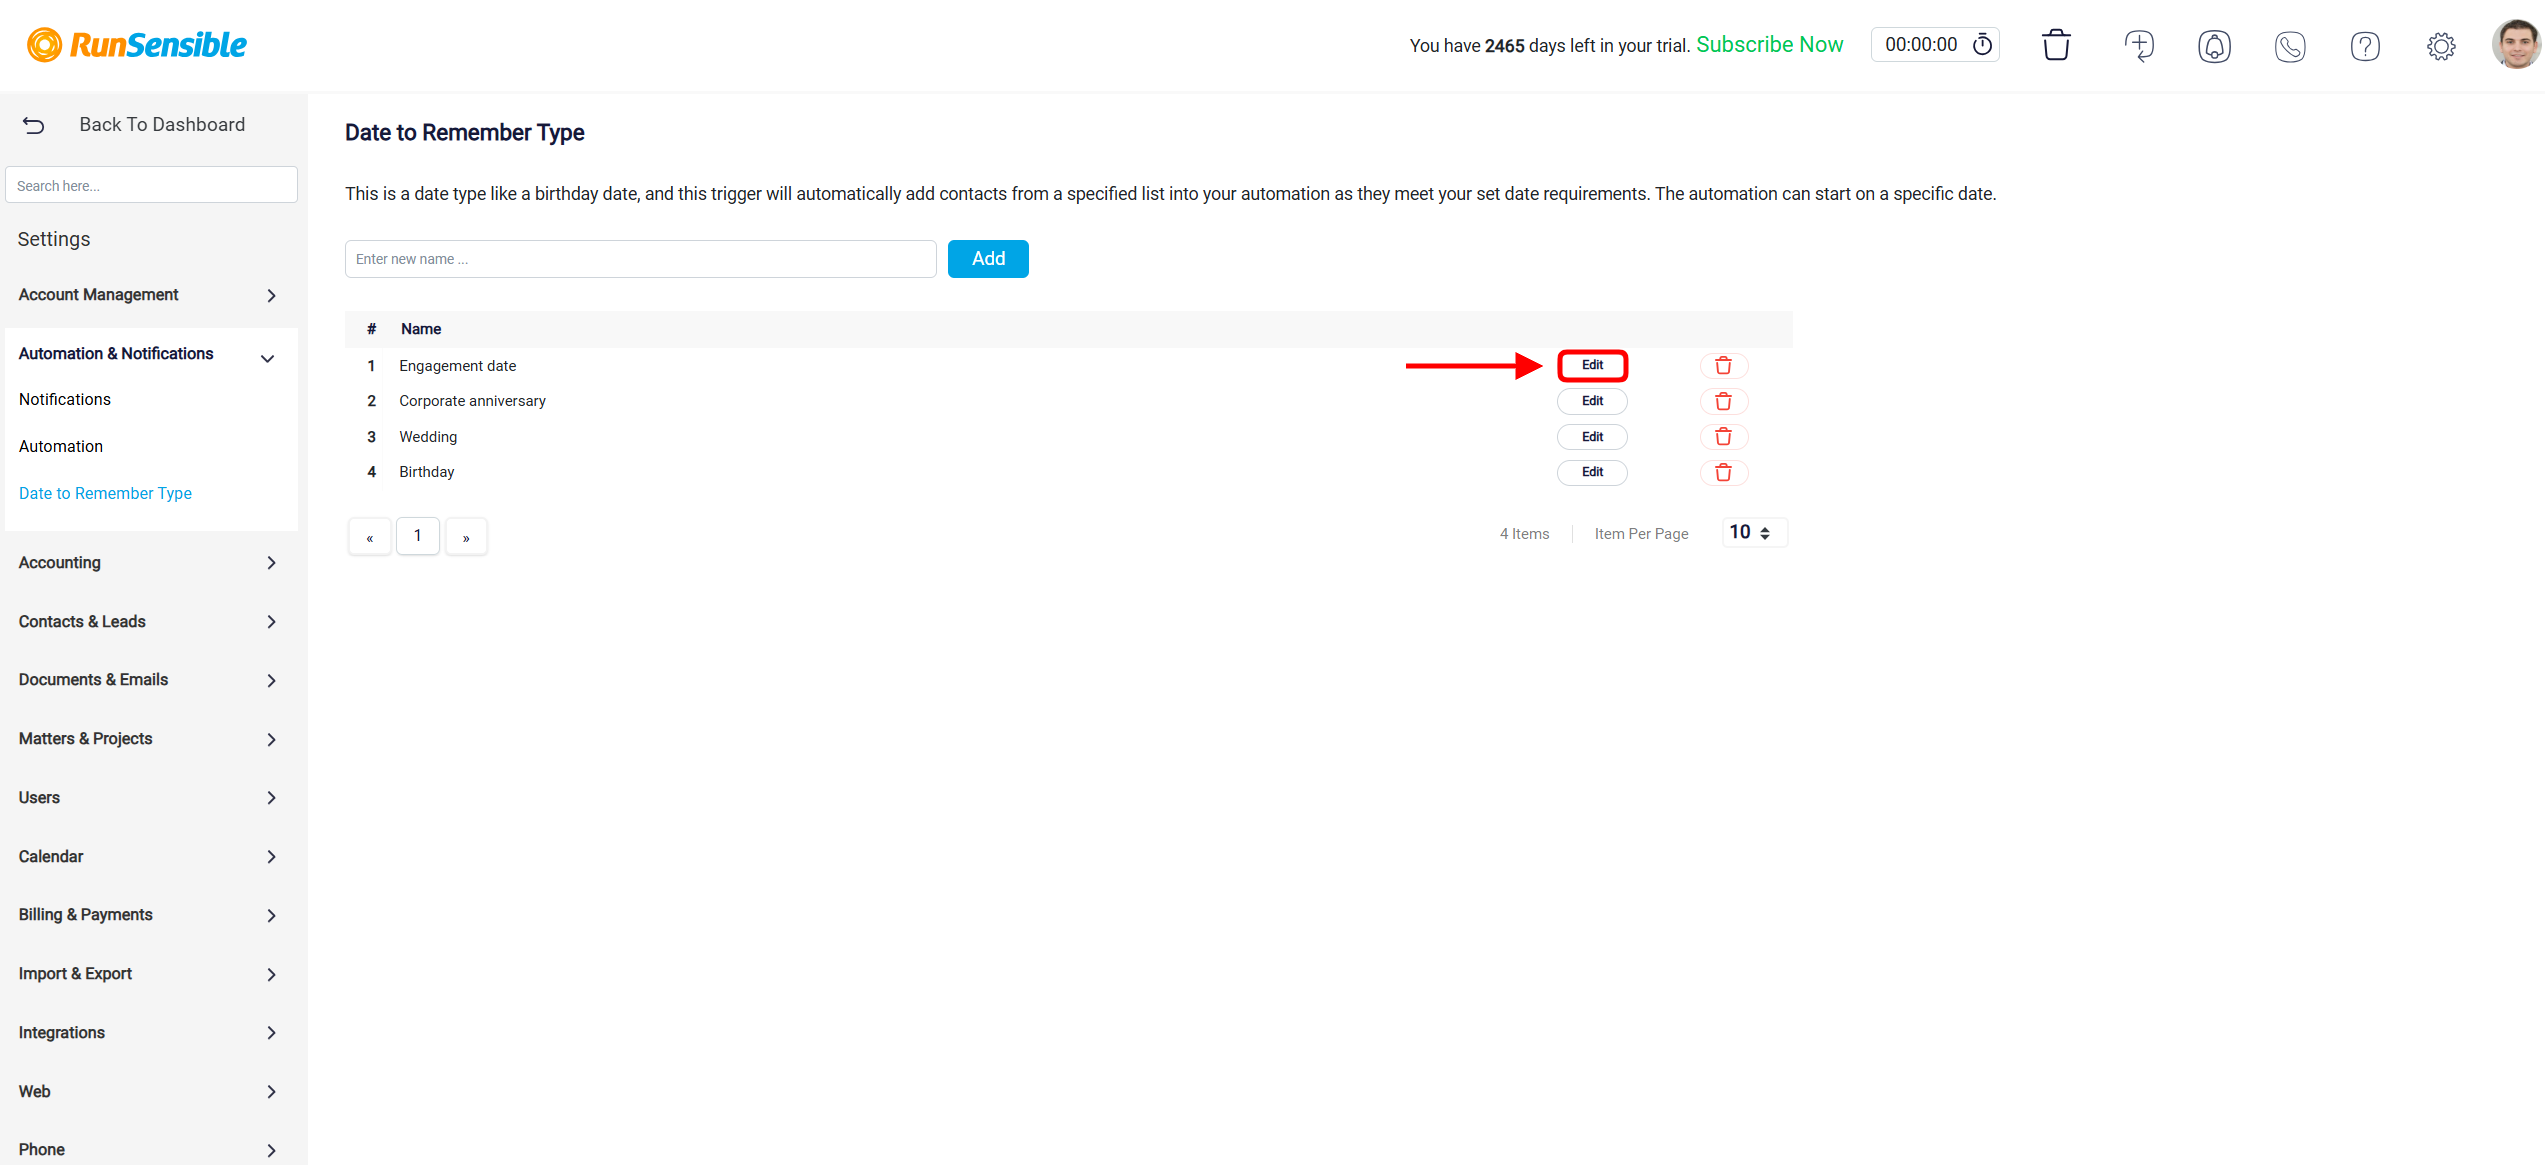
When you click the Edit button, a new window will appear, allowing you to modify the name. Once you have made the desired changes, click the Save button to finalize and apply the modifications.

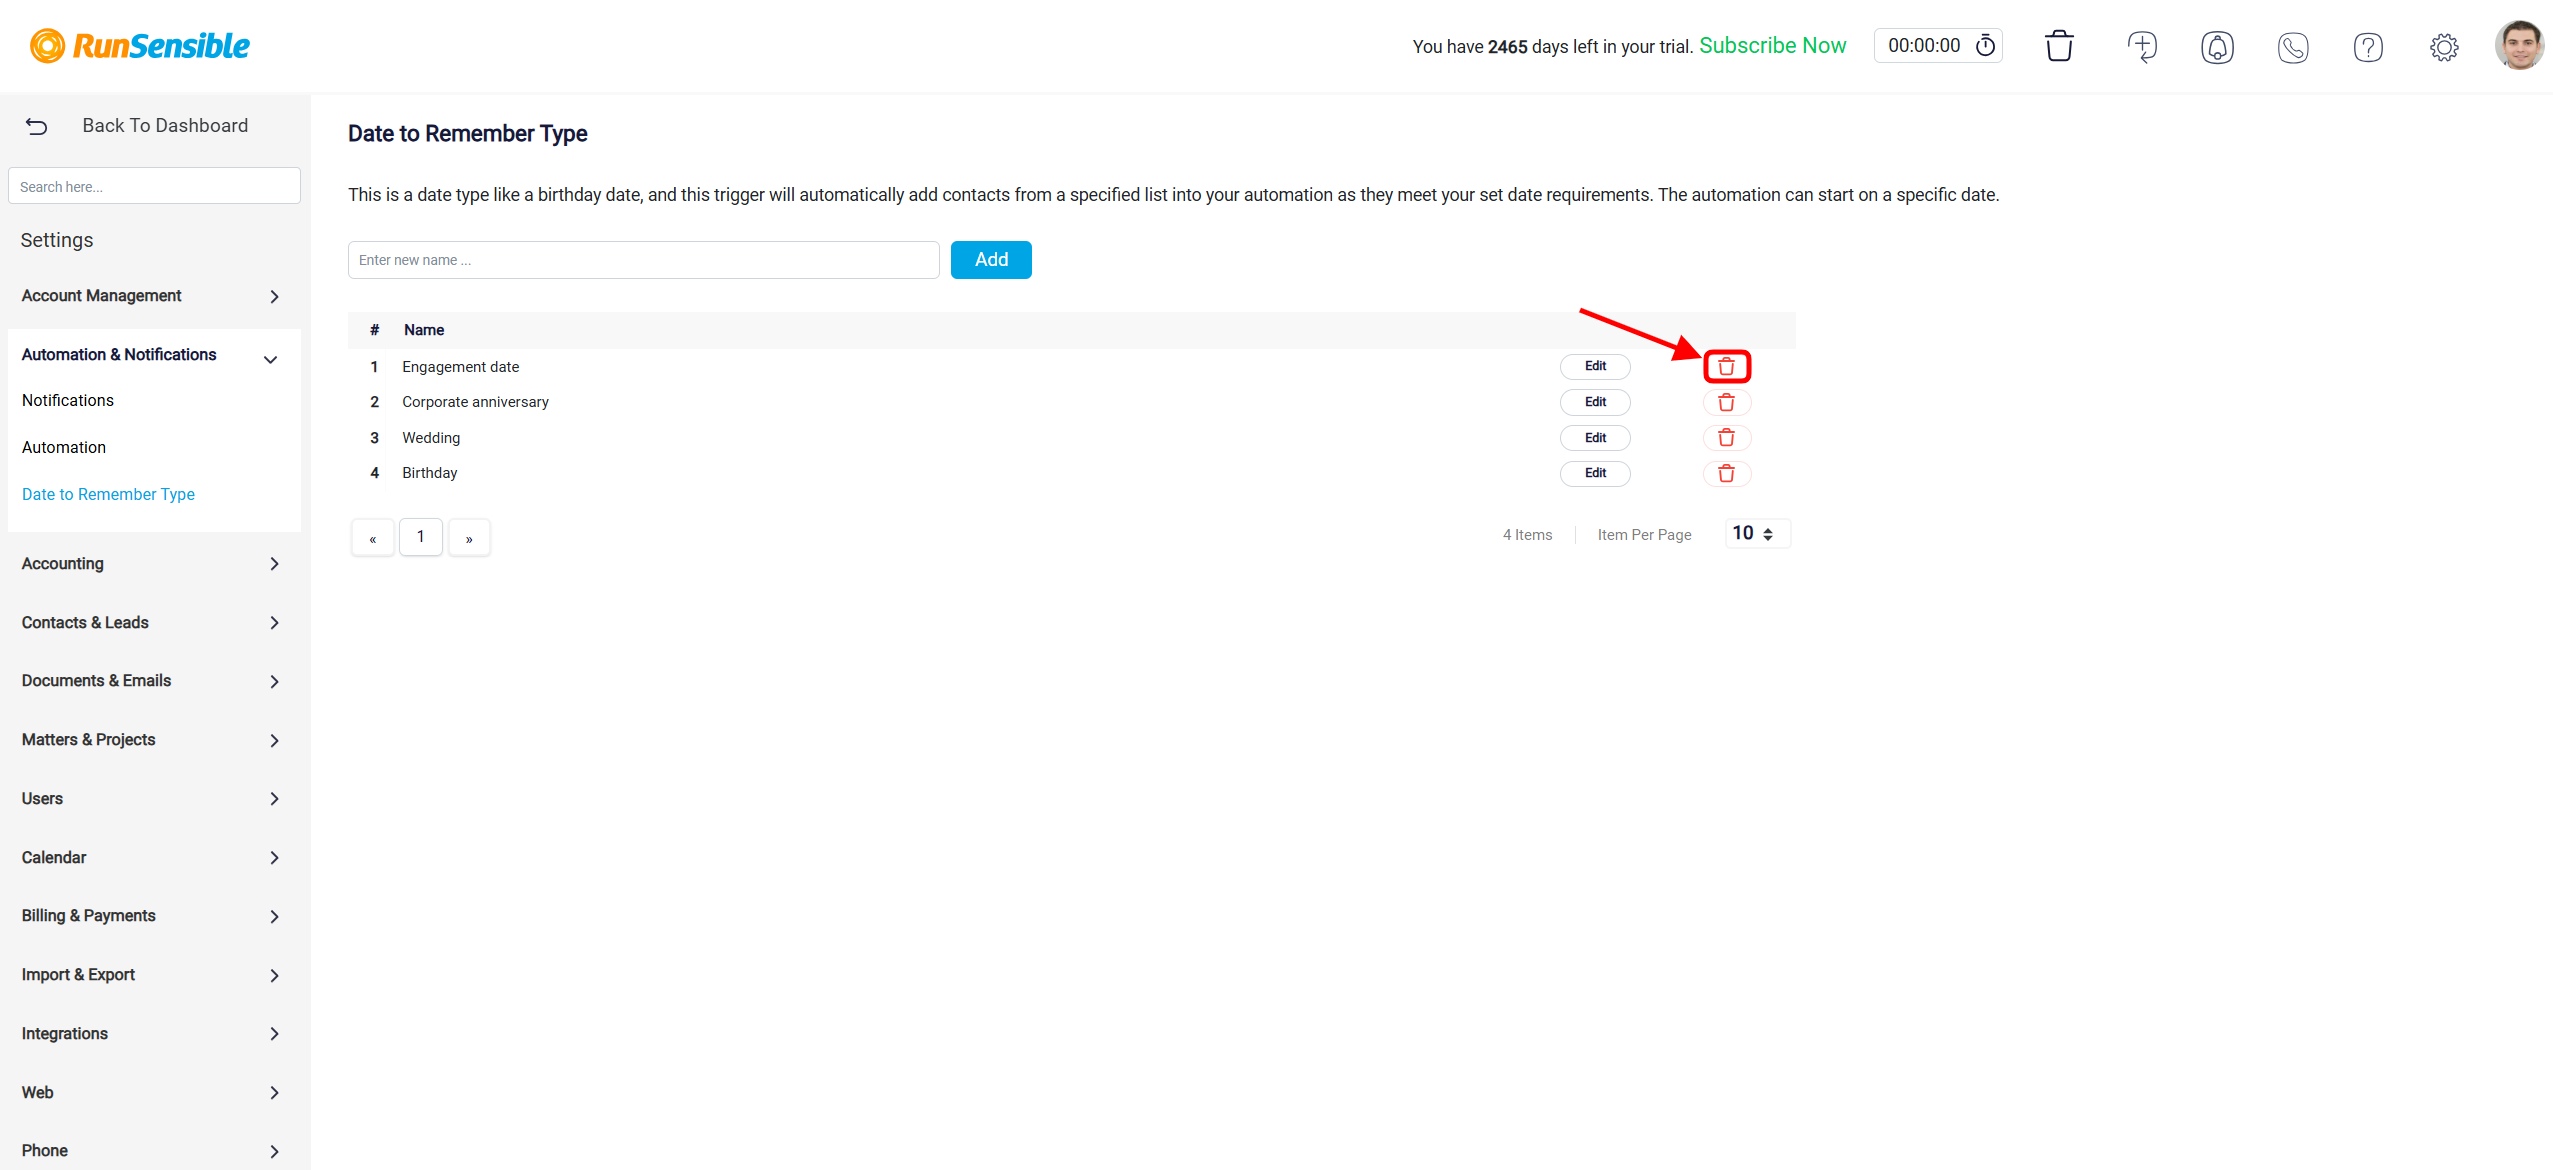
Next to the Edit button you see Trash icon that will permanently remove the respective entry from the list
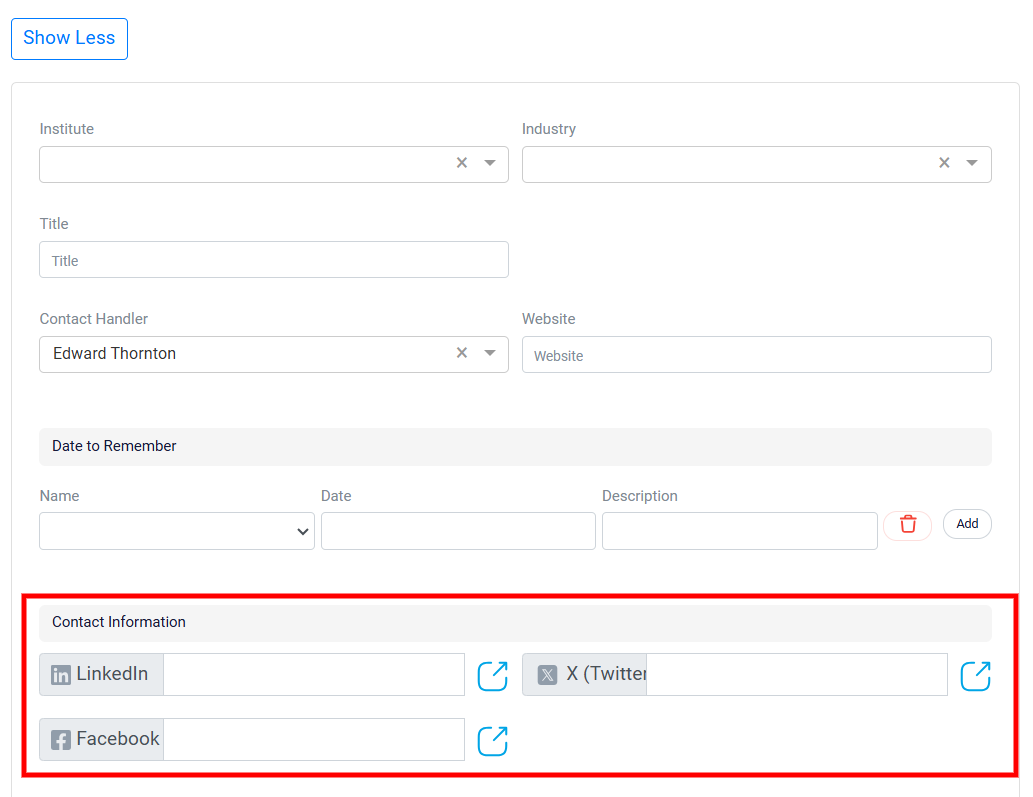
The Contact Information section enables users to input their social media profile links, such as LinkedIn, Twitter (X), and Facebook. Each field includes a refresh icon, allowing users to update or validate the provided URLs effortlessly.
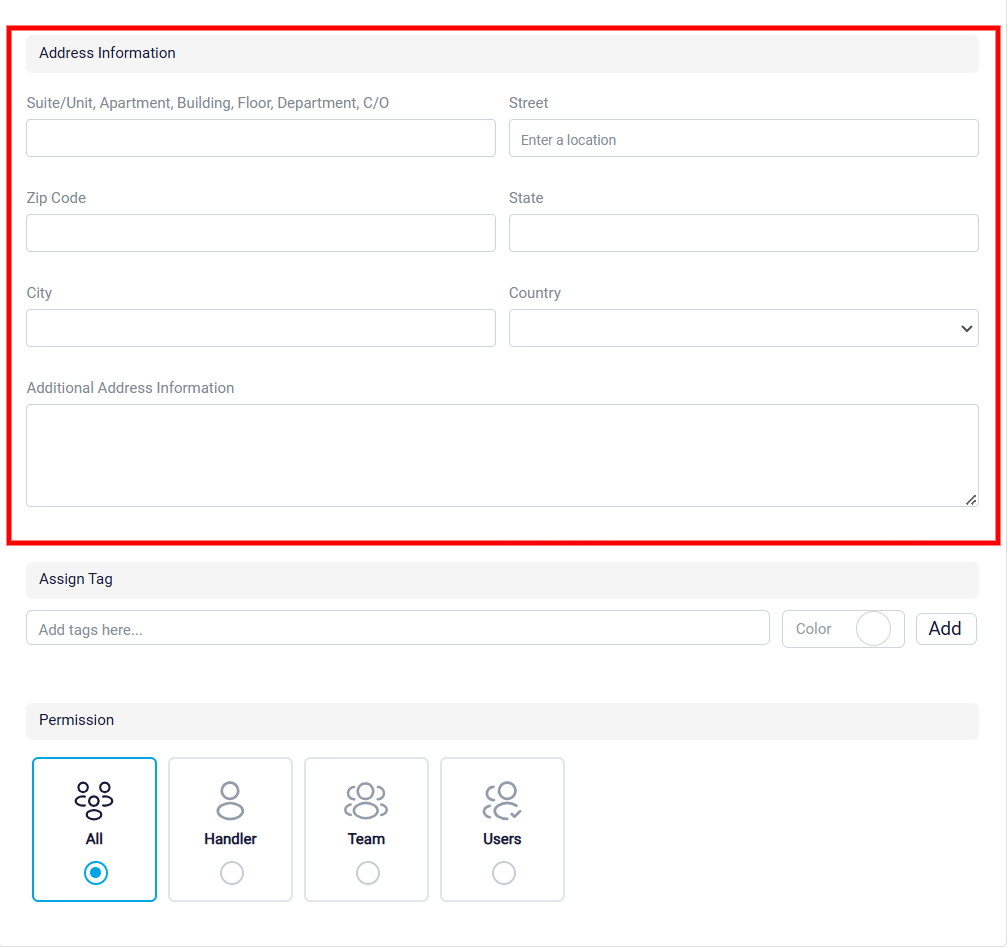
The Address Information section offers a comprehensive form for entering detailed address details. Users can specify suite, unit, apartment, or floor information, along with the street address, zip code, state, city, and country. A dropdown menu simplifies country selection, and a larger text area is available for adding any additional address notes.
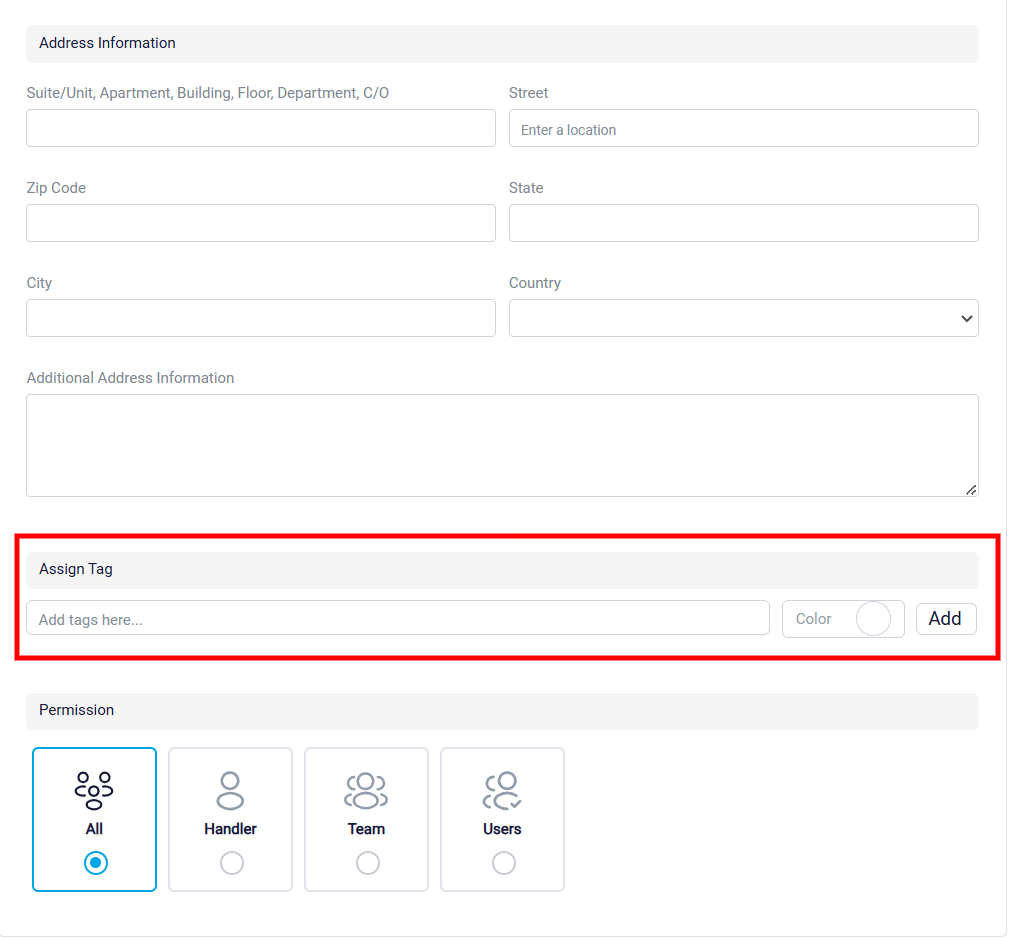
The Assign Tag feature helps streamline expense categorization and organization. To use it, simply type the desired tag name into the Assign Tag box. You can customize the tag further by selecting a color using the small circle button to the right of the box. Once the color is chosen, click the Add button to apply the tag to your lead. This feature allows you to create and assign multiple tags, enabling you to efficiently organize leads into categories tailored to your firm’s needs.
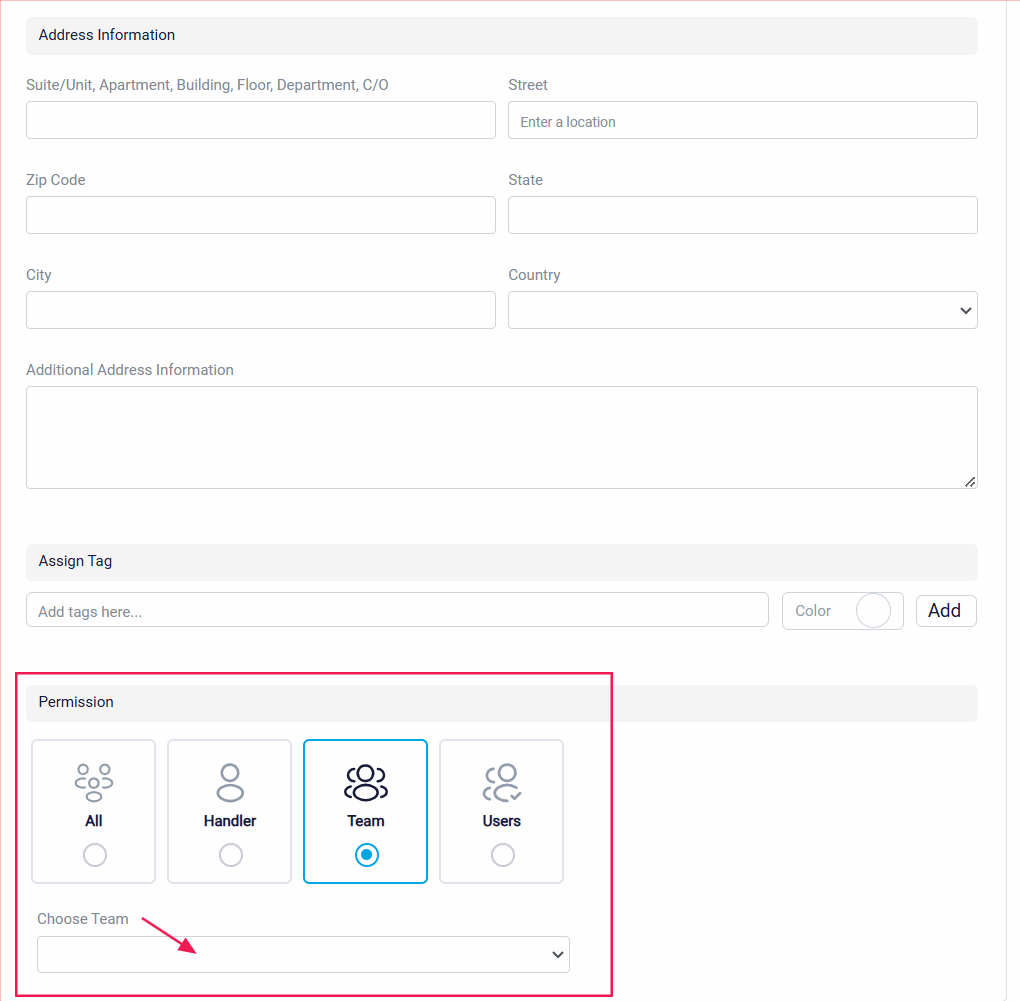
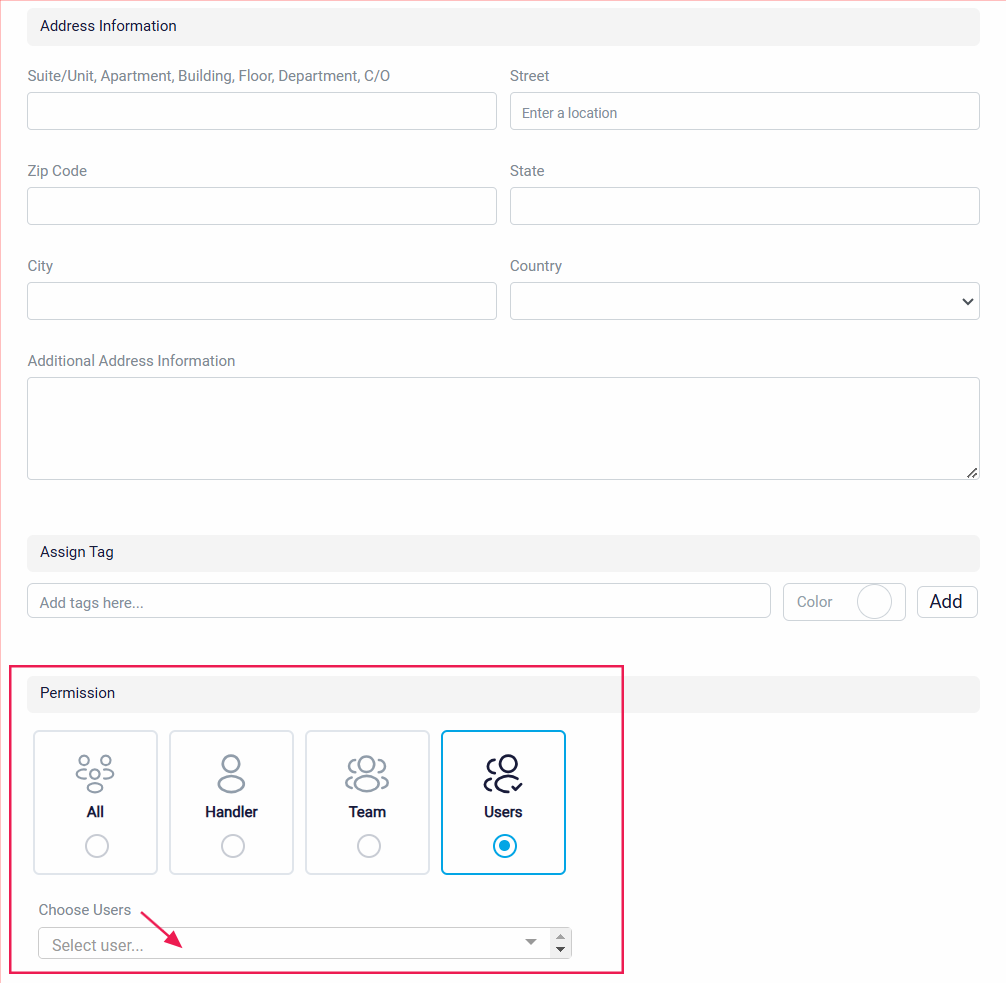
The Permissions section provides four access control options: All, Handler, Team, and User, allowing you to determine who can view or interact with the information in the form.
By default, the permission is set to All, granting visibility to every user in your system.
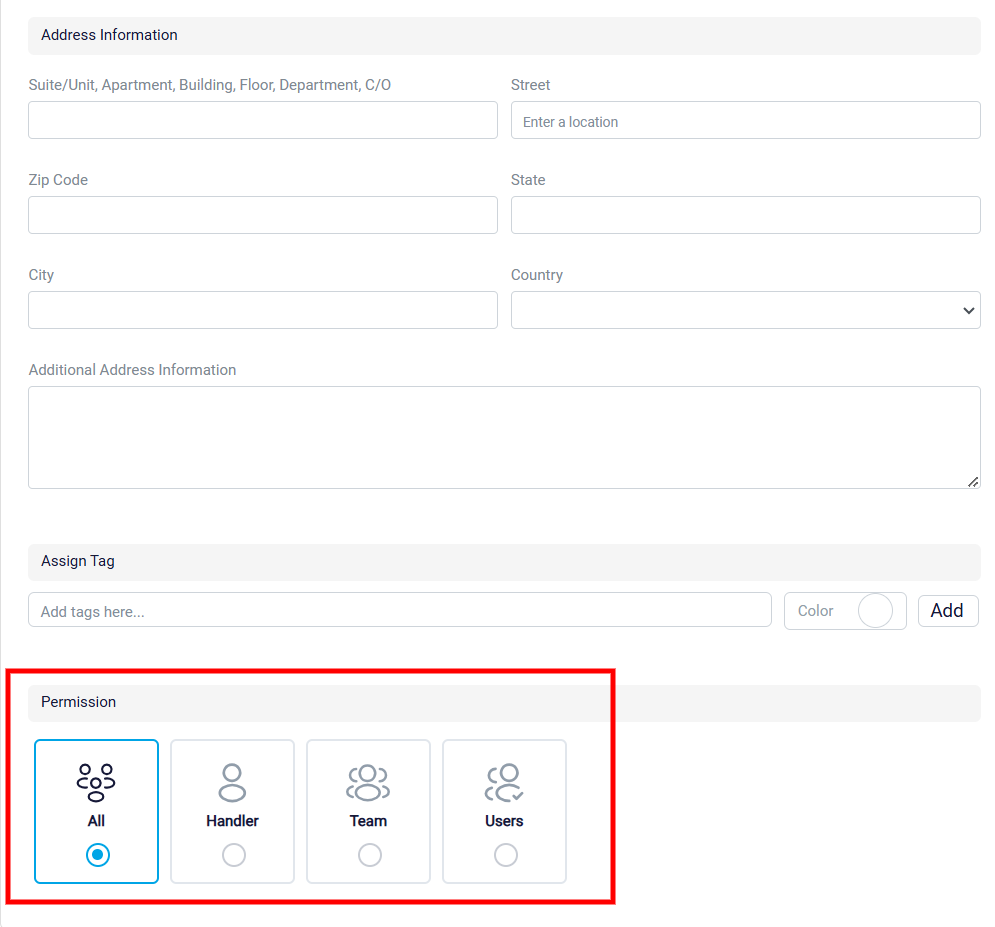
To restrict access, you can choose one of the other options:
Handler: Limits access to the individual assigned as the lead handler. Initially, the handler is the user who created the lead, but this can be updated.
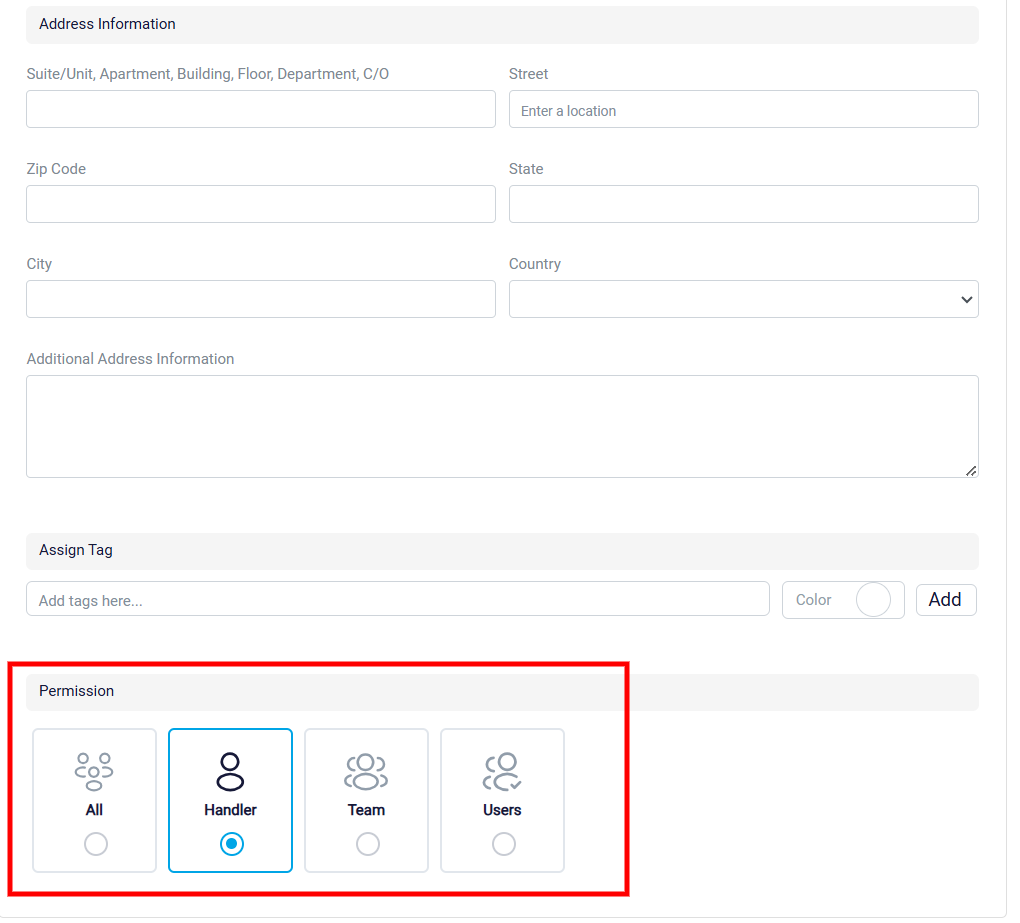
Team: Restricts access to a specific team within your organization. When selected, a dropdown menu will display all the teams created in your system. Choose the appropriate team to ensure only its members can view and manage the lead.
User: Grants access to a specific individual. Selecting this option will bring up a dropdown list of all users in your system. From there, select the individual who should have exclusive access to the lead.
At the top-right corner of the form, there is a prominent Save button for saving the inputted contact information, along with a X icon to exit or cancel the form.
To Add Institute, follow the same procedure as adding a new contact.
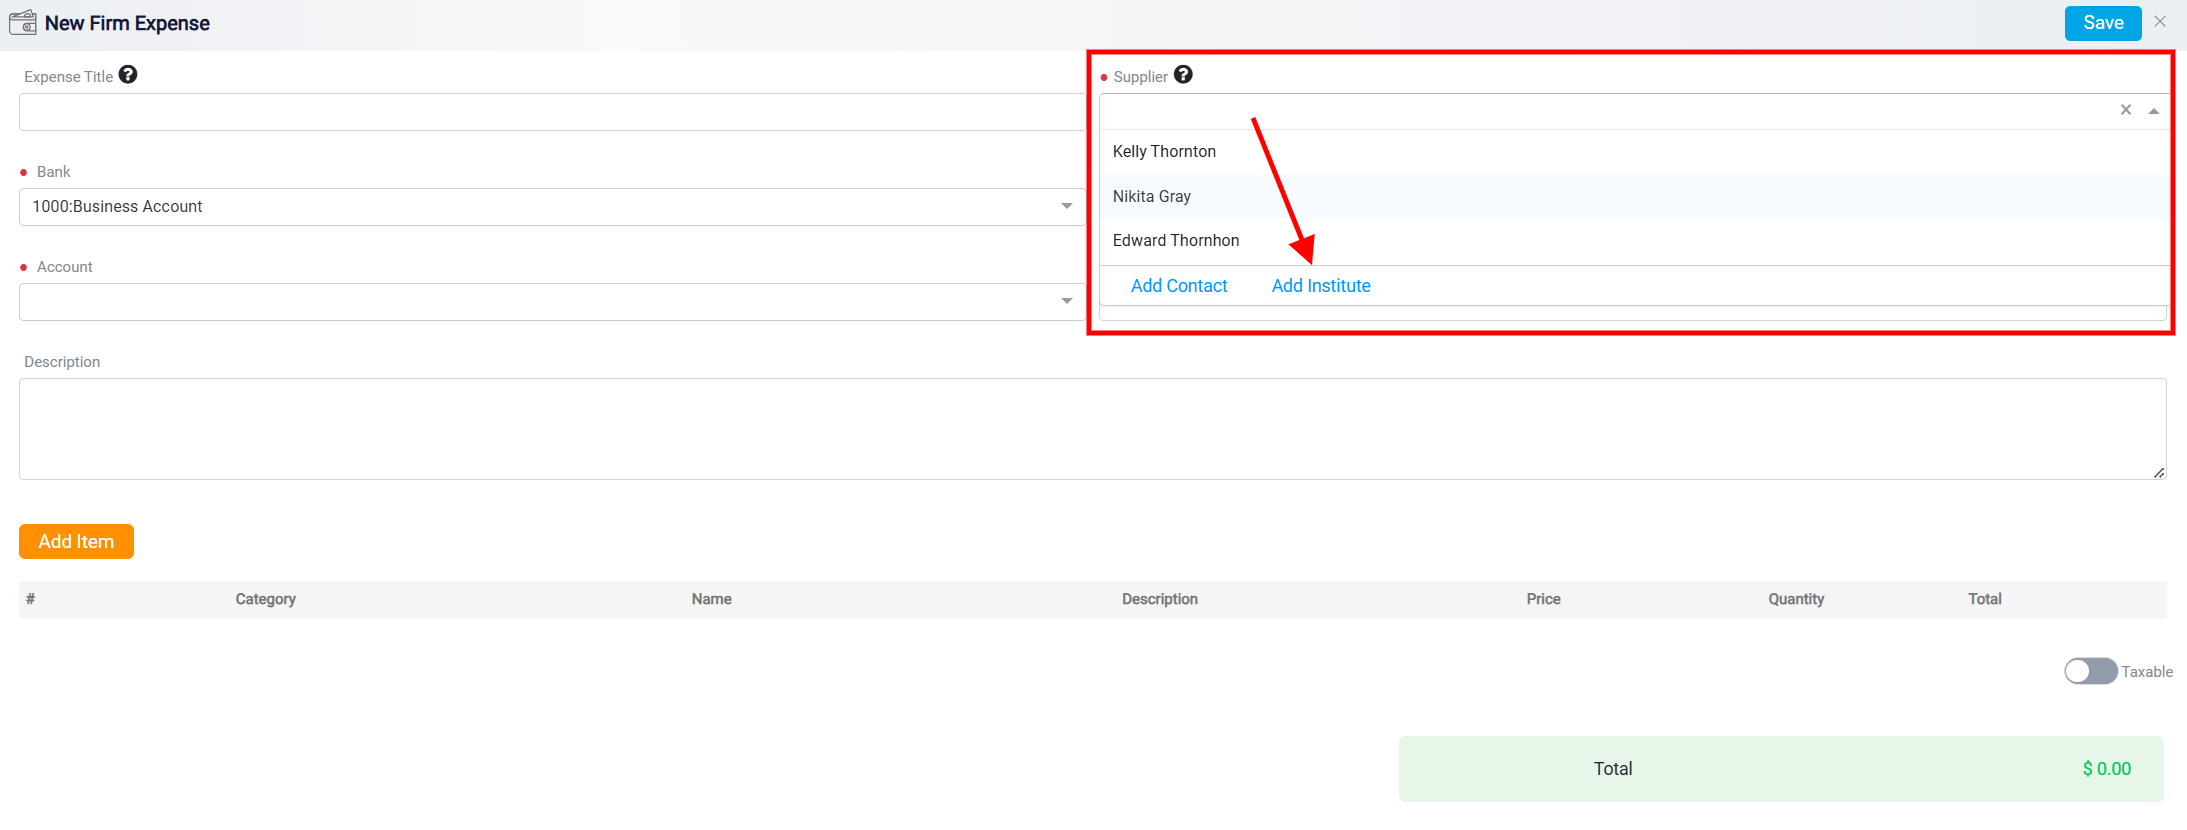
These options ensure flexibility in managing different types of suppliers and simplify the process of adding new entries directly from the expense form. This dual functionality—selecting existing suppliers and adding new ones—improves efficiency and user convenience when managing firm expenses.
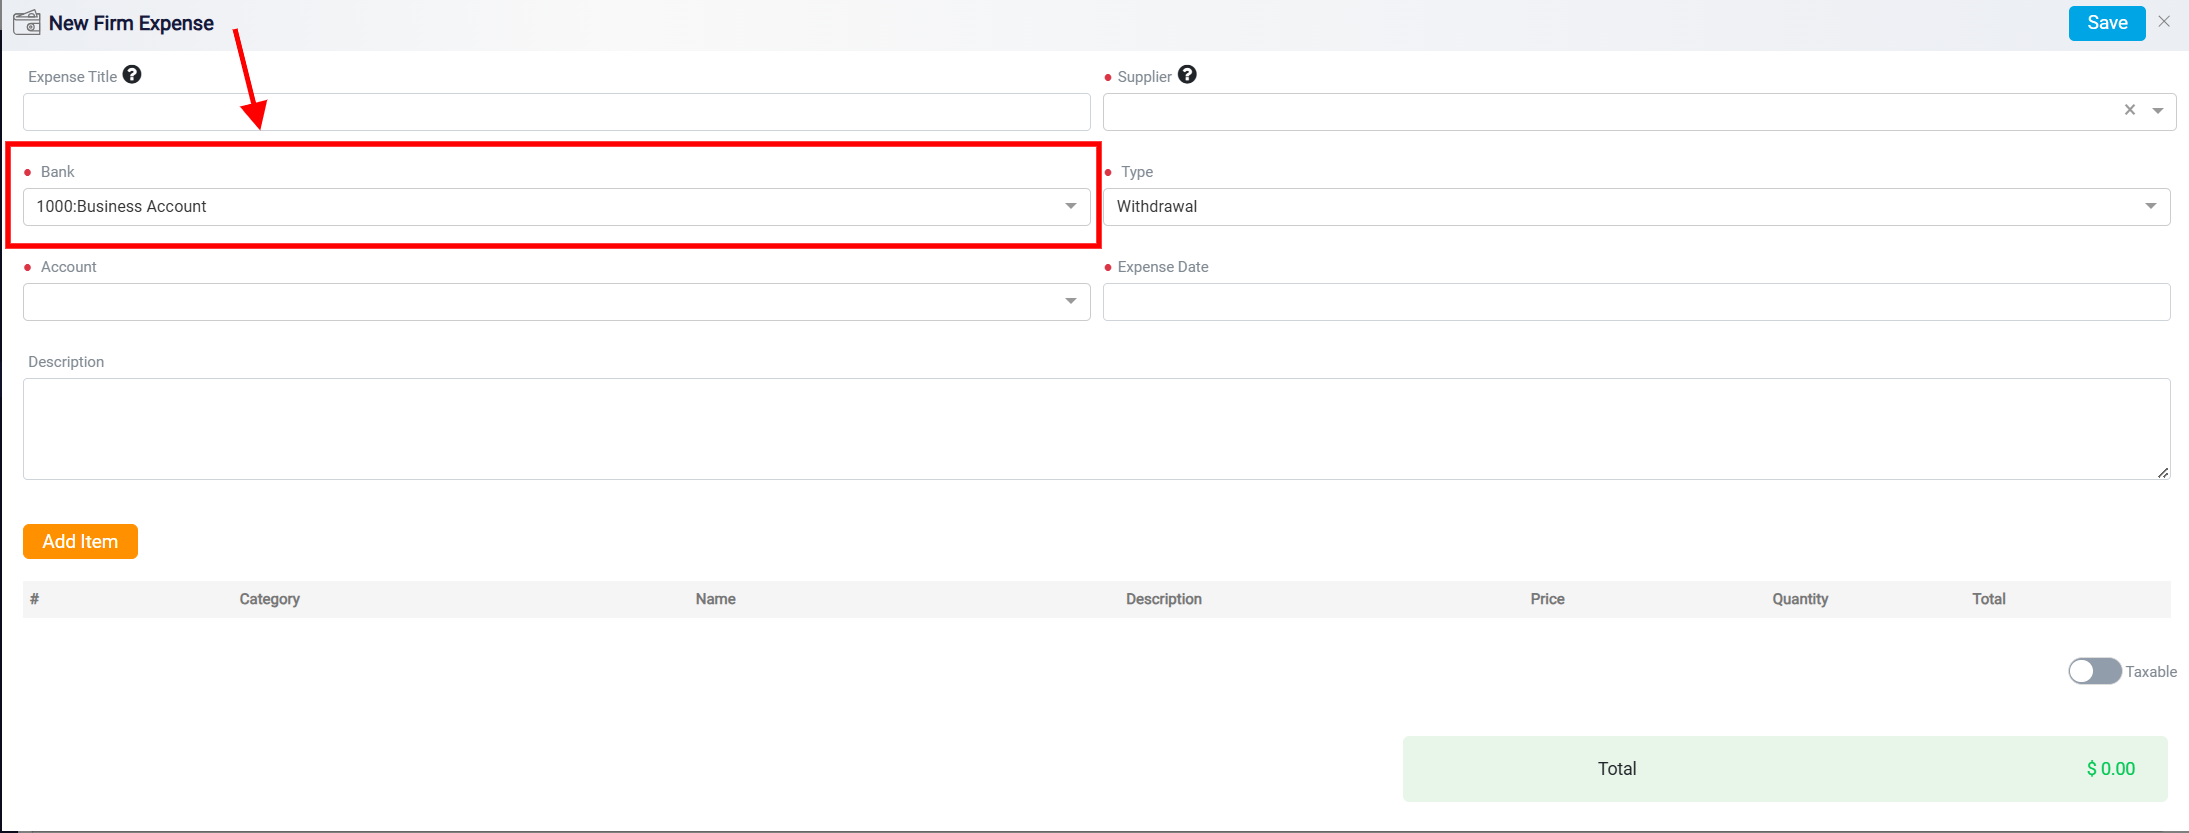
The Bank section lets you choose the bank account from which funds will be drawn. A dropdown menu enables you to choose from multiple bank accounts, with “1000: Business Account” set as the default selection.
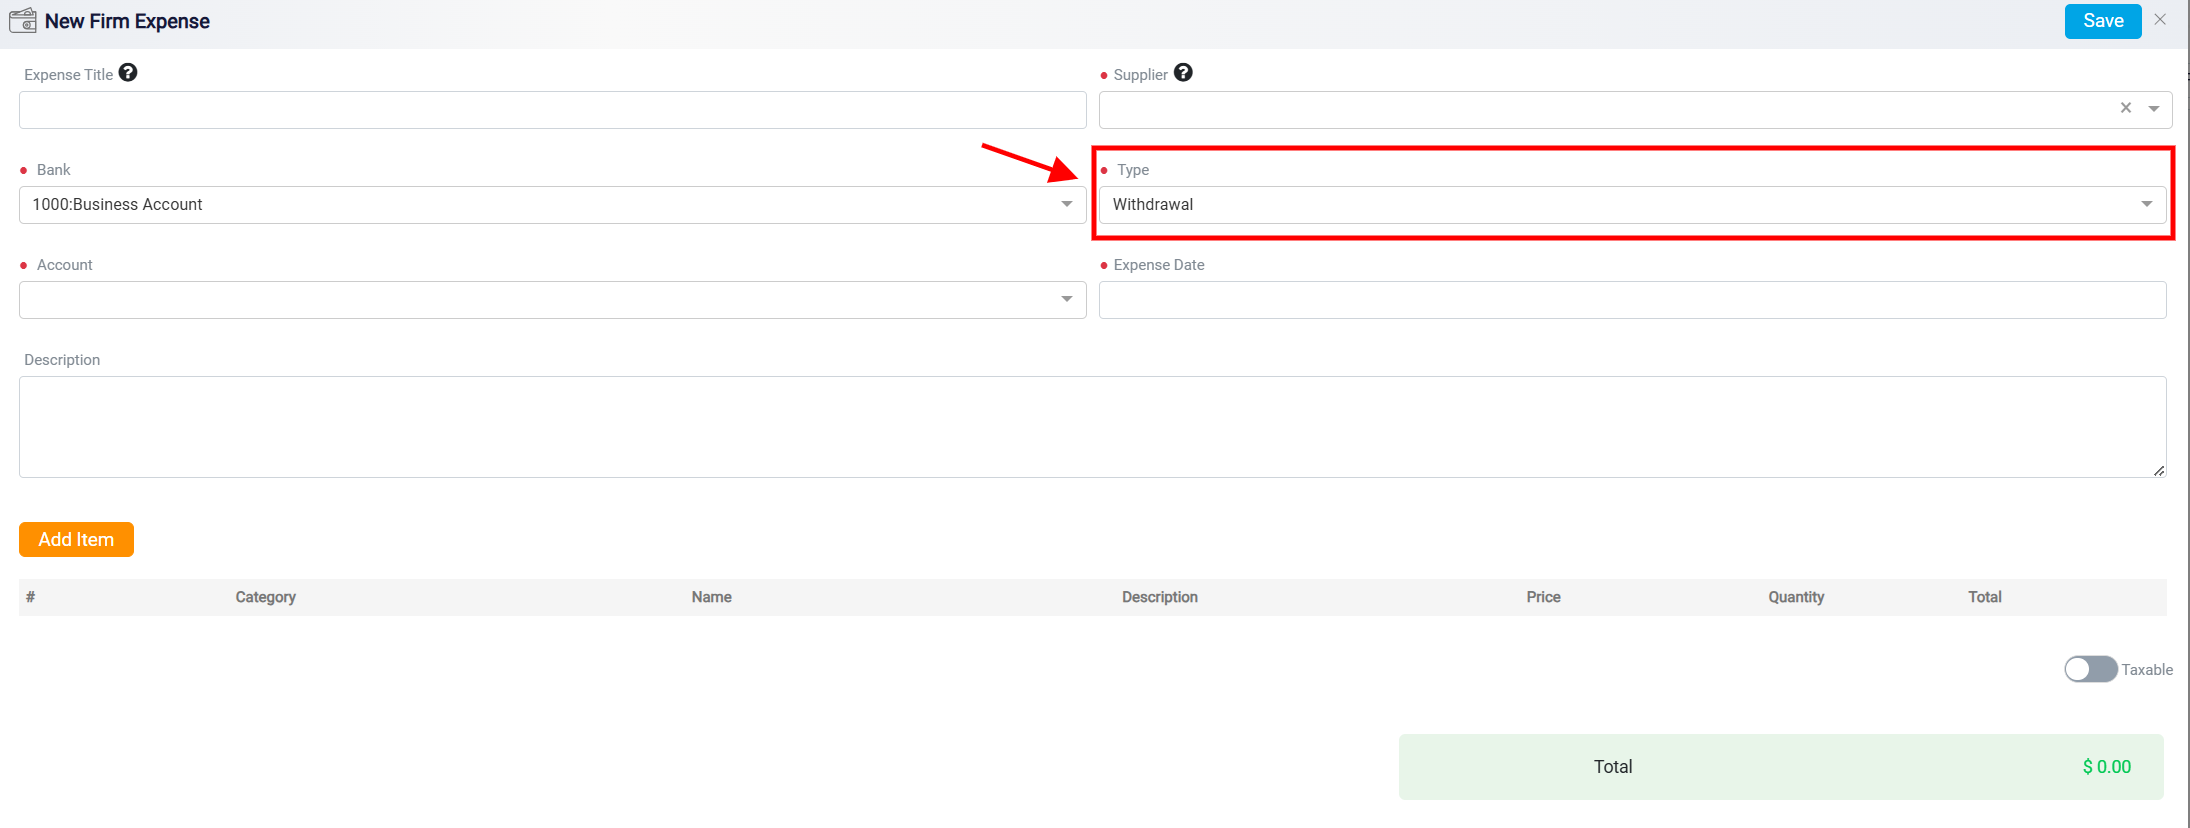
The Type field specifies the nature of the expense transaction being recorded such as a withdrawal.
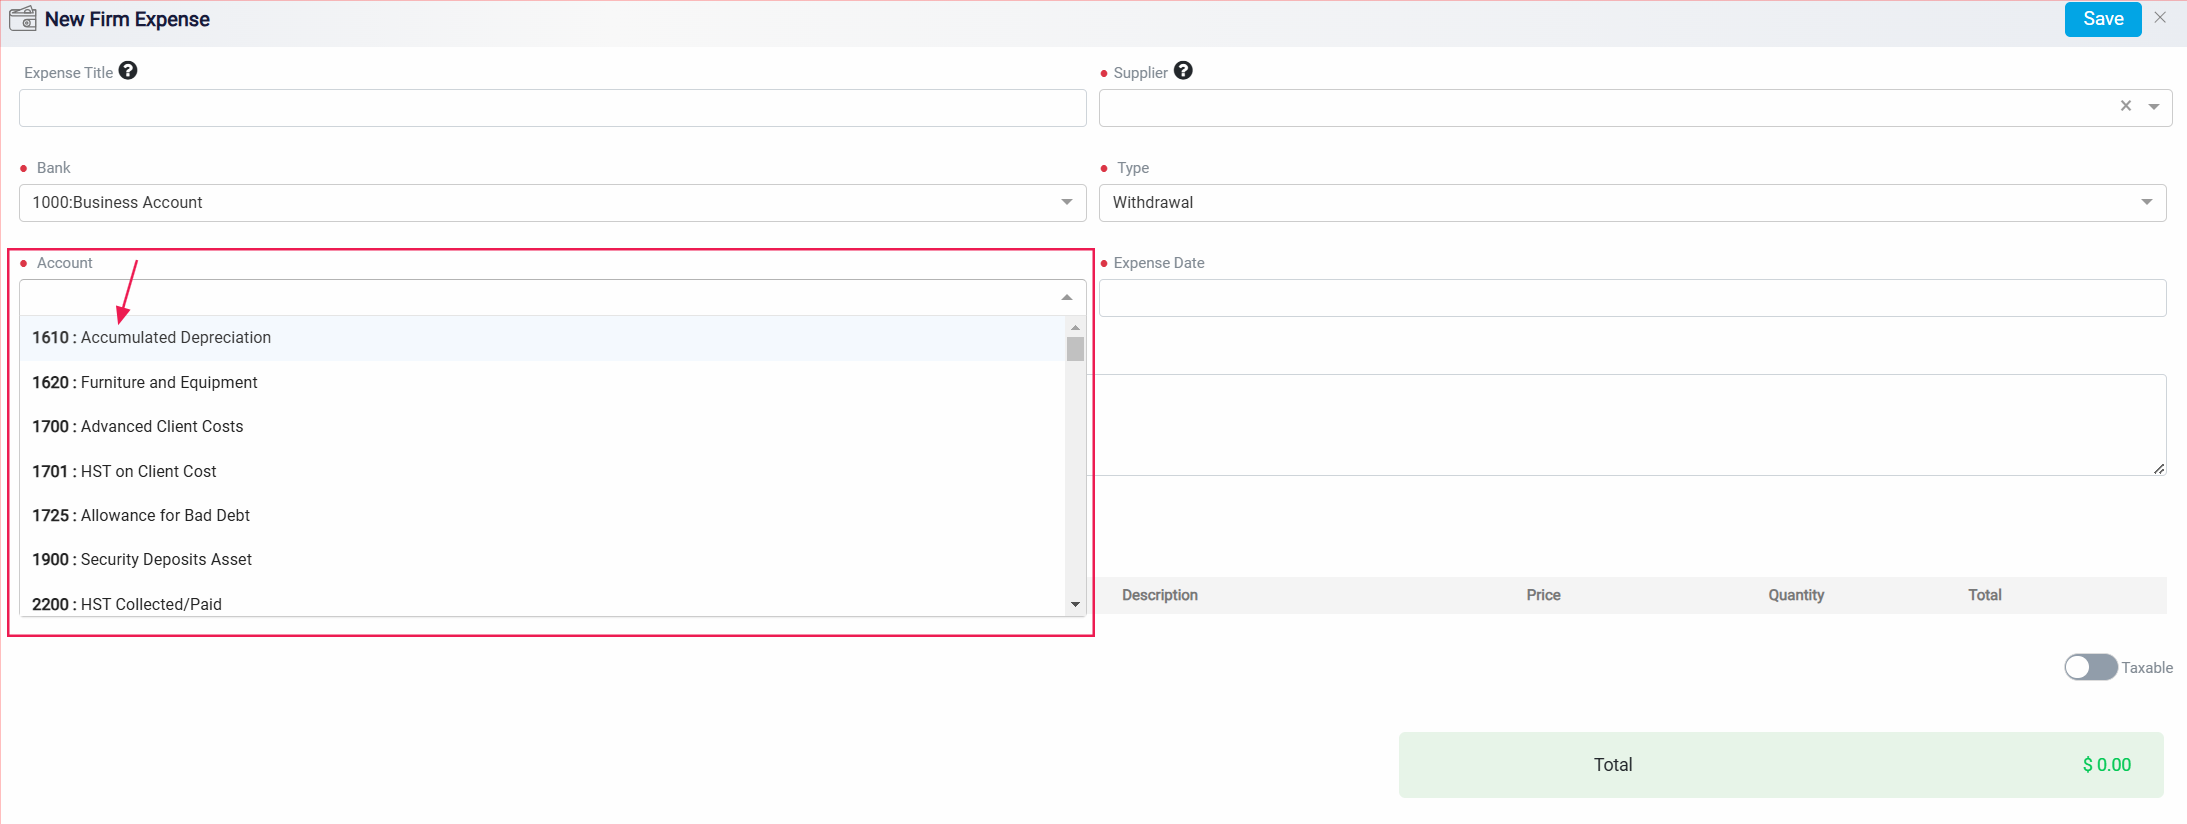
The Account field is used to specify the financial account for this transaction. In dropdown menu, various account types are listed, which are likely tied to a chart of accounts within an accounting system. Each account is identified by a unique number and a corresponding name to make selection easier.
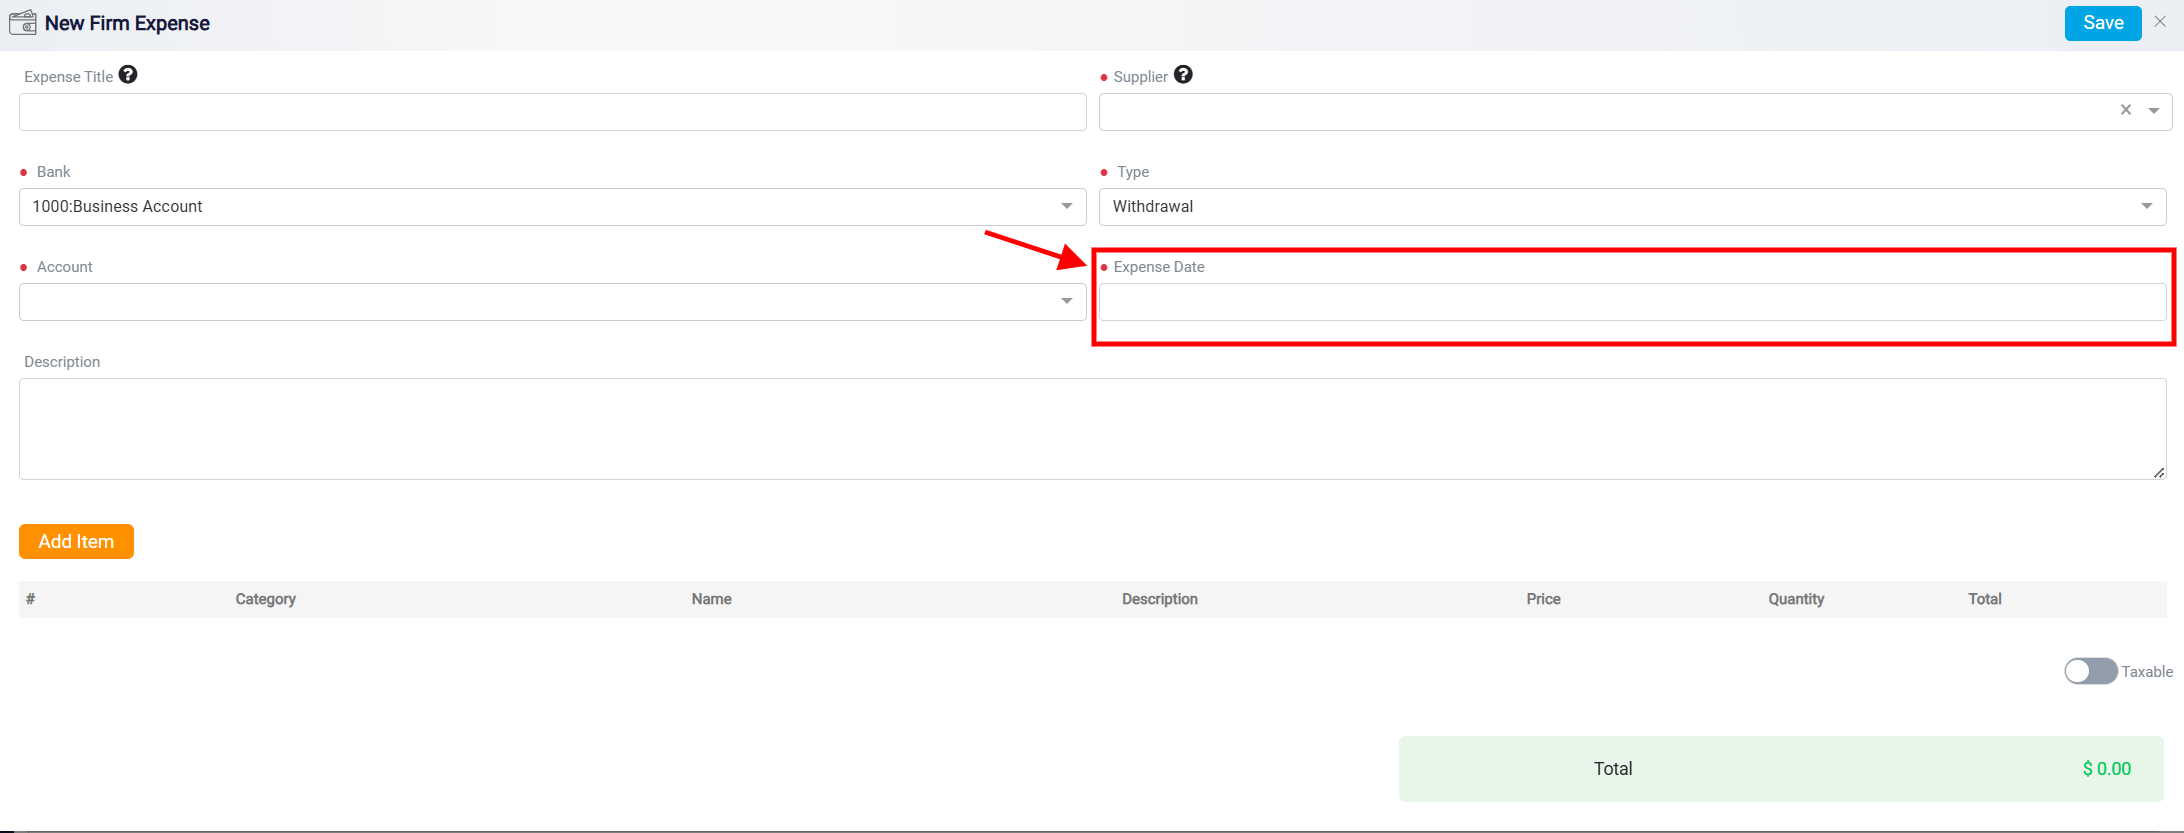
The Expense Date field provides a date picker to record when the expense occurred.
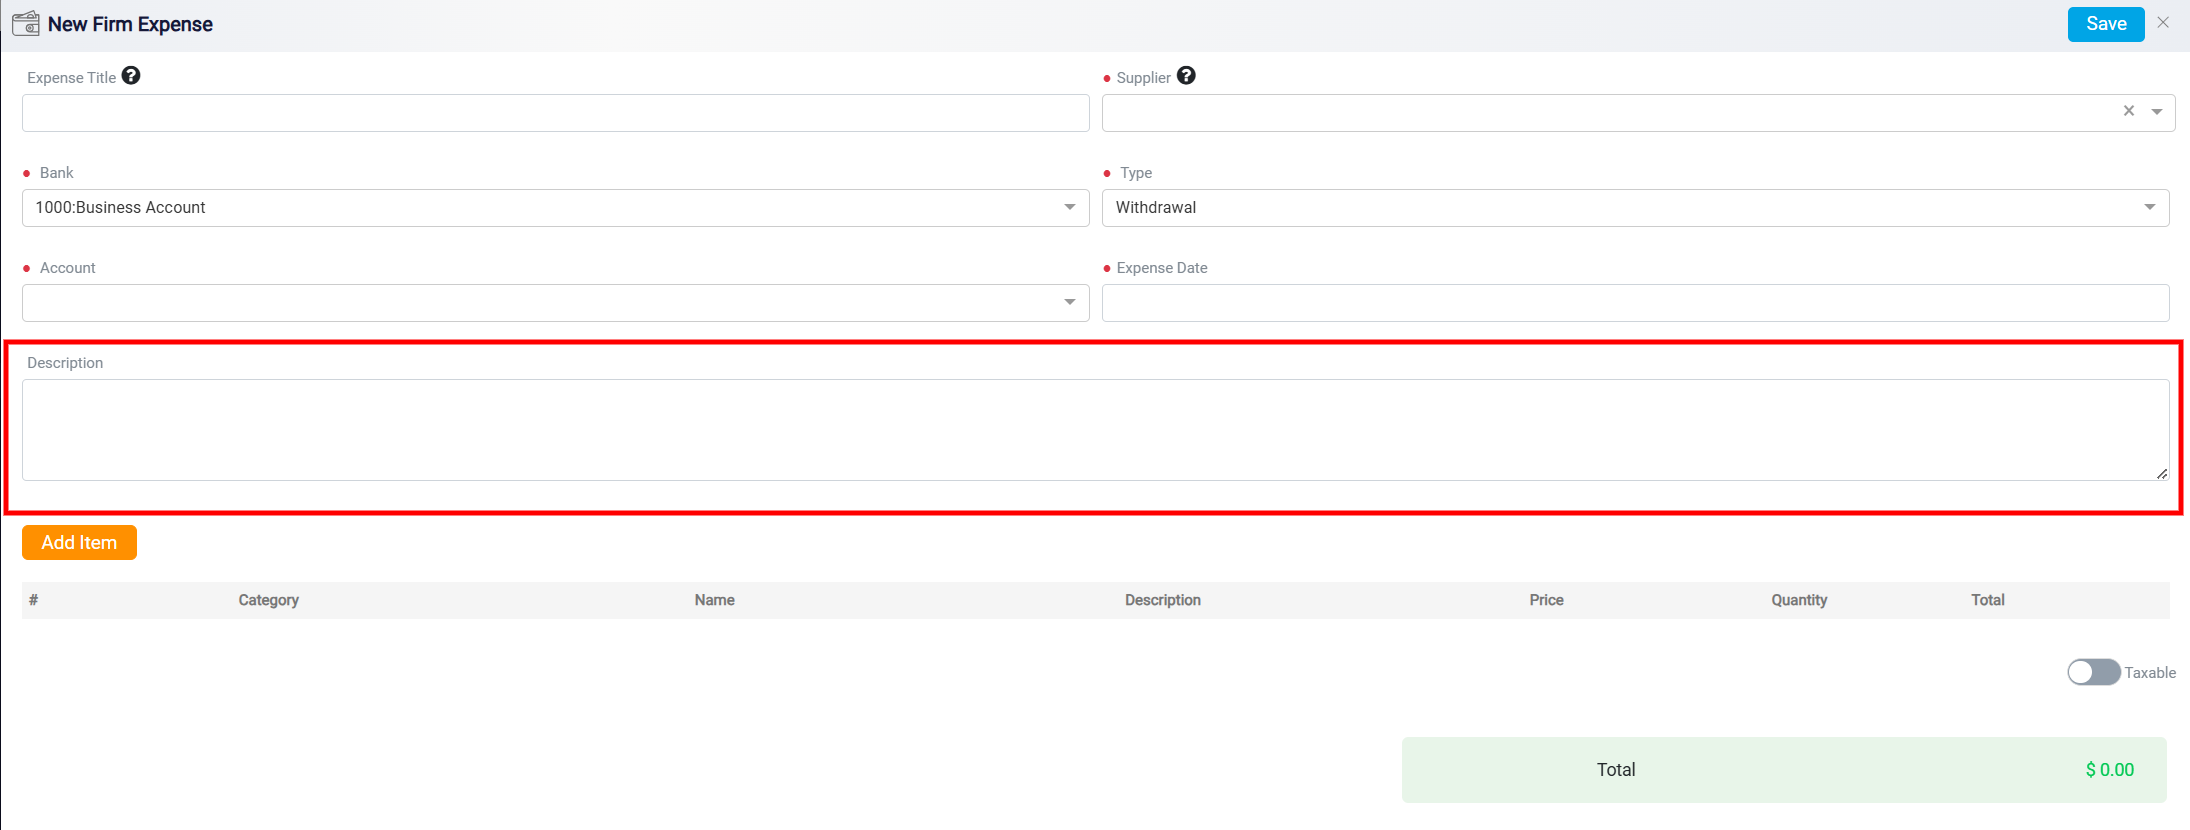
Additionally, there is a Description box for entering detailed information about the expense.
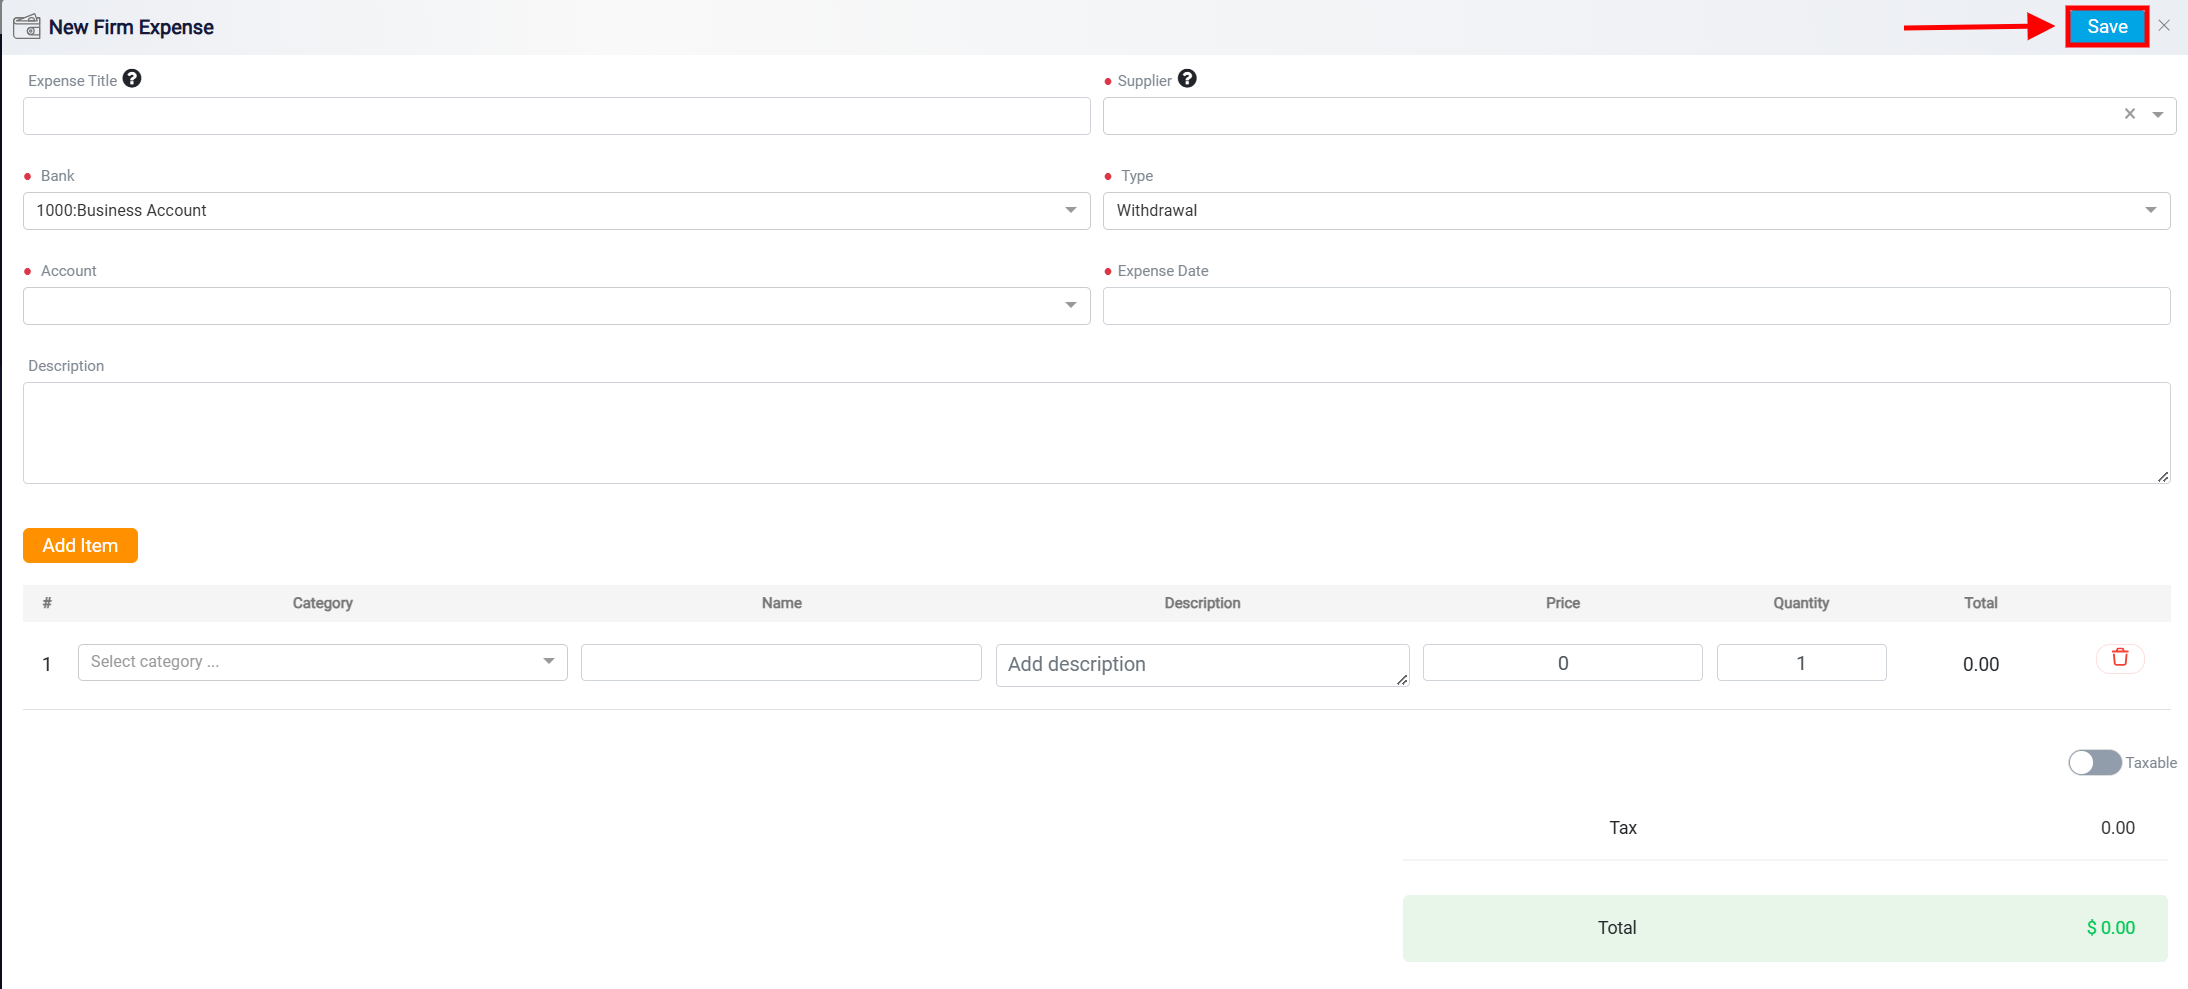
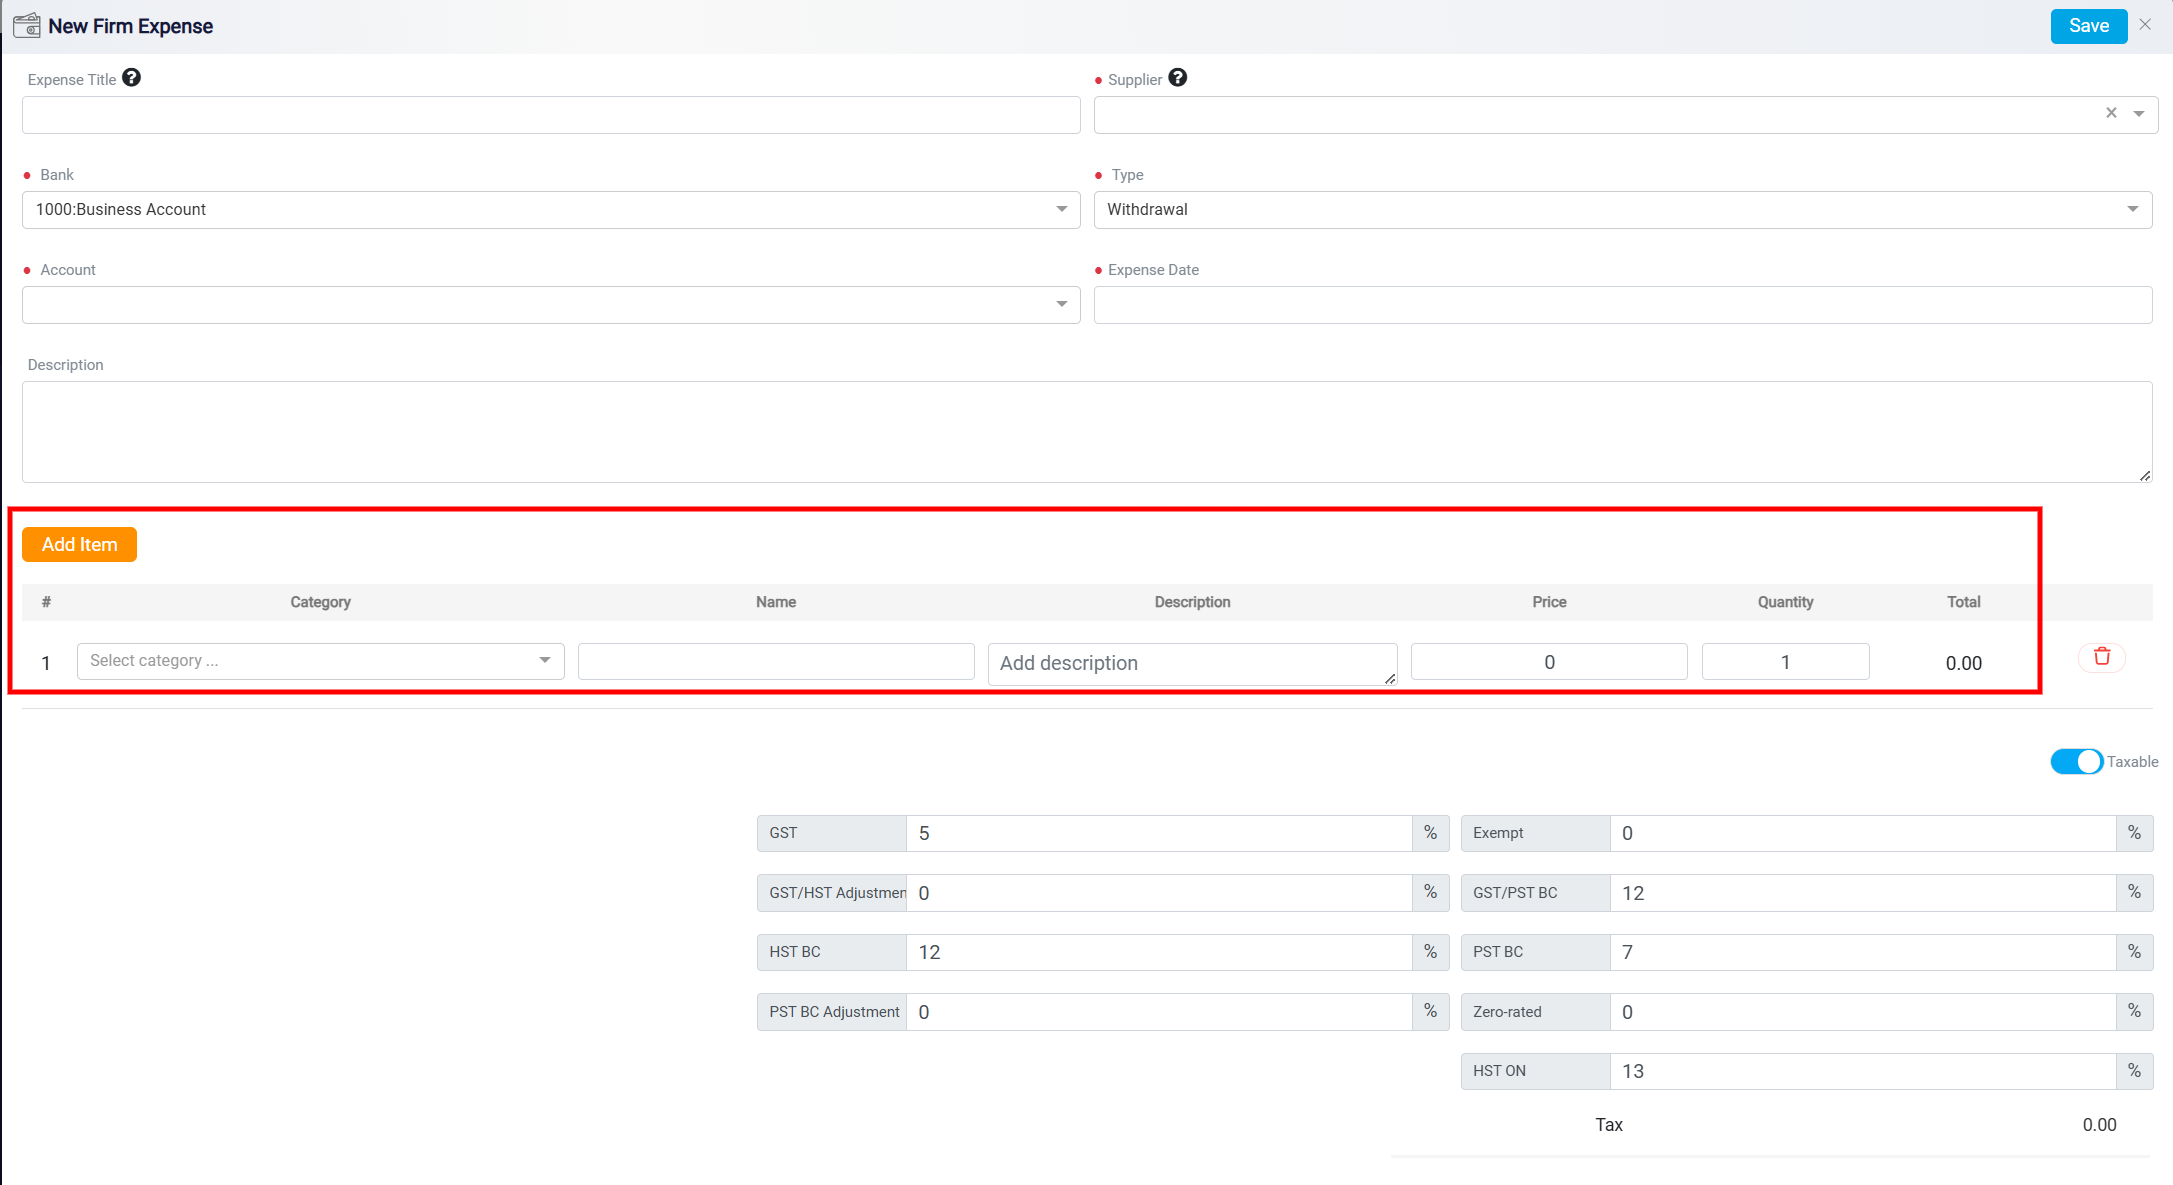
Below these fields is a button labeled Add Item, which allows the user to include individual expense items in detail. These items are displayed in a table with several columns, including Category, Name, Description, Price, Quantity, and Total. This table provides a clear and organized breakdown of all expense components. Optionally, you may include a brief description. You can add multiple expenses for a single day by clicking Add Item and repeating the steps outlined above for each expense.
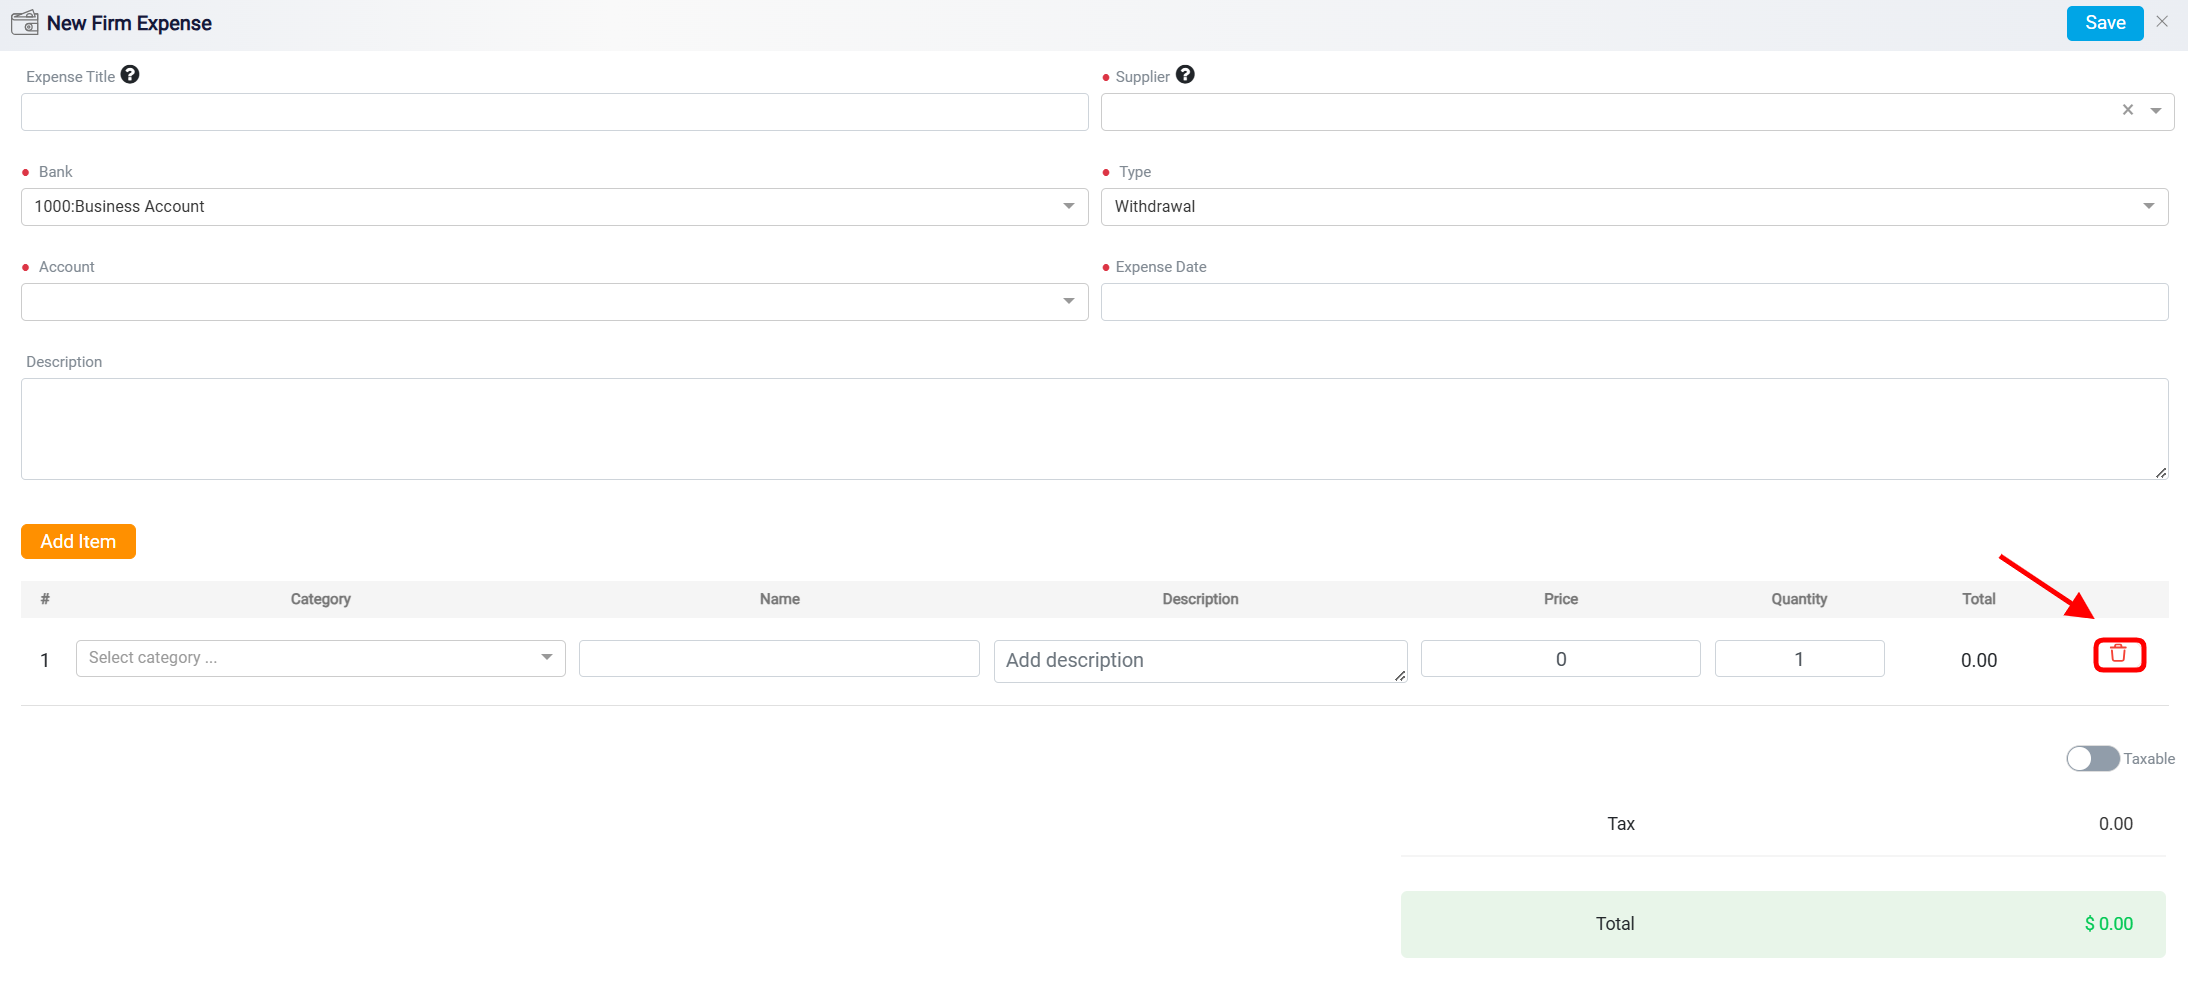
The Trash icon is located on the far right of the row is typically used to Remove the corresponding row or entry from the form.
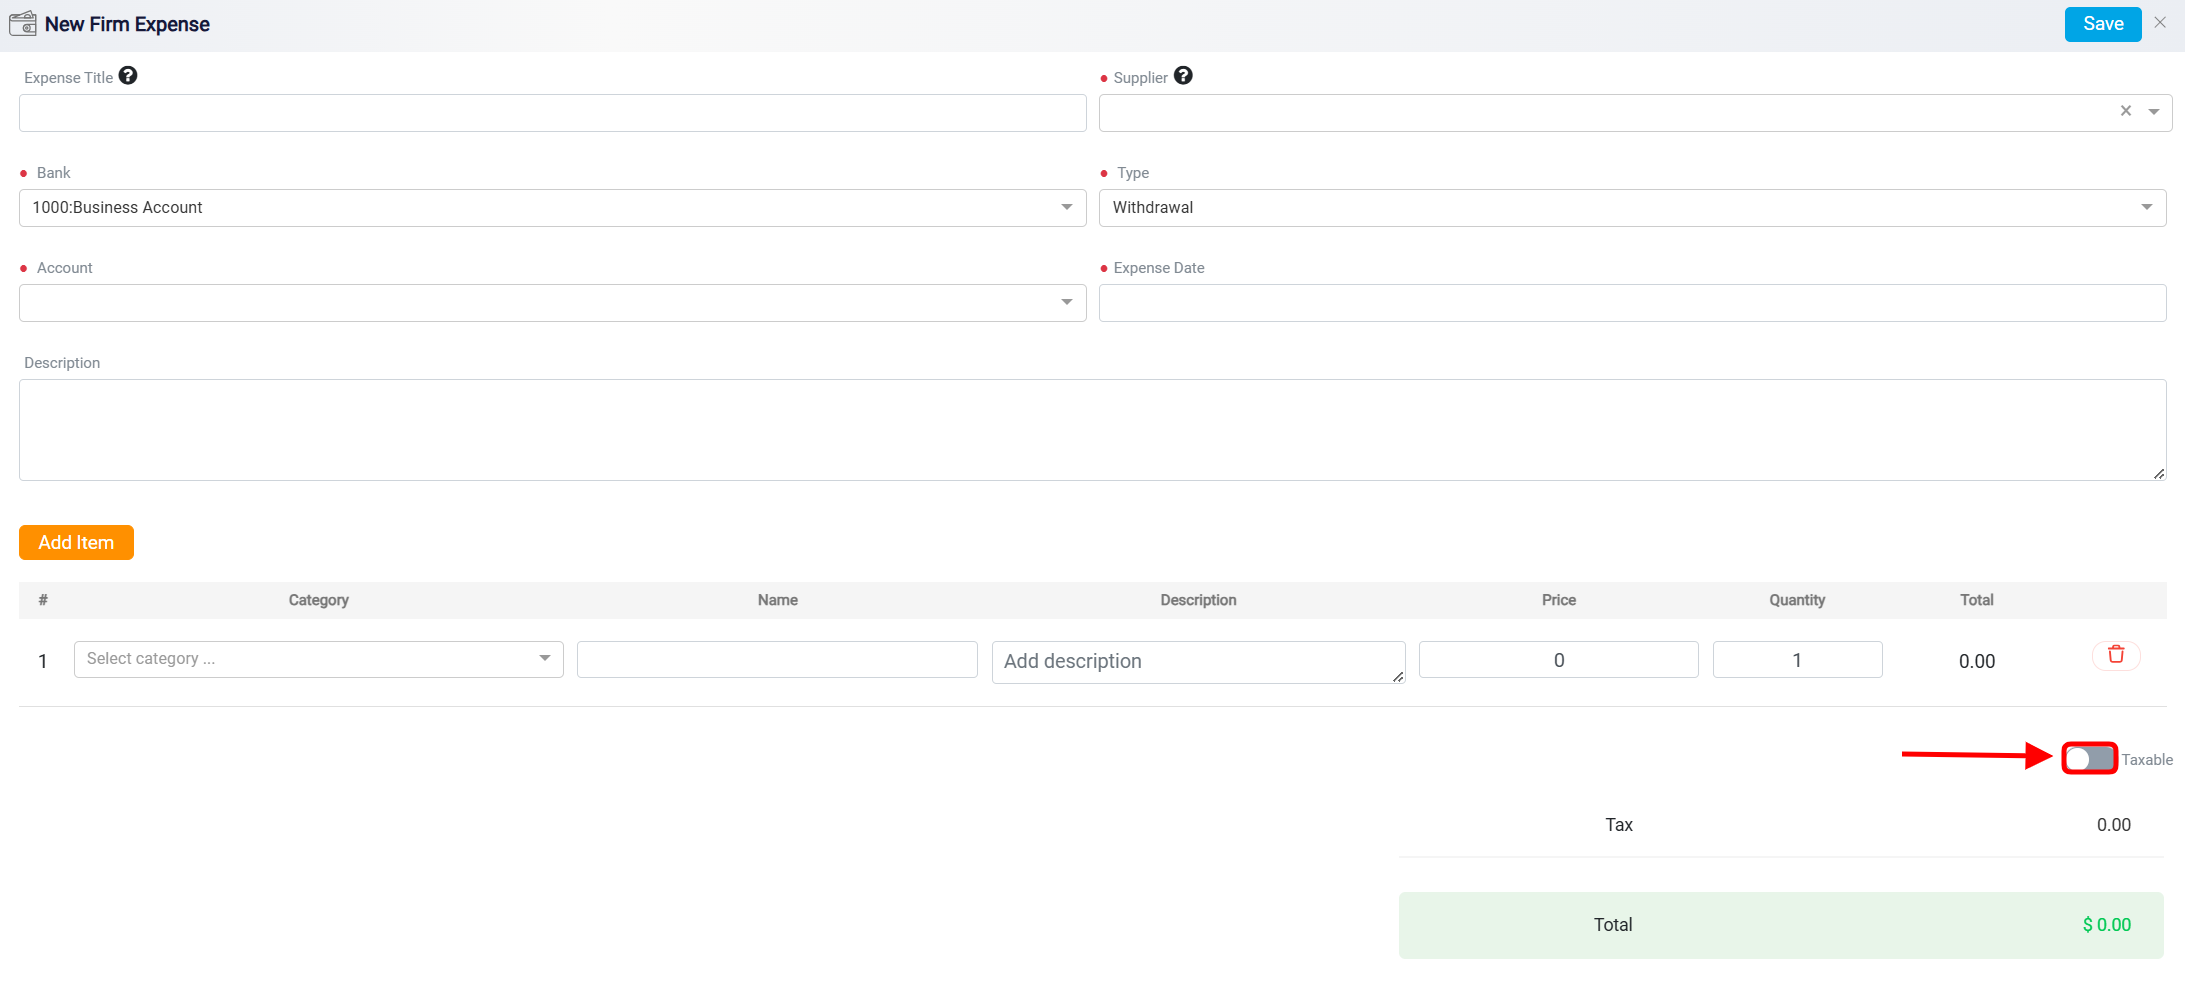
There is also a Taxable toggle to indicate whether the expense is subject to tax.
At the bottom of the form, the Total Amount is displayed, summarizing the expense total.
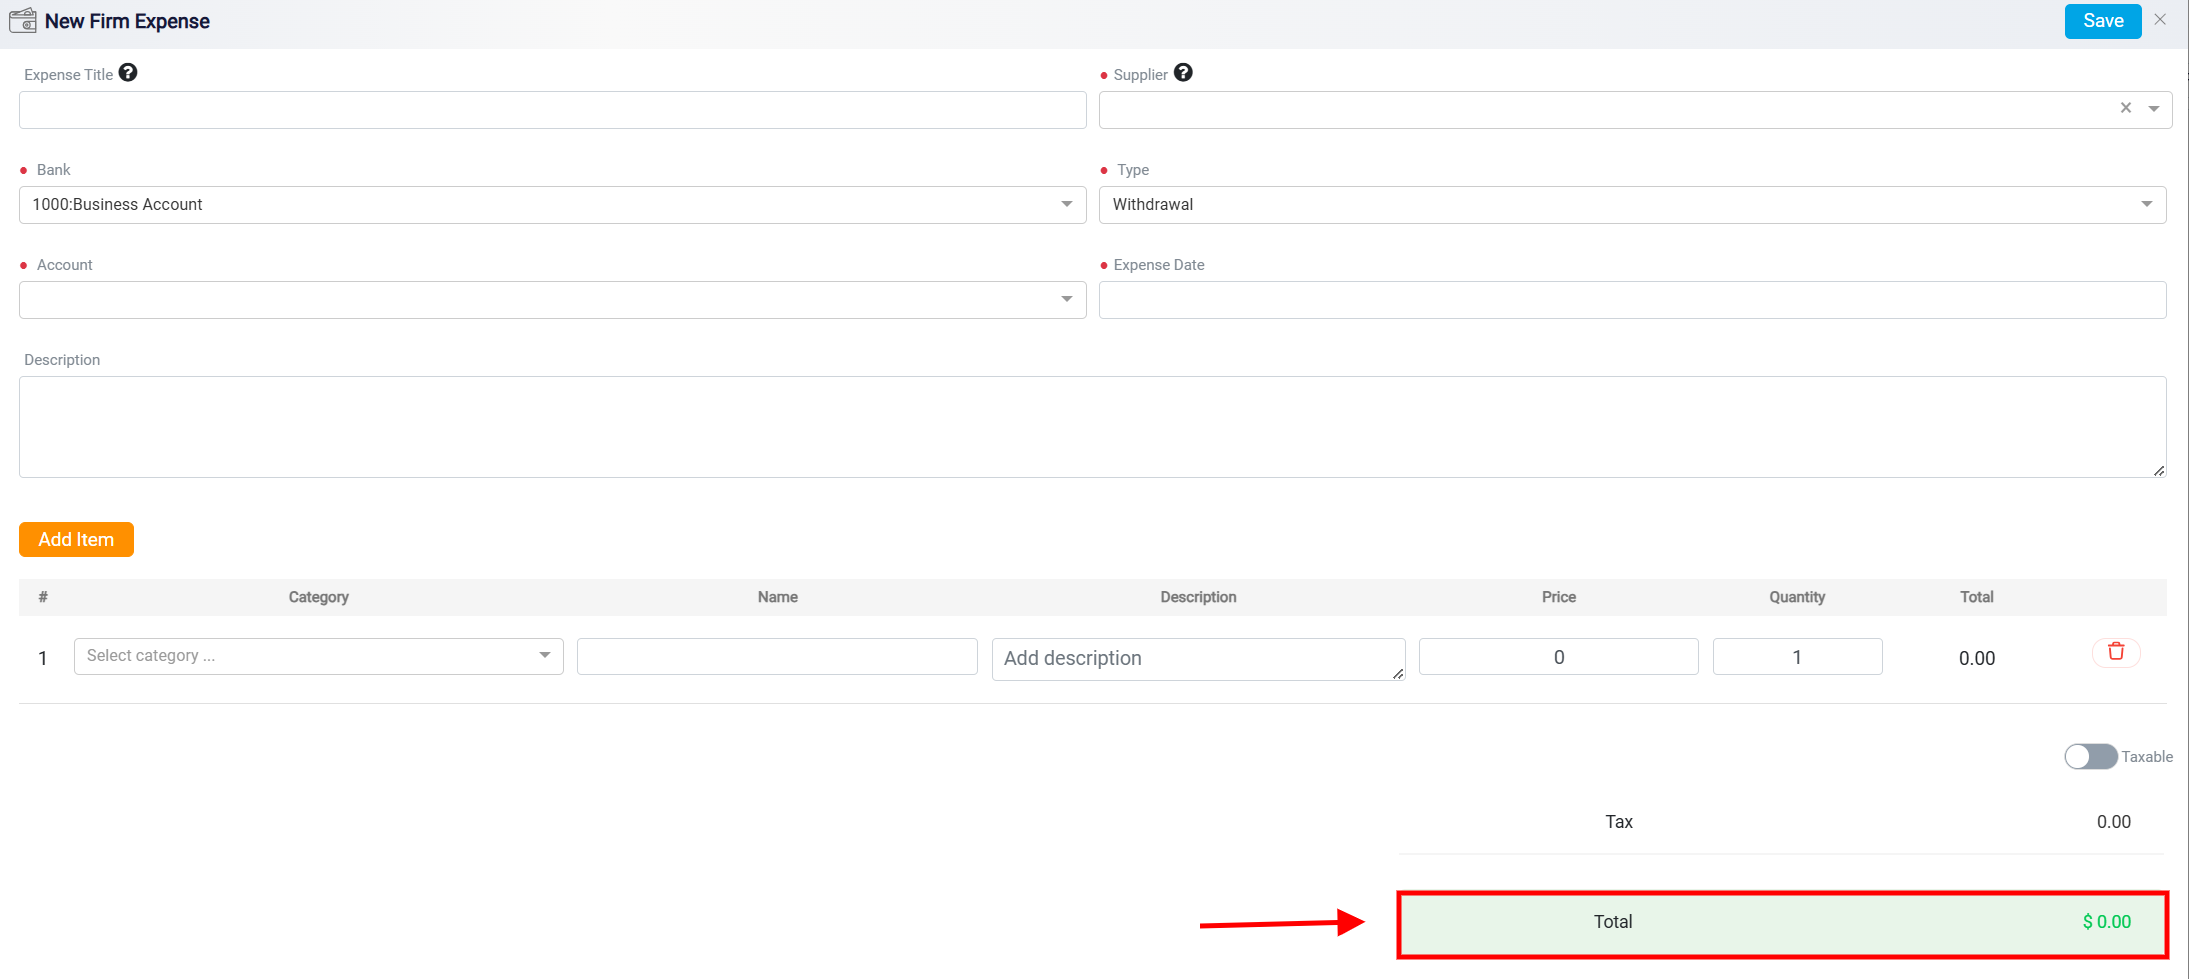
At the top right corner, a Save button is available to confirm and save the entered expense details.
