Manually Adding a New Journal Entry
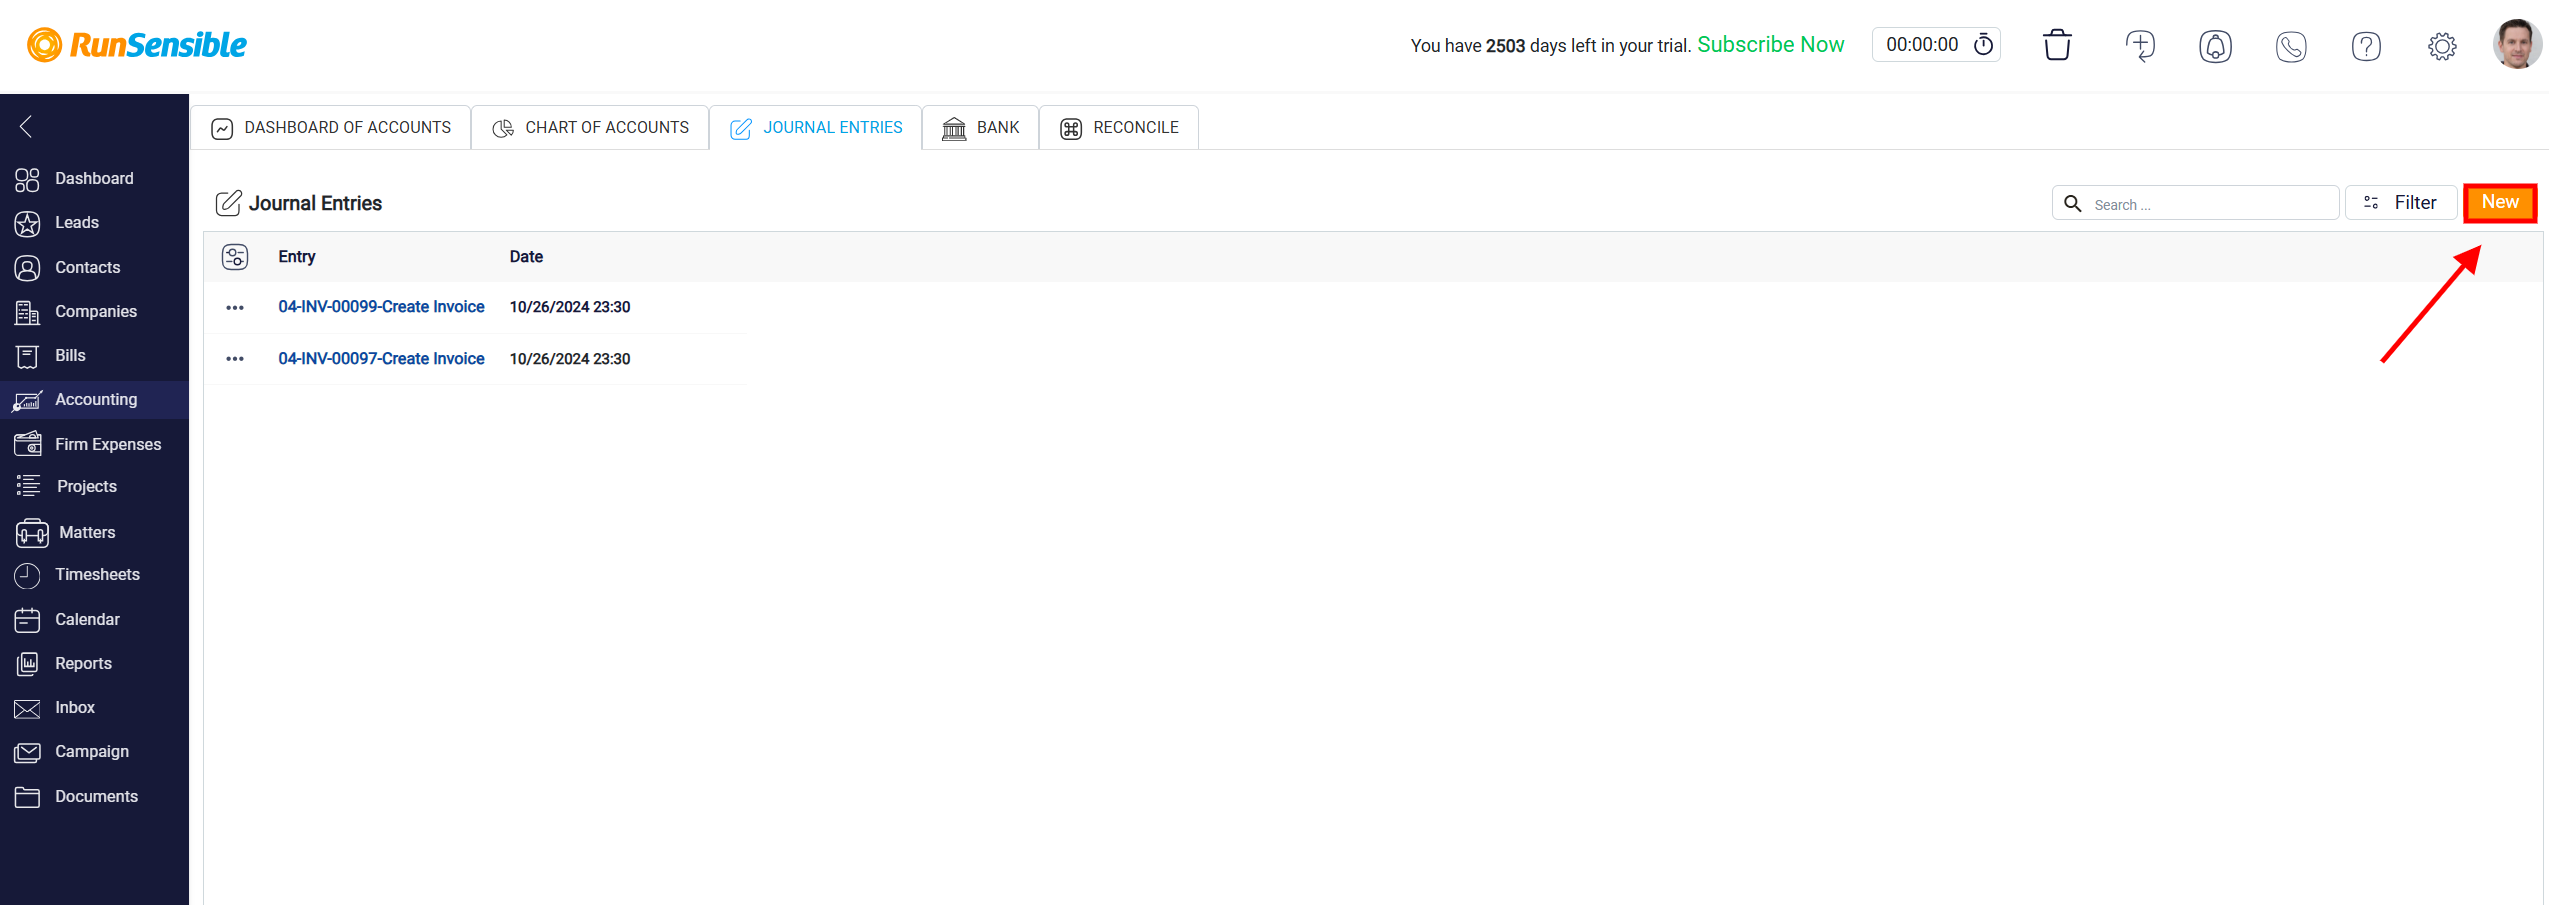
If you need to record a transaction that has not been automatically captured by the system, you can add it manually. To start, click on the New button in the Journal Entries section.

Begin by entering a unique reference number in the Entry box; this will make it easier to search for and identify this transaction in the future. Next, specify the date of the transaction in the Journal Entry Date box, ensuring accurate chronological tracking of your financial activities.

Selecting Accounts and Balancing Debits and Credits
To record the details of the transaction, begin by selecting the account involved. In the Account column at the bottom of the page, click on the first Account box on the left. This action will open a drop-down menu listing all accounts available in the system. From this list, choose the account related to the transaction. After selecting the account, determine whether it should be credited or debited based on the nature of the transaction. Enter the corresponding amount in either the Credit or Debit column next to the chosen account.
If more than one account is involved in the transaction, move to the next Account box in the column and repeat the process: select the appropriate account, specify whether it should be credited or debited, and enter the corresponding amount. If additional accounts need to be included, click the Add button located at the top left of the Account column. This will add more account boxes, allowing you to input as many accounts as necessary for the transaction.
To maintain accuracy in double-entry accounting, the total credits must equal the total debits. An interface in the right corner of the screen displays any discrepancy between the credits and debits. This number should read zero to indicate that the entries are balanced. If there is any difference, double-check the entries to ensure the totals match.

Adding Payee and Memo Information
For each account involved in the transaction, you may also include additional information to enhance the record’s detail. In the Payee Name column, enter the name of the individual or entity receiving the payment, if applicable. This provides clarity about who was paid or who received funds in the transaction. In the Memo column, you can add extra notes or details about the transaction, such as its purpose or any relevant background information. This can be helpful for future reference or when reviewing the transaction history.

After completing all fields and ensuring that the credits and debits are balanced, click on the Save button located at the top right corner of the screen. This action will save the transaction as part of your financial records. By following these steps, you ensure that all relevant details are accurately recorded, providing a complete and organized log of your financial activities.
