Managing and Customizing Firm Expenses
The interface is thoughtfully designed to manage firm expenses efficiently, offering seamless navigation and quick access to essential tools.
Adjacent to the Filter button there is Search box enables you to efficiently search through expense records once added. Users can type in relevant terms like expense names, suppliers, or dates to quickly filter the displayed expenses, saving time navigating through the list.
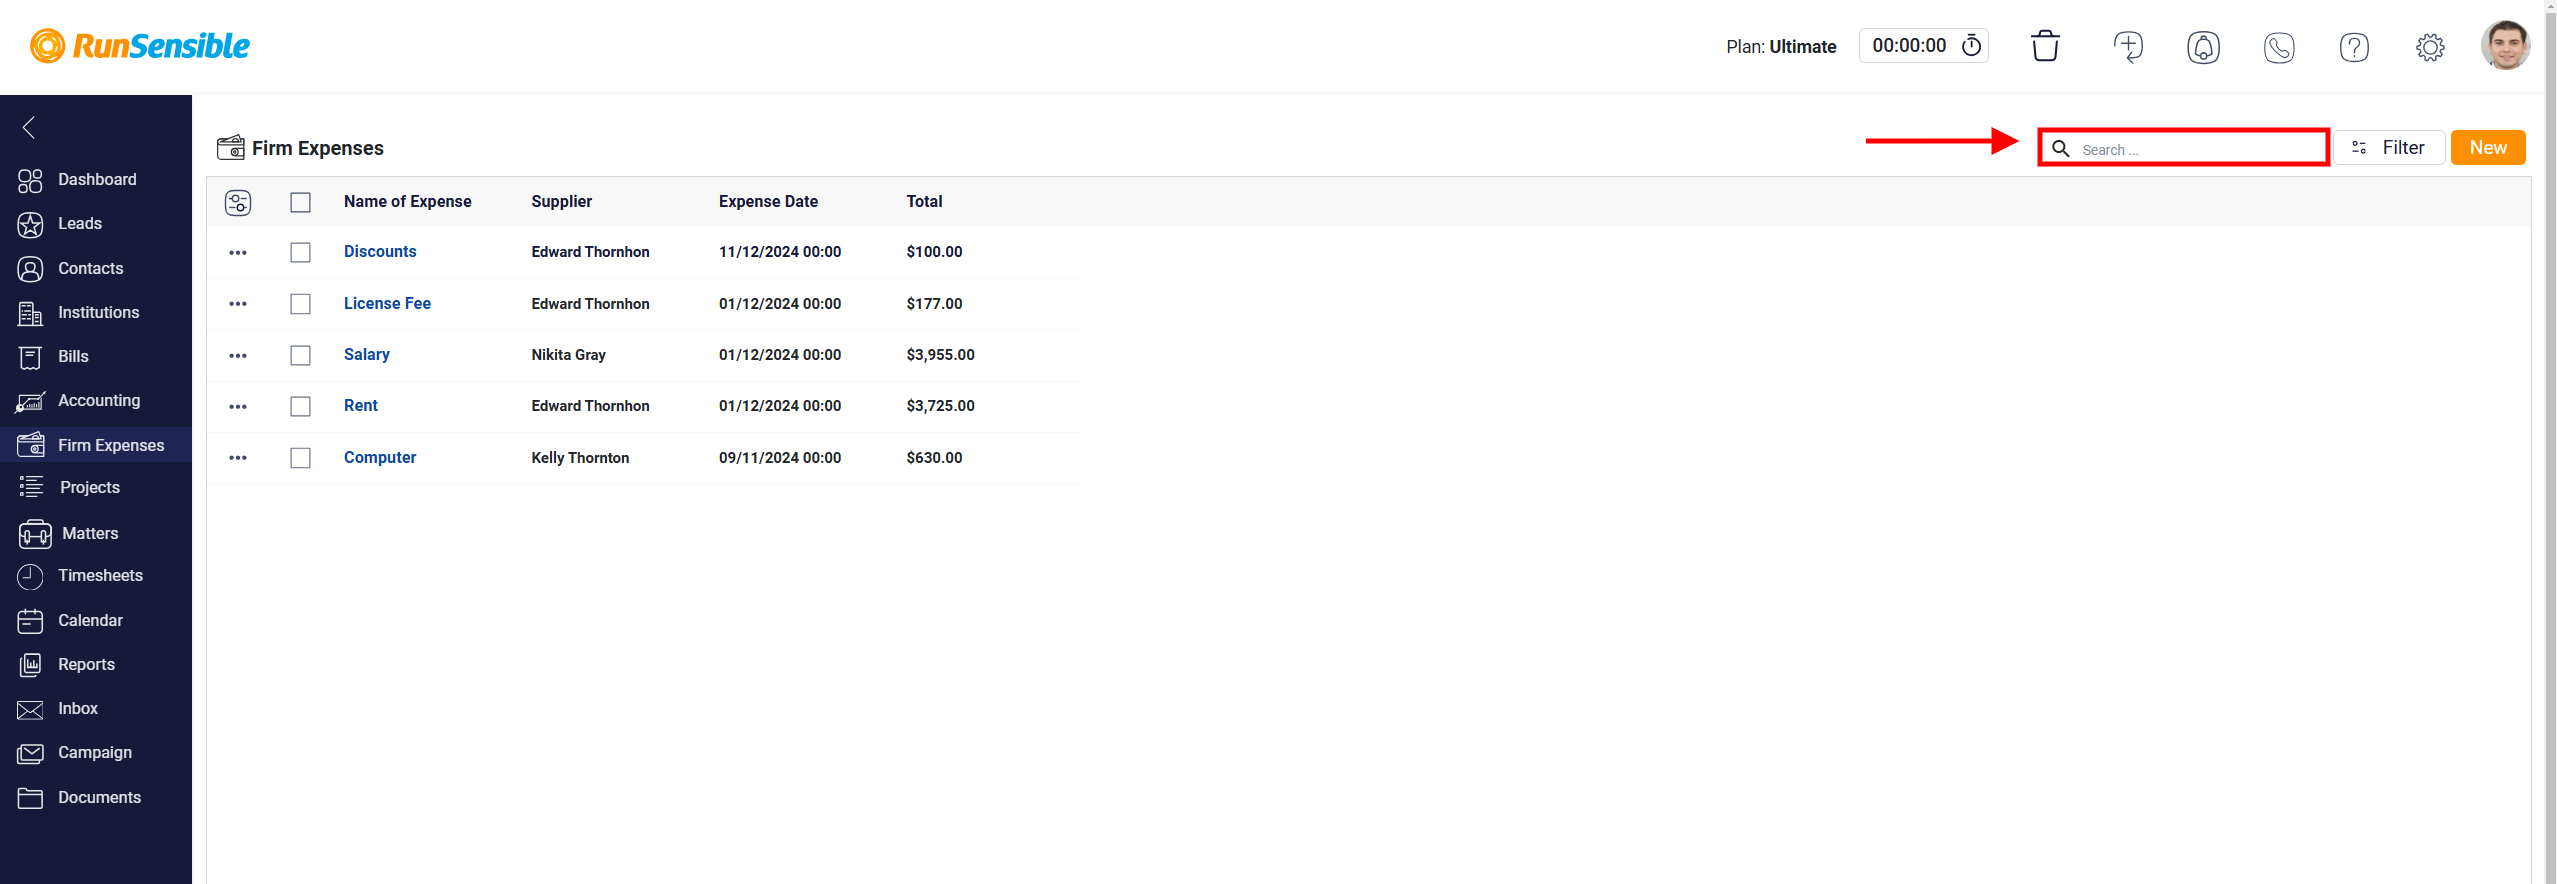
You’ll see a well-organized list of your firm’s expenses arranged into columns: Name, which categorizes the types of expenses; Total, showing the expense amounts; Supplier, identifying the associated individuals or entities; and Expense Date, indicating when each expense was recorded.

To delete an expense, you must first select the entry by checking the box next to it and a trash icon will be appeared at top of the table allows users to remove selected entries from the list permanently.

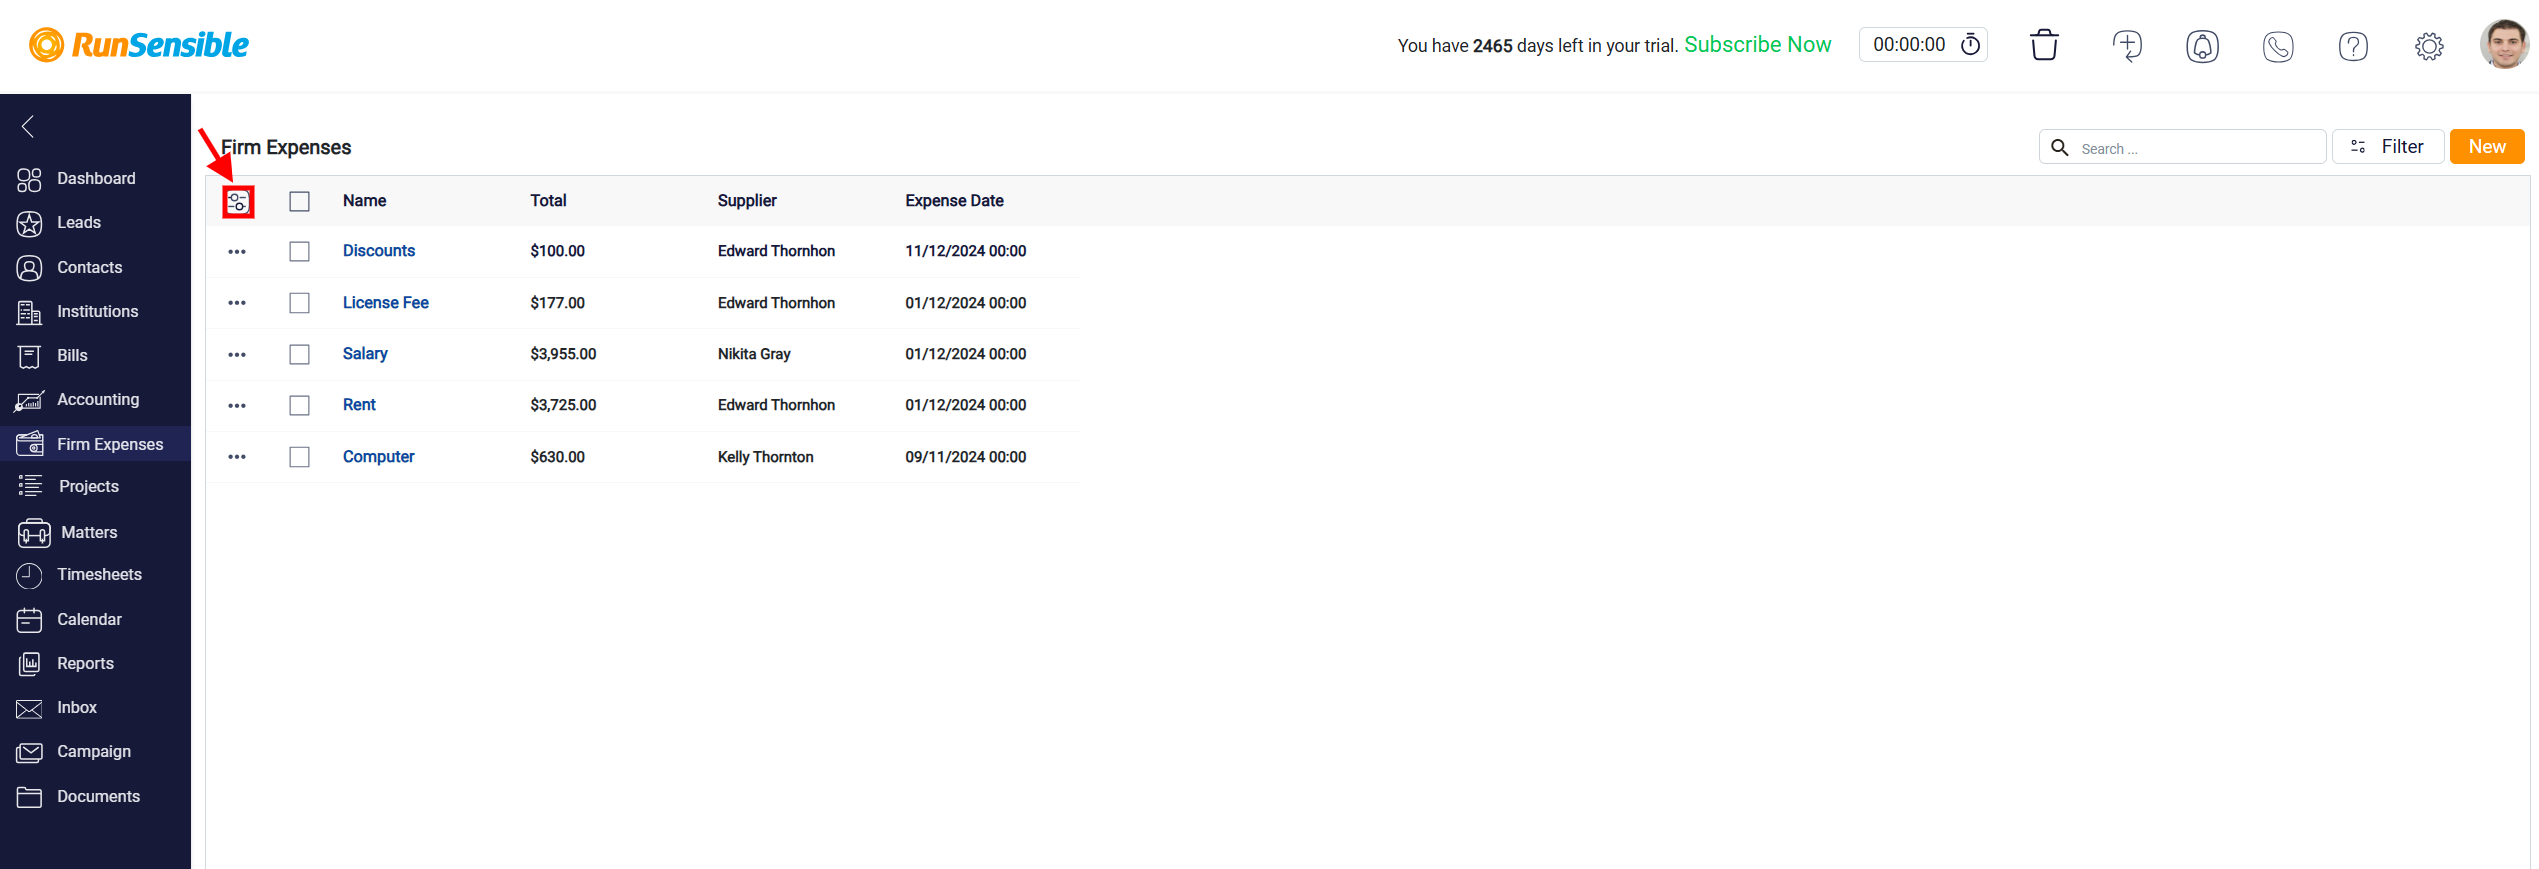
To customize the appearance of the Firm Expenses table, start by clicking the Customize button located on the left side of the screen.
This will open the Customize Grid Column page, where you can make adjustments to personalize the table to fit your specific needs.
You can choose to show or hide specific columns by toggling the Show Column button on or off.

If you need to adjust the width of a column, simply modify the values in the Width field to allocate more or less space as desired.

For further customization, you can rename a column by editing the text in the Title field.

Rearranging the column order is also easy. Click and hold the Reorder button located on the left side of a column, then drag it up or down to place it in your preferred position. These customization options allow you to create a table layout that enhances your workflow and aligns with your preferences.

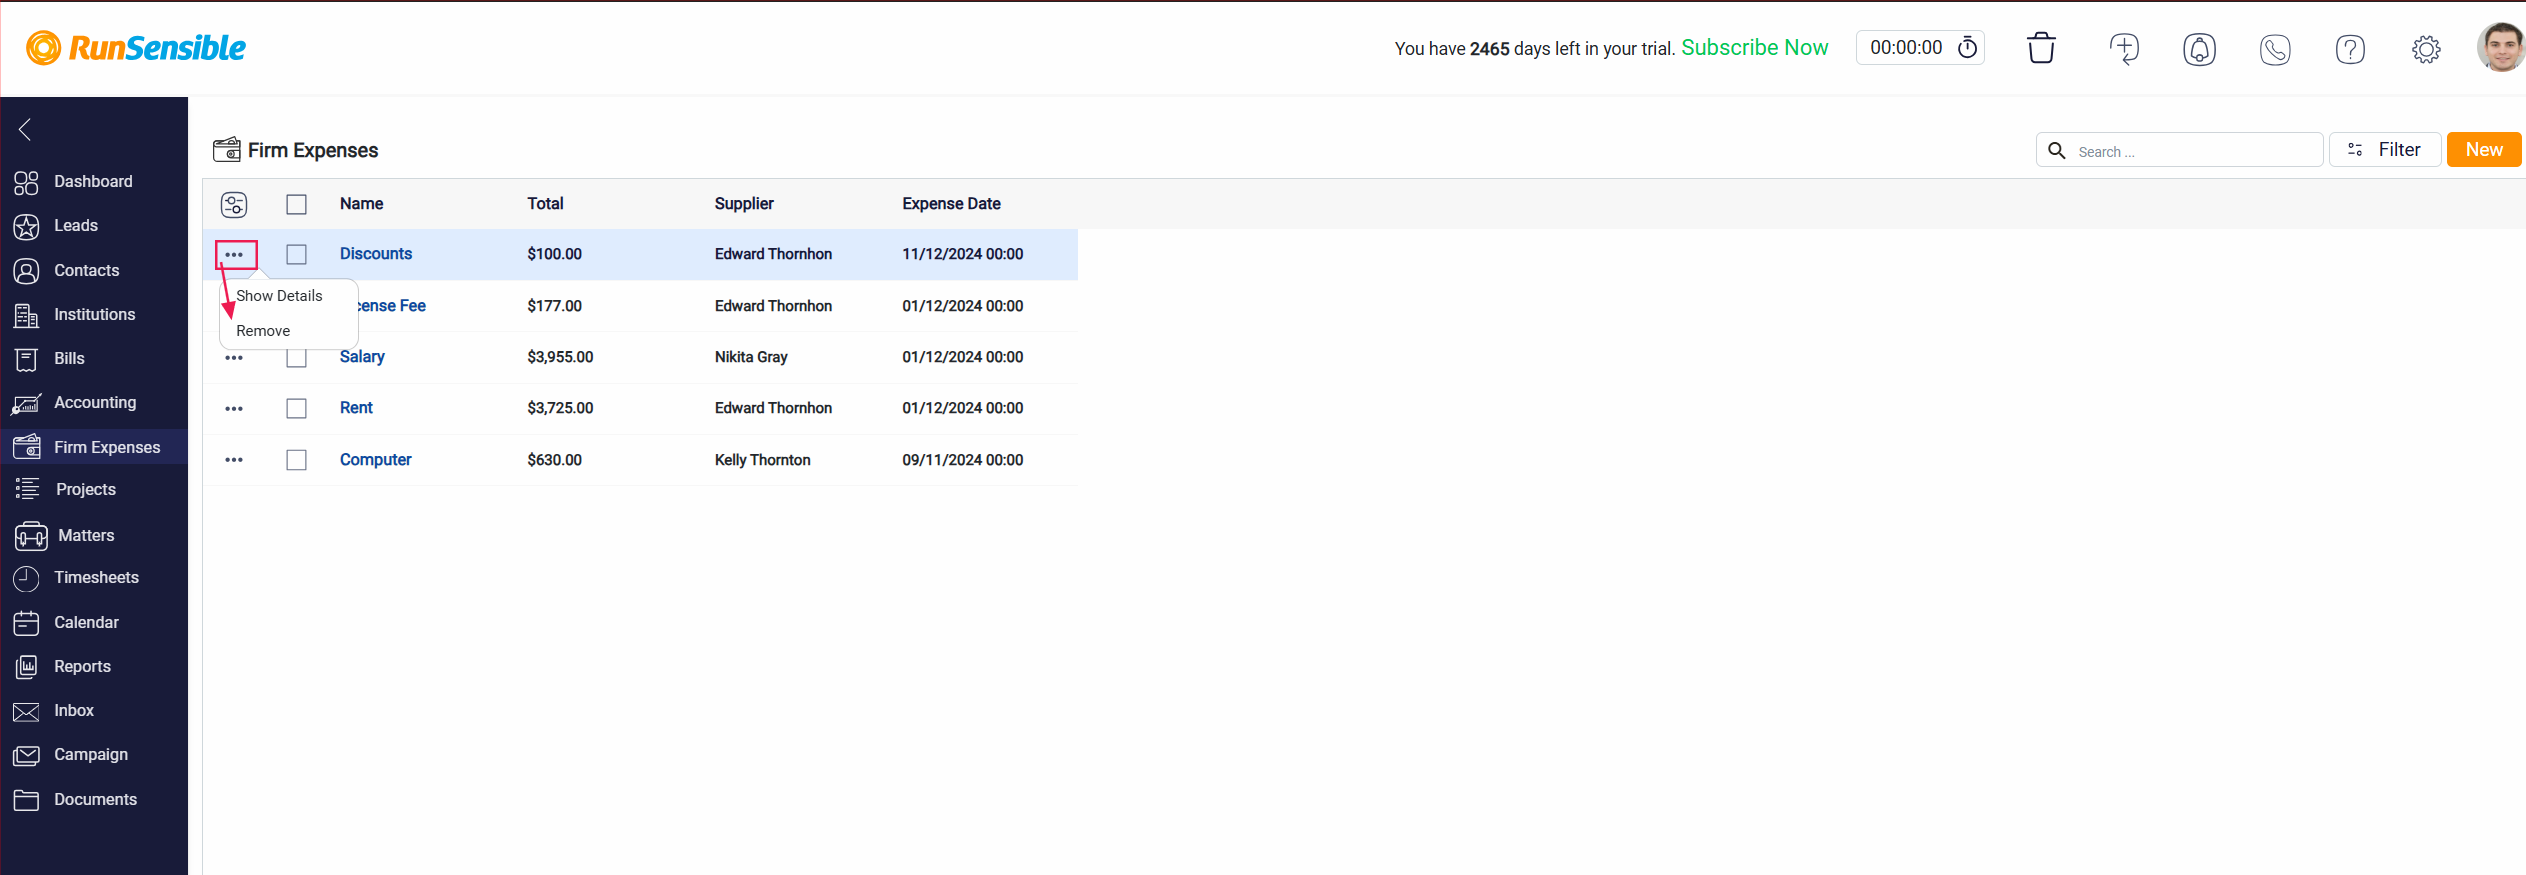
The three-dot button in the Firm Expenses section serves as a contextual menu to provide additional actions for each specific expense entry. When clicked, it reveals a small dropdown menu with two options: Show Details and Remove.
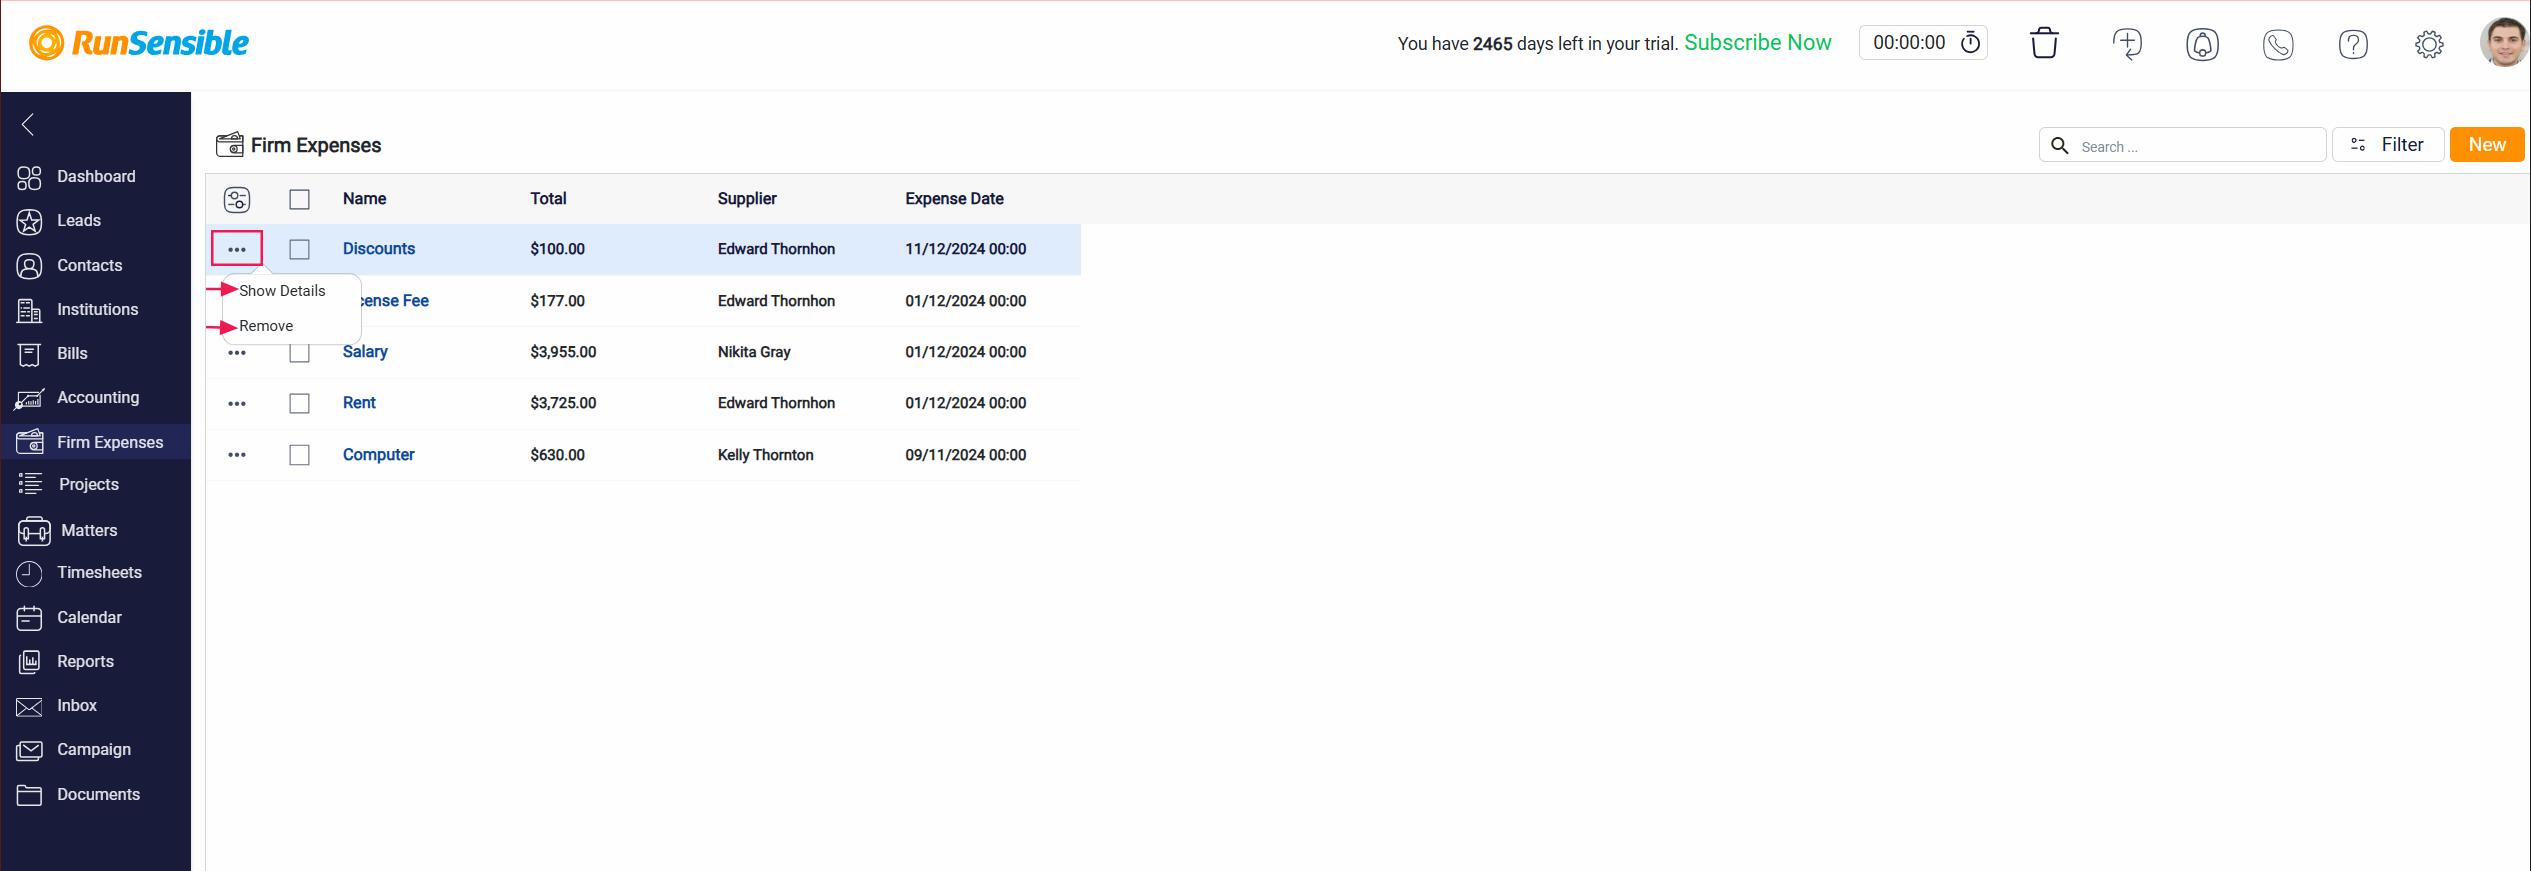
The Show Details option allows the user to view a more comprehensive breakdown or additional information about the selected expense, such as detailed descriptions, notes, or attached documents. Alternatively, you can access this information by clicking directly on the expense name.
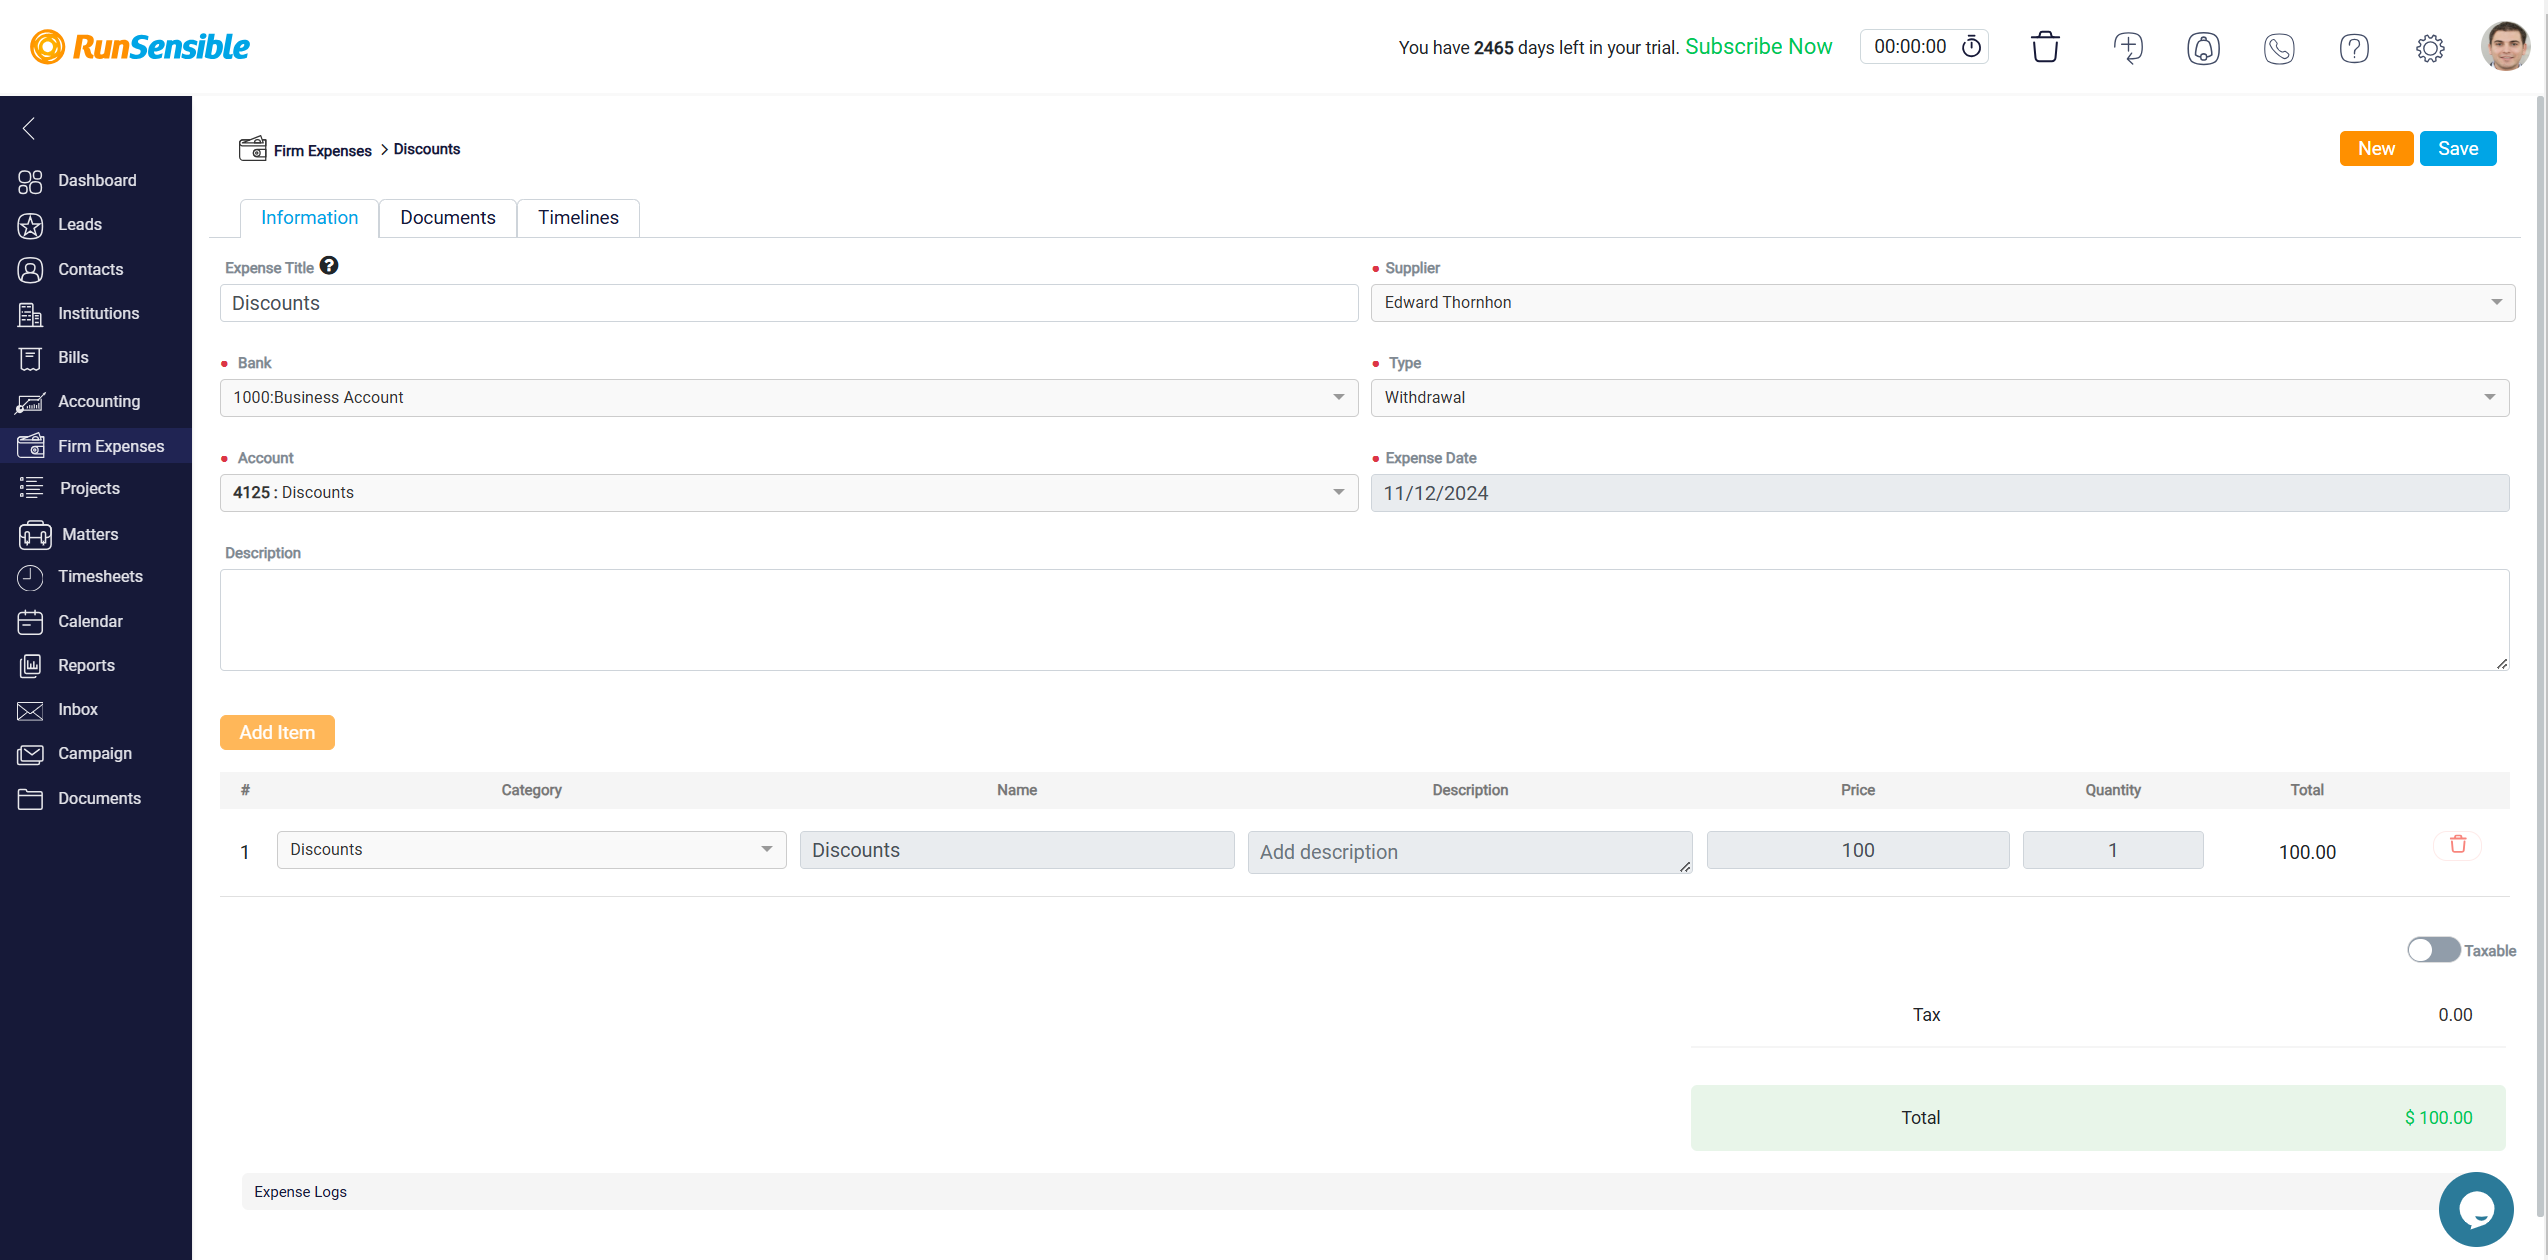
The Remove option enables the user to delete the selected expense record from the list. This design keeps the interface clean and organized while ensuring that relevant actions are easily accessible for each item.
