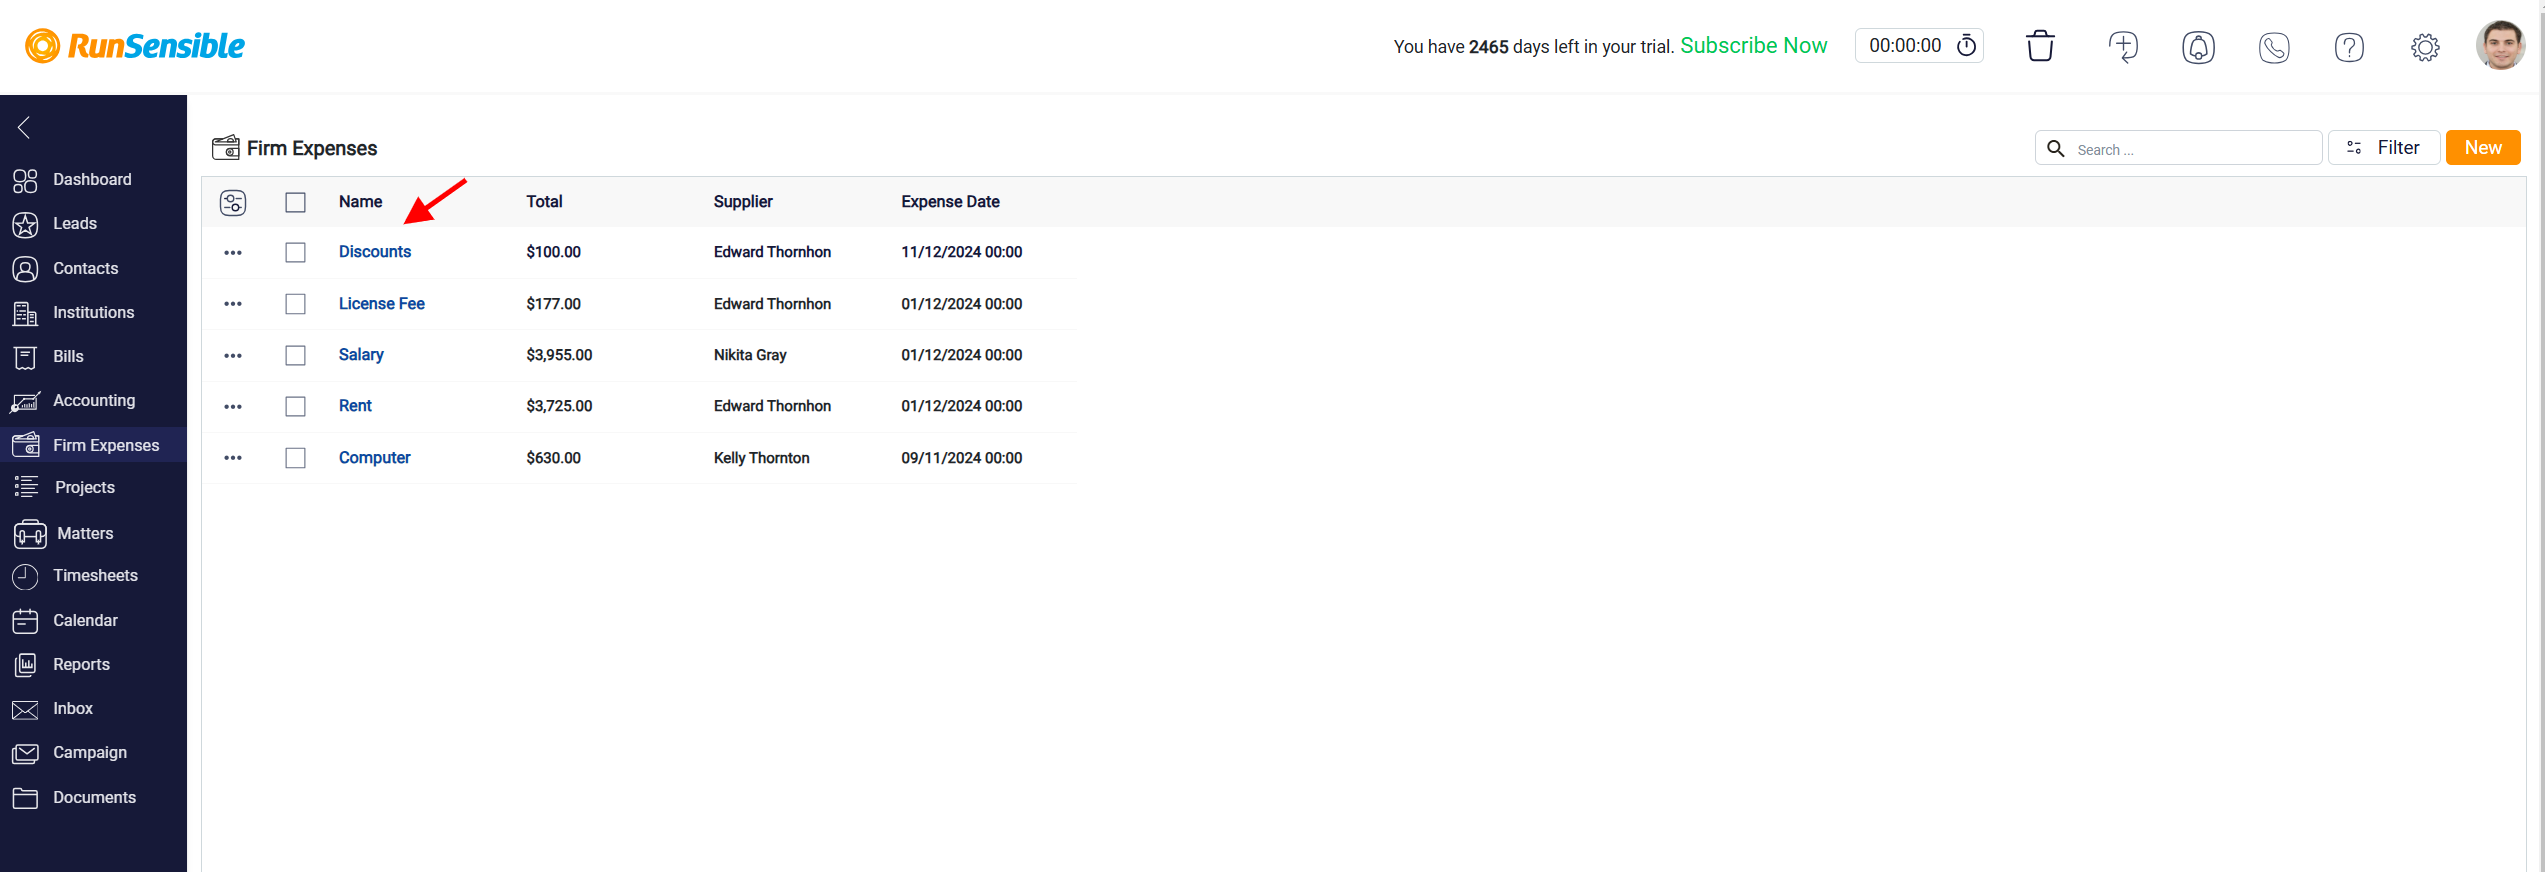
Firm Expenses Overview
By clicking on the expense name, you can access detailed Information about the selected expense. A comprehensive form will appear, allowing you to efficiently manage and track your firm’s expenses.
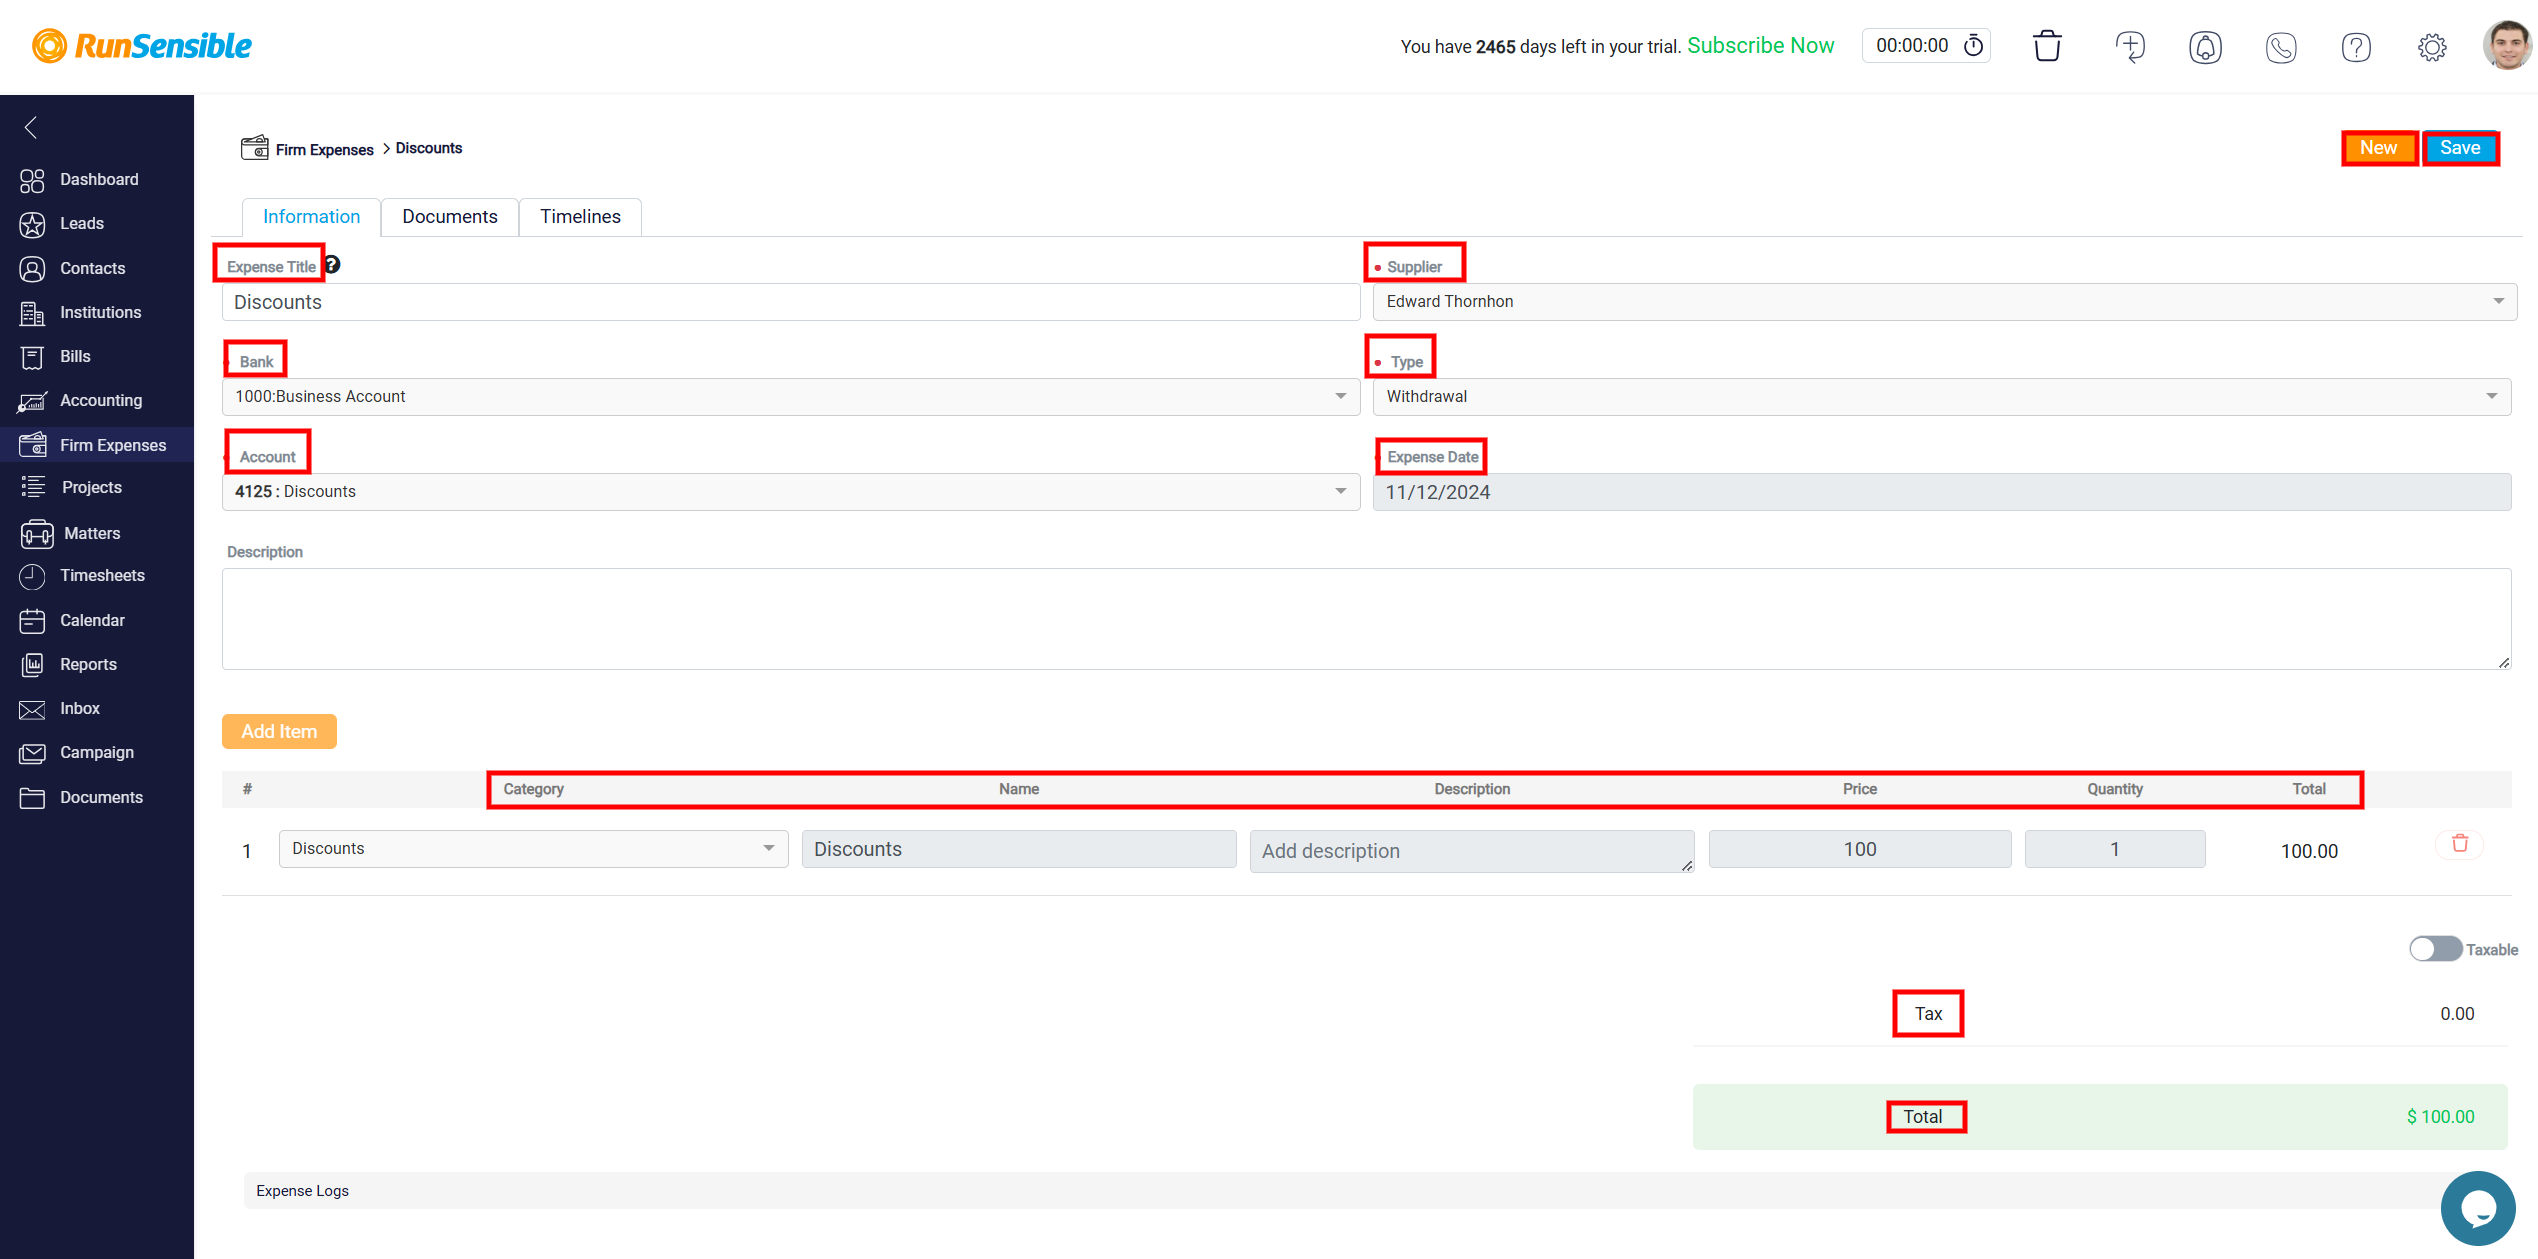
The form provides key details, including the Expense Title, Supplier, Bank Account, and Transaction Type. The Account field is linked to a specific category, while the Expense Date and a Description Box allow you to add any additional information about the expense.
Below the main form, the Expense Items section enables you to see detailed line items. Each entry includes fields for Category, Name, Price, and Quantity, with the Total automatically calculated. A toggle option is available to mark the expense as taxable, which updates the Tax field accordingly. At the bottom, the Total summary displays the final amount for the expense.
Once all details are entered, you can click Save to finalize the expense, or New to start a new entry.
The next tab is the Document tab, where you can upload, organize, and manage all documents associated with this expense.
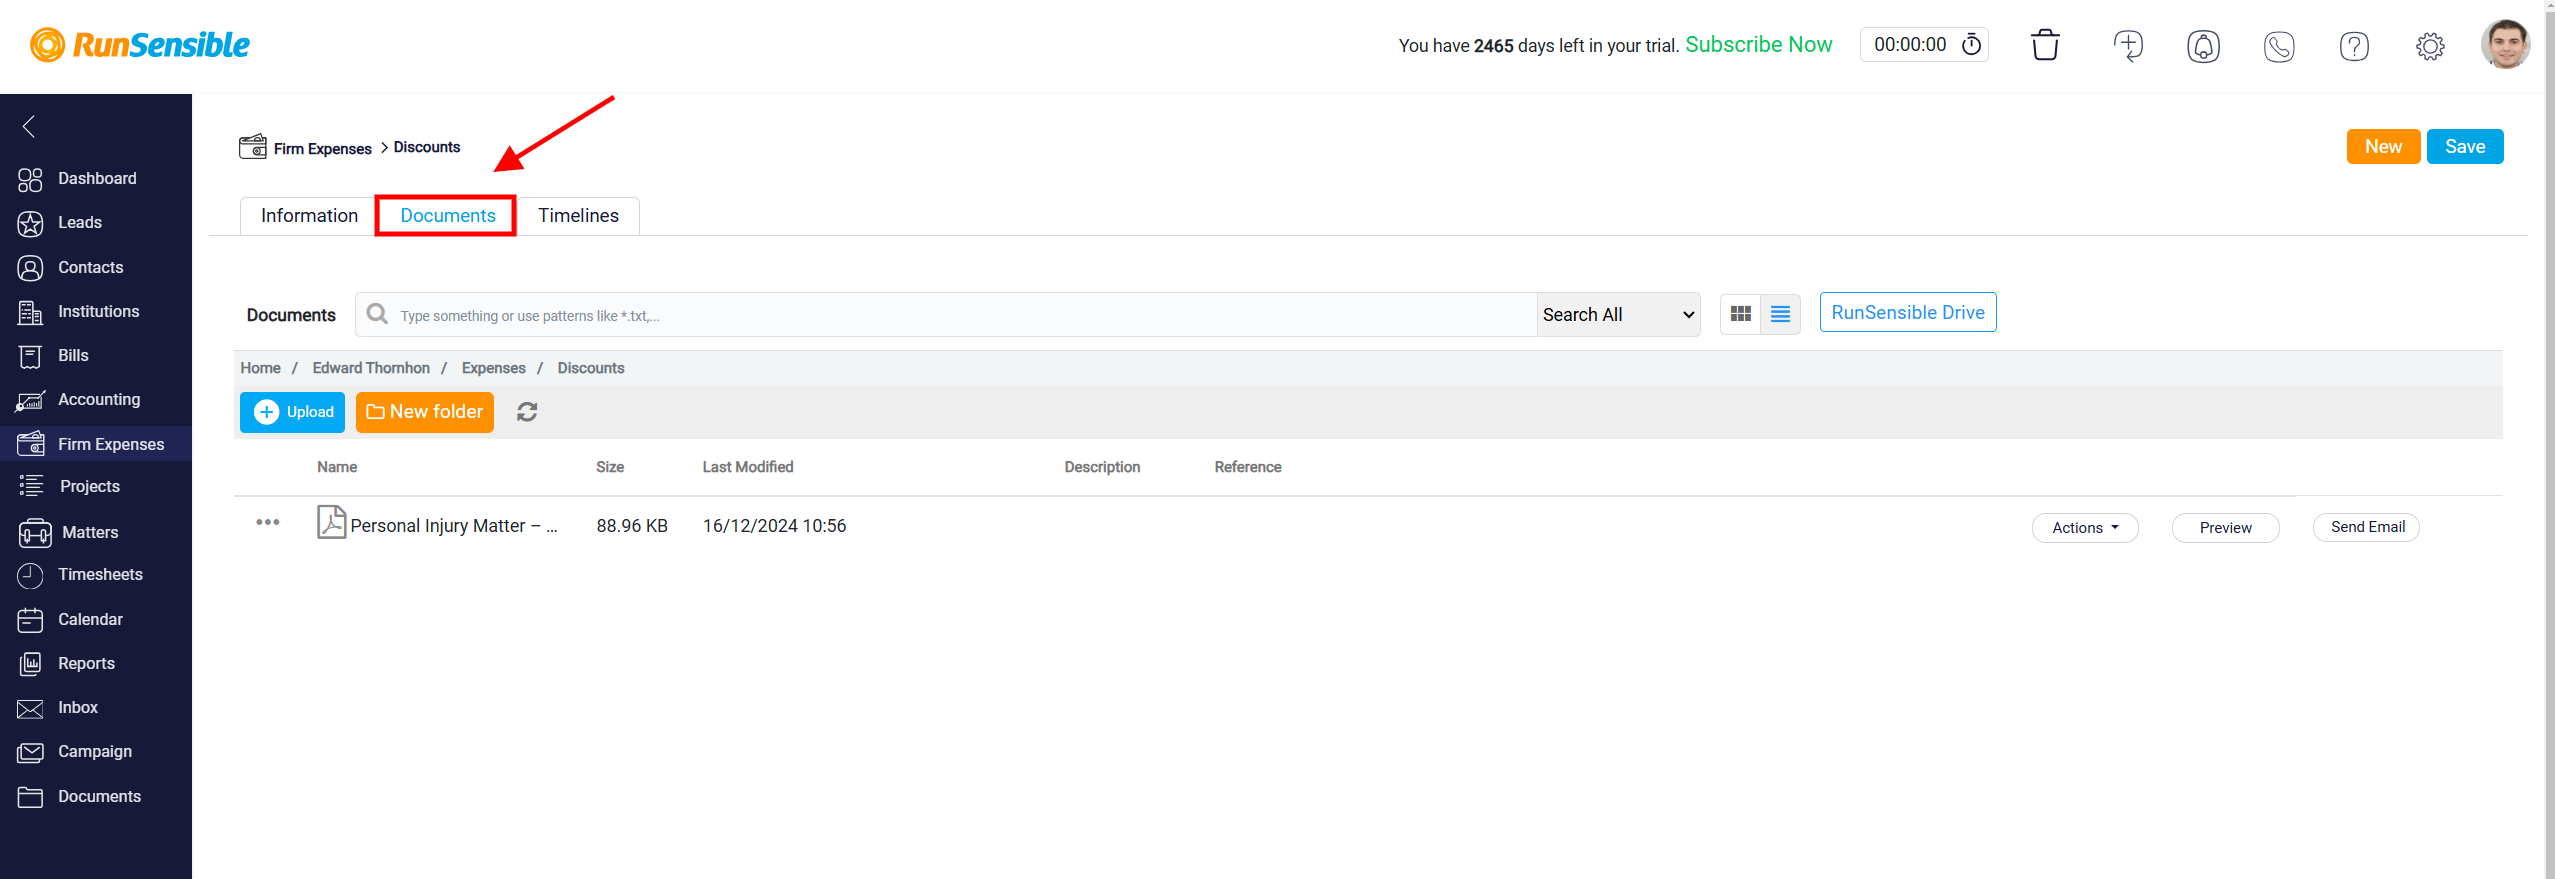
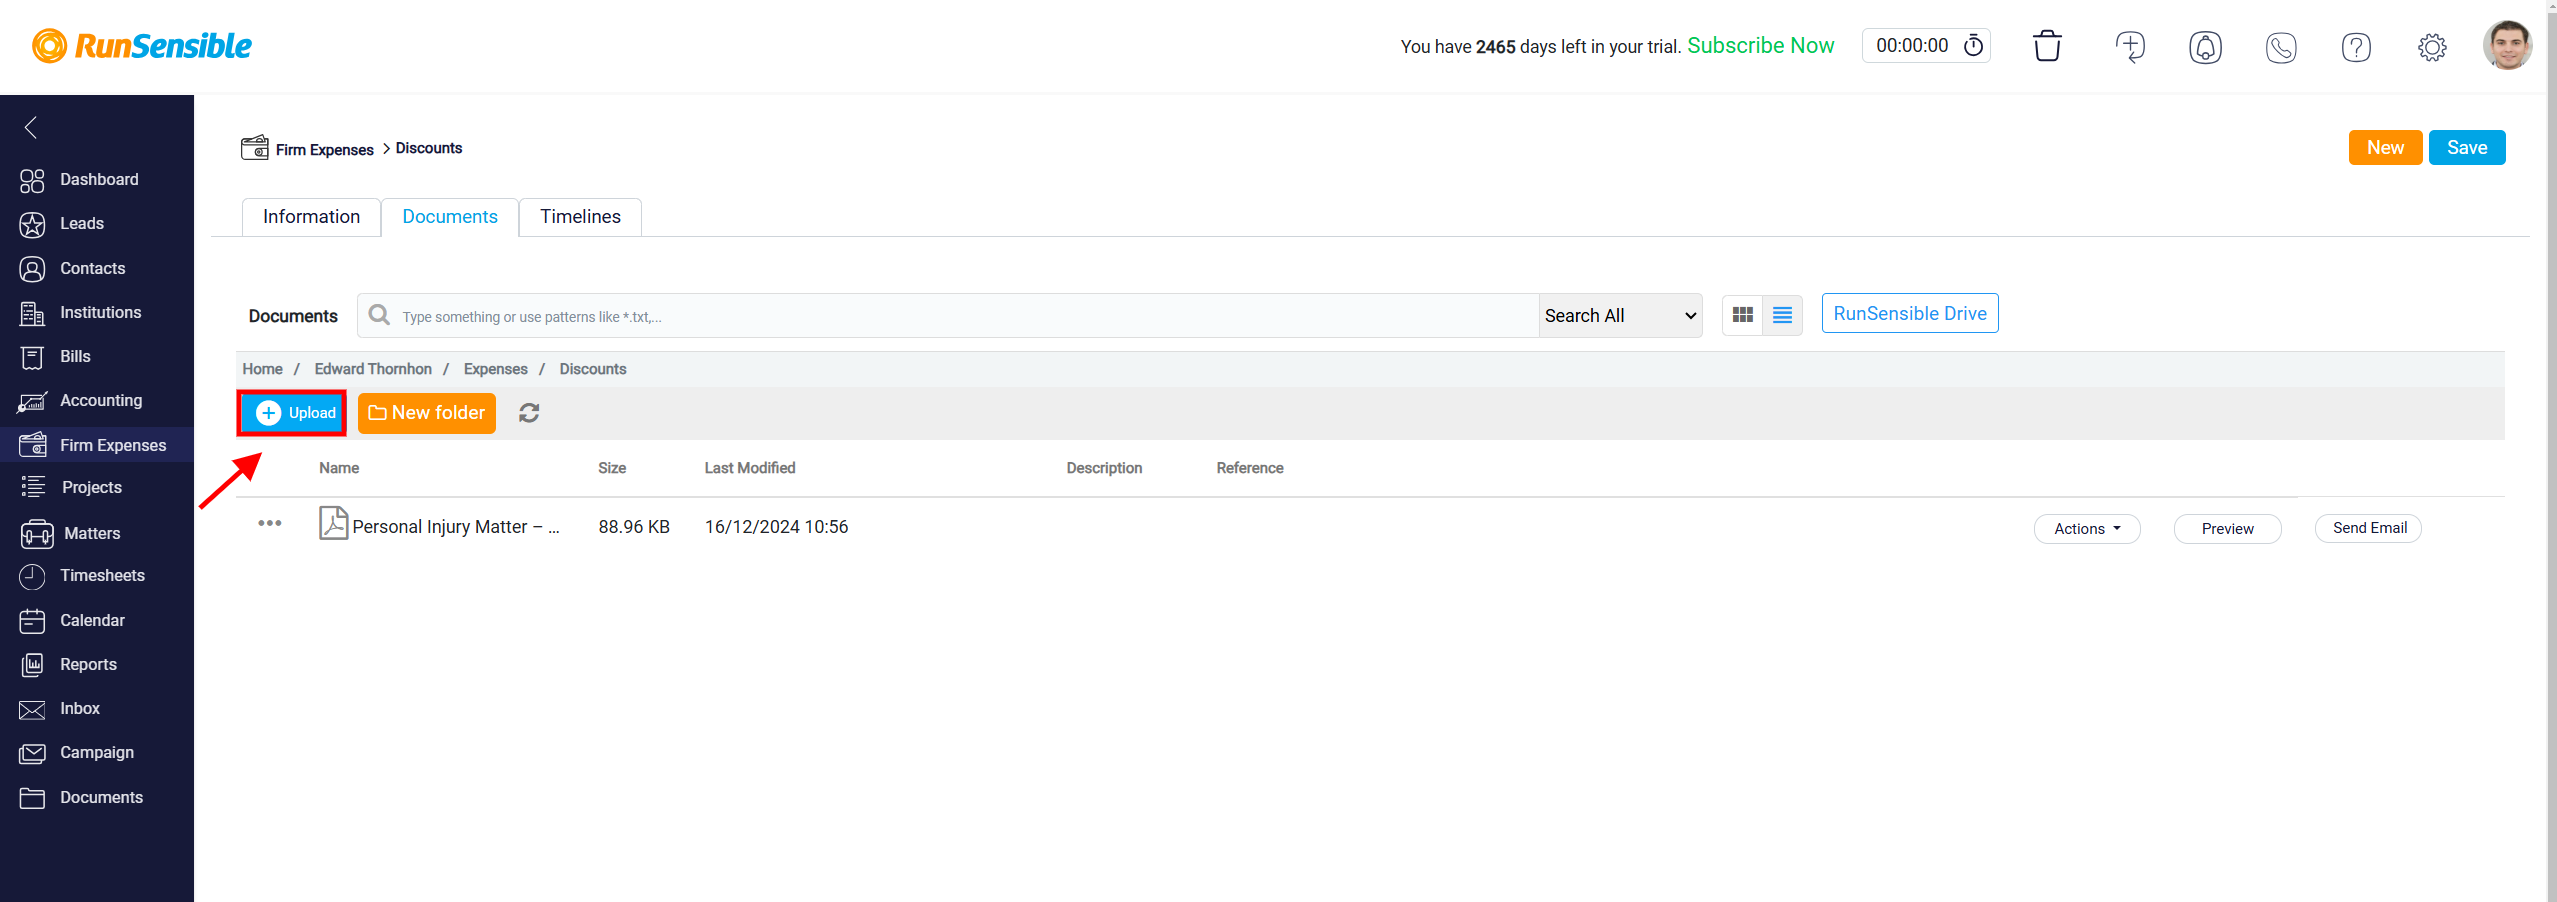
In this tab, you can use the Upload button to select and upload any files or folder you need, ensuring that all relevant documents are securely stored and easily accessible in one place.
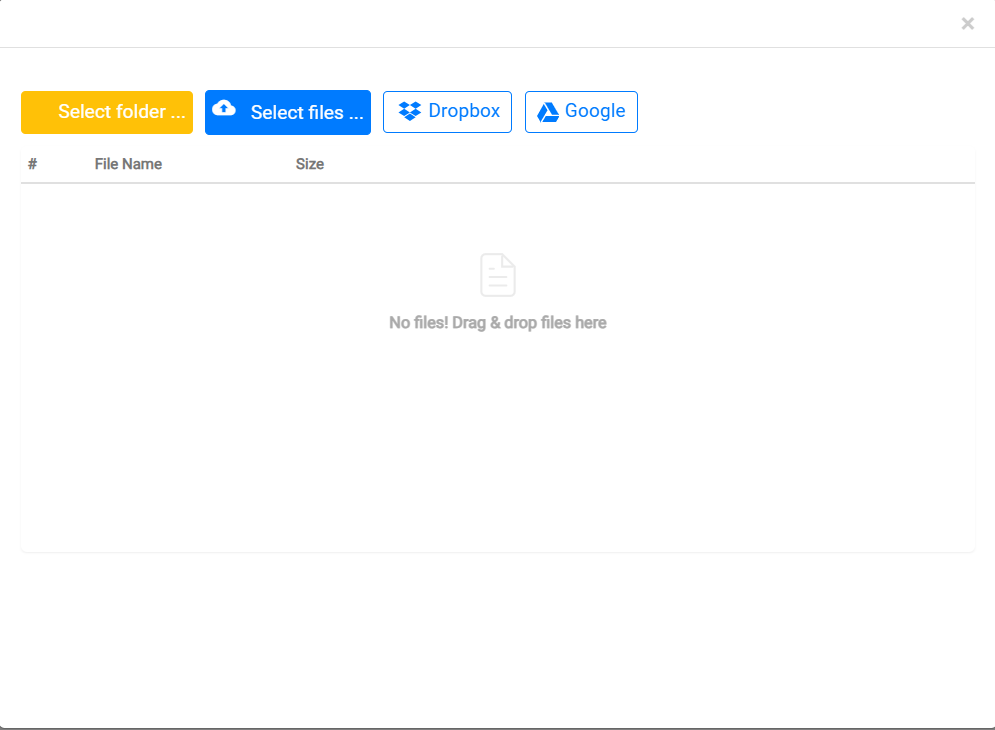
The Select folder button enables you to upload an entire folder directly from your device, while the Select files button allows the selection of individual files. Additionally, the interface integrates with cloud storage services like Dropbox and Google Drive, making it easy to upload files directly from these platforms. You can simply drag files or folders into this area as an alternative to manually selecting them.
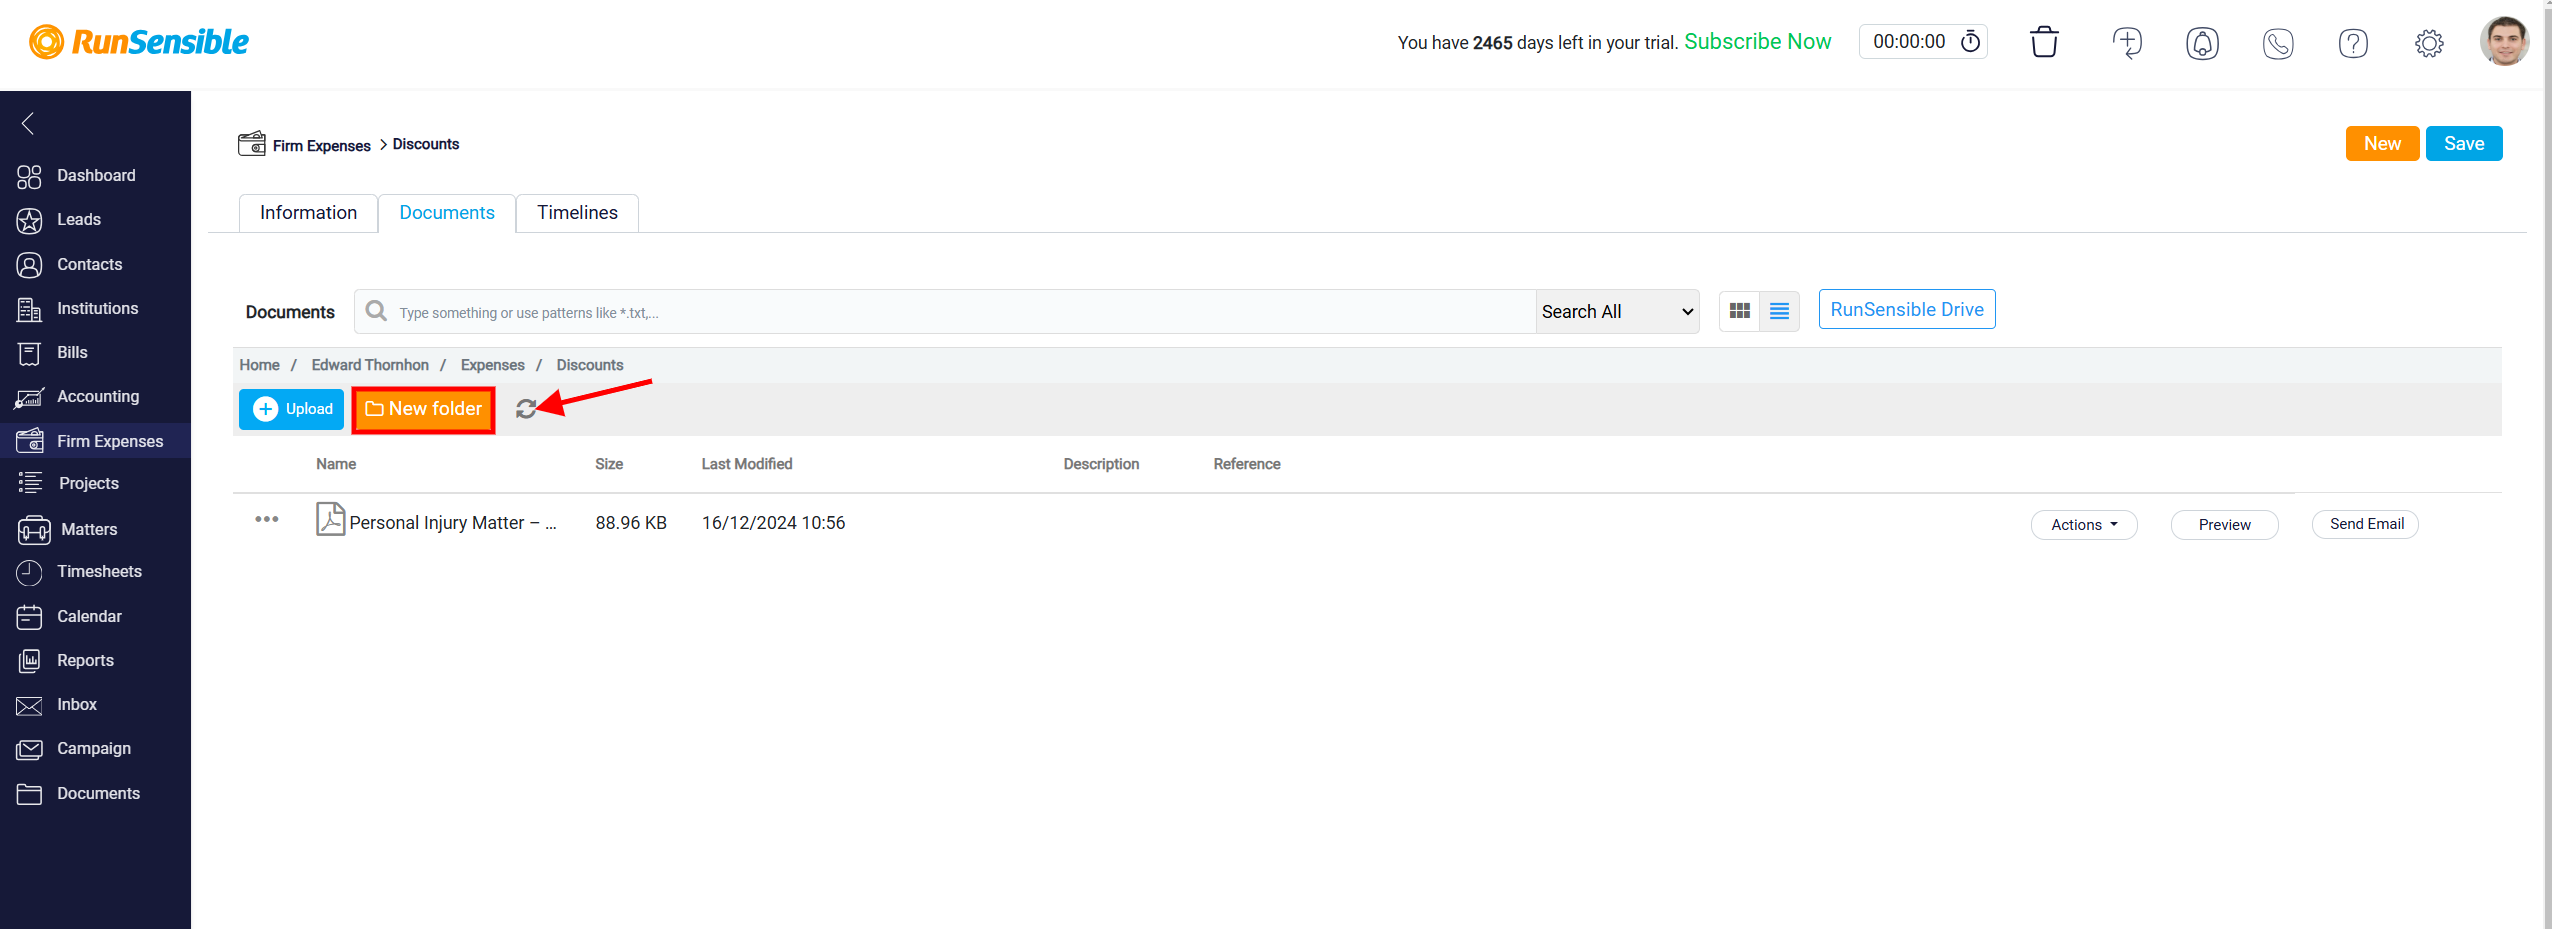
The New Folder button allows you to create new folders, enabling you to categorize and structure your documents in a way that suits your workflow.
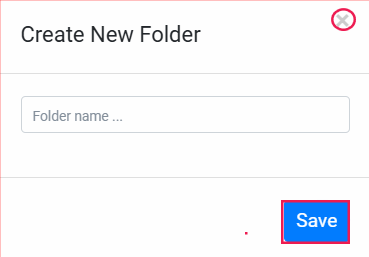
A text box enables you to type a name for the new folder. After entering the name, click the Save button to create the folder. If you decide not to create a new folder, they can click the “X” icon in the top-right corner, which closes the dialog box and cancels the process.
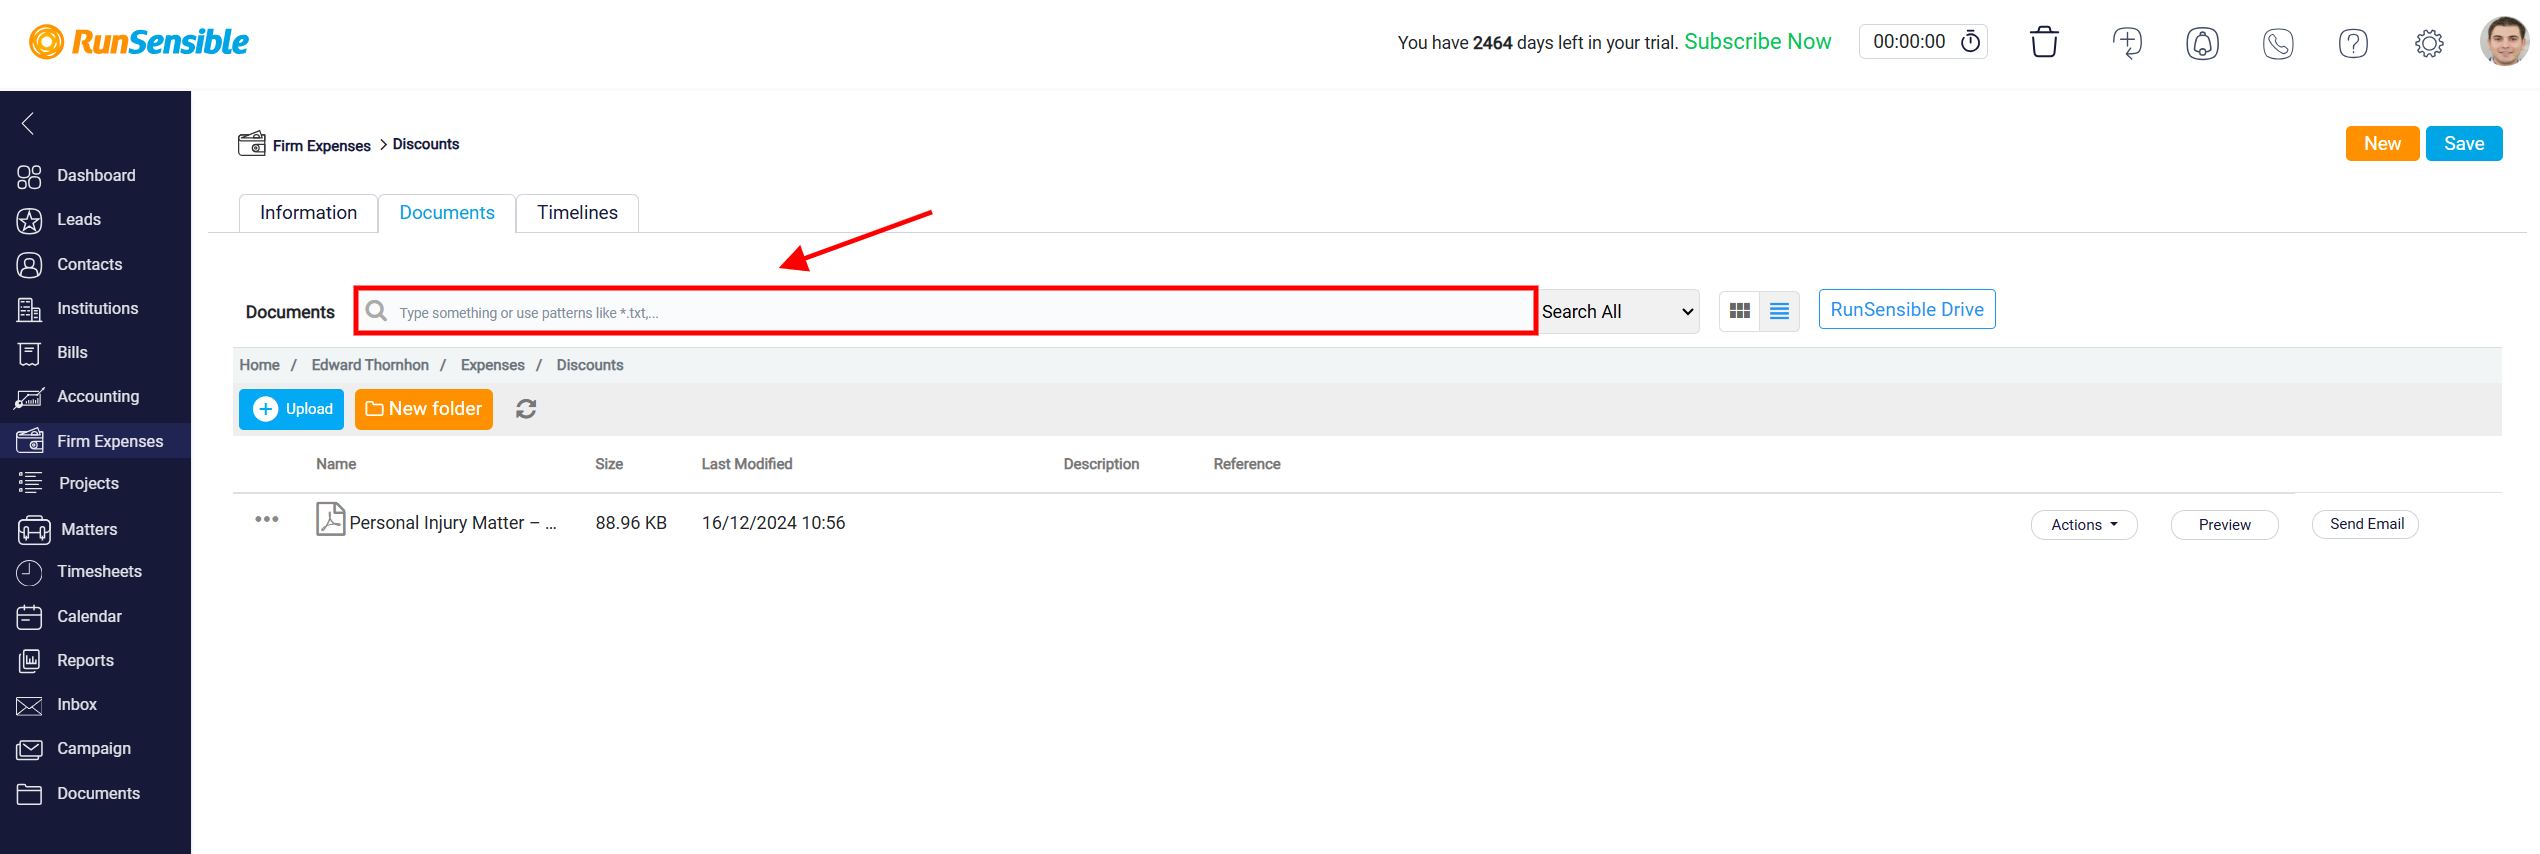
Upon accessing the documents section, you will see a Search bar at the top where you can type keywords to search for specific documents or folders. This makes it easy to find what you need quickly.
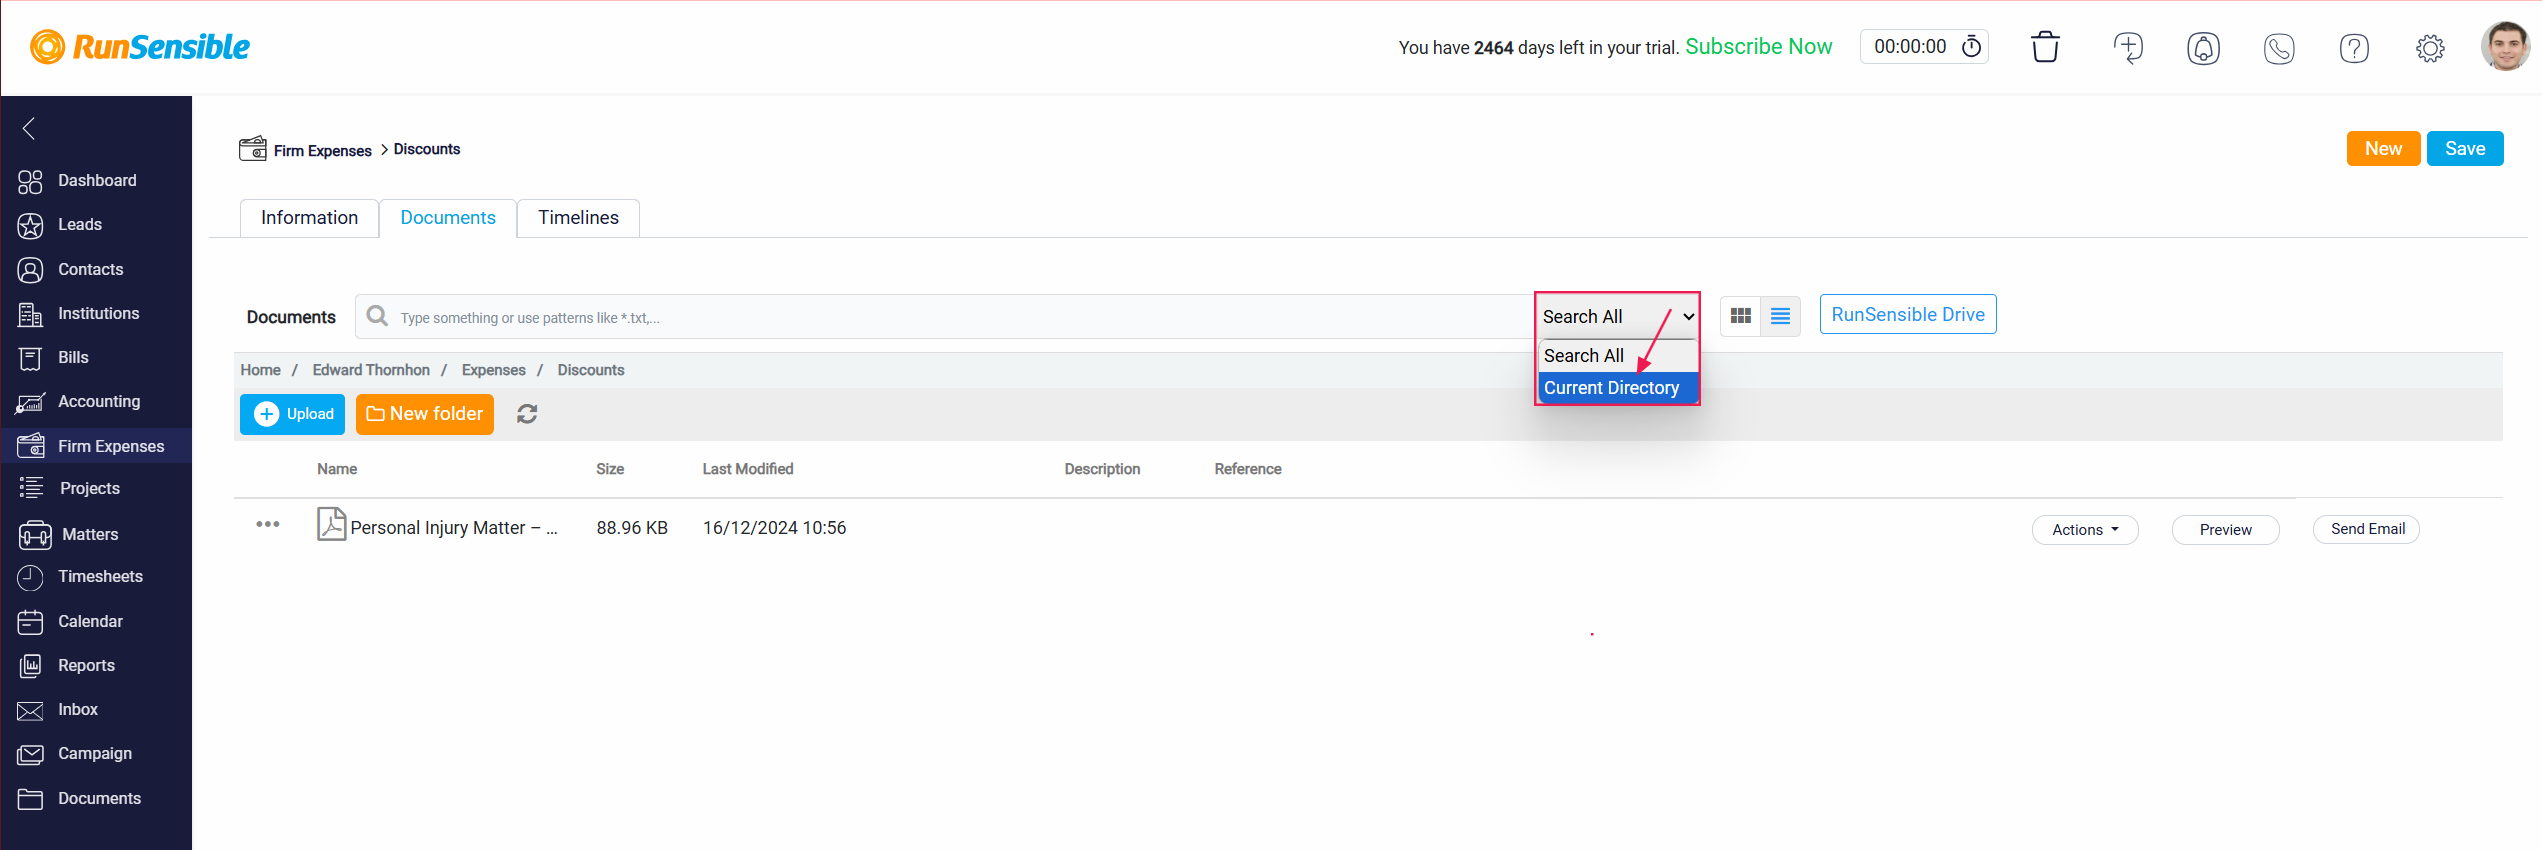
Next to the search bar, you will find Search All button, offers a dropdown menu with two search options that enhance file-finding capabilities. The first option, Search All allows users to search for documents or files across all directories and folders within the system. This system-wide search feature is particularly helpful when users are uncertain about the file’s exact location or need to perform a broader search.

The second option, Current Directory, limits the search to the current folder or directory only. This is useful for users who know the file resides within the current folder and want a faster, more focused search without sifting through irrelevant results from other directories. In practice, Search All is ideal for scenarios where the file’s location is unknown, while Current Directory provides efficiency when the file’s location is already identified. Together, these options offer flexibility and precision in managing and retrieving files.
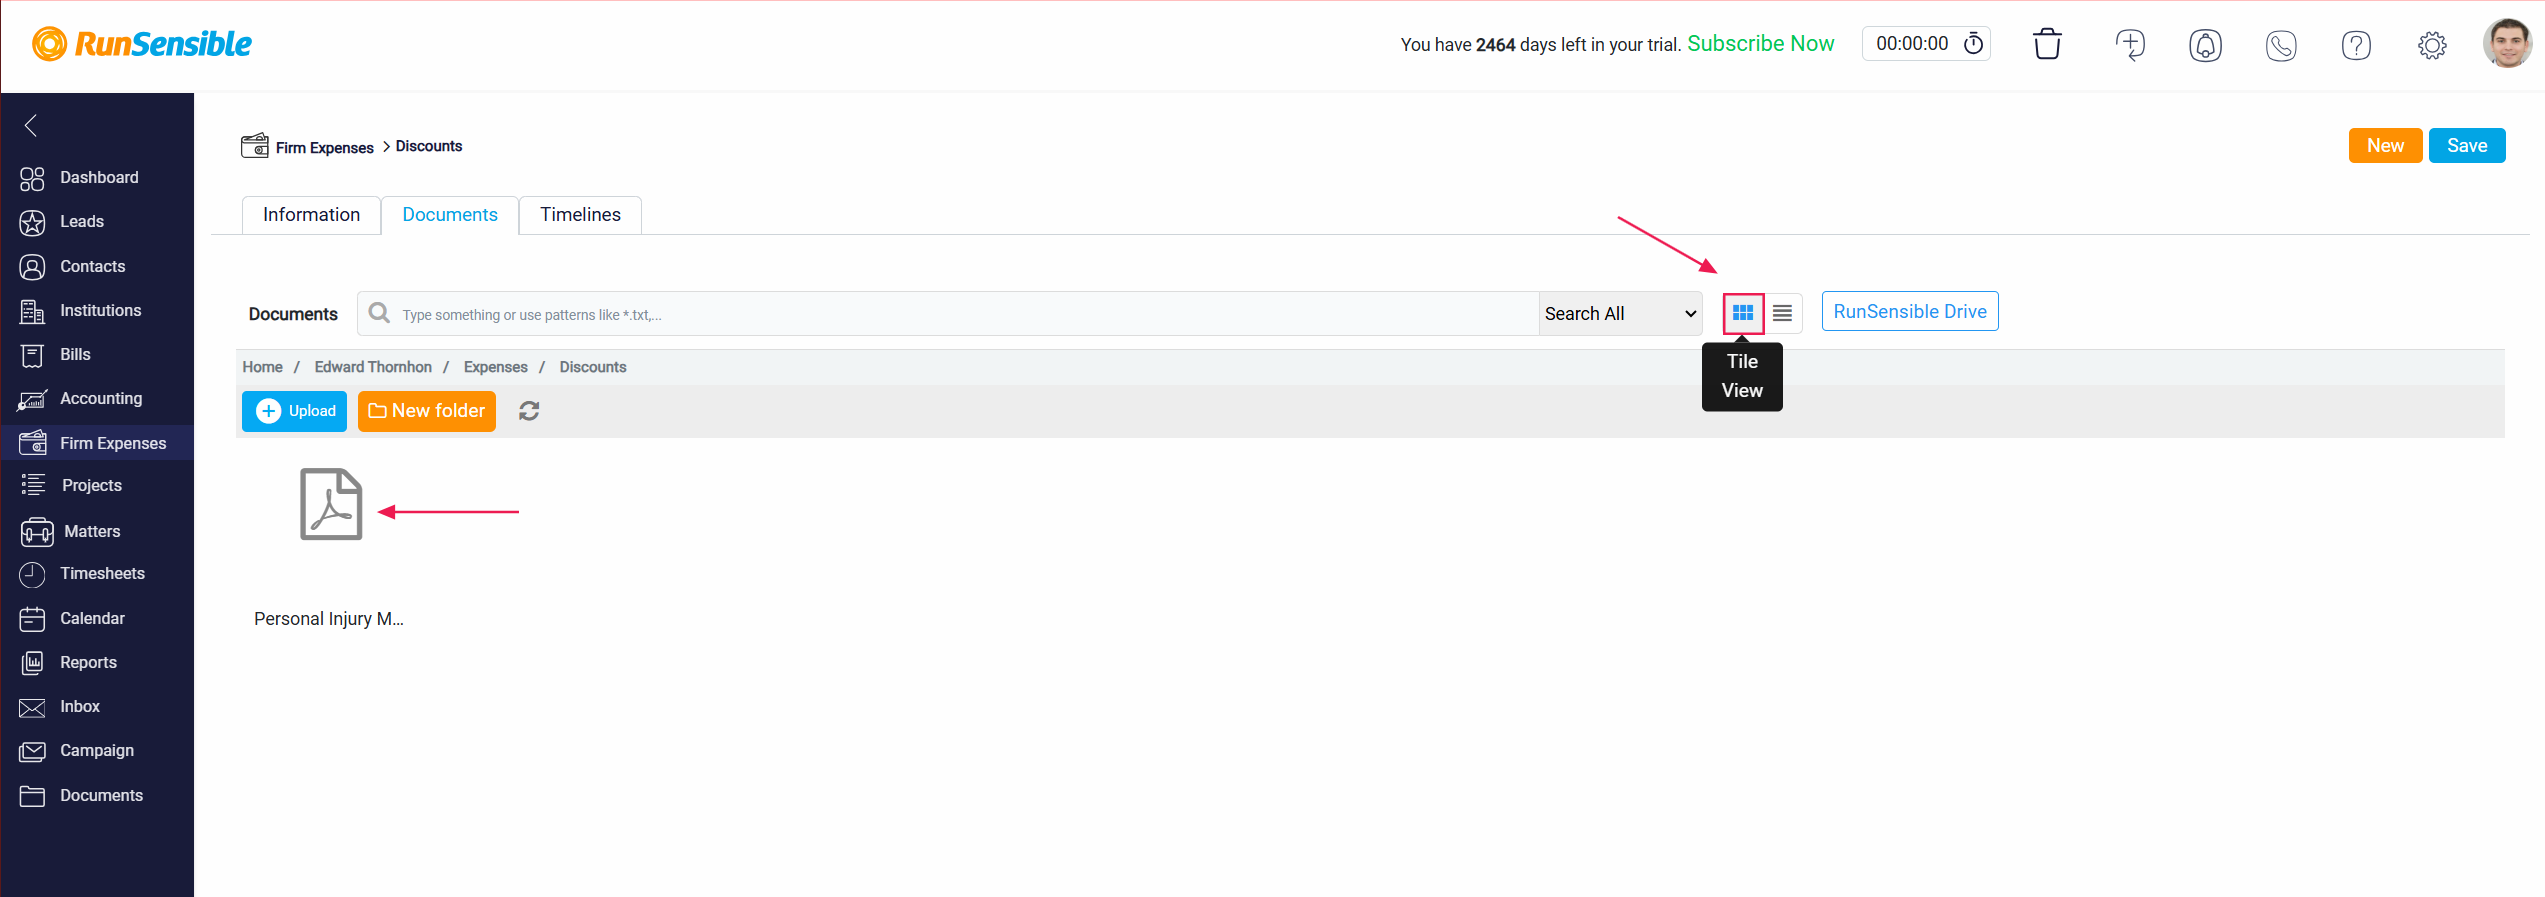
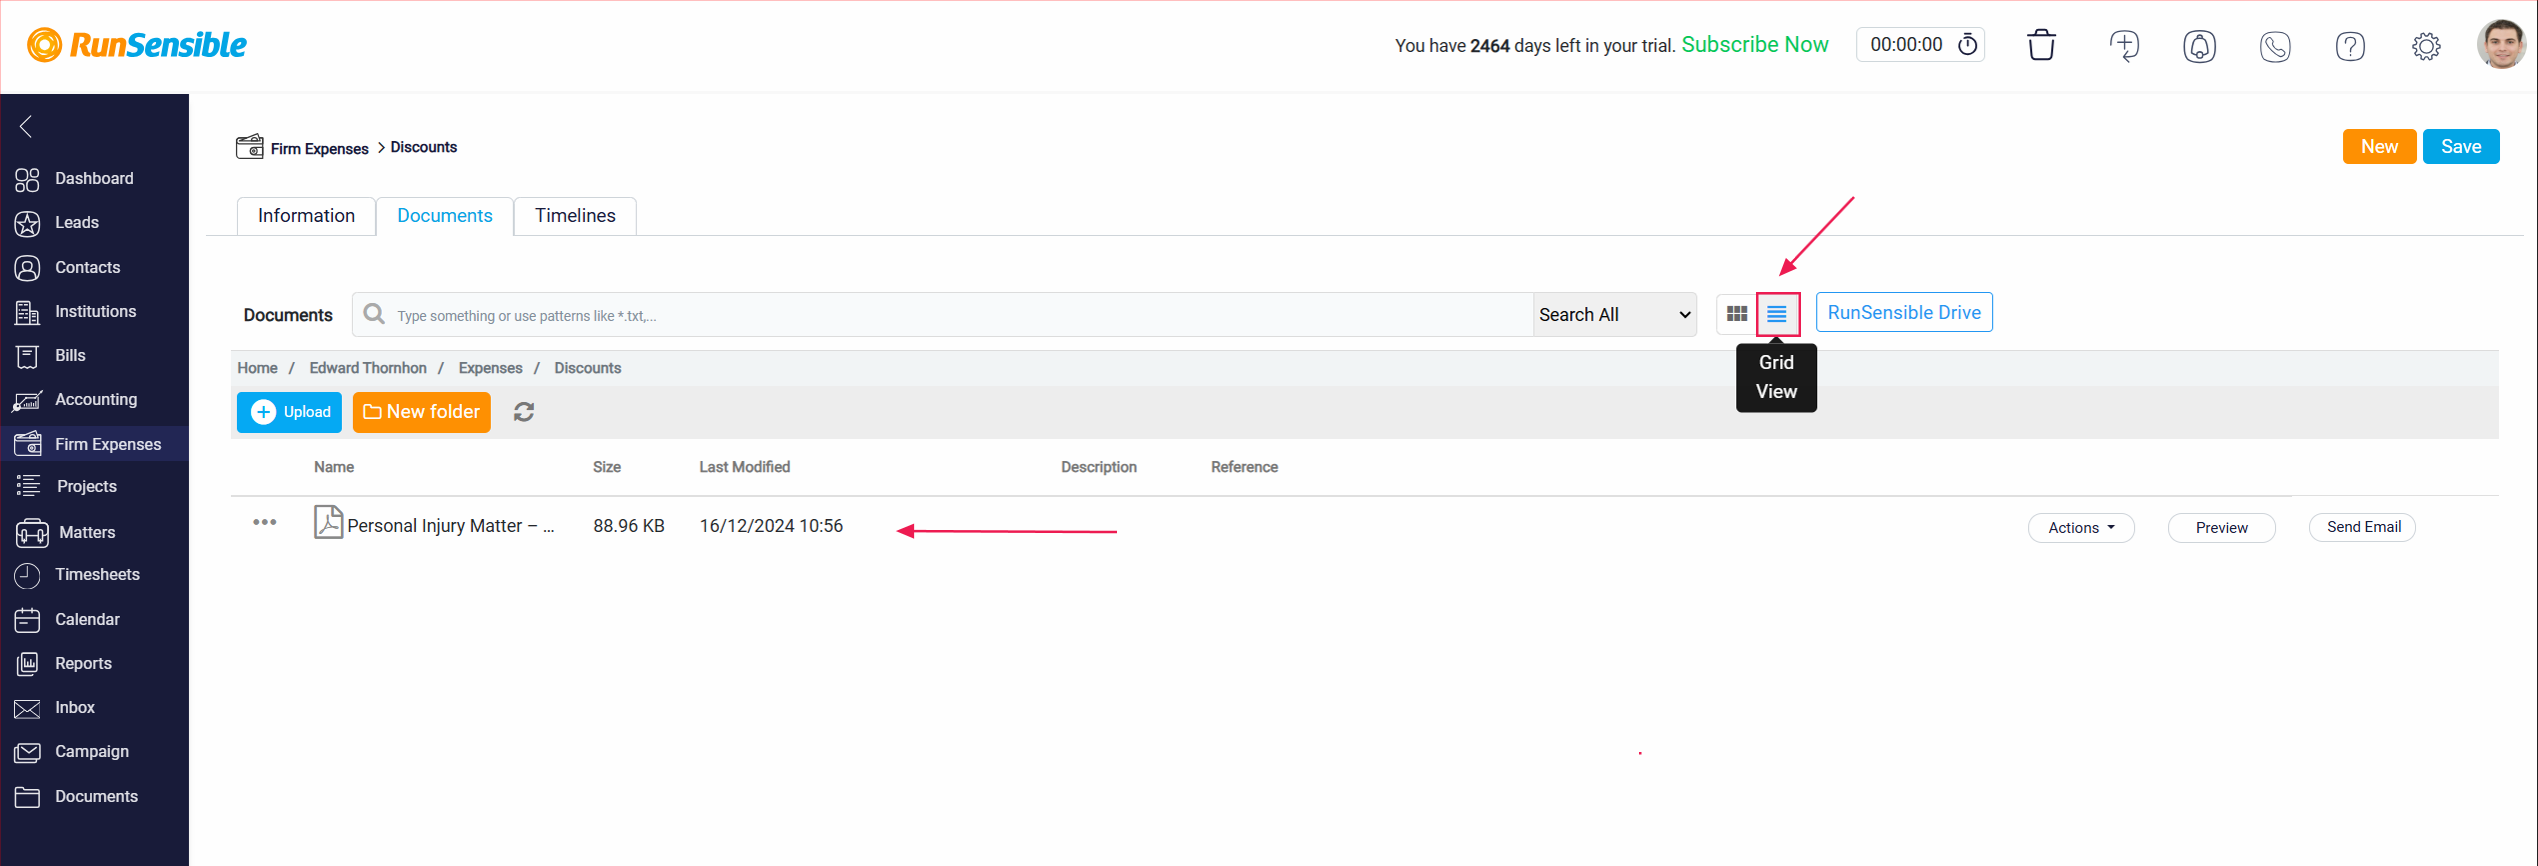
You can also switch between Title View and Grid View to display your documents. Select the view that best matches your preference for browsing and managing your files efficiently.
Additionally, in the document tab, there is a button labeled RunSensible Drive.
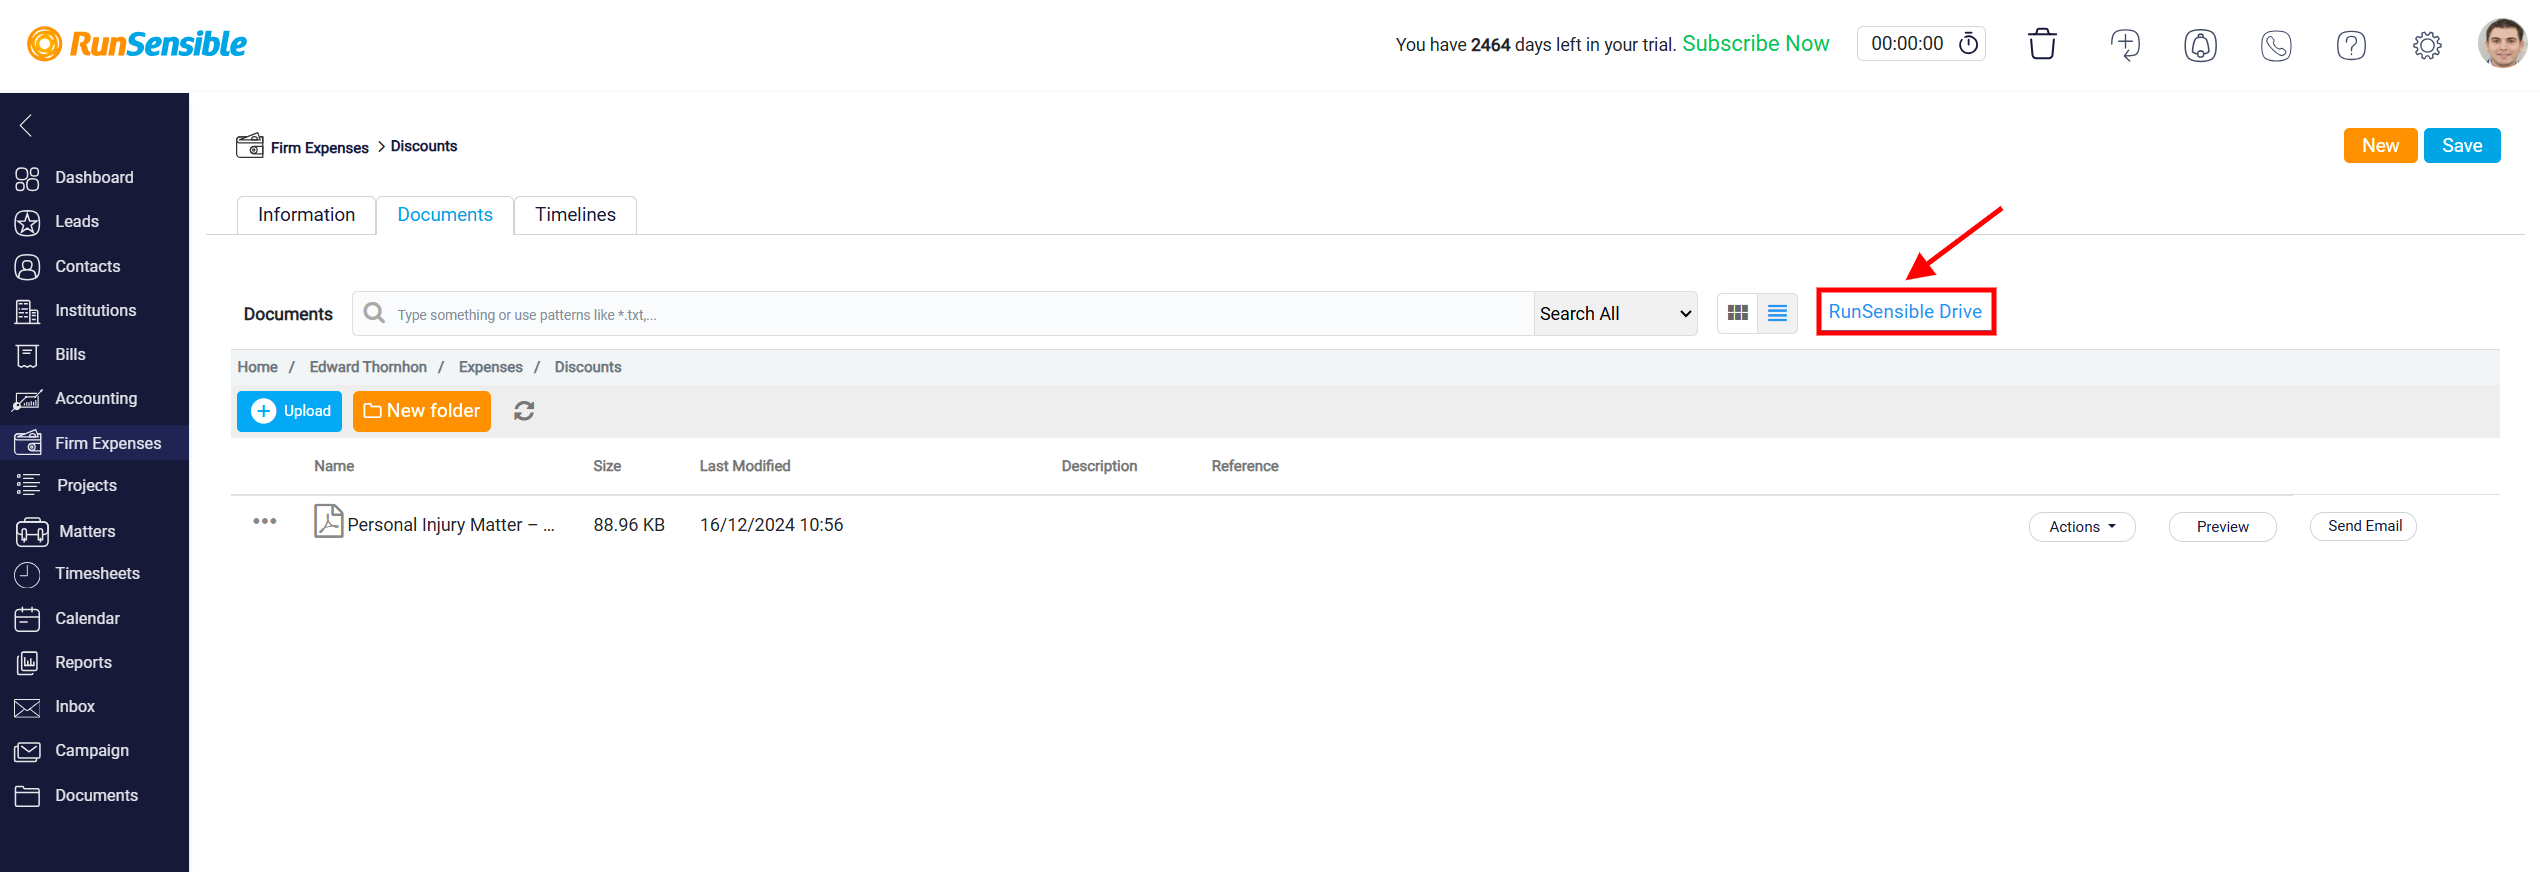
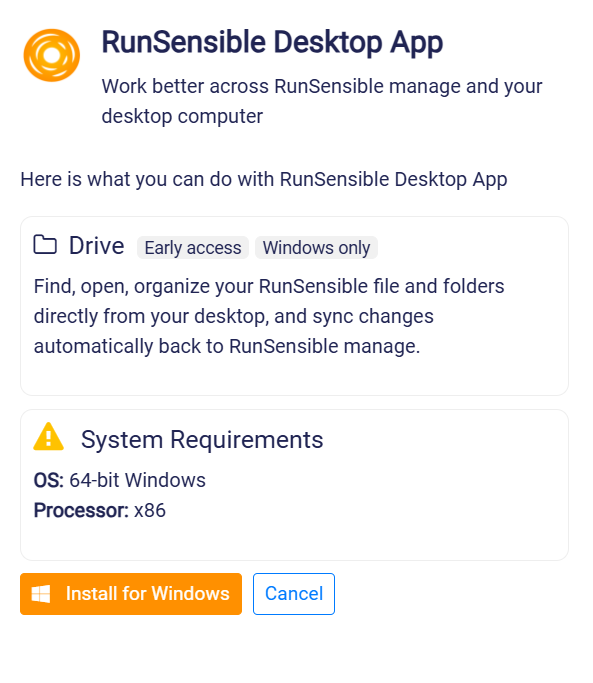
By clicking on this button, you can download the RunSensible Drive app to your PC. Once installed, this app will create a dedicated drive on your computer called RunSensible Drive. This drive will sync all the documents and templates you have within the system directly to your computer’s desktop, giving you convenient offline access to your files. With RunSensible Drive, you can manage and interact with your documents and templates as if they were stored locally on your computer.
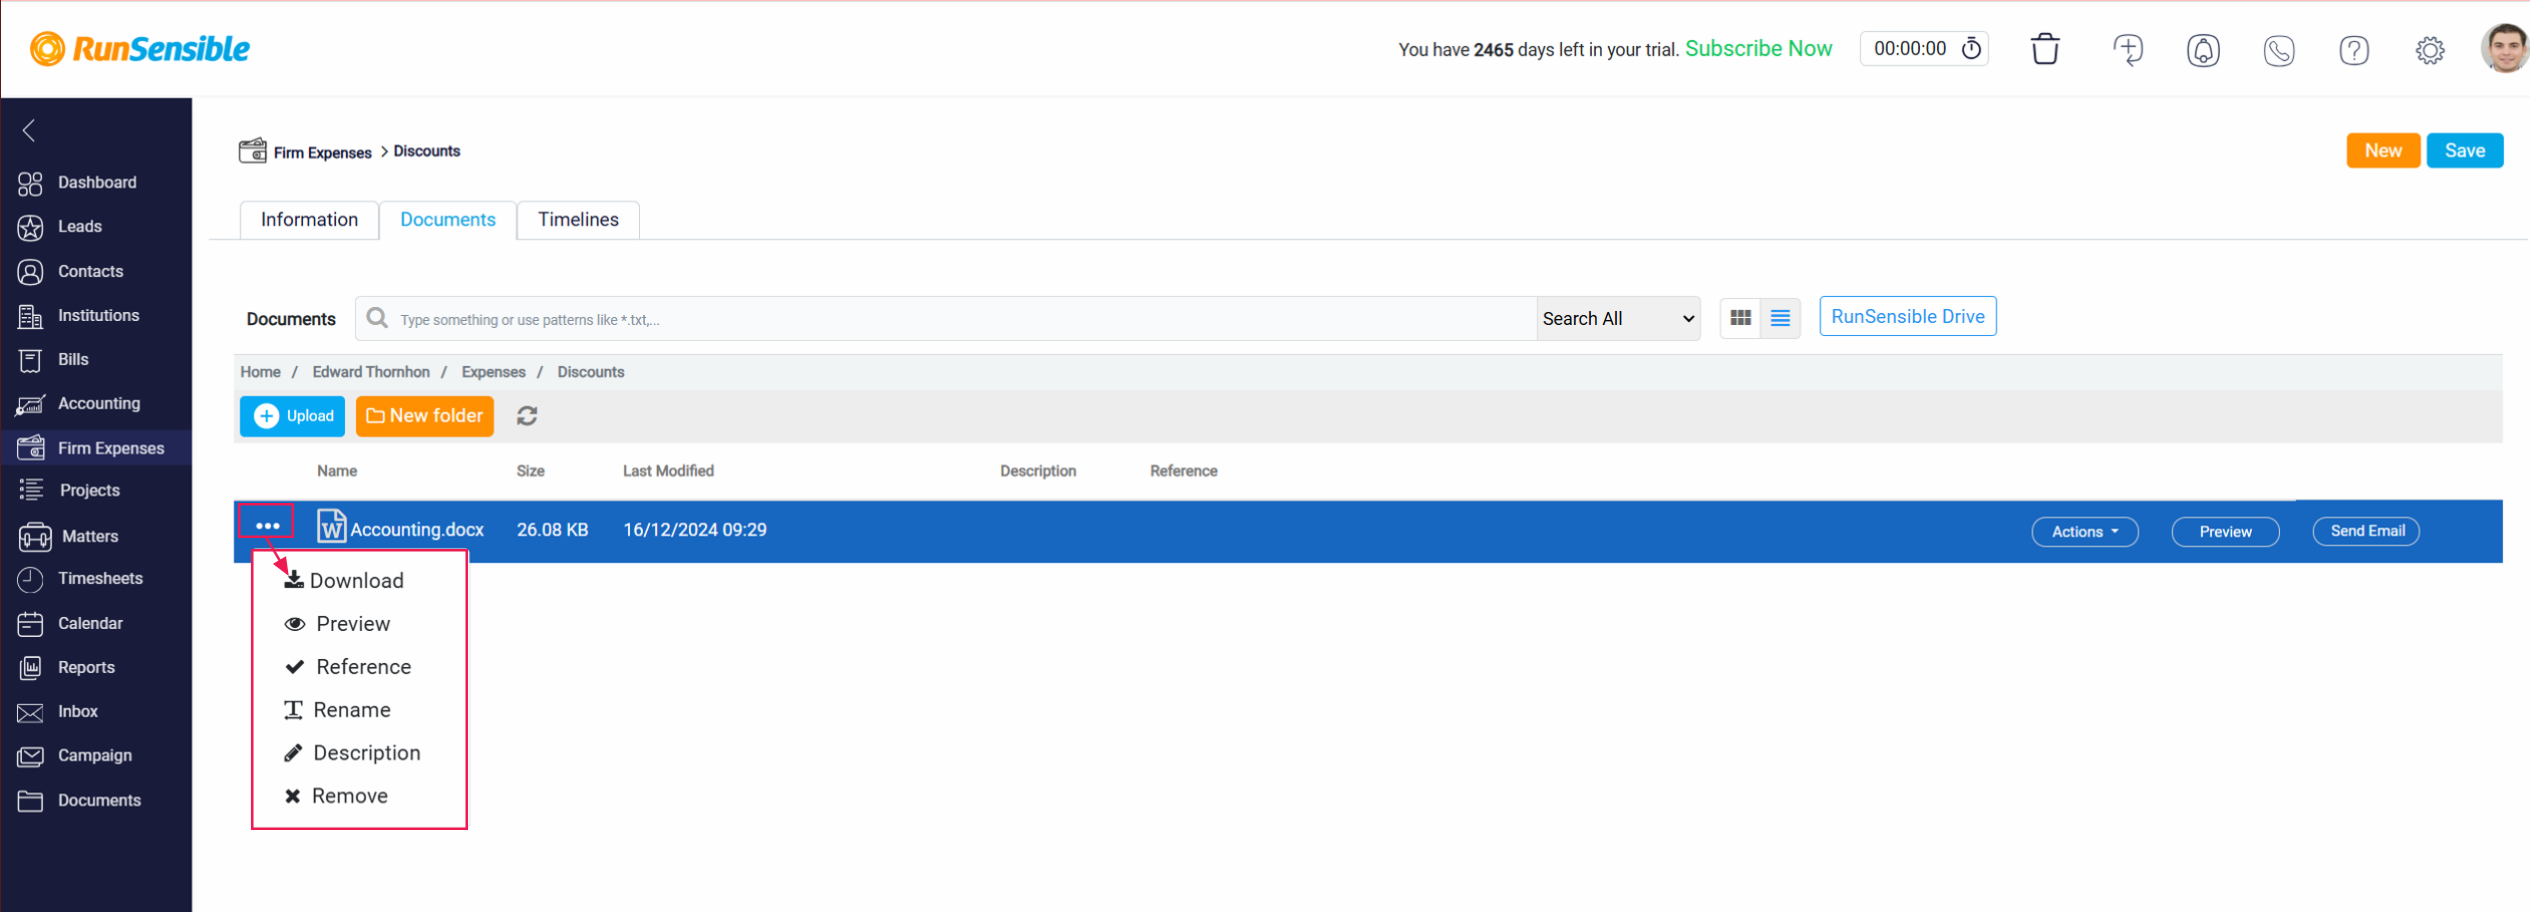
Next to each folder or document, there is a three dots menu that provides more options. Clicking this menu allows you to
- Download the file to your local device;
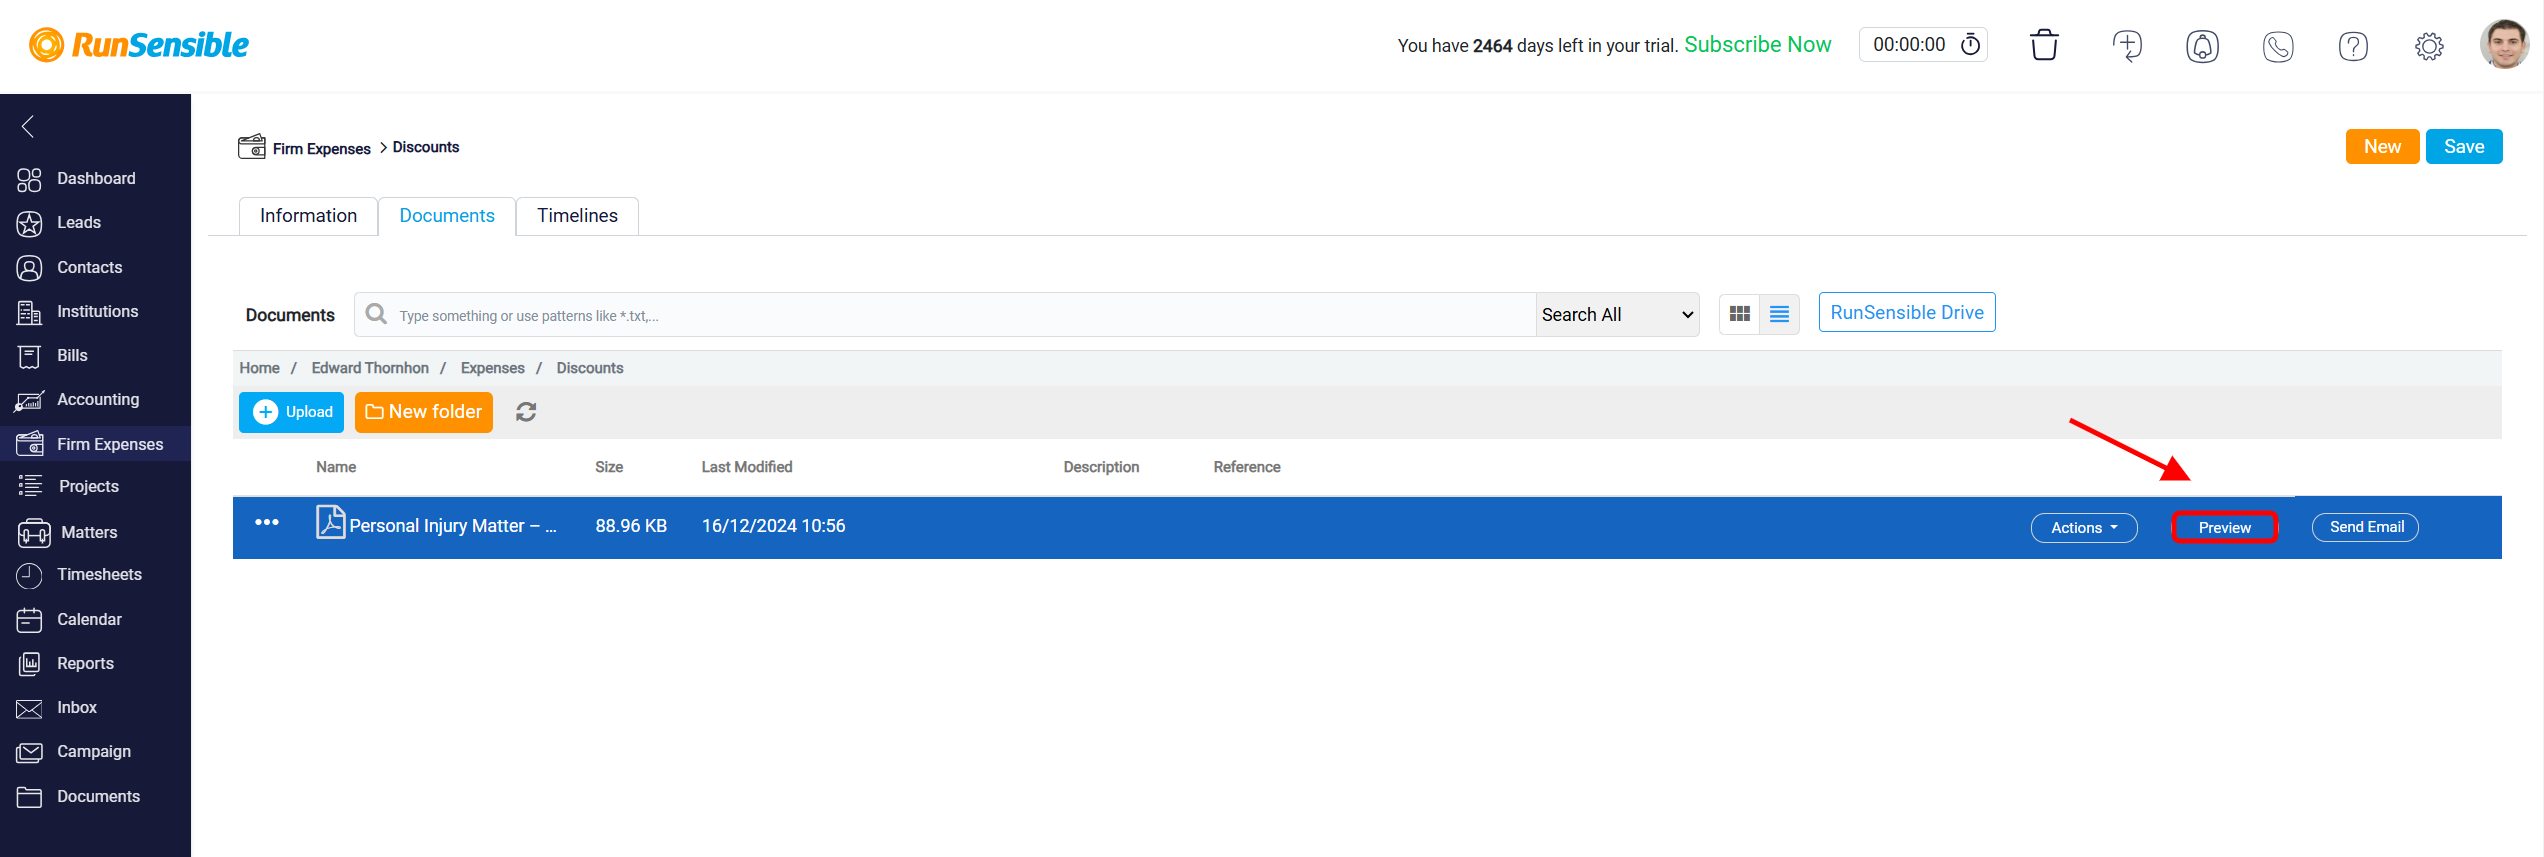
- Preview the file directly within the platform without downloading it;
- create or add a Reference note related to the file;
- Rename the file to a new name;
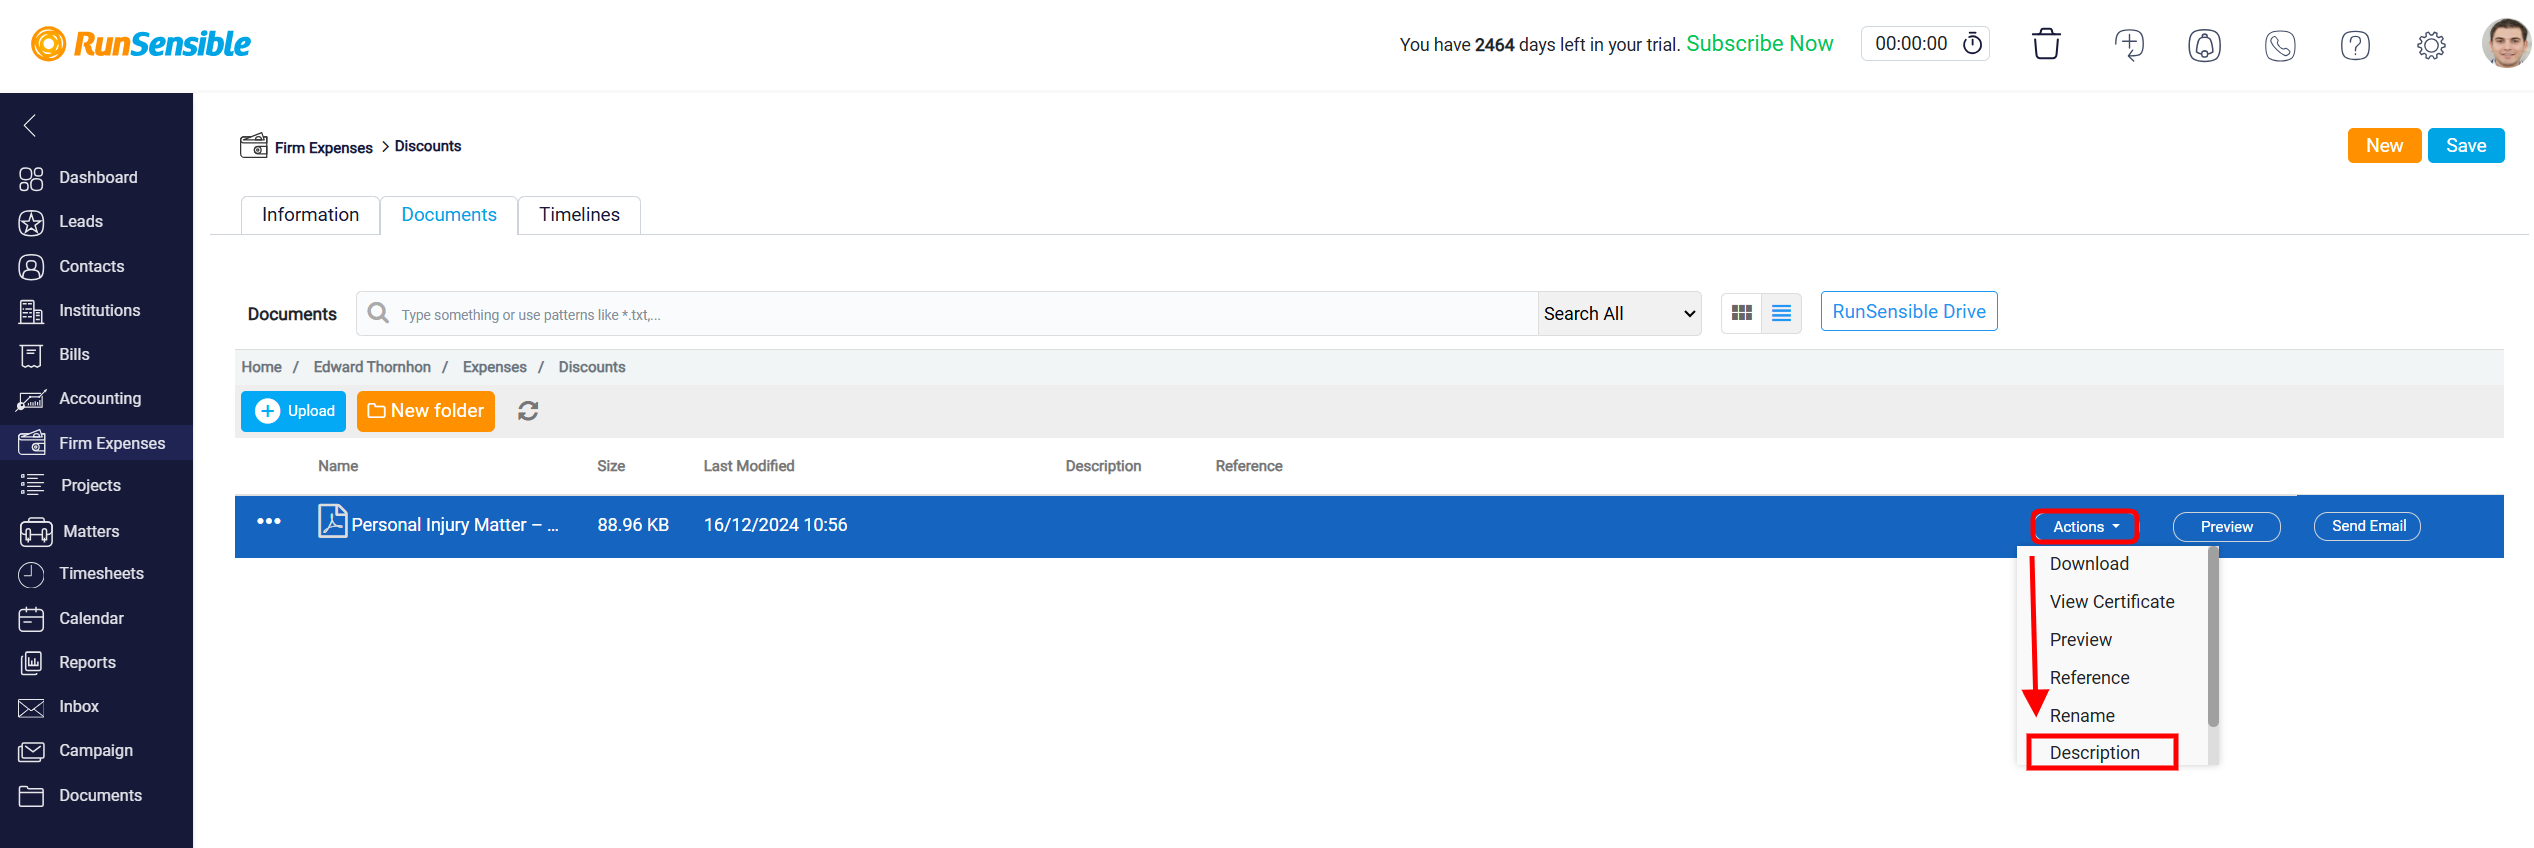
- adds or edits a Description to provide more context for the file;
- Remove the file from the system.
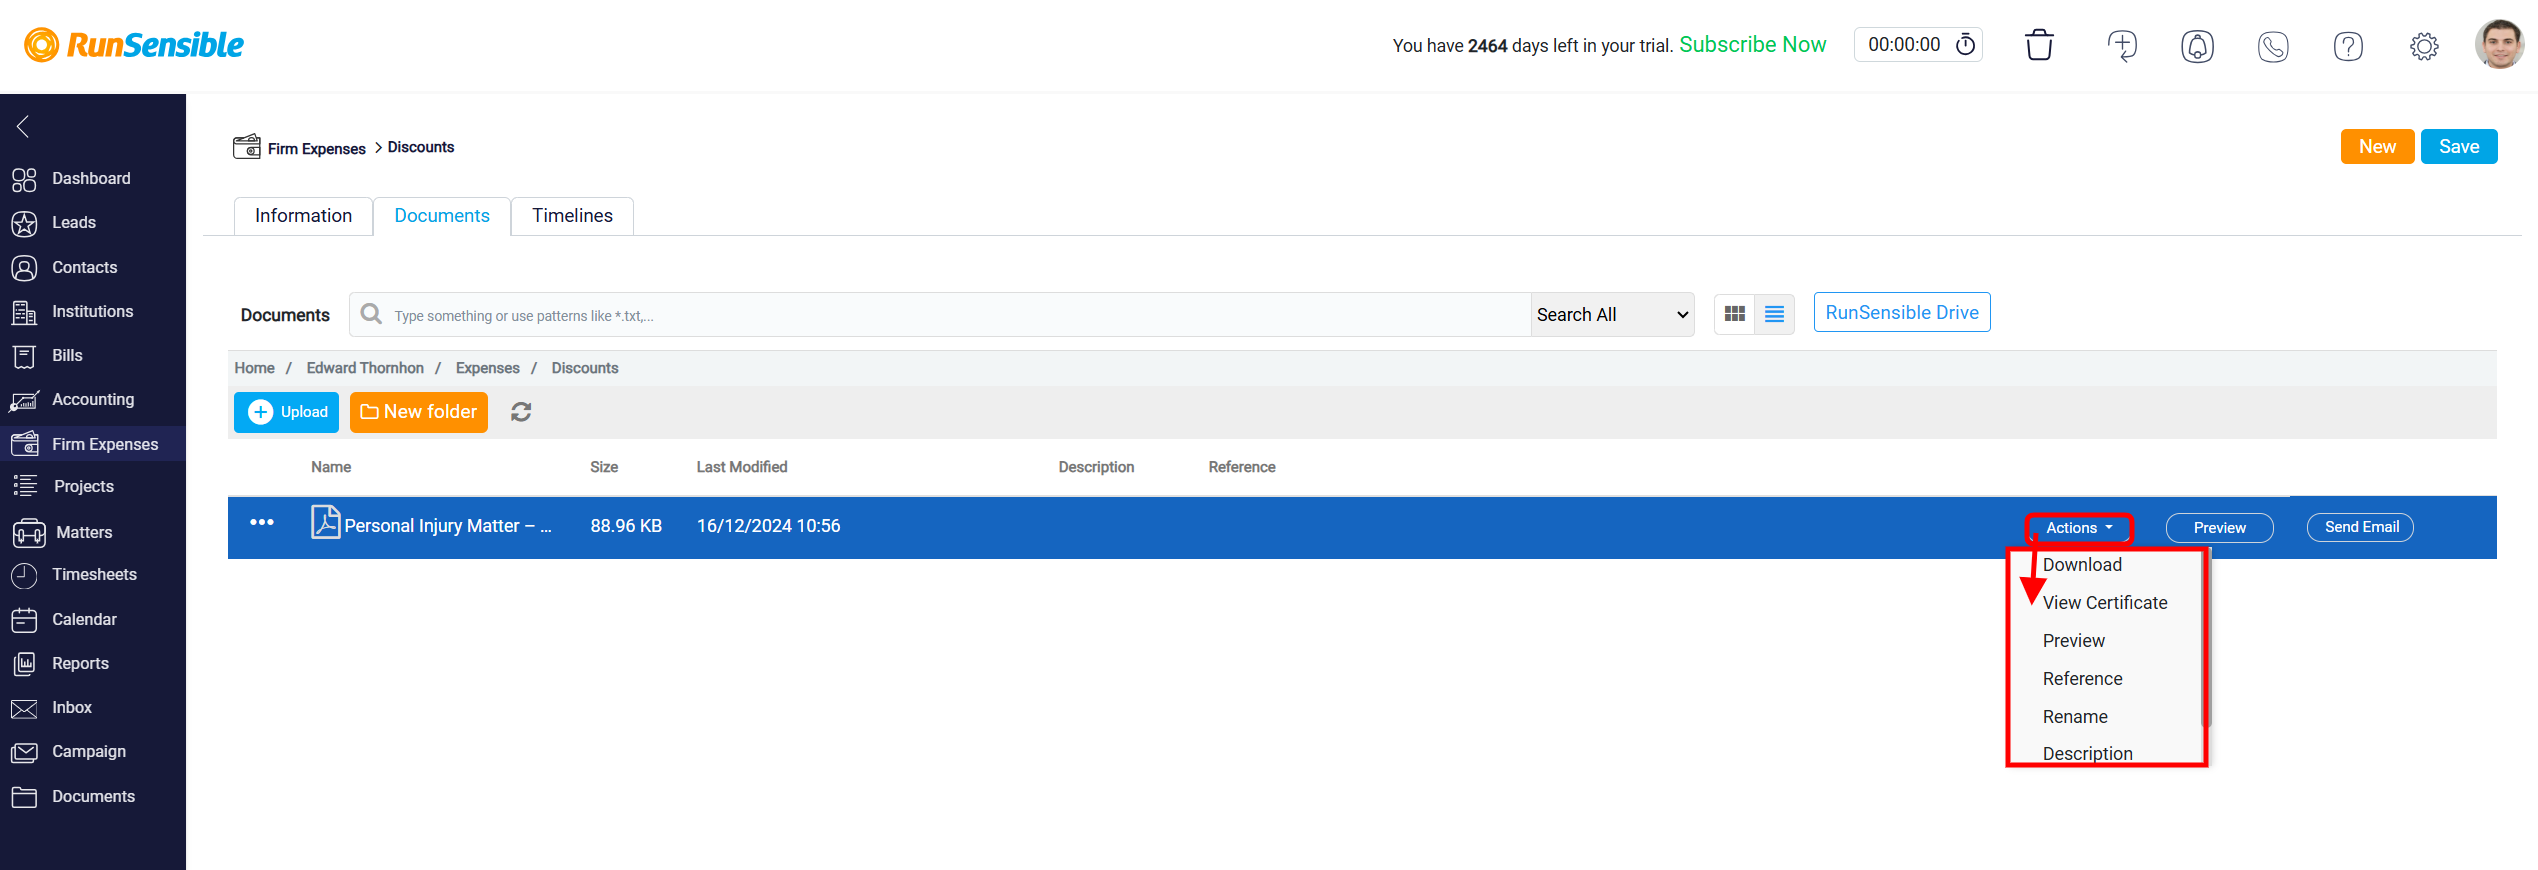
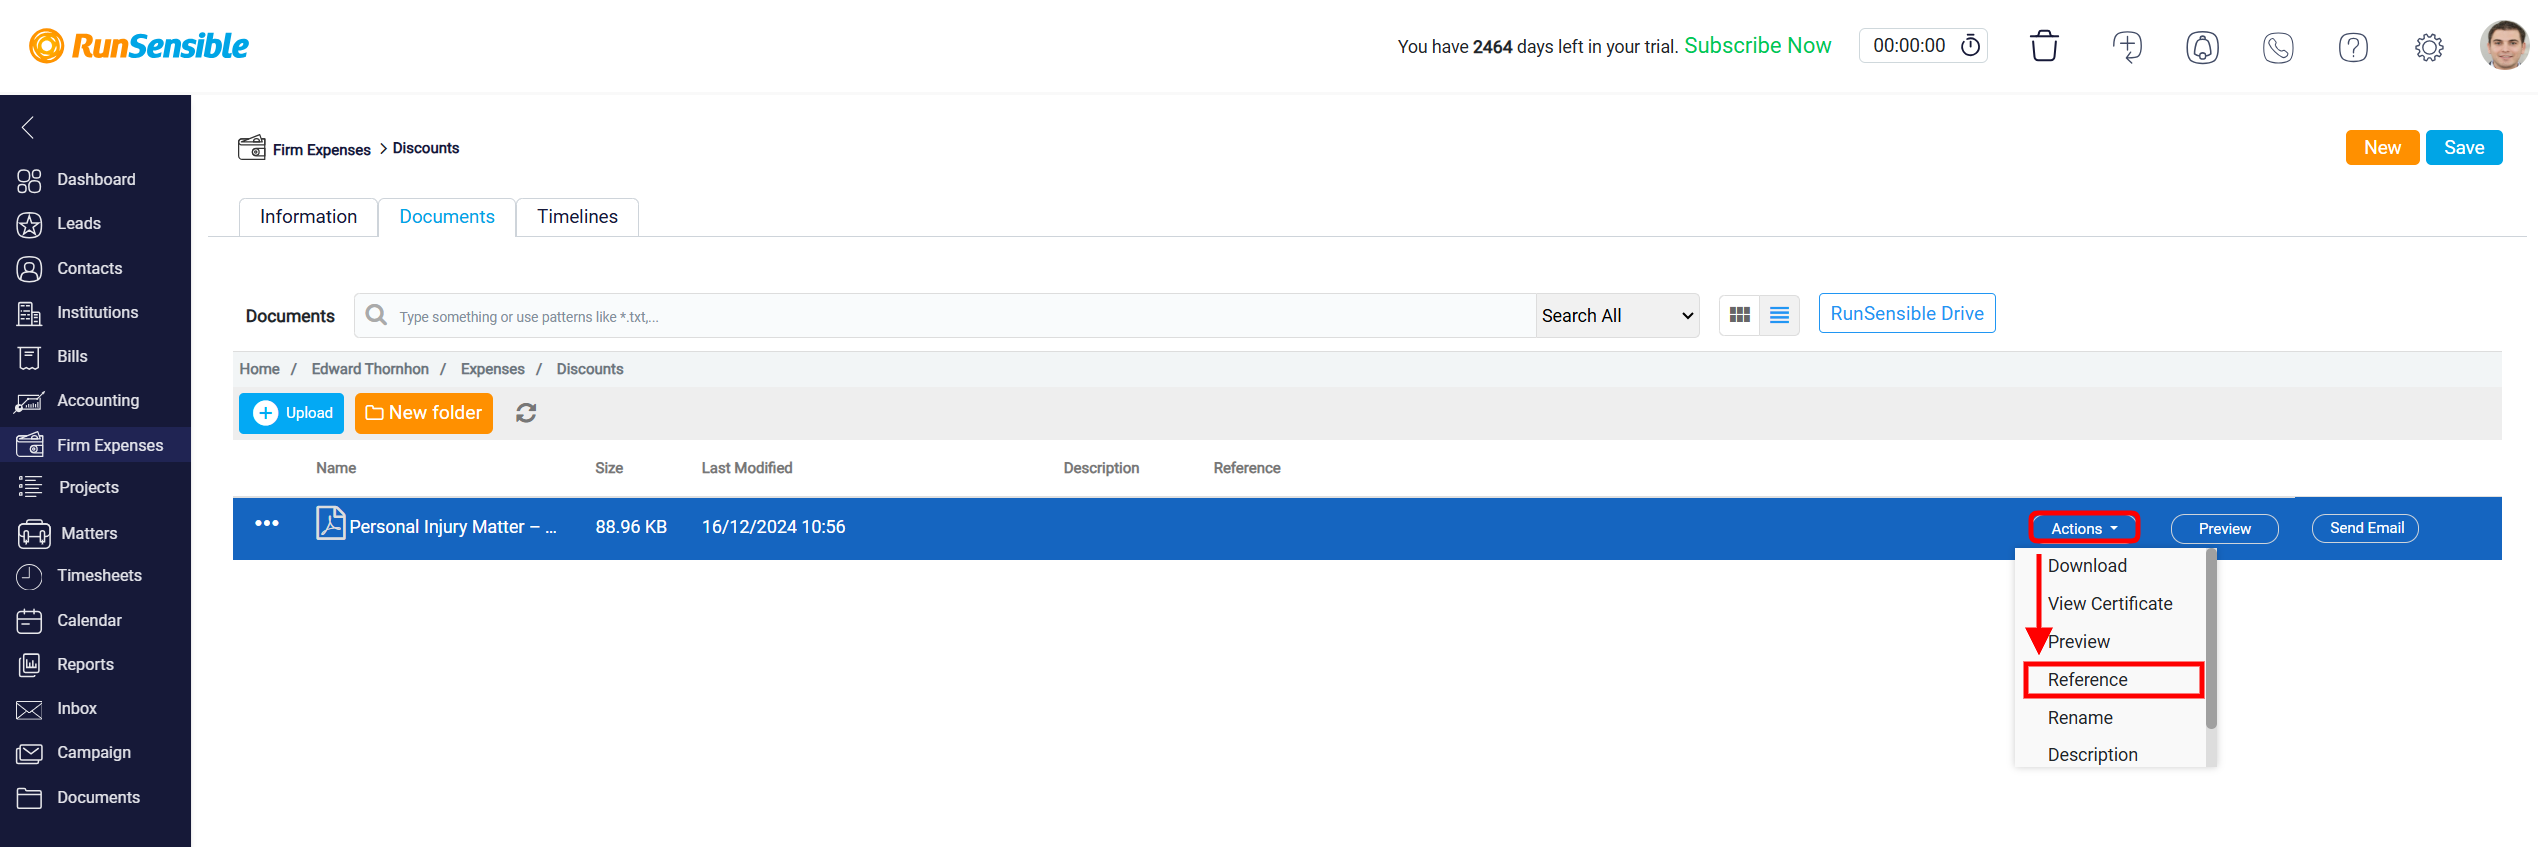
An Actions button is available next to uploaded documents, allowing you to perform various tasks such as Download, any associated Certificate related to the document, Preview, Reference, Rename, and Description.
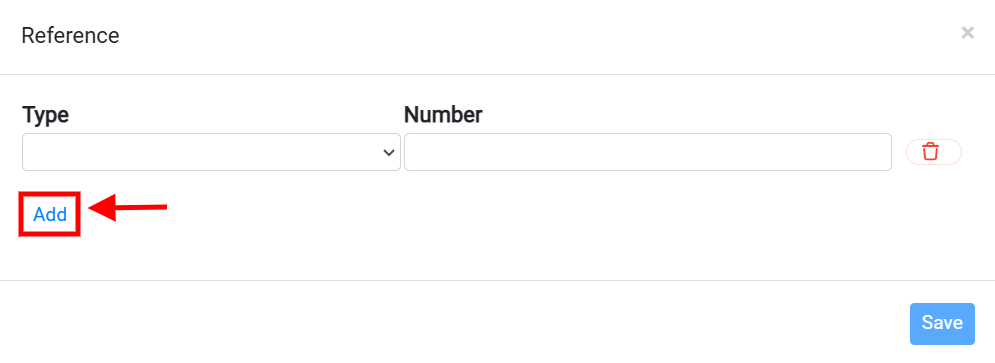
The Reference entry feature is designed to help users easily input and manage reference data. When selected, a reference entry form appears with two input fields: Type and Number.
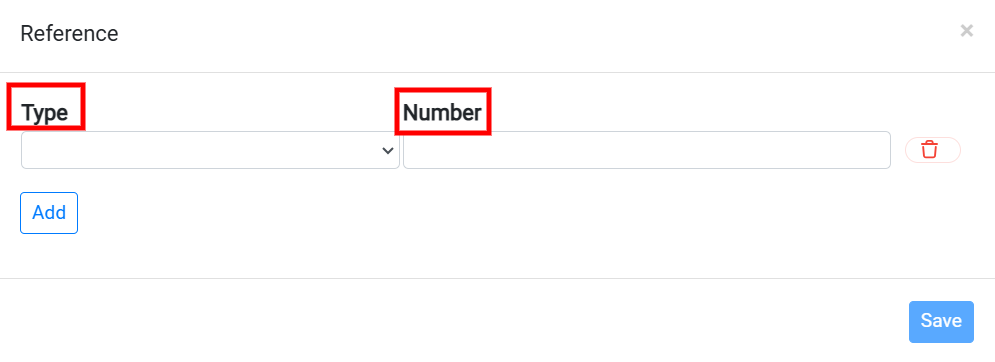
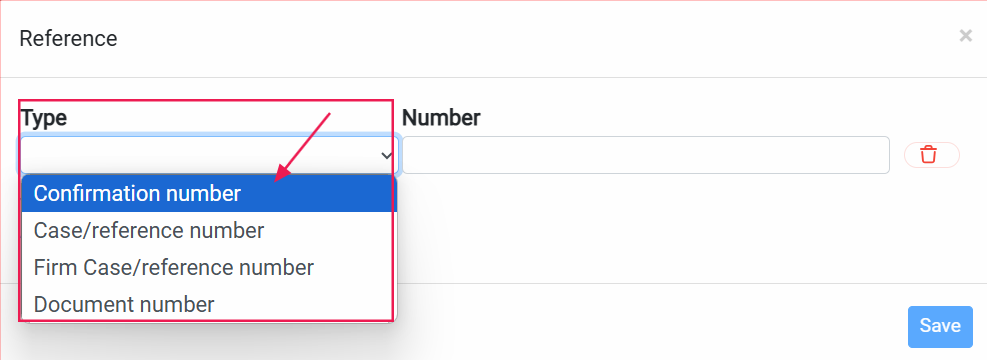
The Type field is likely a dropdown menu or a text box where users can select or enter the type of reference.
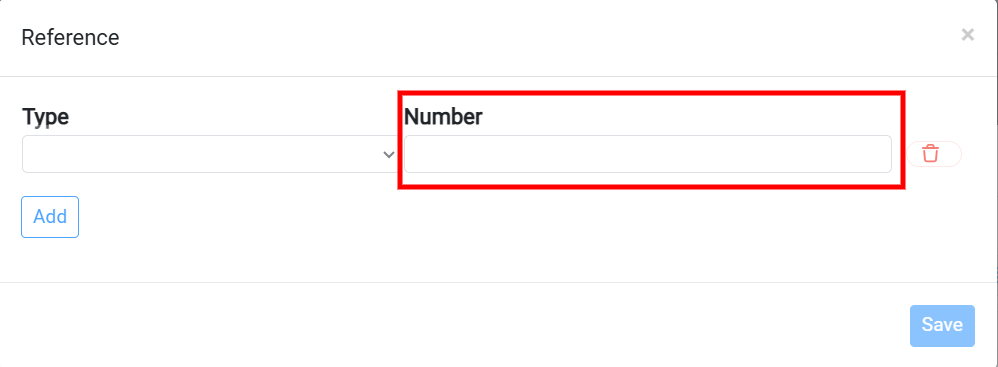
Adjacent to it, the Number field provides a space for users to input the corresponding reference number.
Below the input fields, there is an Add link allows users to add additional rows or entries to the form, enabling them to include multiple references as needed.
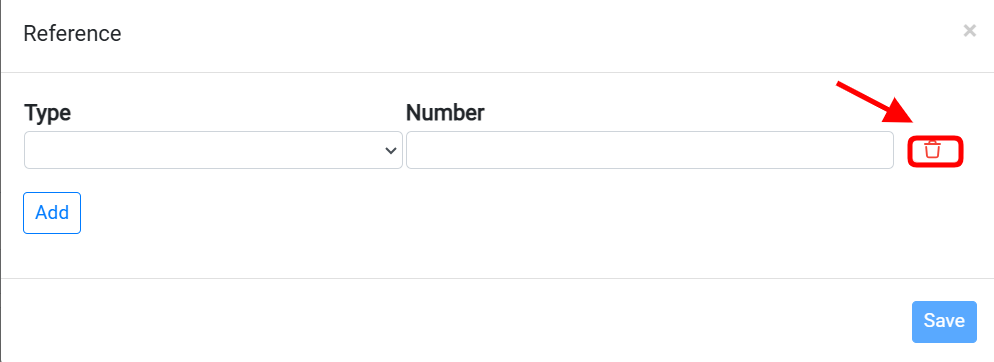
To the right of each row, a Trash icon is present, offering users the option to delete individual rows or entries that are no longer required.
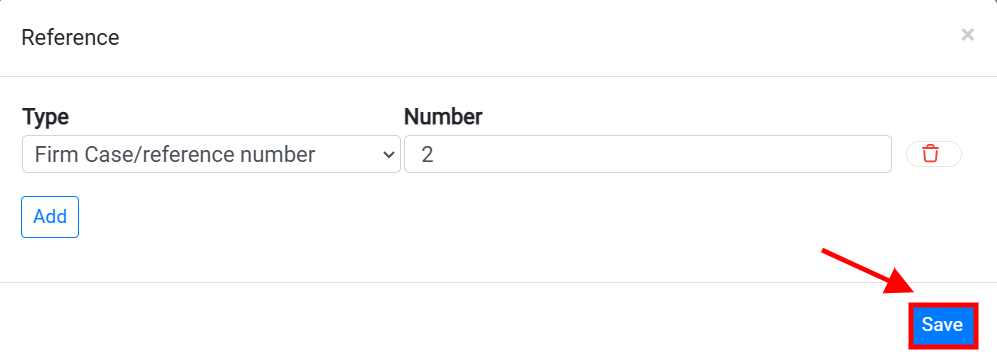
At the bottom right of the form, there is a Save button. This button allows users to save the reference data they have inputted into the form.
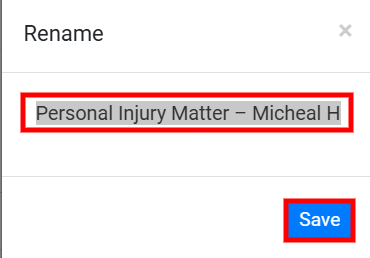
When you click the Rename button, a new page will appear, allowing you to edit the document’s name. Below the text input box, you’ll find a Save button that, when clicked, confirms and applies the changes.

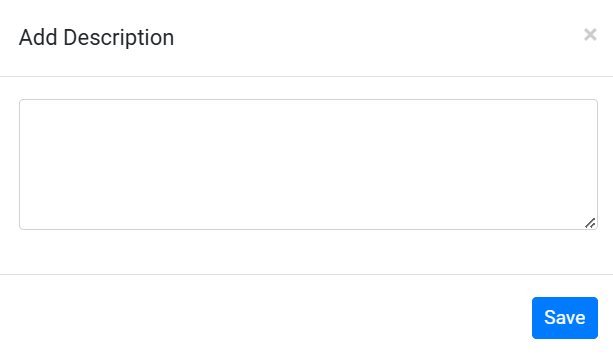
To add a any note or description to the selected document, click the Description button.
A new window will appear allowing you to add a description. Once you’re finished, click the Save button to confirm your changes.
Alternatively, the Preview button allows you to view the document directly within RunSensible without downloading it. It offers a quick way to review the document content directly within the platform, which enhances efficiency when managing files.
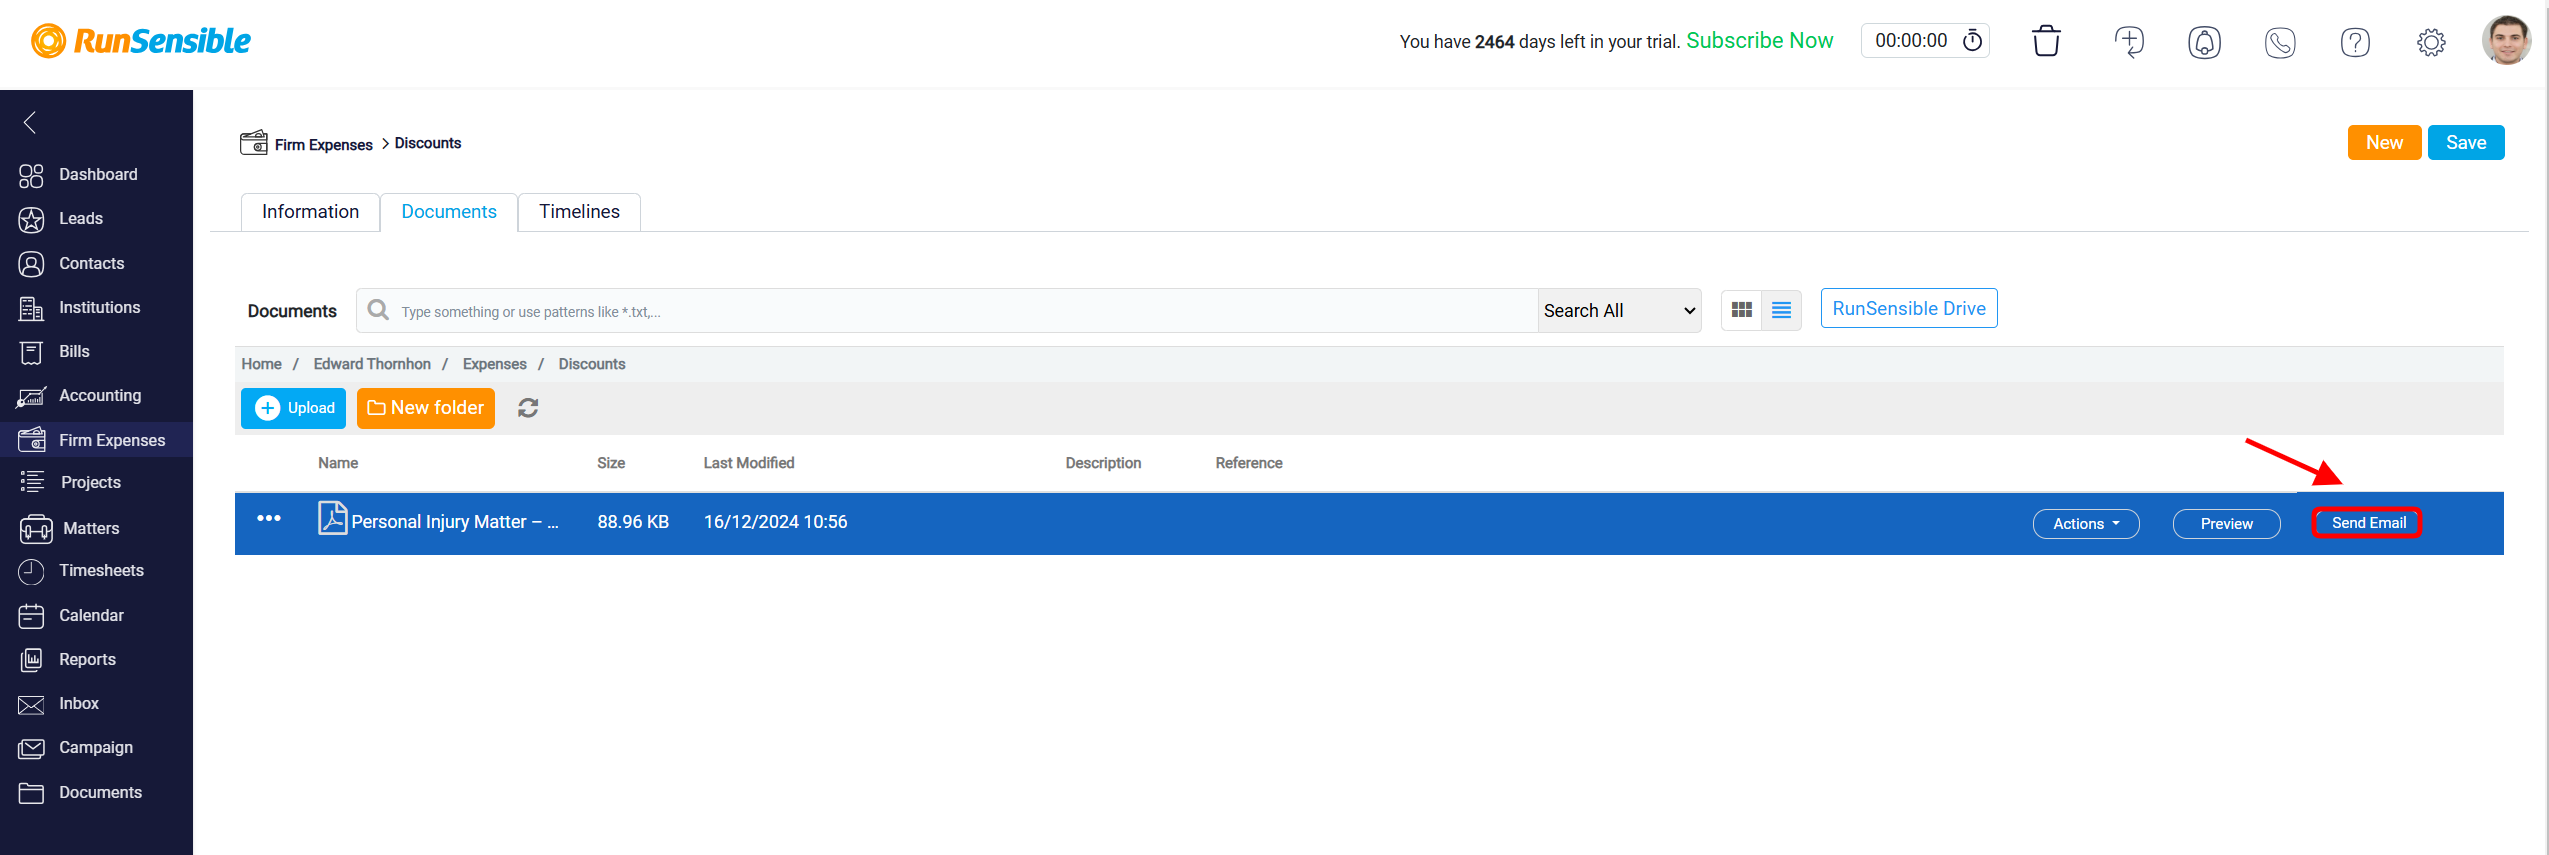
In addition, there is a Send Email button next to each document and folder, making it easy to share files via email directly from the panel.
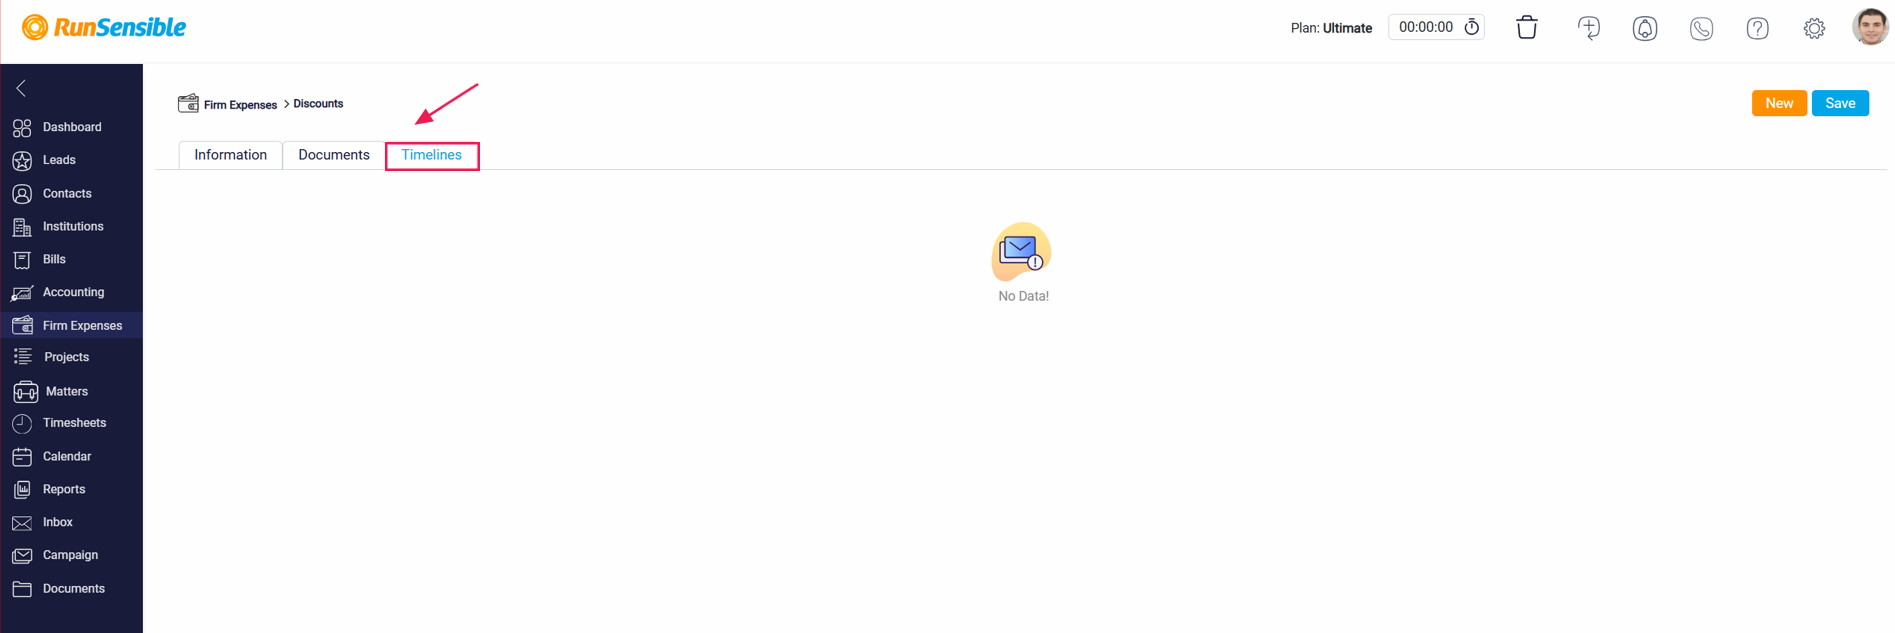
The final tab is the Timeline tab. Within this tab, you can view a detailed record of all changes that have occurred in the expense’s detail panel. This includes a chronological log of each modification, along with the specific date and time it took place, as well as the identity of the user who made the change. This feature provides a comprehensive history, ensuring full transparency and allowing you to track all updates made to the lead’s information over time.
