How to Record Expenses/Disbursements Paid Out-of-Pocket Without Billing the Client
In RunSensible, you can record the expenses you’ve incurred on behalf of your company. This is valuable for accounting purposes and may provide financial benefits. Soft expenses are costs you’ve covered but don’t intend to bill the client for. These are general expenses unrelated to a specific Matter. For example, paying for the internet every month is a soft expense. It’s an overhead cost that isn’t directly attributable to a particular client or project.
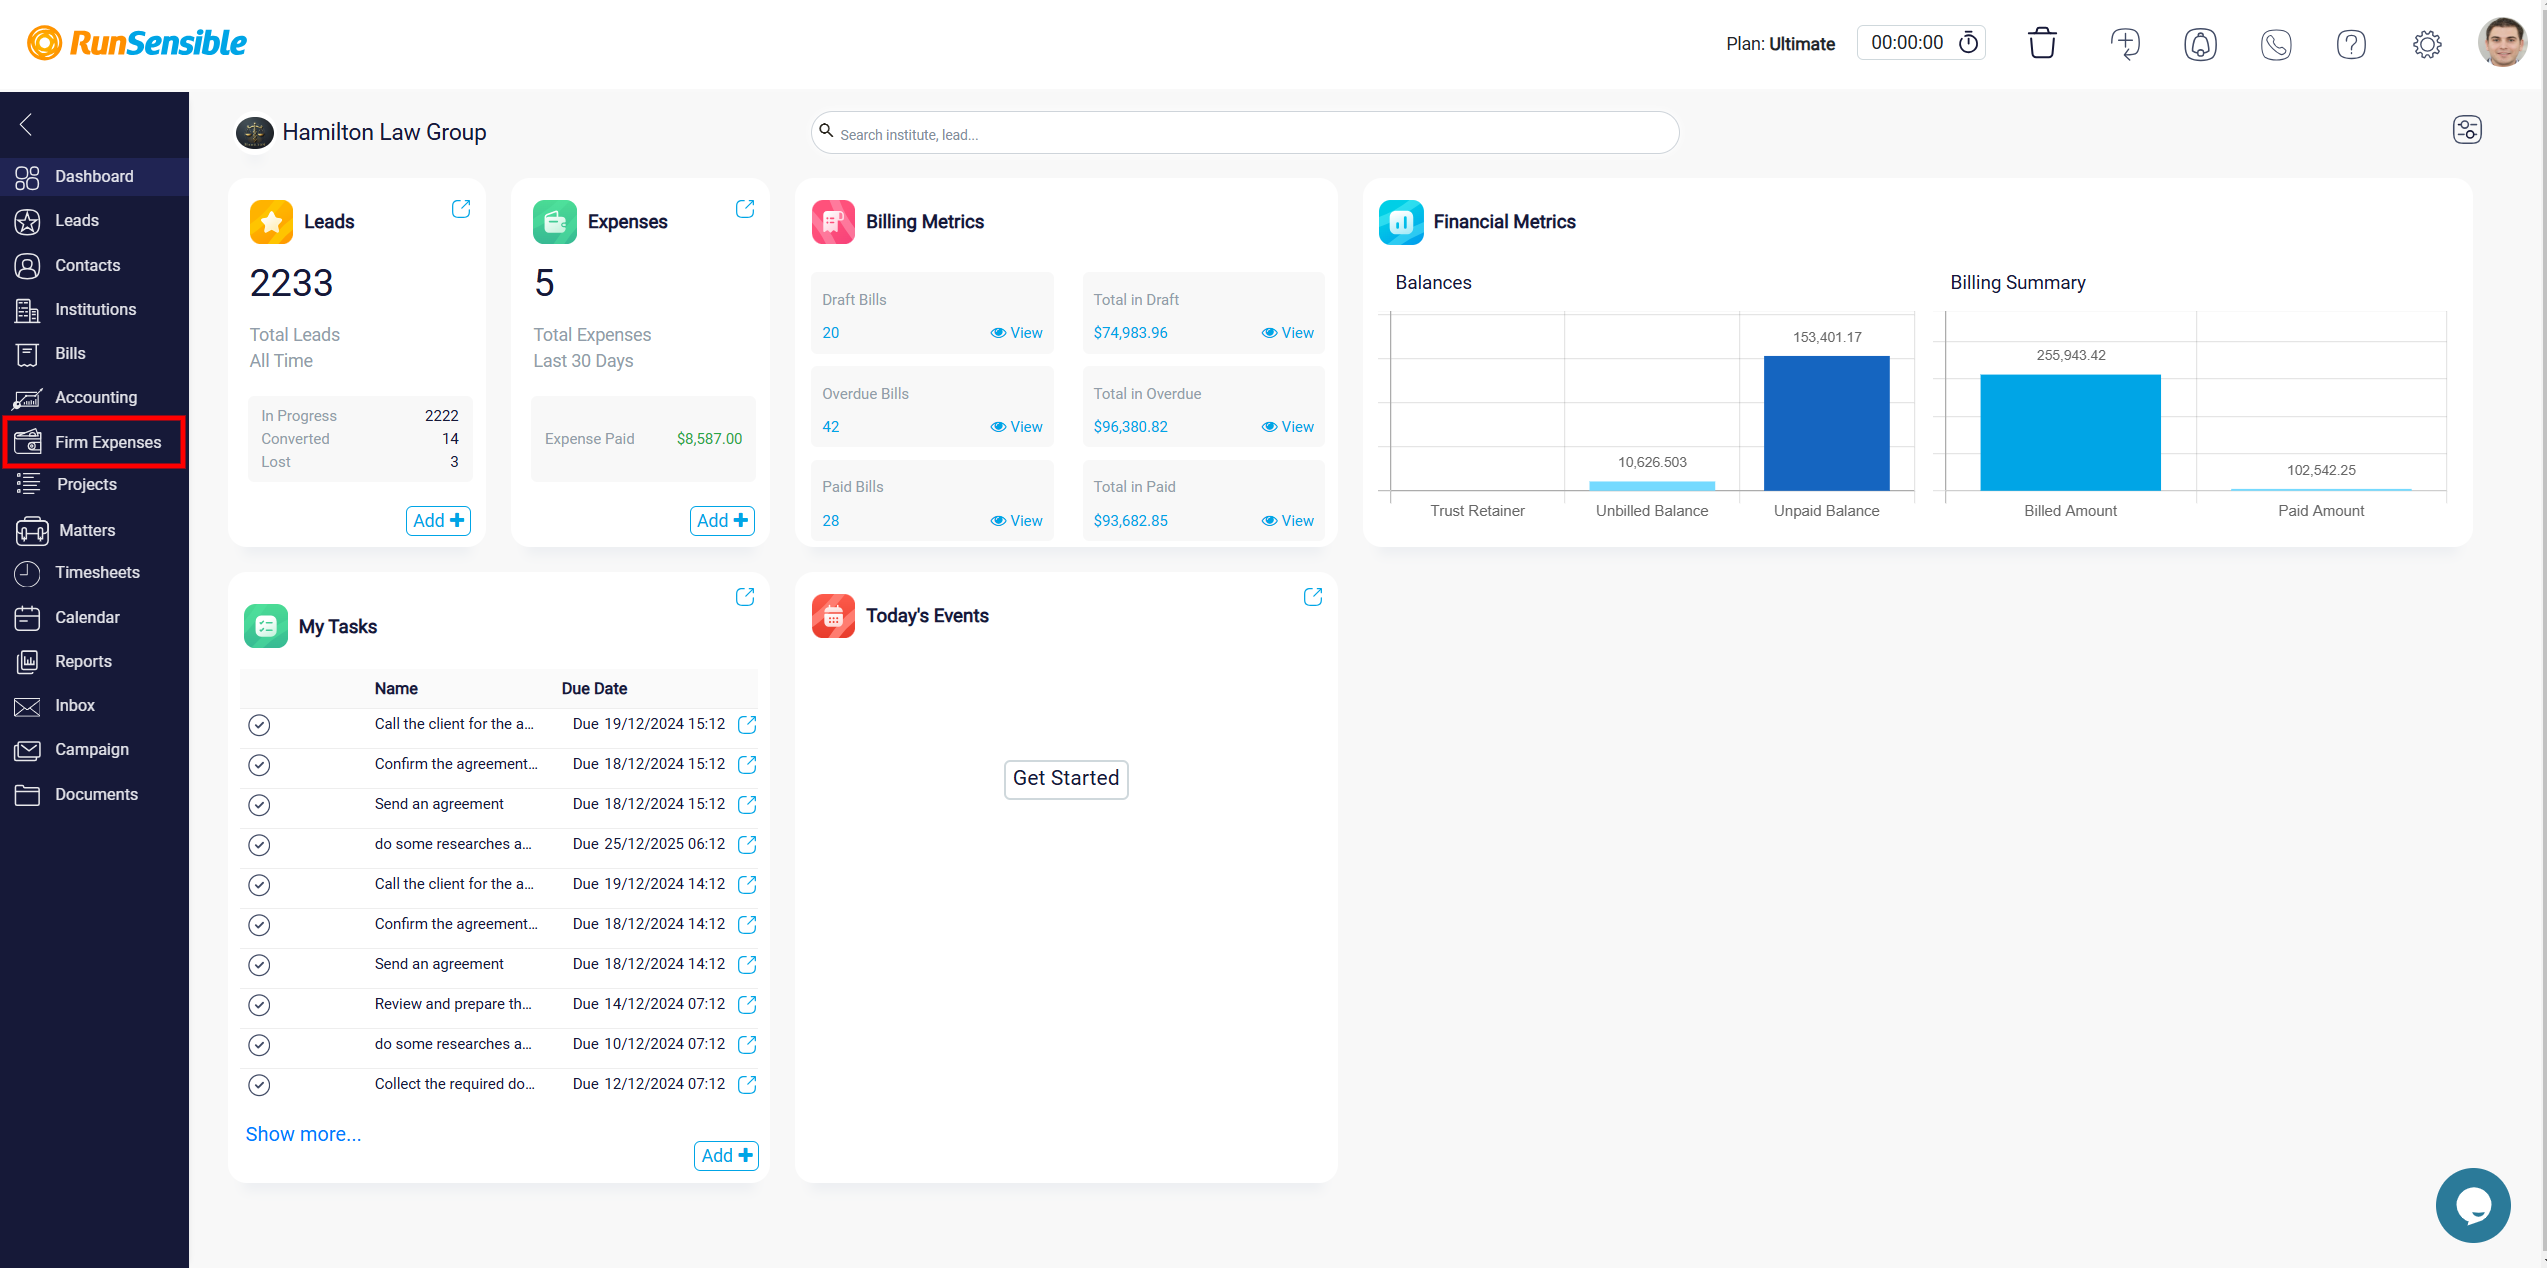
To add your soft expenses in RunSensible, go to the left sidebar menu, click Firm Expenses.
Then click on the New button at the screen’s top right.

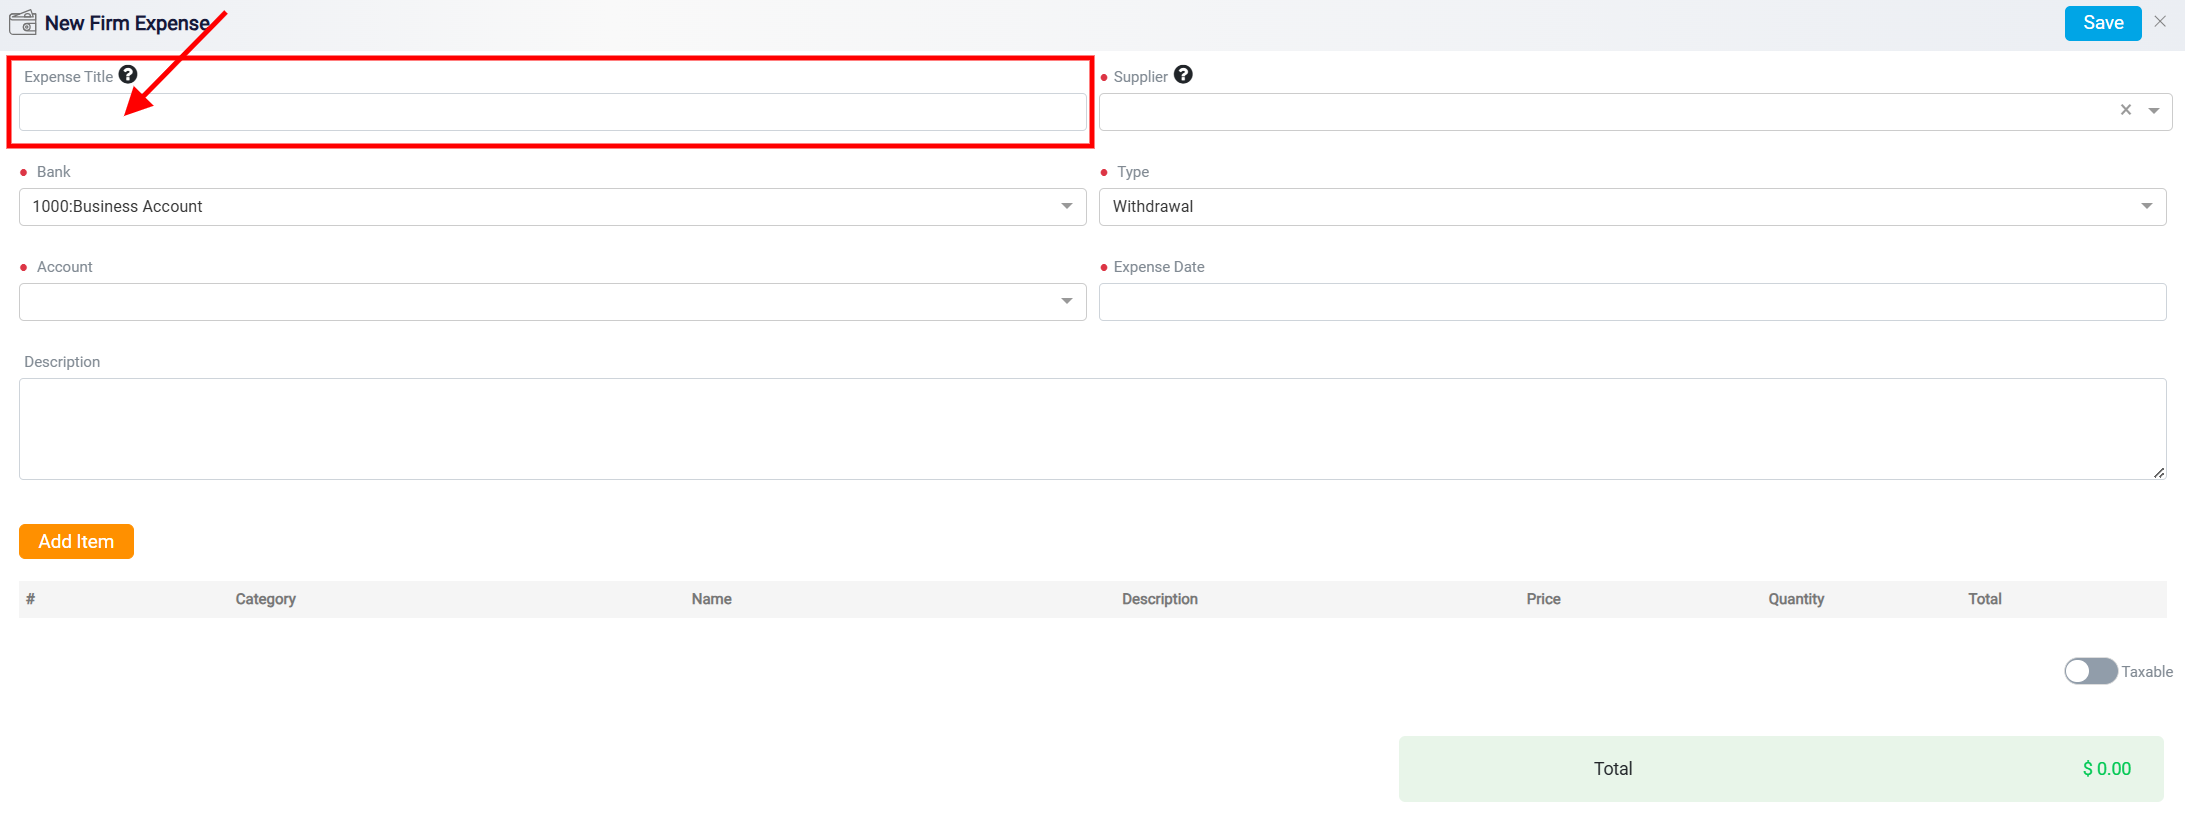
Once there, enter the expense name in the Expense Title box.
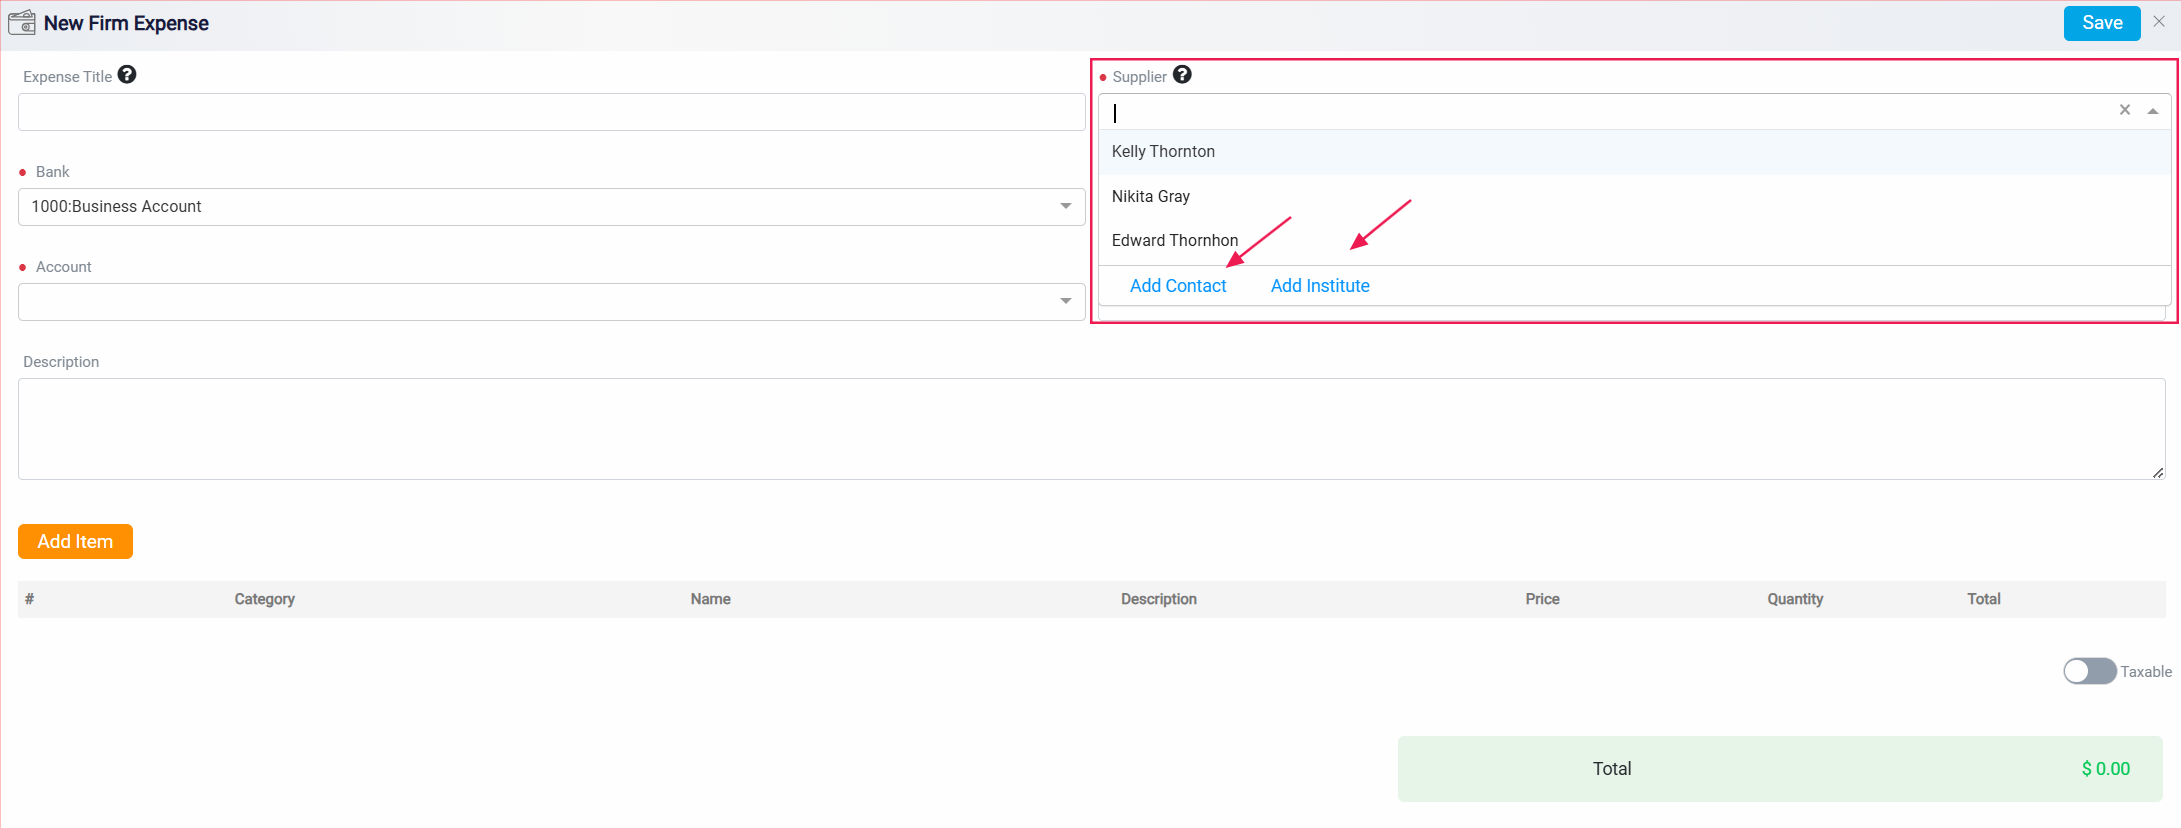
To accurately assign expenses to the appropriate supplier, click on the Supplier drop-down menu and select the relevant option associated with the expenditure.
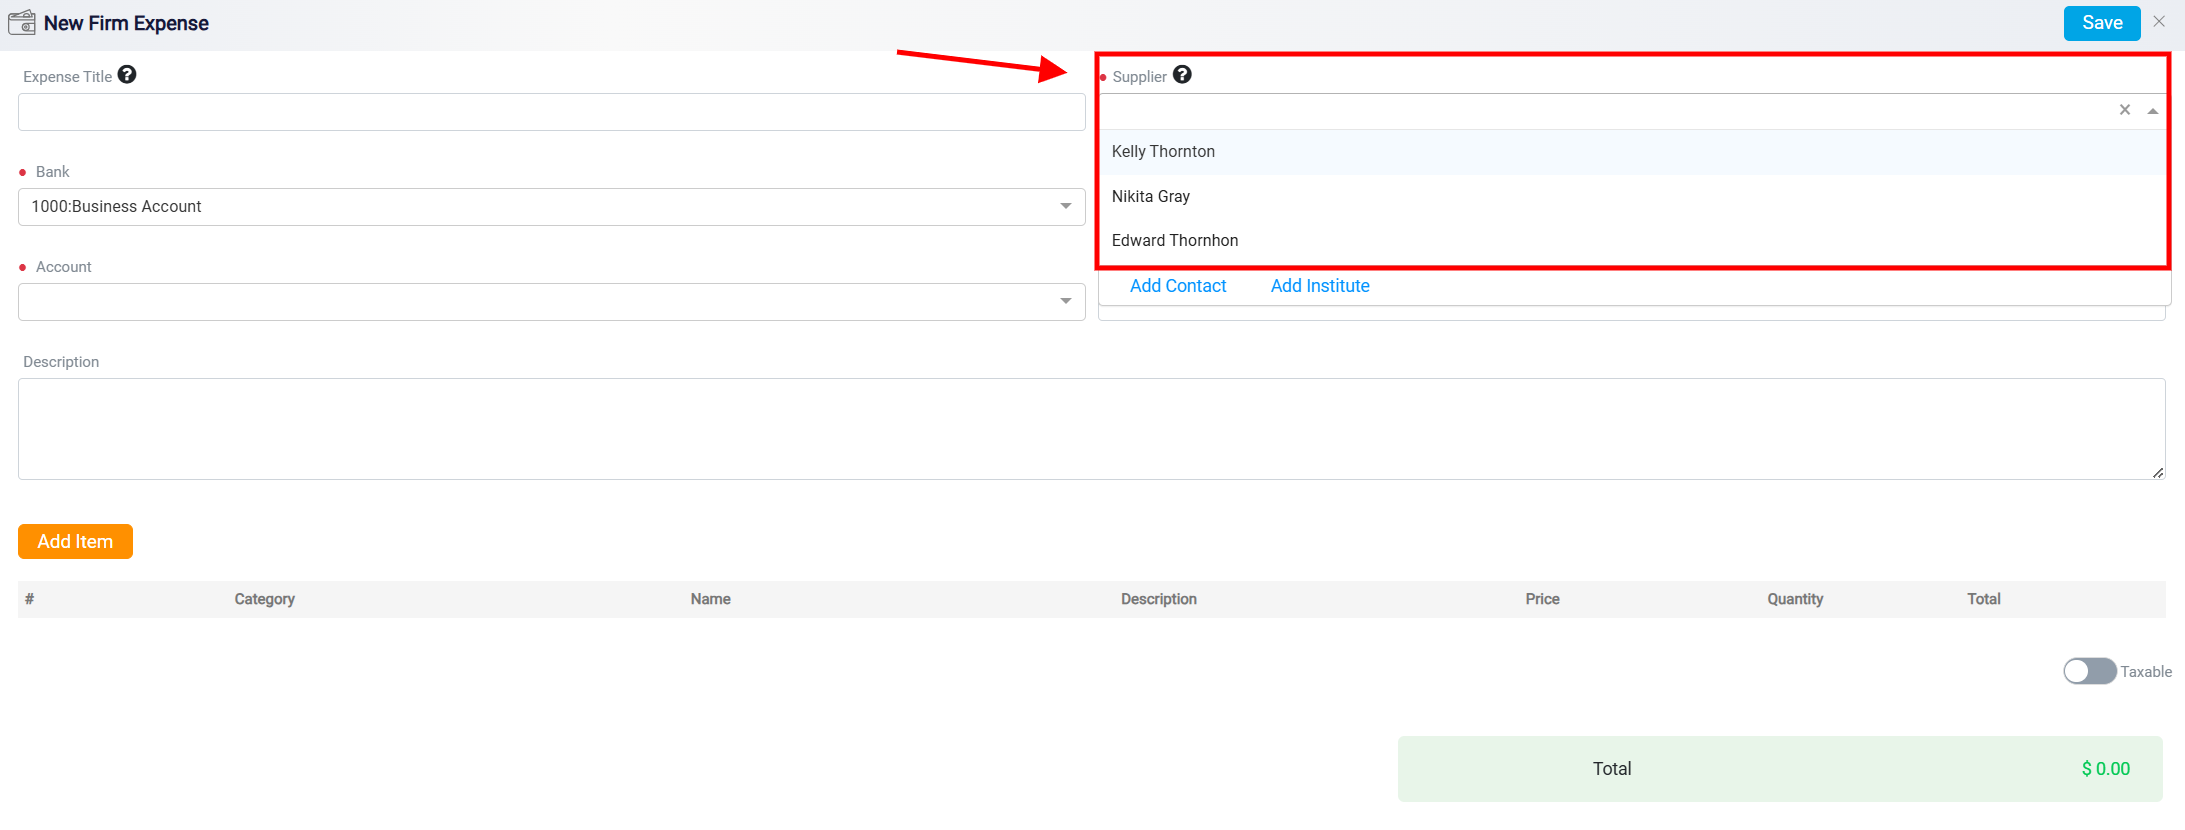
If the desired client or company isn’t listed, use the Add Contact or Add Institute links at the bottom in blue to include the necessary information. It’s crucial to choose prospects that directly provided the service and received the payment. This ensures precise allocation and thorough financial record-keeping.
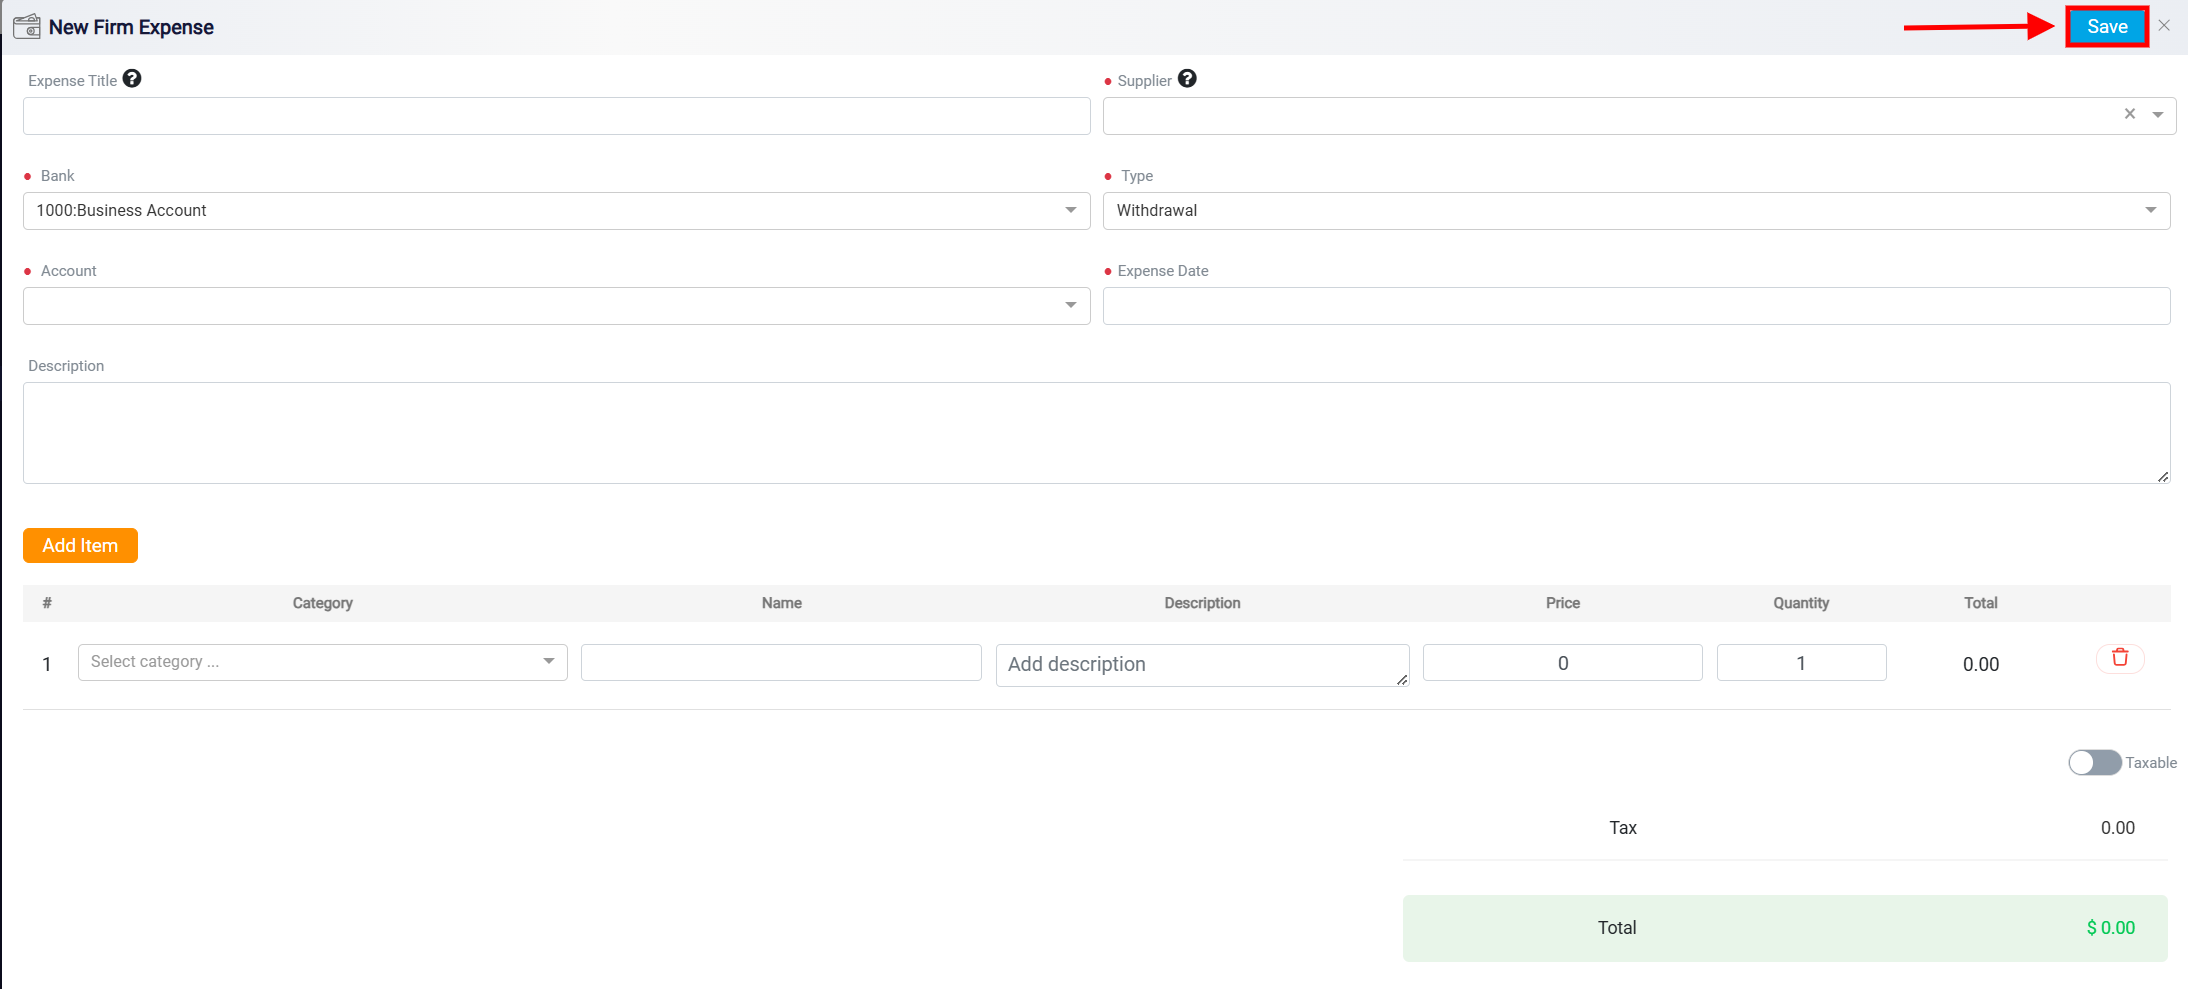
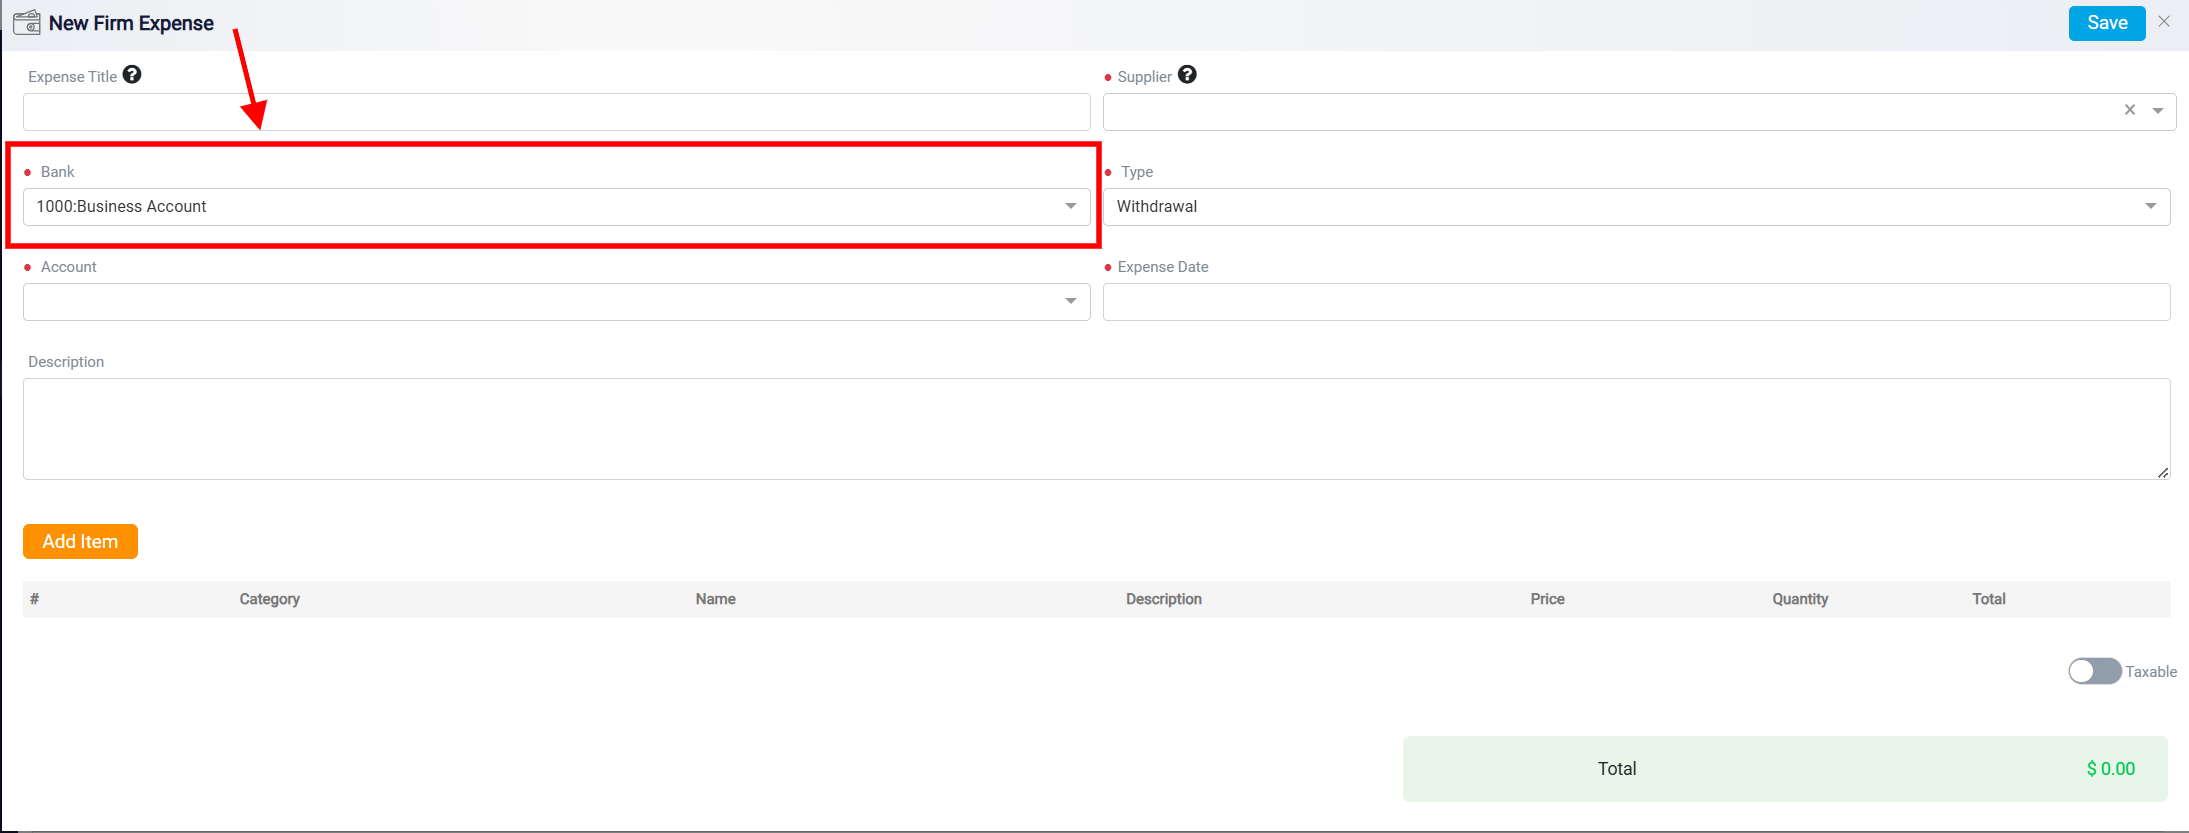
The Bank section allows you choose the bank account from which funds will be drawn. A dropdown menu enables you to choose from multiple bank accounts, with “1000: Business Account” set as the default selection.
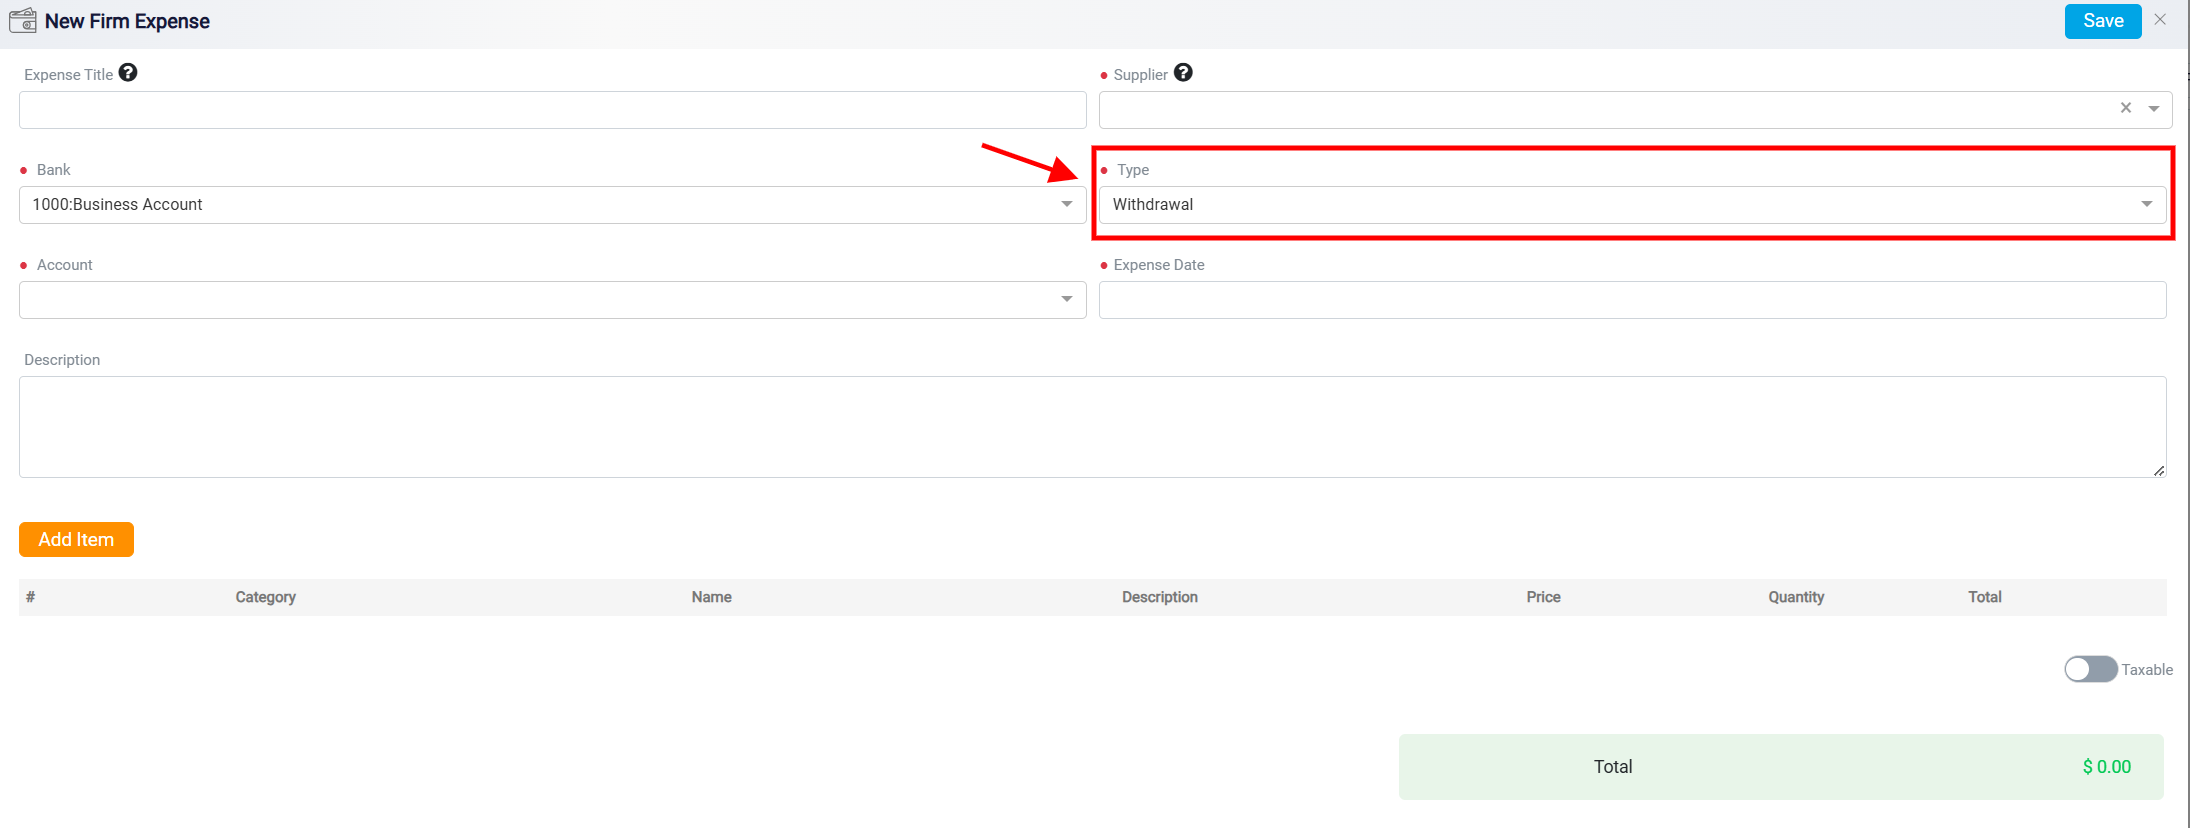
The Type field specifies the nature of the expense transaction being recorded such as a withdrawal.
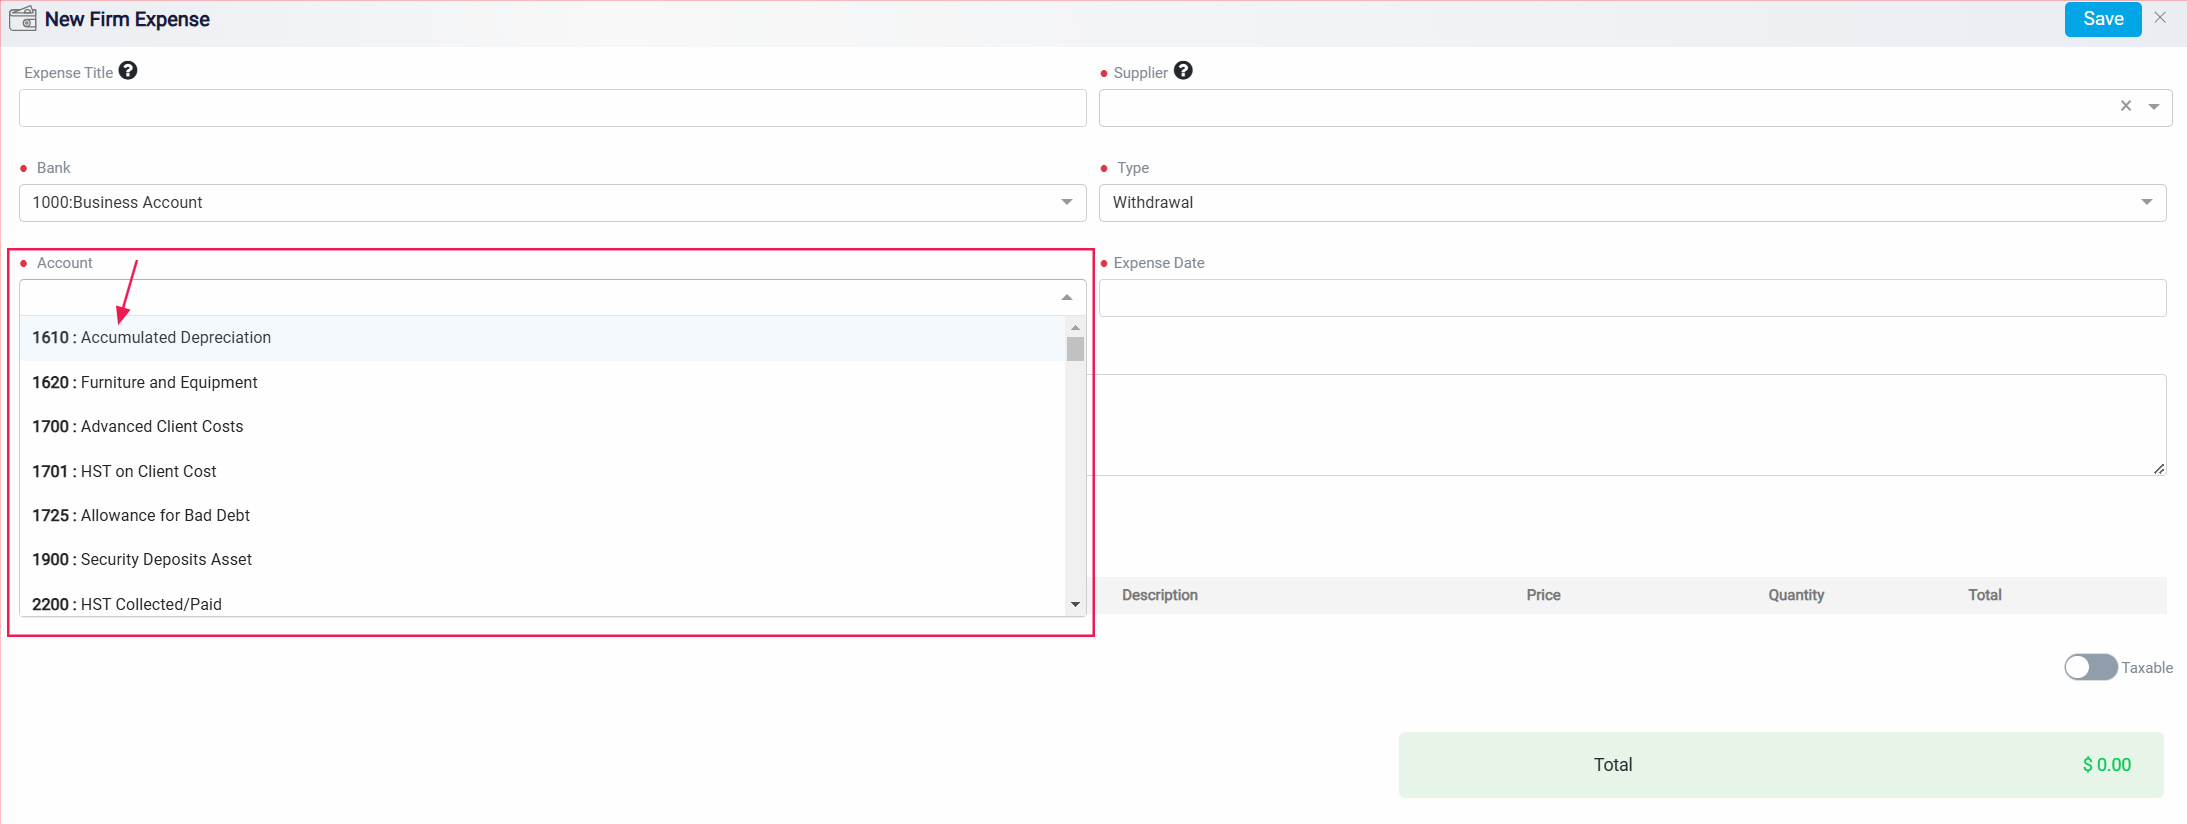
The Account field is used to specify the financial account for this transaction. In dropdown menu, various account types are listed, which are likely tied to a chart of accounts within an accounting system. Each account is identified by a unique number and a corresponding name to make selection easier.
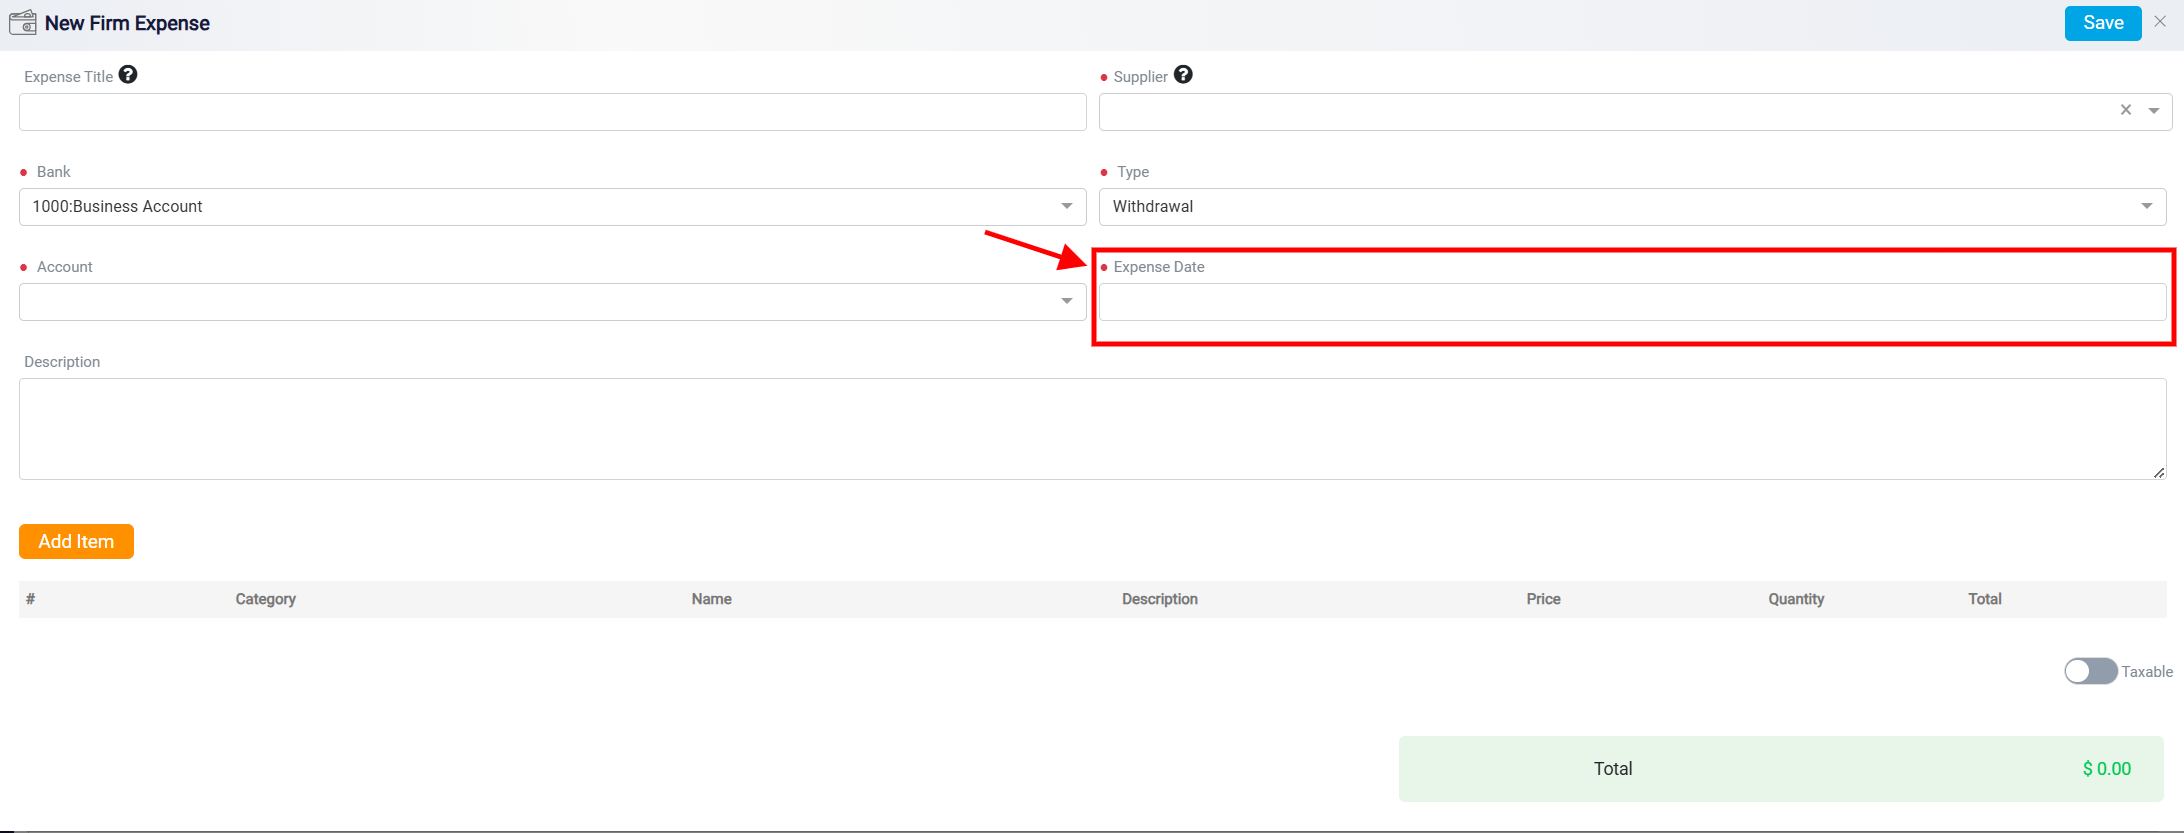
Navigate to the Expense Date box and choose the date of payment.
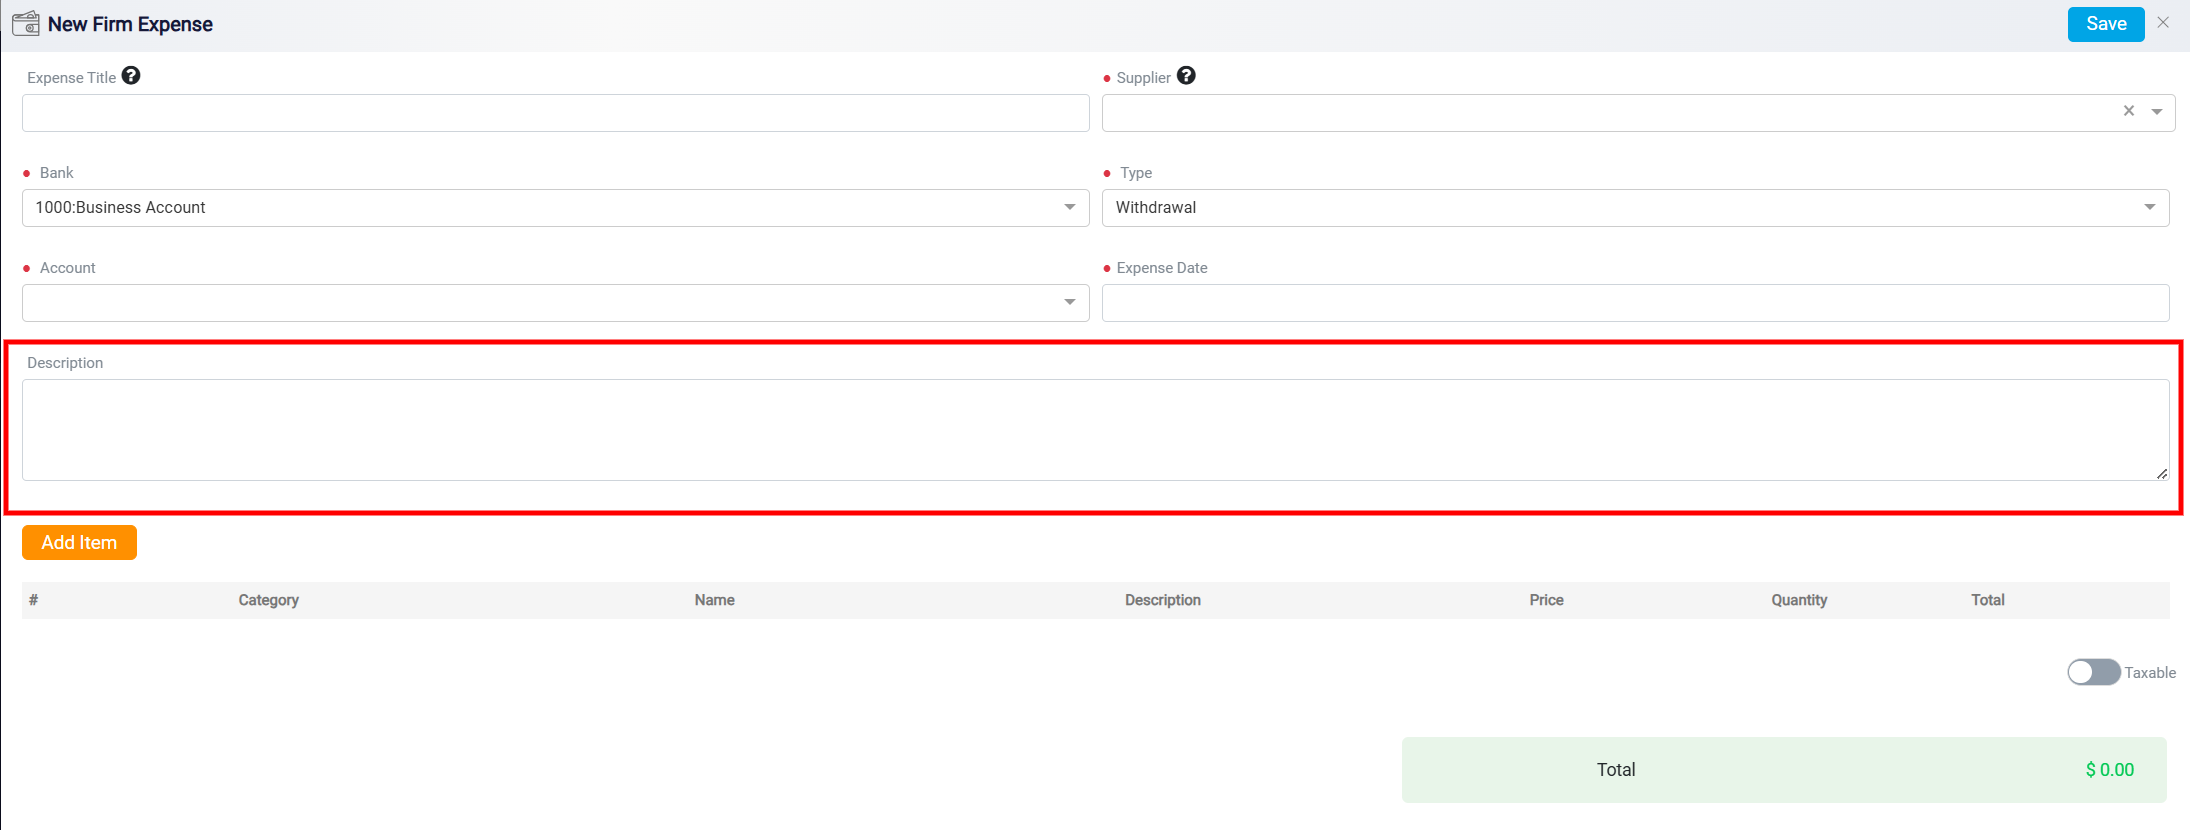
Additionally, there is a Description box for entering detailed information about the expense.
Now, enter the spending category you want to add to this expense. Click on Add Item to input your expenses.

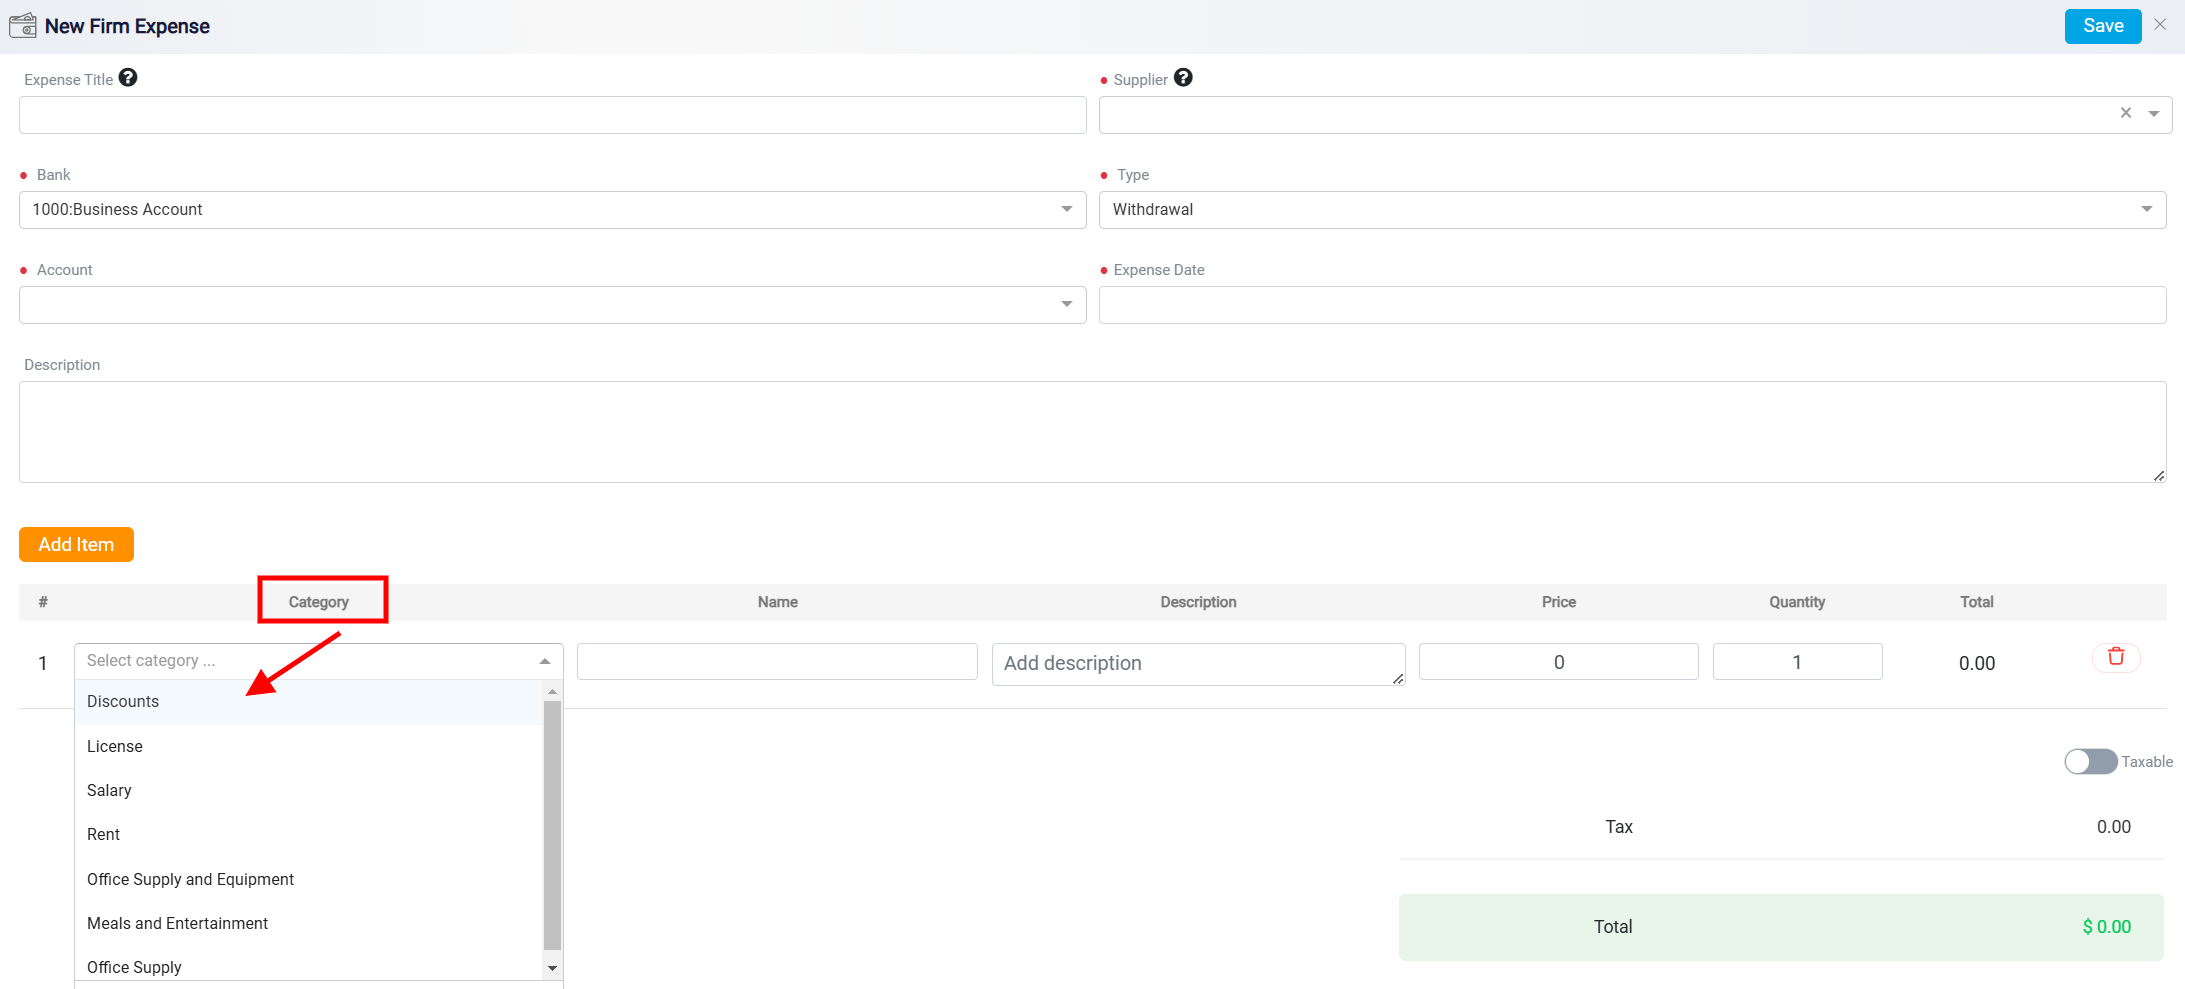
Select the category for your expenses by clicking on the Category drop-down menu.
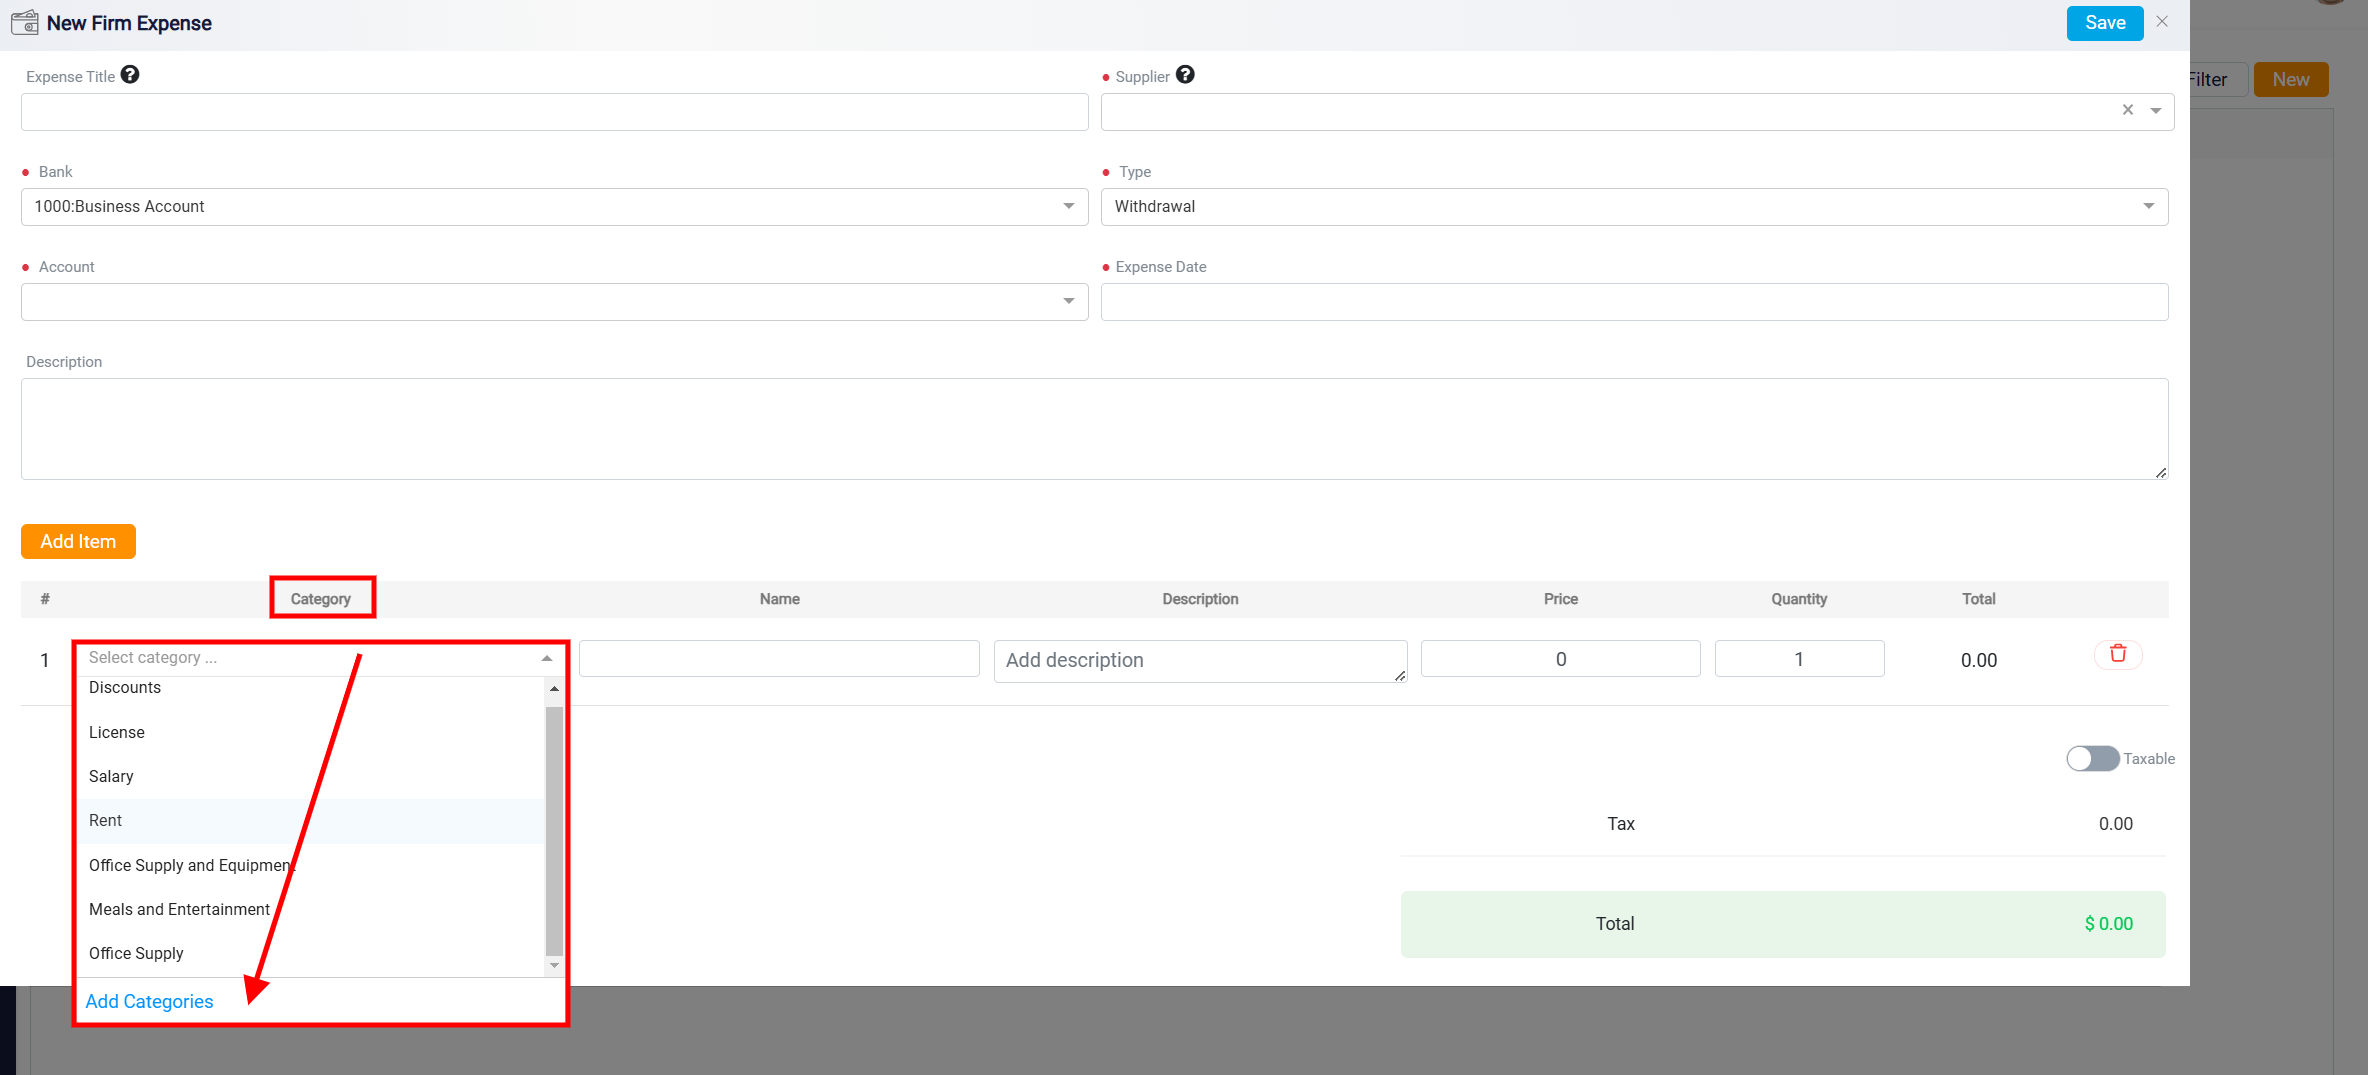
If the category you need isn’t listed, click on the Add Category link in blue at the bottom of the list to create a new category.
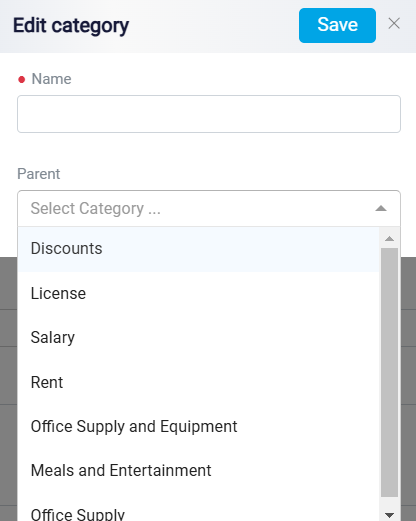
After clicking, a form will appear. In the Name box, enter the new category’s name. If your new category fits under an existing one, pick a Parent Category by using the drop-down menu and choosing the right category. This helps you organize expenses, making it easier to review records and handle accounting tasks when needed.
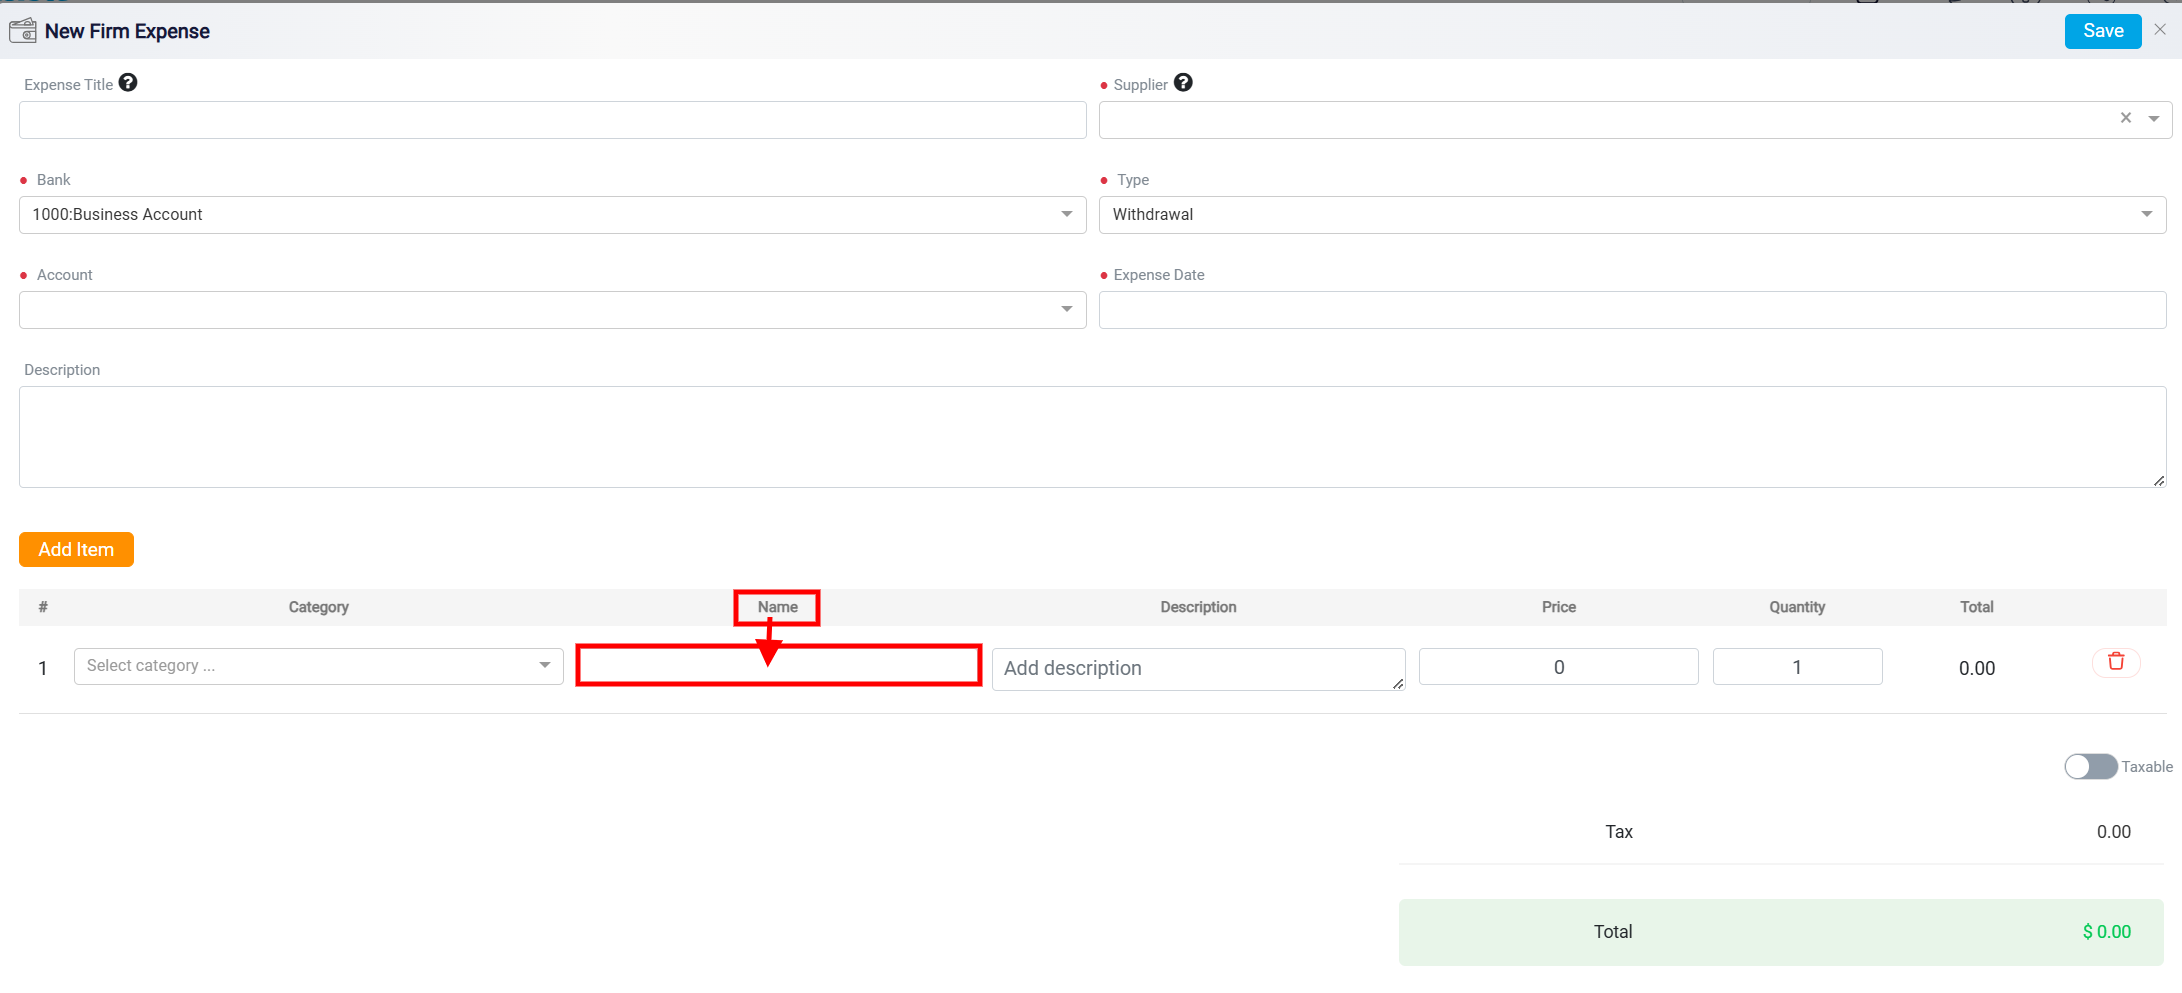
After selecting the category, proceed by entering the item details. In the designated Name box, input the name of the item you purchased.
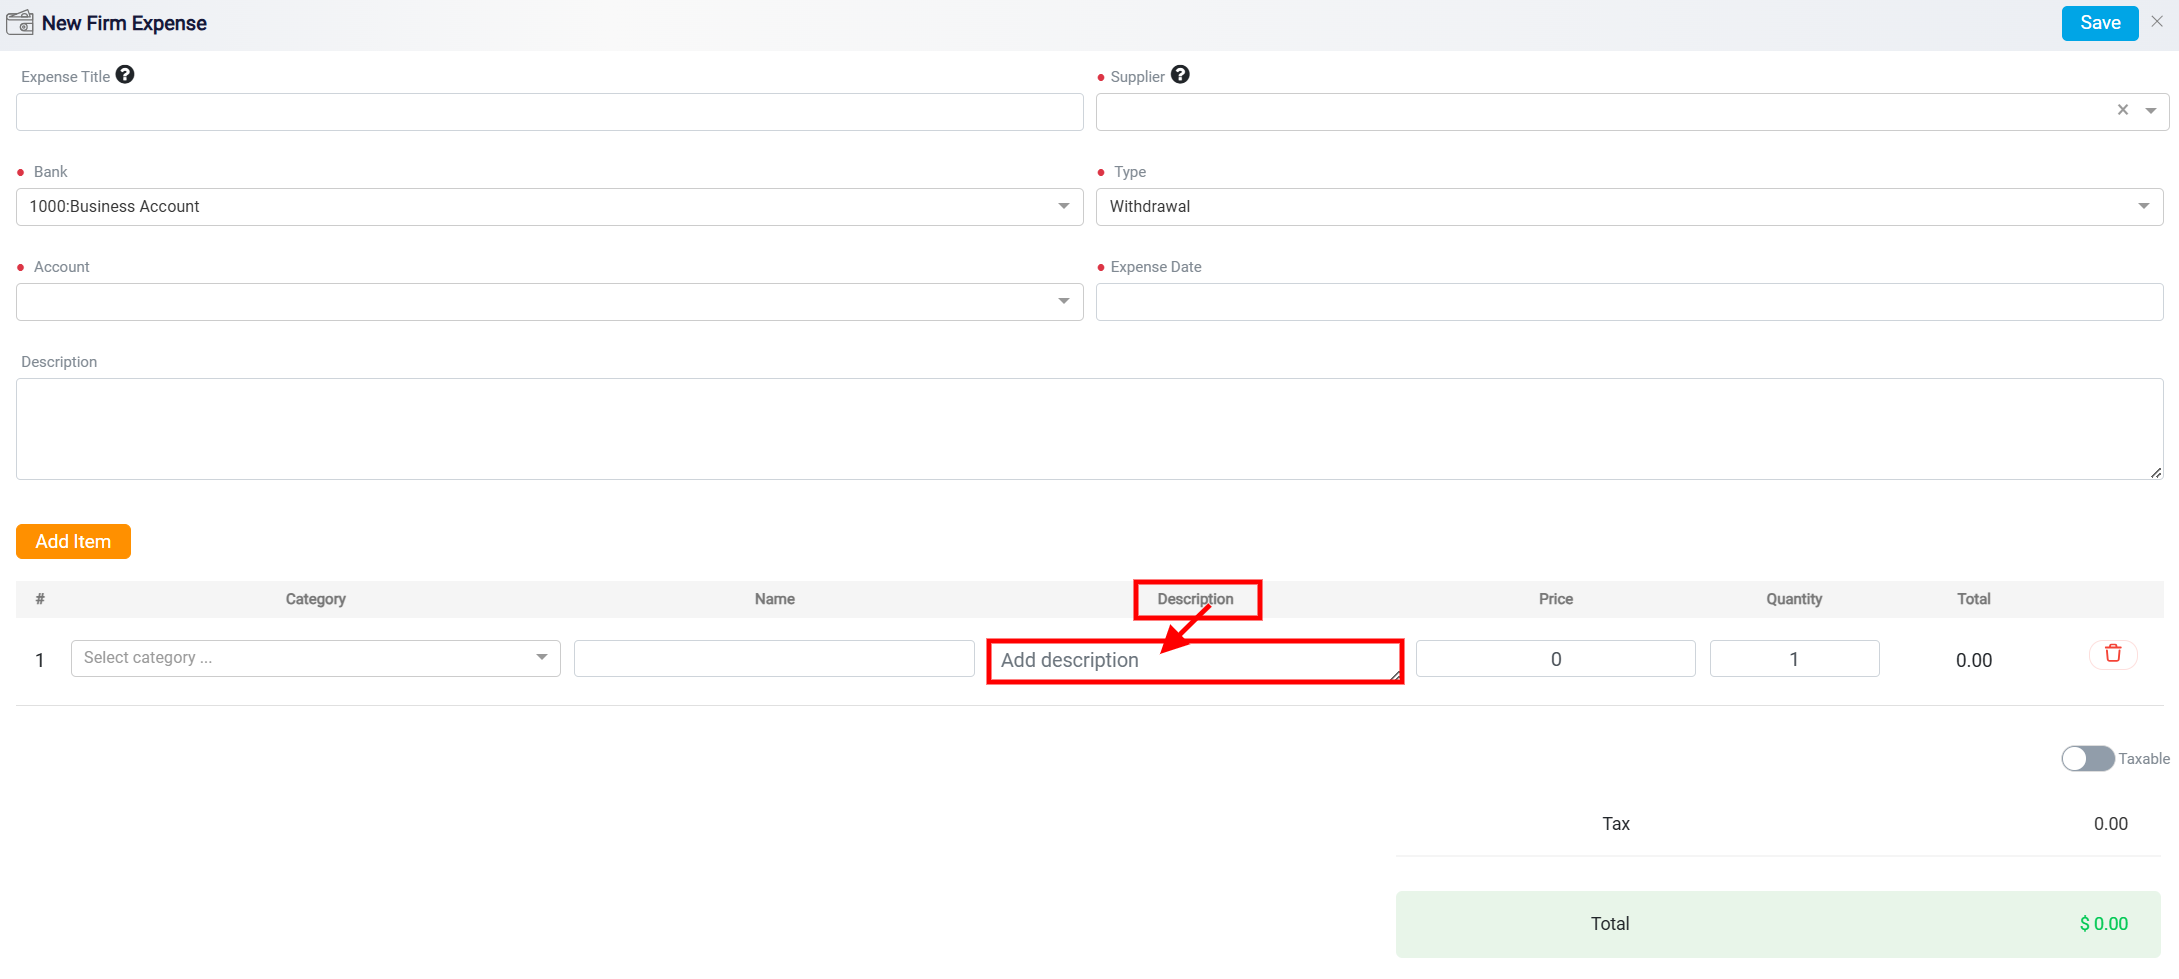
In the Description box, provide any relevant explanations or additional information related to the item if needed.
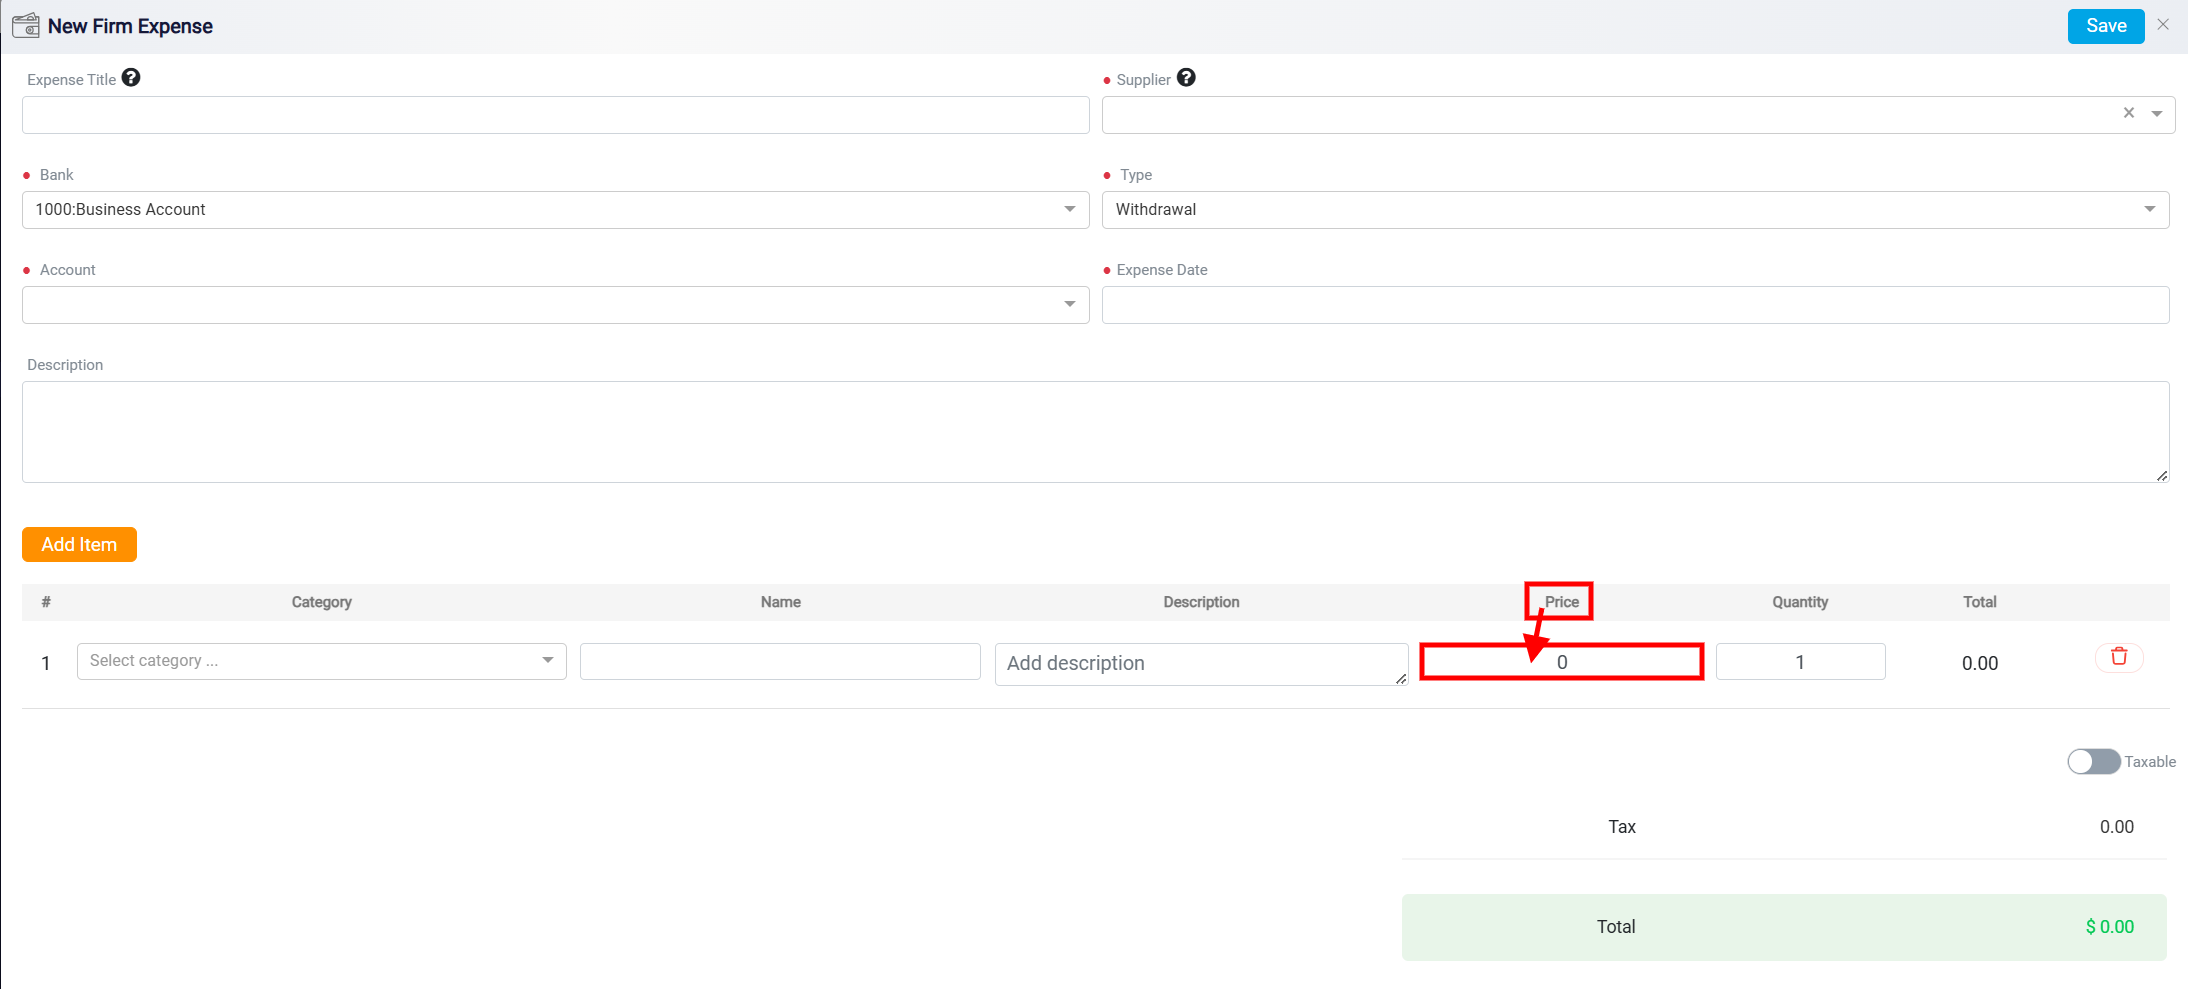
If you haven’t already set the price when adding the item to the list, determine and enter the price of the item in the Price box.
Input the quantity of the item in the designated Quantity box.
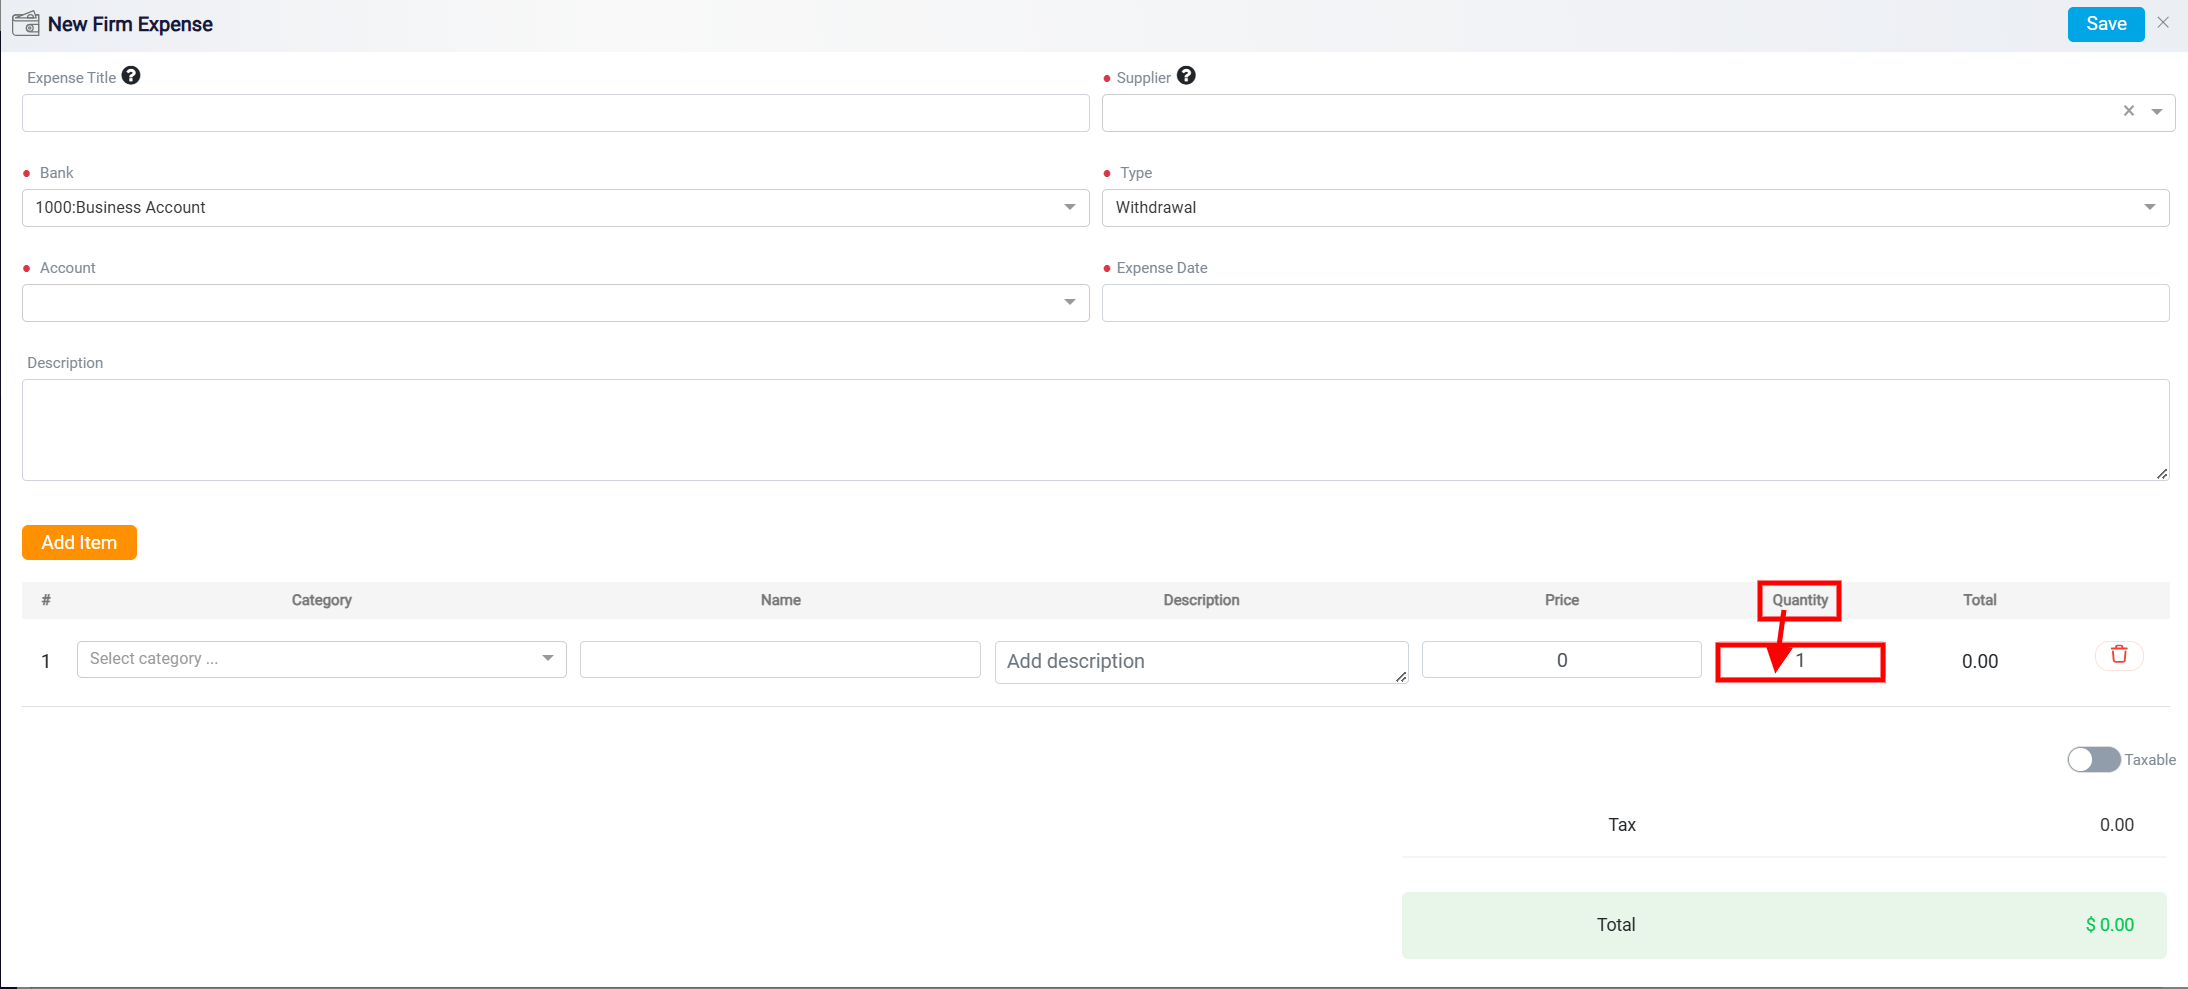
Once you’ve done, the total cost of this item will be automatically calculated and displayed in the Total column.
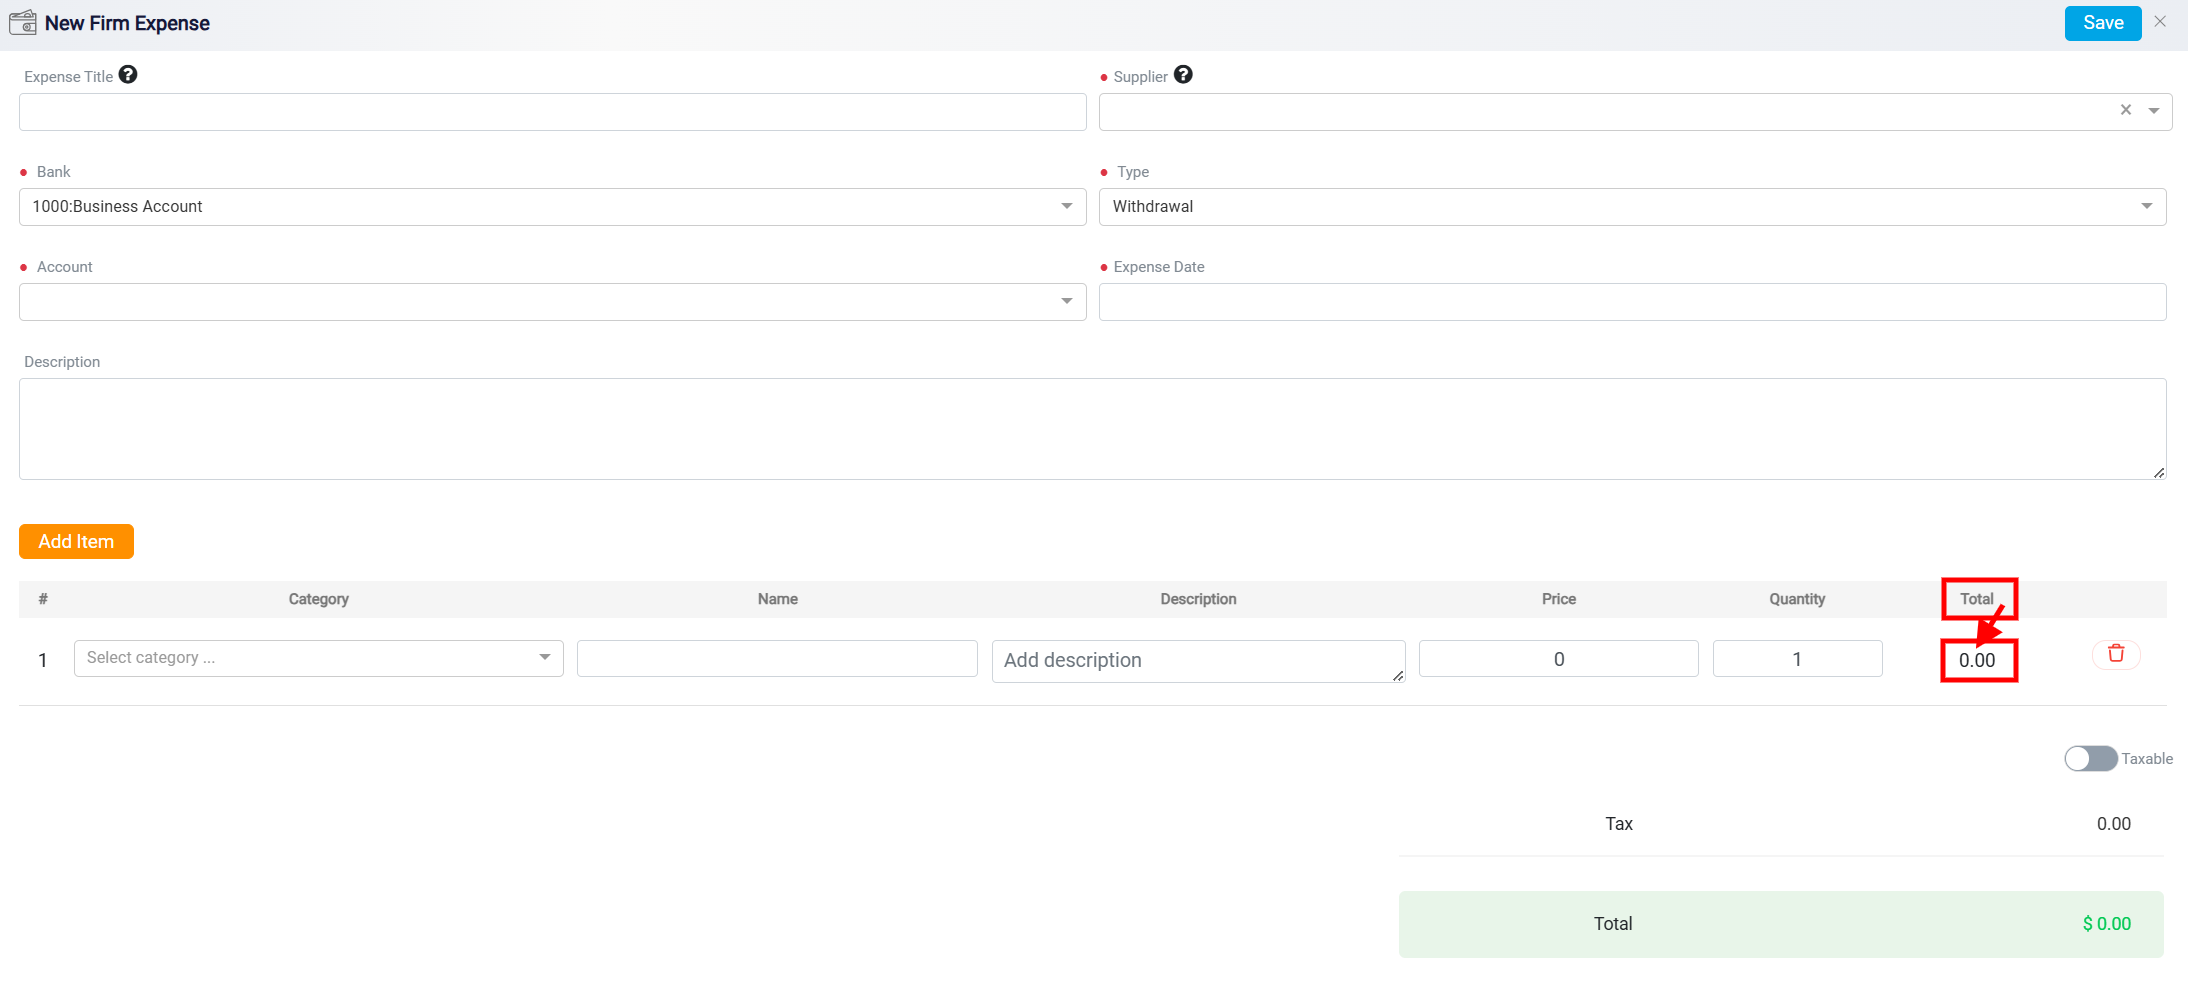
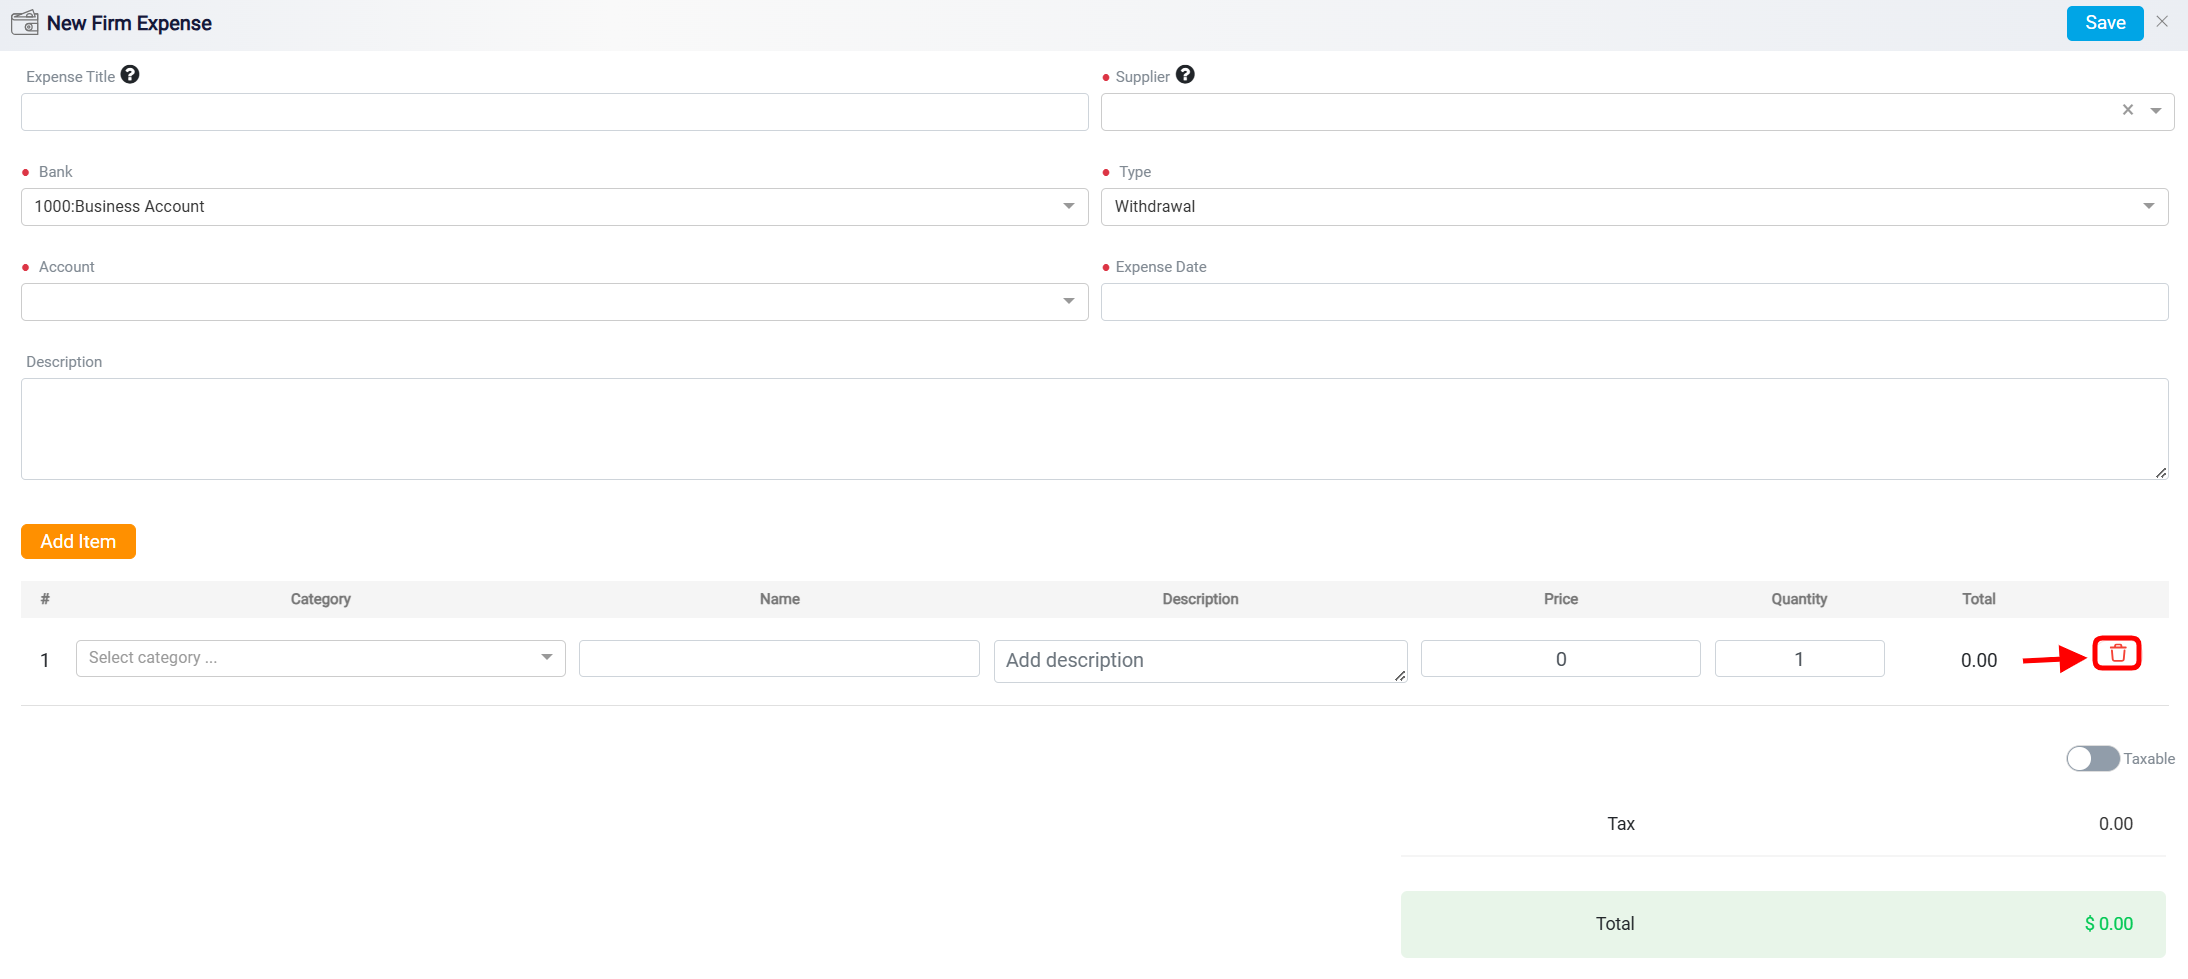
The Trash icon is located on the far right of the row is typically used to Remove the corresponding row or entry from the form.
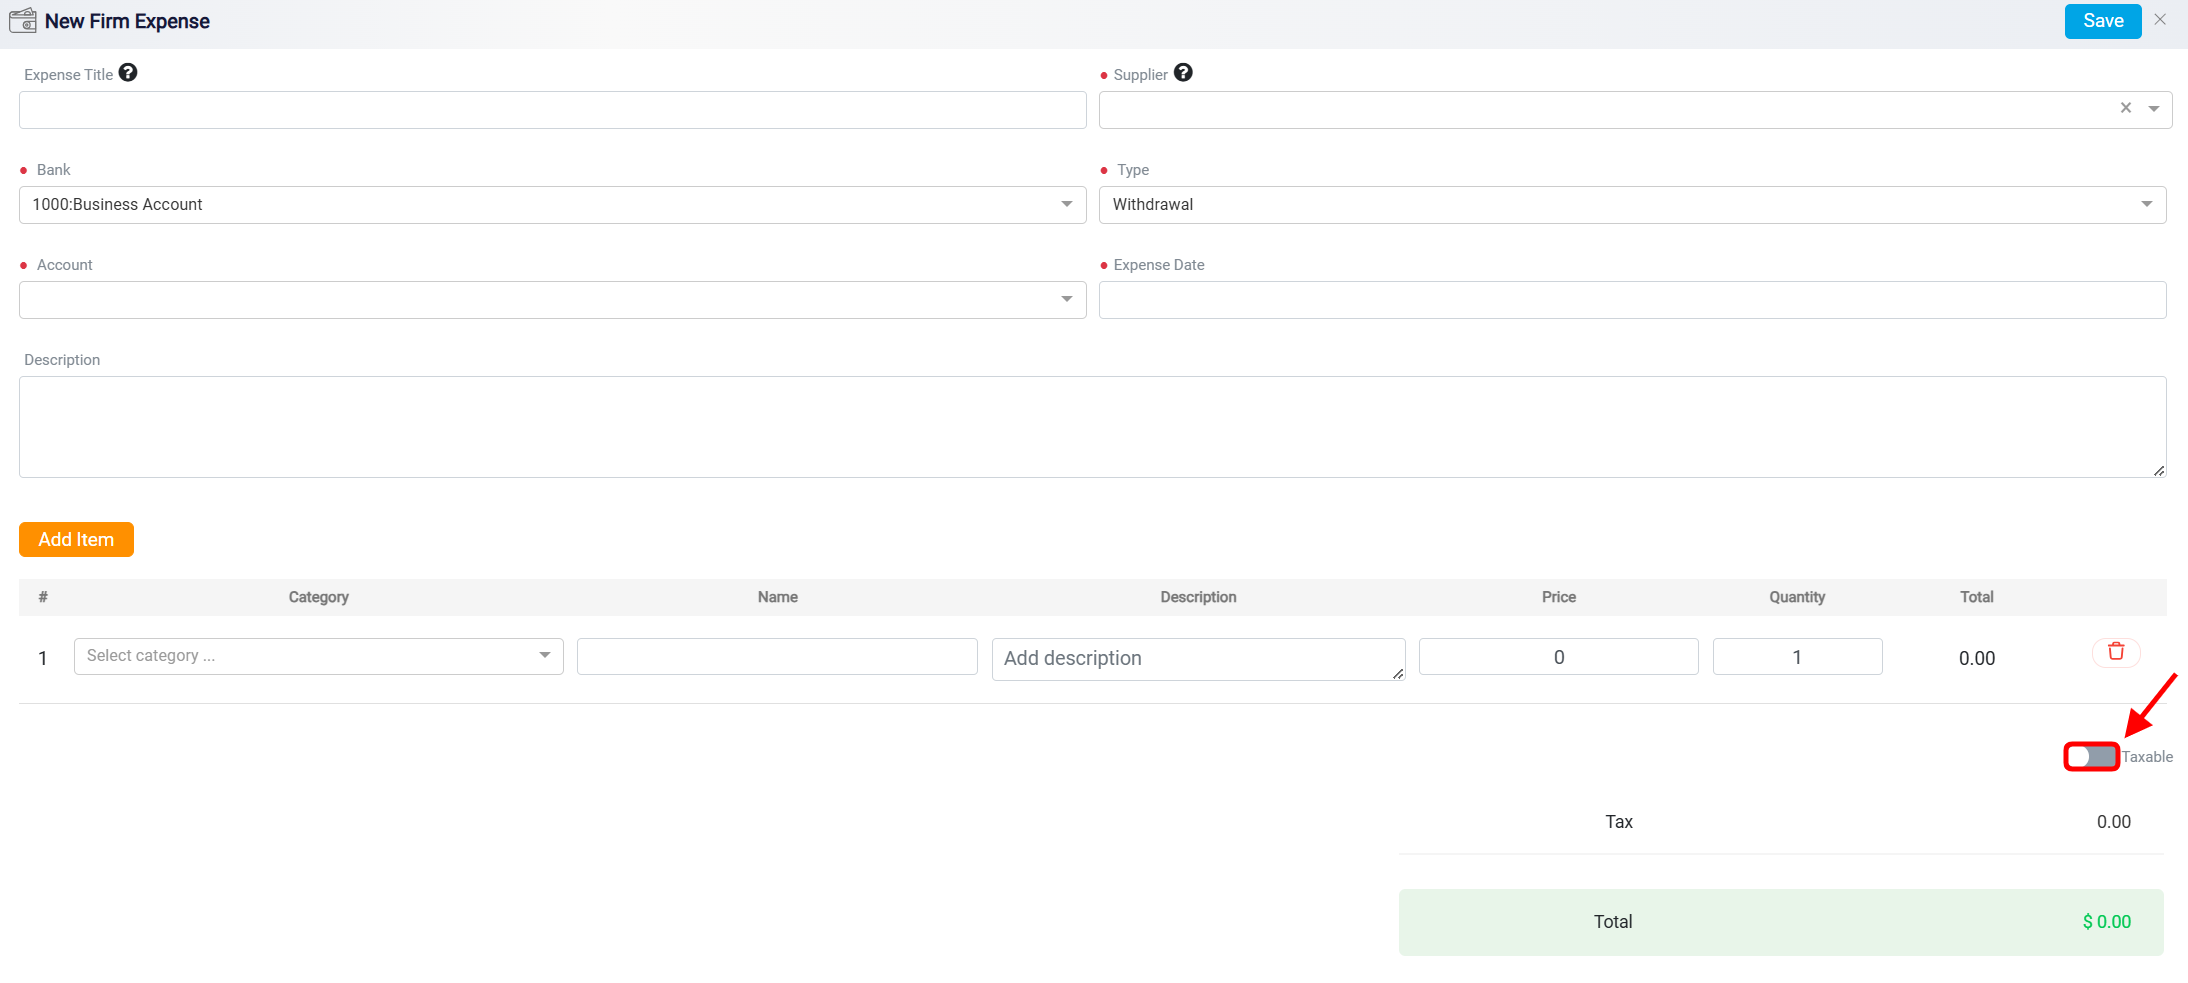
By turning the Taxable button on or off, you can include or exclude the taxes that the system automatically adds based on your country and region.
After entering all your expenses, you’ll find the Total amount spent at the bottom right of the screen. Double-check to ensure everything is accurate.
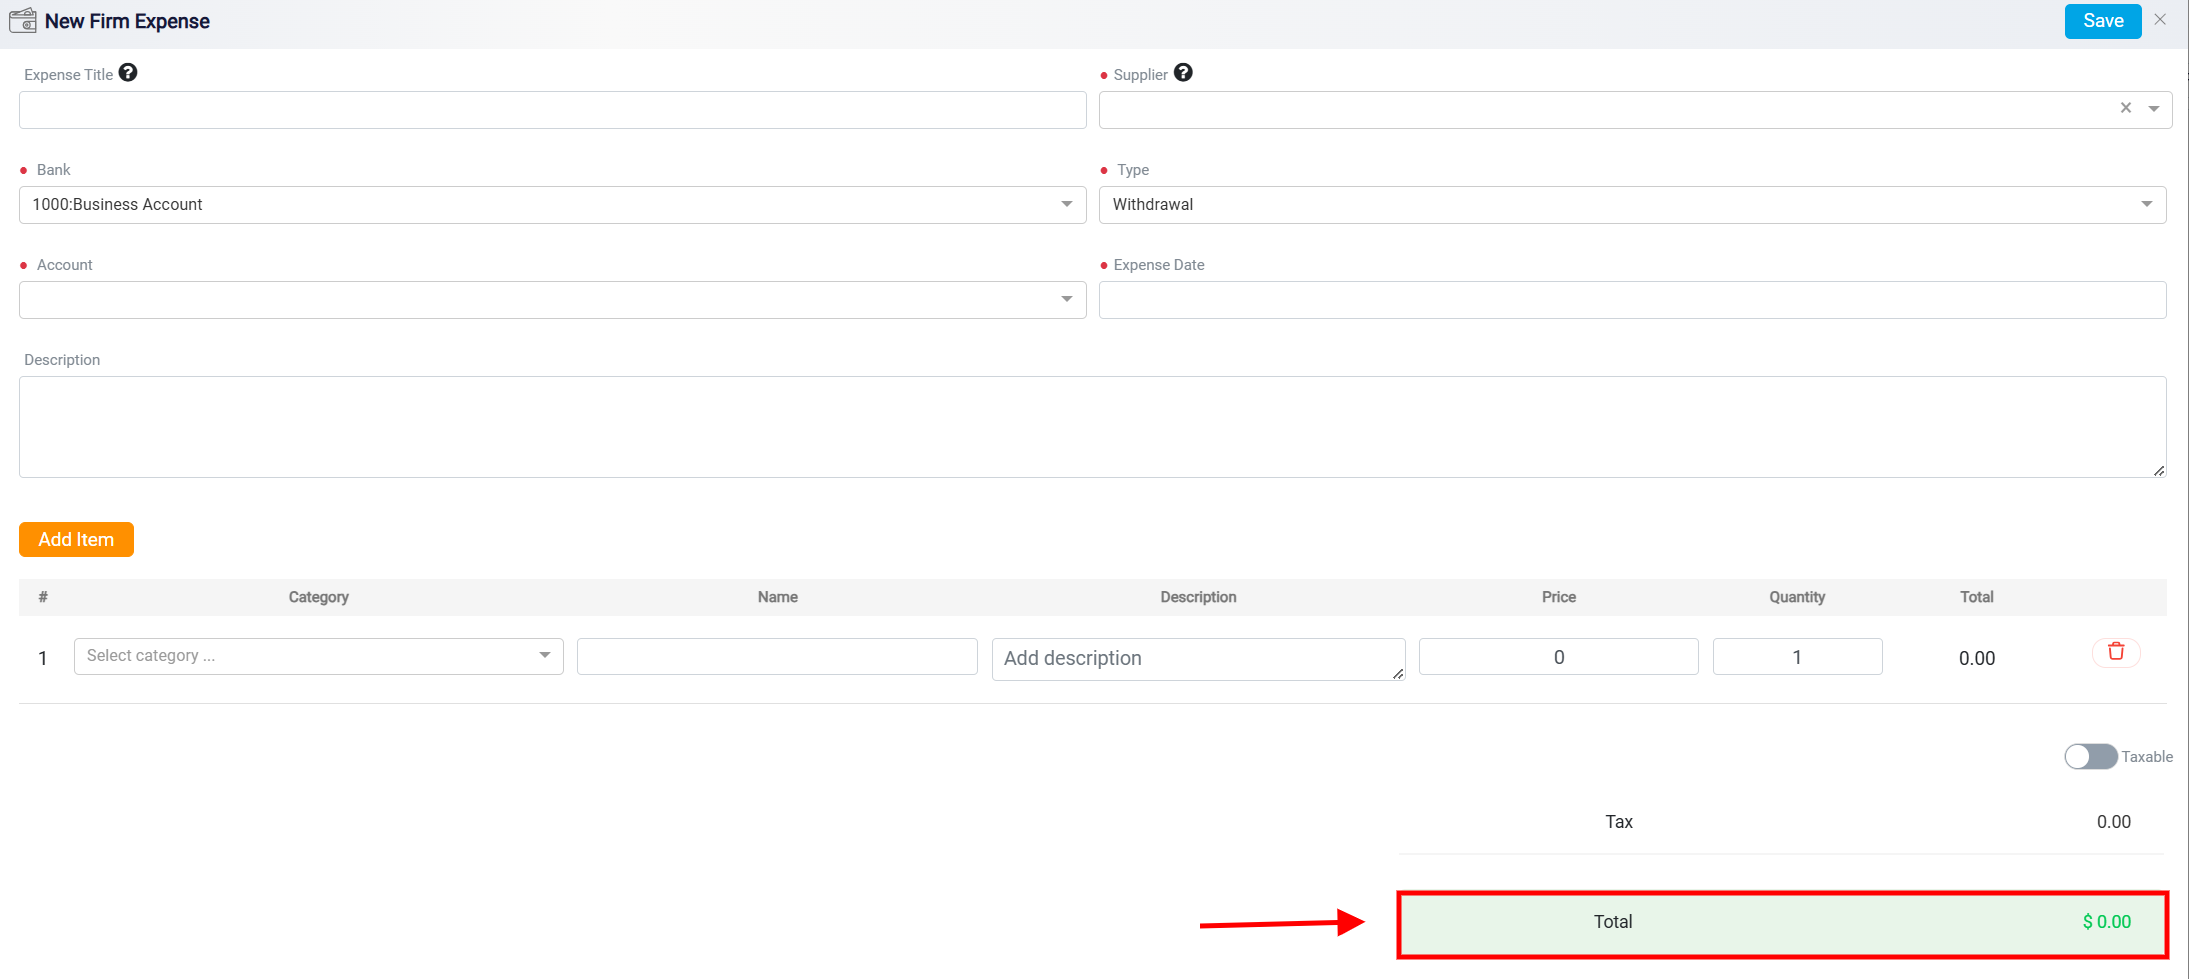
Once you’re certain about the correctness of the expenses, click the Save button at the top right to save the expenses to the list.
