Setting Up and Managing Bank Accounts
Bank accounts have unique characteristics within the accounting system because they require more detailed information than other accounts. By entering comprehensive bank account details into the software, you can accurately track transactions and simplify the reconciliation process, ensuring that all bank-related activities are properly recorded and managed.
To access your bank accounts within the RunSensible software, click on the Bank tab located at the top of the screen.
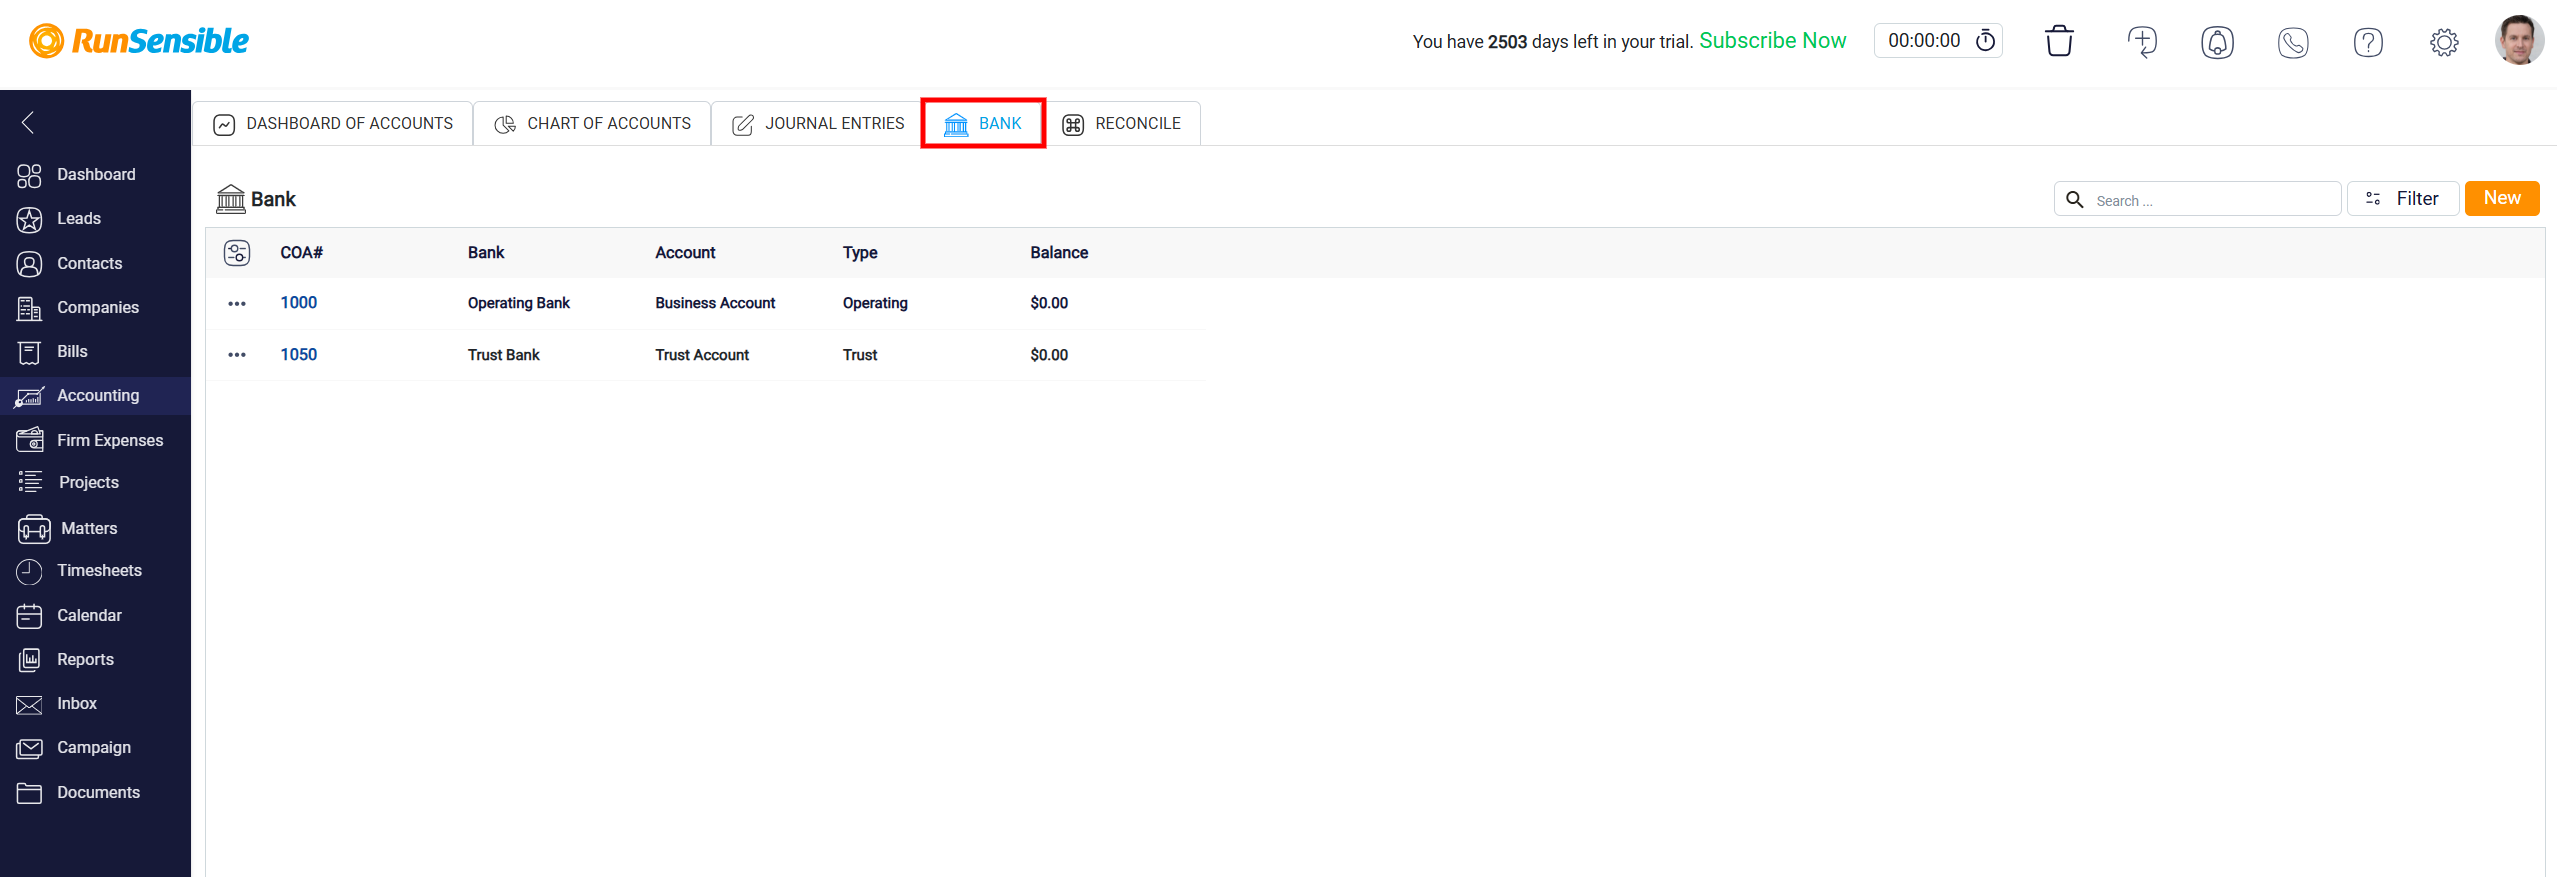
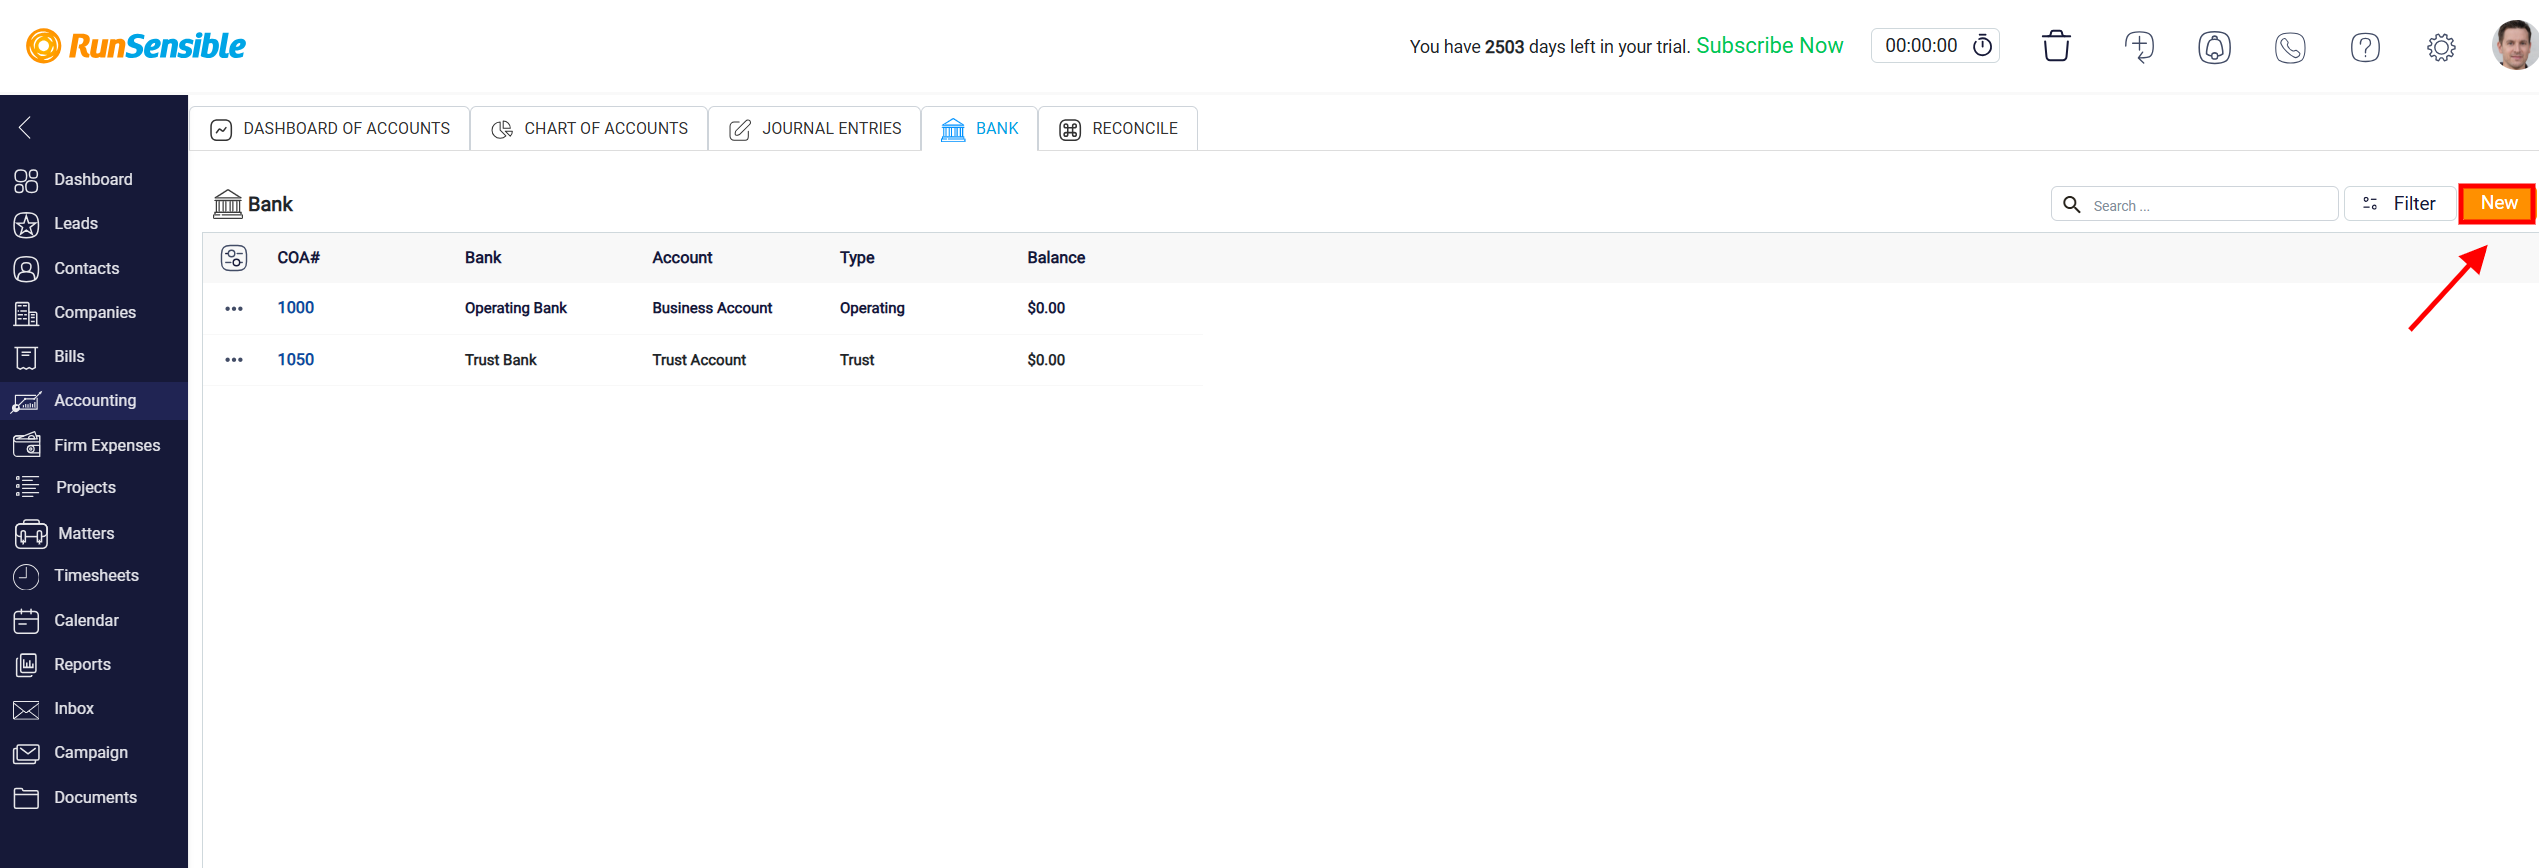
This will take you to a page displaying a list of all bank accounts currently set up in the system. If you need to add a new bank account, click the New button in the top-right corner. This action will open a form where you can input the necessary details for the new account.
Creating a New Bank Account
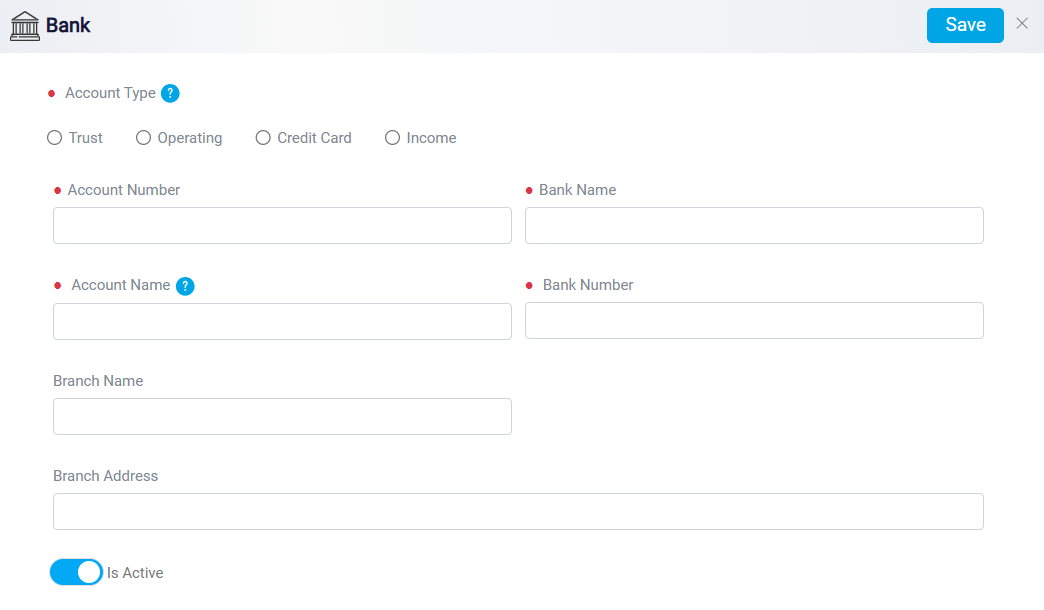
When setting up a new bank account, the first step is to select the Account Type that best matches your needs from the provided options. Keep in mind that once you have chosen an account type and saved it, this selection cannot be changed later, so it is essential to make the correct choice from the start. Next, enter the account number in the Account Number box to ensure accurate identification and tracking of the account.
In the designated fields, provide the Bank Name, Account Name, Branch Name, and Branch Address with precise details. These details are essential for correctly recording the bank account’s information in the system. Once you have completed all required fields, click the Save button at the top right of the screen to finalize the setup and add the bank account to your list of accounts.
Updating Bank Account Information
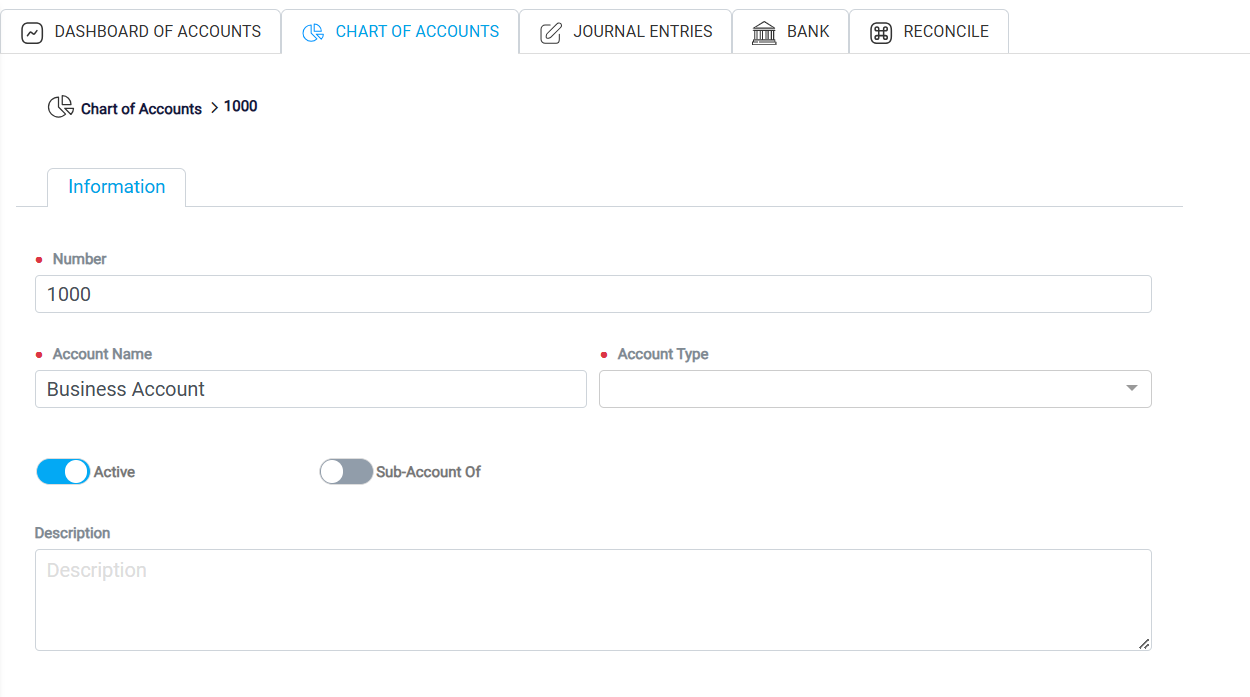
If you need to update certain details of an existing bank account, locate the account under the Chart of Accounts (COA) column and click on the corresponding link. This link will open a detailed page dedicated to that specific bank account, where you can review and edit information. On this page, you can modify fields such as the Account Name and Account Number to keep the information up-to-date. However, it is important to note that the Account Type cannot be altered once it has been set, as it defines the account’s fundamental classification within the system.
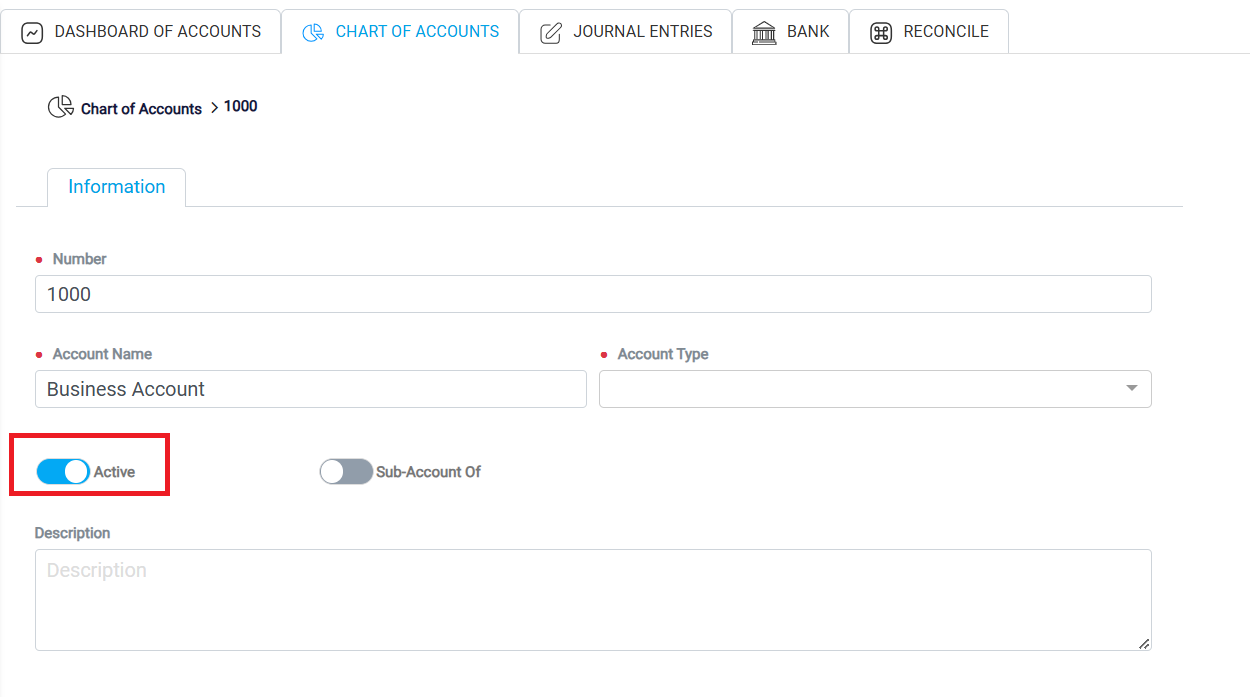
At the bottom of the bank account details page, you will find the Is Active toggle button. This toggle allows you to control the status of the account and determine whether it can process transactions. When the Is Active toggle is turned off, the account is deactivated, and no incoming or outgoing transactions can be processed through it. This feature is useful if you are closing the account or need to temporarily suspend transactions for specific reasons. Deactivating an account restricts all further activity, effectively pausing its functionality.
Maintaining Access to Account History
Even after deactivating a bank account, you will retain access to all historical reports and data associated with it. This means that all past transactions, balances, and activity details will remain available for review, allowing you to retain a complete record of the account’s history. If needed, you can reactivate the account at any time by toggling the Is Active button back on, resuming its ability to process transactions. This flexibility ensures that you can manage the account status as needed while maintaining a full historical record for reference.
