Sending and Scheduling Emails
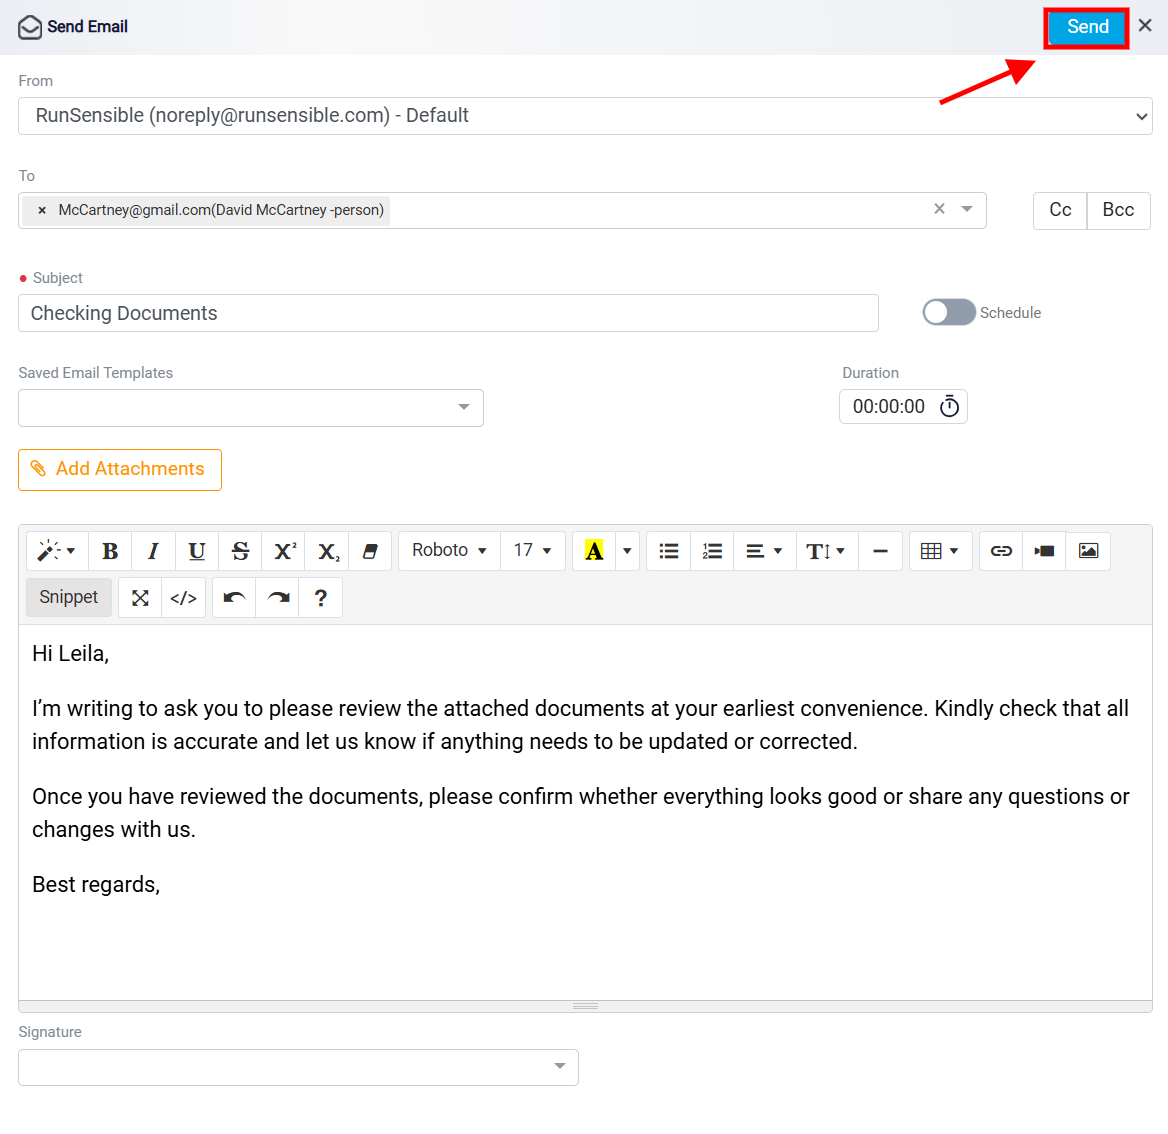
After the user clicks Email button, the Send Email panel opens.
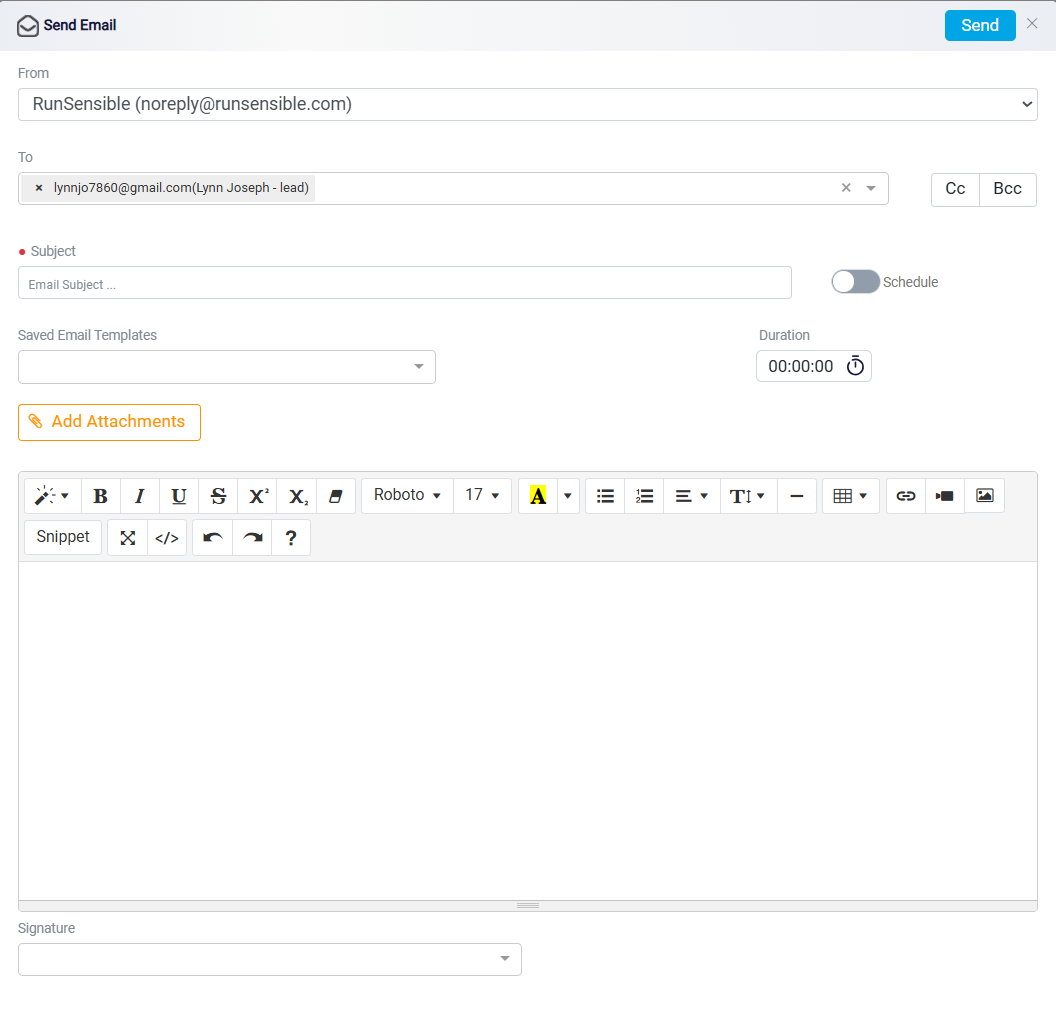
The From field shows the sender email address. By default, this is usually the user’s primary email address. If the user has more than one email address connected to their account, they can open the From dropdown and choose which email address should be used to send the message.
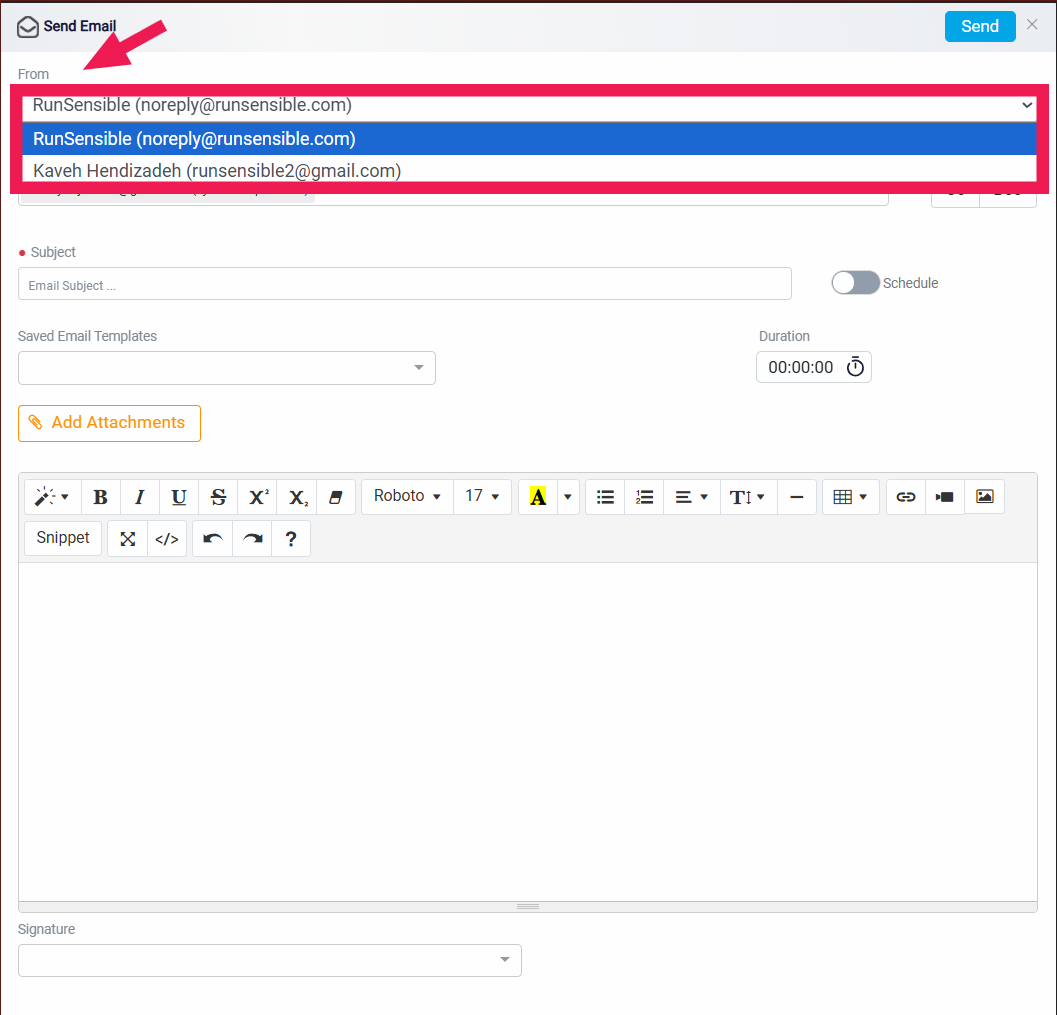
The To field shows the email addresses of the selected leads. The user can also use this field to search for other saved email addresses in the system. This means the user can add emails connected to leads, contacts, institutes, or other records, depending on what is available in the system.
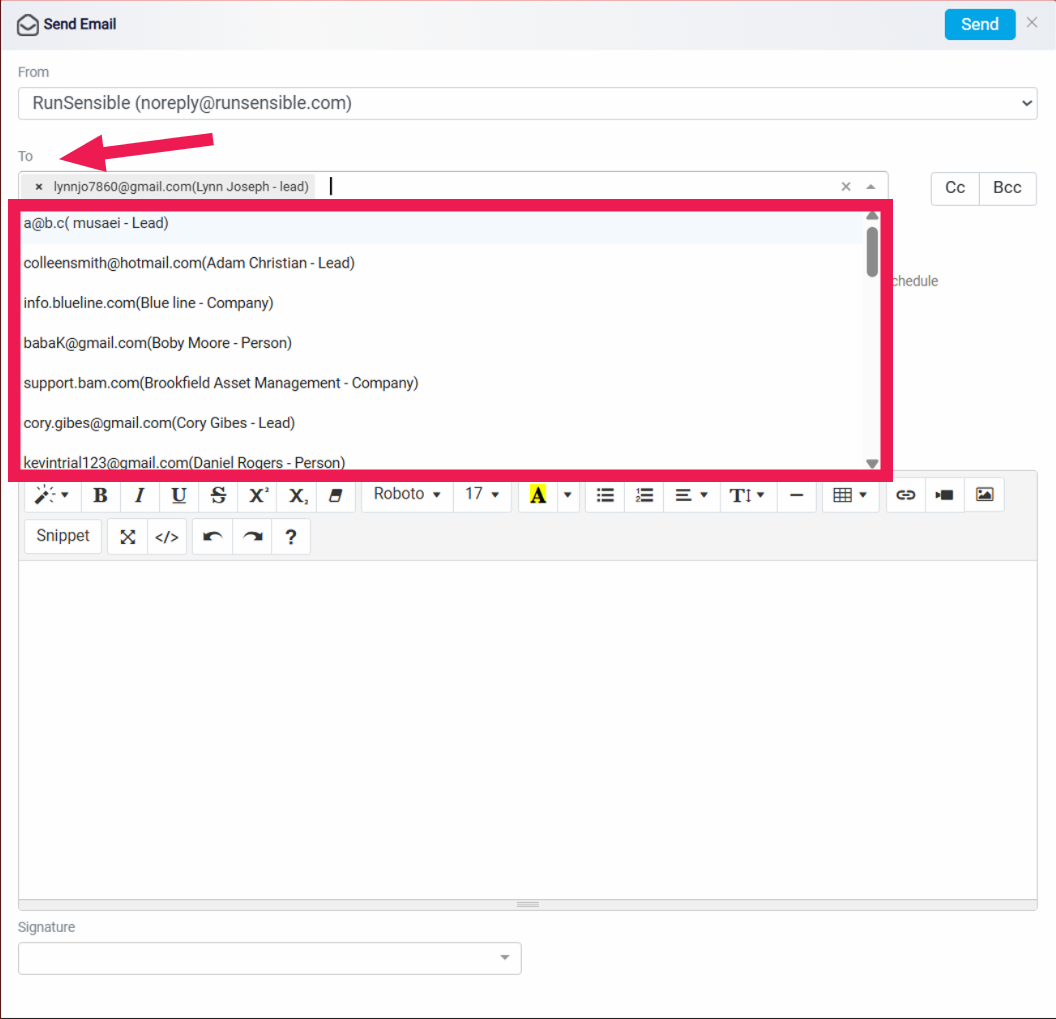
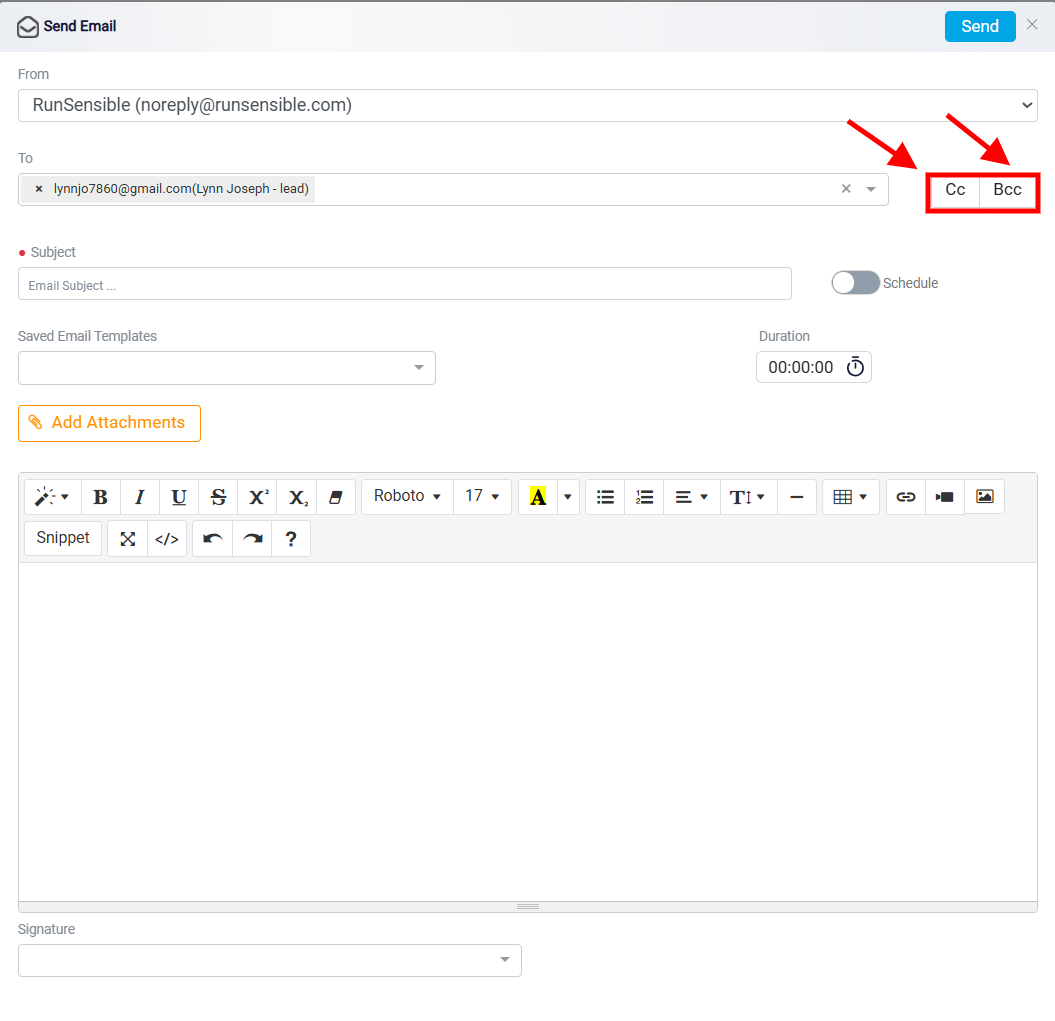
Beside the To field, there are two buttons: CC and BCC. Clicking CC opens the CC field, and clicking BCC opens the BCC field. Both fields allow the user to search for and select additional email recipients. CC means Carbon Copy. Use CC when another person should receive a copy of the email and all recipients should be able to see that this person was included. BCC means Blind Carbon Copy. Use BCC when another person should receive a copy of the email, but the other recipients should not be able to see that this person was included.
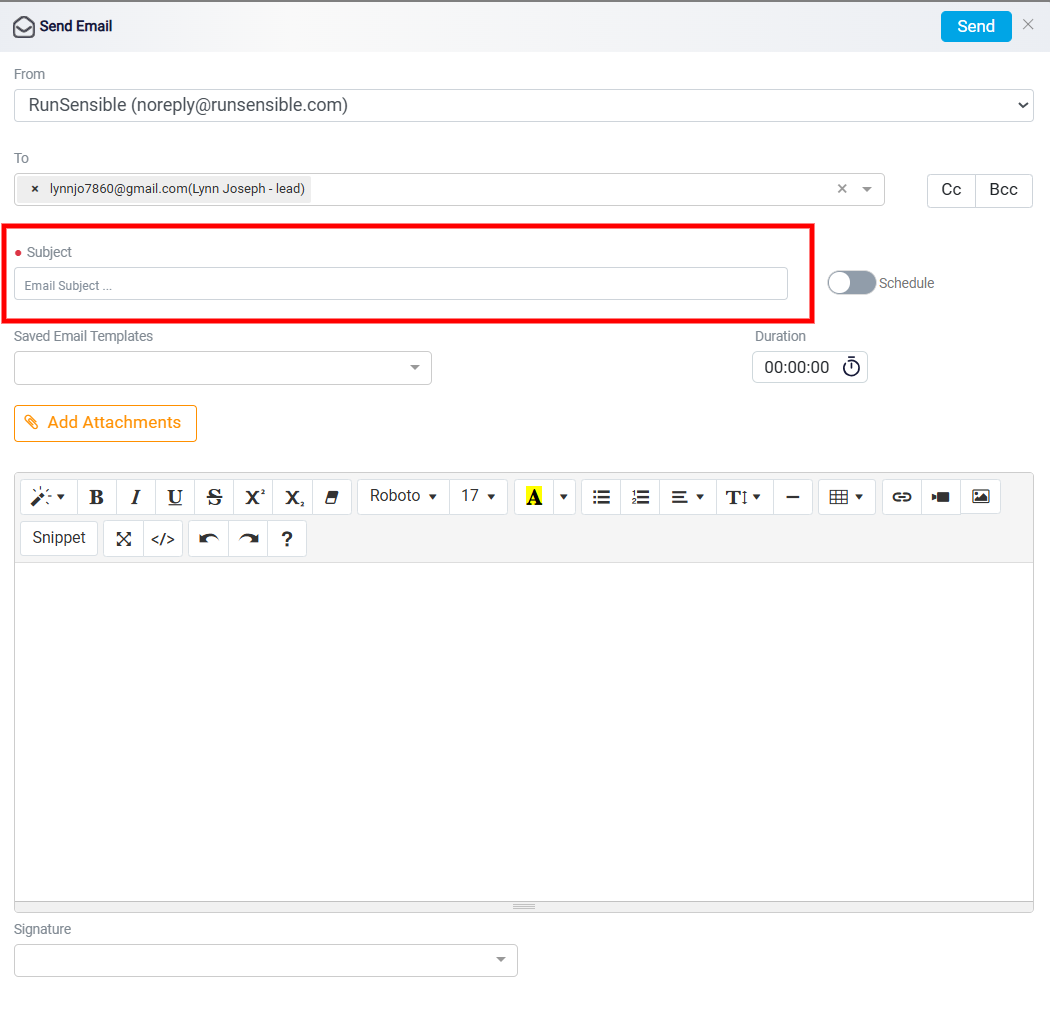
The Subject field is used to enter the subject line of the email. The body section is where the user writes the main message. The user can type the message manually, edit an existing template, add links, insert images, use snippets, and format the content using the toolbar.
Email Scheduling
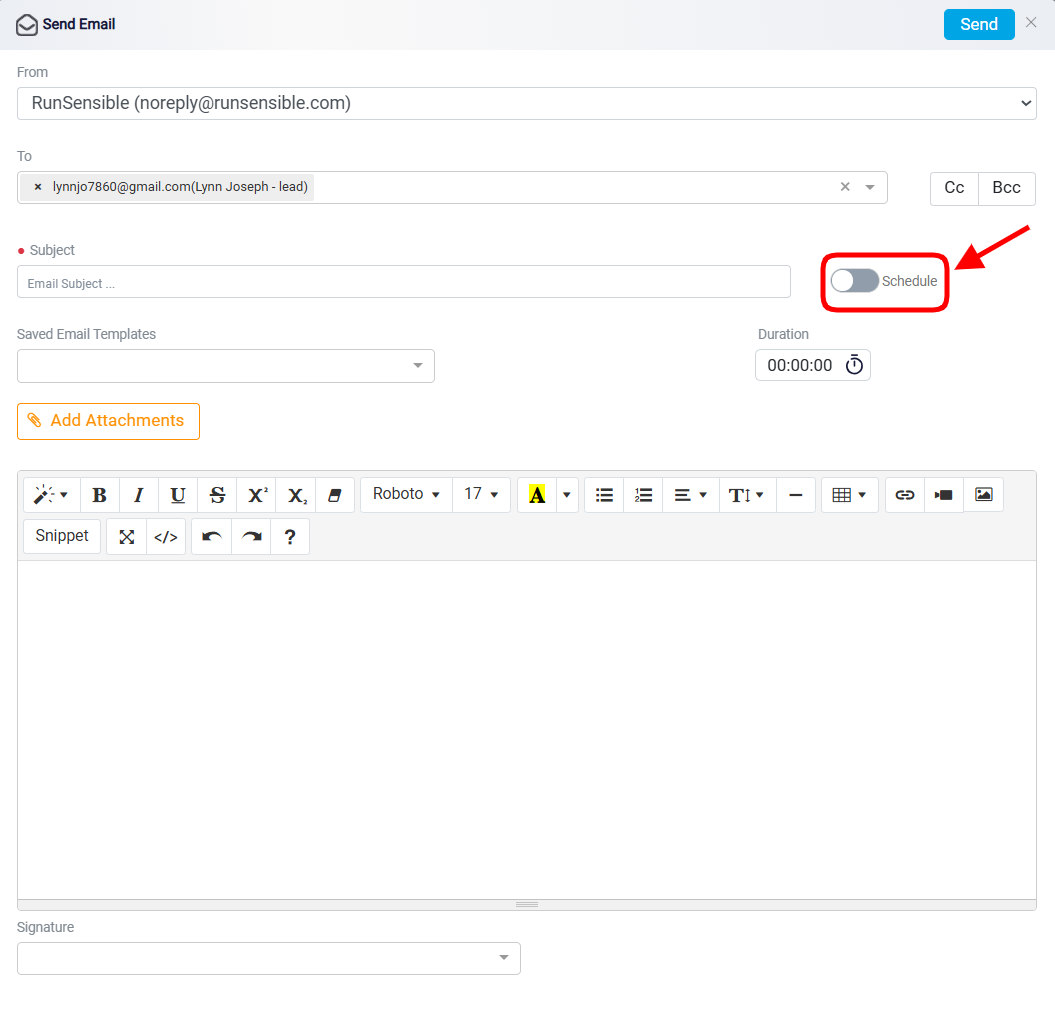
The Schedule toggle is used when the user wants to send the email later instead of sending it immediately.
When this option is turned on, additional scheduling fields appear so the user can choose the delivery date and time. The Delivery Date field is used to select the date when the email should be sent. The time fields allow the user to enter the hour and minute and choose AM or PM. Together, these fields tell the system exactly when to send the email. 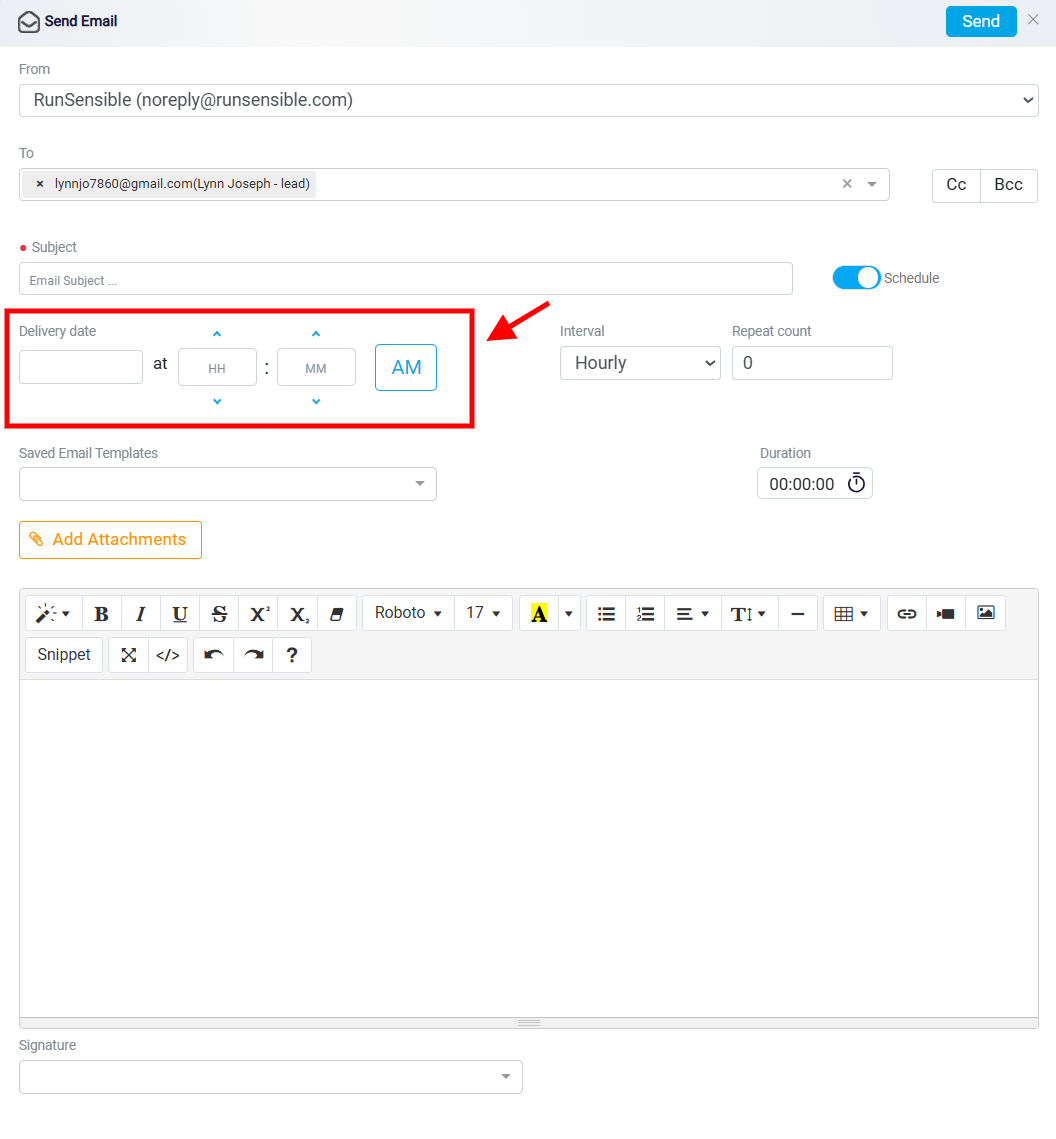
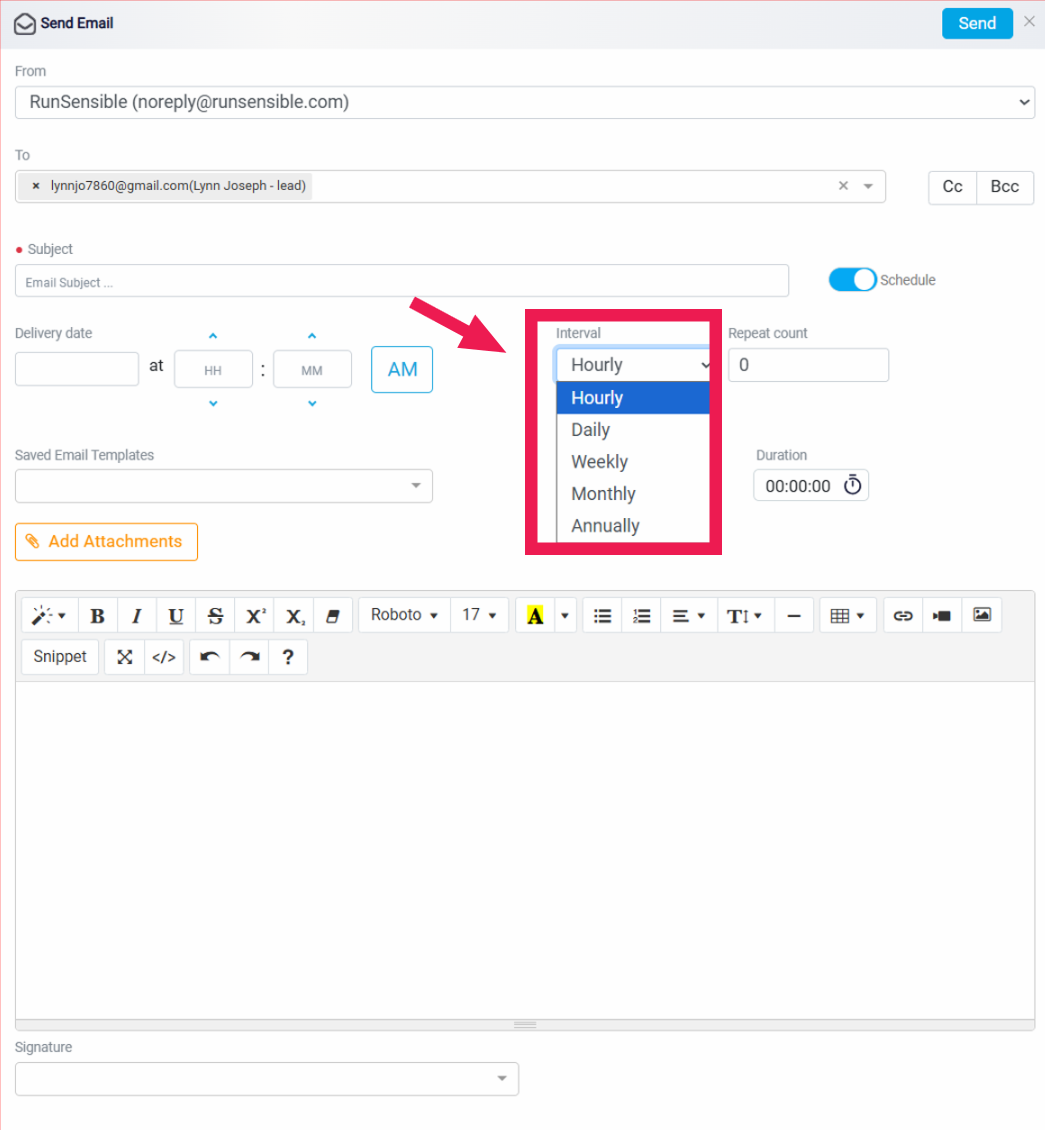
The Interval field is used when the email should be repeated. The user can choose how often the email should repeat, depending on the available options in the system.
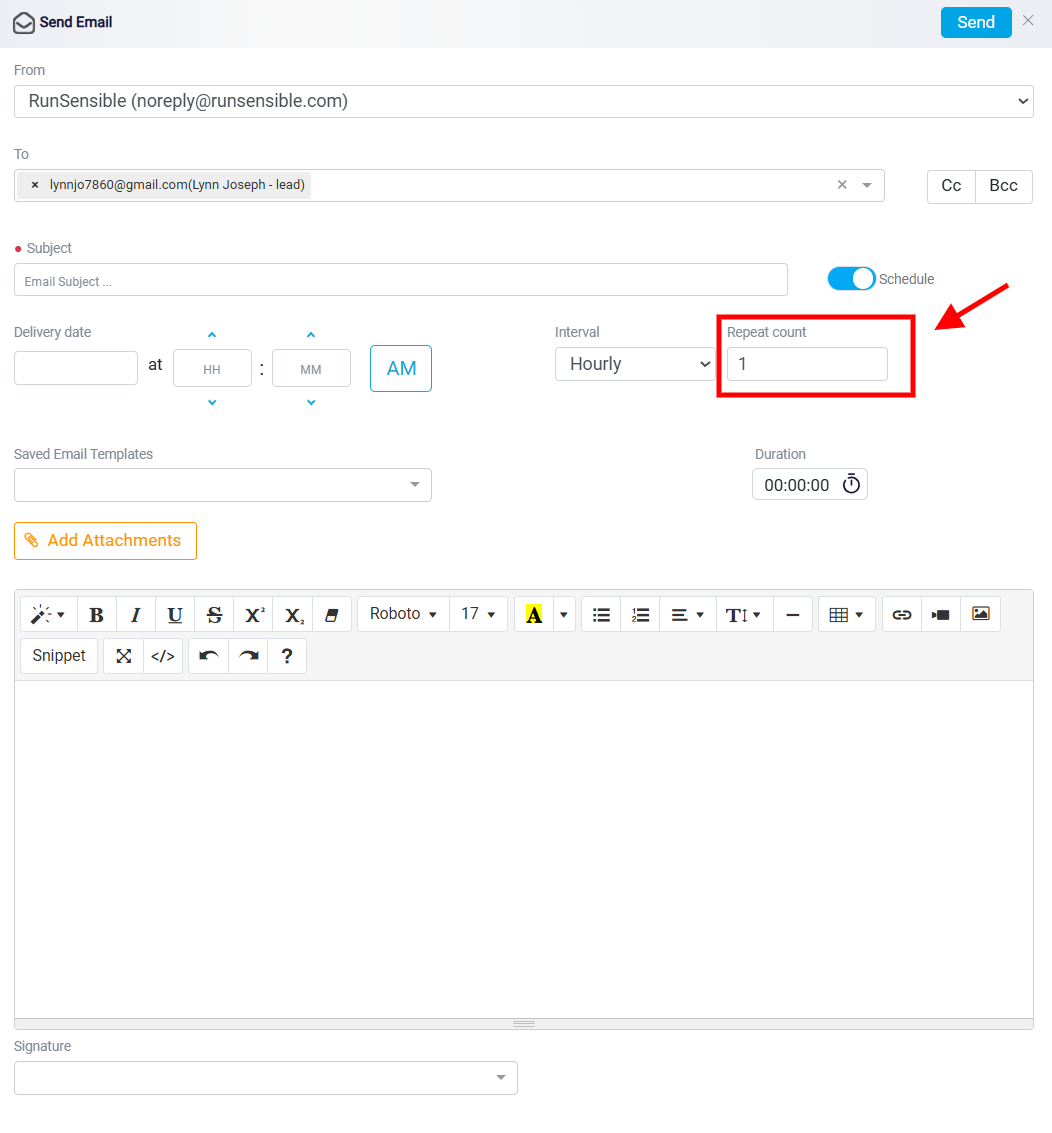
The Repeat Count field controls how many times the email should repeat. If the repeat count is set to 0, the email will not repeat and will only be sent once at the selected date and time.
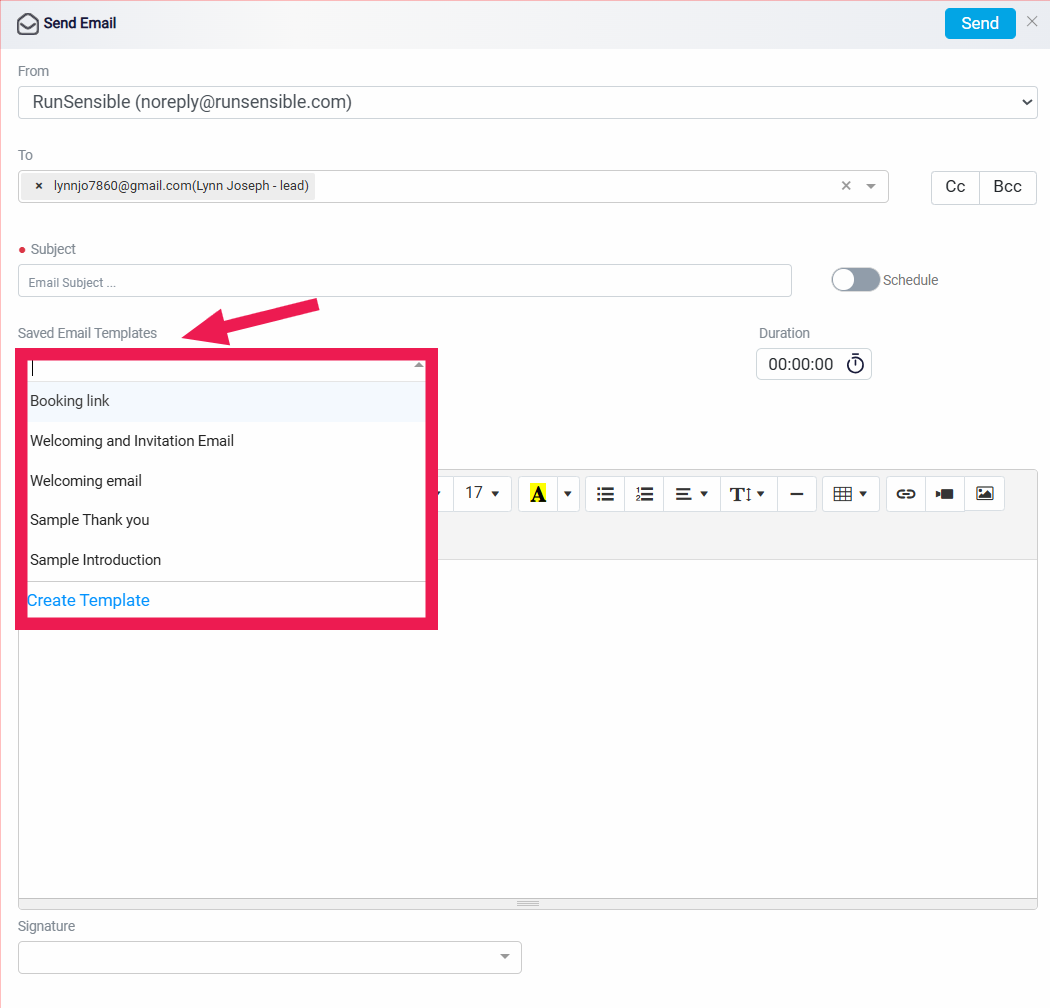
The Saved Email Templates dropdown allows the user to start the email with prepared content instead of writing the message from the beginning. When the user opens this dropdown, they can see the email templates that have already been created in the system. After selecting a template, the user can still edit the message before sending it.
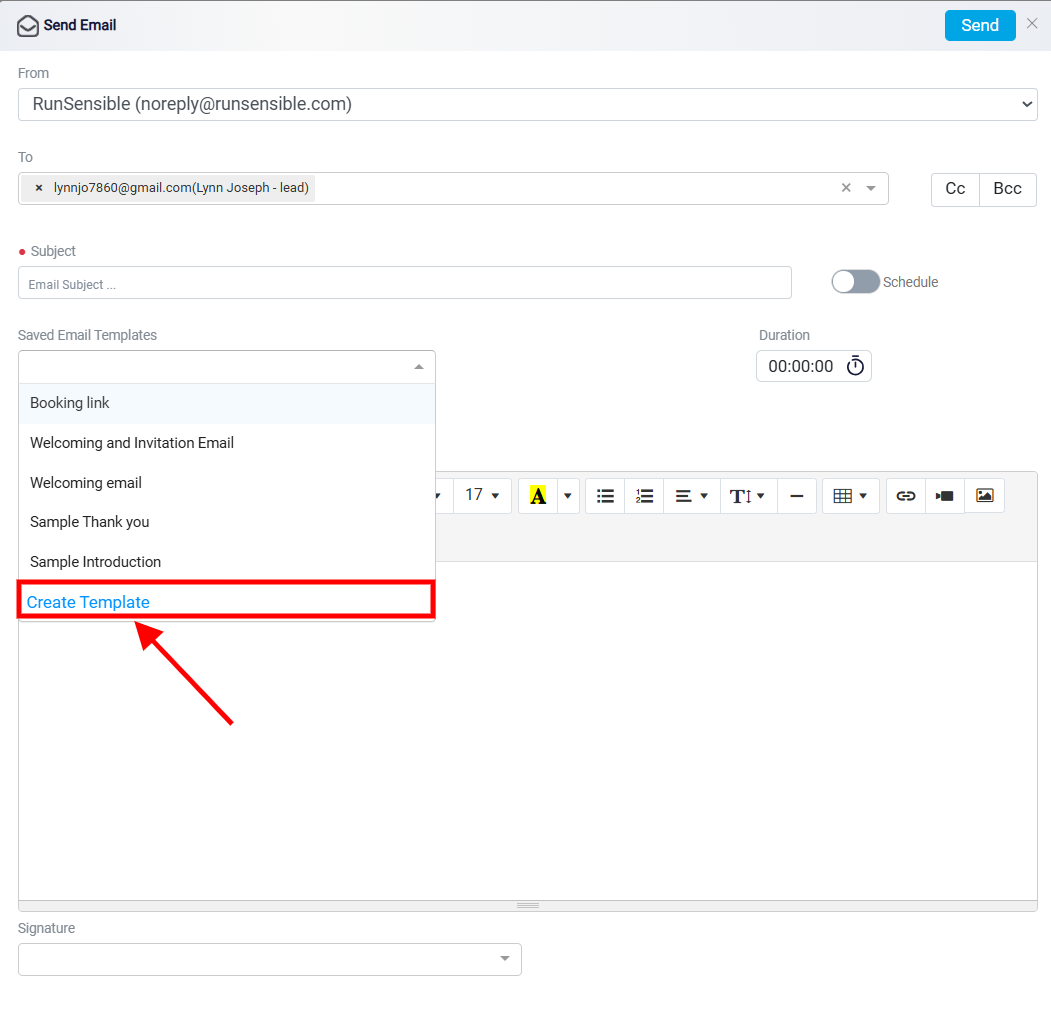
If the needed template does not exist, the user can create a new one. This can be done from the template dropdown by clicking on the Create Template button, or by going to Settings, opening Documents & Templates from the left-side menu, and selecting Email Template. From there, the user can view existing templates and create a new one.
Please visit Email Template for step-by-step instructions to create a new template.
Email Duration
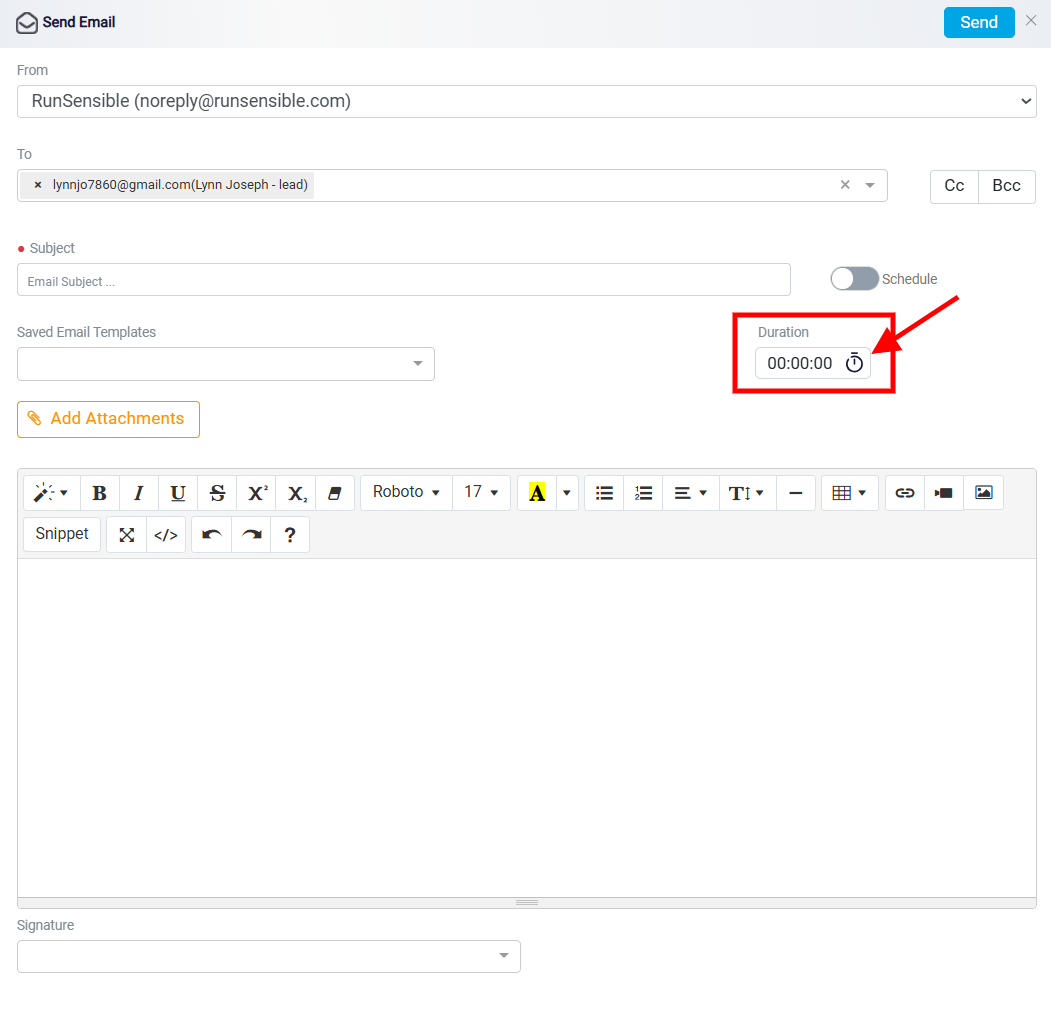
The Duration button is used to track how much time the user spends working on the email. When the user clicks the button, the timer starts. When the user clicks it again, the timer stops. The recorded time is saved inside the system and is not sent to the email recipient.
This email panel is used in different areas of the system. In some areas, the duration may be used for internal tracking or billing purposes. However, when sending an email to a lead, the user should usually not use the duration for billing, because the recipient is still a lead and not yet an active client or billable matter.
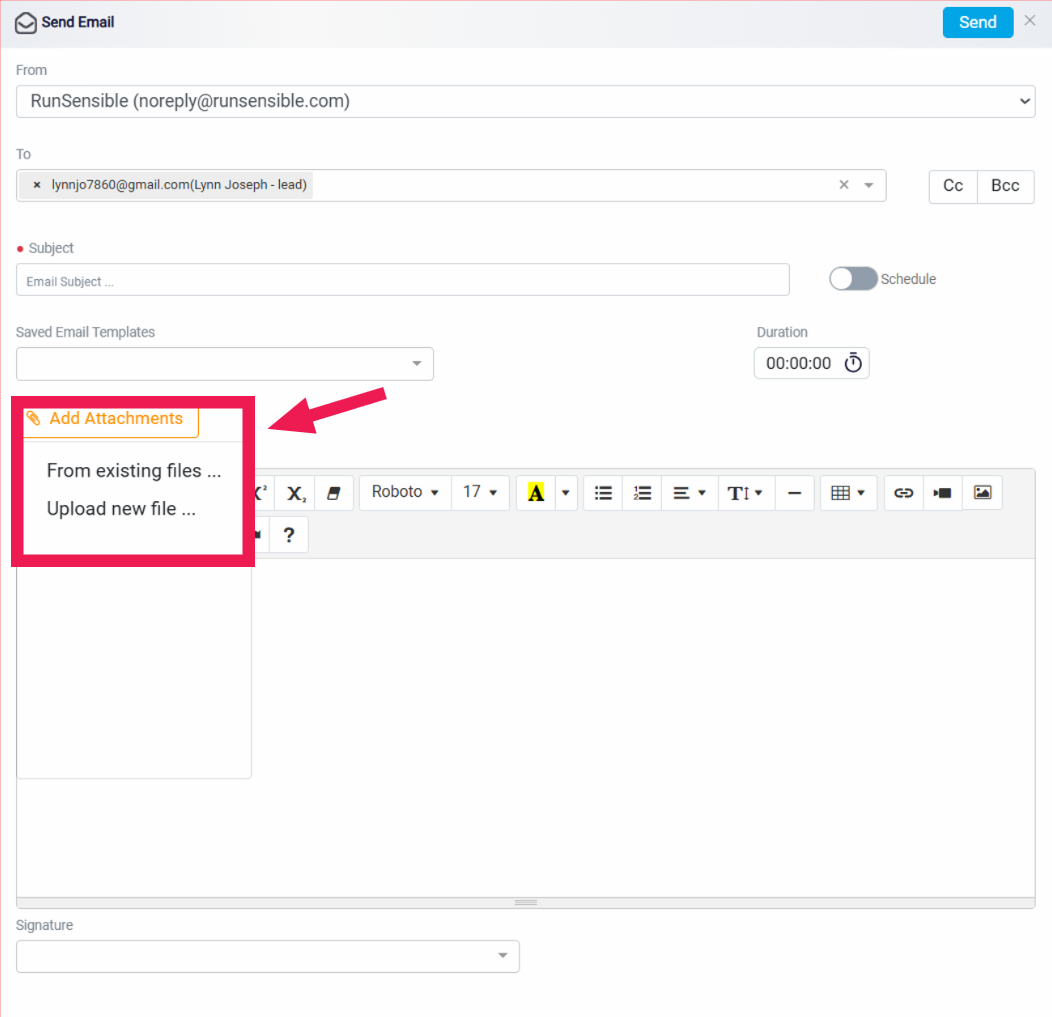
The Add Attachments button is used when the email needs to include files, such as documents, forms, images, or other supporting materials. You can attach files that are already stored in your RunSensible account or upload new files directly from your device. Any files you attach will be sent along with the email.
Custom Snippets
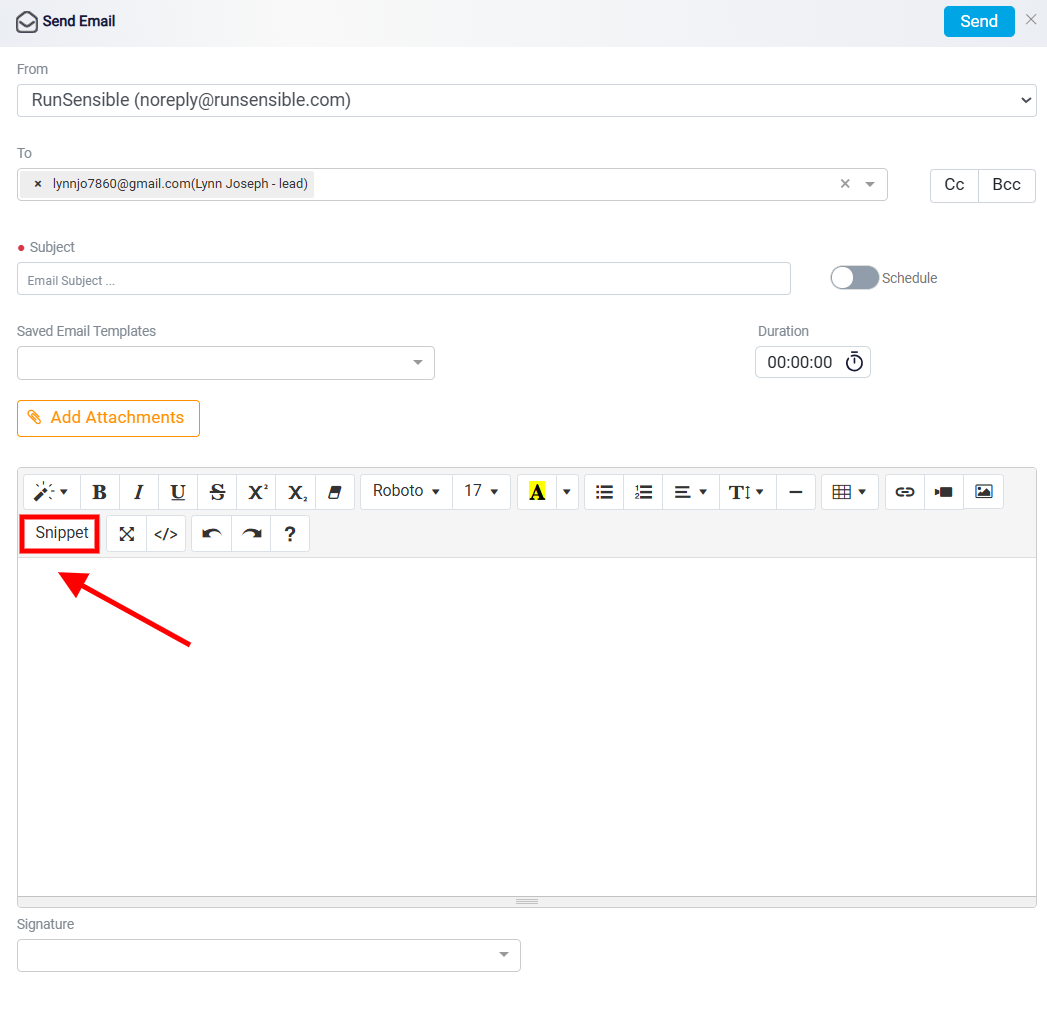
The Snippet button in the email editor allows the user to insert saved text shortcuts into the email. Snippets are useful for words, names, phrases, or messages that the user types often. When snippets are enabled, the system can replace a short shortcut with the full saved text.
Please visit Custom Snippets for step-by-step instructions.
Email Signature
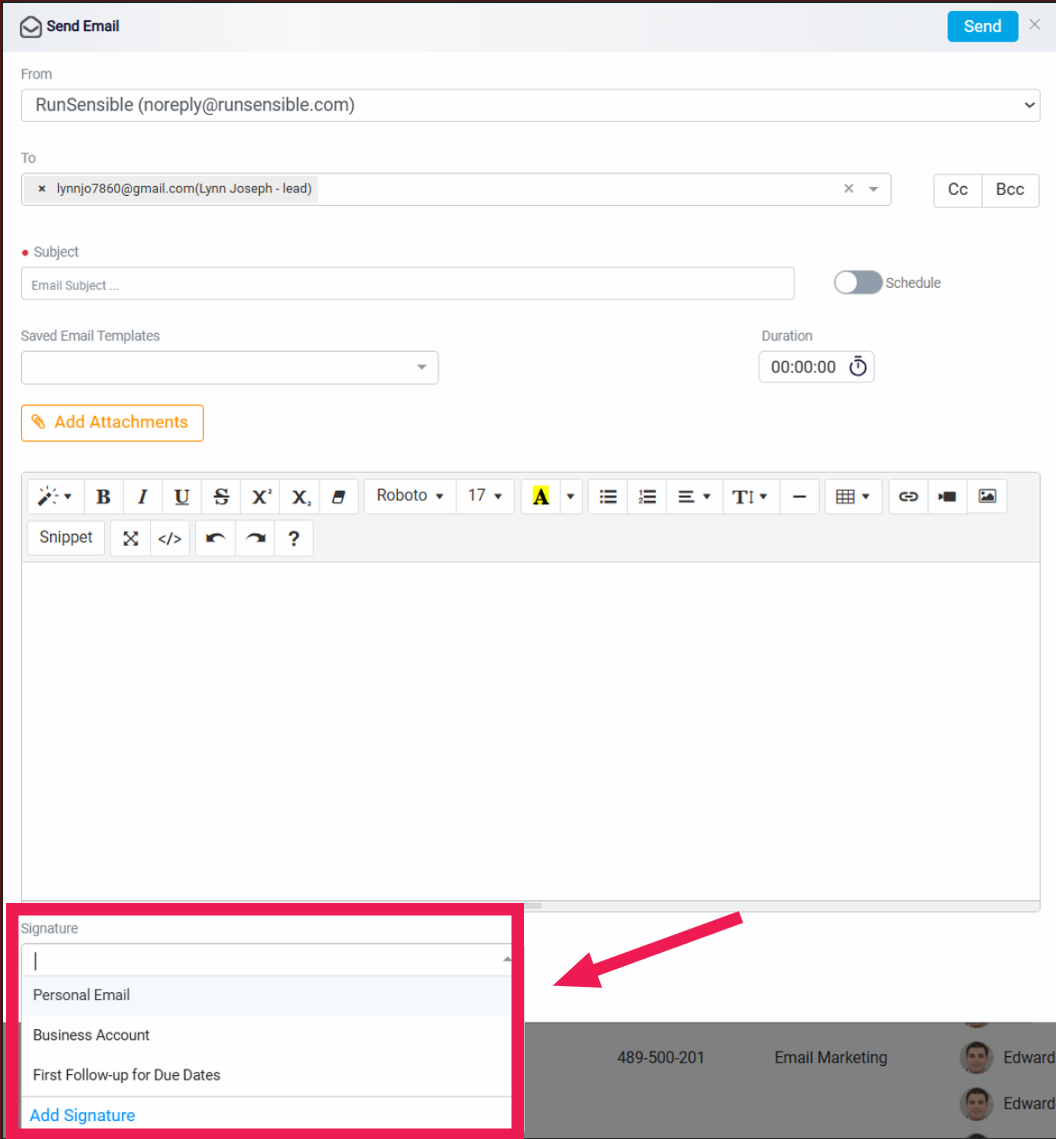
The Signature field allows the user to add a saved email signature to the message. A signature usually includes closing information such as the sender’s name, title, firm details, phone number, website, or other contact information. When the user opens the signature dropdown, they can select from the signatures already available in the system.
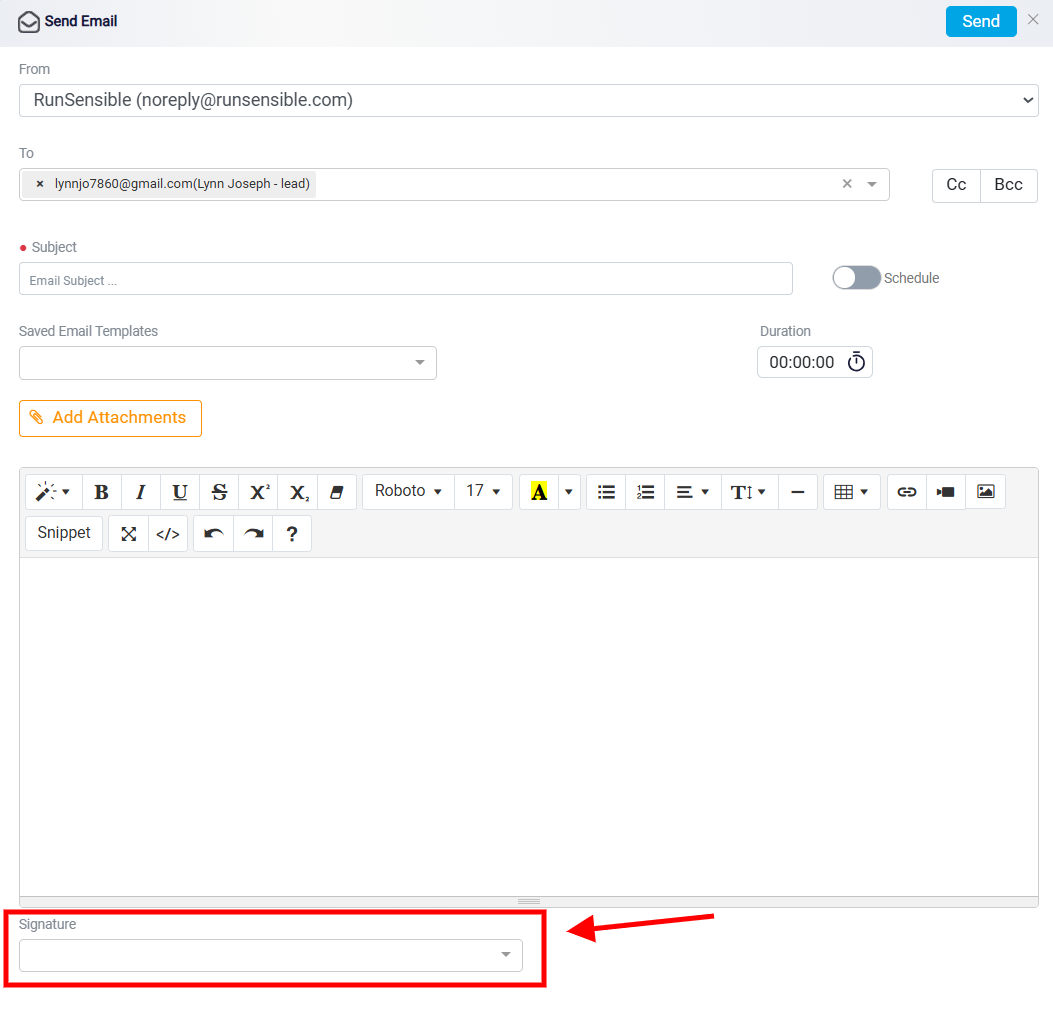
If the user needs to create a new signature, they may be able to click Add Signature from the bottom of the signature dropdown.
Please visit Customizing Your Email Signature for step-by-step instructions.
After completing the email, click Send in the top-right corner of the email panel. This sends the email to the selected recipients and saves a record of the sent message in the system.