Creating a Note in RunSensible
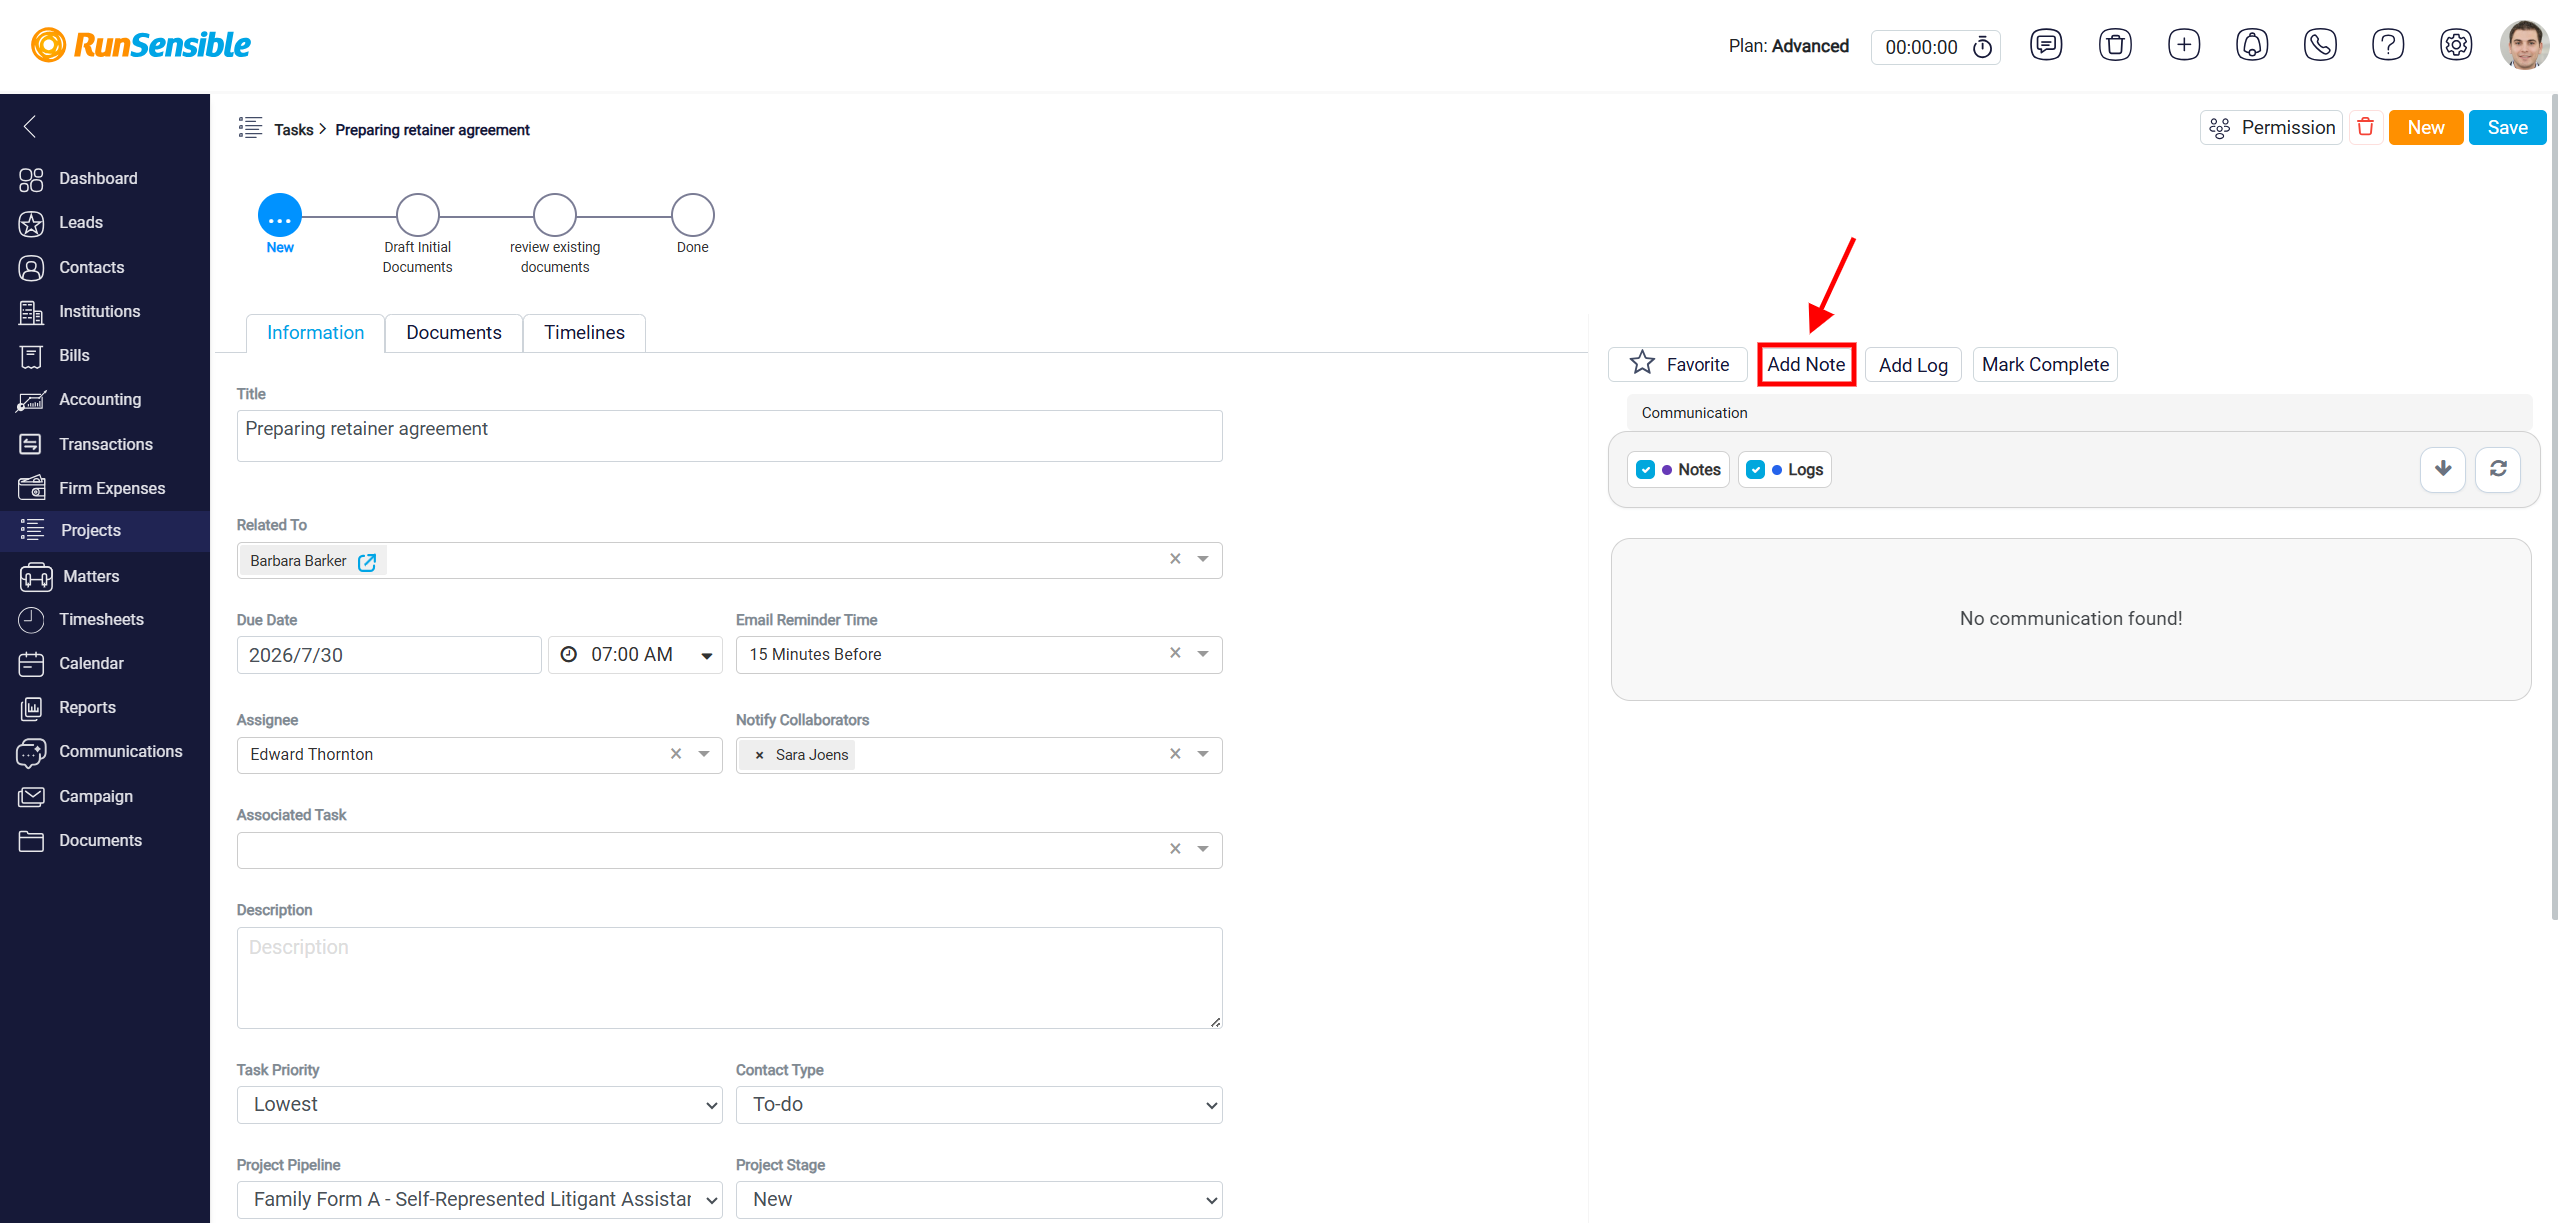
The Note button allows the user to add a note to the lead, contact, institution, task and matter they are currently working on.
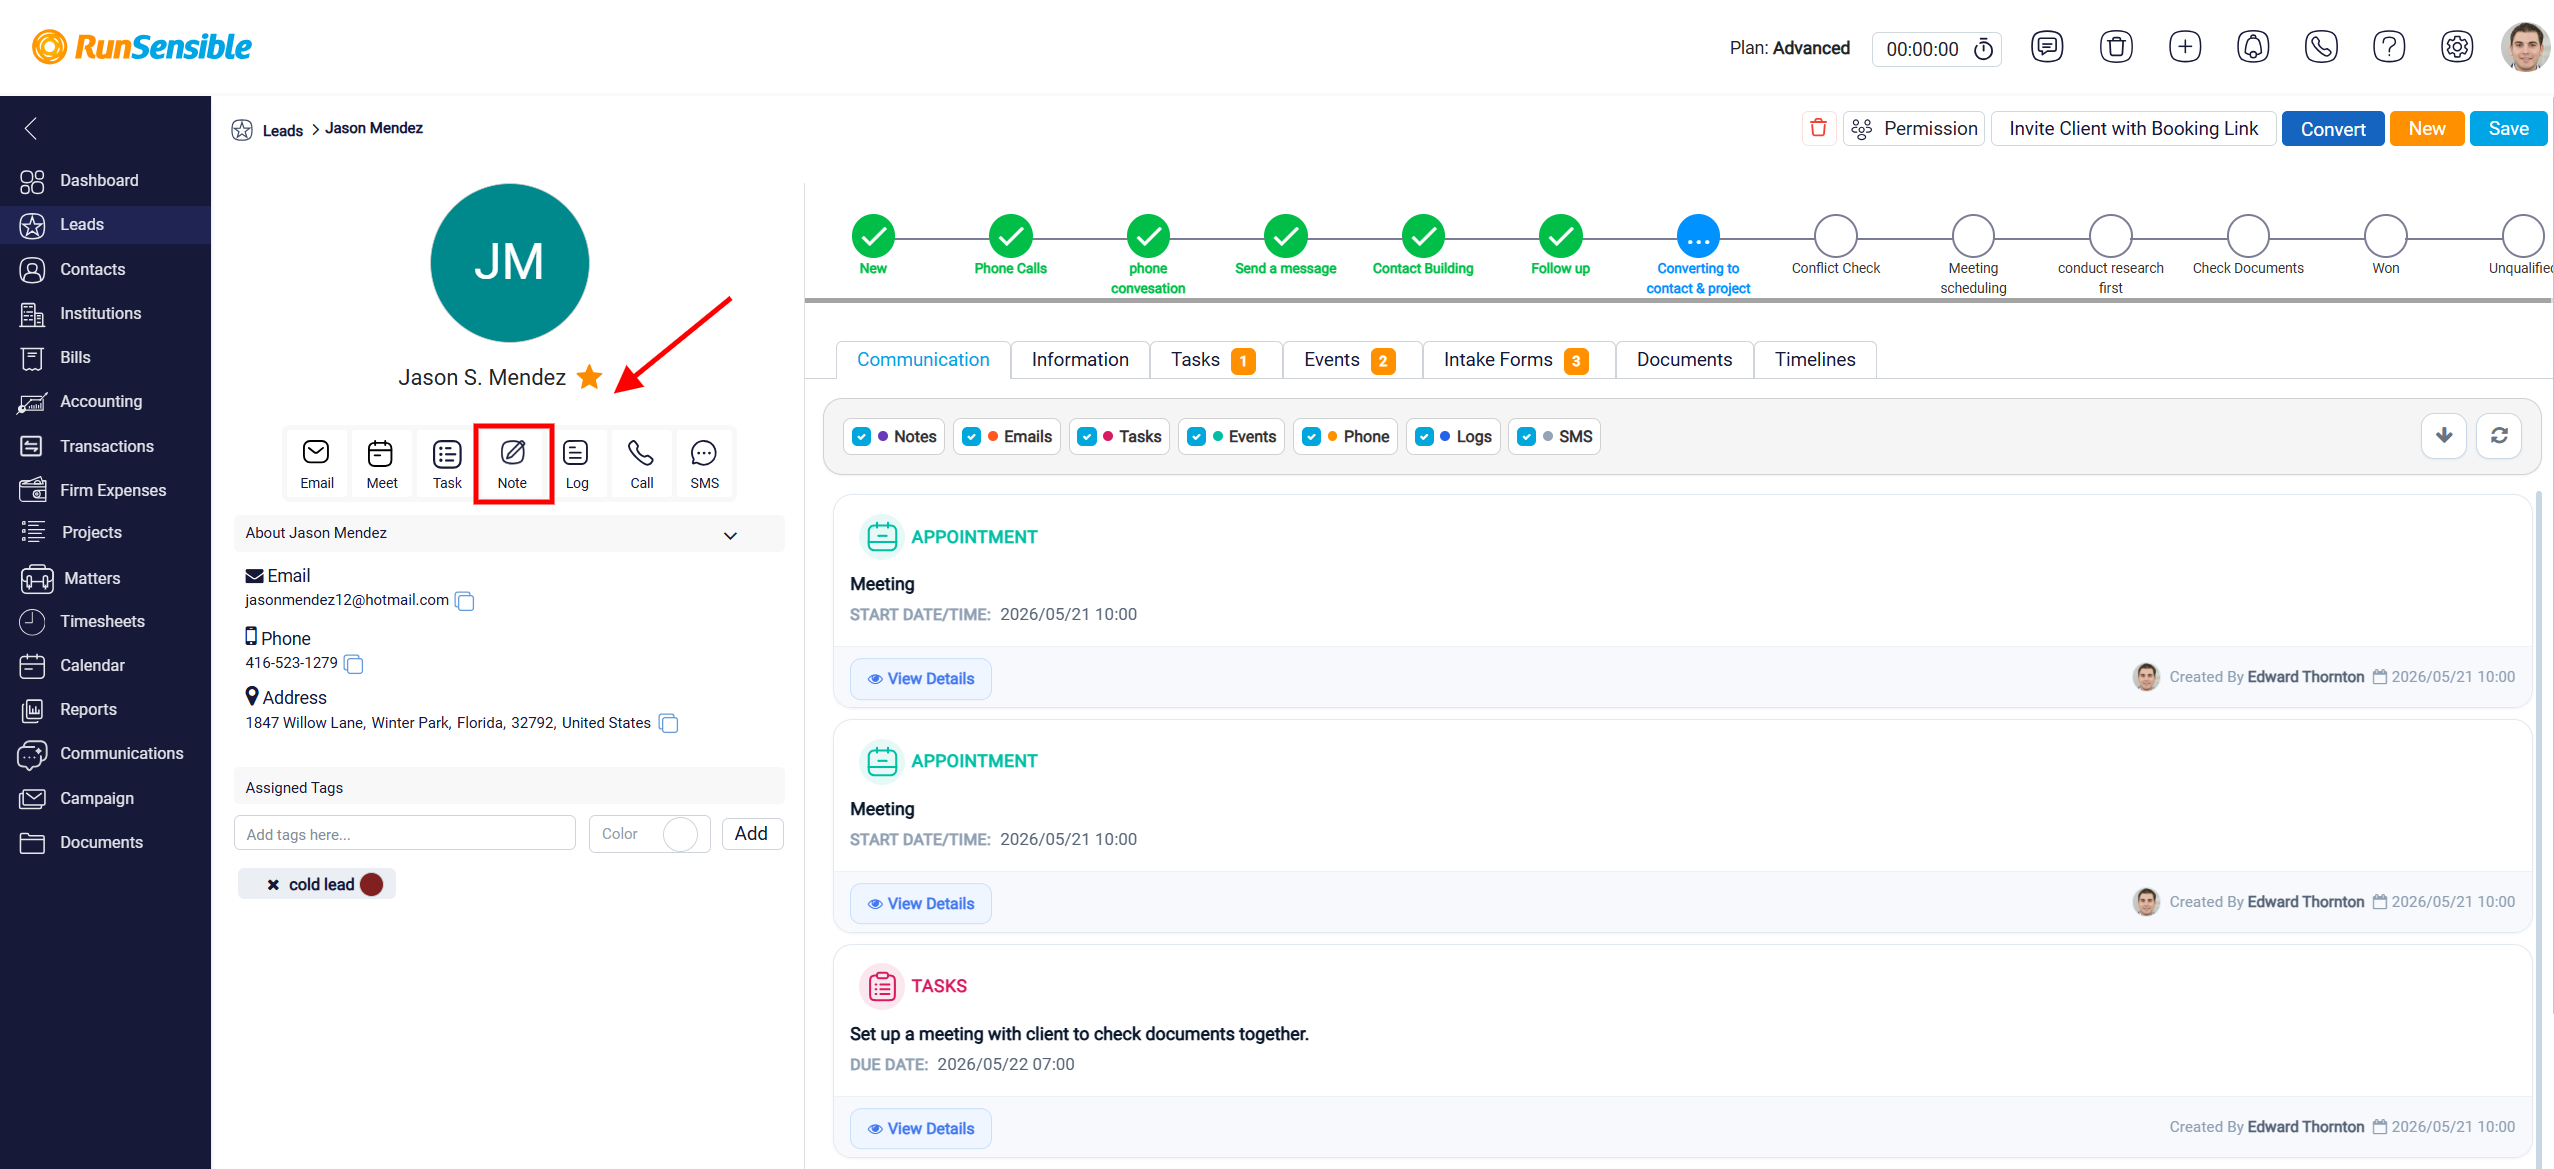
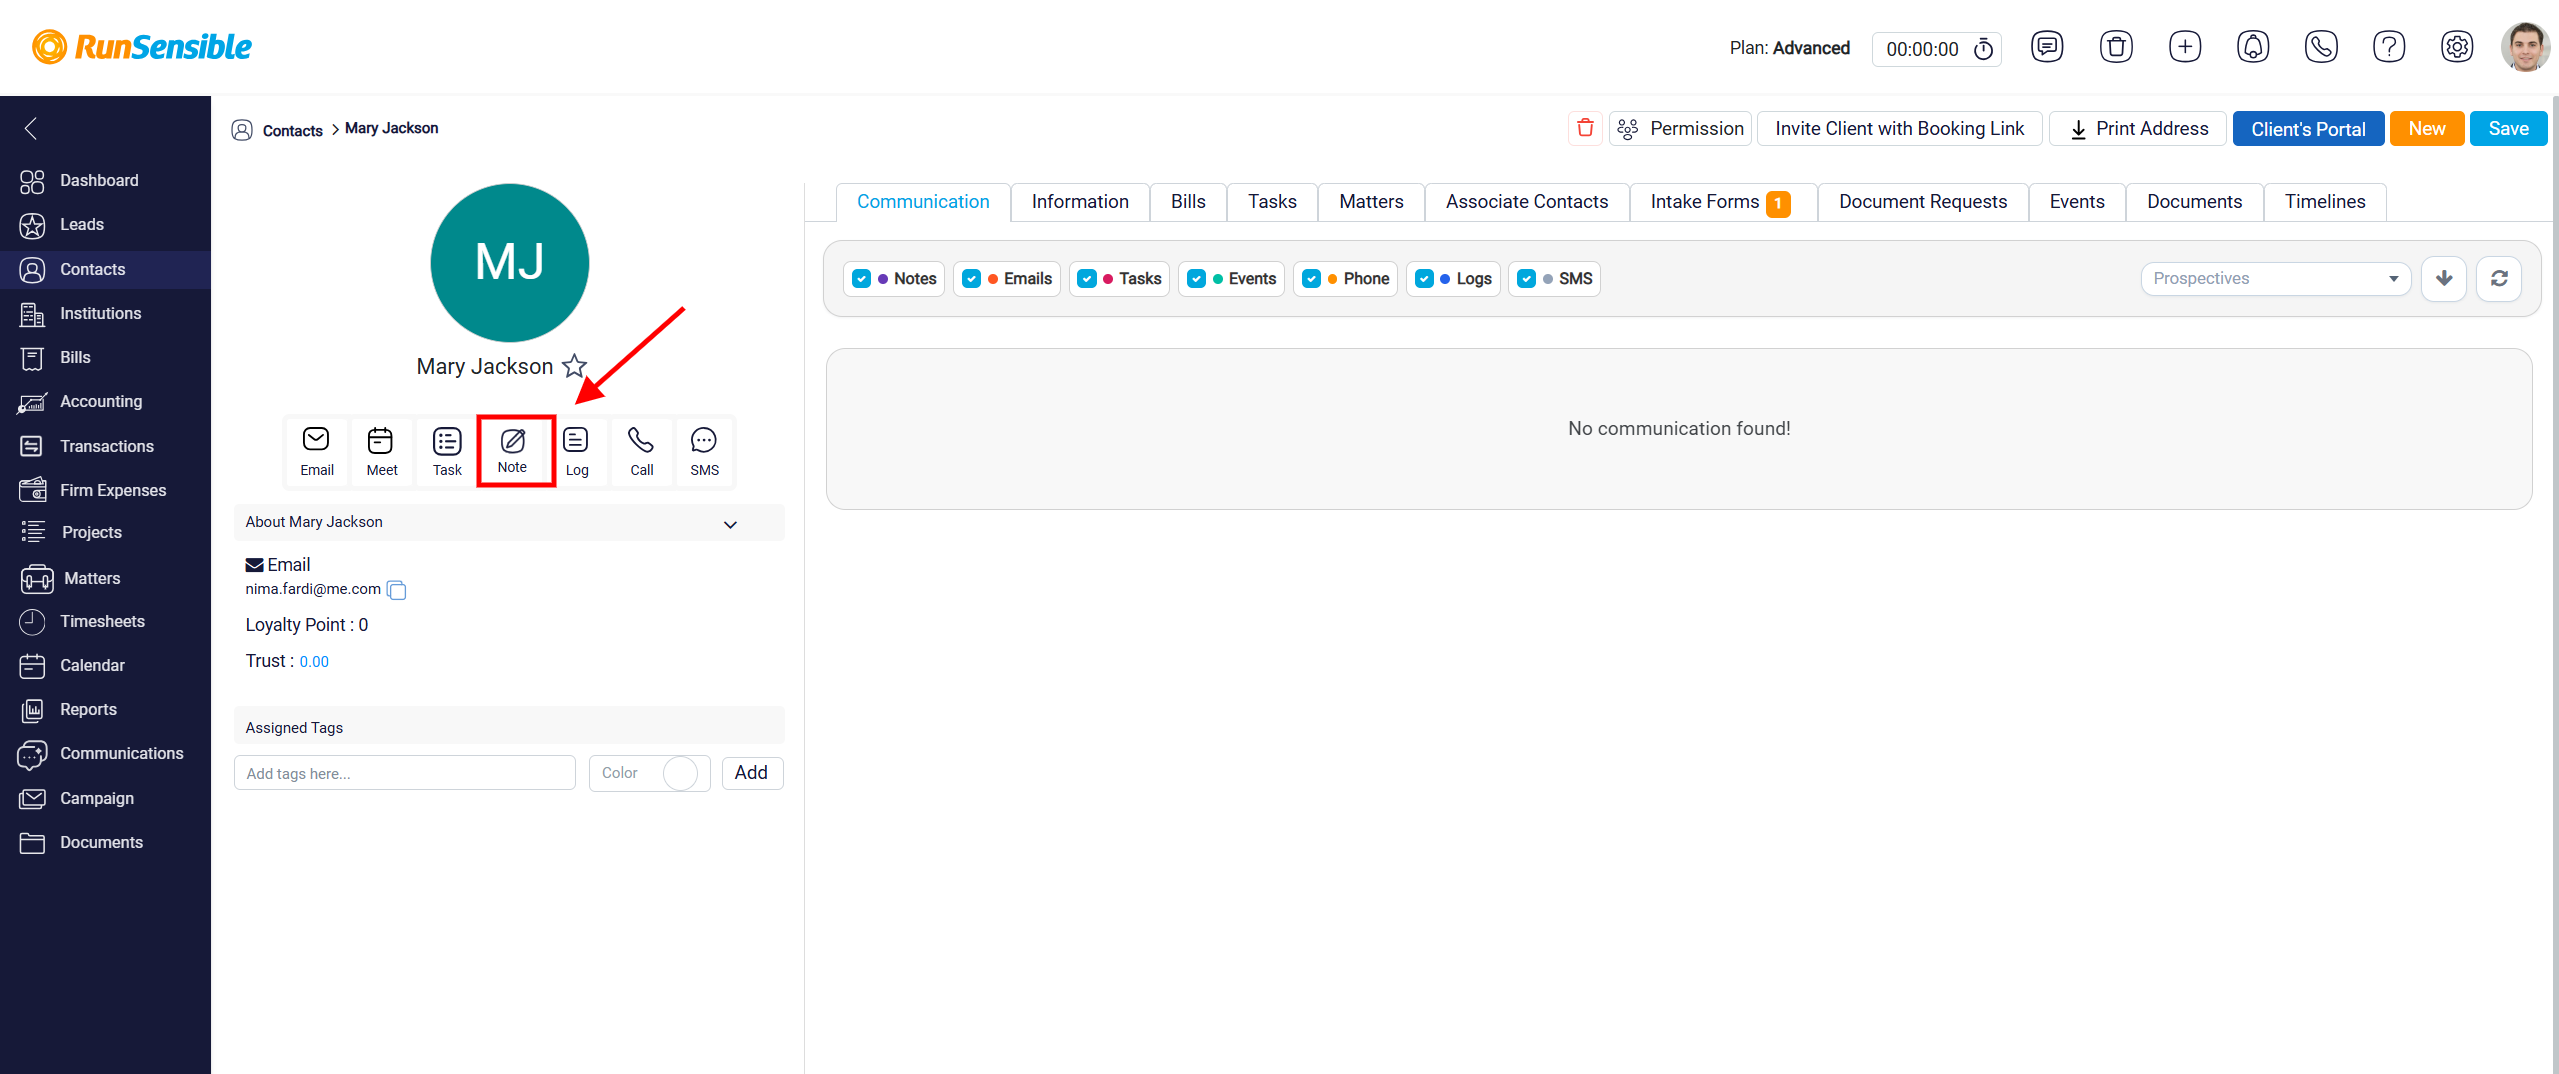
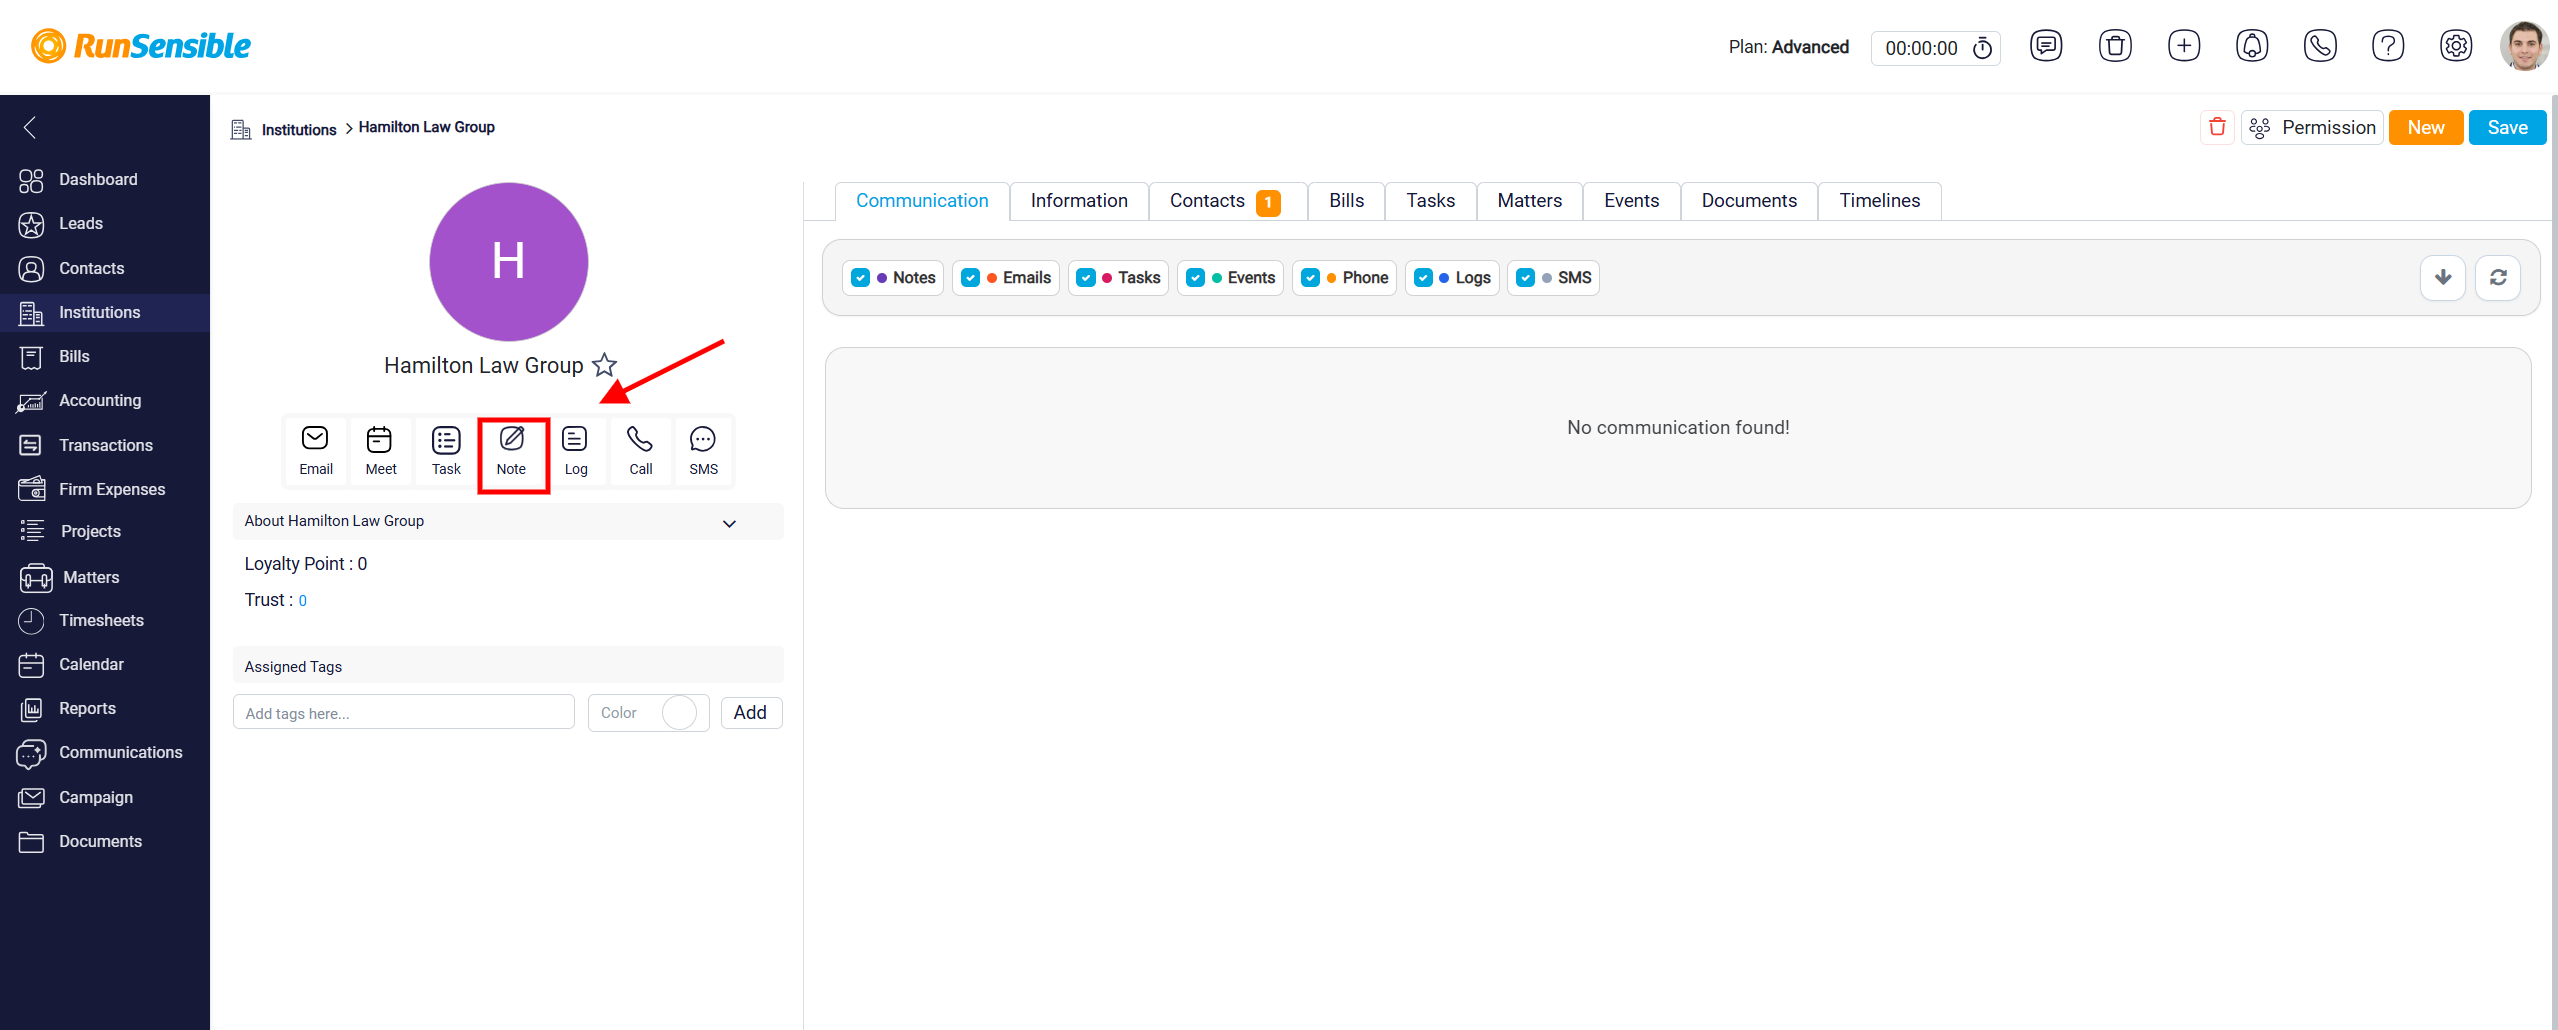
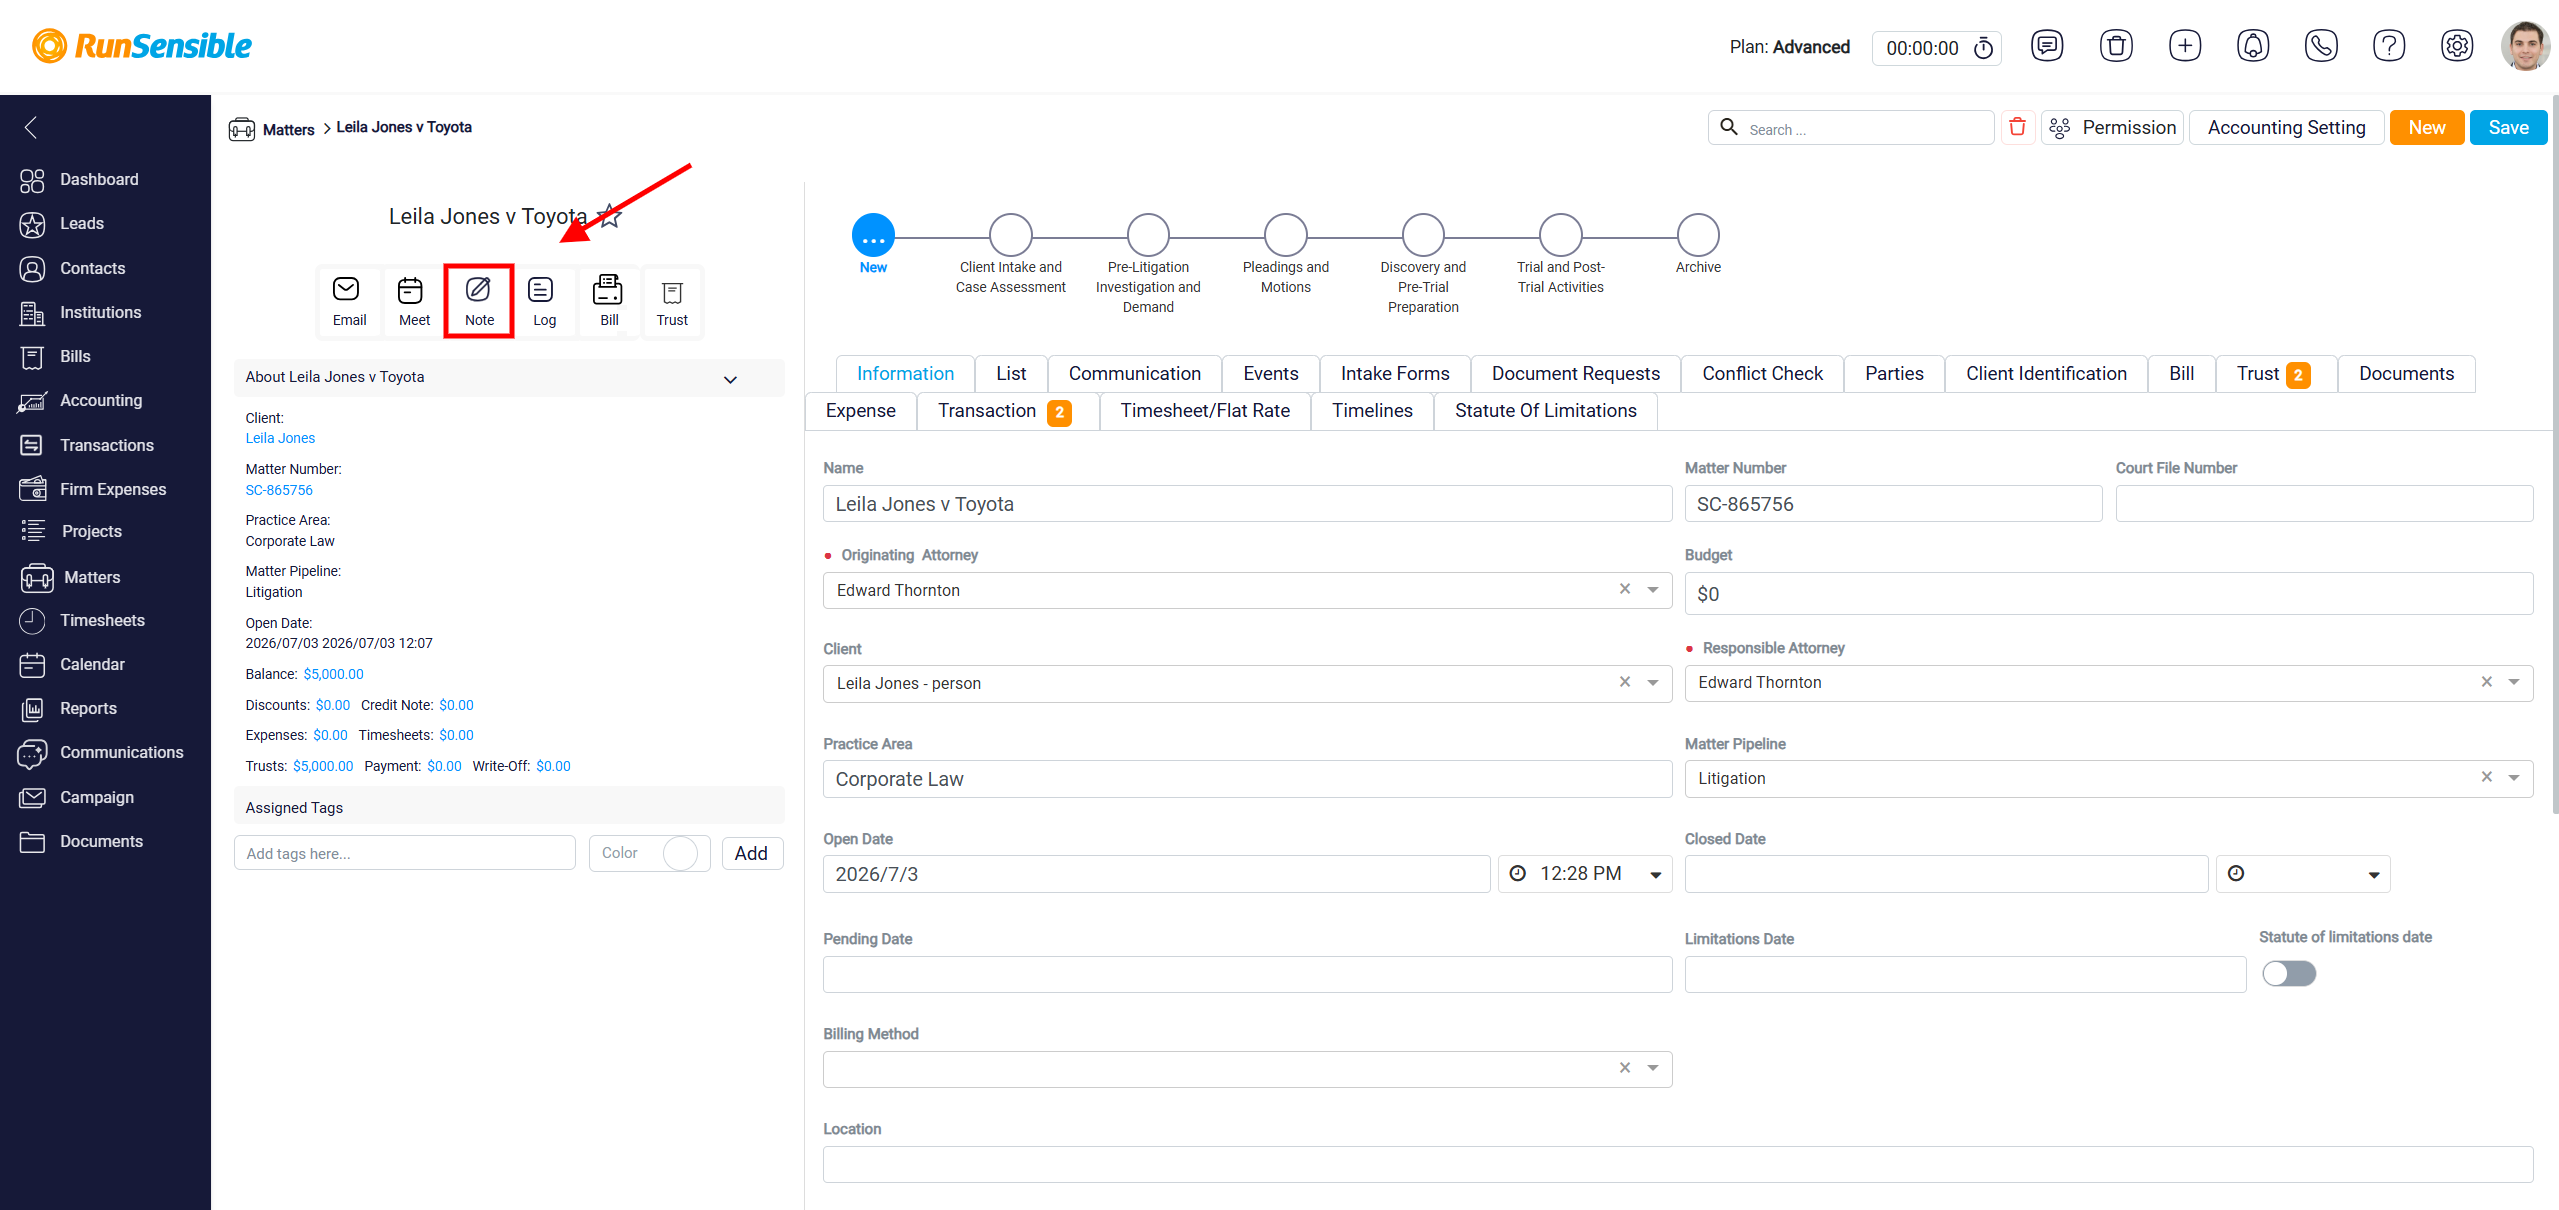
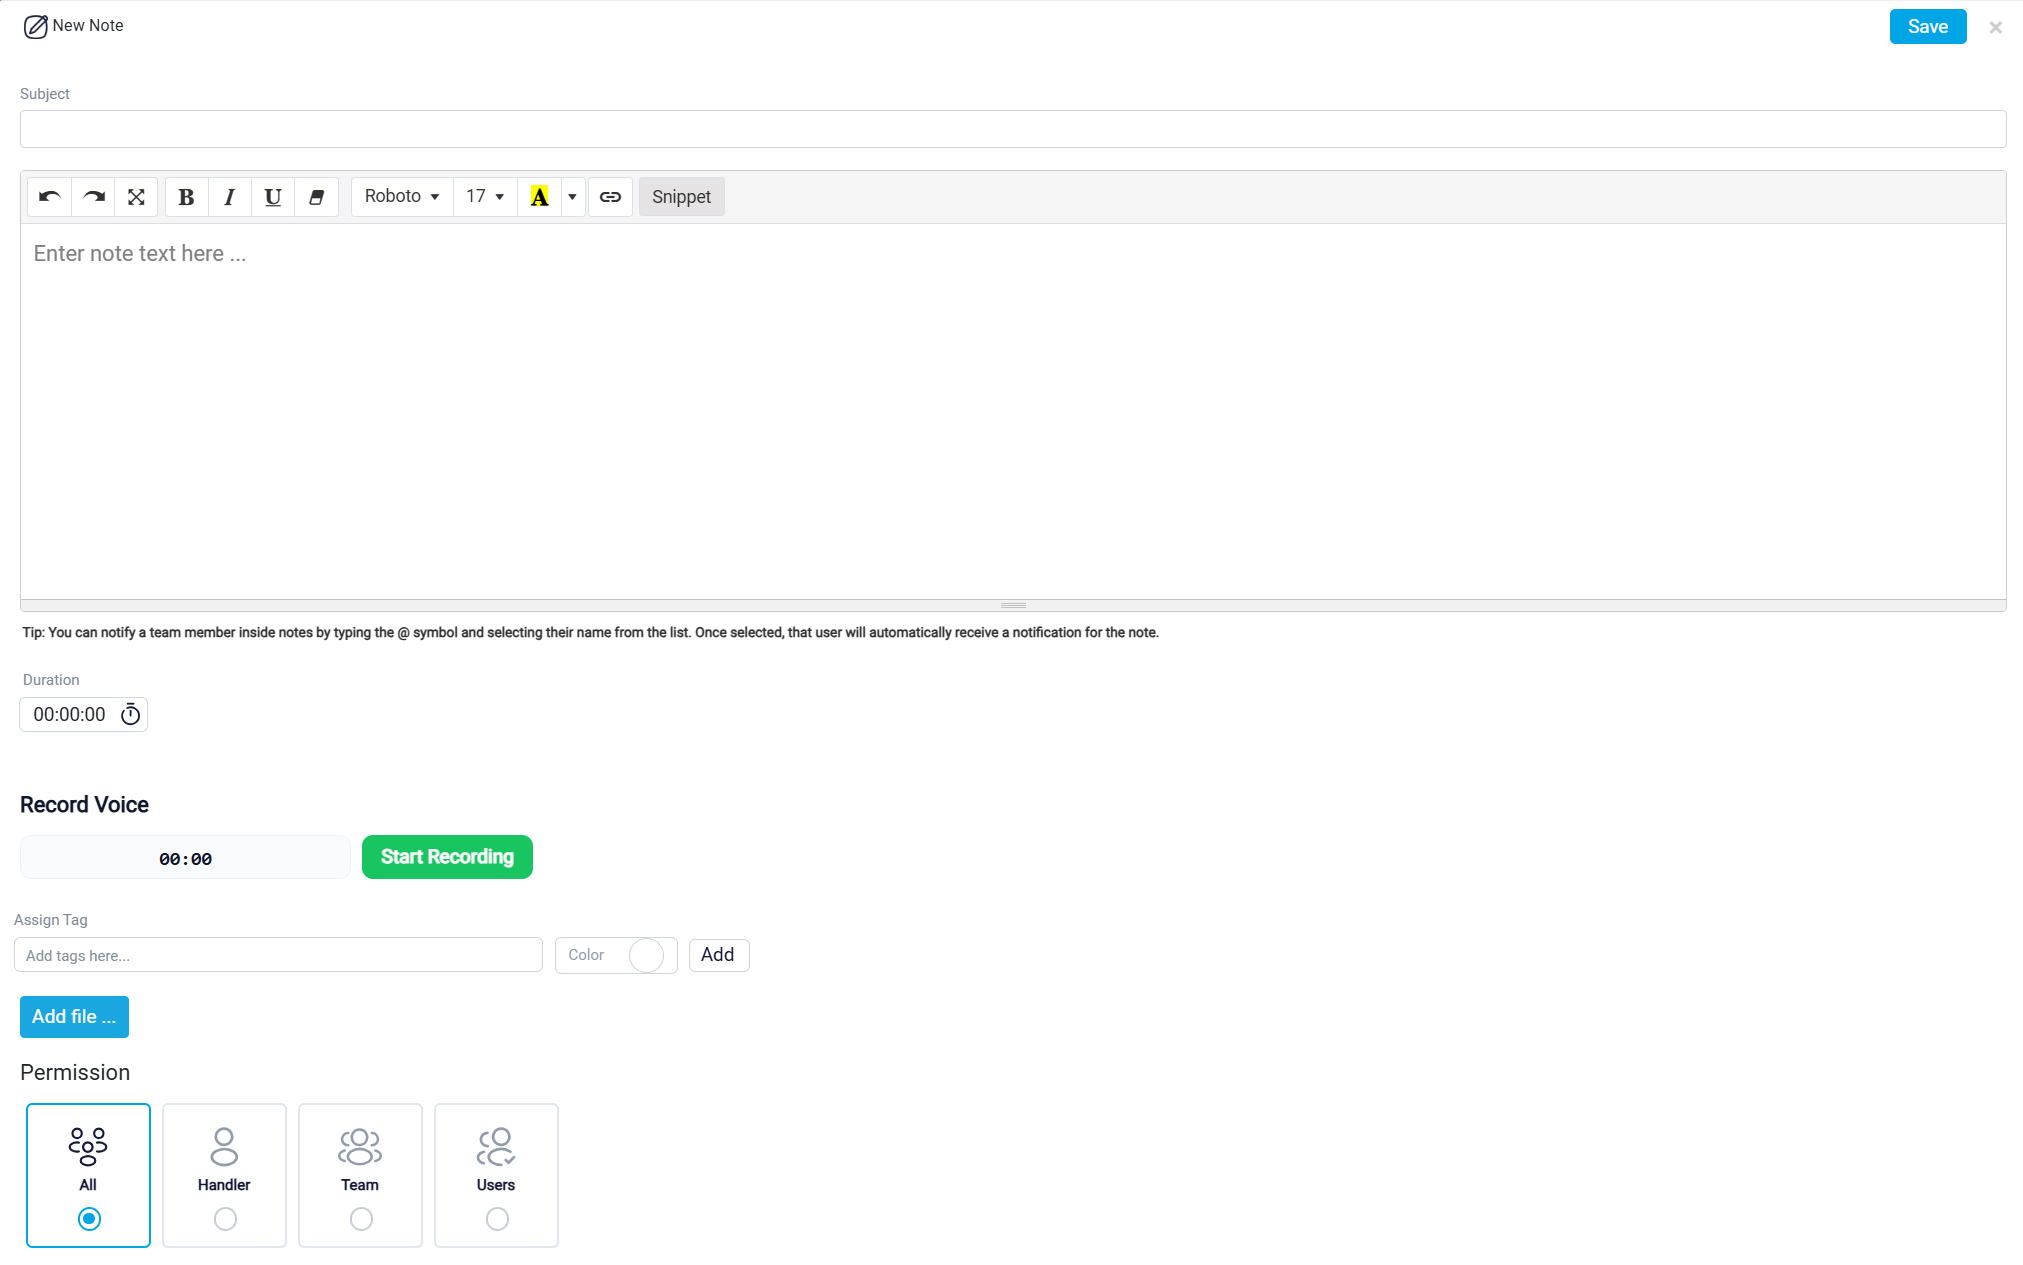
When the user clicks Note, the New Note panel opens. This panel is used to save information related to the lead. The user can write a note, mention other users, record a voice note, convert the voice note into text, attach files, add tags, and choose who can access the note. This helps keep all important notes about the lead organized in one place.
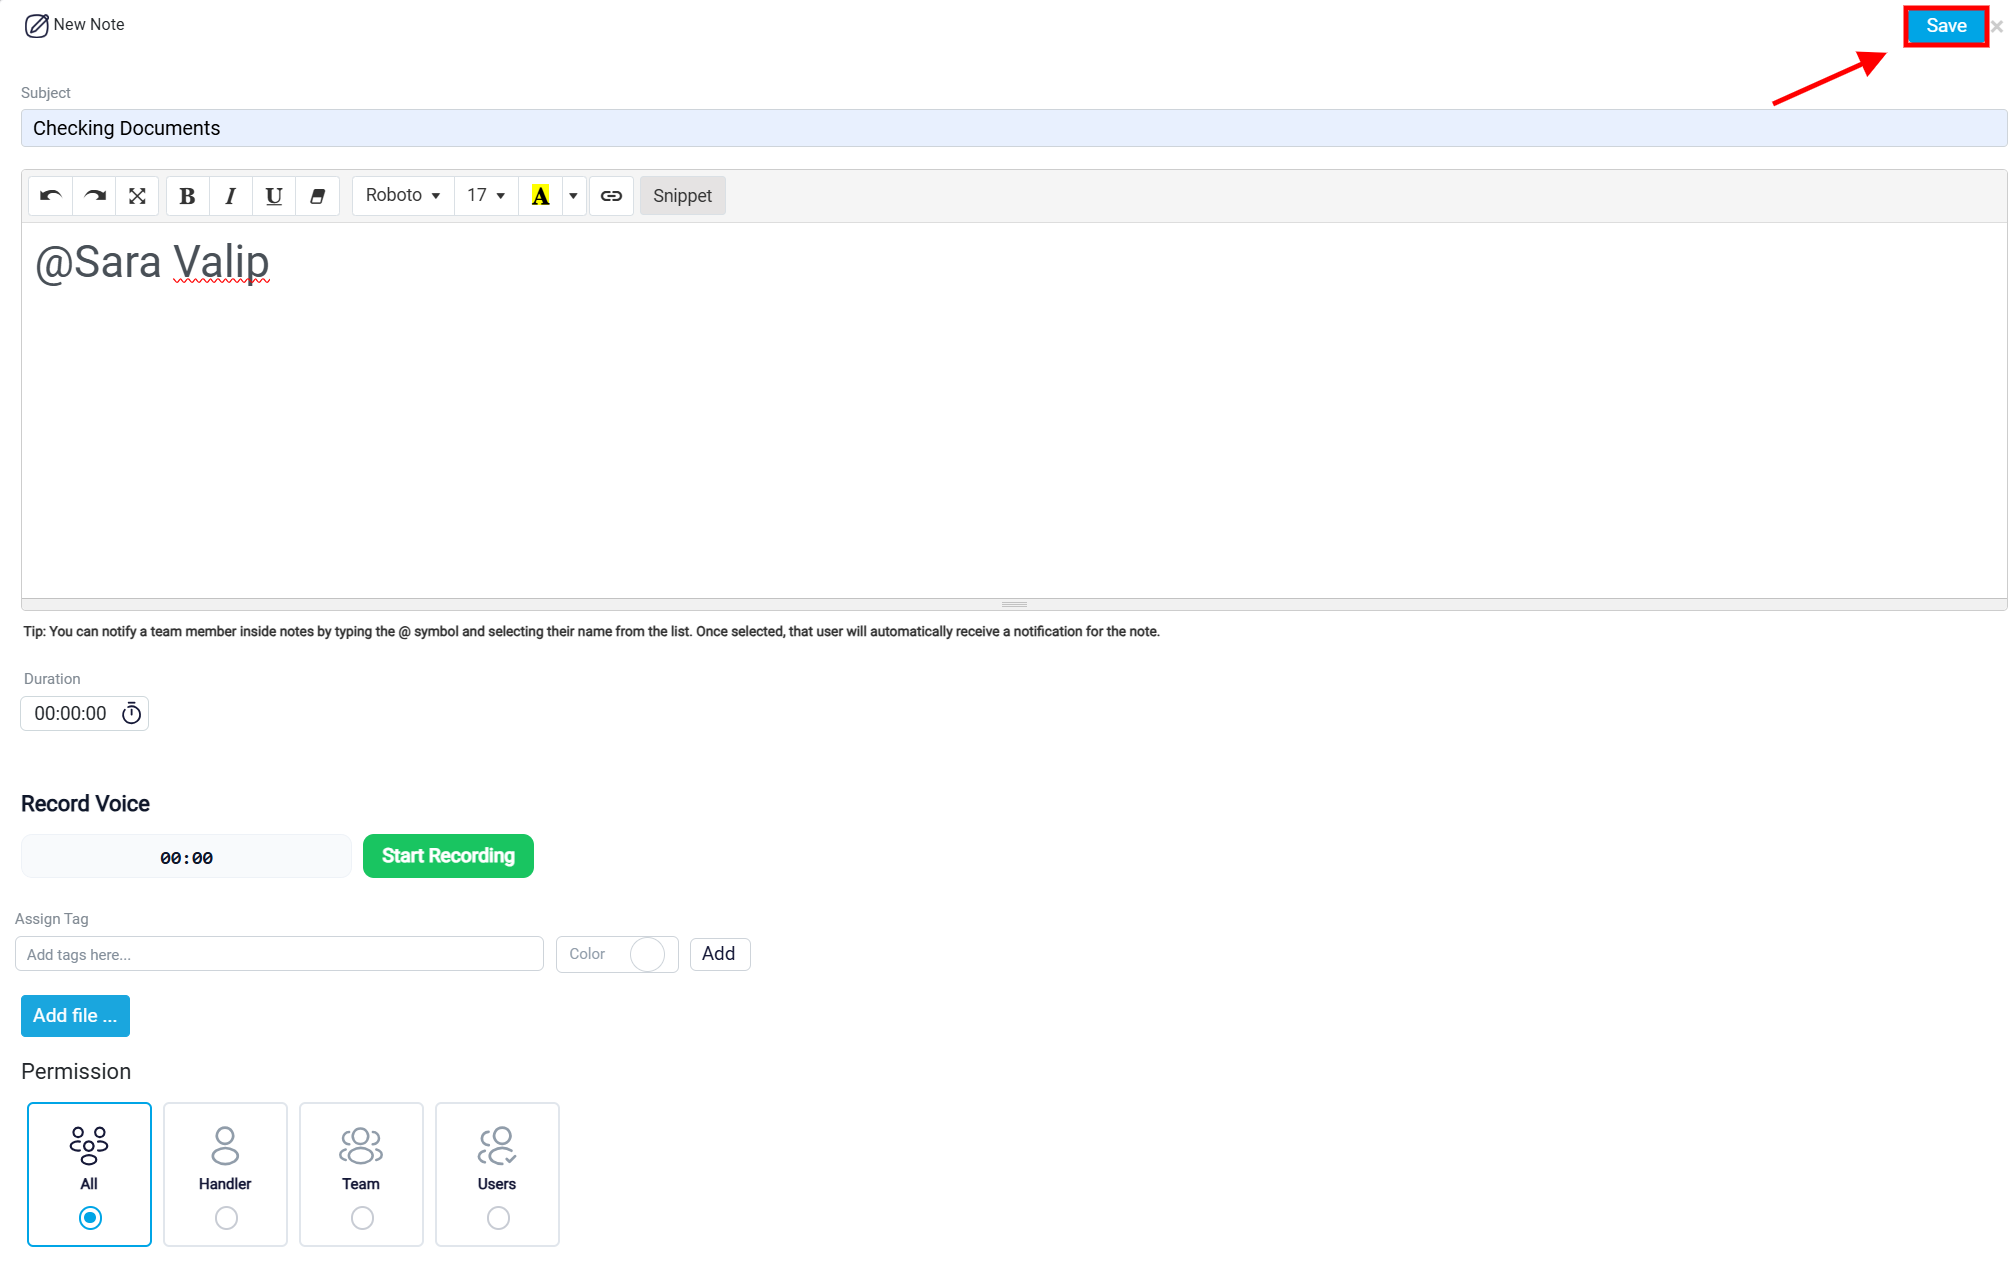
Note Subject and Text Editor
The Subject field is used to enter a short title for the note. This makes the note easier to recognize later without opening and reading the full content.
Below the subject field, the Note Editor is used to write the main content of the note. The user can add details, updates, instructions, observations, or any other information related to the lead.
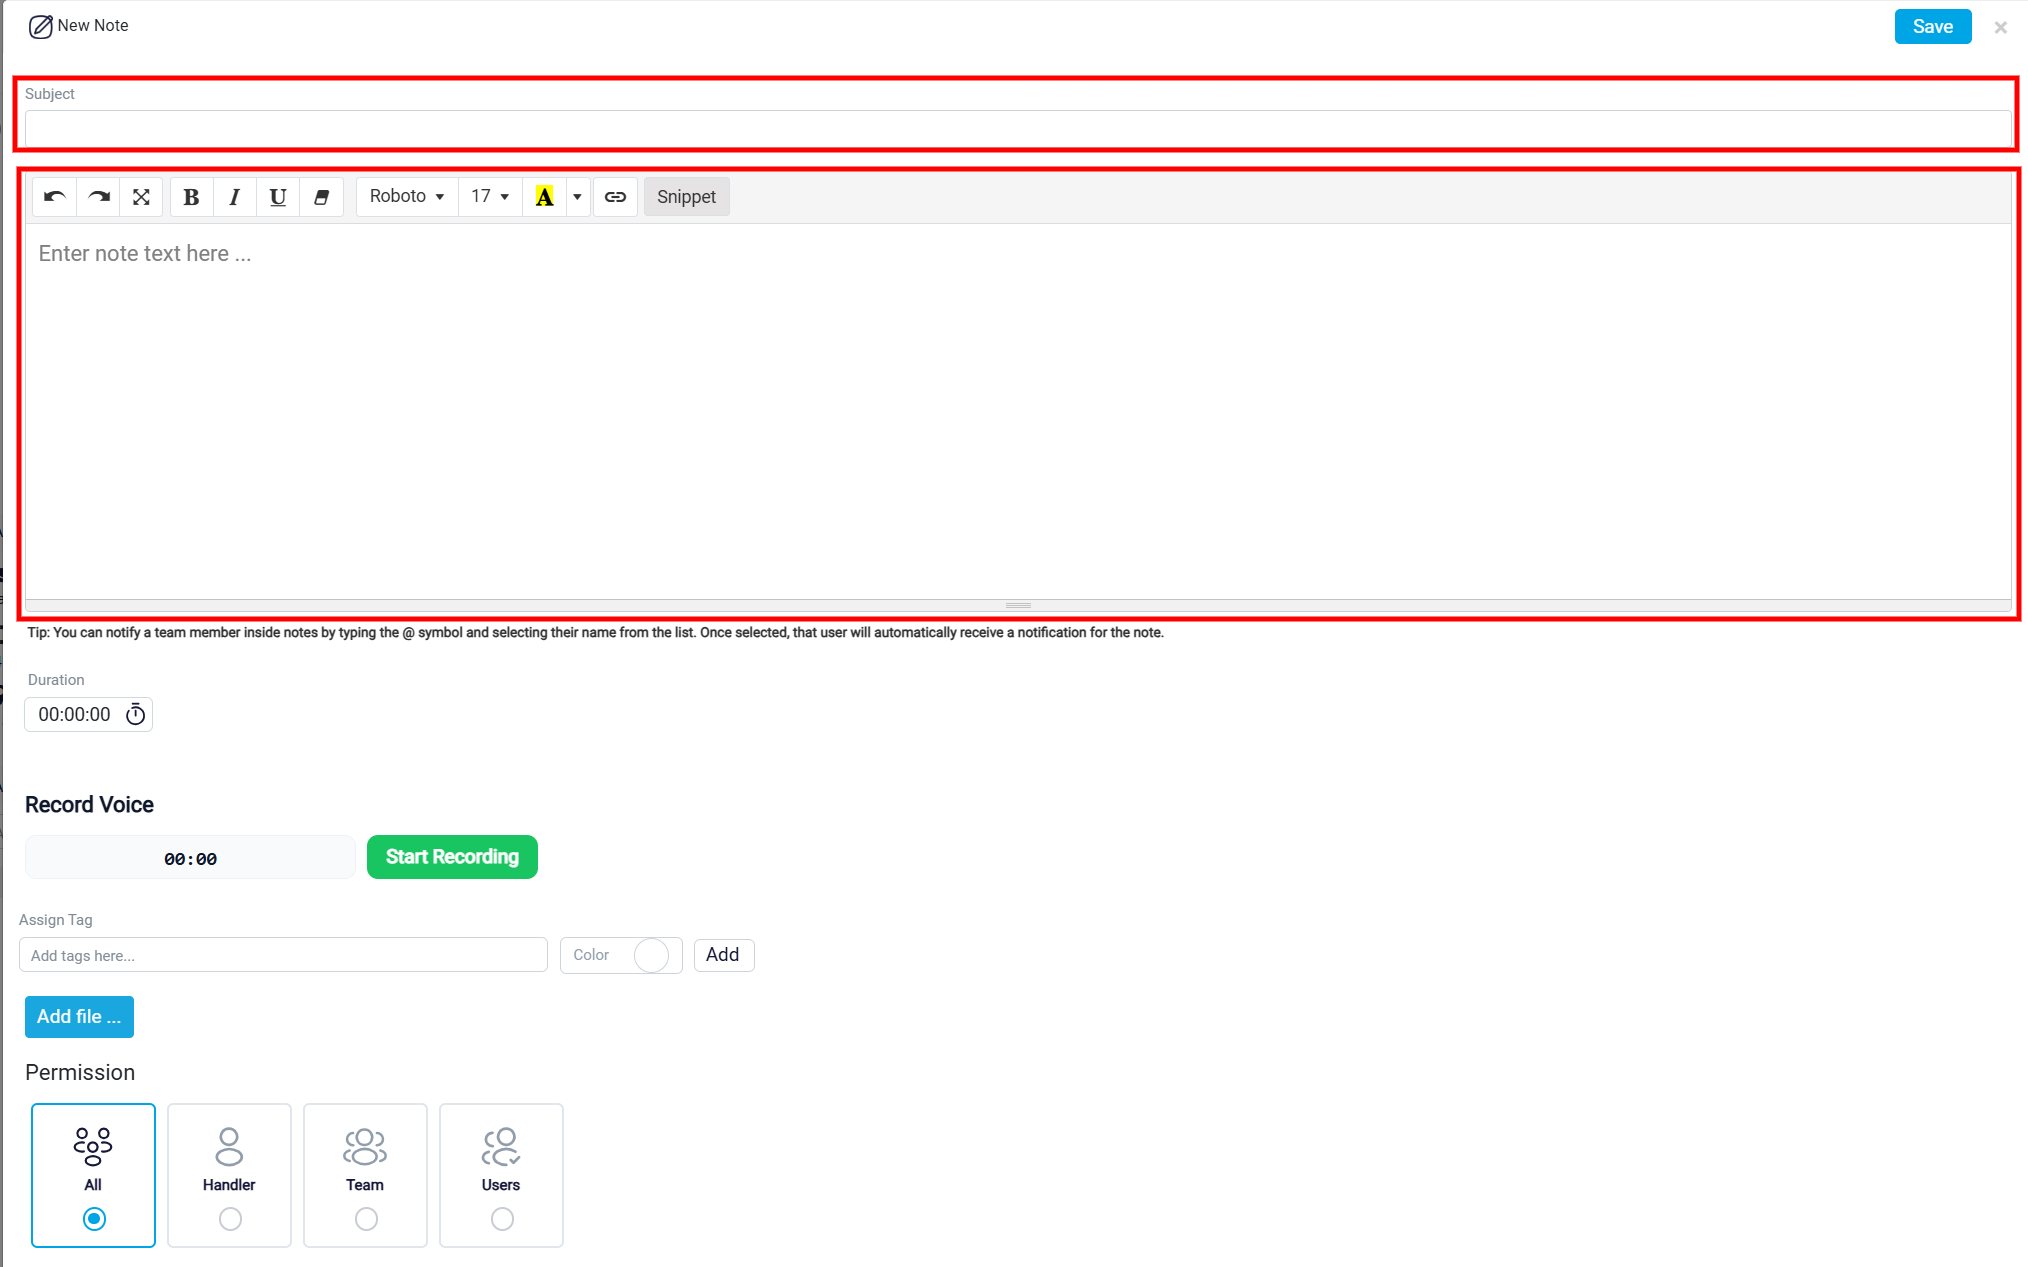
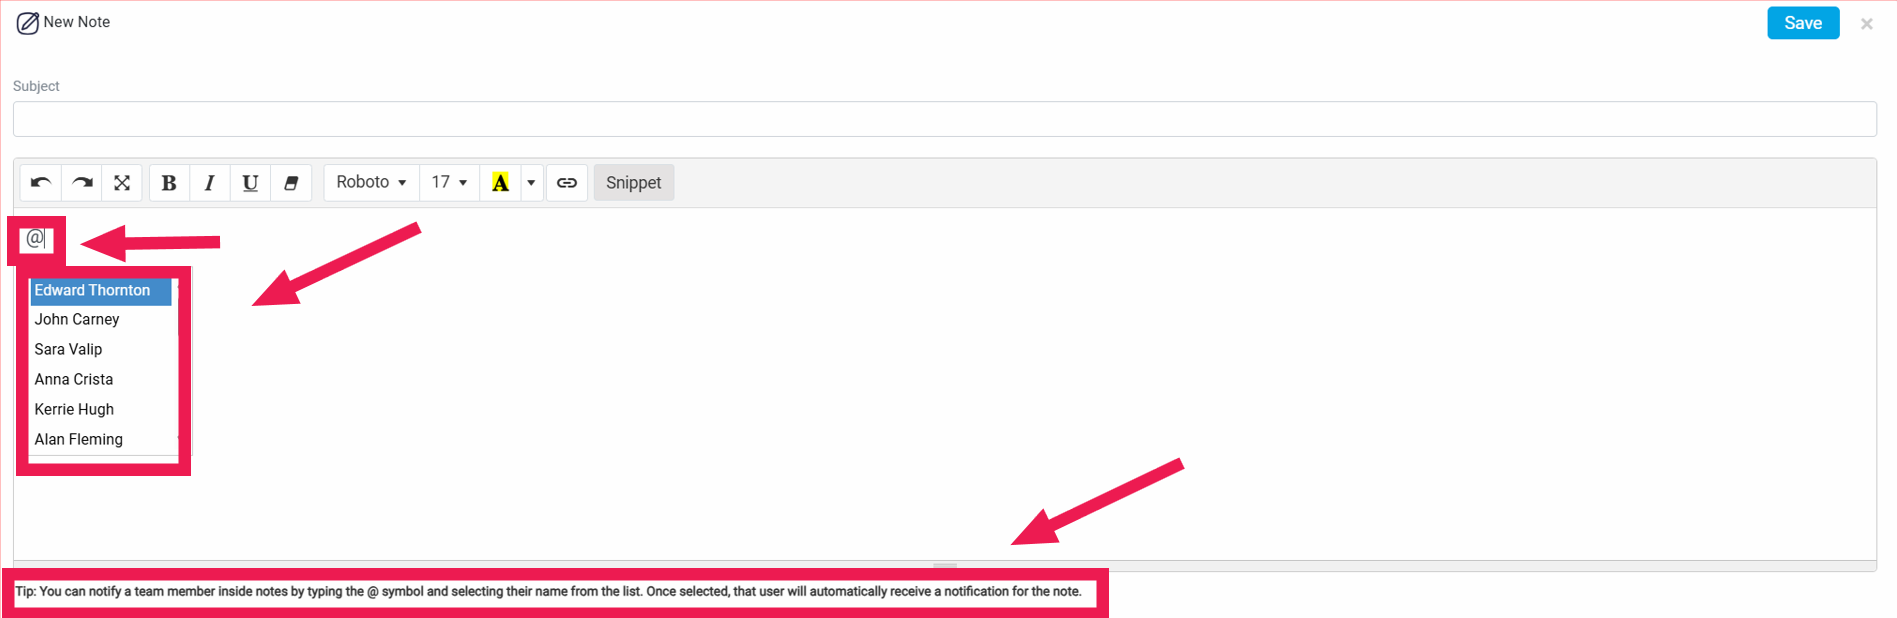
The user can also mention another internal user in the note by typing @. After typing @, a list of users in the system appears, and the user can select the person they want to mention. Once the note is saved, the mentioned user should receive a system notification and an email notification letting them know they were mentioned.
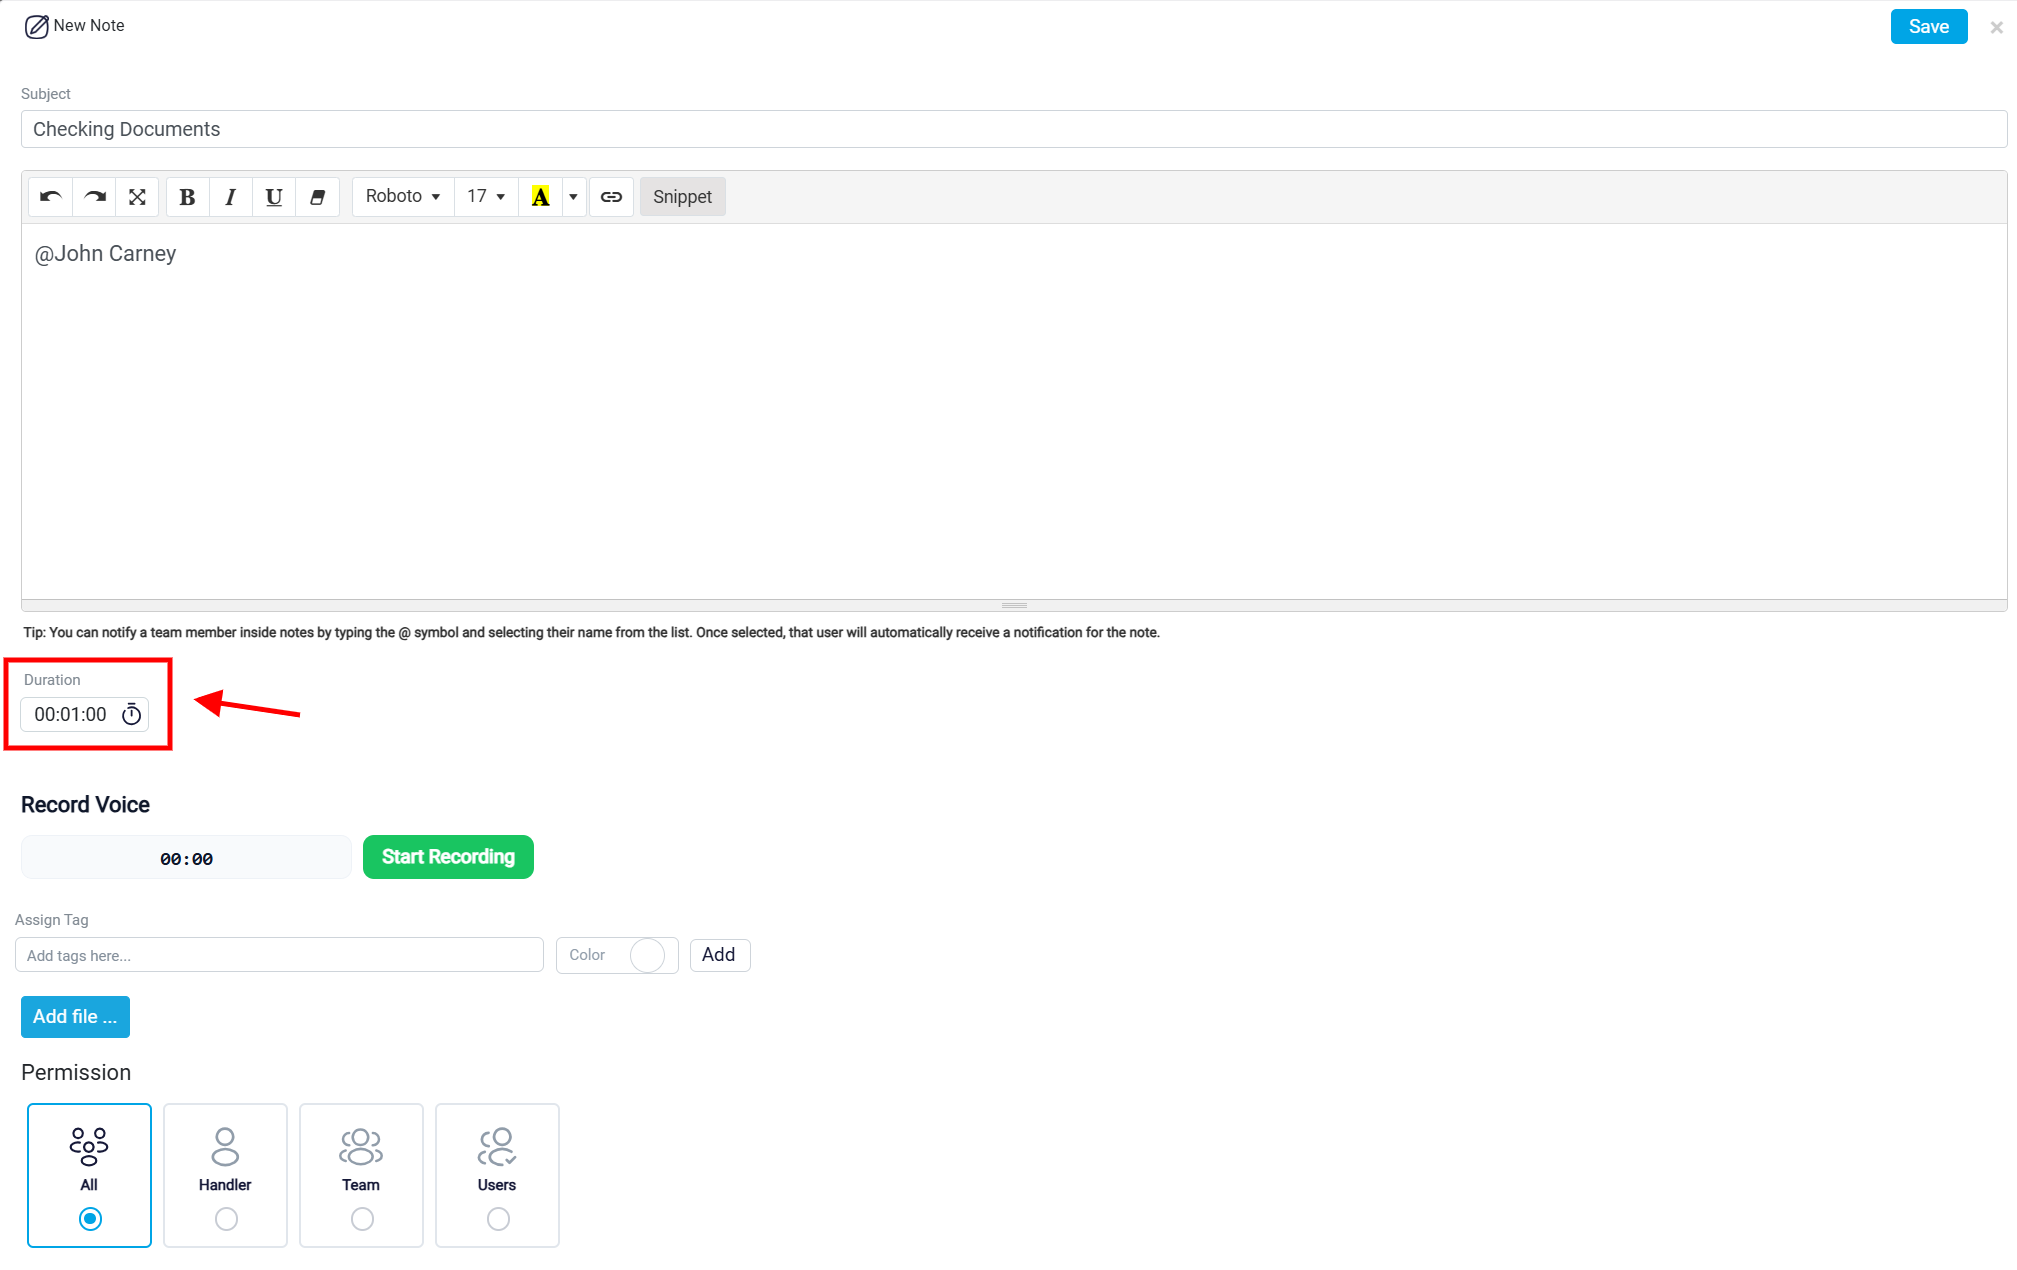
Note Duration Timer
The Duration timer can be used to track how much time was spent working on the note. The recorded time is saved in the system and can be used for internal tracking or billing purposes when applicable. Since the note is related to a lead, the recorded duration is mainly used for internal tracking rather than billing the lead directly.
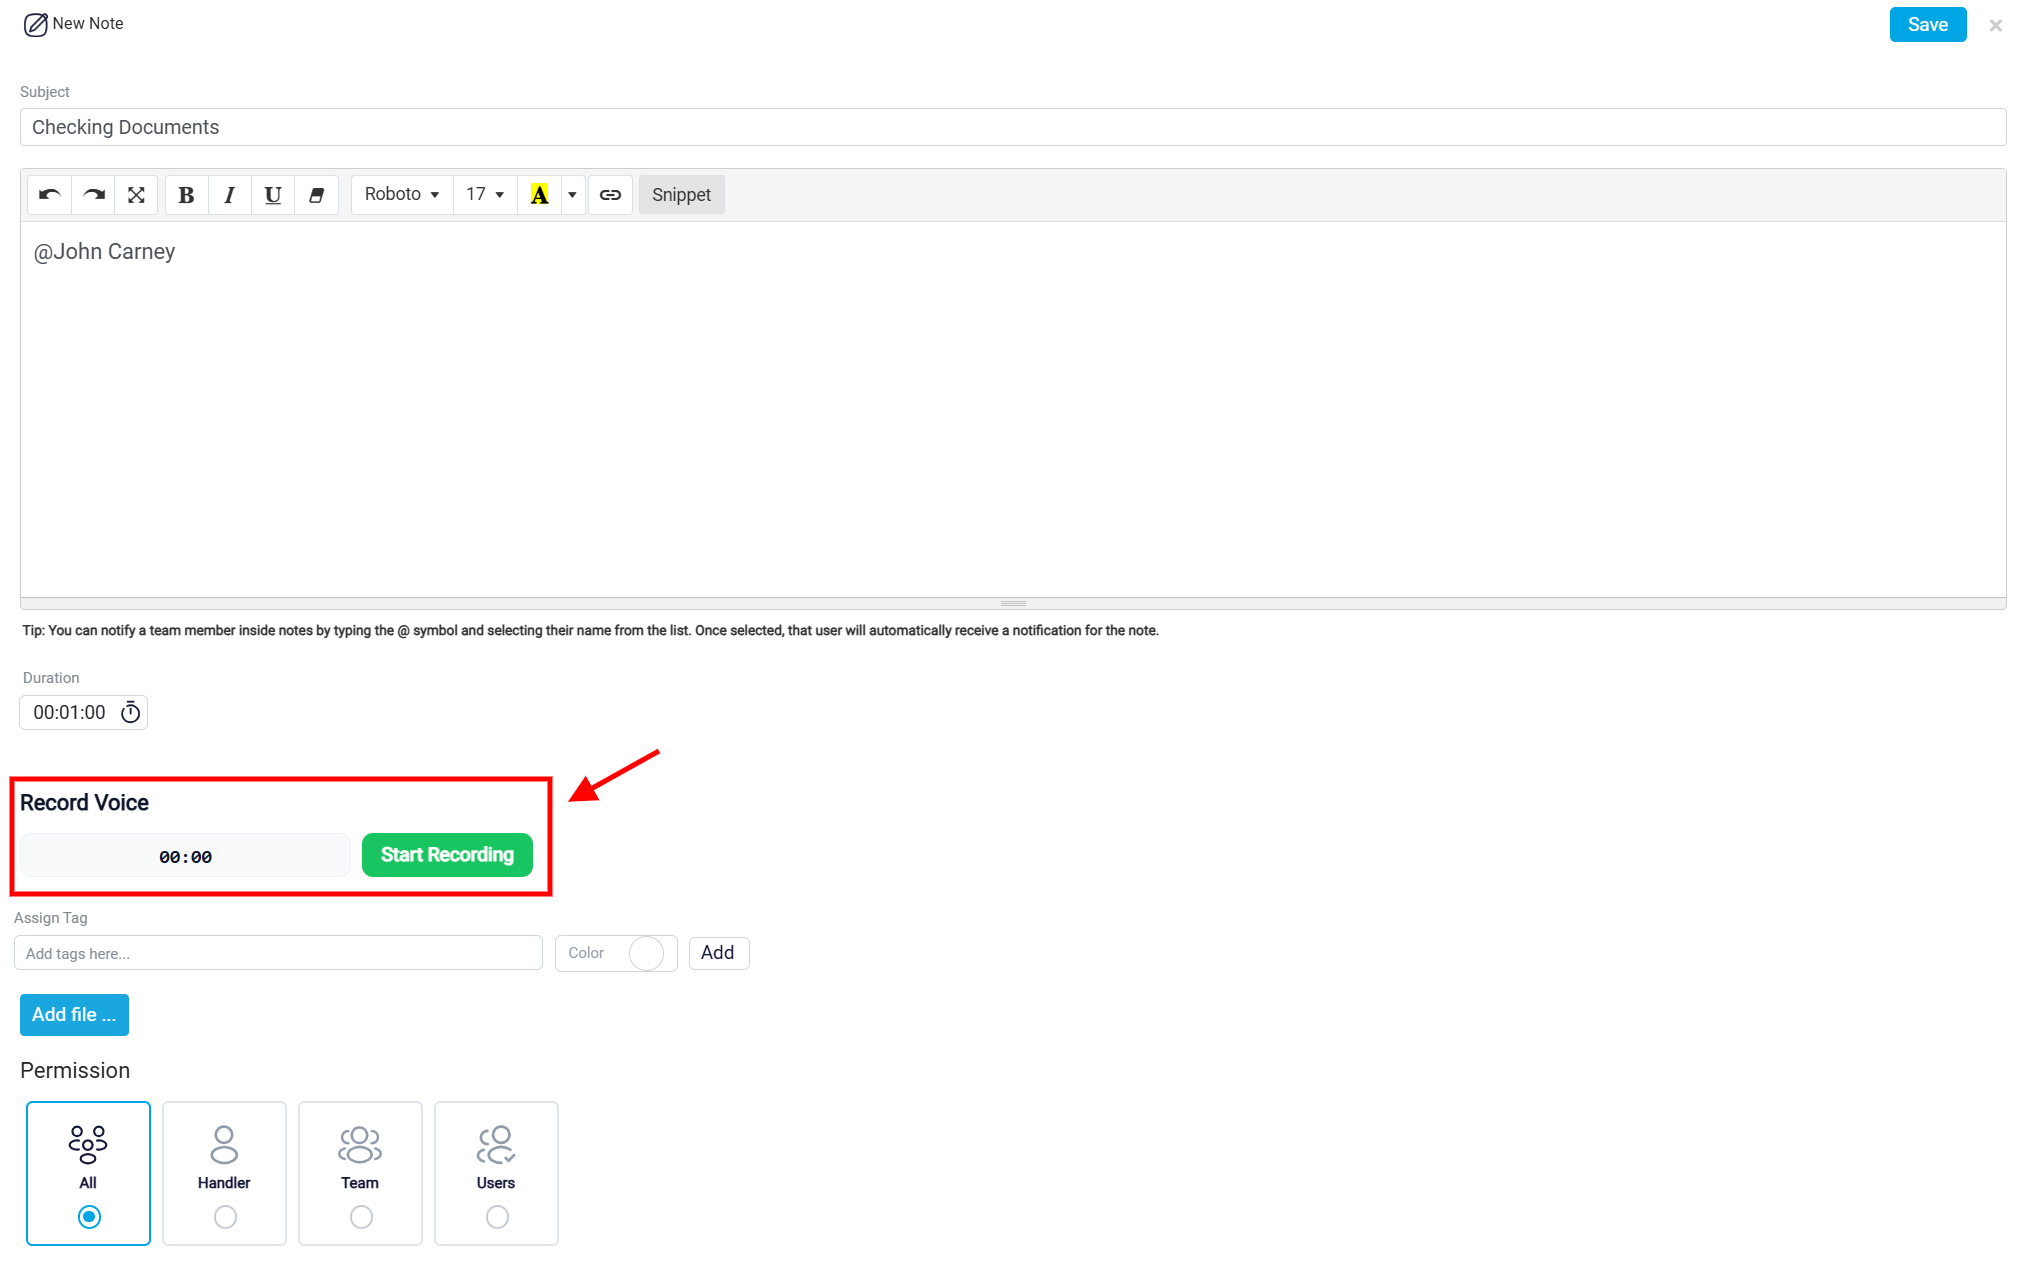
Voice Note Recording
The Record Voice section allows the user to add an audio note.
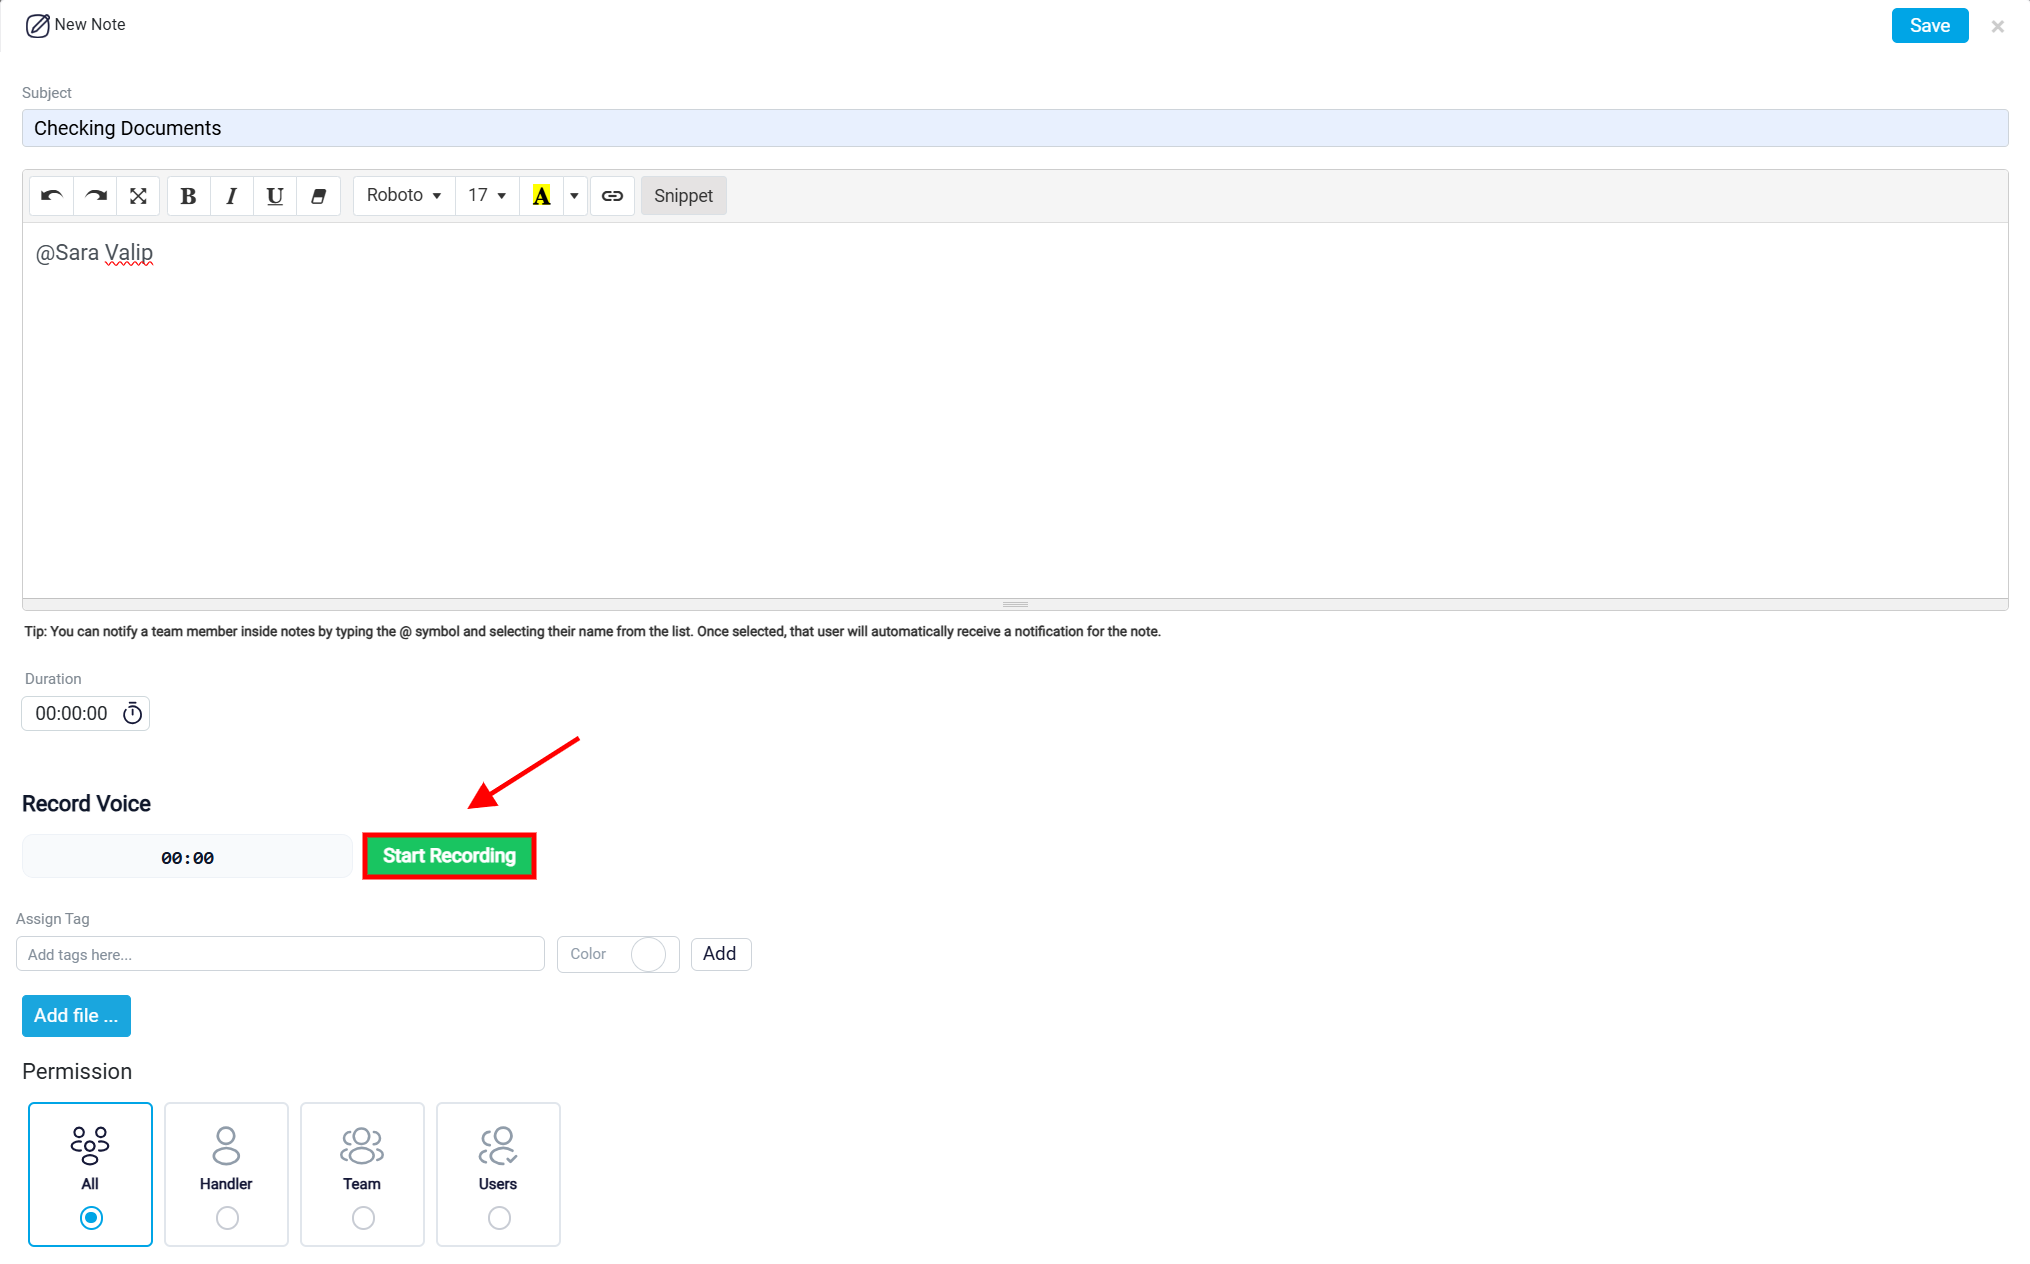
To begin, click Start Recording.
While recording, the timer shows the length of the recording, and a green indicator appears to show that the recording is active. To finish, click Stop Recording.
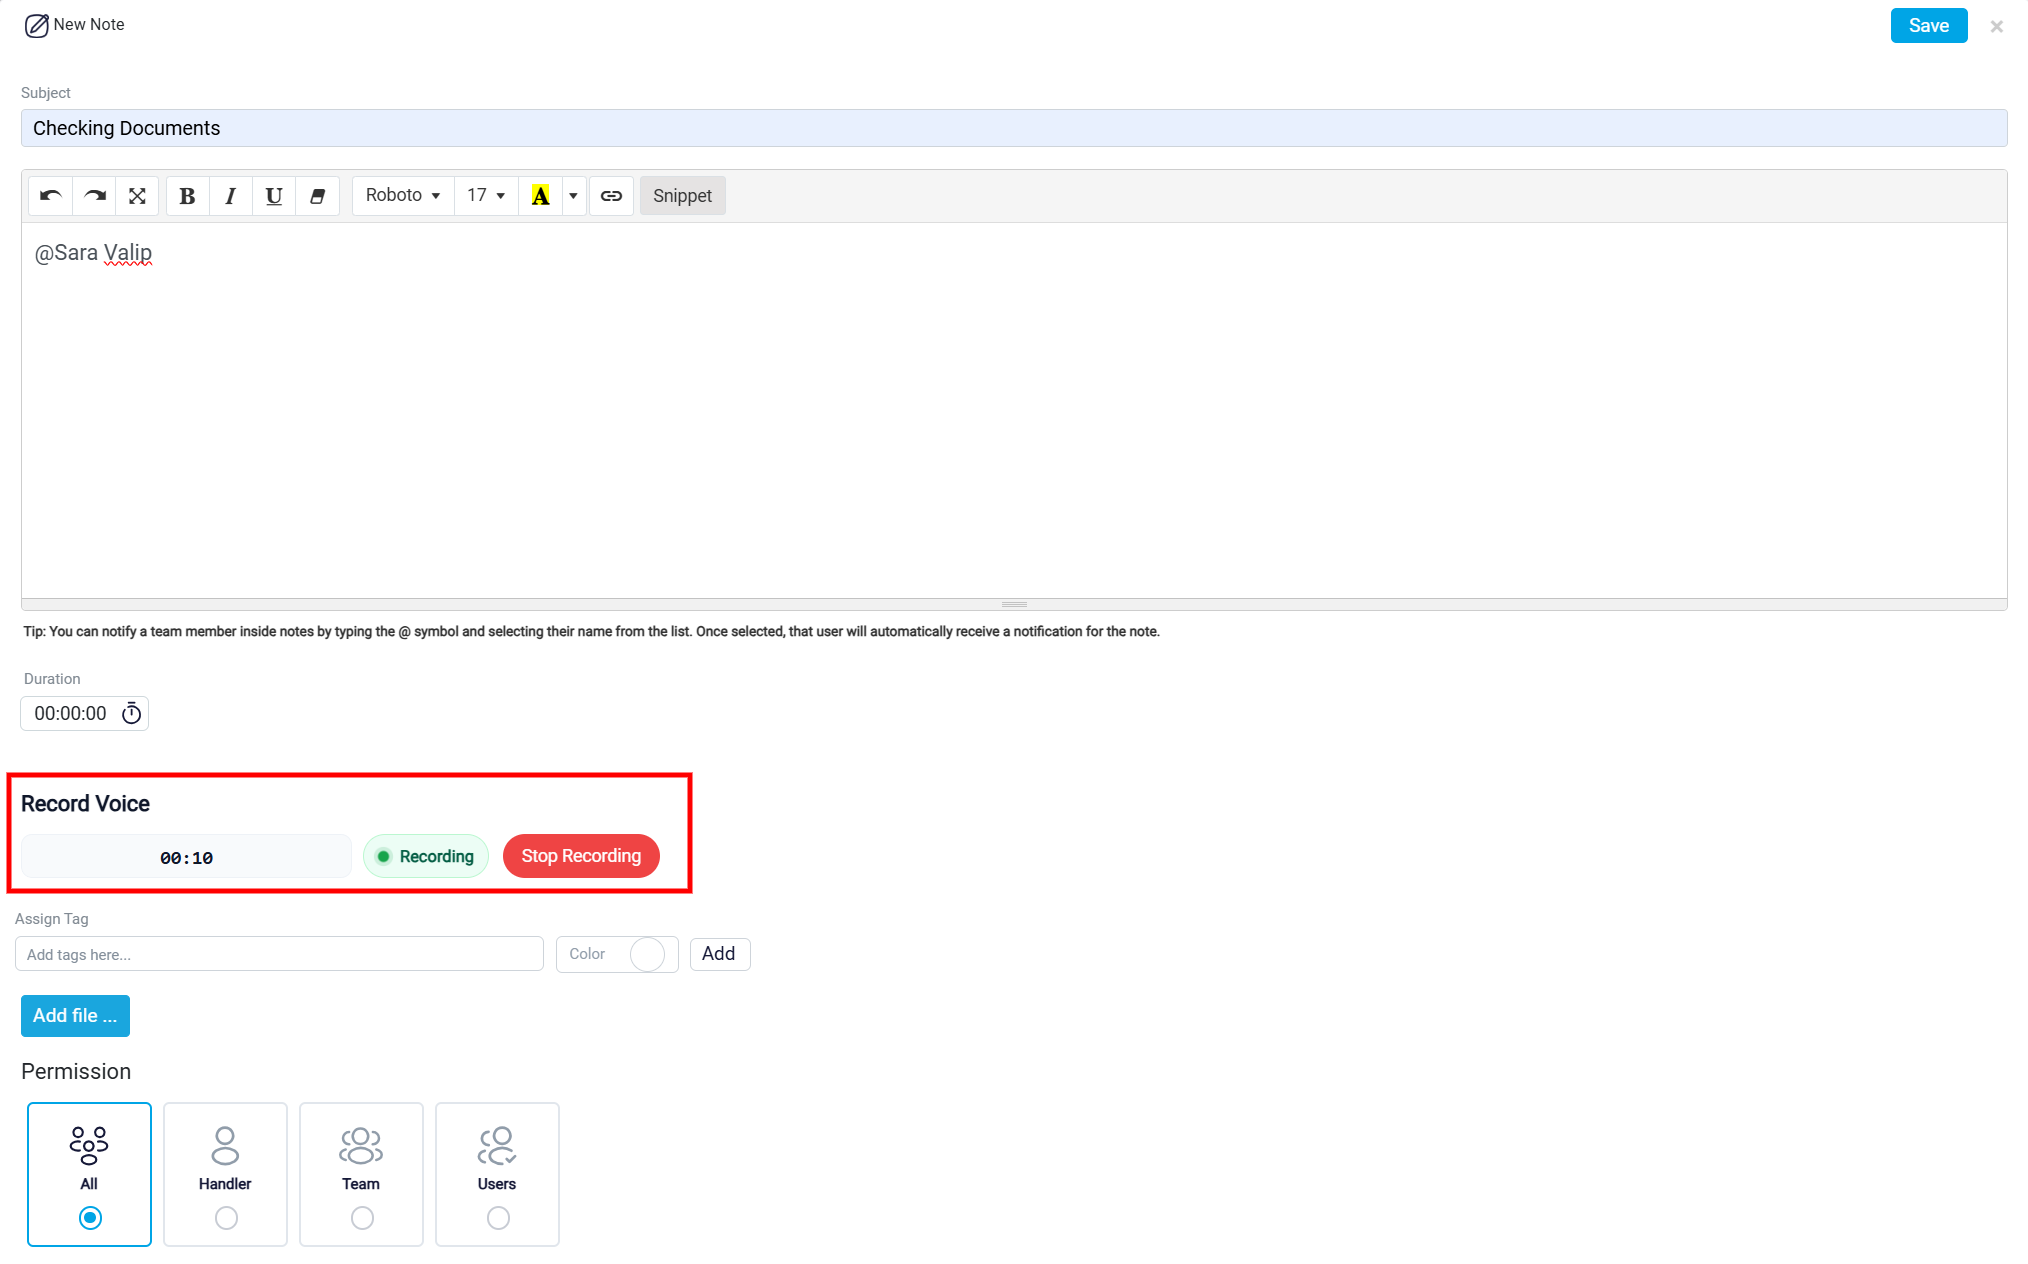
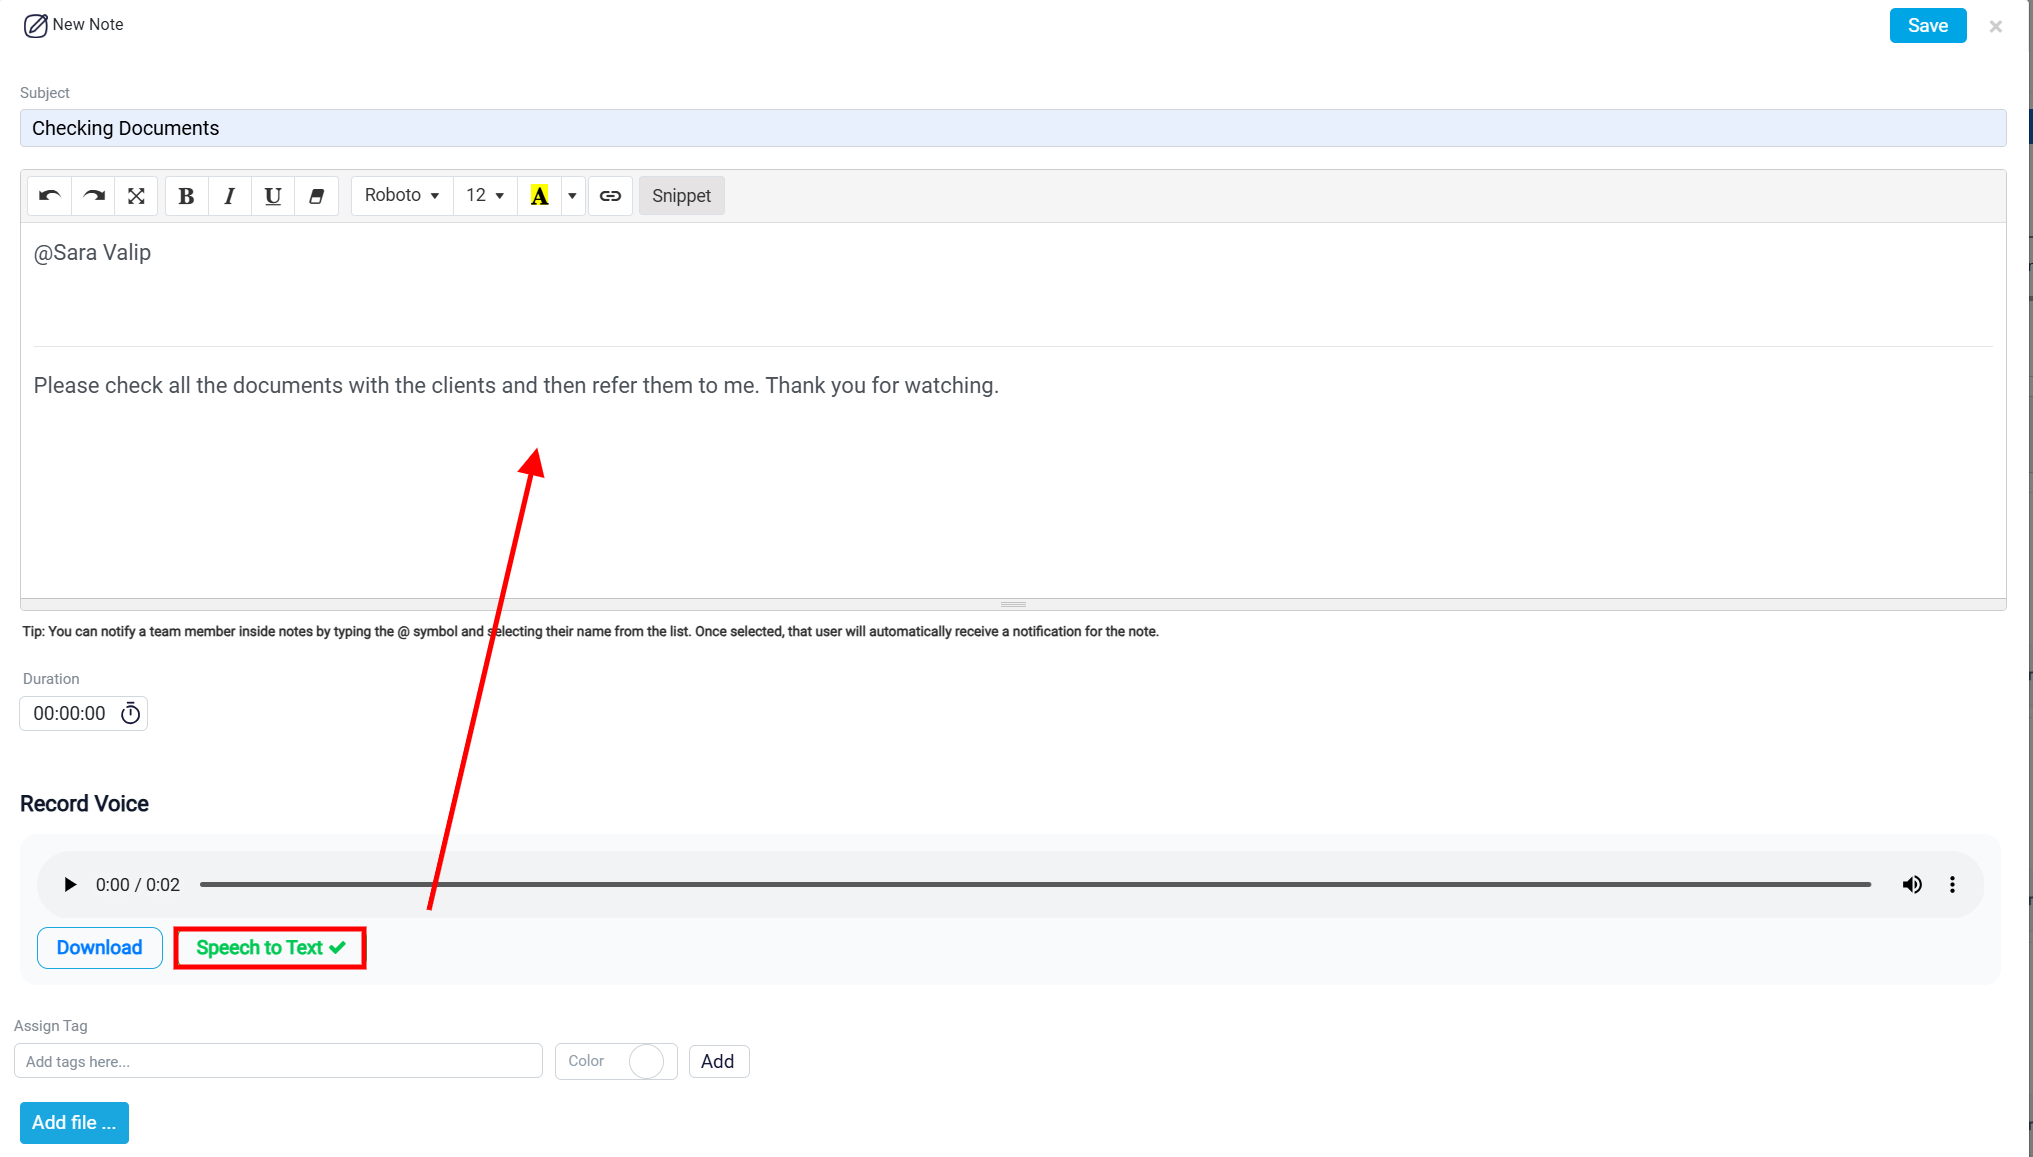
After the recording is complete, the section changes to show an audio player. The user can play the recording before saving the note to make sure the audio is clear and the information is correct. The player also allows the user to pause the audio, move through the recording using the progress bar, and adjust the volume.
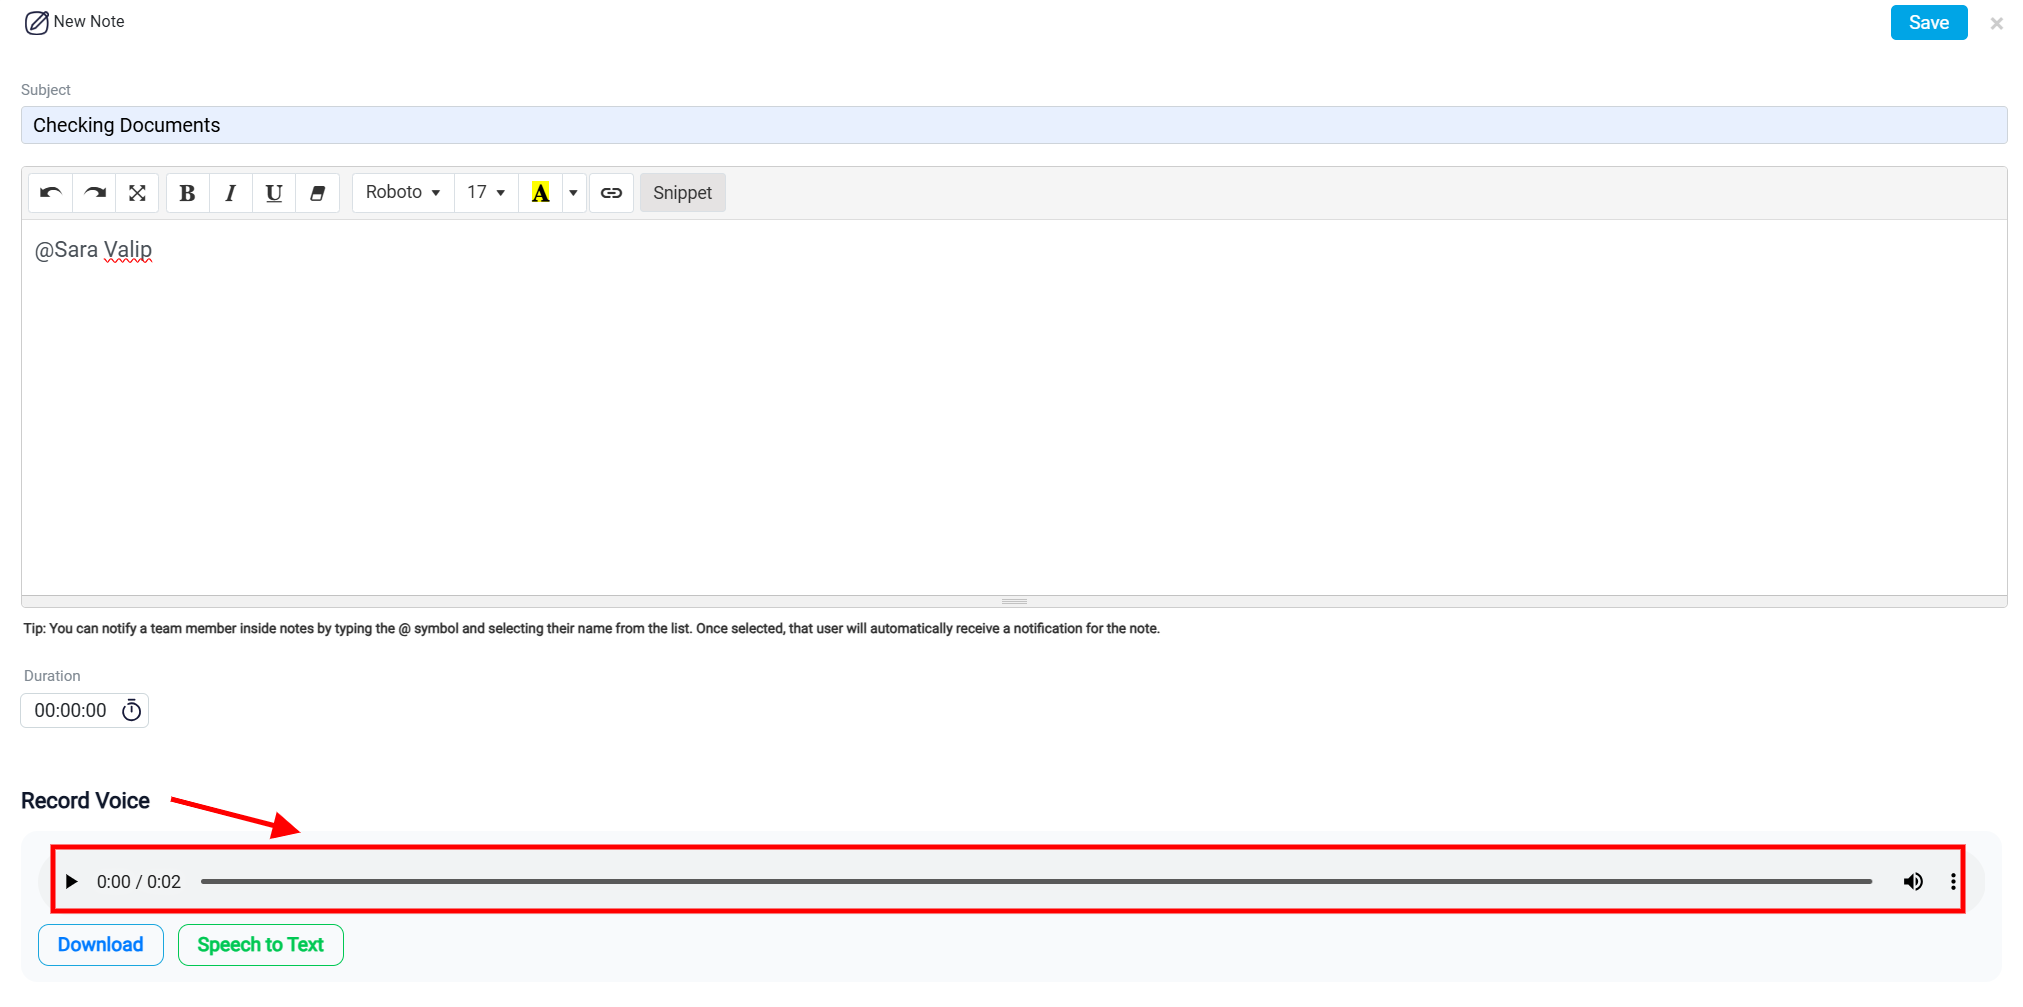
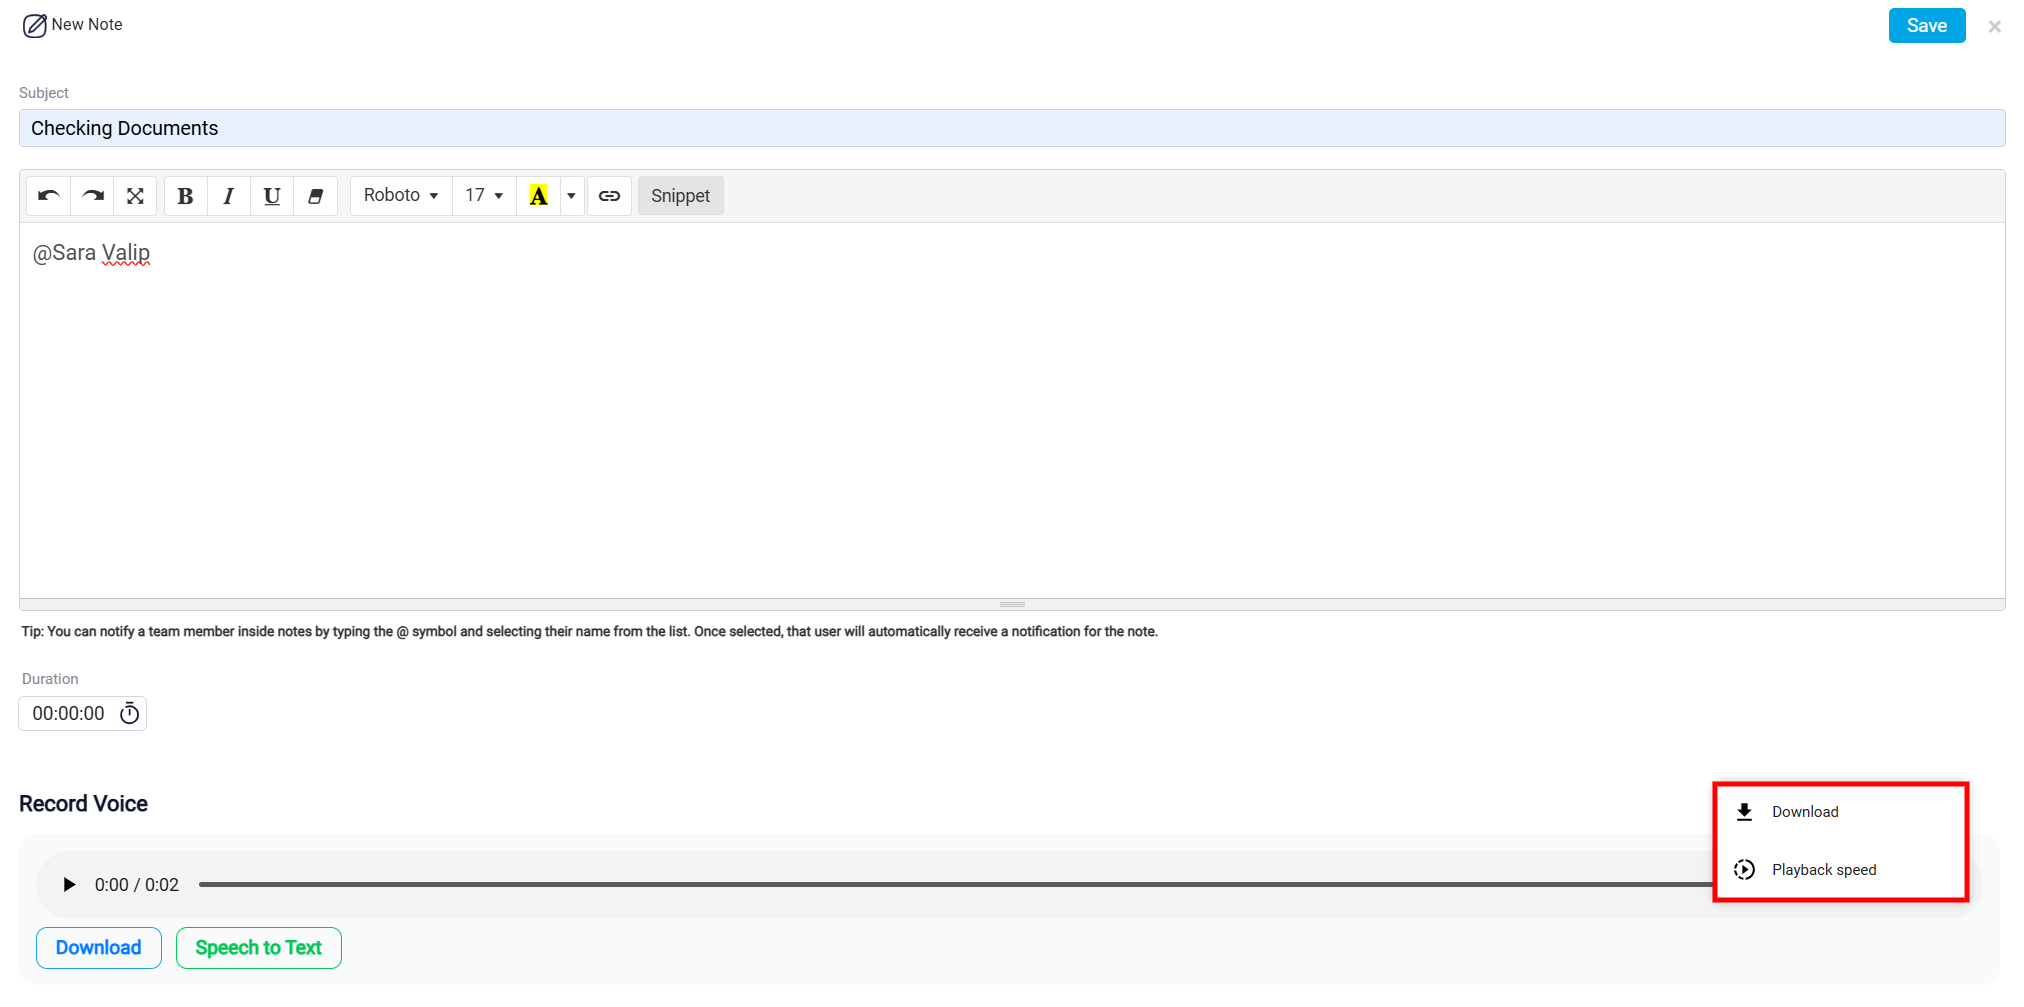
Alternatively the Download button allows the user to save a copy of the recorded audio file to their device.
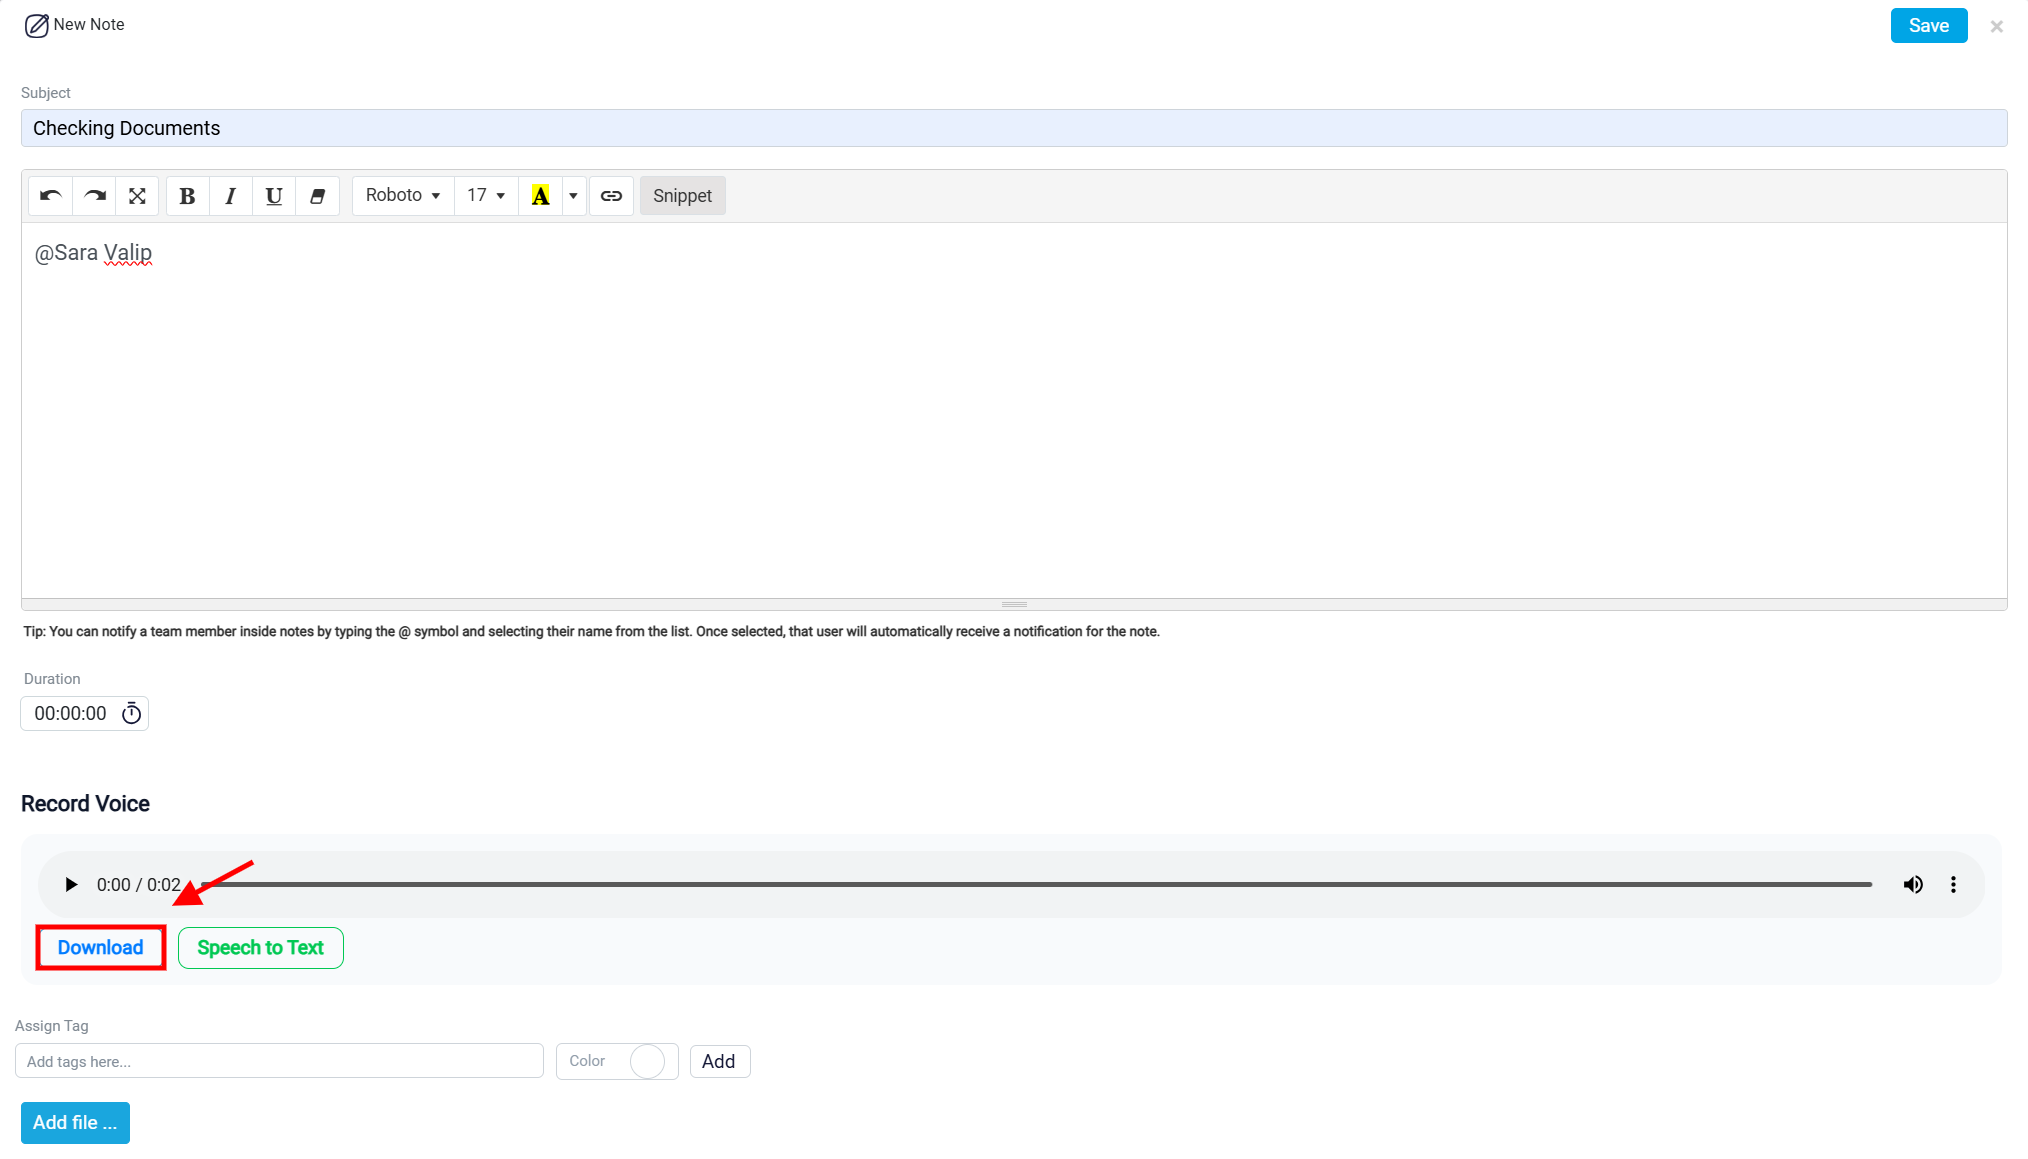
The Speech to Text button converts the voice recording into written text. After the text is generated, the user can review it, make corrections if needed, and keep it as part of the note.
Note Tags, Files, and Permissions
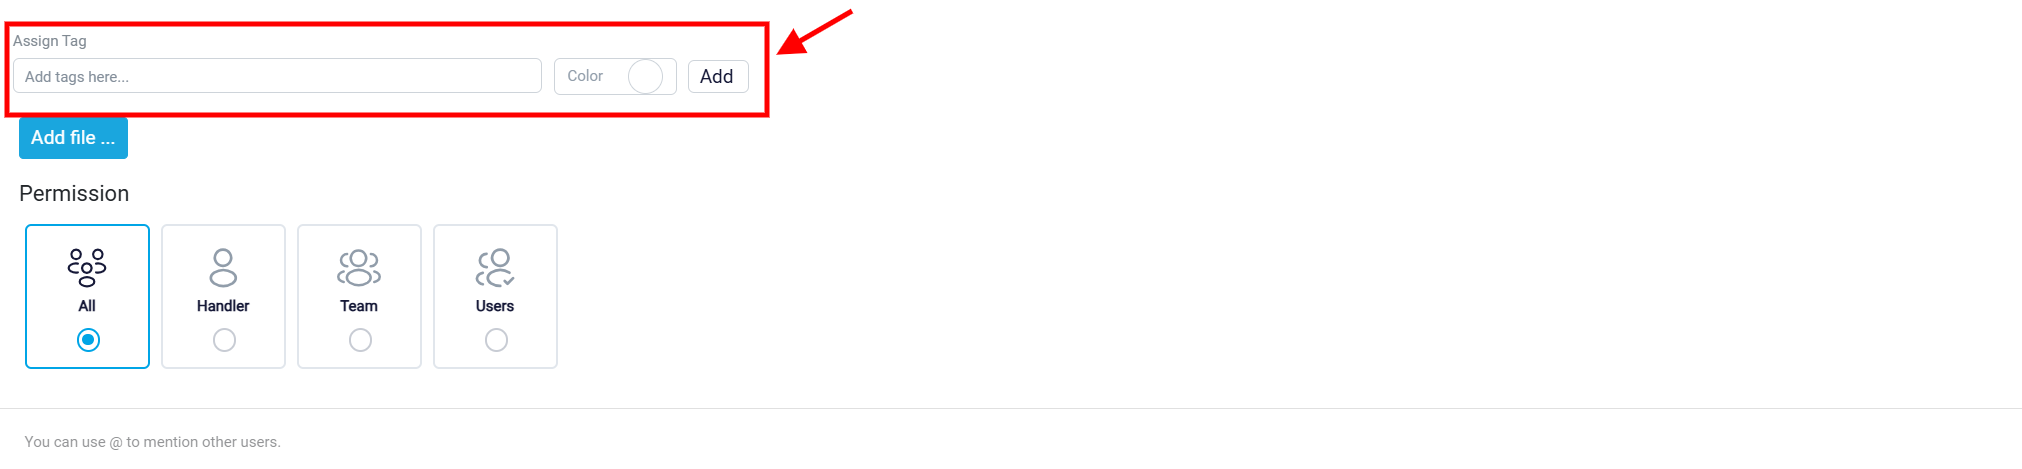
The Assign Tag section allows the user to add tags to the note. Tags help organize notes and make them easier to find later. The user can enter a tag name, choose a color, and click Add to attach the tag to the note.
To learn how to assign tags to your notes, please see Assigning Tags to Notes.
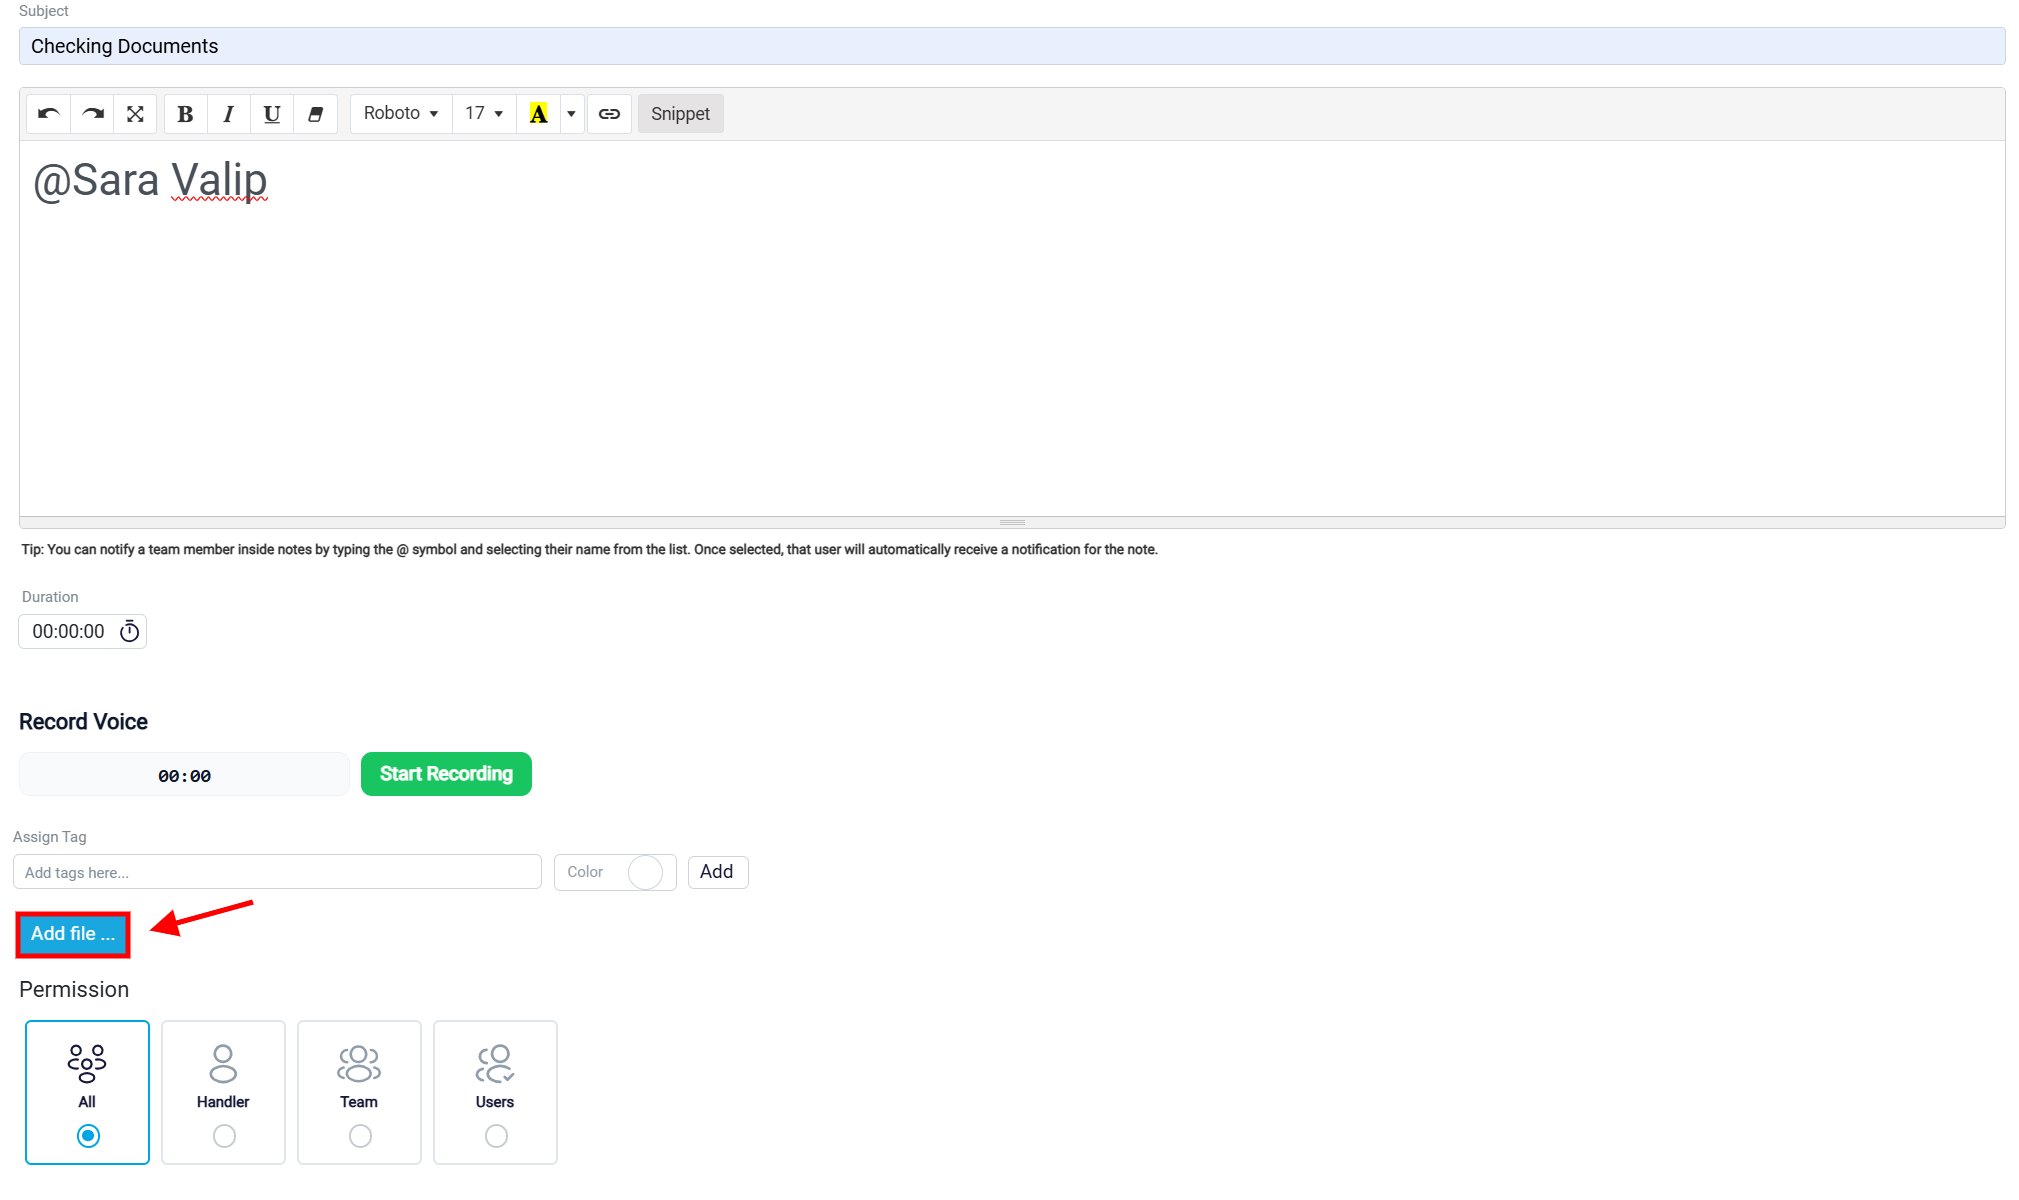
The Add File button allows the user to attach files to the note. This can be used when the note needs to include supporting documents, images, screenshots, or other related files.
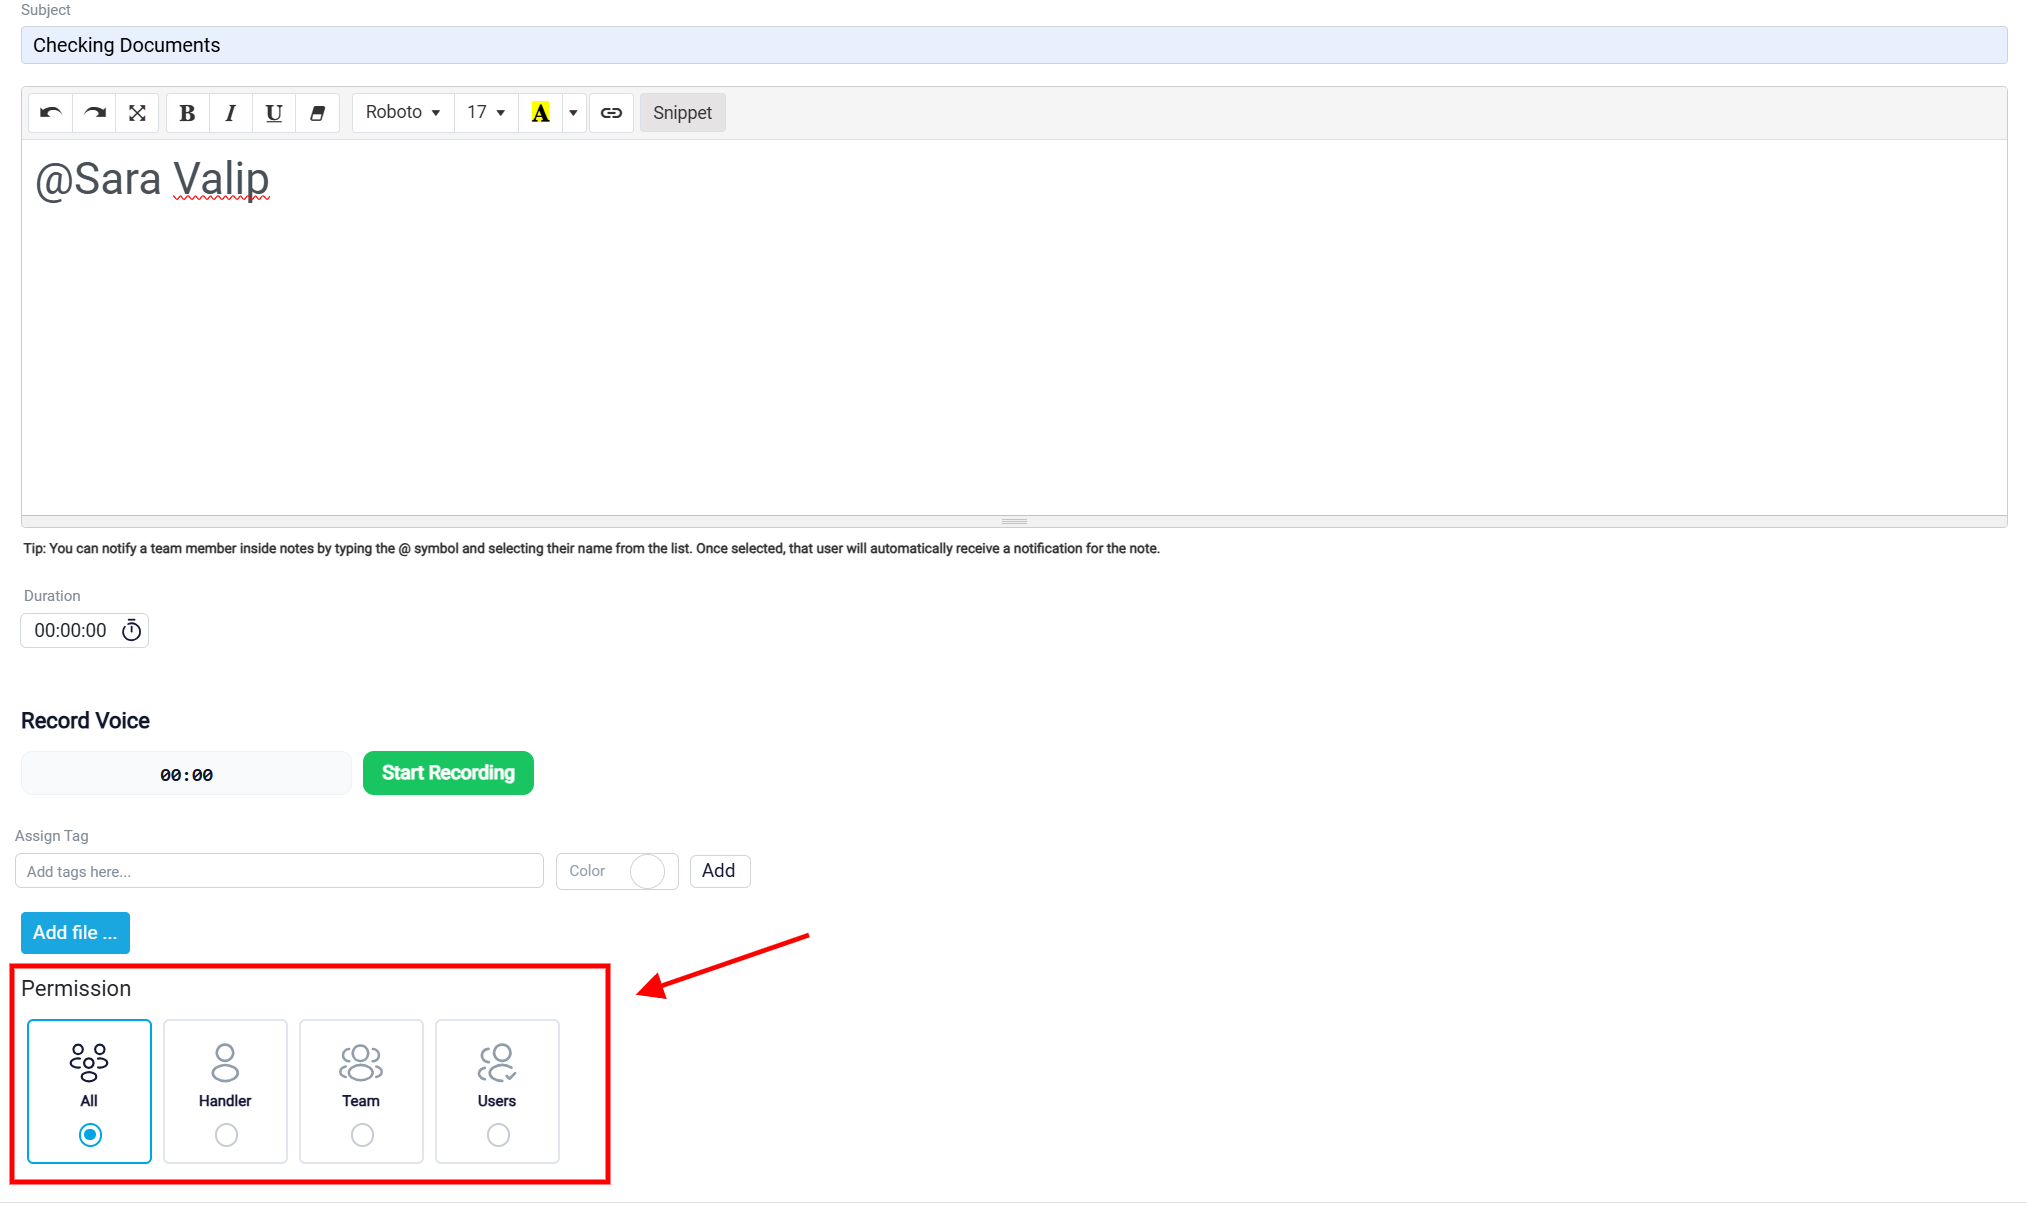
The Permission section controls who can view or manage the note. By default, All is selected, which means all users can access the note. The user can also limit access to only the Handler, a specific Team, or selected Users if the note should be restricted. This ensures that sensitive or private information is only available to the appropriate users.
Once you have completed all the steps, click the Save button located at the top right corner of the screen.