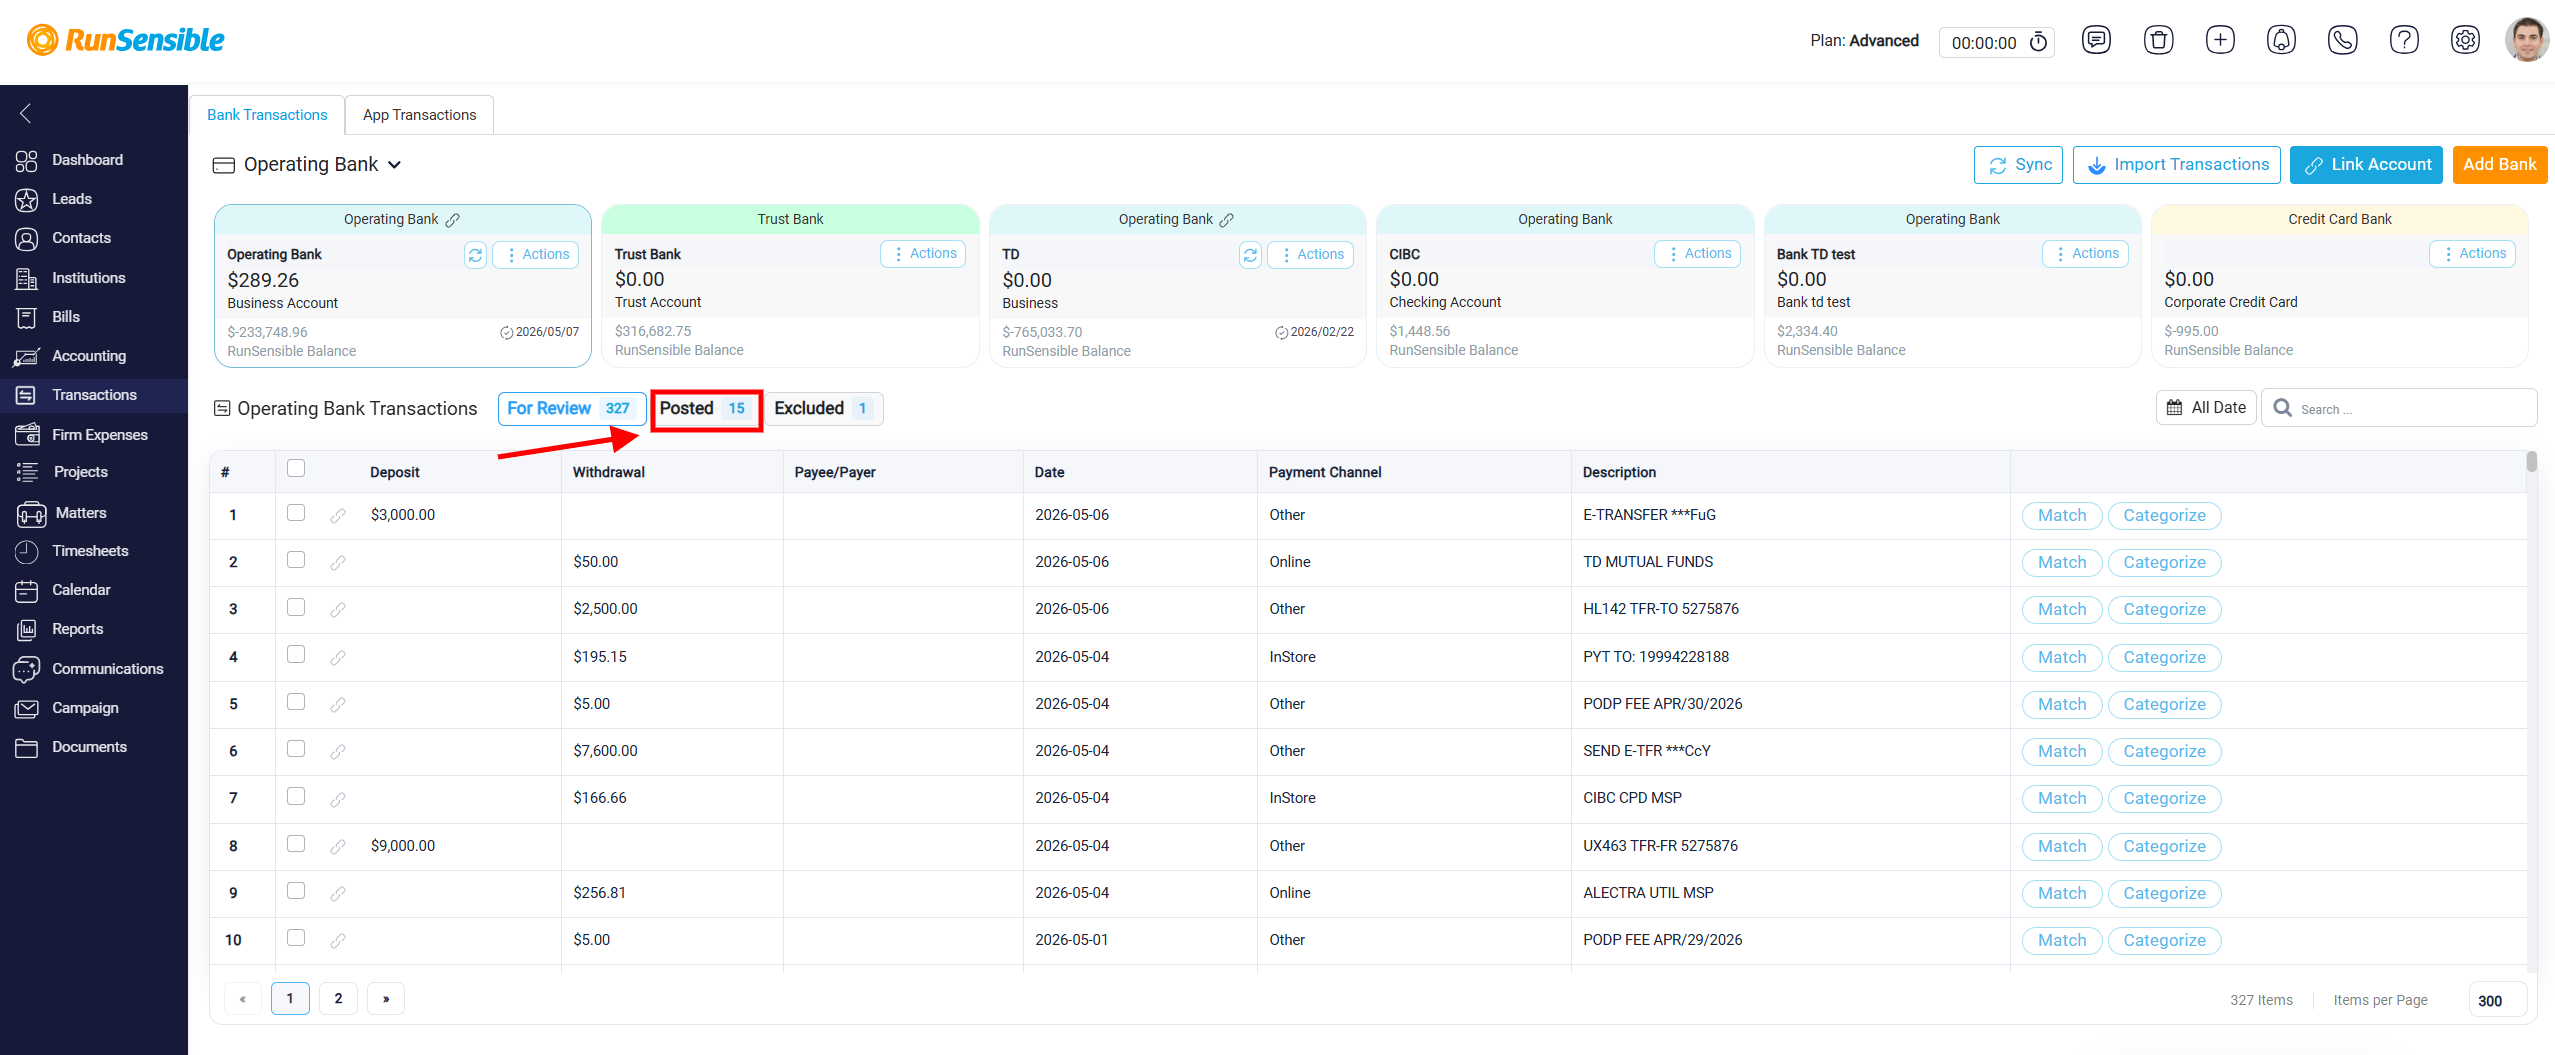
Categorize Transaction Panel
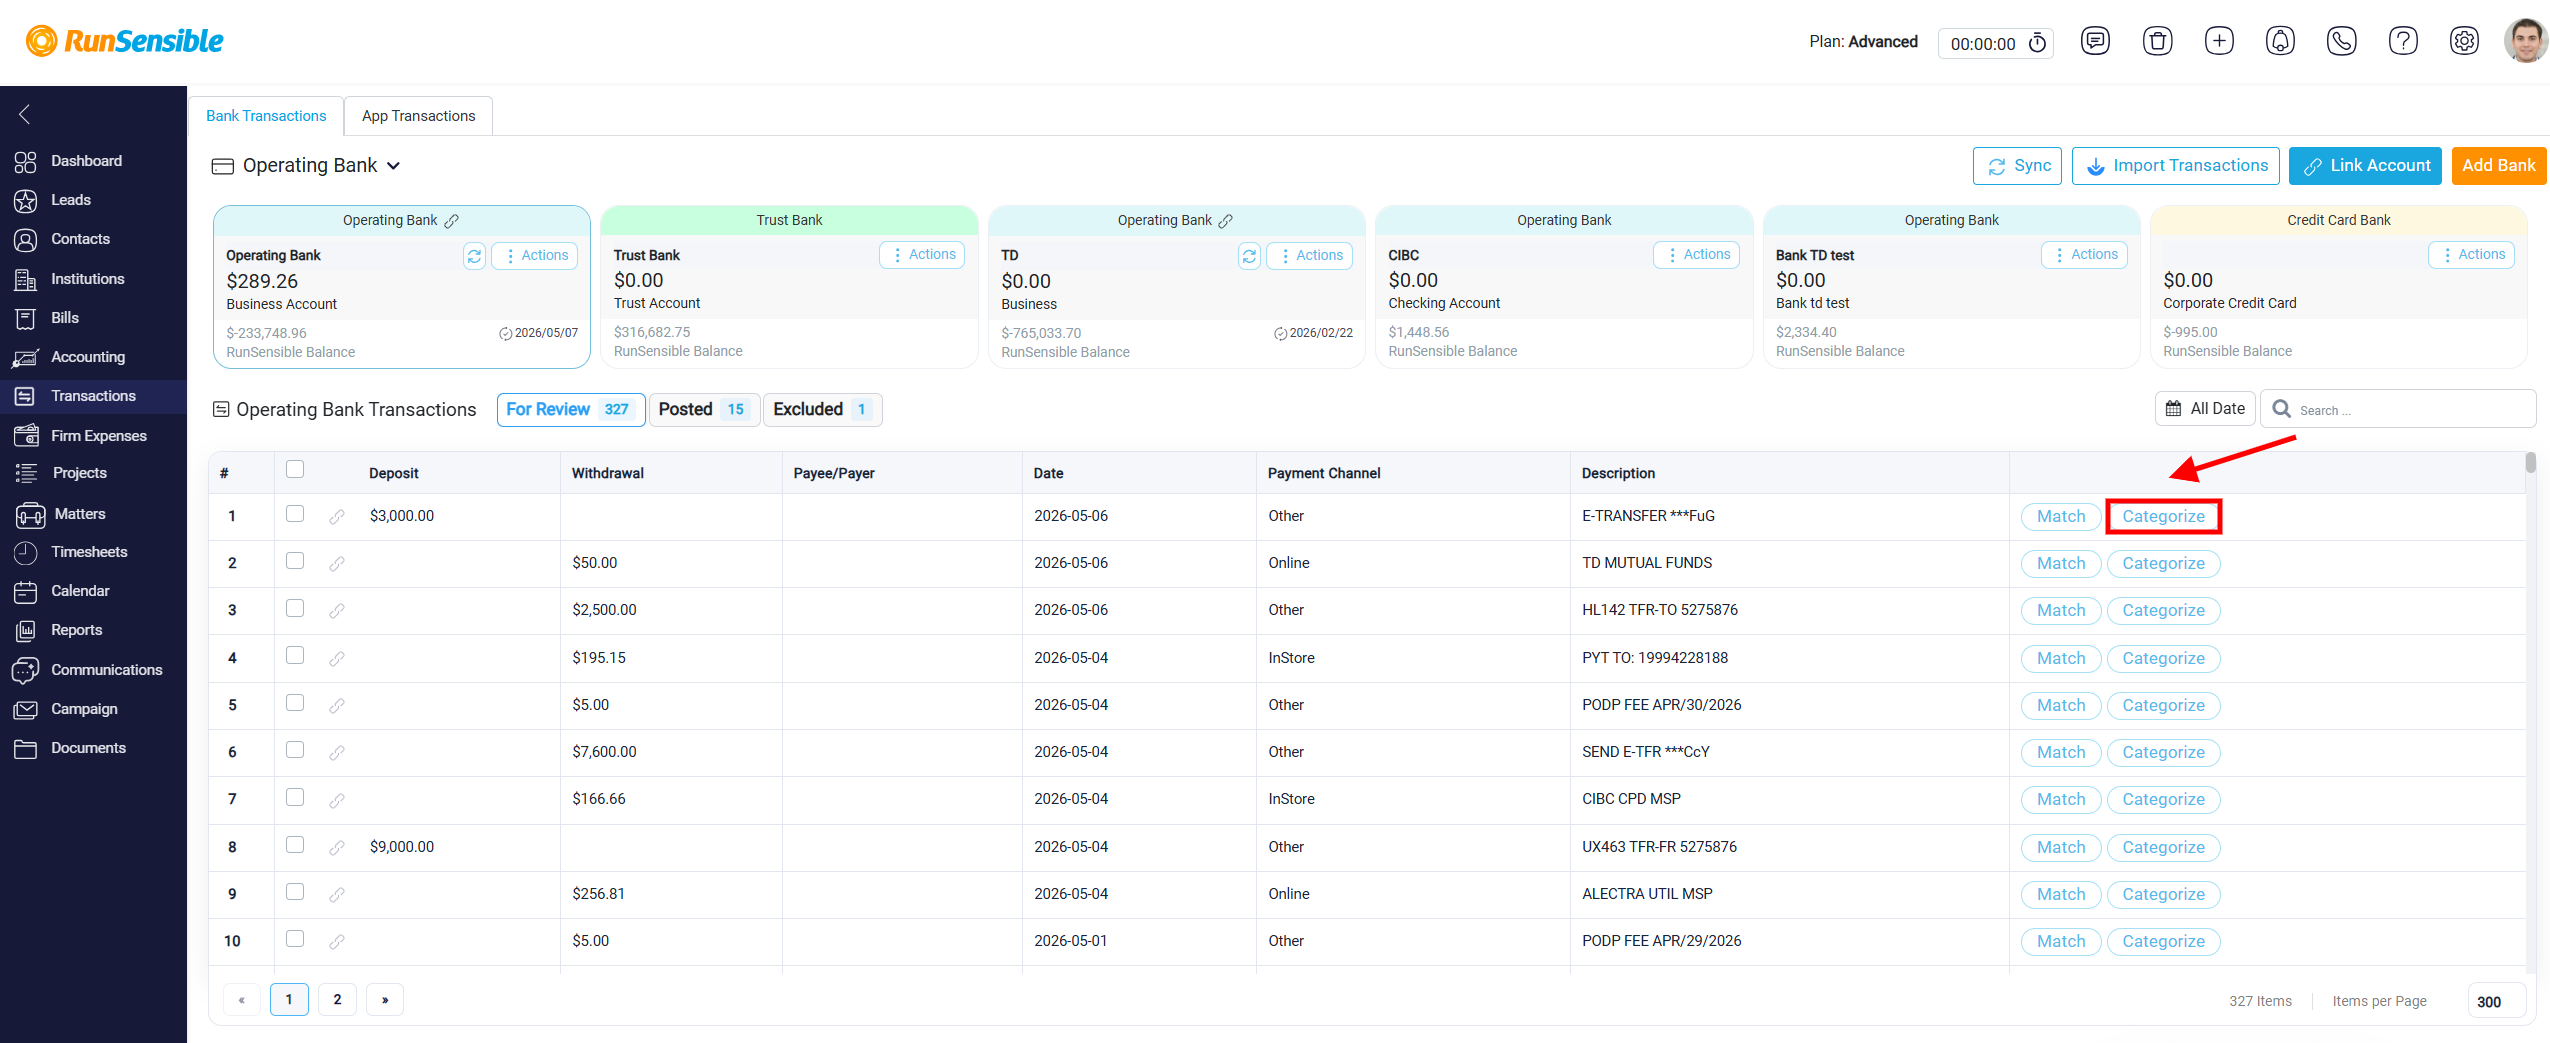
To categorize a transaction, click the Categorize button next to the transaction row.
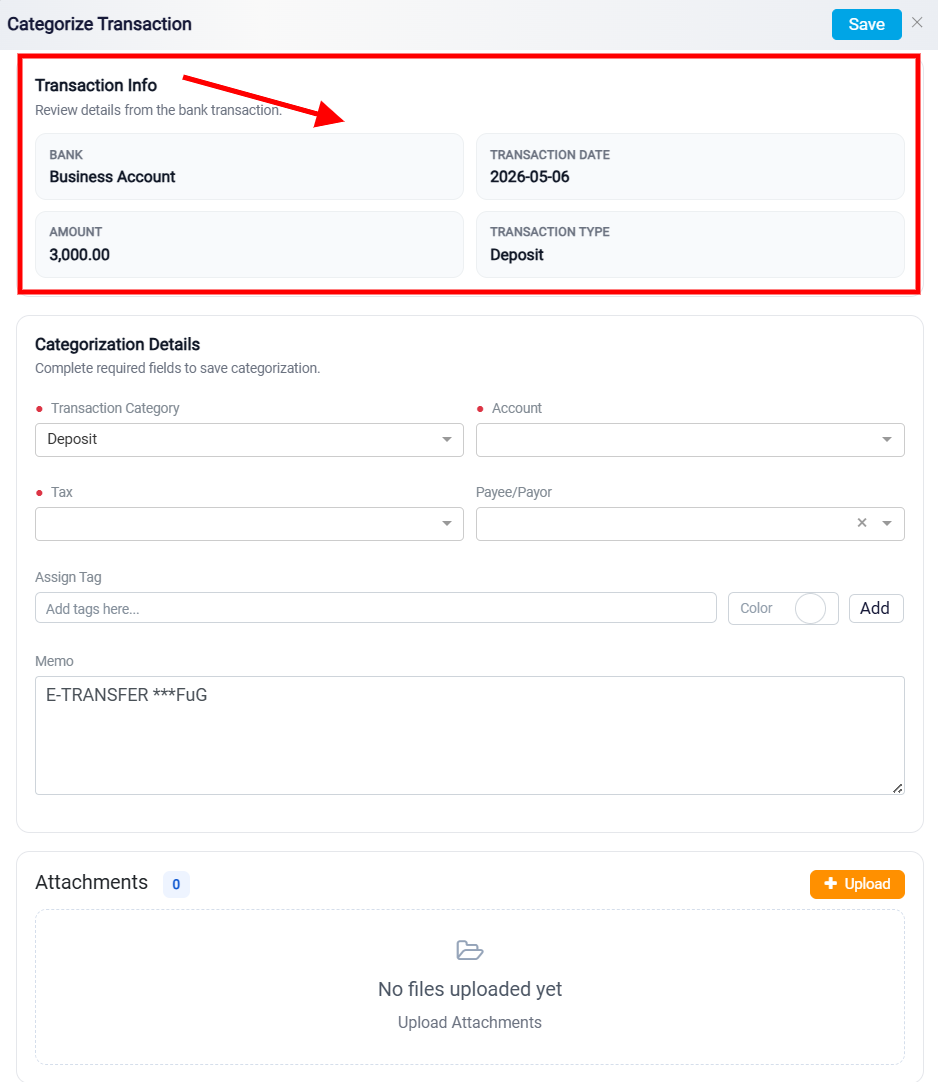
This opens the Categorize Transaction panel. At the top of the panel, the Transaction Info section displays the bank details exactly as they were imported. This includes the bank account name, transaction date, amount, and whether the transaction is a deposit or withdrawal. This section is read-only because it reflects the original bank activity and should not be changed from this panel.
Below it, the Categorization Details section allows the user to define how the transaction should be recorded in the accounting records. The Transaction Category field identifies the type of transaction, such as Expense, Cheque, Transfer, or Credit Card Payment. The Account field determines which chart of accounts will be affected by the transaction. If the required account does not already exist, it can be created directly from this field.
The panel also includes a Tax field for assigning the correct tax treatment and a Payee/Payer field for linking the transaction to a contact, such as a client, vendor, law firm, or other organization. If the contact does not already exist, it can be created from the same screen.
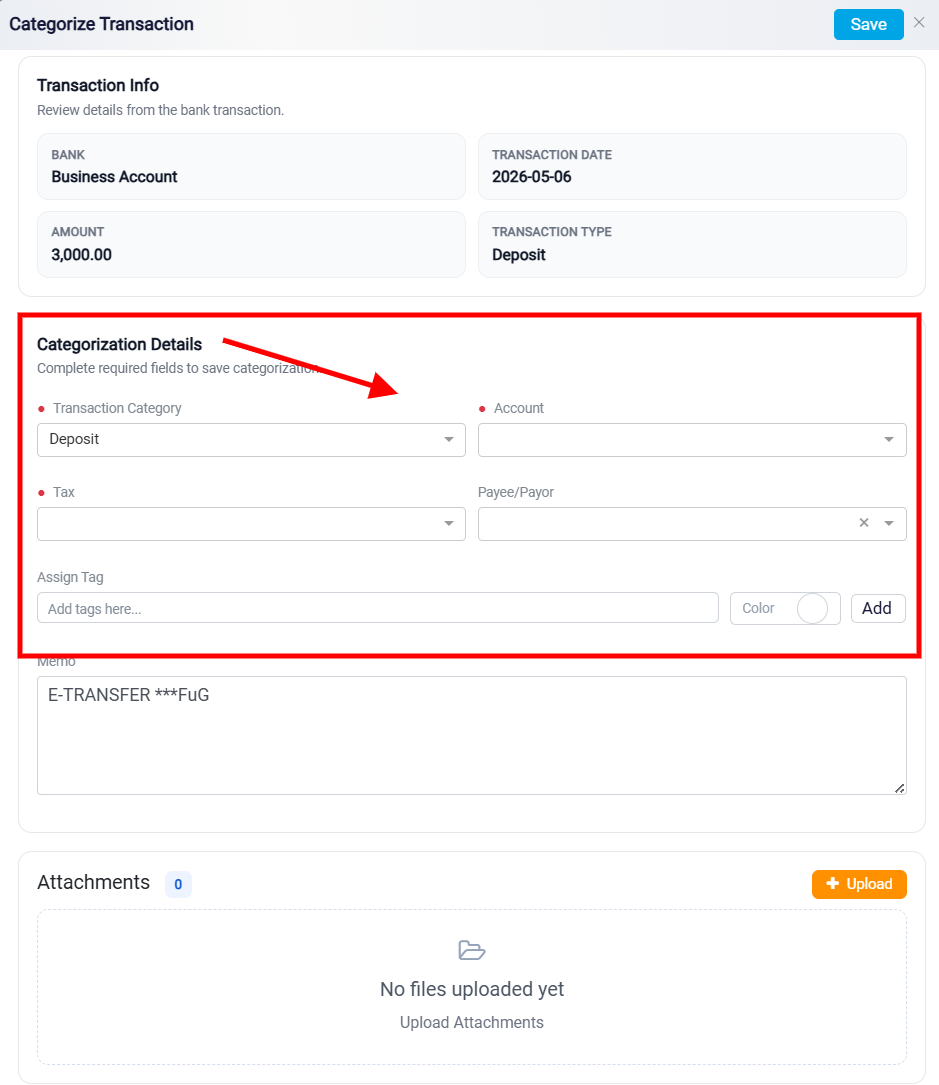
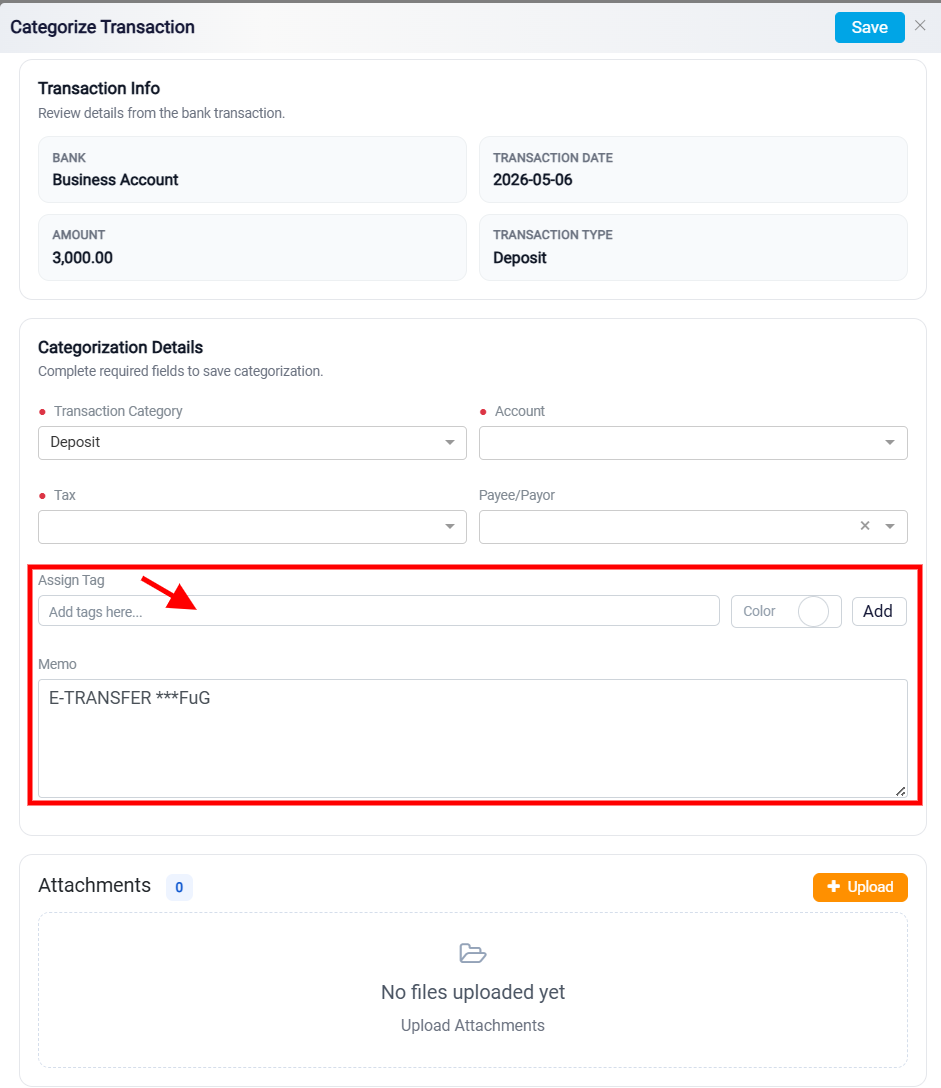
The Memo field can be used to add or update the transaction description, and tags can be assigned for internal tracking when needed.
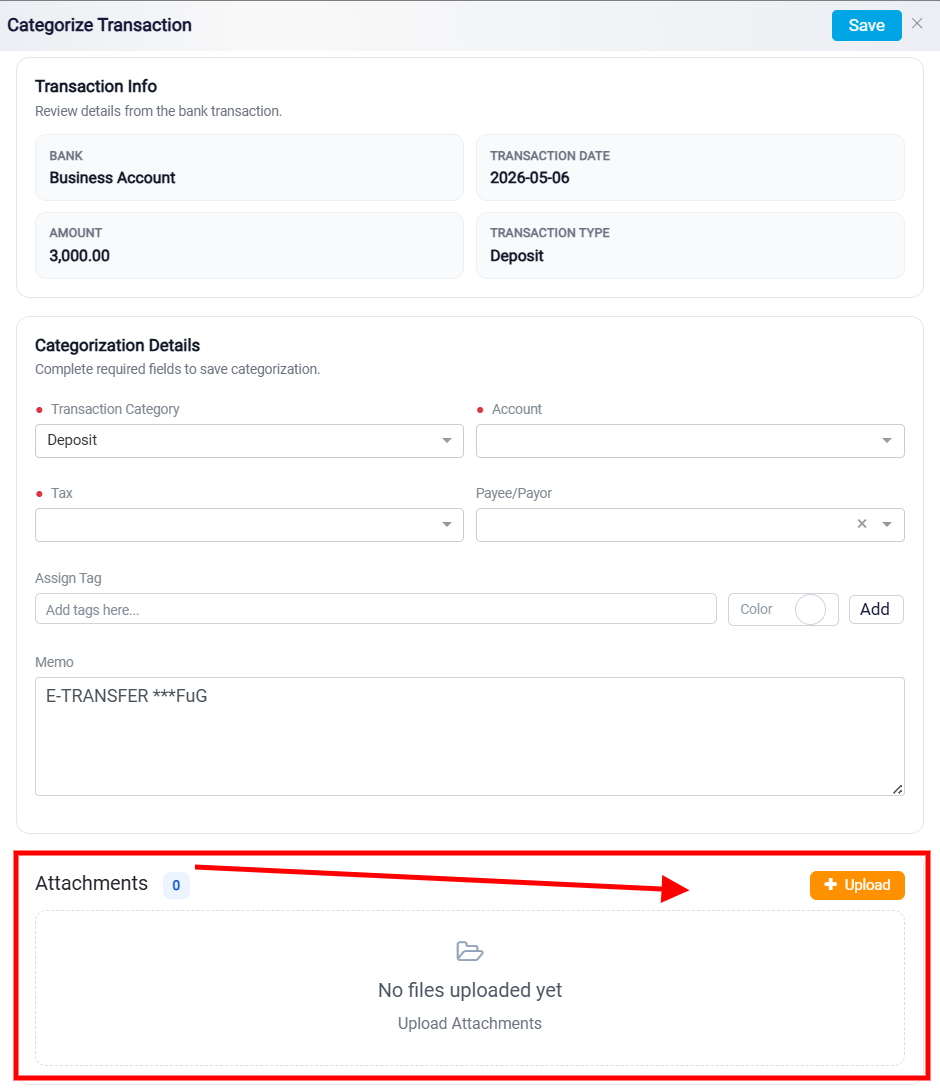
At the bottom of the panel, the Attachments section allows related files to be added using the Upload button at the top right of the panel.
After all required information has been entered, click Save.
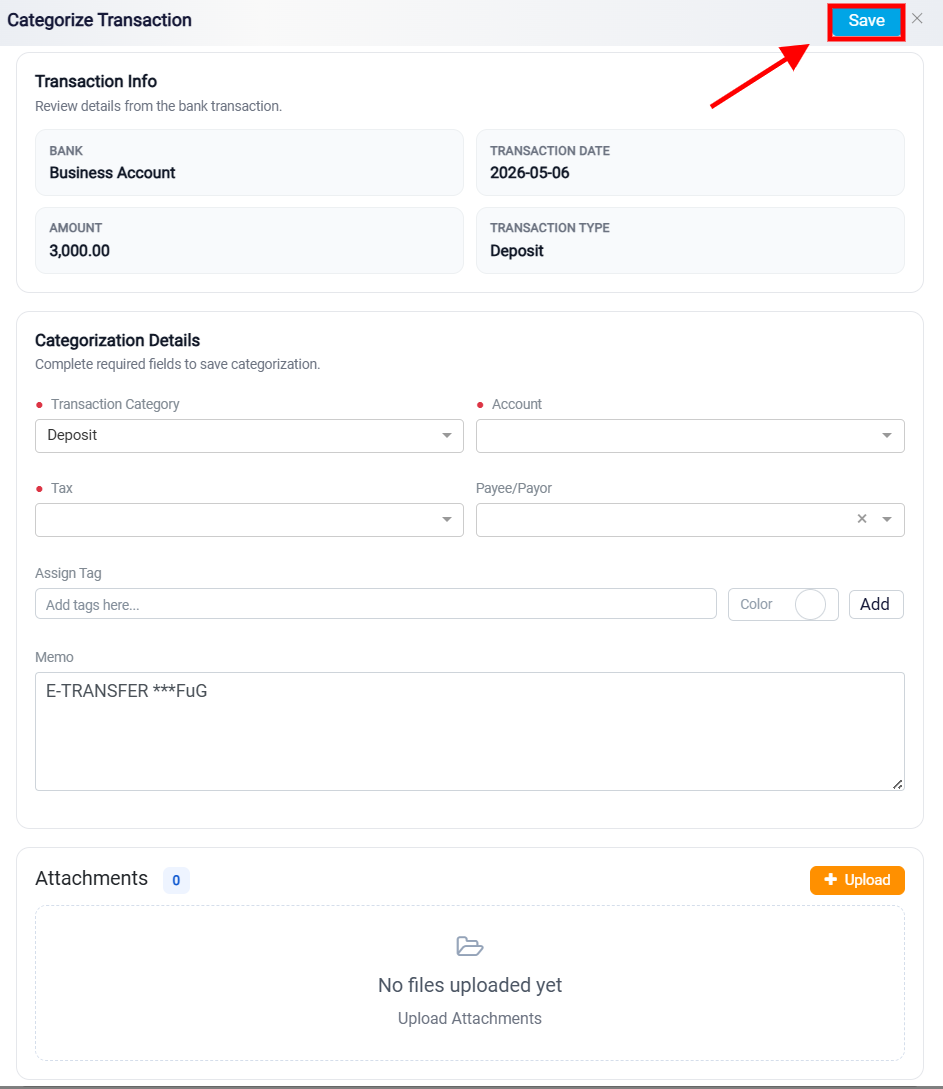
RunSensible then creates the accounting record based on the selected details and moves the transaction from the For Review tab to the Posted tab.