Lead Status
With RunSensible, you can manage all your leads in a way that helps convert them into clients. Once a lead is added to your list, you must decide their path and establish a process to turn them into clients. lead status indicates where a lead is in your defined conversion process. This helps you track their progress, prioritize your efforts, and communicate effectively.
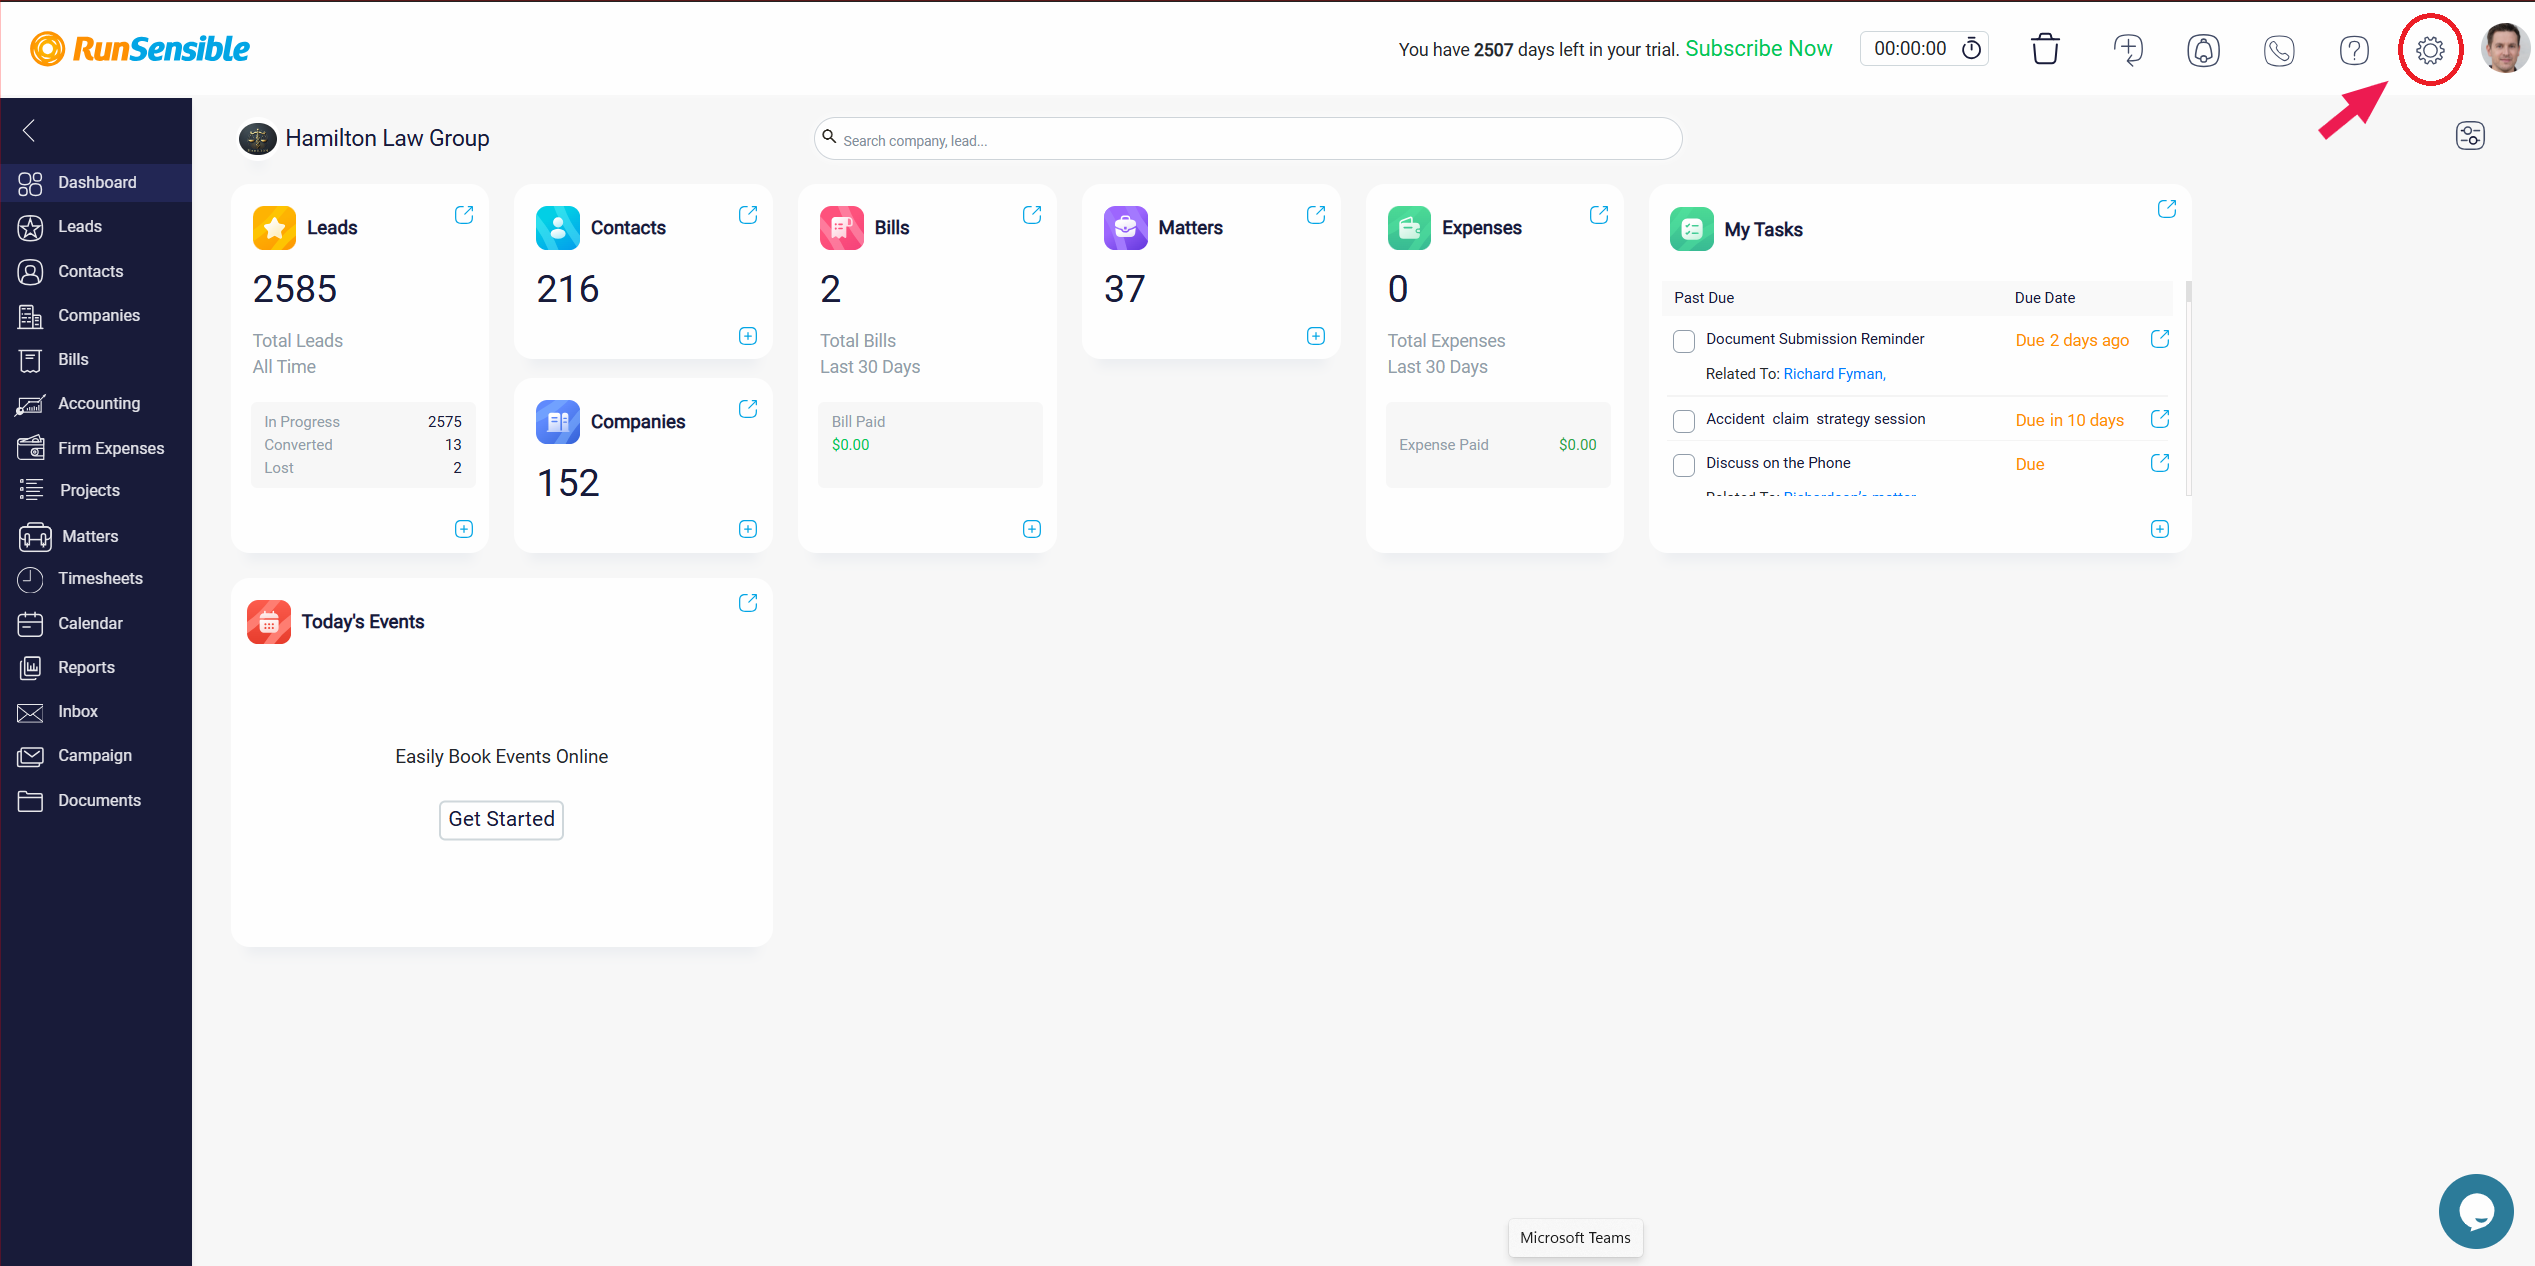
To define the best process for converting your leads, click on the Settings button at the top right of the screen.
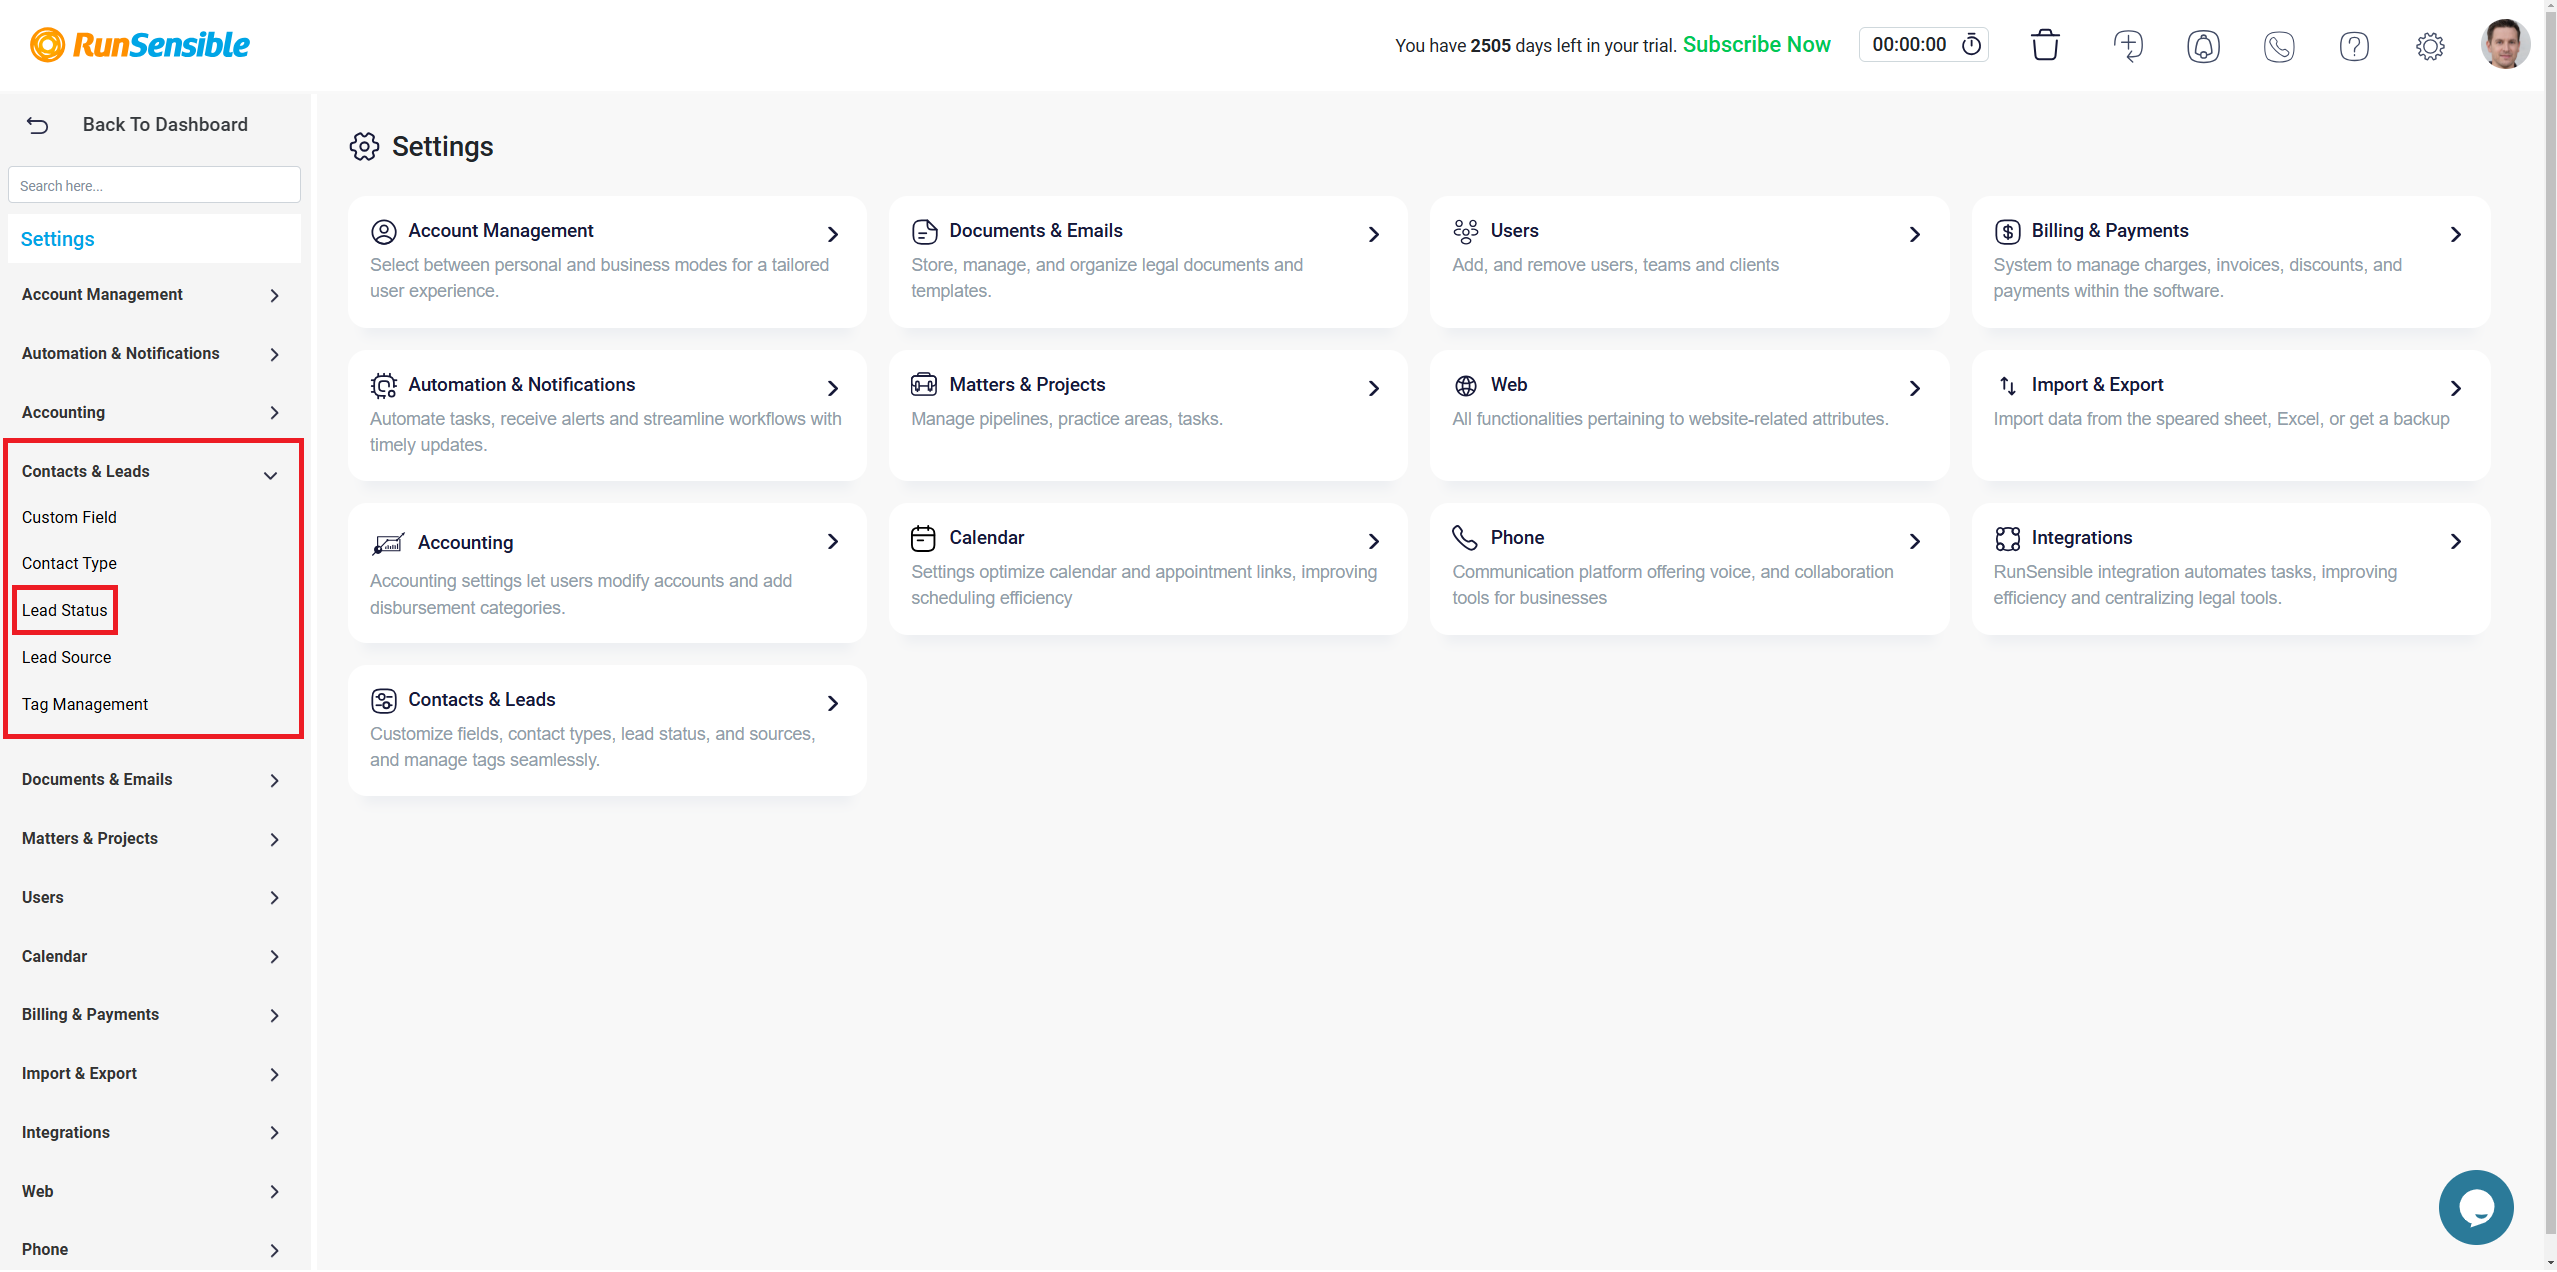
Click on Contacts & Leads and select Lead Status. You can also use the Search box at the top to find Lead Status.
At the top, you will see two tabs: Lead Status and Reason for Disqualification.
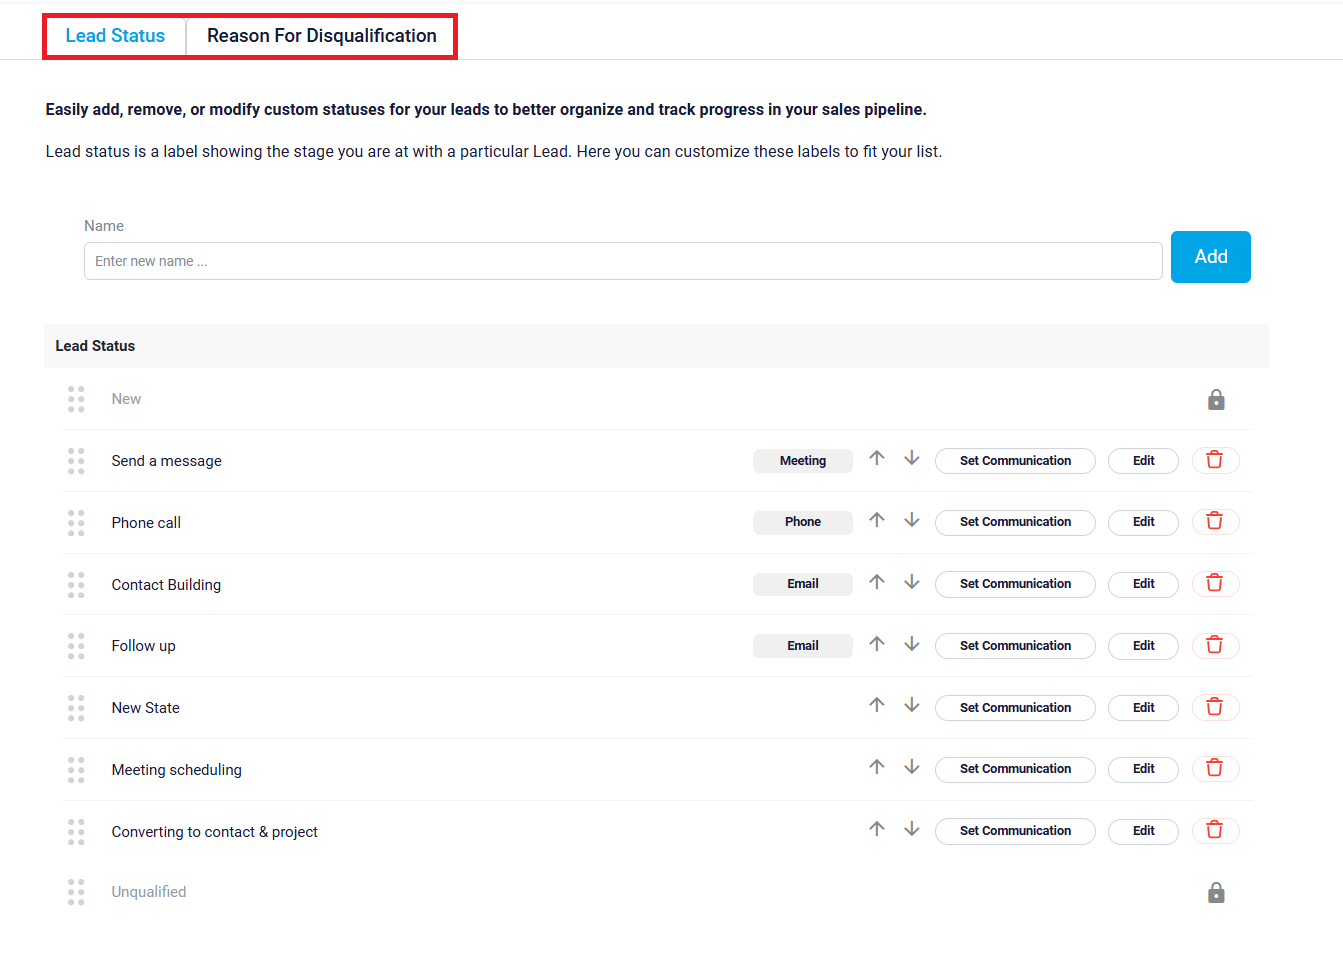
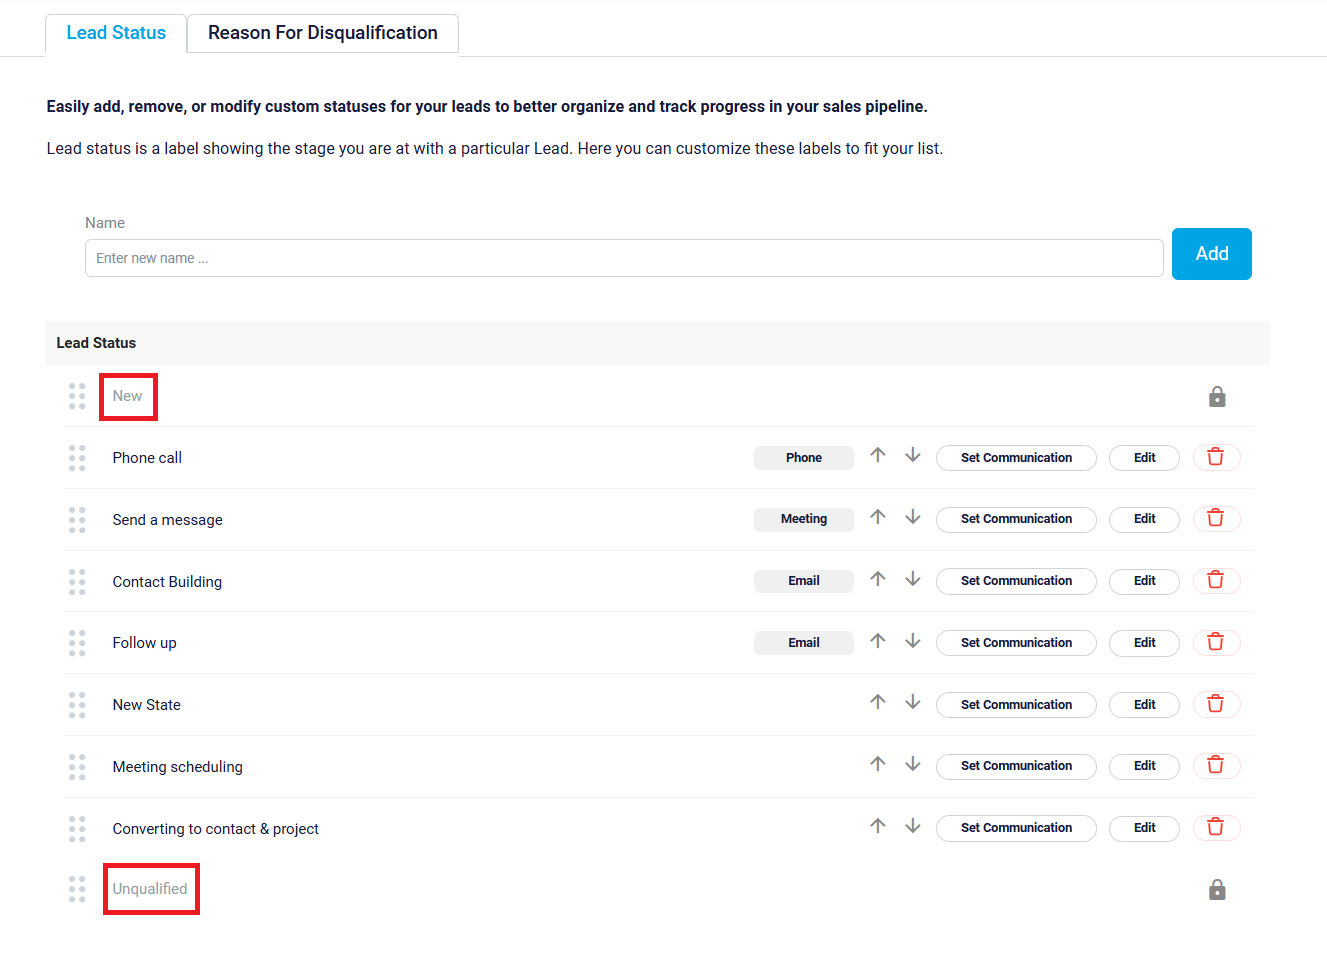
In the Lead Status tab, you can see the default process we have set up for you. There are two states you cannot change or delete: New and Unqualified. The New state is where leads are placed when they are first added to your list. The Unqualified state is for leads you believe will never convert into clients, so you don’t spend any more time or effort on them. You can change, add, replace, rearrange, and edit the names of any statuses between these two states.
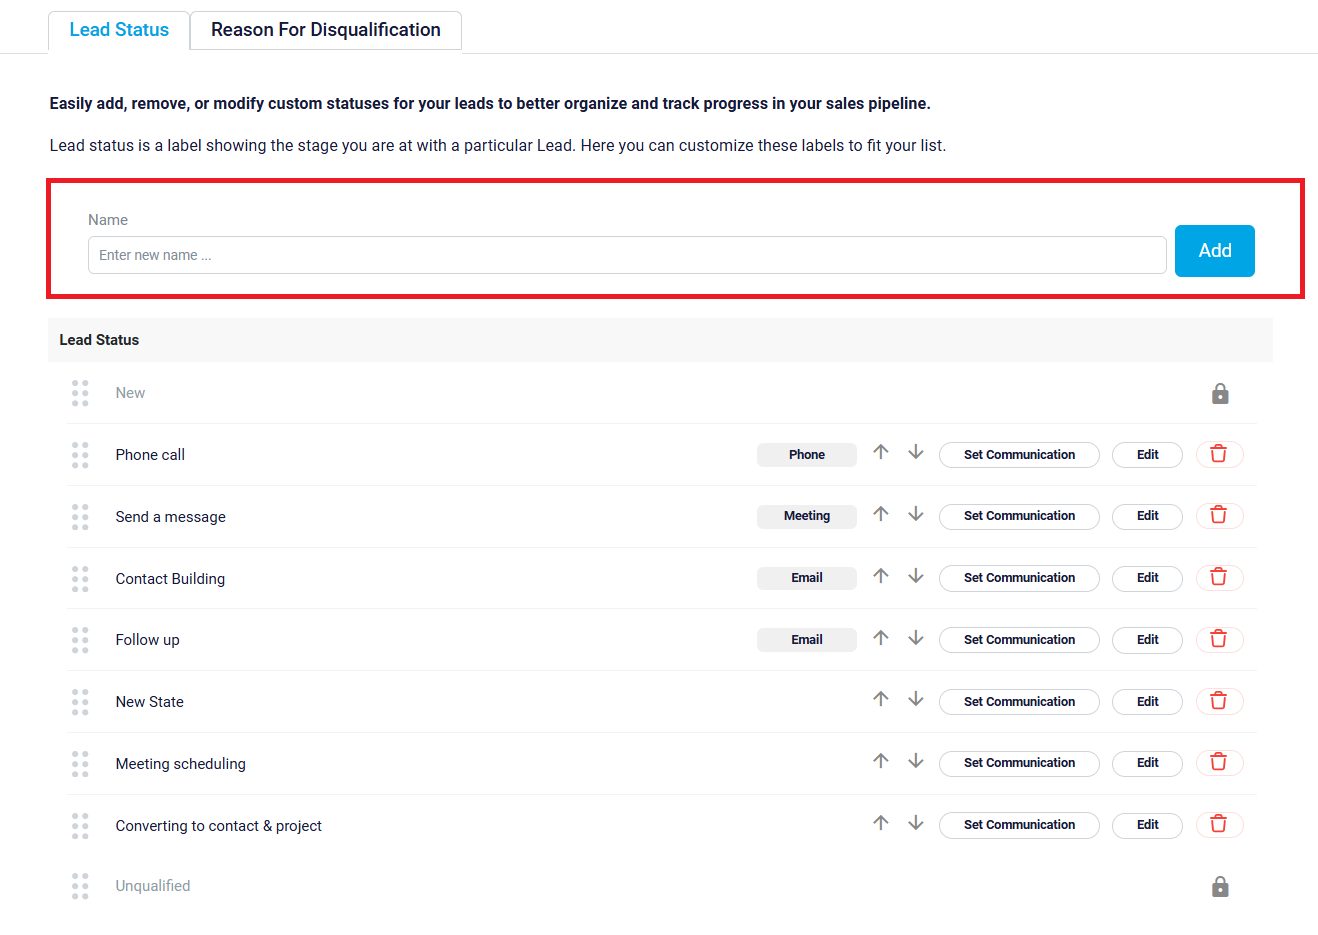
To add a new status to your lead process, enter its name in the Name box at the top and click the Add button. This status will be added to the end of your process, just before unqualified.
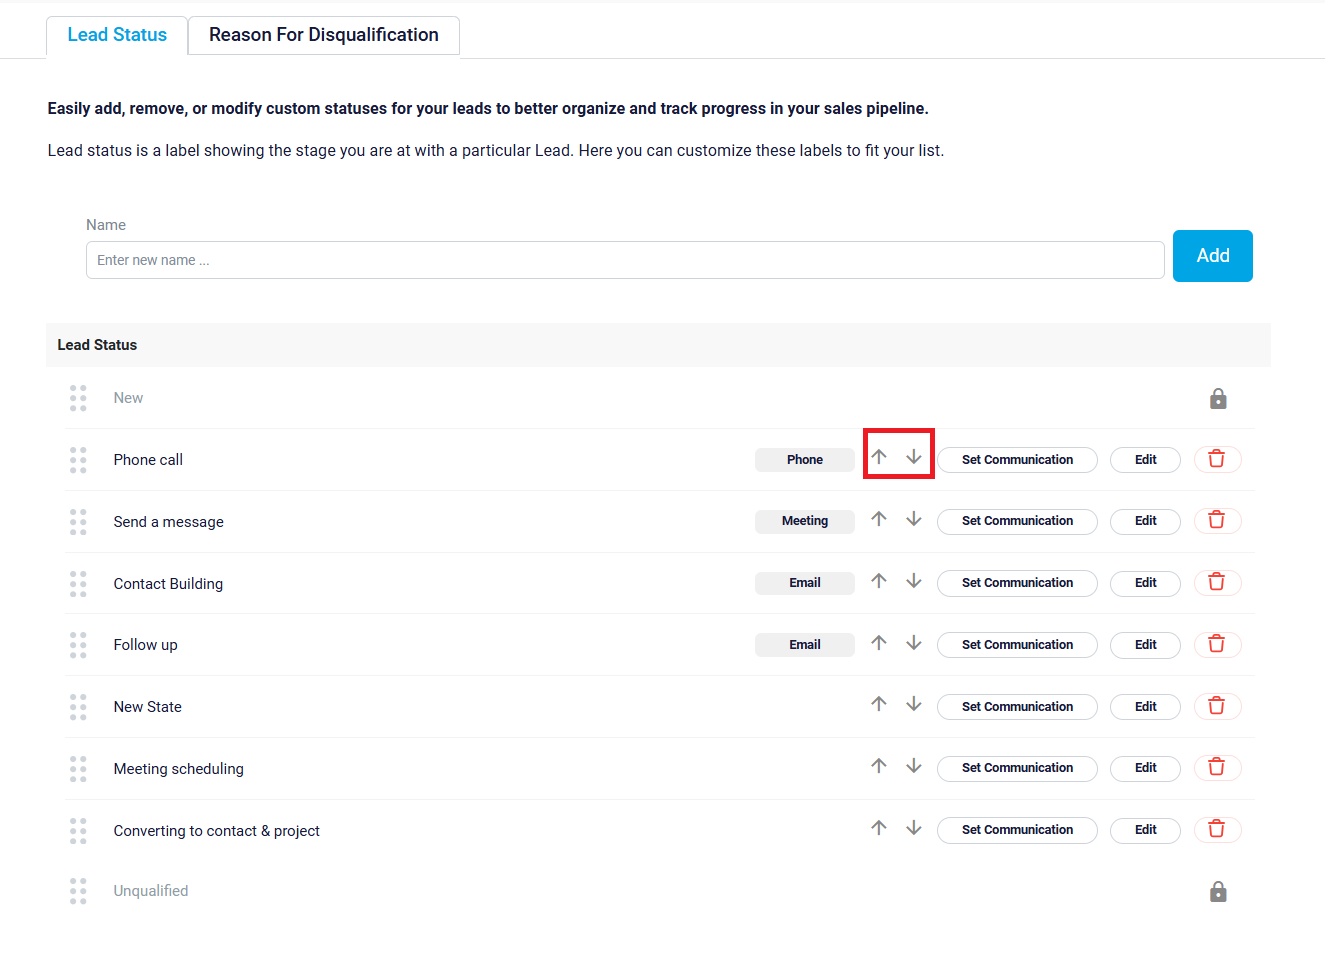
To rearrange statuses, use the Up and Down arrows.
To rename a status, click the Edit button on the right side of the status.
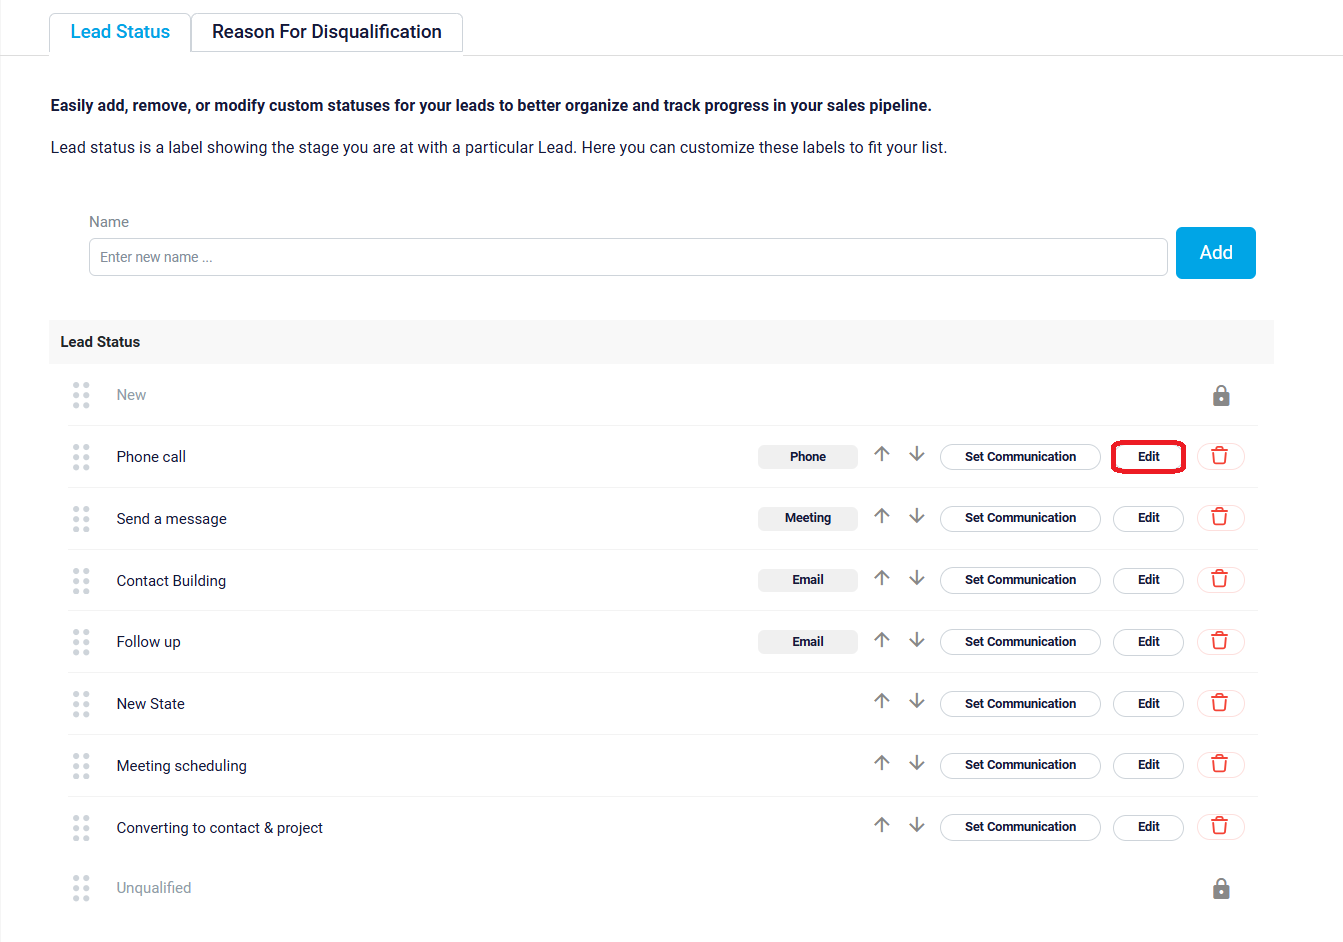
After clicking Edit, you can change the status name. When you’re done, click the Check button to save the changes or the X button if you don’t want to change the name anymore.
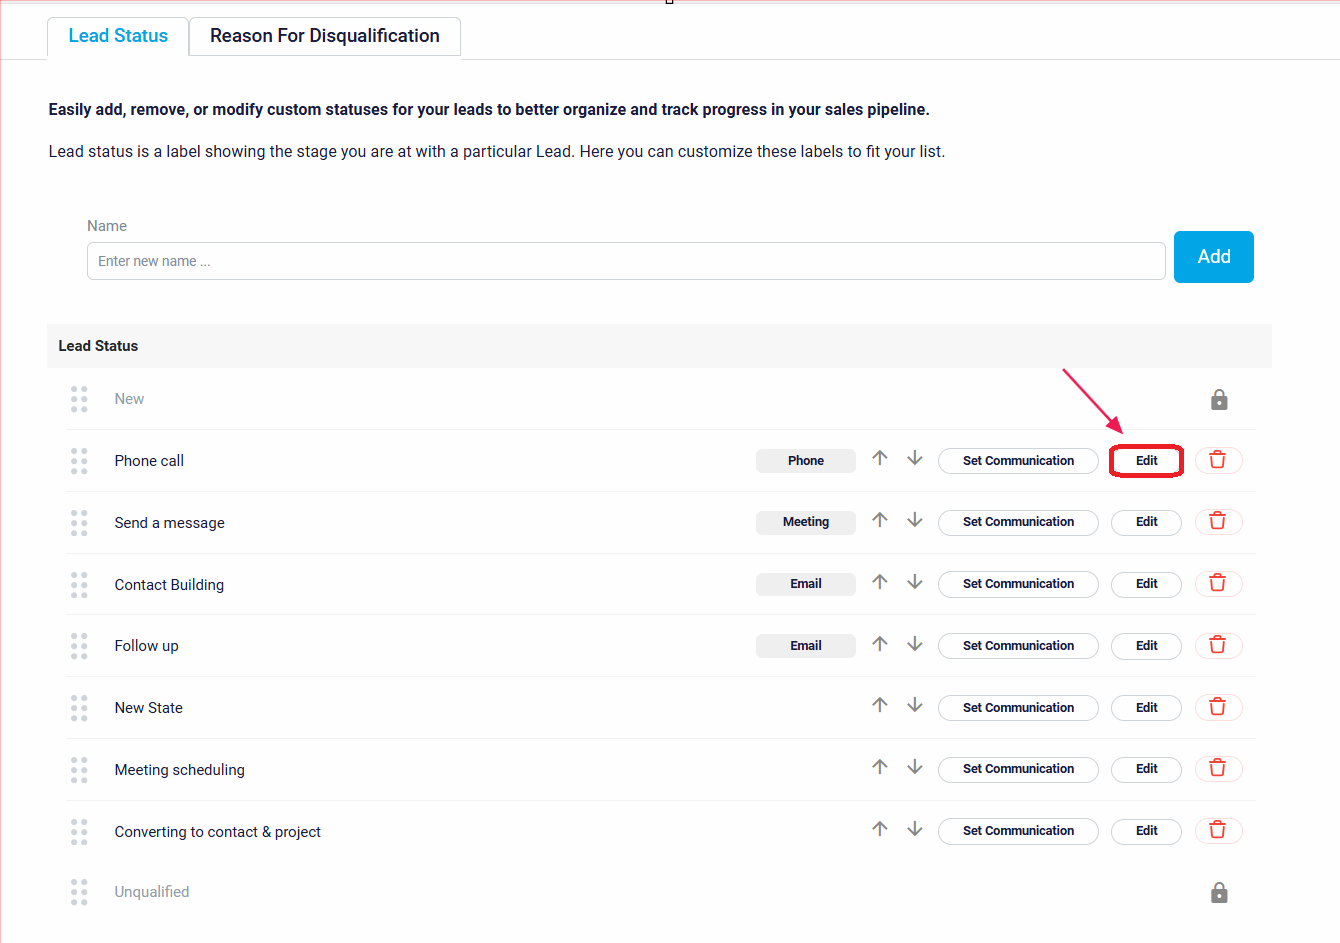
Use the Trash button on the right side of each status to delete the status.
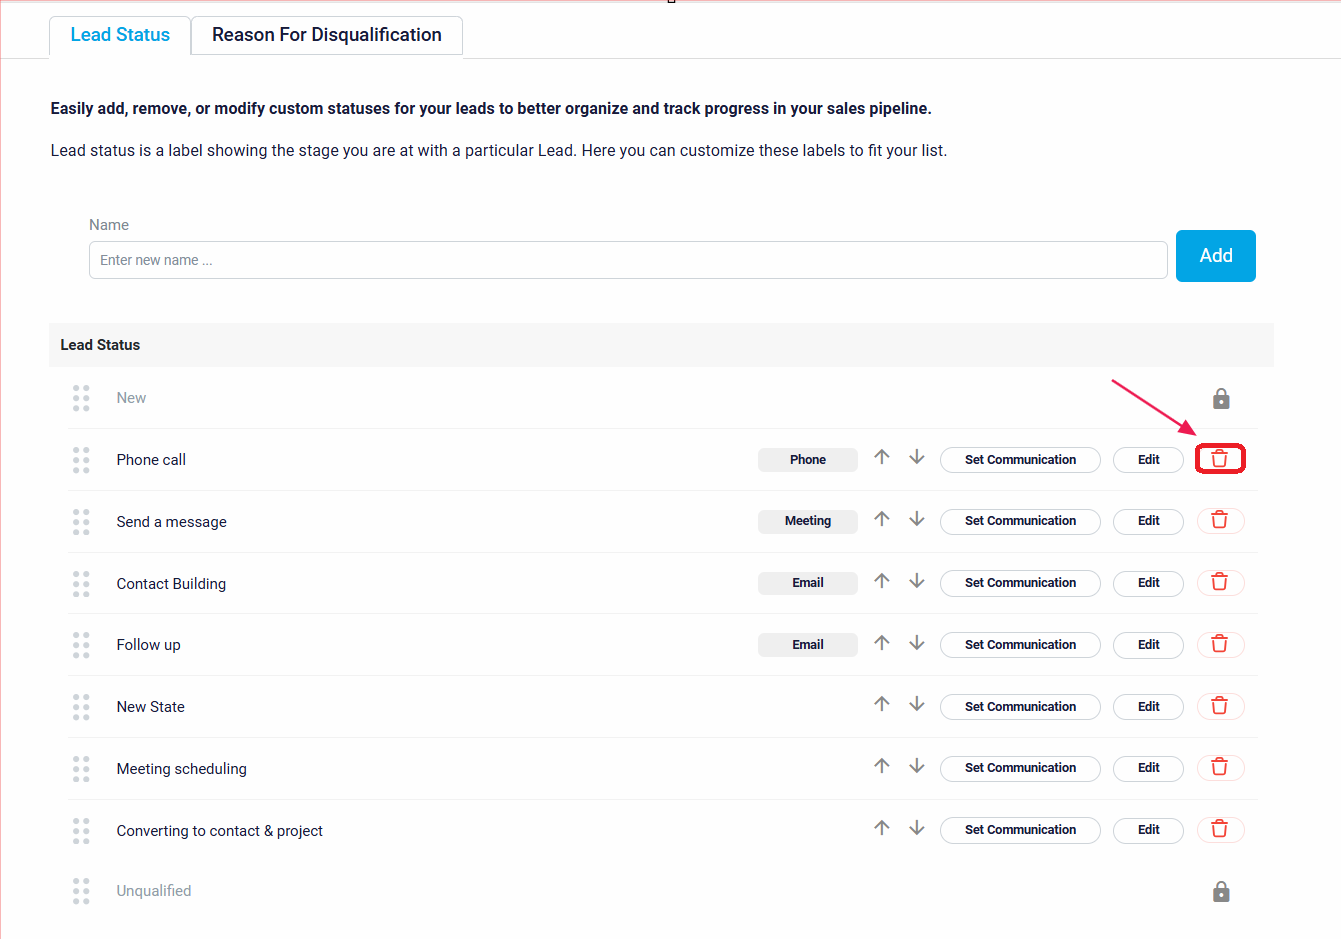
You can set communications for a status so that the person responsible for that lead knows what to do. To do so, click on the Set Communication button for the status.
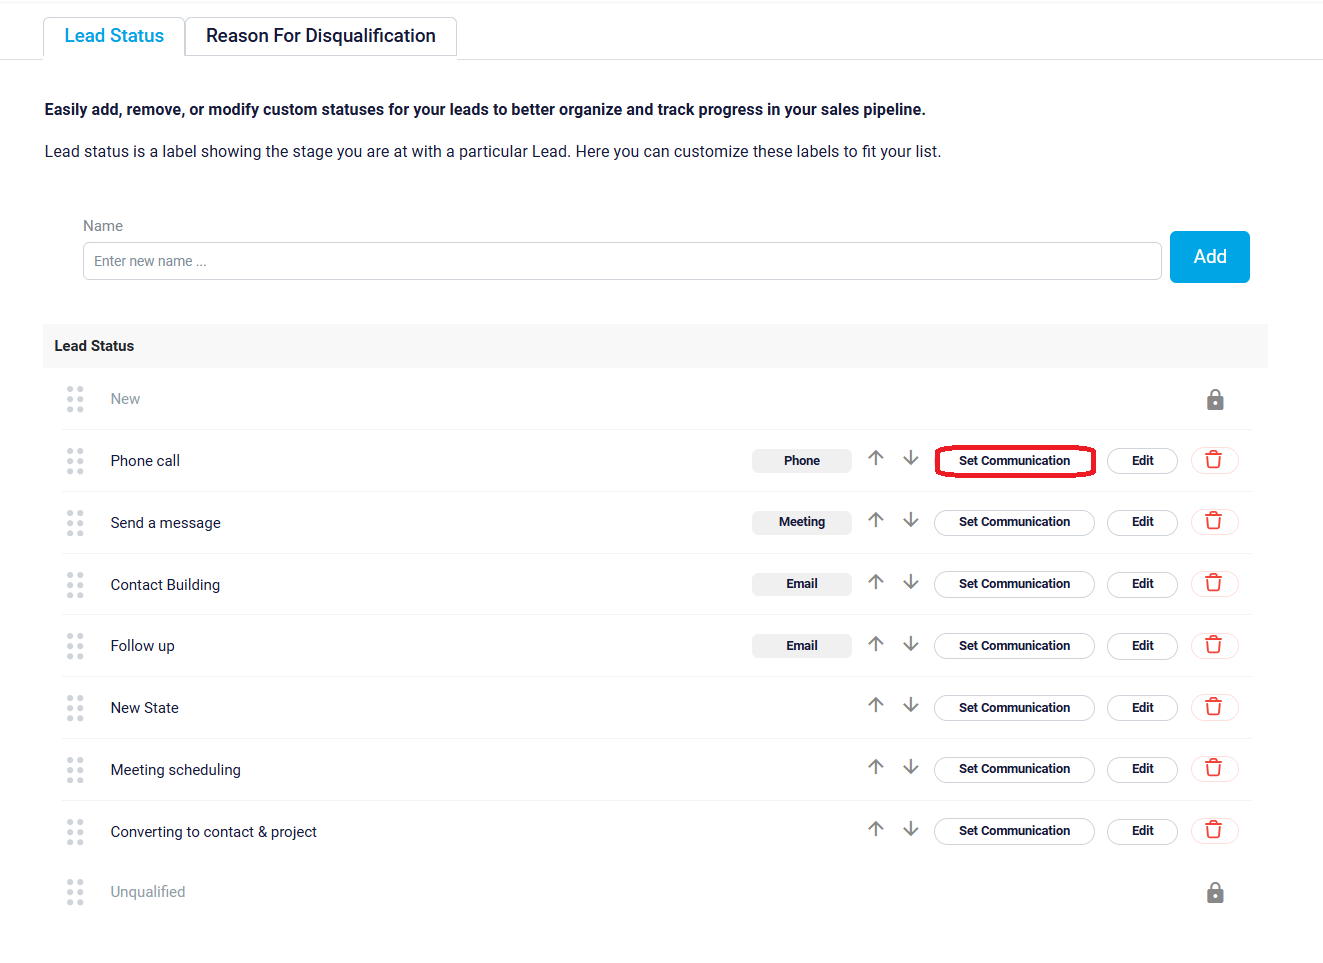
This will open the Set Communication interface. Click on the Communication Type dropdown to choose the type of work to be done when a lead reaches this status. For example, you can select Email, which means the responsible person should send an email to the lead to try to convert them into a client. After selecting Email, another dropdown will appear where you can choose the email template to use. Once you have made your selections, click the Save button at the top right to save the activity.

Disqualifying Leads
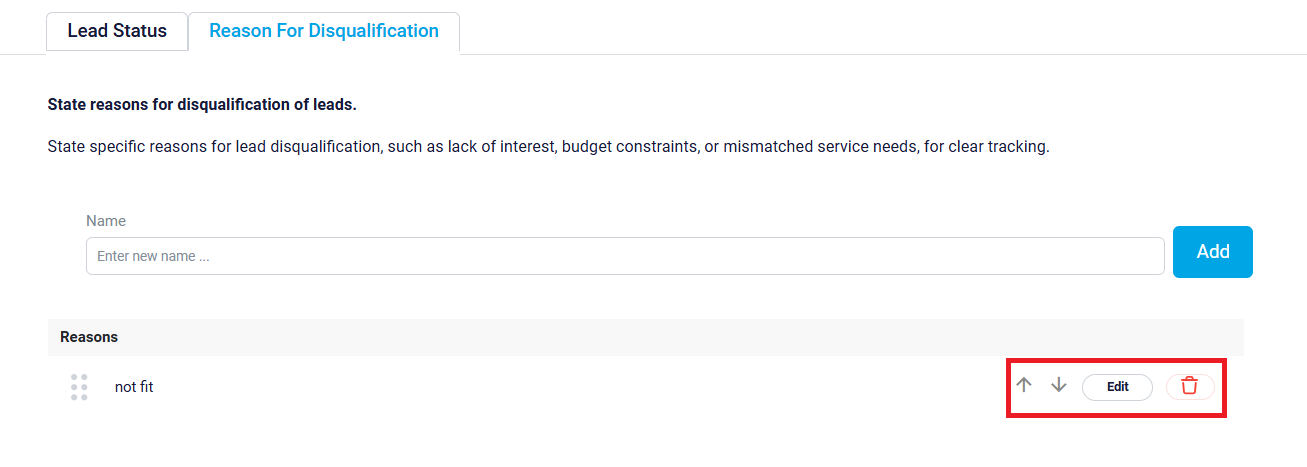
To define the reasons why a lead would be marked as unqualified, navigate to Reason for Disqualification tab. To add a disqualification reason, enter its name in the Name box and click the Add button.

You can use the Up and Down buttons to rearrange the reasons, and the Trash and Edit buttons to delete or edit them.
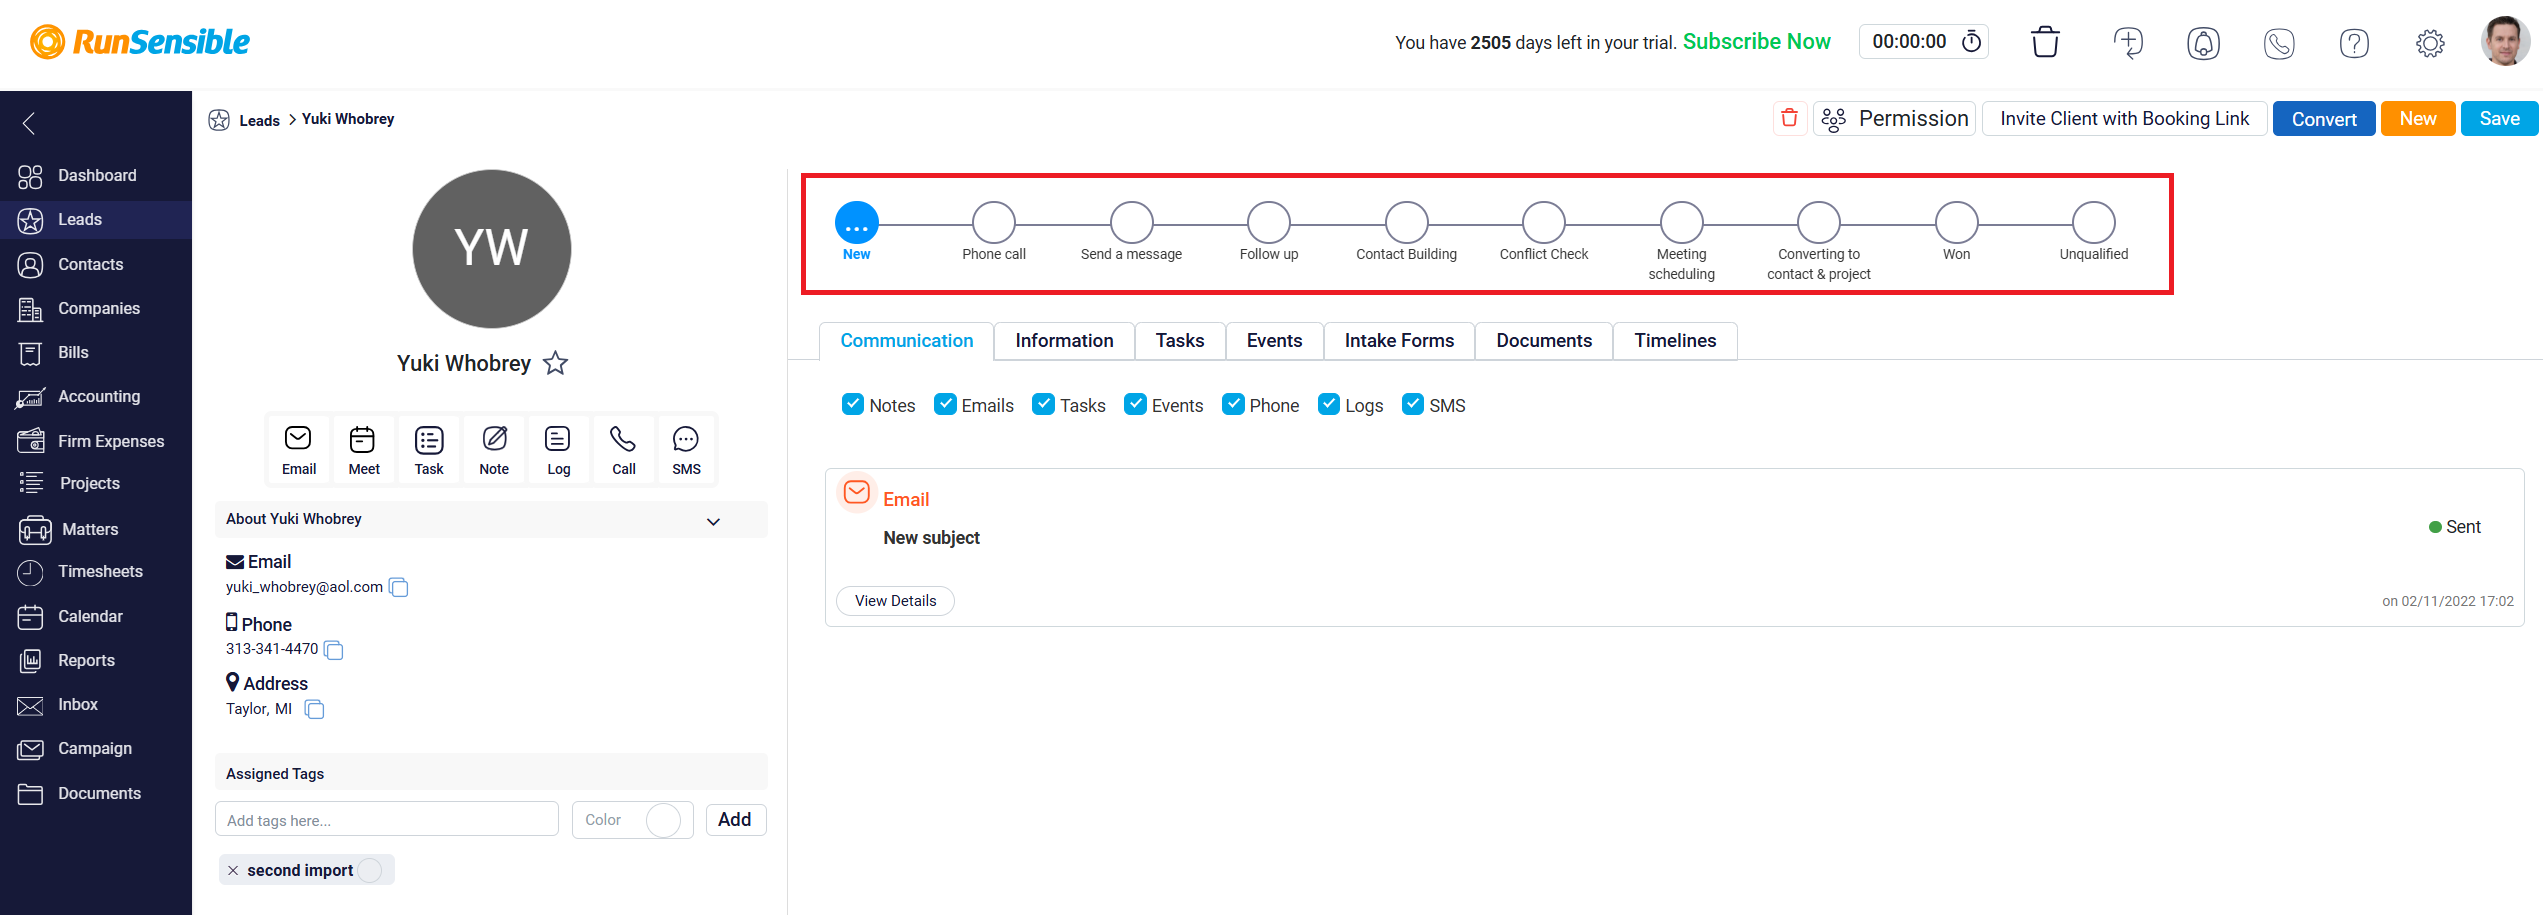
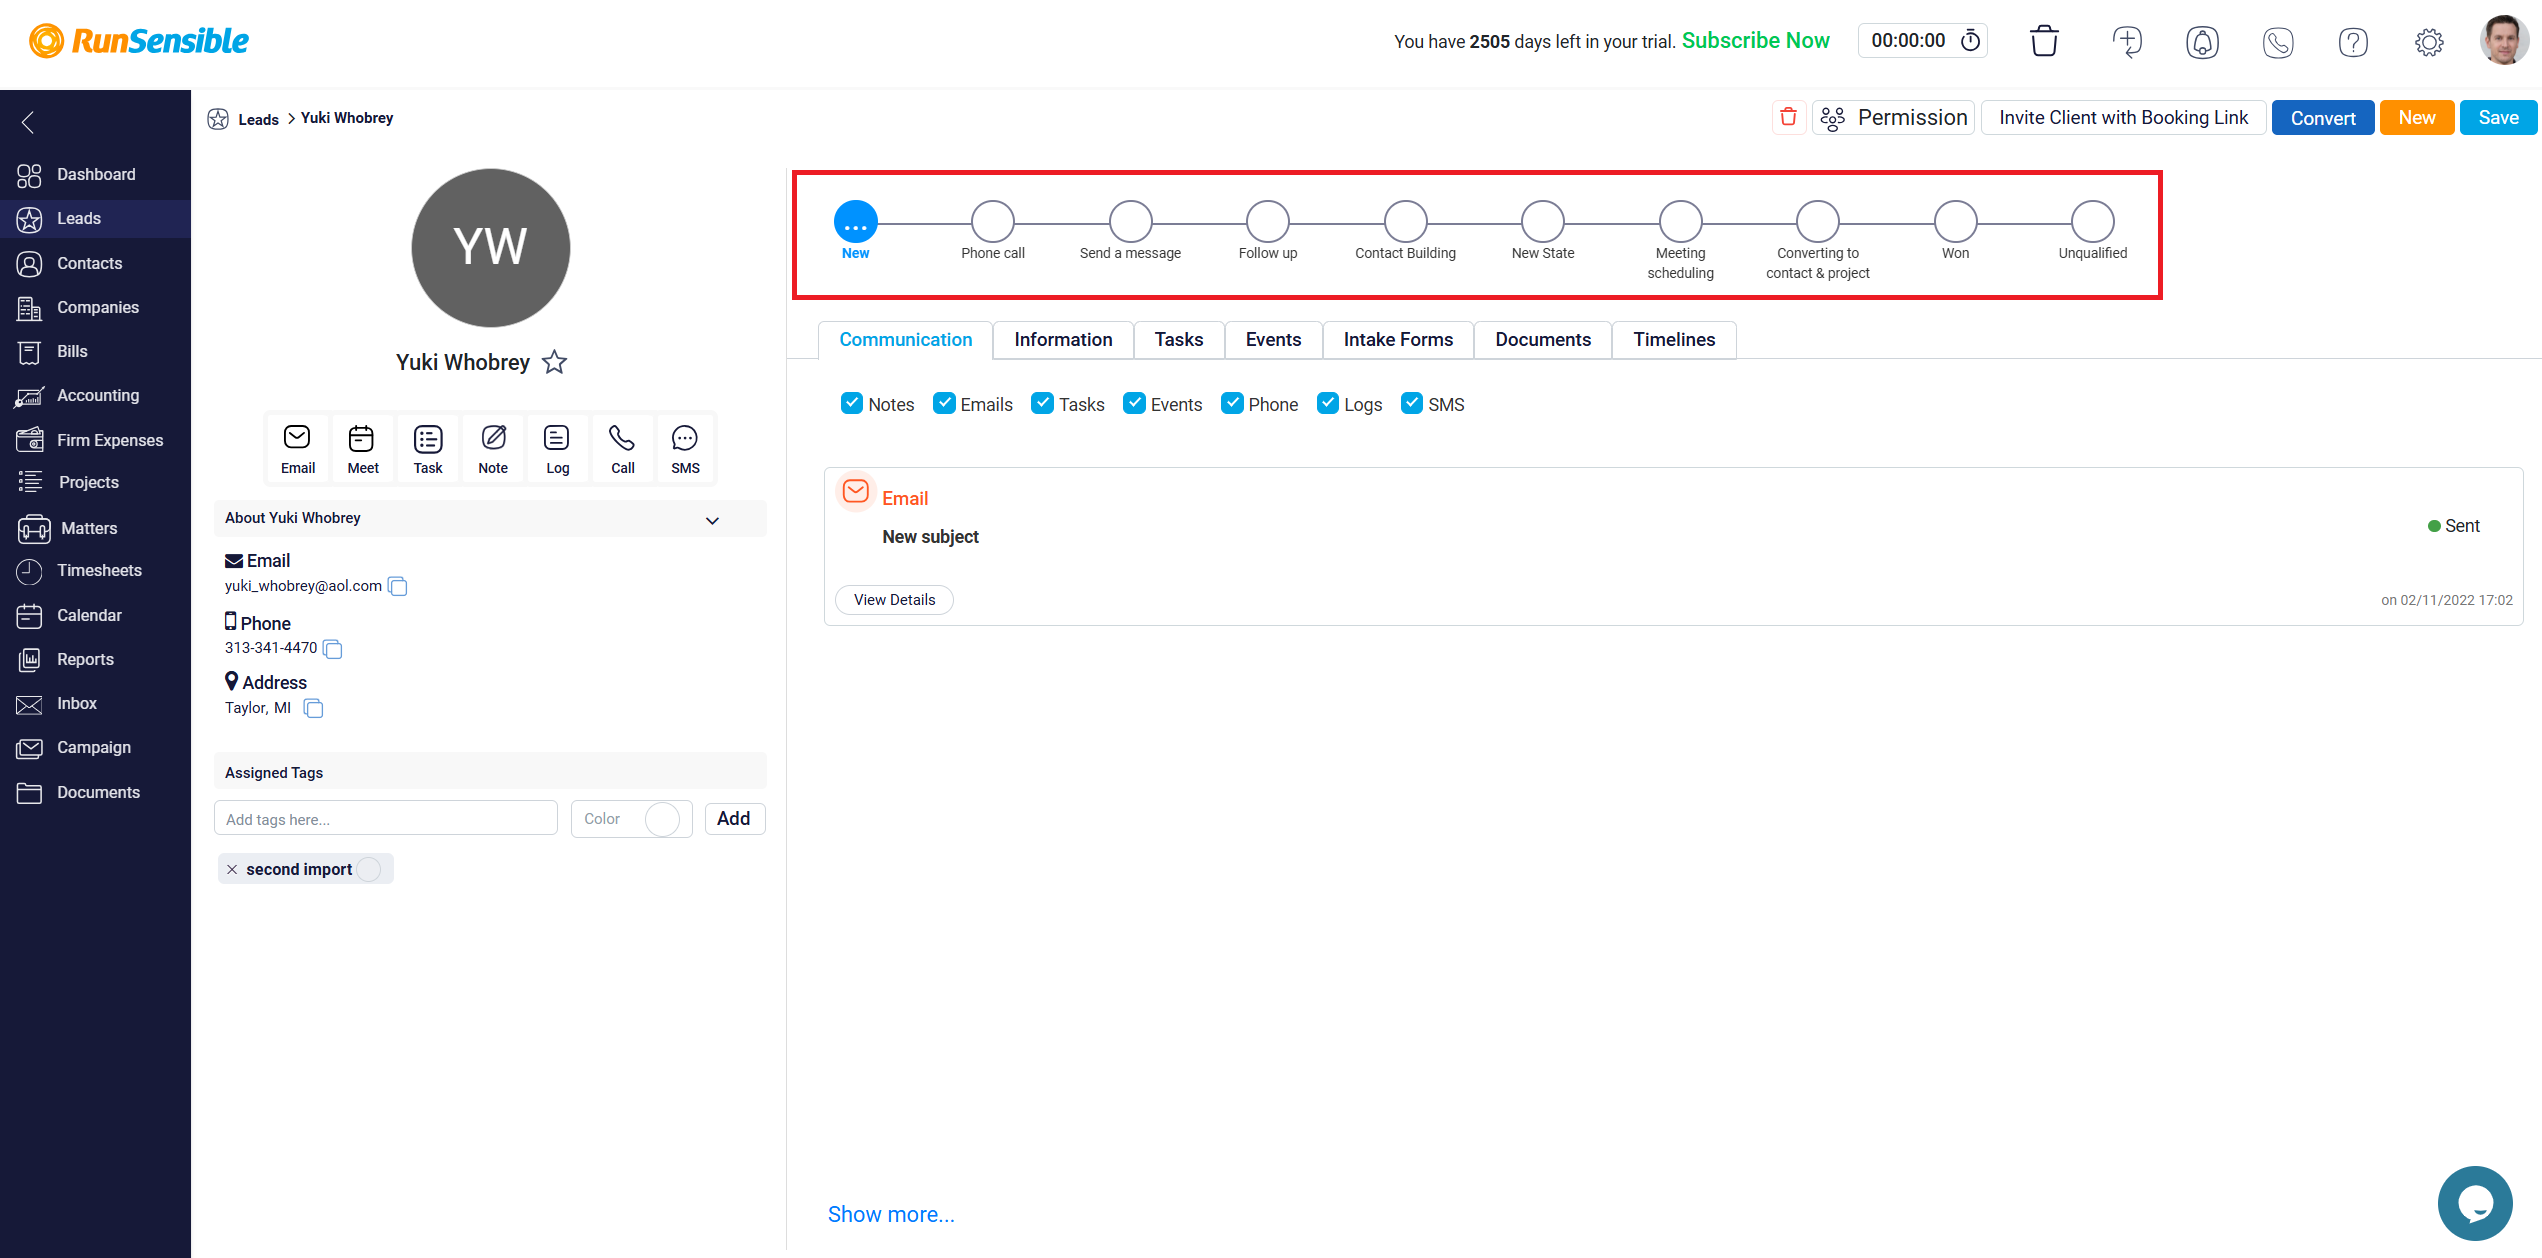
To use the process you just set up, click on Leads in the left sidebar menu. There are two ways to use the process: Table view and Board view. The default is Table view. In the Table view, you can see the lead status on the right side of each lead. To change the lead status, open the lead by clicking on the lead’s name link in blue. At the top, you’ll see the process and the current status of the lead. The circles represent different statuses. Click on the Circle that represents the status you want to change the lead to.
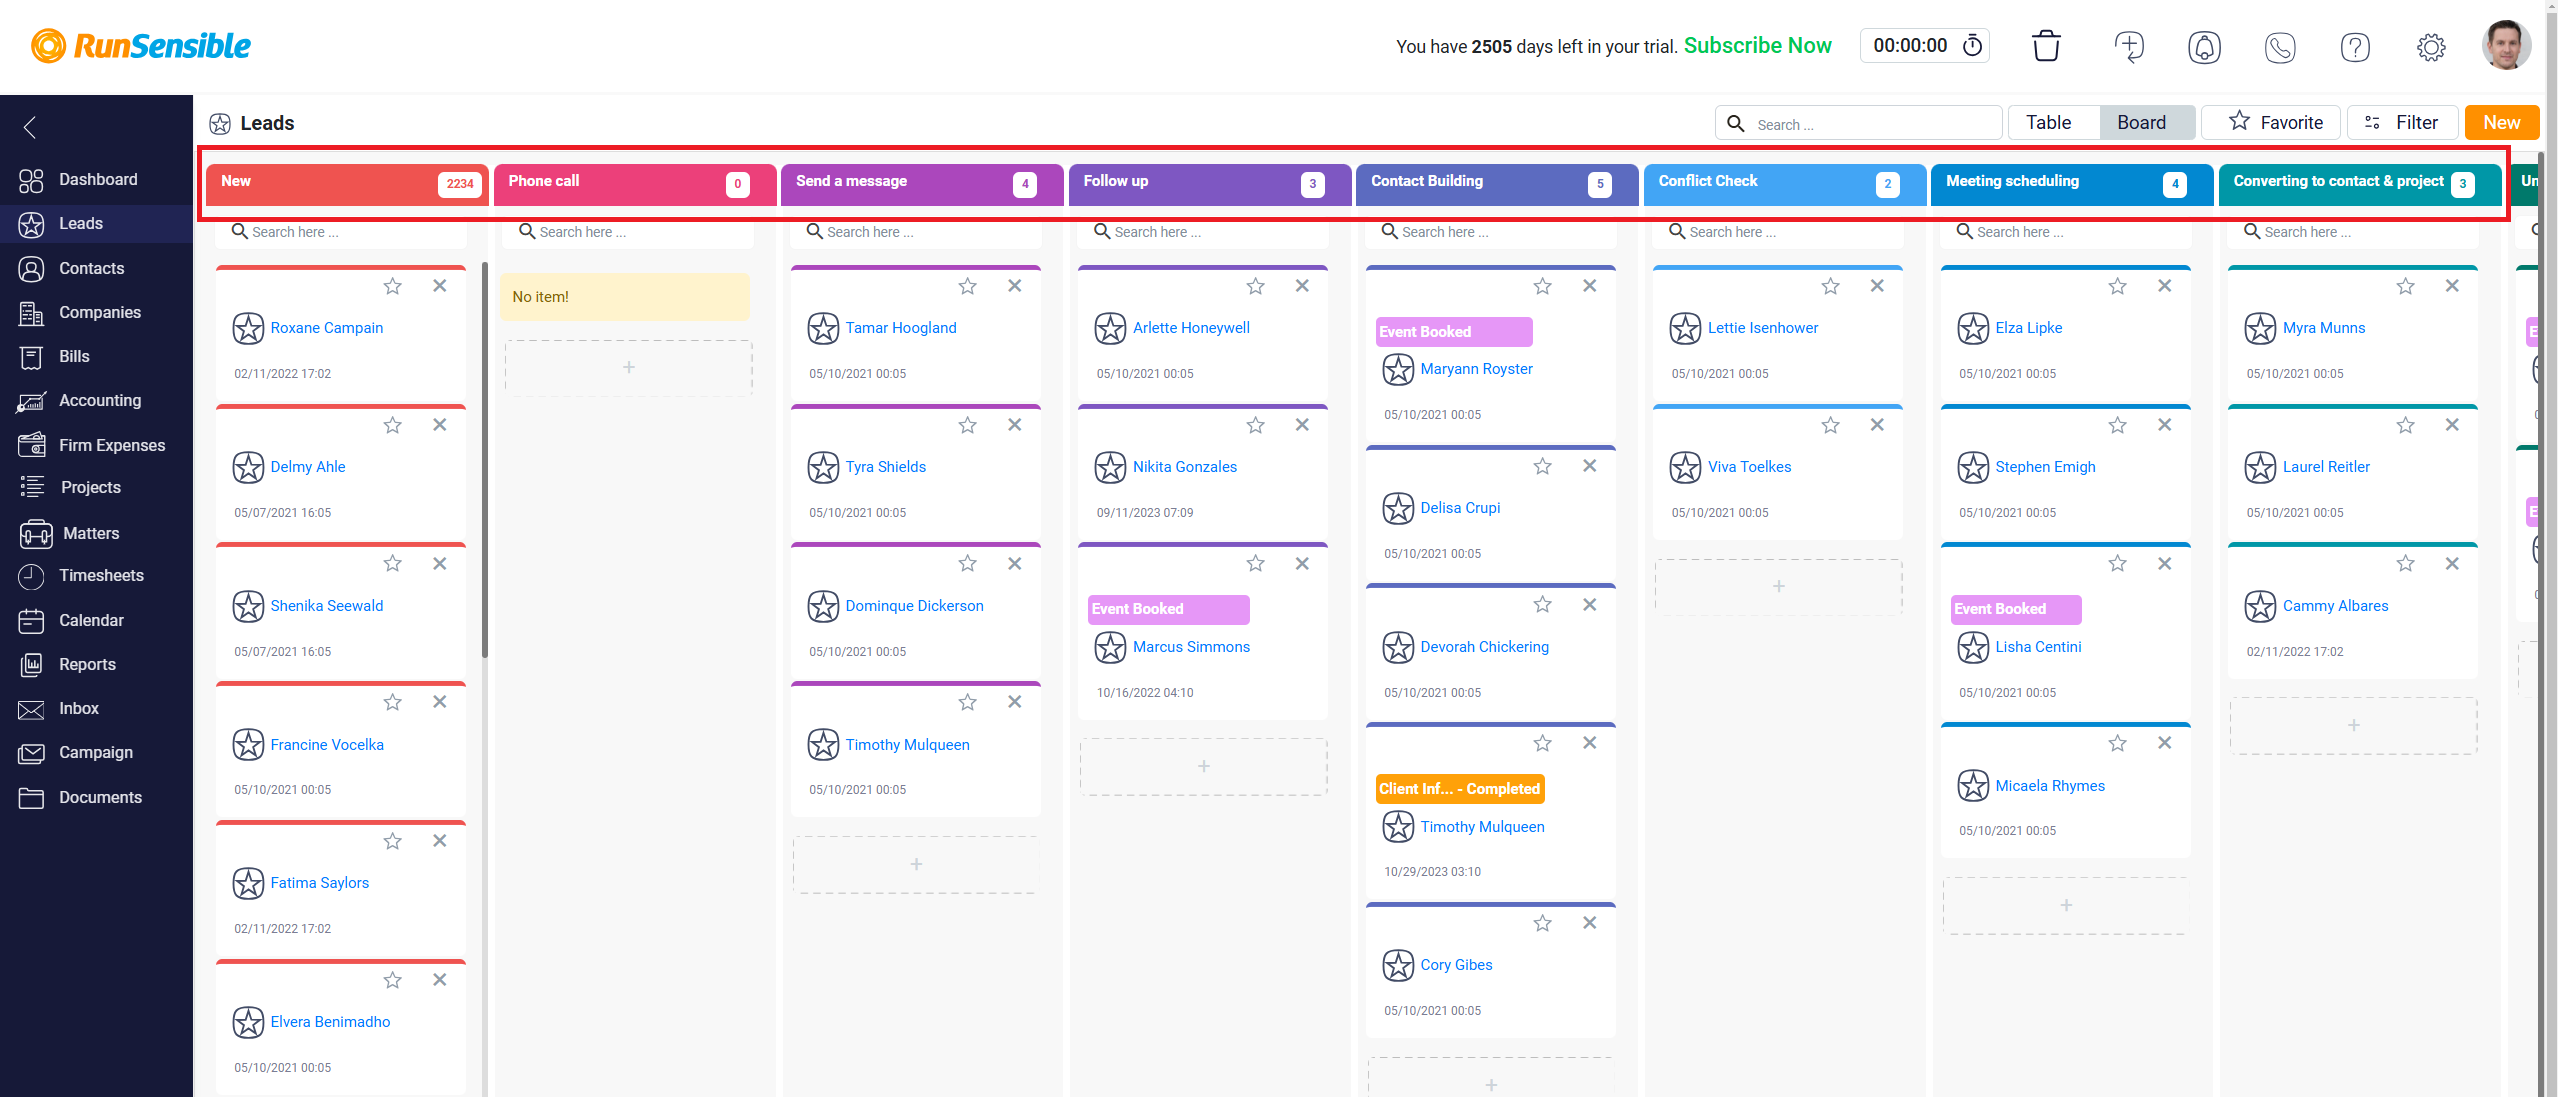
The second method to use this process is the Board view. To use this, click on the Board button at the top. You will then see all the statuses as columns, with the leads under each status. In Board view, you can see the status of each lead at a glance. To change a lead’s status, drag and drop it into the desired column.
Managing Unqualified Leads
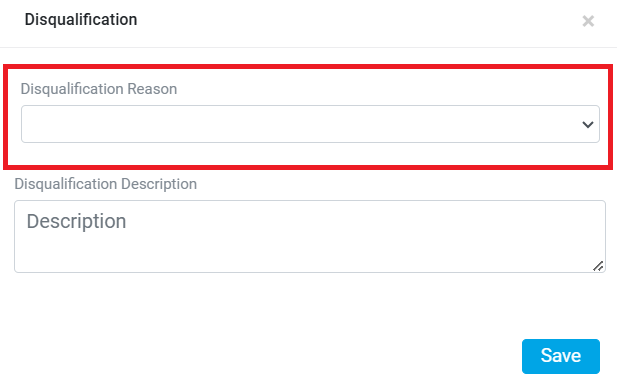
If you set a lead status to unqualified, a window will pop up to collect information about why you disqualified the lead. Click on the Disqualification Reason dropdown to select the main reason, and then explain the situation in the Description box.
